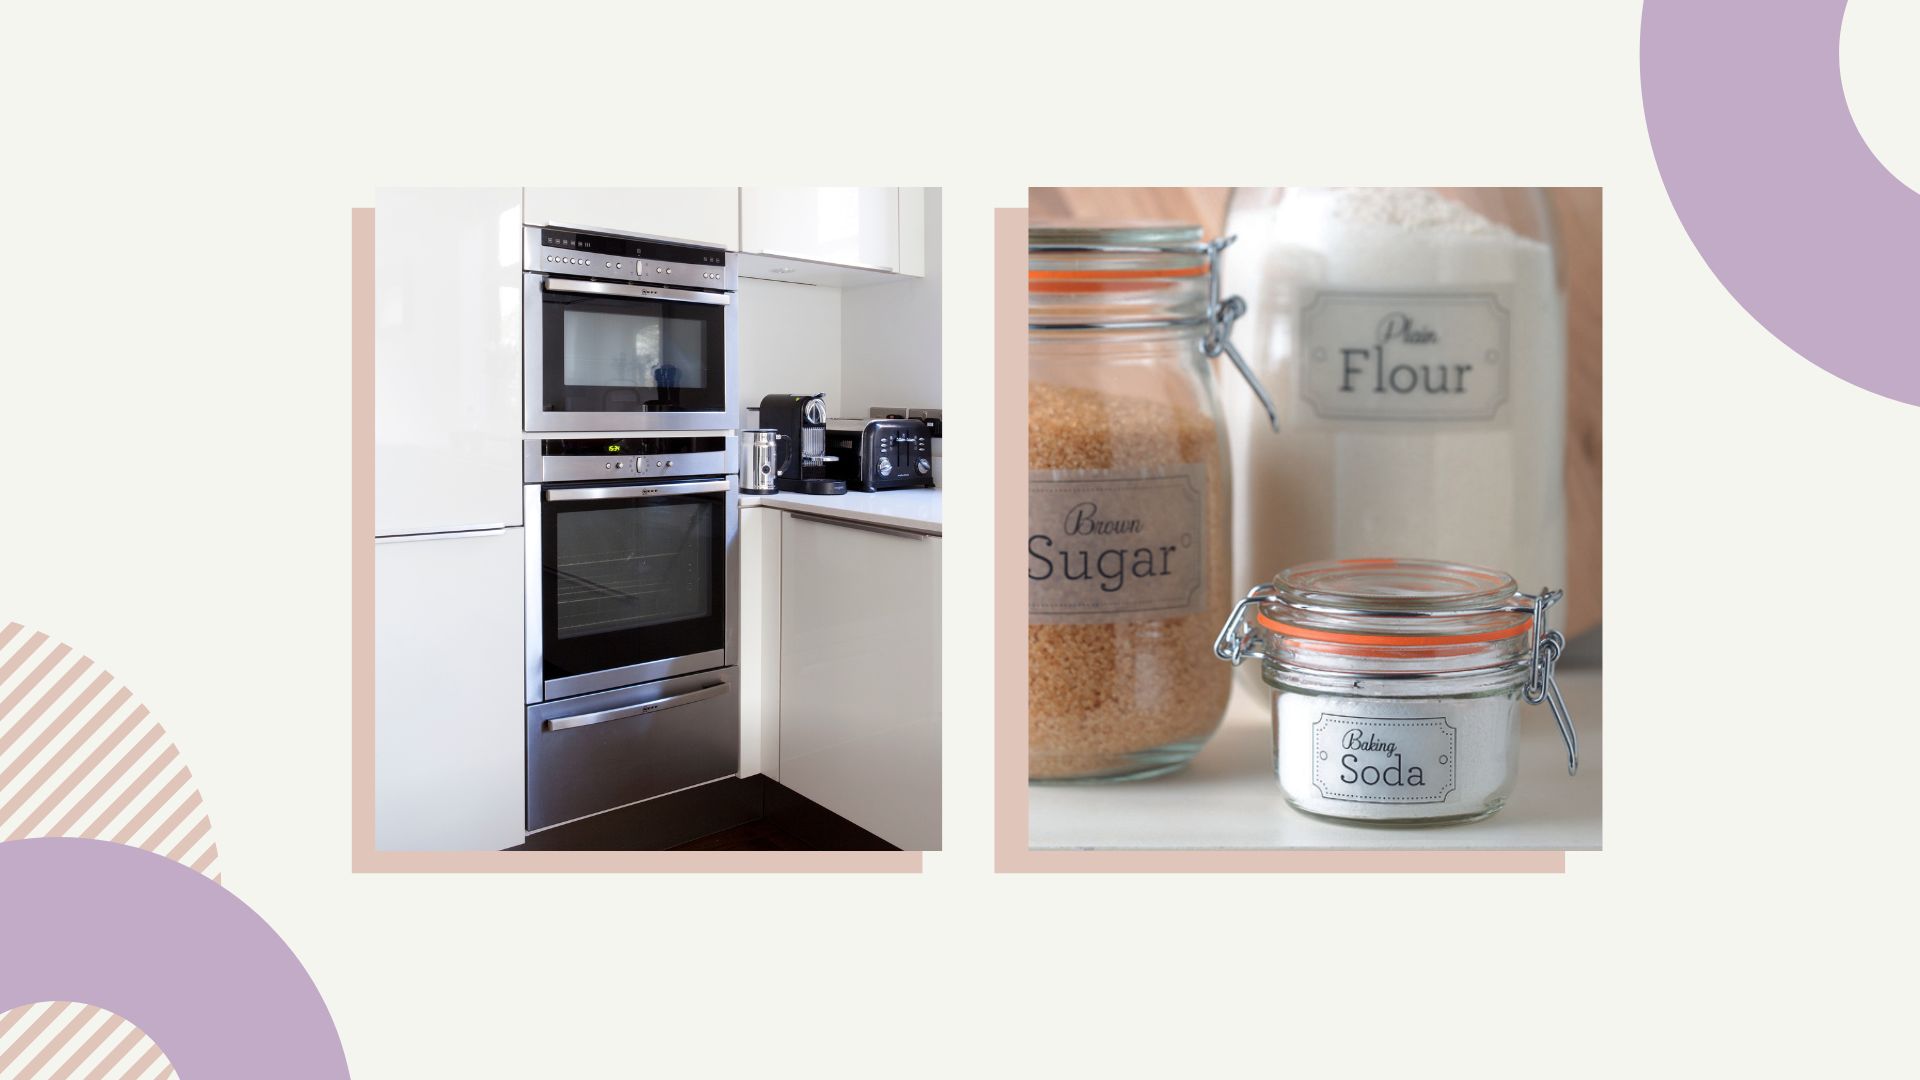
Knowing how to clean an oven with baking soda is a valuable skill. Not only will it keep your oven sparkling clean, but your conscience too, as oven cleaning products are often full of toxic chemicals that are best avoided where you can.
Of all the home cleaning products, oven cleaners are some of the most hazardous. Still, people often feel they have no choice but to use them for fear that nothing else will work when cleaning the oven.
Burnt-on food, grease and residue can easily build up inside, and leaving too long between cleans (as many people do not clean the oven often enough) can make this cleaning task feel impossible without an array of heavy-duty products.
Here’s the good news, we’ve spoken to the experts, who agree that baking soda is a secret weapon in the battle to clean an oven without oven cleaner.
How to clean an oven with baking soda
Today’s experts are passionate about using natural cleaning methods instead of toxic and harmful chemicals and practice what they preach – hence the popularity of cleaning with vinegar.
First, we spoke to the award-winning baker, author, and eco-living aficionado Nancy Birtwhistle. Nancy is the author of several books on green living, including the brilliant Clean & Green: 101 Hints and Tips for a more eco-friendly Home available at Amazon, in which she shares her winning formula for how to clean an oven without oven cleaner.
Our next expert is Michelle Ogundehin, the influential interior guru, writer, TV presenter, award-winning editor and author. Michelle doesn’t just know how to design a home that looks good more importantly, she knows how to create one that makes you feel good.
Happily, she shares her tried and tested strategies in her book - Happy Inside: How to Harness the Power of Home for Health and Happiness available at Amazon. Michelle strongly believes that chemical cleaning products should be shunned in favour of natural alternatives.
How to clean an oven with baking soda is one of those essential tips for a clean kitchen. You'll need to allow enough time for it to do its work; for a super dirty oven, we recommend allowing twelve hours from start to finish to allow the racks and trays to soak and get the best results. If your oven isn’t that dirty, you’ll find the process much quicker.
Here's what you'll need:
- Baking soda
- Water
- Bowl
- Sponge or cloth
- Gloves
- White wine vinegar
- Spatula or scraper
- Fine wire wool (optional)
1. Empty the oven
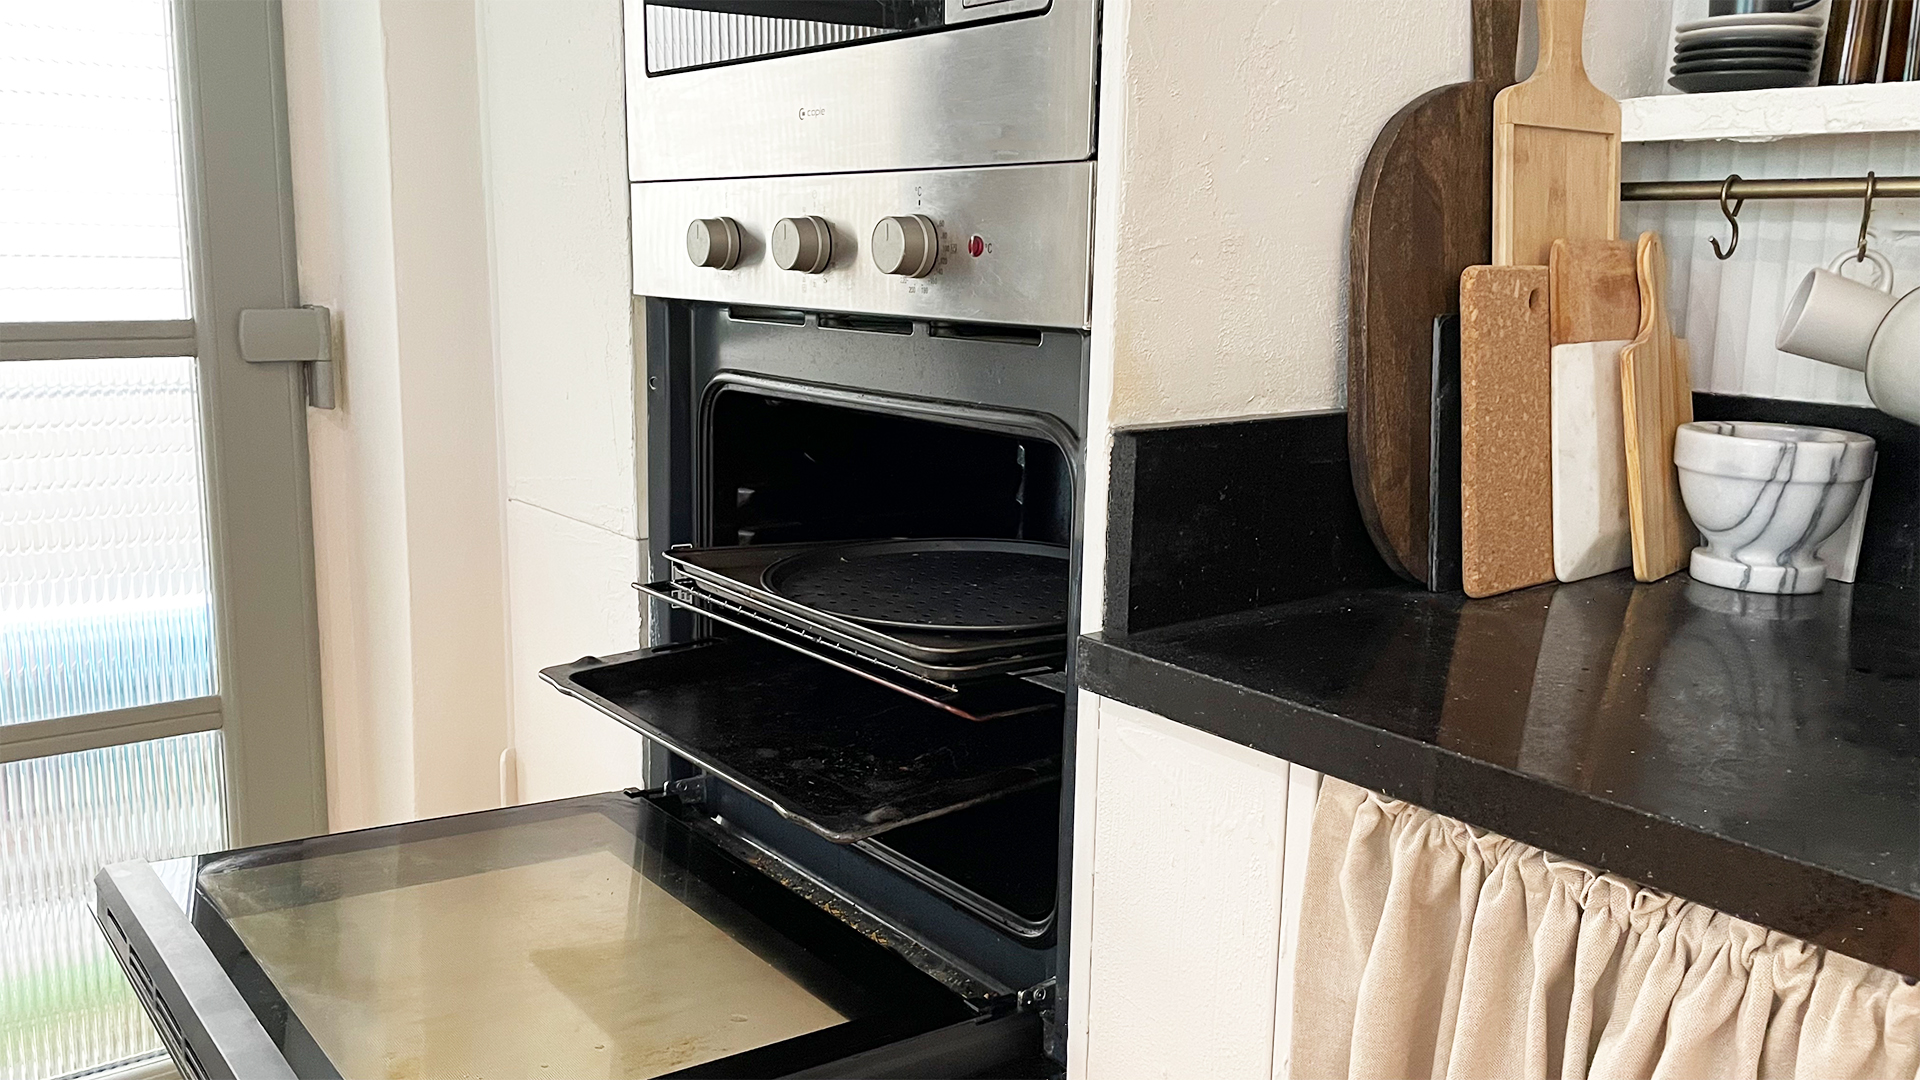
Make sure the oven is cool before you start. Remove all trays and racks from the oven so you have a completely clear space to work in. We look at how to clean oven trays shortly. They are likely to be greasy, so be careful where you put them. Placing in a large sink or empty bathtub is ideal. Remember that the oven will be out of action for a few hours while it is being cleaned, so schedule a good time to start considering when you'll need to use it again.
Sweep or wipe the base of the oven housing to ensure any loose material is removed; this includes any burnt food that might have fallen through the racks. If you have any large lumps of burnt-on residue stuck to the base, use a plastic or wooden spatula to gently scrape it off, taking care not to scratch the oven.
2. Remove the oven door

This step isn’t essential in cleaning an oven with baking soda, but it makes life easier when you need to reach the back of the oven, and it saves having to lean over the open door, which can lead to backache. Check the manufacturer guidelines for your oven to see if it is possible to remove the door and if it is recommended.
Place a towel on your countertop before you start so you have a soft surface to place the removed door. There are usually release catches at each side of the base of the door that can be unlatched. Next, gently lift the door up and out of position.
3. Mix a baking soda paste
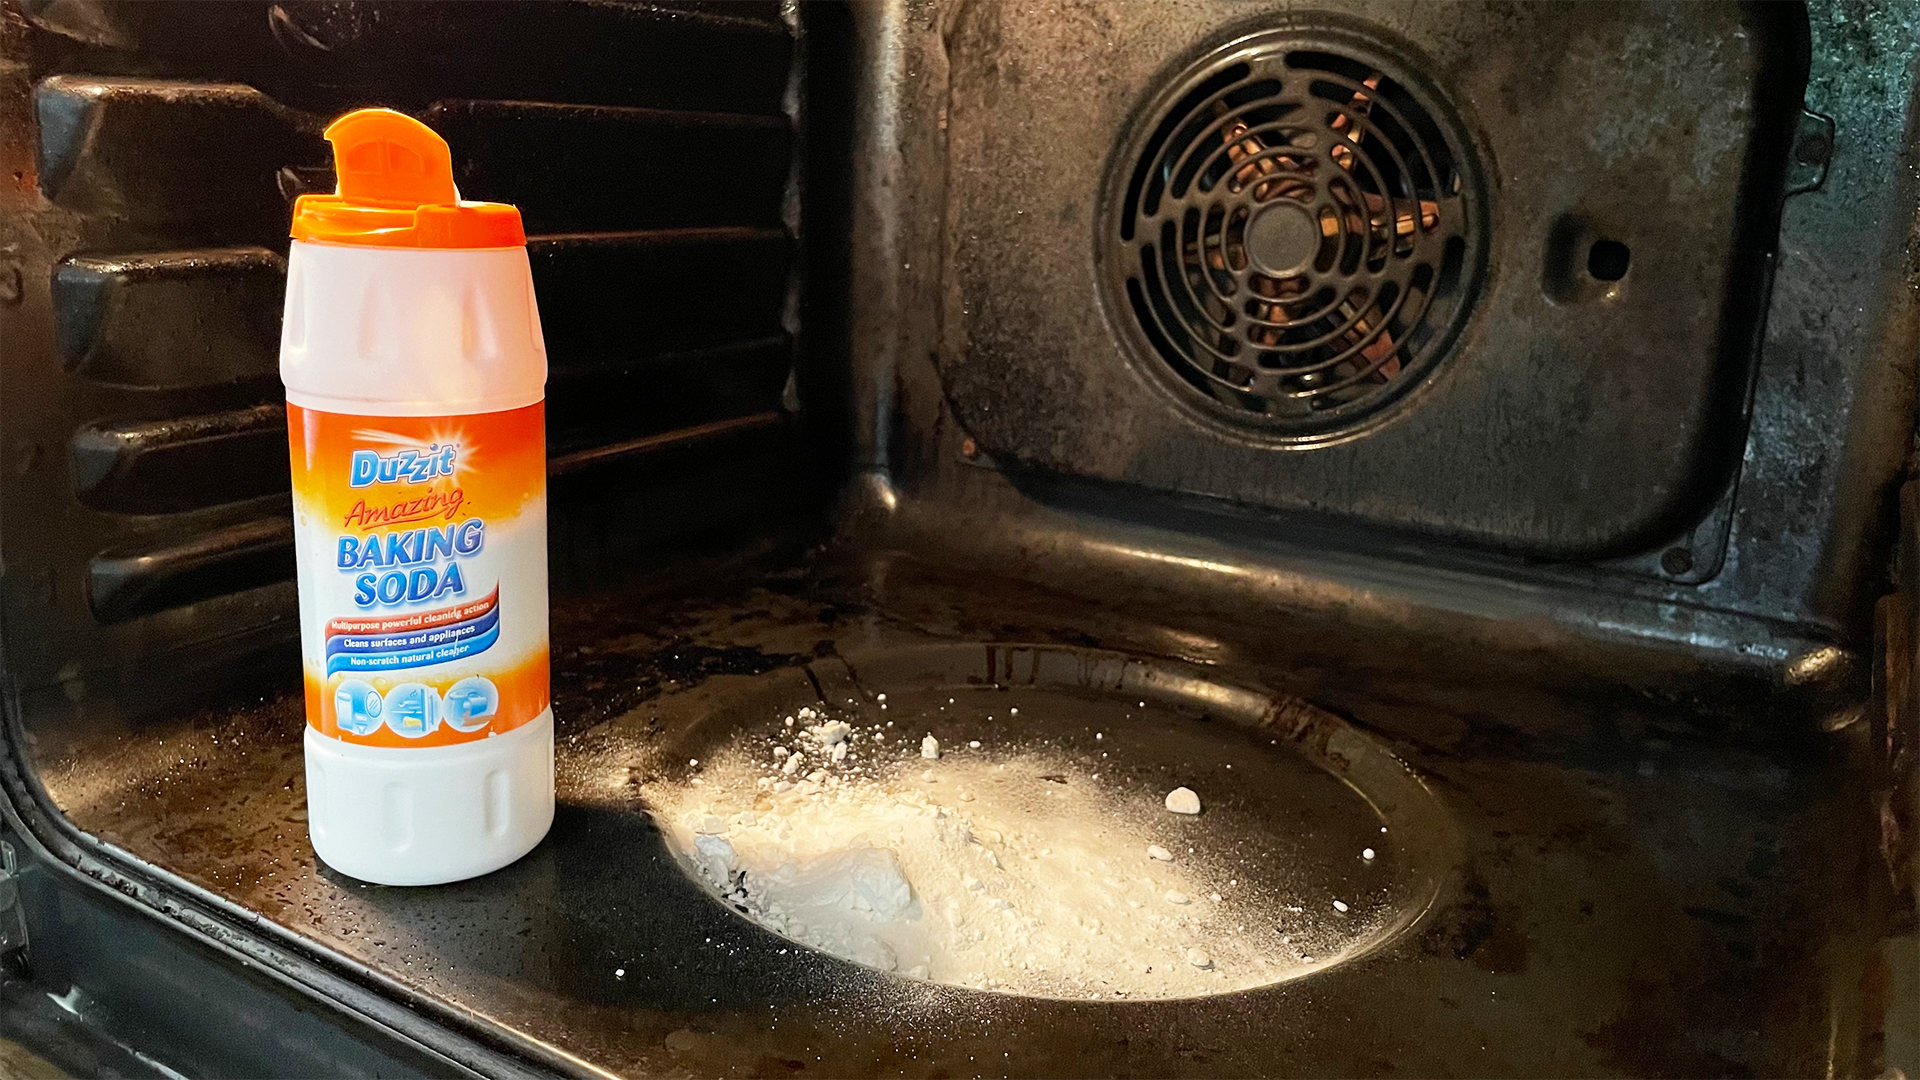
Before you reach for the white vinegar, stop! The perfect paste to clean an oven with baking soda comprises baking soda and a little warm water only; no need for vinegar at this point. Adding vinegar will neutralise the baking soda reducing its effectiveness.
Mix the paste in a bowl or pour the ingredients directly onto the base of the oven and mix with your gloved hand. Be sure to make enough to coat the whole internal surface of the oven. The paste should be thick enough to stay put on the oven’s surface when applying it, so don’t make it too runny. Use the following ratio as a guide, ½ cup baking soda to 2-3 tablespoons water.
4. Apply the baking soda paste
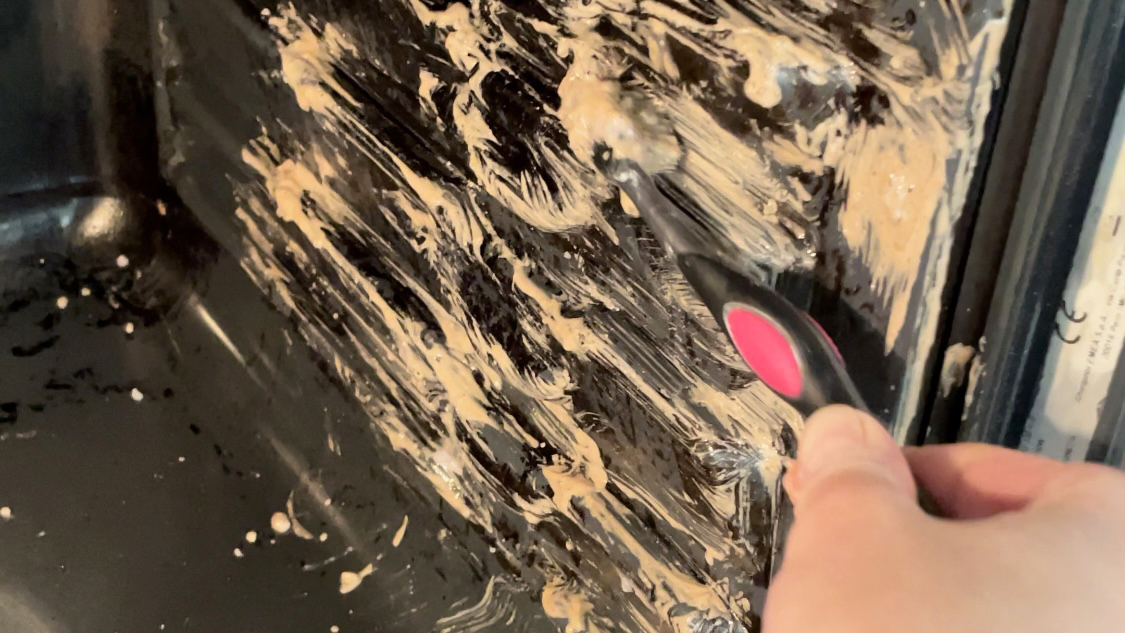
Nancy Birtwhistle, suggests using a pastry brush to apply the paste, which is an excellent idea if you have one.
Alternatively, you can use your gloved hand to spread the paste; taking care to avoid any heating elements or gas outlets. Applying by hand allows you to use the mildly abrasive texture of the baking soda paste to your advantage and really blend it into the greasy parts of the oven. I found that an old toothbrush was a very efficient tool for spreading the paste on the sides of the oven, especially in the ridges where the oven trays are seated.
Don't forget to apply some of the baking soda paste to the inside of the oven door as well, then leave to soak.
5. Leave the baking soda paste to work its magic
Once applied, the baking soda paste will need time to work its magic and cut through the grease and grime coating the interior surface of your oven. You should start to see the paste changing colour as it reacts with the grease.
After about an hour, test a small patch to see if the dirt comes away to reveal the clean oven surface. Don’t be tempted to remove the paste too early. If the oven surface still looks greasy and burnt-on, leave it a bit longer. Some suggest that the longer you leave the paste to work, the better. Nancy Birtwhistle advises that it’s easier to work with if you don’t leave it to dry out fully, so bear that in mind if you’re planning to leave it while you go out for the day or overnight.
6. Soak the oven trays and racks
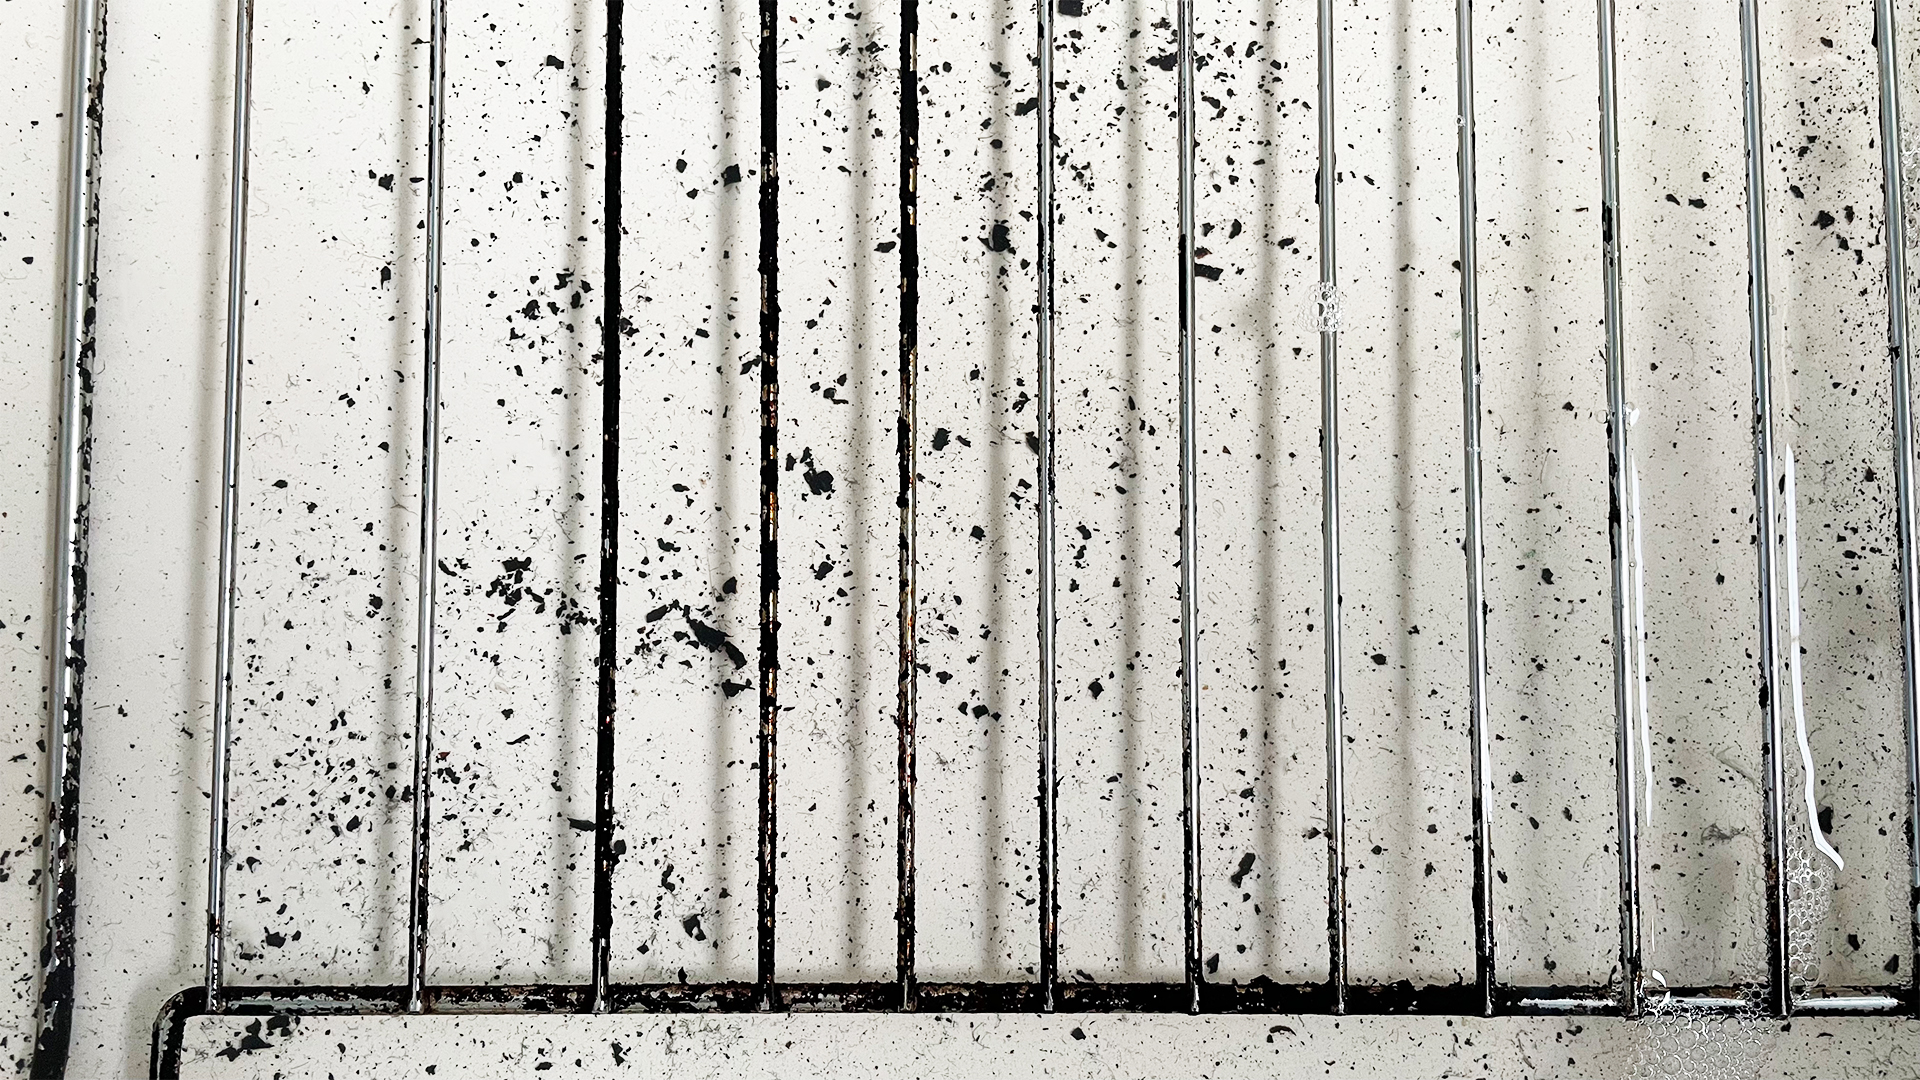
While the baking soda paste is going to work on the inside of your oven, turn your attention to the trays and racks that you removed. Wipe them to remove any loose residue, then fill the large sink or bathtub with enough warm water to submerge them. Pour baking soda on top of the trays and racks while they soak and leave for up to twelve hours. During this time, the burnt-on residue will soften, making it much easier to remove.
Wire wool is a useful tool if a cleaning sponge isn’t quite doing the trick after a long soak. Once you’ve removed all the burnt-on residue, rinse the trays and racks in clean water and they should come up like new and can be returned to the oven at the end.
7. Remove the baking soda paste
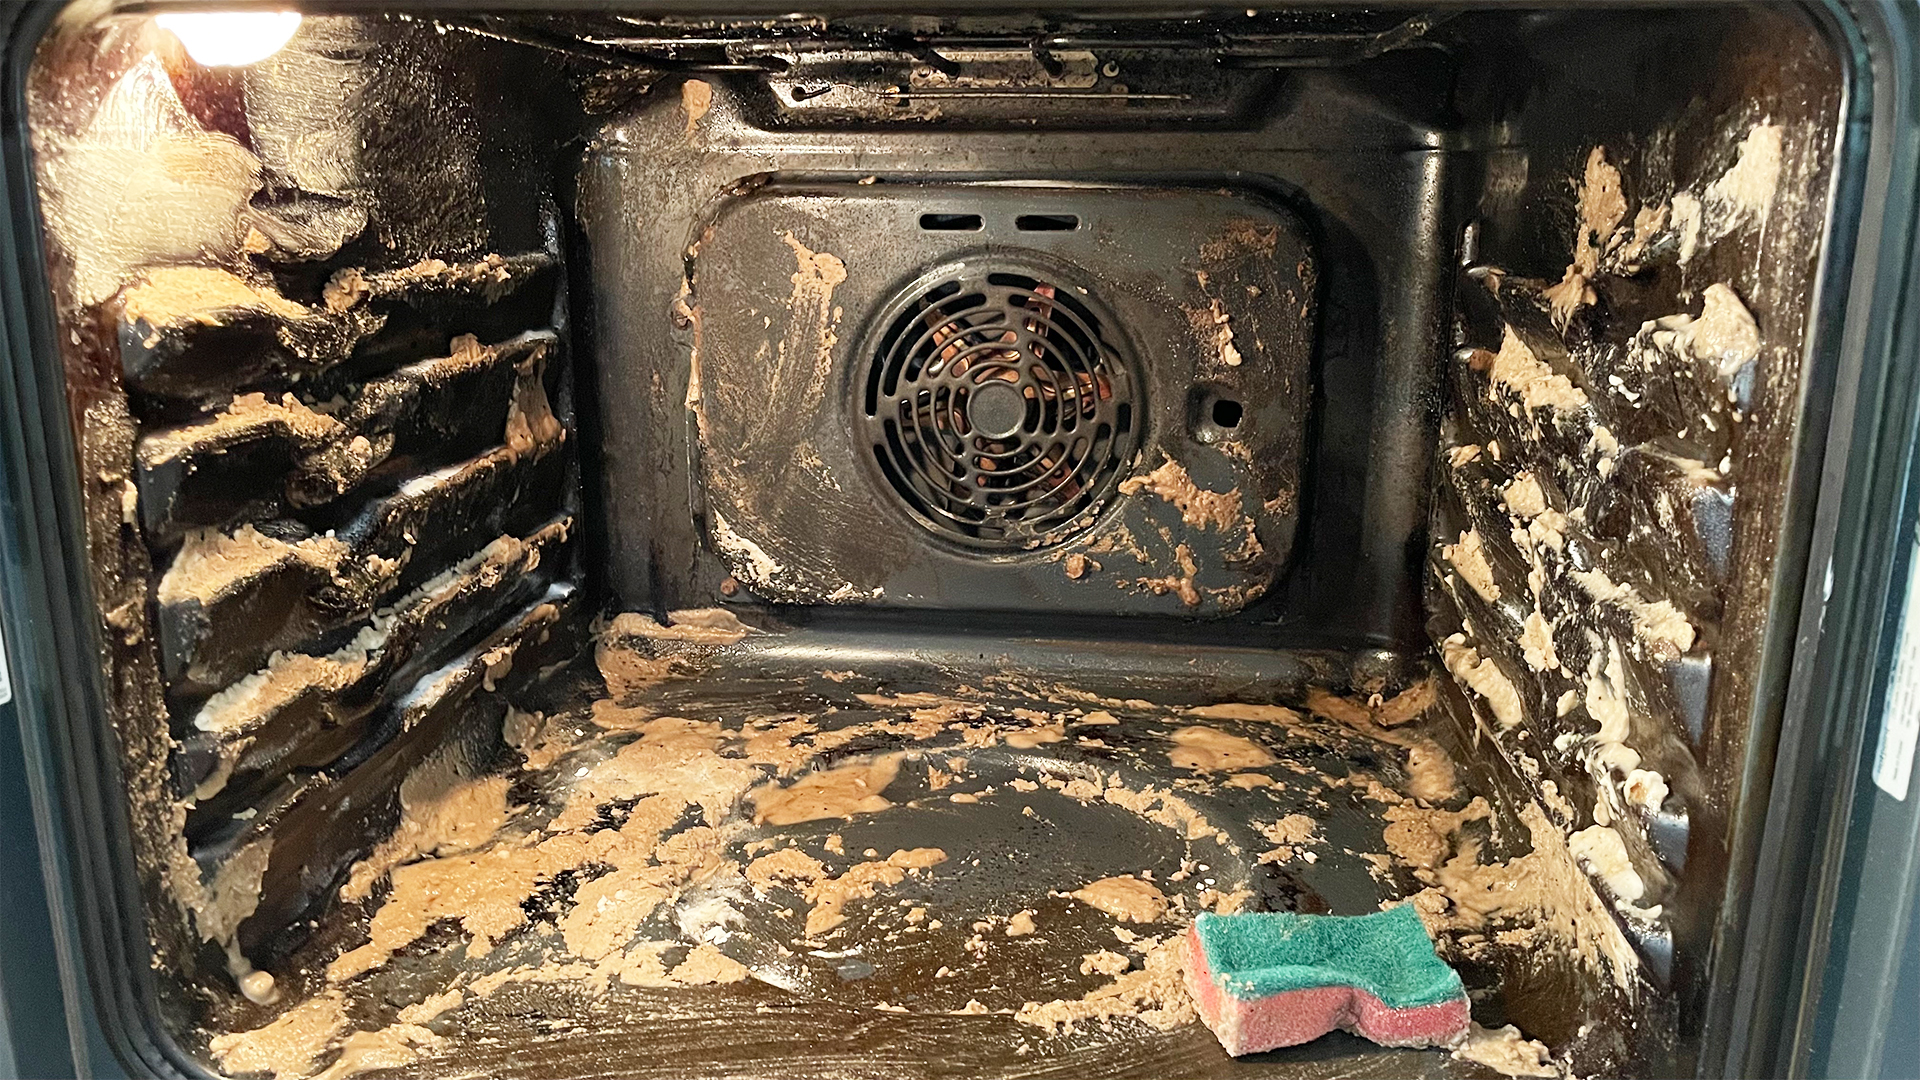
To remove the baking soda paste, Michelle favours a mild scouring pad (gentle enough not to scratch the oven), or you could use a scraper or spatula to dislodge any stubborn areas of burnt-on residue. Collect the baking soda paste in a bowl and dispose of it in the rubbish bin rather than down the sink because the grease could cause a blockage. Next, wipe the inside of the oven with a damp cloth. Remove any baking soda paste you applied to the door in the same way.
Wipe the seals around the oven door with a damp cloth and remove them temporarily if you need to clean underneath. Wipe around the outer edge of the oven housing and the lip immediately below the bottom of the door, where food crumbs often get caught.
8. Spray with white vinegar
The next step is to spray the inside of the oven with white vinegar because, as Michelle Ogundehin explains, “The white vinegar reacts with the soda to dissolve it to water,” meaning that you get a lovely clean finish and no baking soda residue to contend with.
If you don’t have any white vinegar, Nancy’s method involves using a sponge and a bowl of warm water with eco-friendly washing-up liquid could be completed as an alternative.
Either way, the aim is to get the oven sparkling clean and remove all traces of baking soda from the interior before it is used again.
9. Replace the racks and oven door
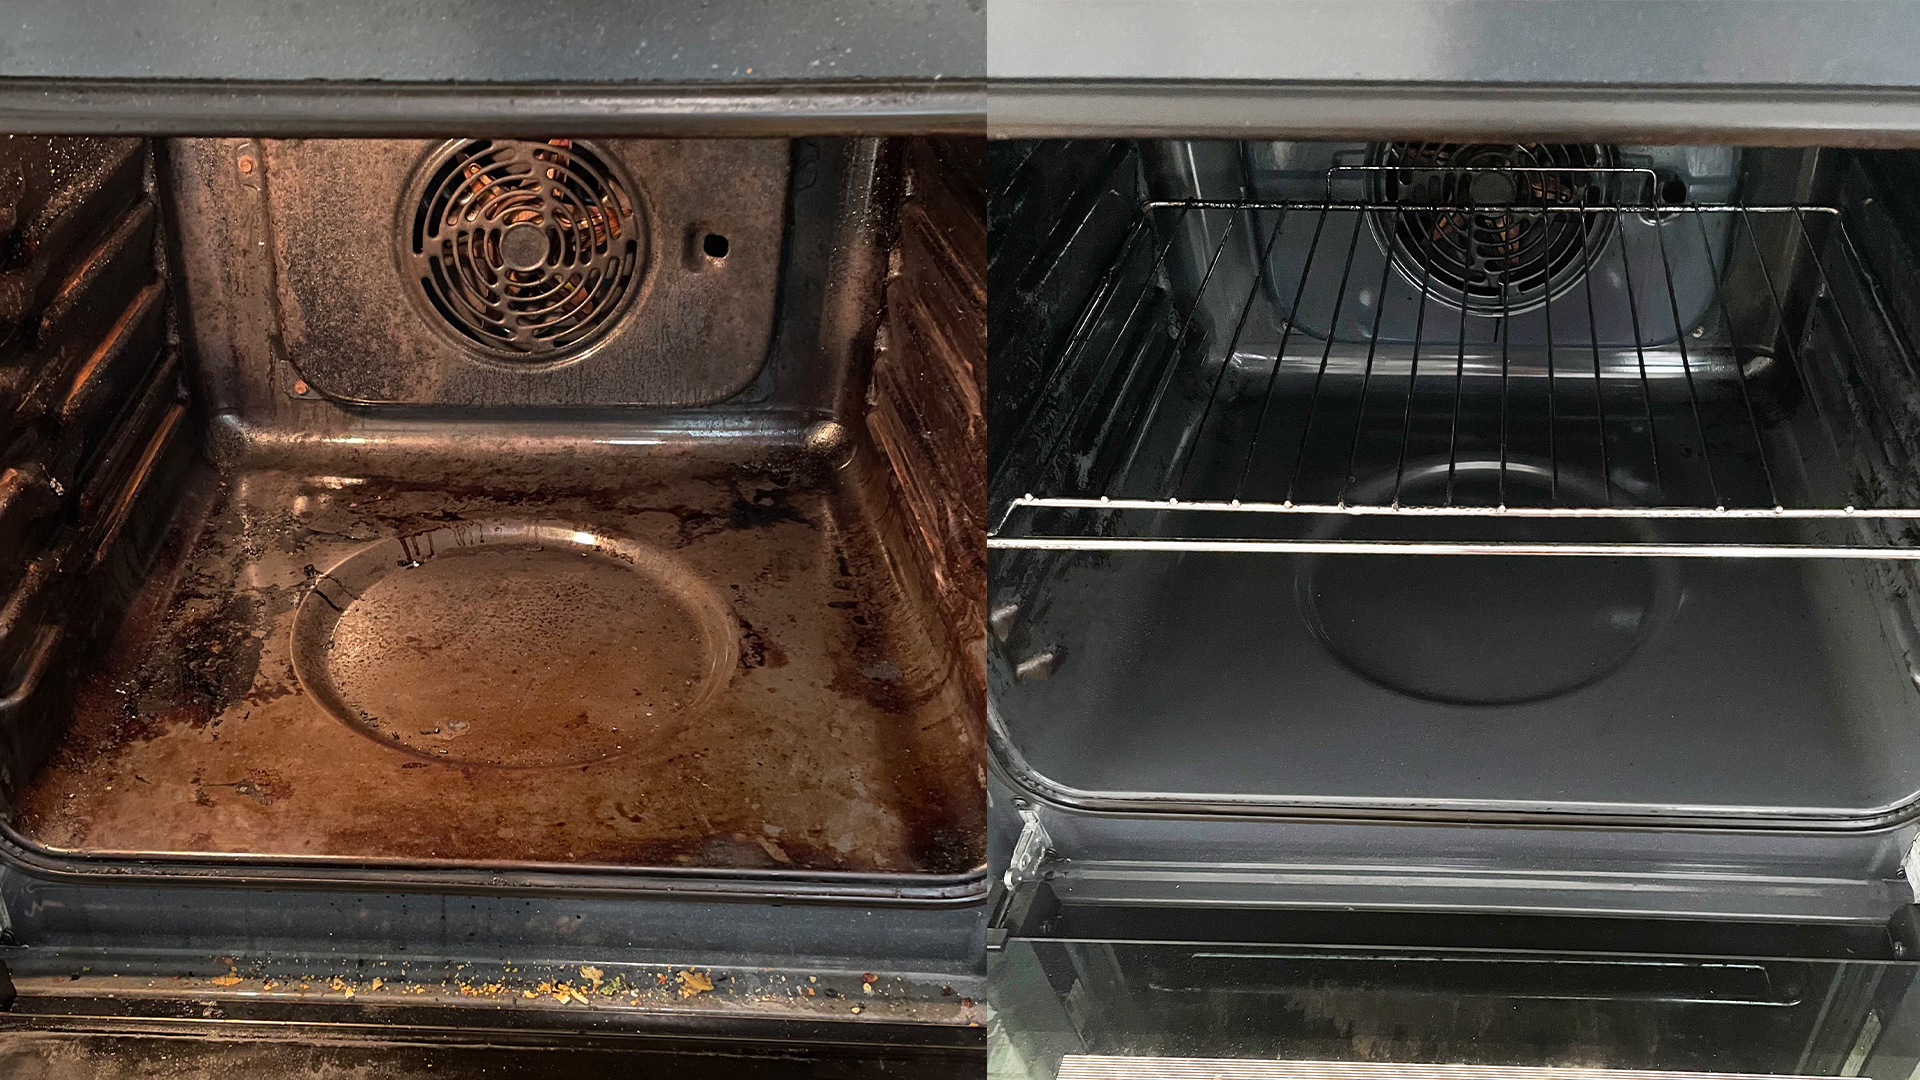
Once the inside is sparkling, pop the clean racks and trays back in the oven and reattach the door, if required.
As you can see from the images, I tested this process on an old and extremely dirty oven and I was so impressed with the results. The baking soda paste cut through layers and layers of burnt-on grease and parts of the oven look brand new again, something I never thought possible!


