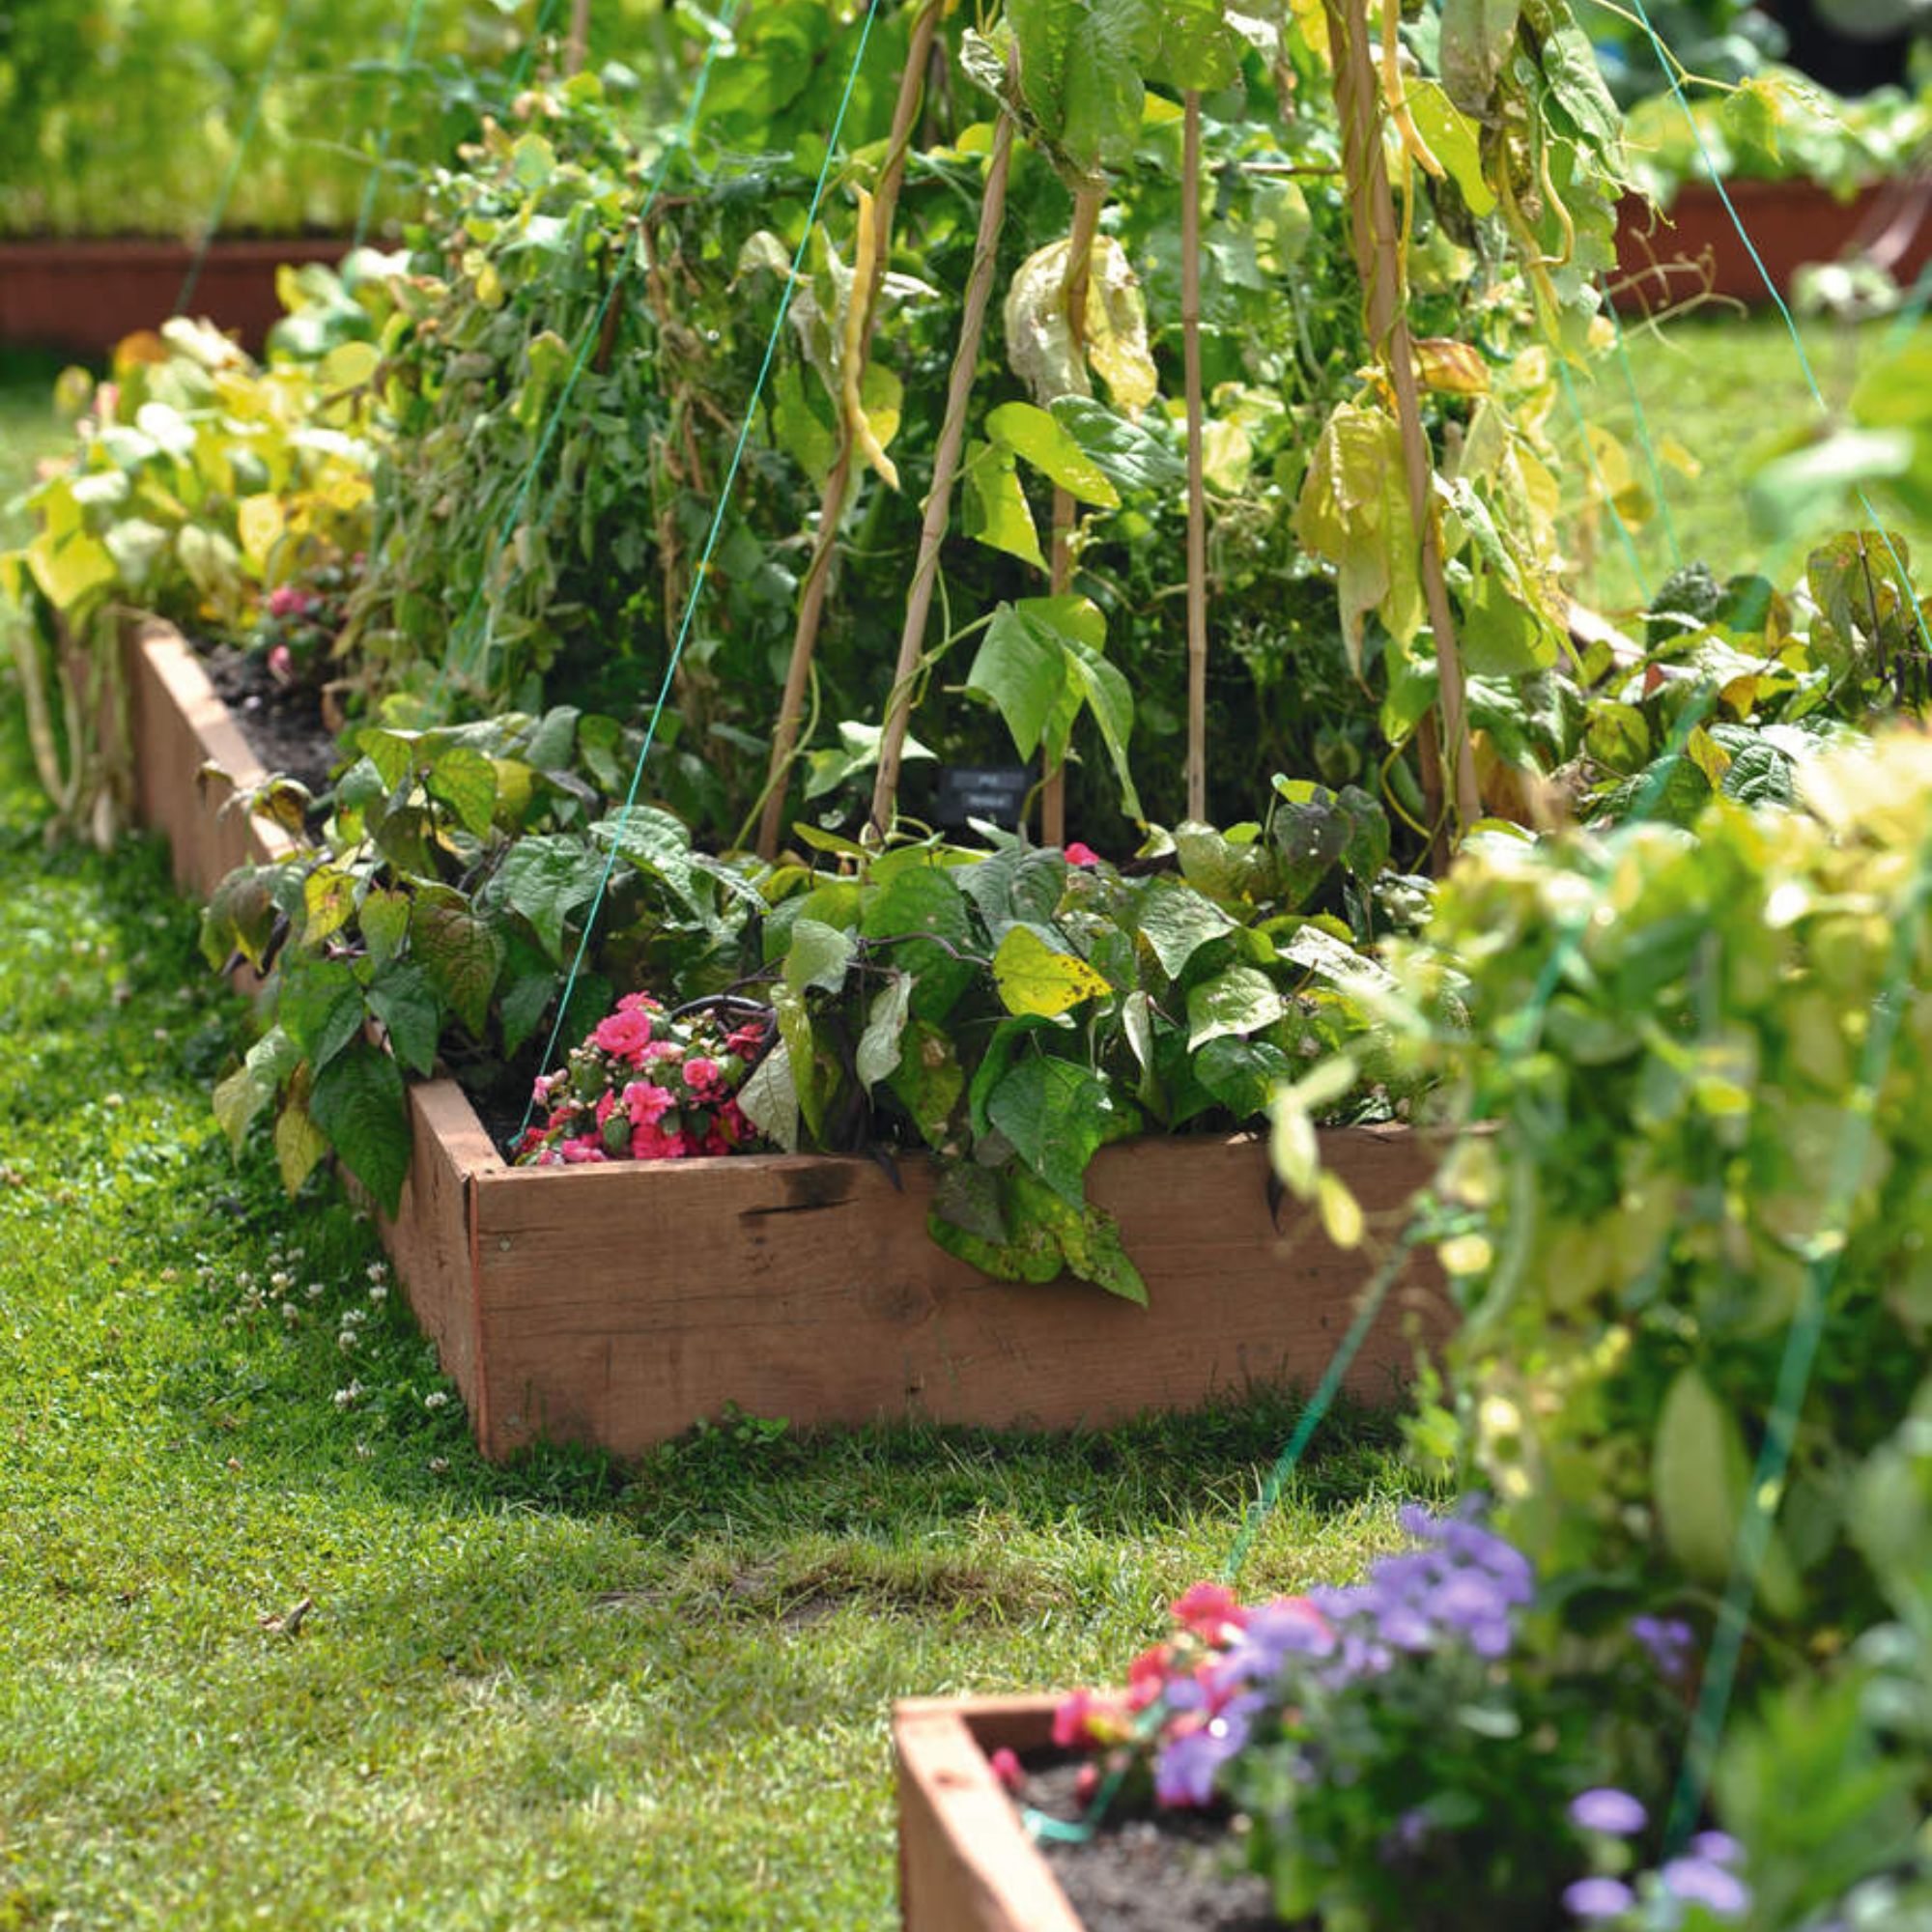
The 'grow your own' trend isn't going anywhere fast, as more and more of us take to the soil to grow our own fruit and vegetables. It makes sense, then, that so many gardeners are keen to learn how to build a raised garden bed.
Now, there's no denying that raised beds are very much a labour of love: you need to learn how to prepare raised beds for winter, for starters, and how to fill your raised garden bed, too.
Still, they are one of those timeless garden projects that will absolutely repay your efforts in kind, because they will make it easier than ever to grow your own vegetables, fruit, herbs, and more at home.
How to build a raised garden bed
'A raised garden bed is one of those rare items – beautiful and practical, if done right,' says award-winning garden designer and National Allotment Society ambassador Zoe Claymore.
'A raised garden bed can enhance the look of your outdoor space, not to mention allow renters and those without access to soil to reap the benefits of a beautiful flower border or garden filled with edimentals,' she continues.
Two key things to consider when buying or building a raised bed, Zoe says, are:
- How deep do you need them to be? 'To have the most flexibility and to reap the benefits, I recommend to clients to buy or build beds that are at least 40cm deep,' says Zoe. 'As a general rule of thumb, 30cm is deep enough for bulbs, salad leaves and strawberries, while a 60cm bed will allow you to grow not only smaller crops but also fruit bushes and small trees.'
- What is the access to your space like? 'Will you be able to get them in and out of your property area, and how easily can you move them?' asks Zoe.
What you will need to build a raised garden bed
If you decide to build a raised garden bed from scratch, you're in luck: Escape To The Chateau's Dick Strawbridge has joined forces with Homebase to teach us how to create one from leftover decking boards and offcuts of wood.
While Dick uses boards leftover from building garden decking to make his planters, he says you could also use wooden sleepers, which are readily available at most DIY sheds.
If you'd like to give it a go, you will need to source the aforementioned wood, as well as...
- A handsaw, like this universal handsaw from Amazon
- Stainless steel screws, like this 25-pack of stainless steel screws from Homebase
- A tape measure and pencil
- A drill-driver, like the BLACK+DECKER 18 V Cordless Drill Driver from Amazon
- A good multi-purpose compost, like Rocket Gro's Multi-Purpose Compost Peat Free with added John Innes from Amazon
- A selection of plants
- Small clamps (optional)
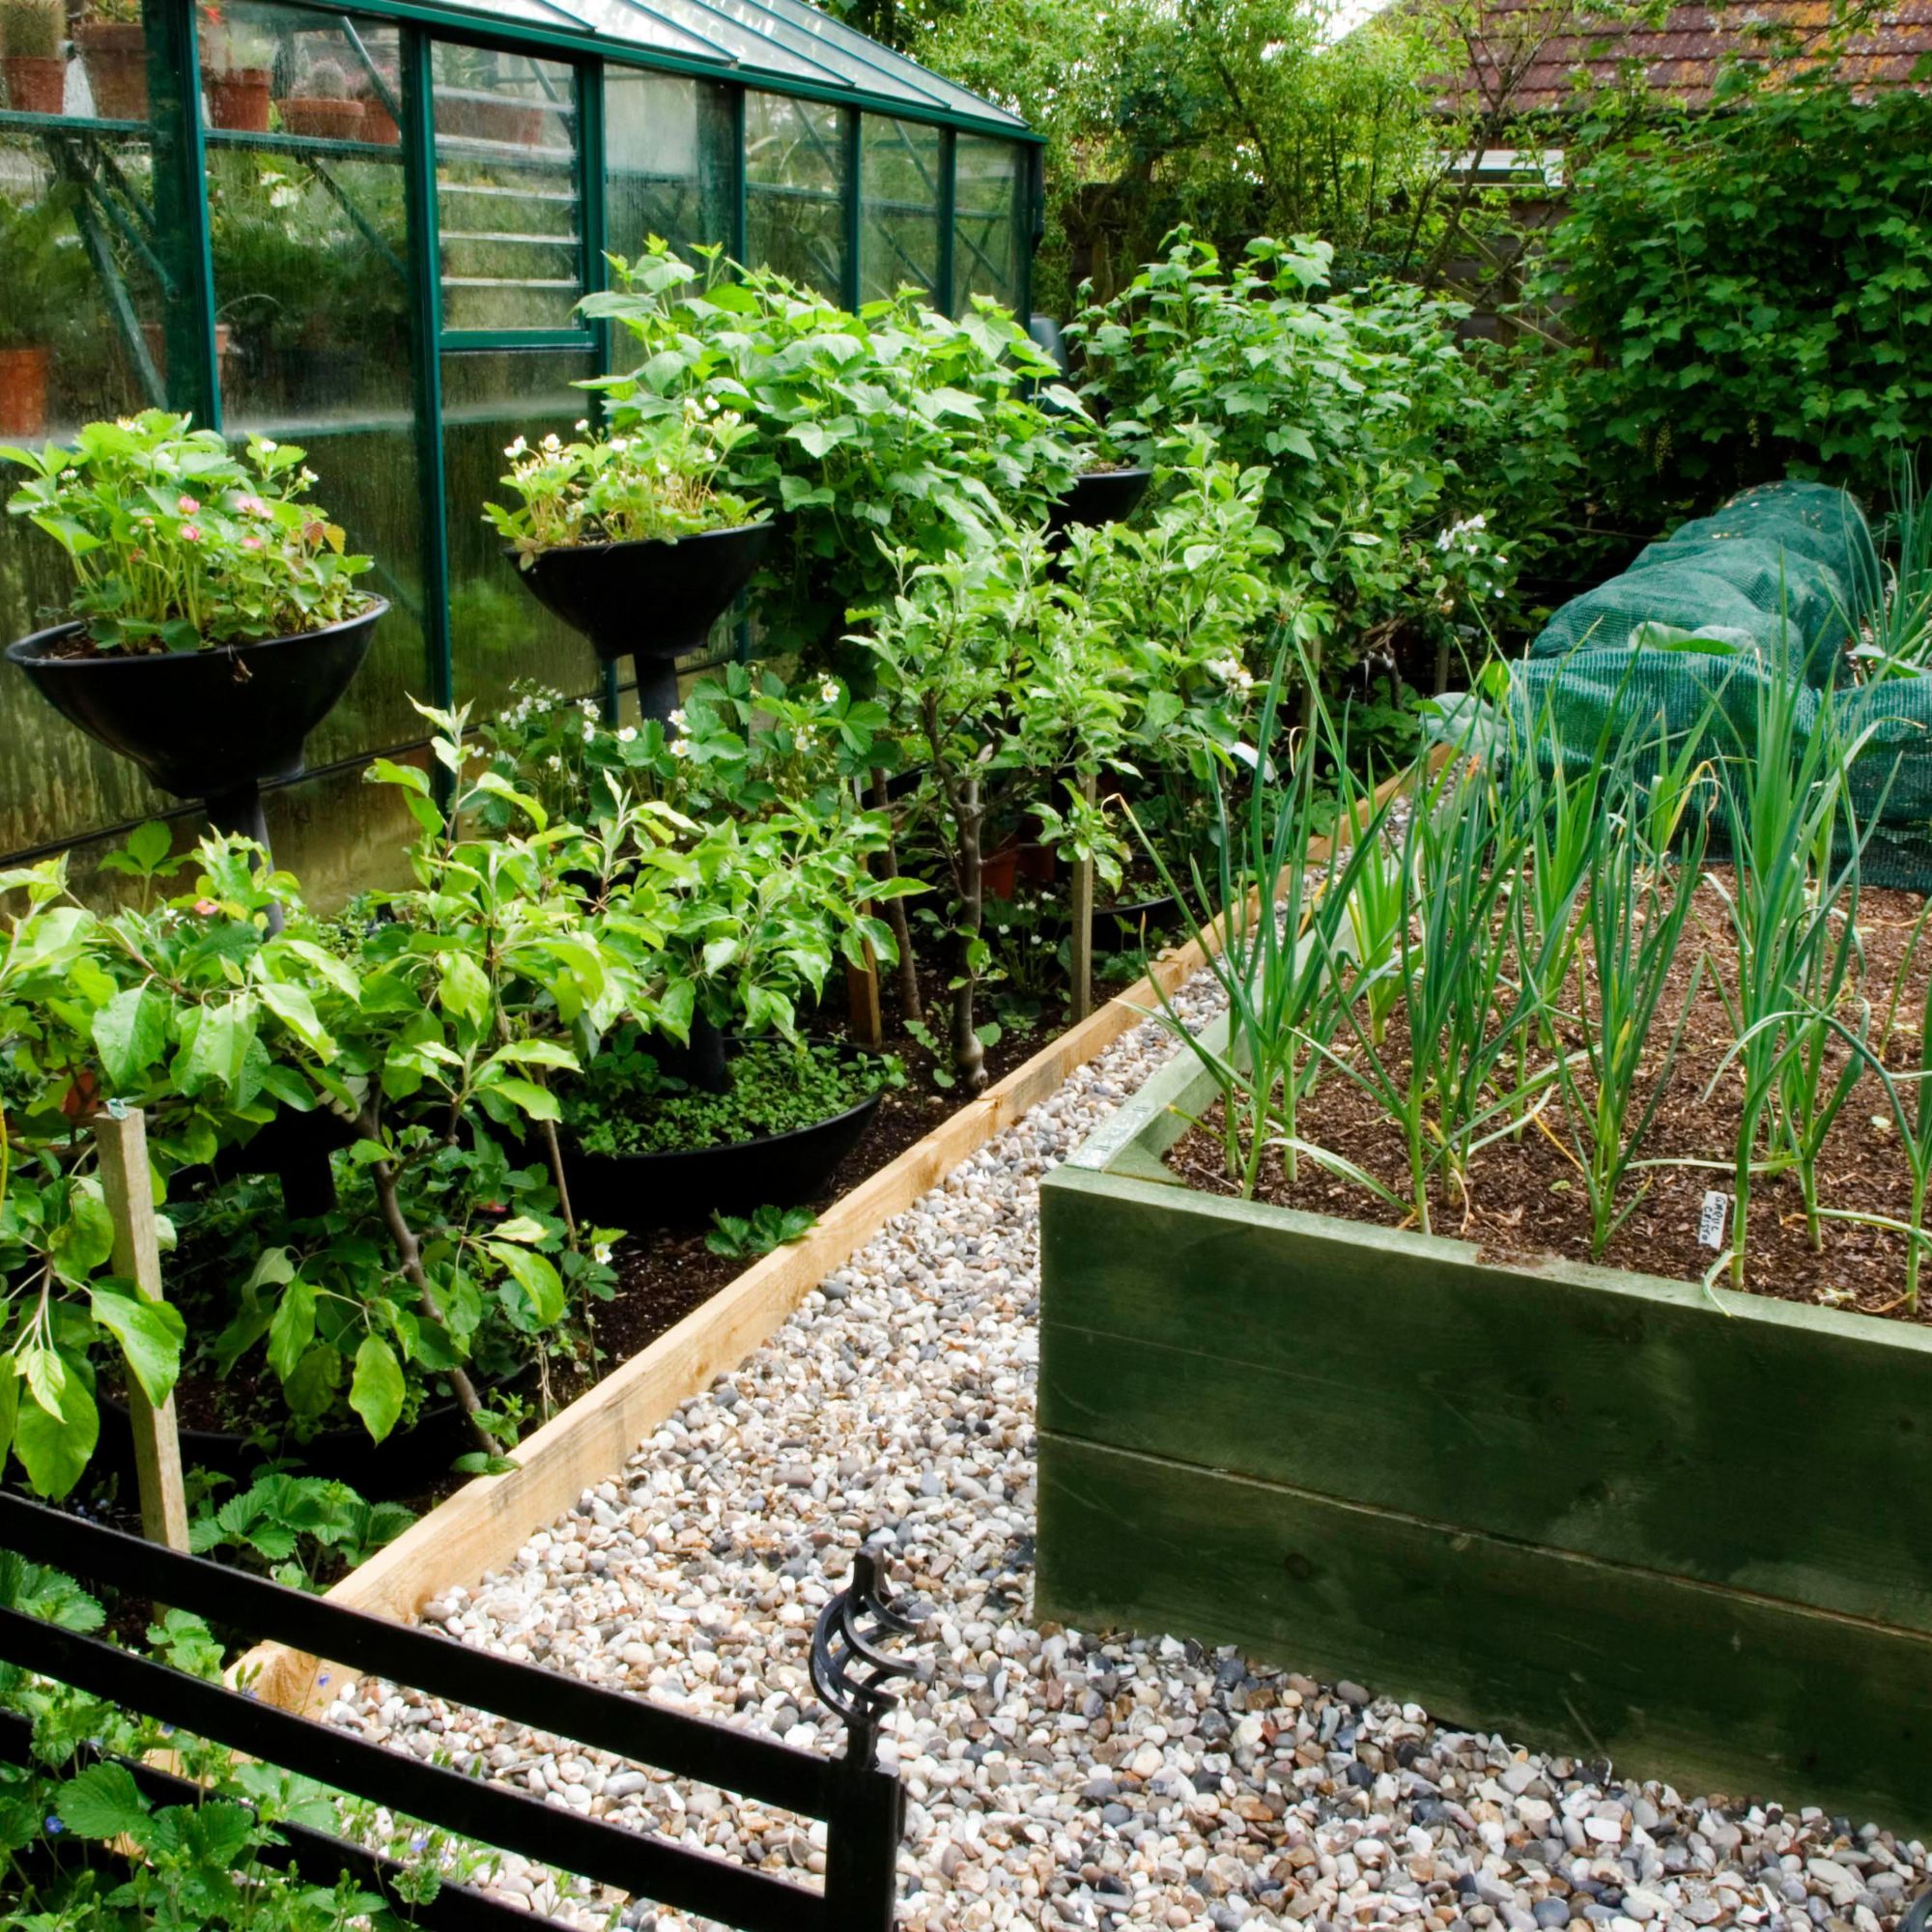
Step-by-step guide
'This is a really good project to start with,' says Dick, 'because you don't need much to make it all happen.'
He adds, though, that you should make sure you have a workbench or sturdy surface for sawing your wood safely – or you could use a mitre saw for speed and a neat cut.
Once you've secured all of those bits and bobs, you can dive into this project headfirst.
1. Measure your deck boards
Once you've decided where to place your planter, you should work out how big it should be. Dick suggests that, once you have decided on the length of your raised bed, that its width should correspond to the offcuts you're left with after sawing your wooden planks to length.
A few things to bear in mind:
- Make sure you can always reach the middle of your bed, so you can get at your crops easily
- Make the lengths a little shorter (and the widths a little wider) for the second level of your raised garden bed
- Make your measurement marks using a little 'V' rather than a large dot for a more accurate pinpoint
2. Cut the deck boards to size
Before you begin, make sure your saw is sharp. Then, to start cutting on the line exactly, use your knuckle to support one side of the saw.
Keep the saw upright, to avoid, as Dick puts it 'a bit of a wonk' on the edge of your wood.
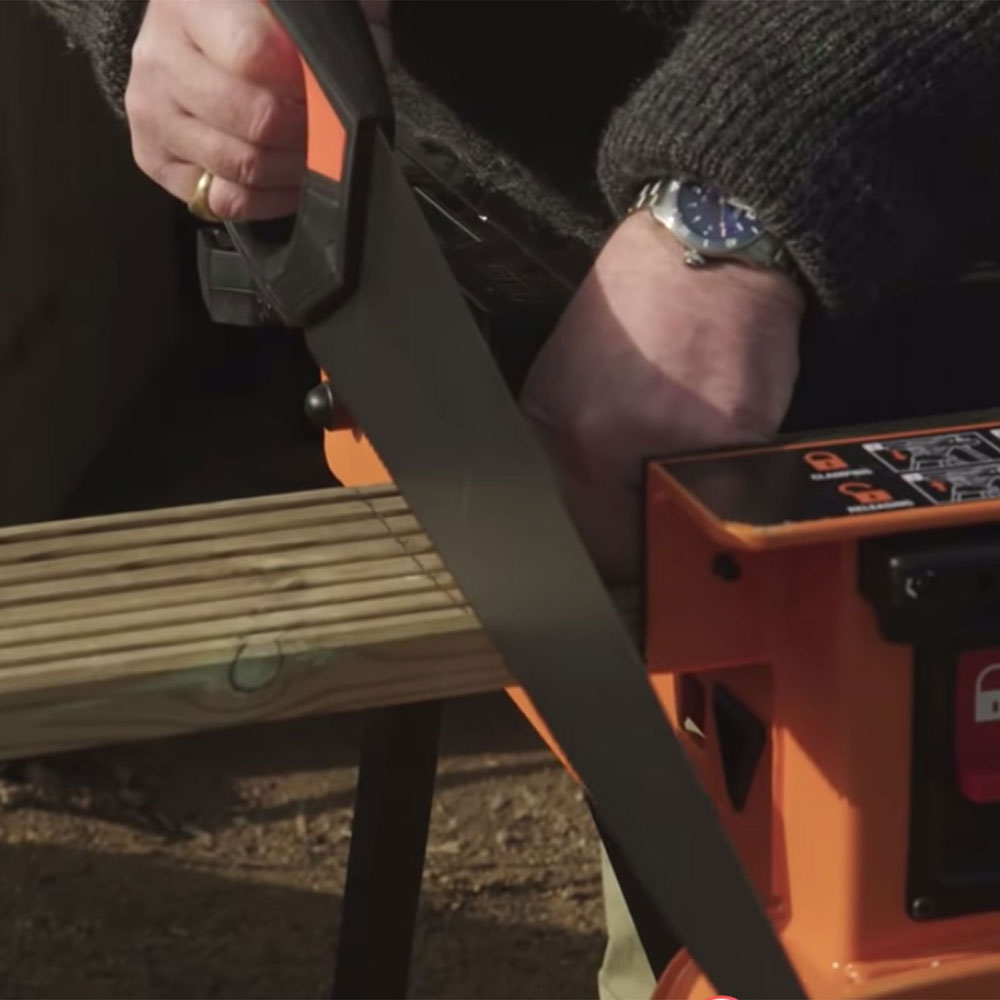
Pull up the saw, and cut on the down motion.
3. Clamp the wood to stop it splintering
When you reach about two thirds in to your cut, there's a danger you could snap the end of the wood off. To avoid this and the splintering it causes, clamp the wood together where you've already cut, then continue to saw through.
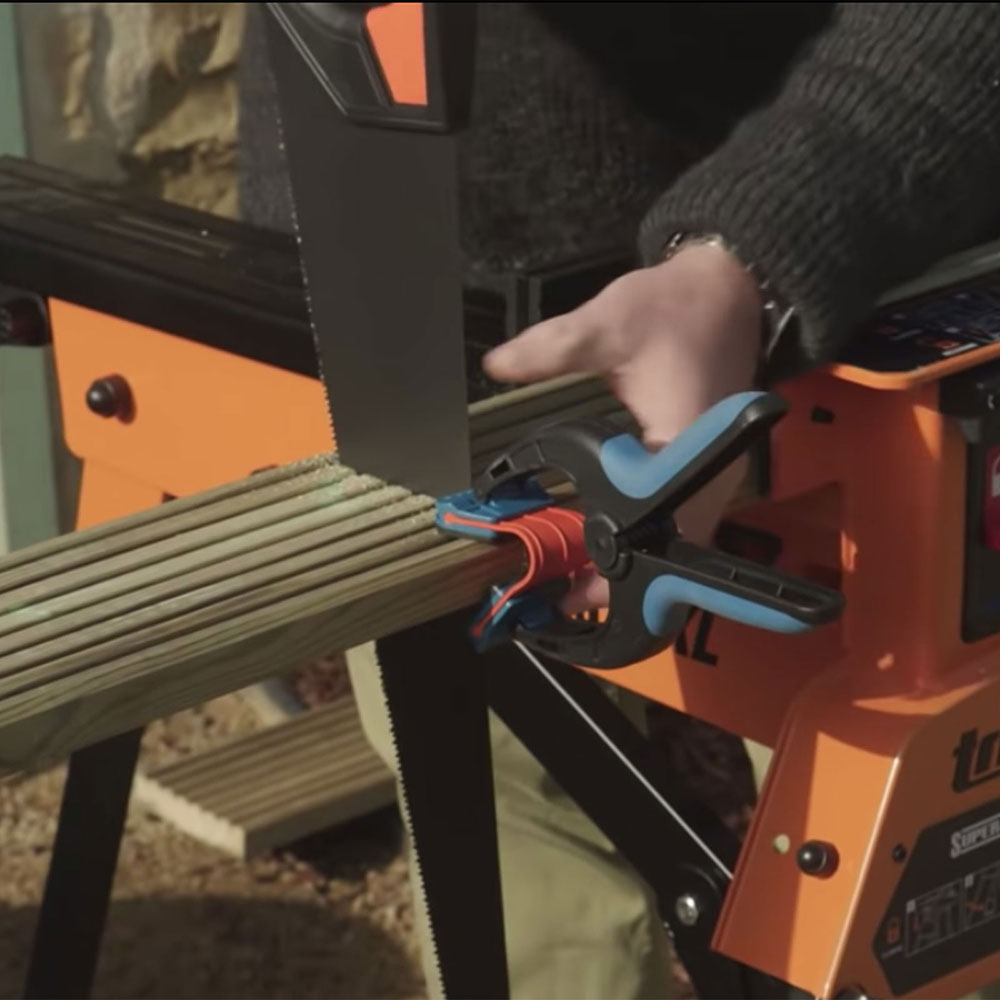
Continue to cut all your pieces out.
4. Screw the deck boards together
You will need to use three screws on the first piece of wood, making sure that the tips of the screws pop out the other side.
Then, rest the wood onto the next piece, and drill down into it. You will want to continue this process for the next level of the framework.
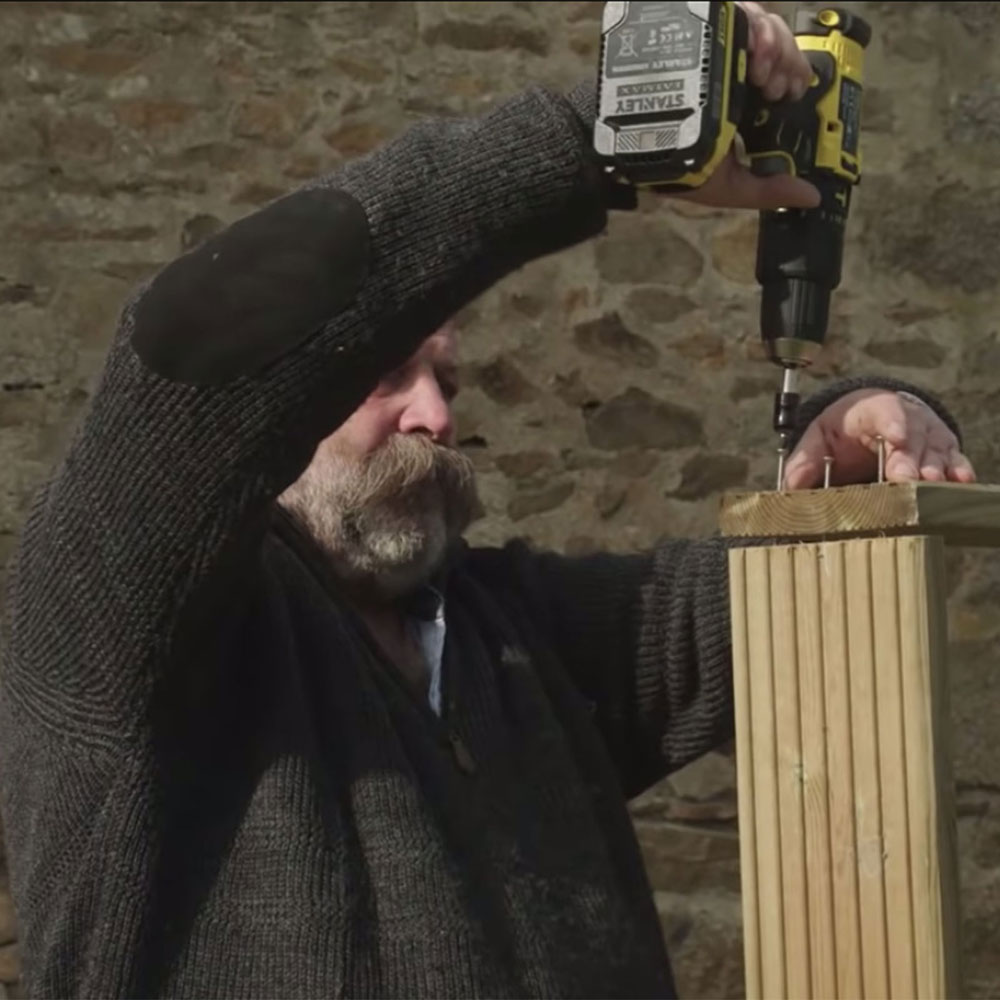
5. Secure the framework with leftover wood
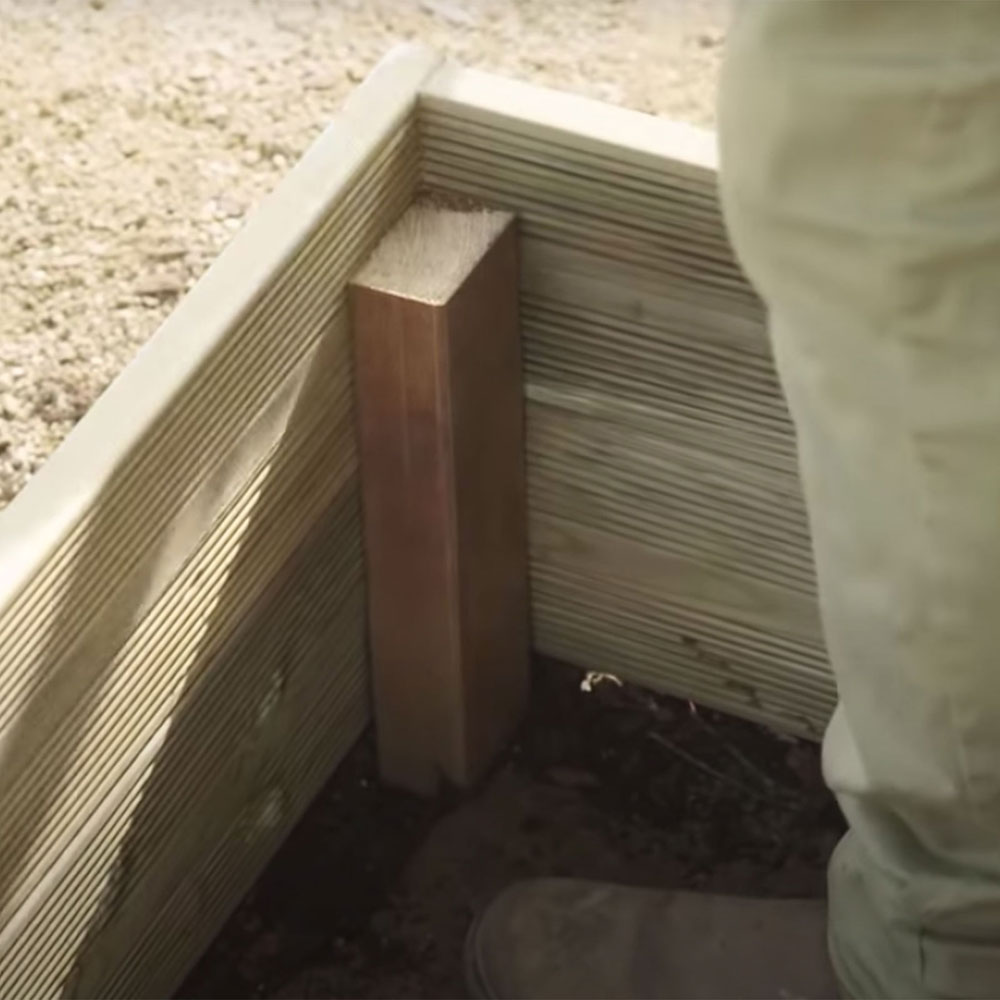
To hold the two frames one on top of the other, Dick advises using offcuts of wood.
He says that, if you screw from the outside frame into the 'dog end' of wood, everything will hold together.
6. Add your compost
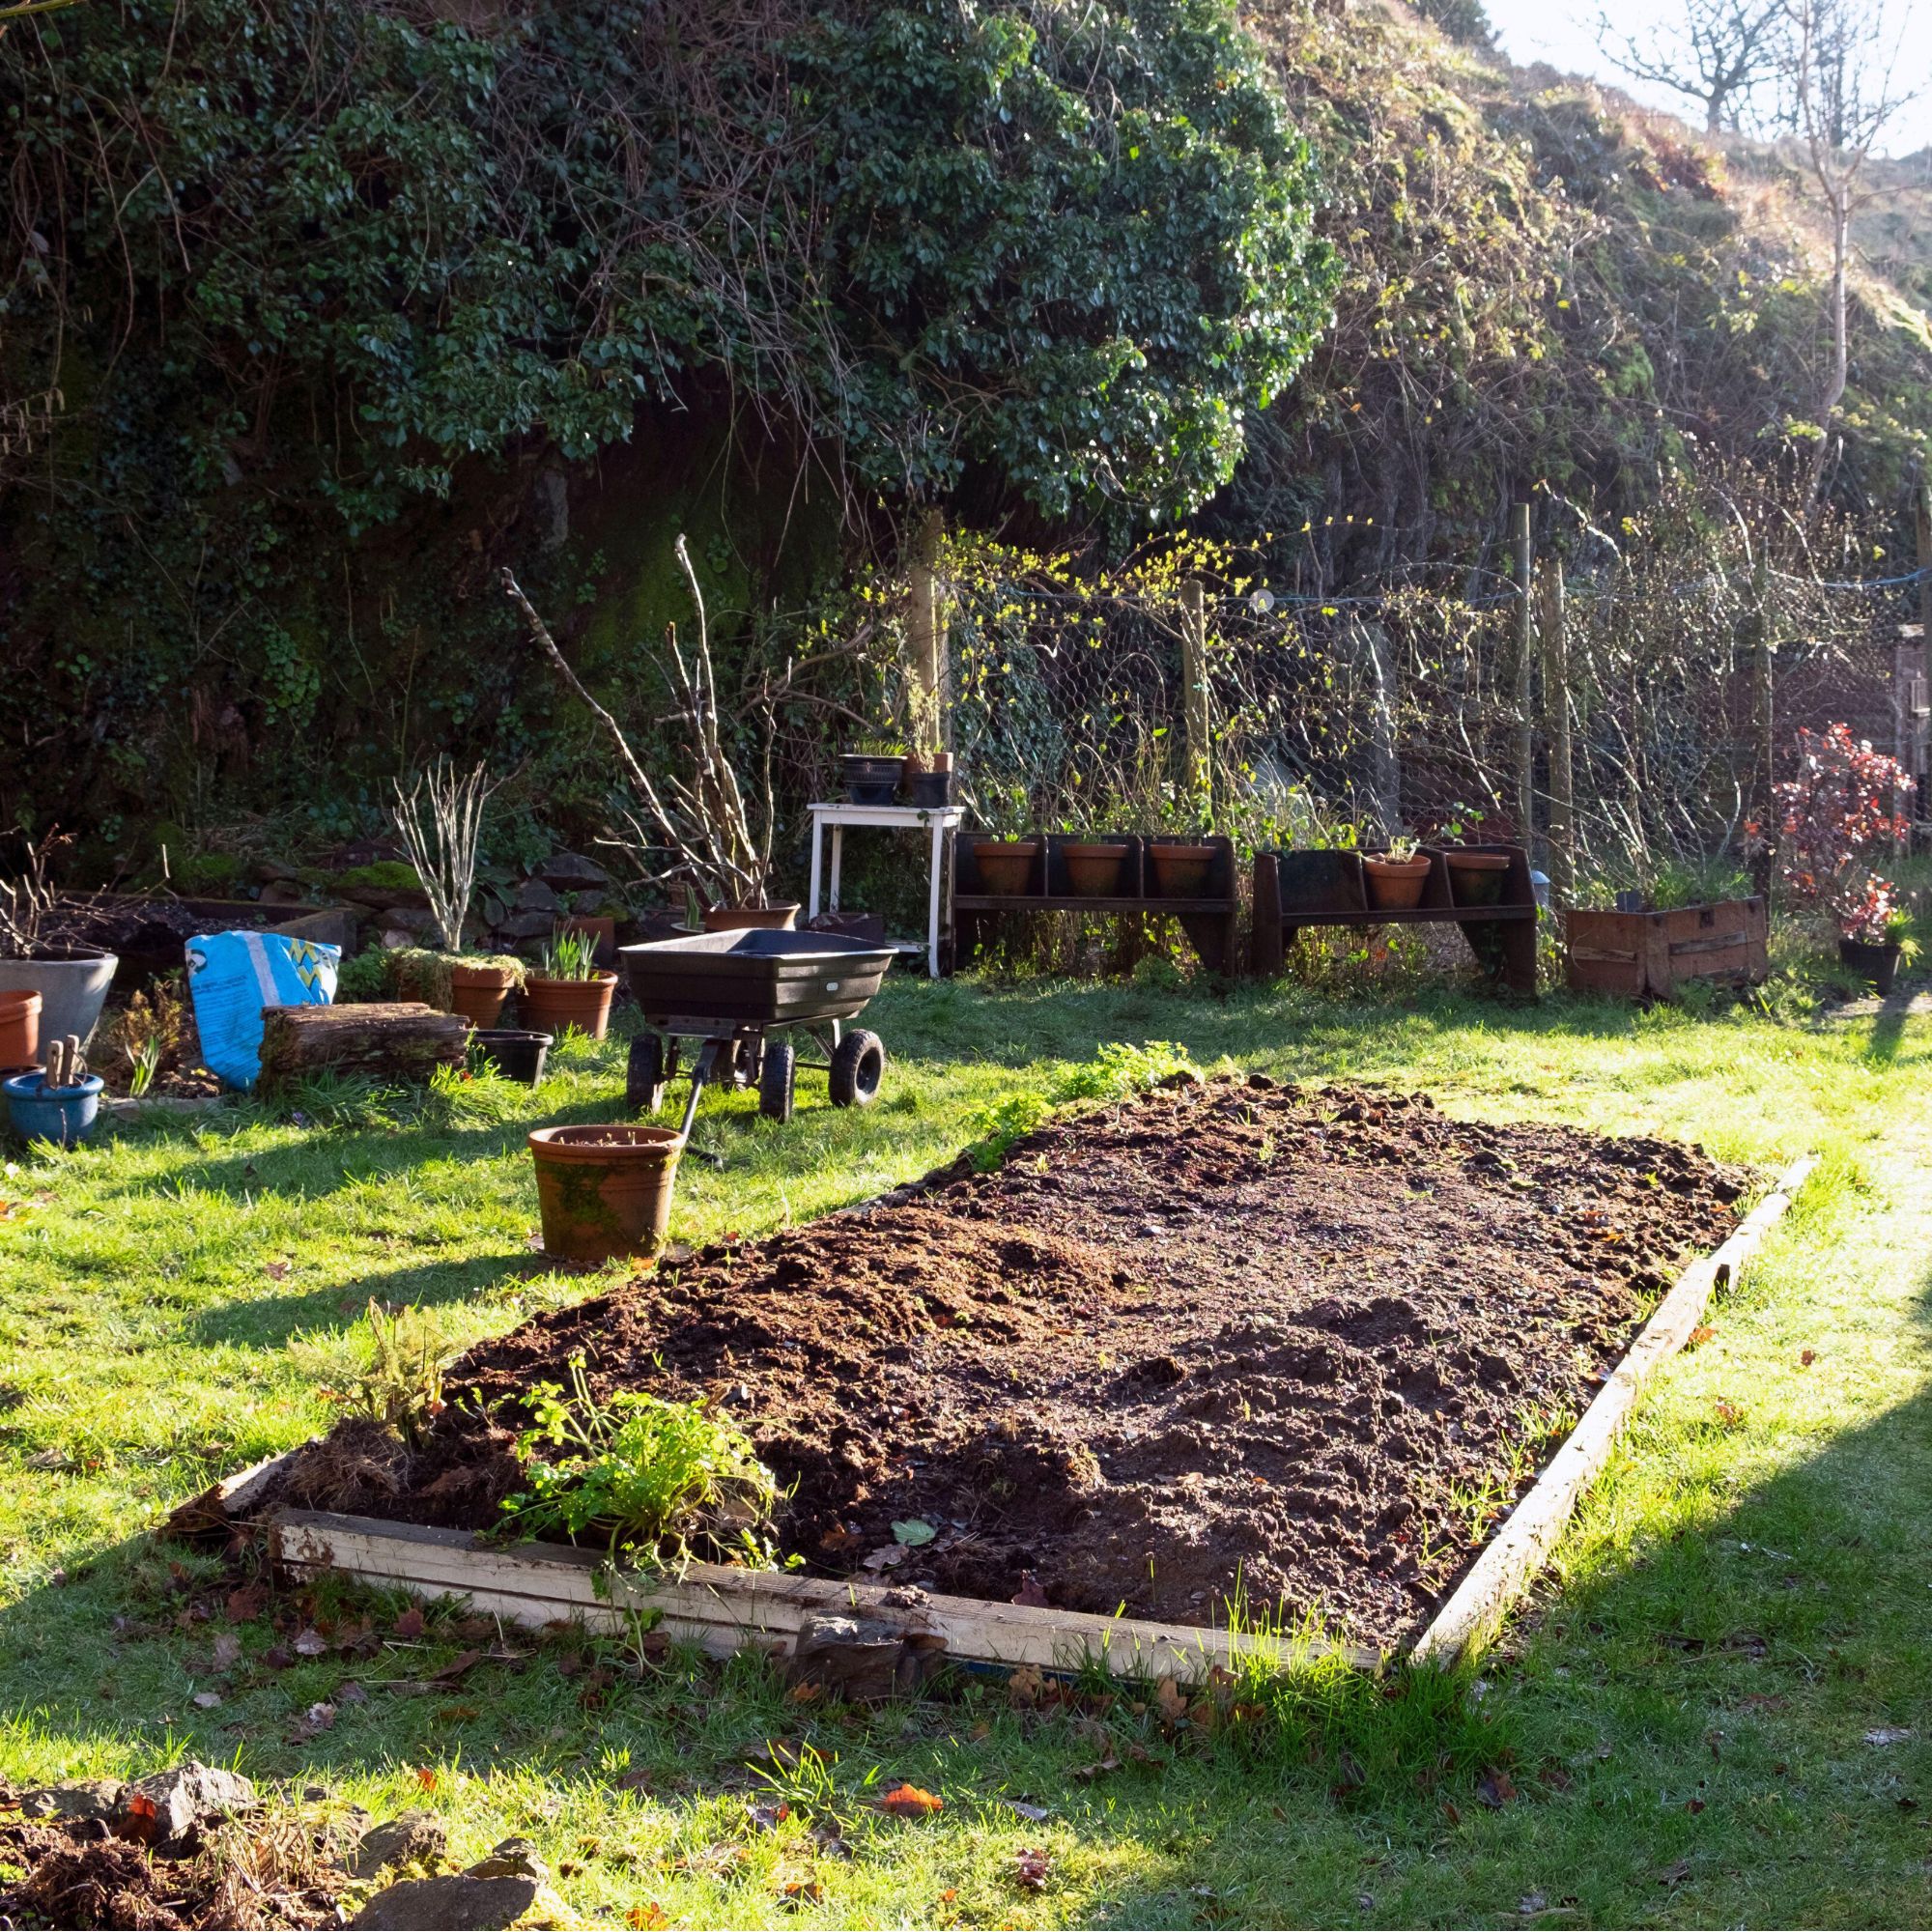
Next, you will need to fill your planter with good quality compost.
'Don't spare the compost,' says Dick. 'You'll know if it's good quality because it smells good!'
If you learn how to make compost, you could save yourself more than a few pennies and fill your raised garden bed in no time.
7. Start planting
If you're not sure what to fill your bed with, take a leaf from Dick's book.
'I plant herbs and salads and things I know we'll be able to harvest and use this summer,' he says, noting that he also takes care to grow tomatoes and strawberries, getting his son, Arthur, in to help.
That's the joy of raised beds – they're great for getting the kids into gardening!
FAQs
What do I put on the bottom of a raised garden bed?
You will want to make sure your raised garden bed is lined with absorbent materials, like shredded newspaper or cardboard, as this will help to keep your soil nice and moist.
Follow this up with good-quality compost, and don't scrimp on the mulching!
What are the benefits of a raised garden bed?
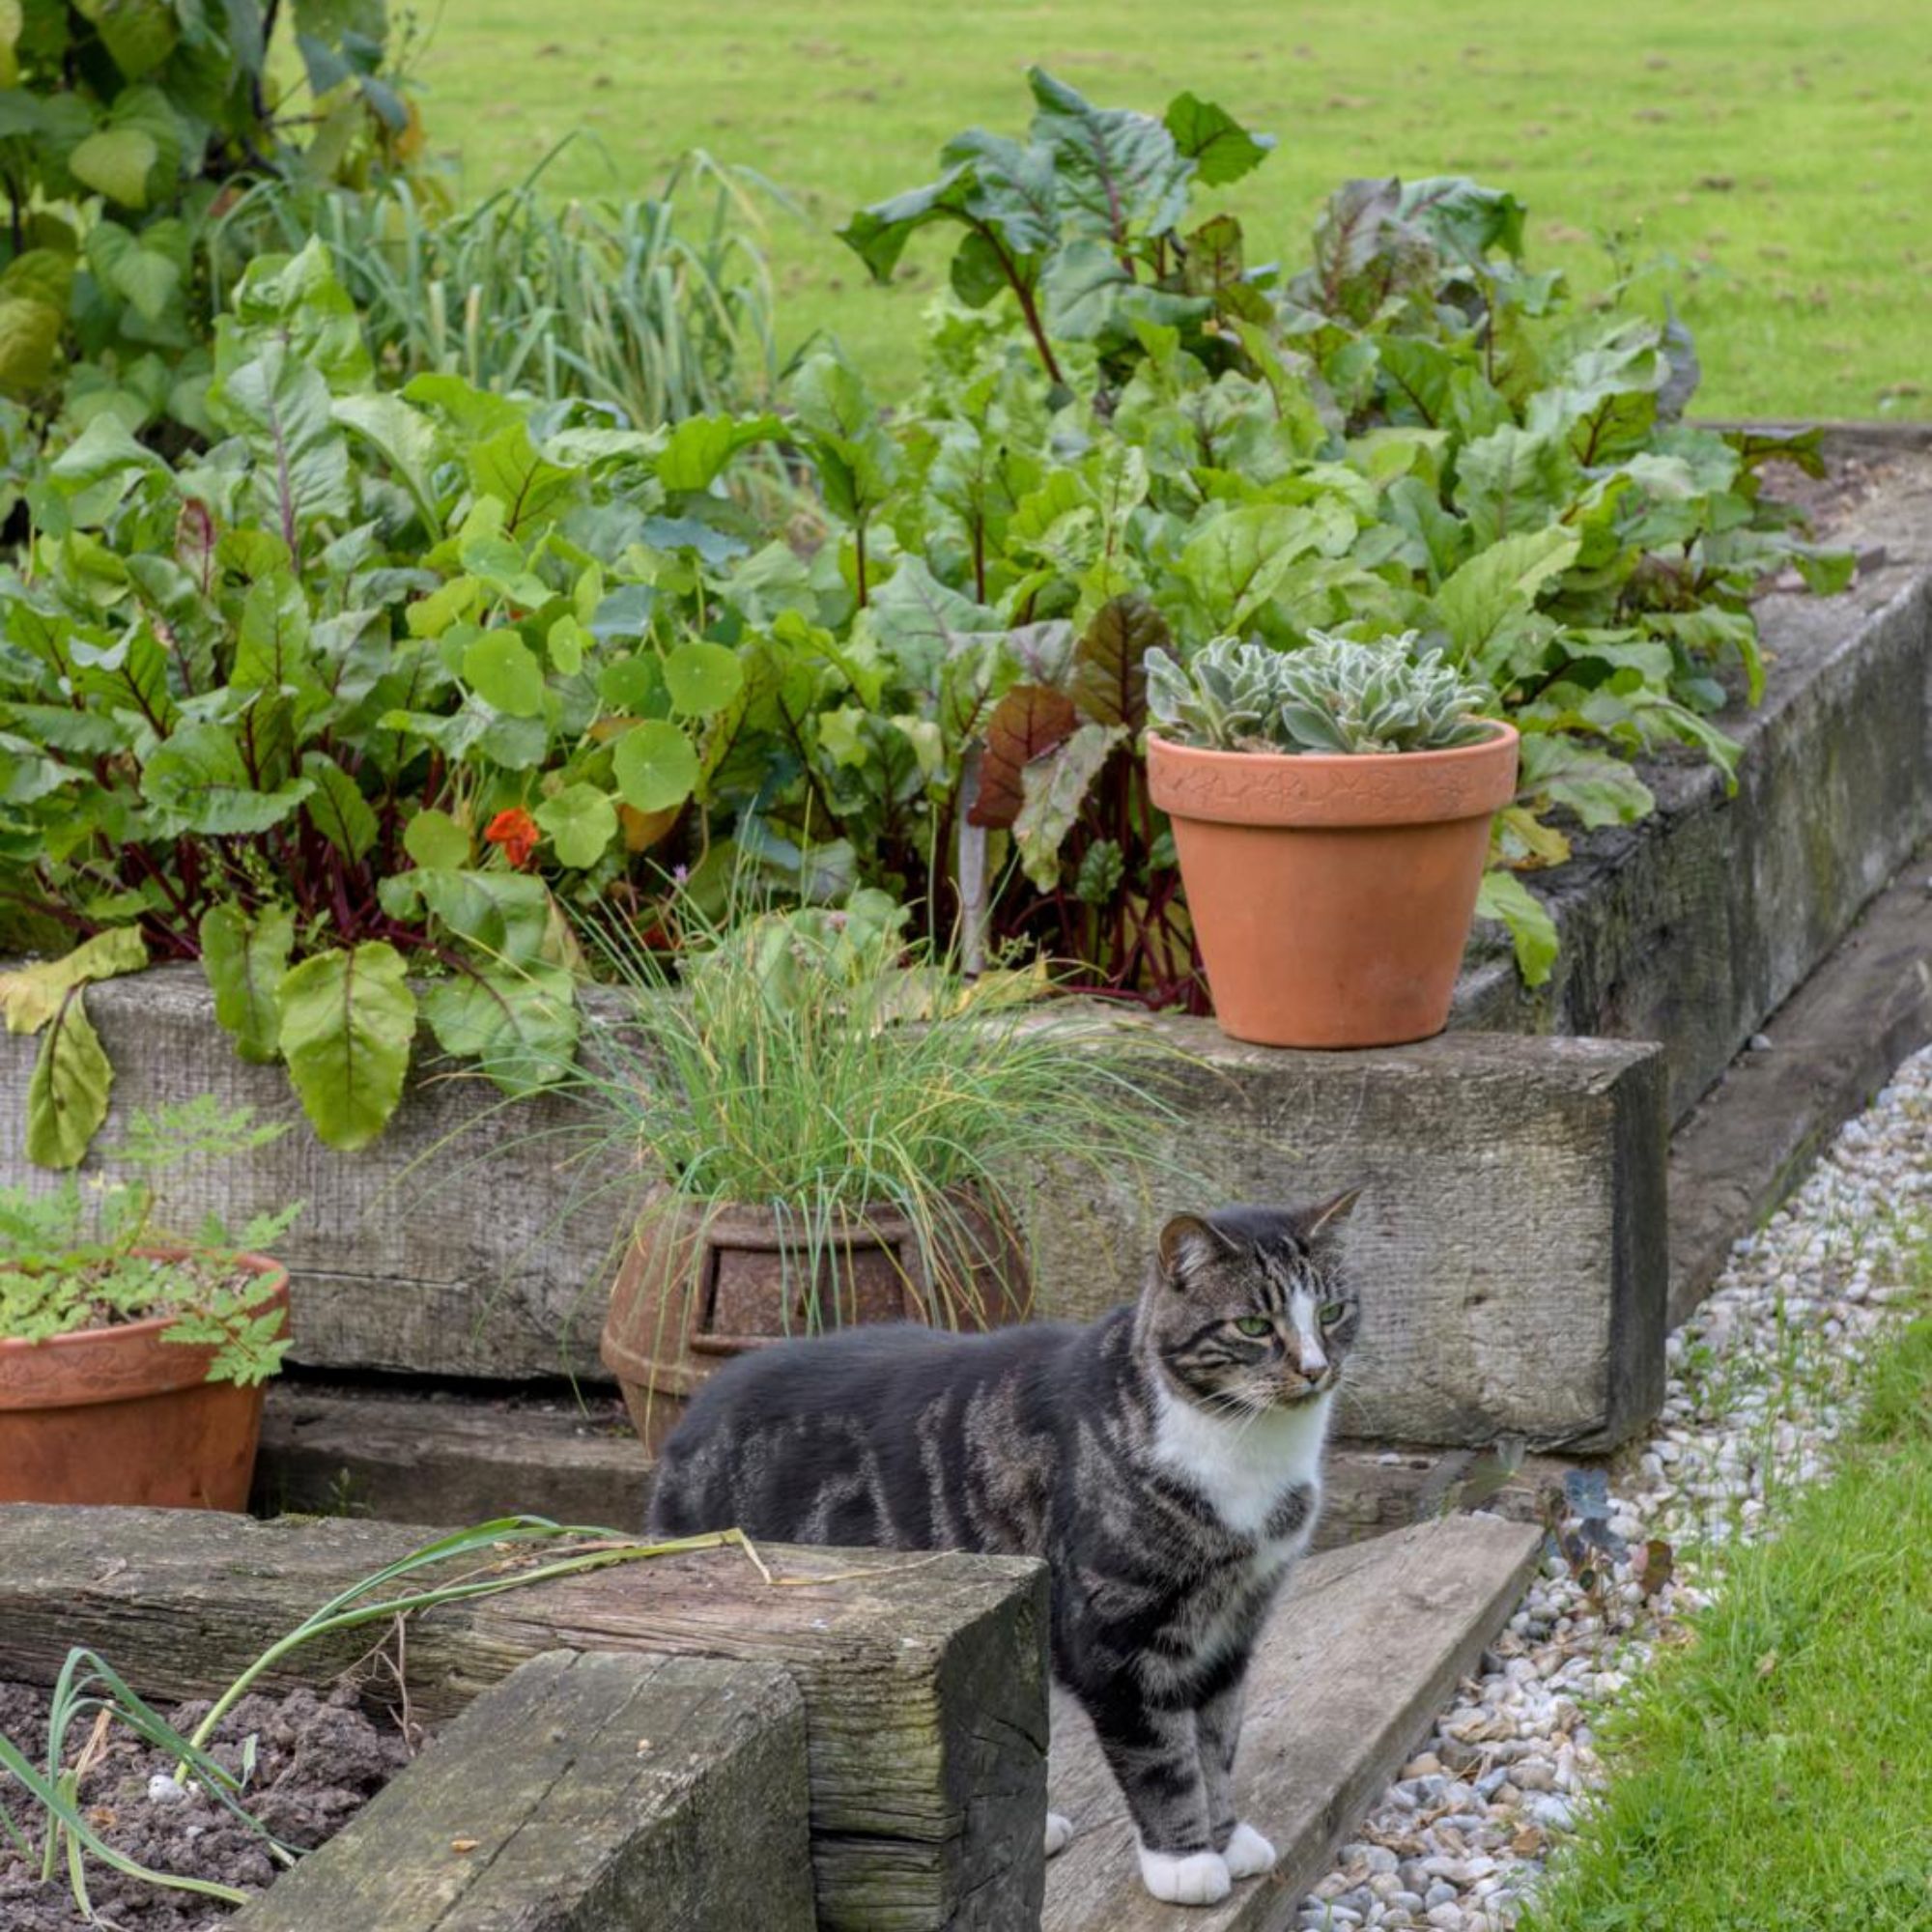
One good reason to build a raised bed or planter is to contain an area of your garden. 'A planter with compost in it heats up nice and quickly with the sun, and you can control the nutrients in the soil very easily,' says Dick.
So if you have a particular natural soil type in your garden that's not ideal for the plants you want to grow (for example, a very clay-based or lime-based soil), a raised bed may be the answer.
A raised garden bed also makes it easier than ever to keep weeds at bay, says Zoe, and they require less watering, too.
'They are particularly good if you have poor, contaminated or badly draining soil,' she adds.
'Raised beds will enable drainage through the bottom and, as you are adding your growing medium, you can choose what is best for the plants you want to grow.'
How high should my raised bed be?
As mentioned already, it's best to aim for a raised garden bed that is around 40cm high – and, in our example, the raised bed is two deckboards high, because the main purpose of this raised bed or planter is to 'contain' the planting on this piece of ground.
'However, if you want to make a raised be that's convenient to get into, perhaps if you're older and can't bed over so easily, the higher you build the bed, the easier it is to work in it,' advises Dick.
You would therefore want your bed to be three or four planks high.
Of course, if you decide you'd prefer not to build a raised garden bed from scratch, there is a splurge option.
'Want your own National Trust Kitchen Garden? Invest in a raised bed or two from The Hampton Collection,' says Zoe.
Available in a range of sizes, these super solid galvanised metal beds are made to be transported, so you can take them with you easily if you move house.
'These beds are also virtually maintenance-free and take merely minutes to install,' adds Zoe.
And on that note, we'll leave you to decide if you fancy a fun new garden upcycling project, or an instant raised garden bed to get planting in. Then all that's left to do is decide what you'll be planting, we suppose...
Good luck!


