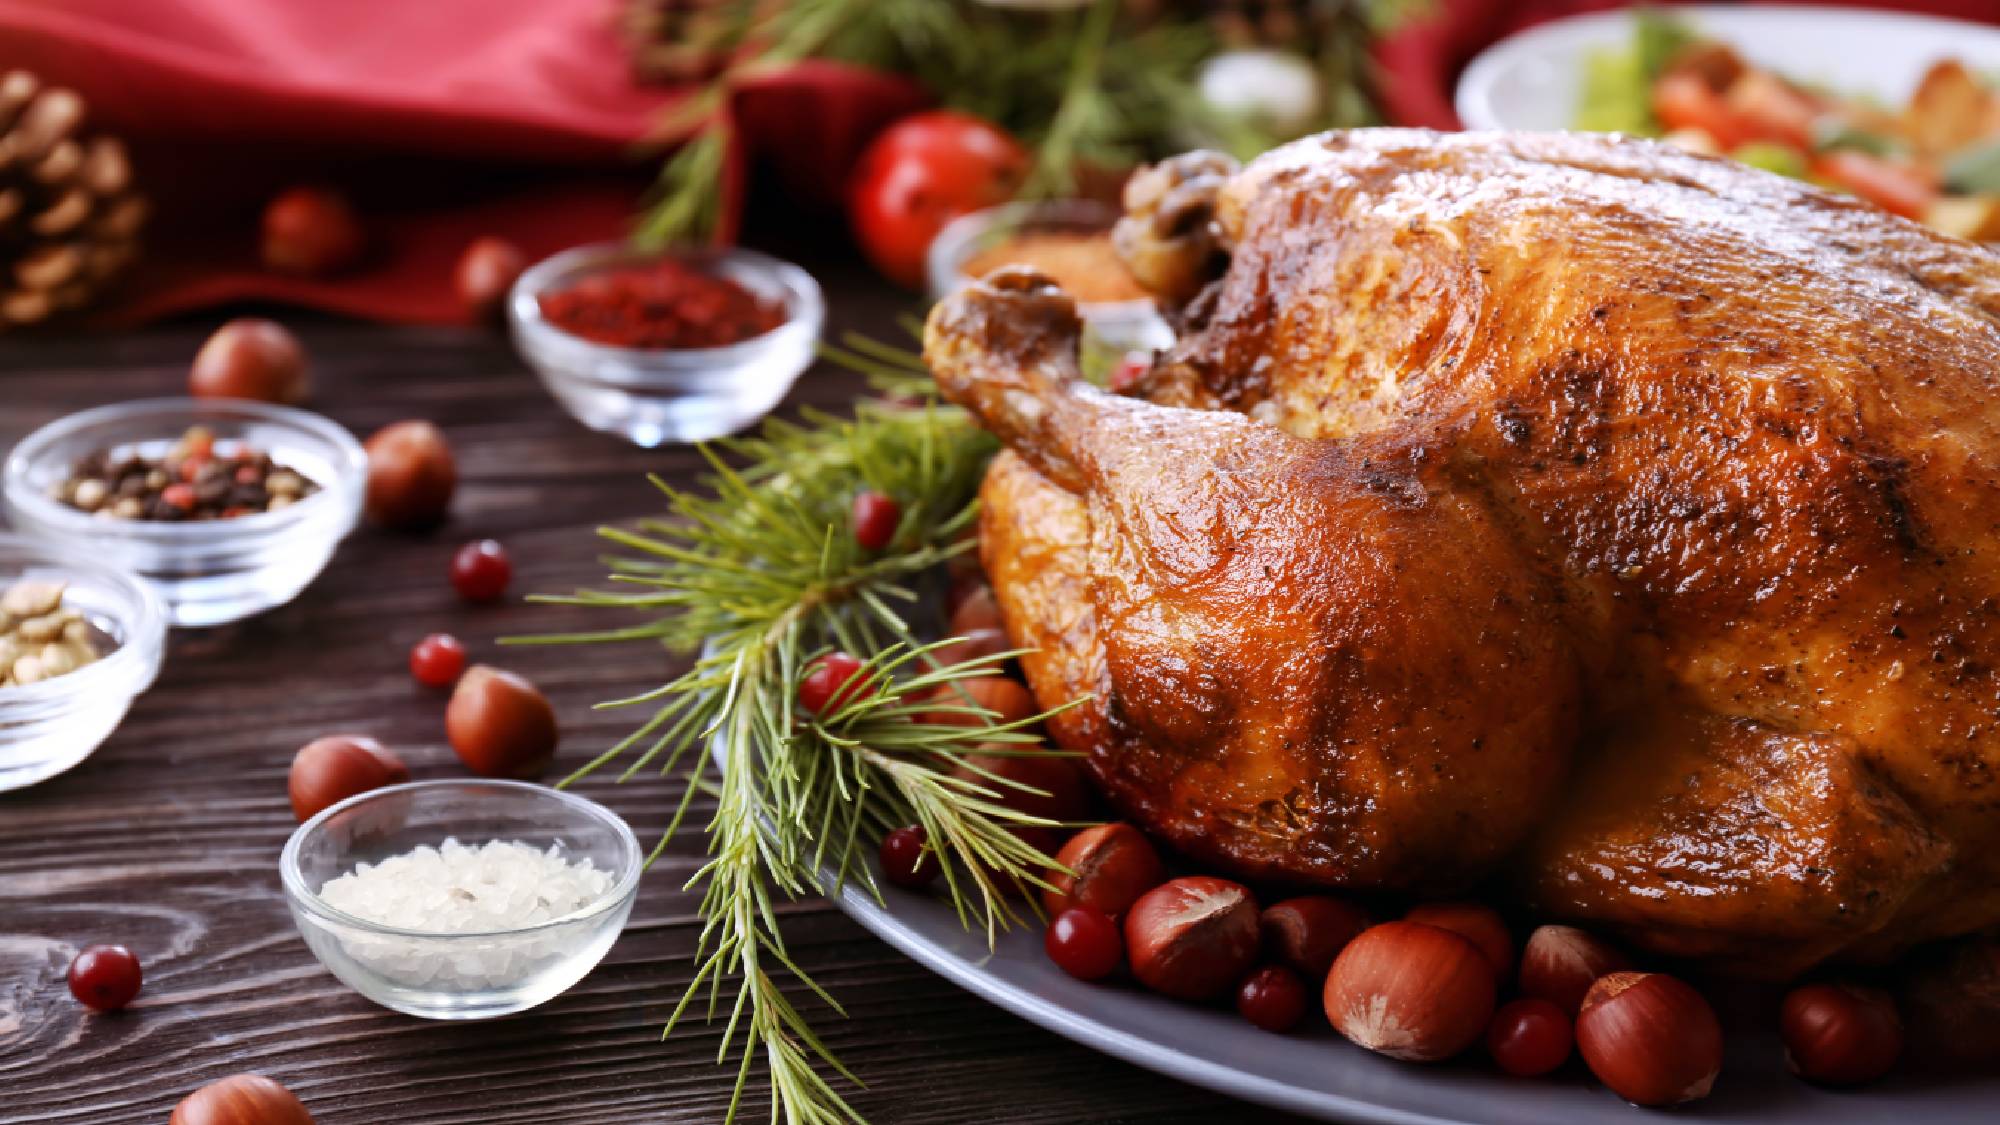
Whether you're planning to cook your holiday centerpiece in one of the best air fryers or gas ranges, brining your turkey is the secret weapon that can transform an ordinary bird into a remarkably juicy, flavorful feast.
This step allows the meat to absorb moisture before cooking, ensuring your turkey stays succulent throughout the cooking process. Many home cooks struggle with dry turkey meat during the holidays, but brining provides a forgiving buffer— especially helpful when mastering those mistakes to avoid when using your range this Thanksgiving.
Once you try brining, you'll understand why it's worth the extra effort. The process is surprisingly straightforward and delivers consistently impressive results that will have your guests wondering how you achieved such tender, perfectly seasoned meat.
What is brining?
At its simplest, brining is like giving your turkey a salt bath that helps it stay juicy when cooked. If you've ever had a turkey that's dry and tasteless, brining is your solution. The salt water works its way into the meat, seasoning it all the way through (not just on the surface) and helping it hold onto moisture during cooking.
It's a bit like marinating, but more effective. Even if you accidentally cook your turkey a bit too long, a brined bird will still come out deliciously moist. You can also dry brine your turkey rubbing salt directly onto the meat.
Salt water bath vs salt rub?
While both methods effectively season your turkey, they work differently. Wet brining submerges the bird in a saltwater solution, often with added aromatics (like bay leaves or peppercorns), and sugar. This method is particularly forgiving for beginners and creates a moisture buffer that helps prevent overcooking.
Dry brining involves rubbing salt directly onto the turkey's skin and letting it rest. This technique takes up less space in your refrigerator and can result in crispier skin, but requires more precise timing and technique. For this guide, we'll focus on wet brining, which offers the most foolproof path to a juicy turkey.
1. Create your brine solution
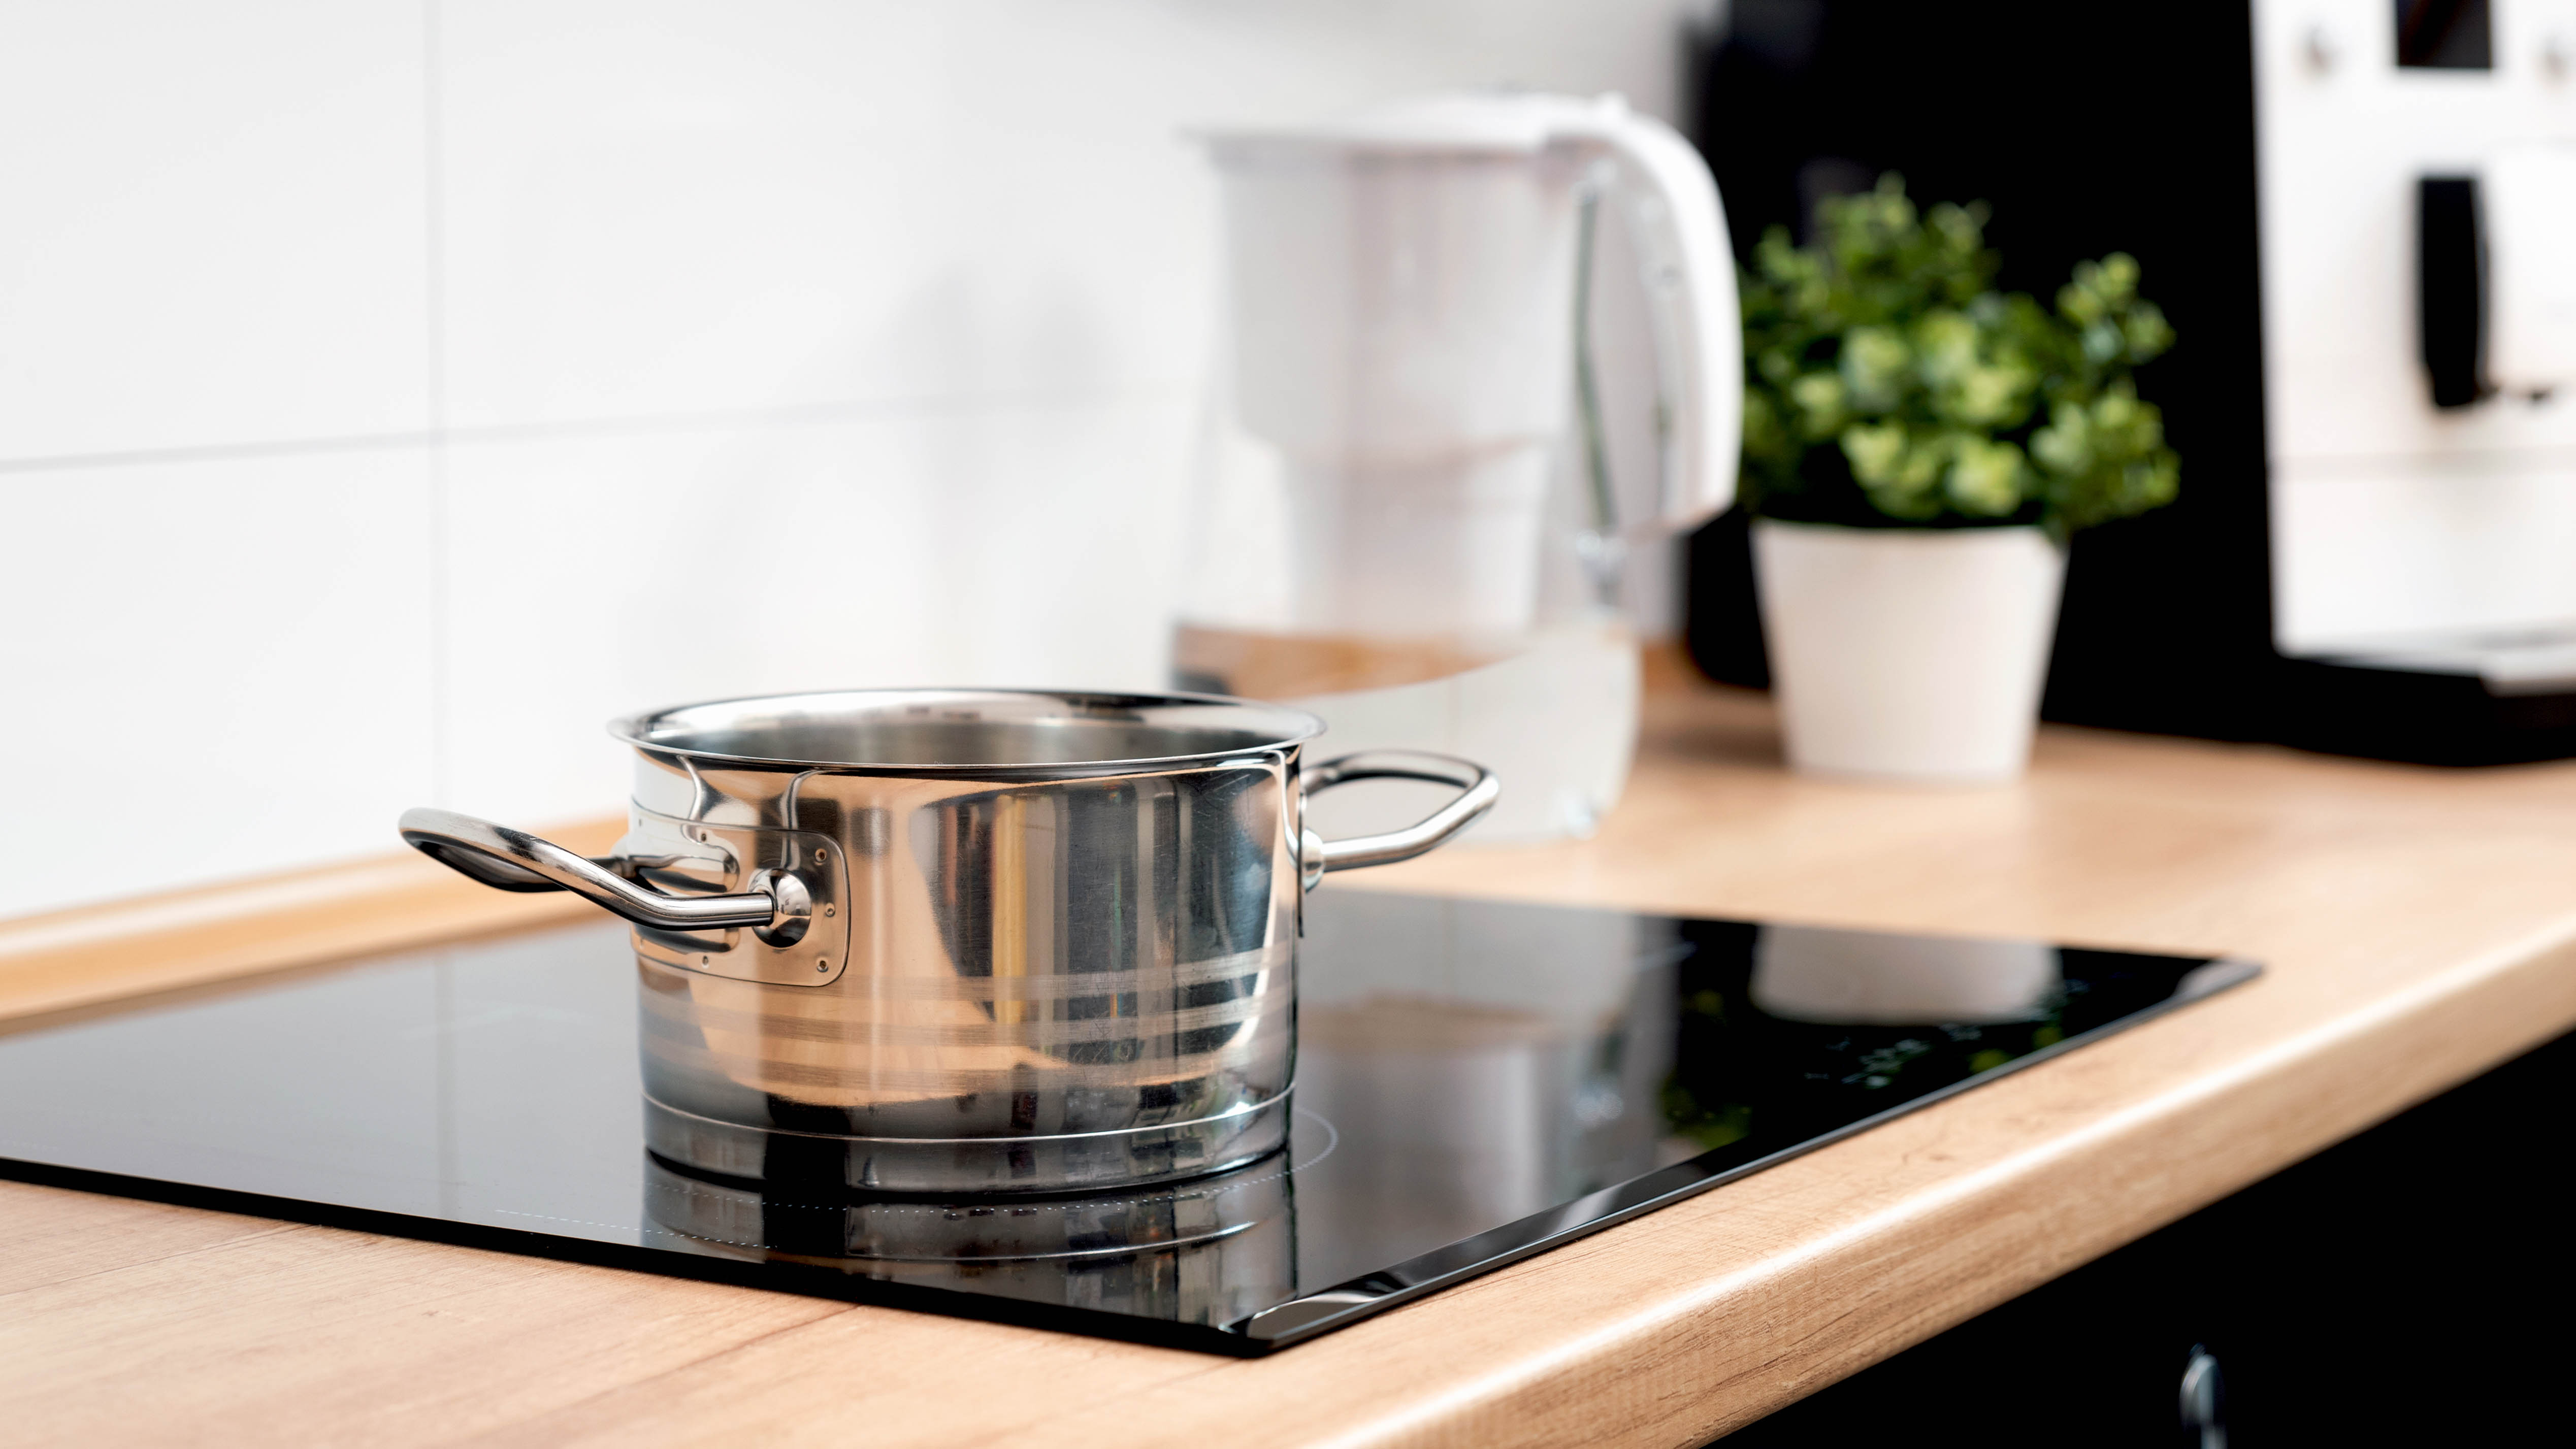
Start with the base ratio of 100g (3.5 ounces) coarse salt per liter of water. In a large pot, combine salt, sugar (1.7 ounces per liter), and aromatics (bay leaves, peppercorns, and orange zest) with half the water.
Bring to a simmer, stirring until salt and sugar dissolve completely. Add remaining cold water and cool to room temperature.
2. Prep your turkey
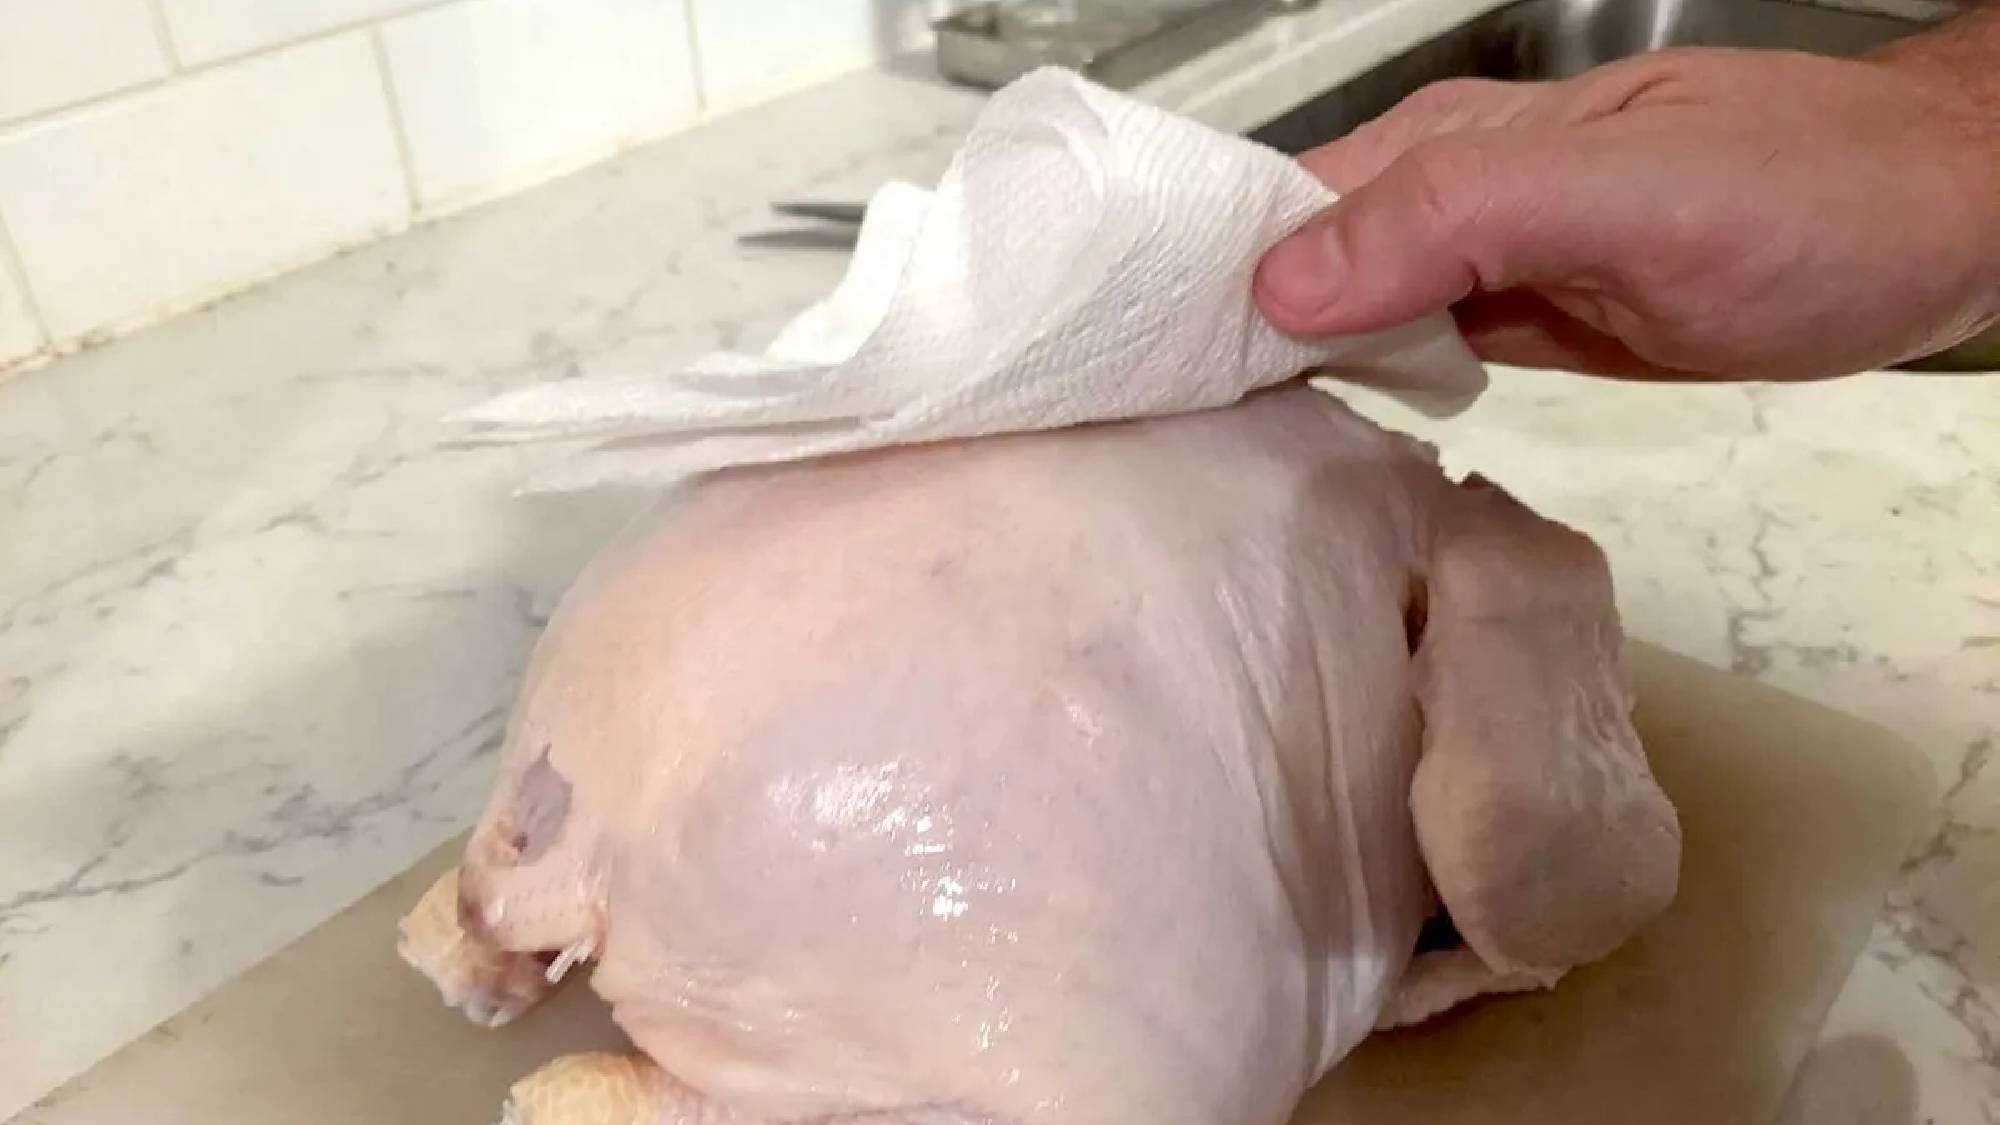
Remove turkey from packaging, discarding giblets and neck. Pat dry with paper towels. Make sure you have a container large enough to submerge the entire bird. One of the best coolers will work perfectly for this.
Alternatively, you can use a sturdy brining bag. You'll need adequate space in your refrigerator for the brining process as the turkey needs to remain cool.
3. Submerge and time it right
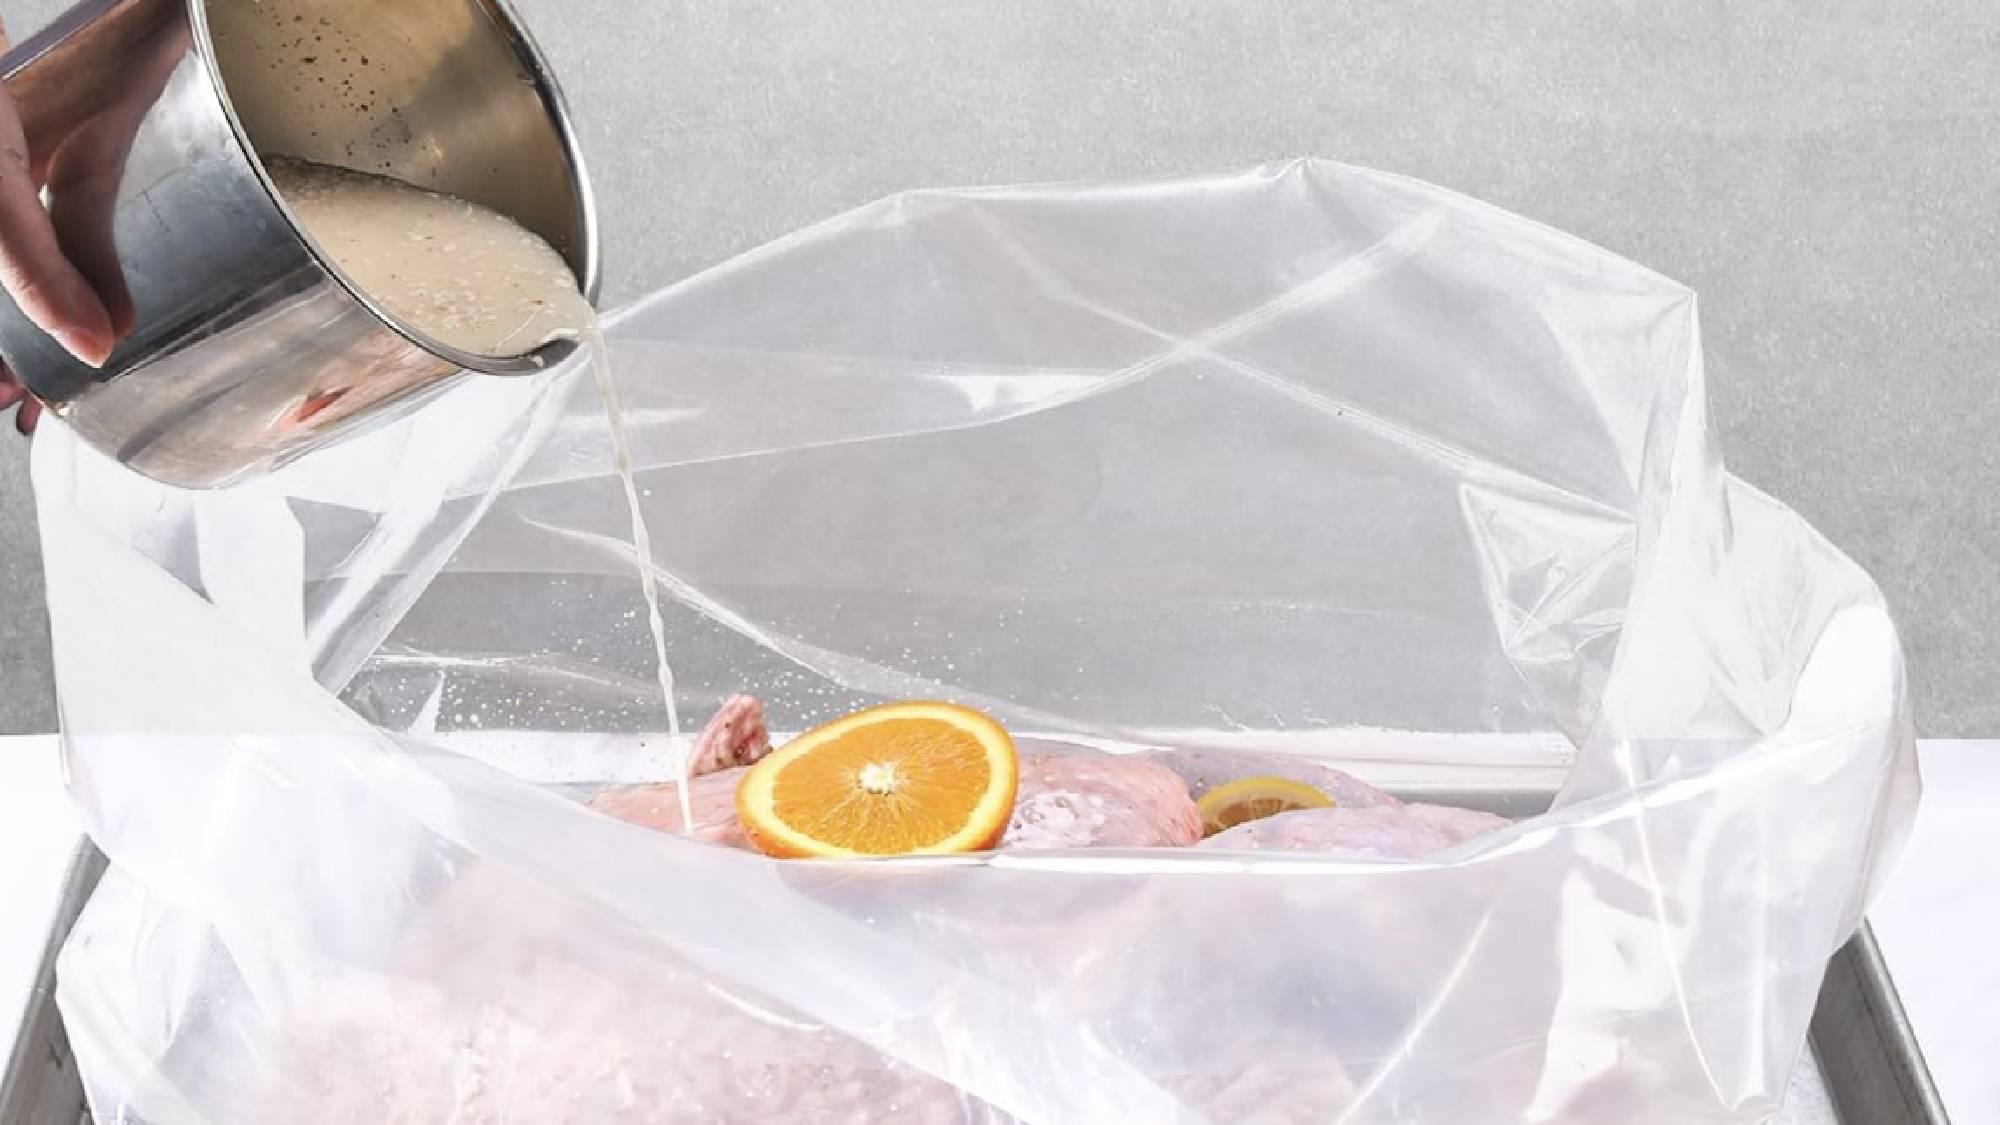
Place the turkey in your container or brining bag and pour the cooled brine over it. The length of time to leave the turkey in the brine solution depends on its size.
The optimal time for brining a turkey is 12-14 hours. Do not brine for more than two days, as this can make the meat mushy.
4. Keep it cold
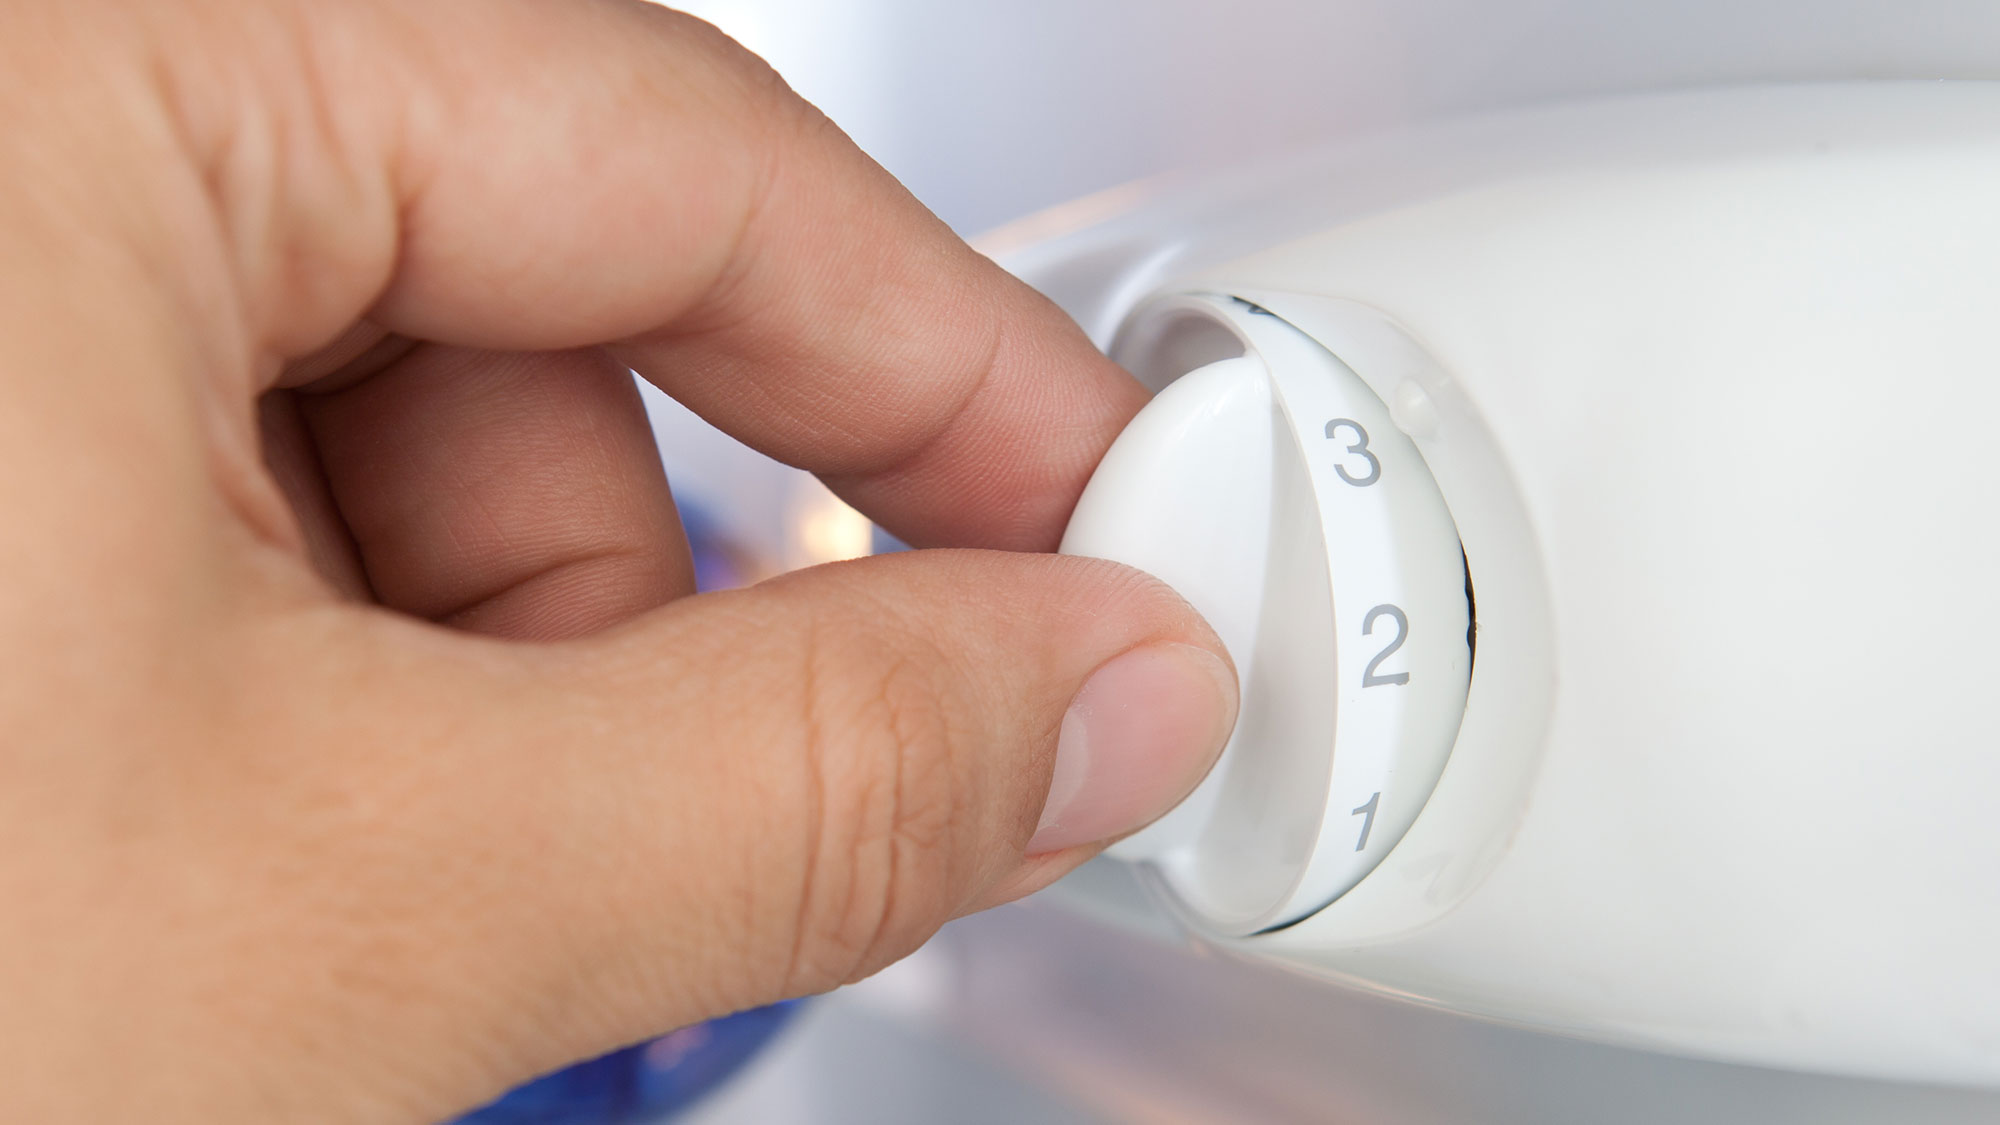
Ensure the turkey stays below 40°F/4°C throughout the entire brining process. If using a bag, place it in a large roasting pan to catch any leaks. If the turkey floats, you can weigh it down with a plate to keep it fully submerged.
5. Prepare for cooking
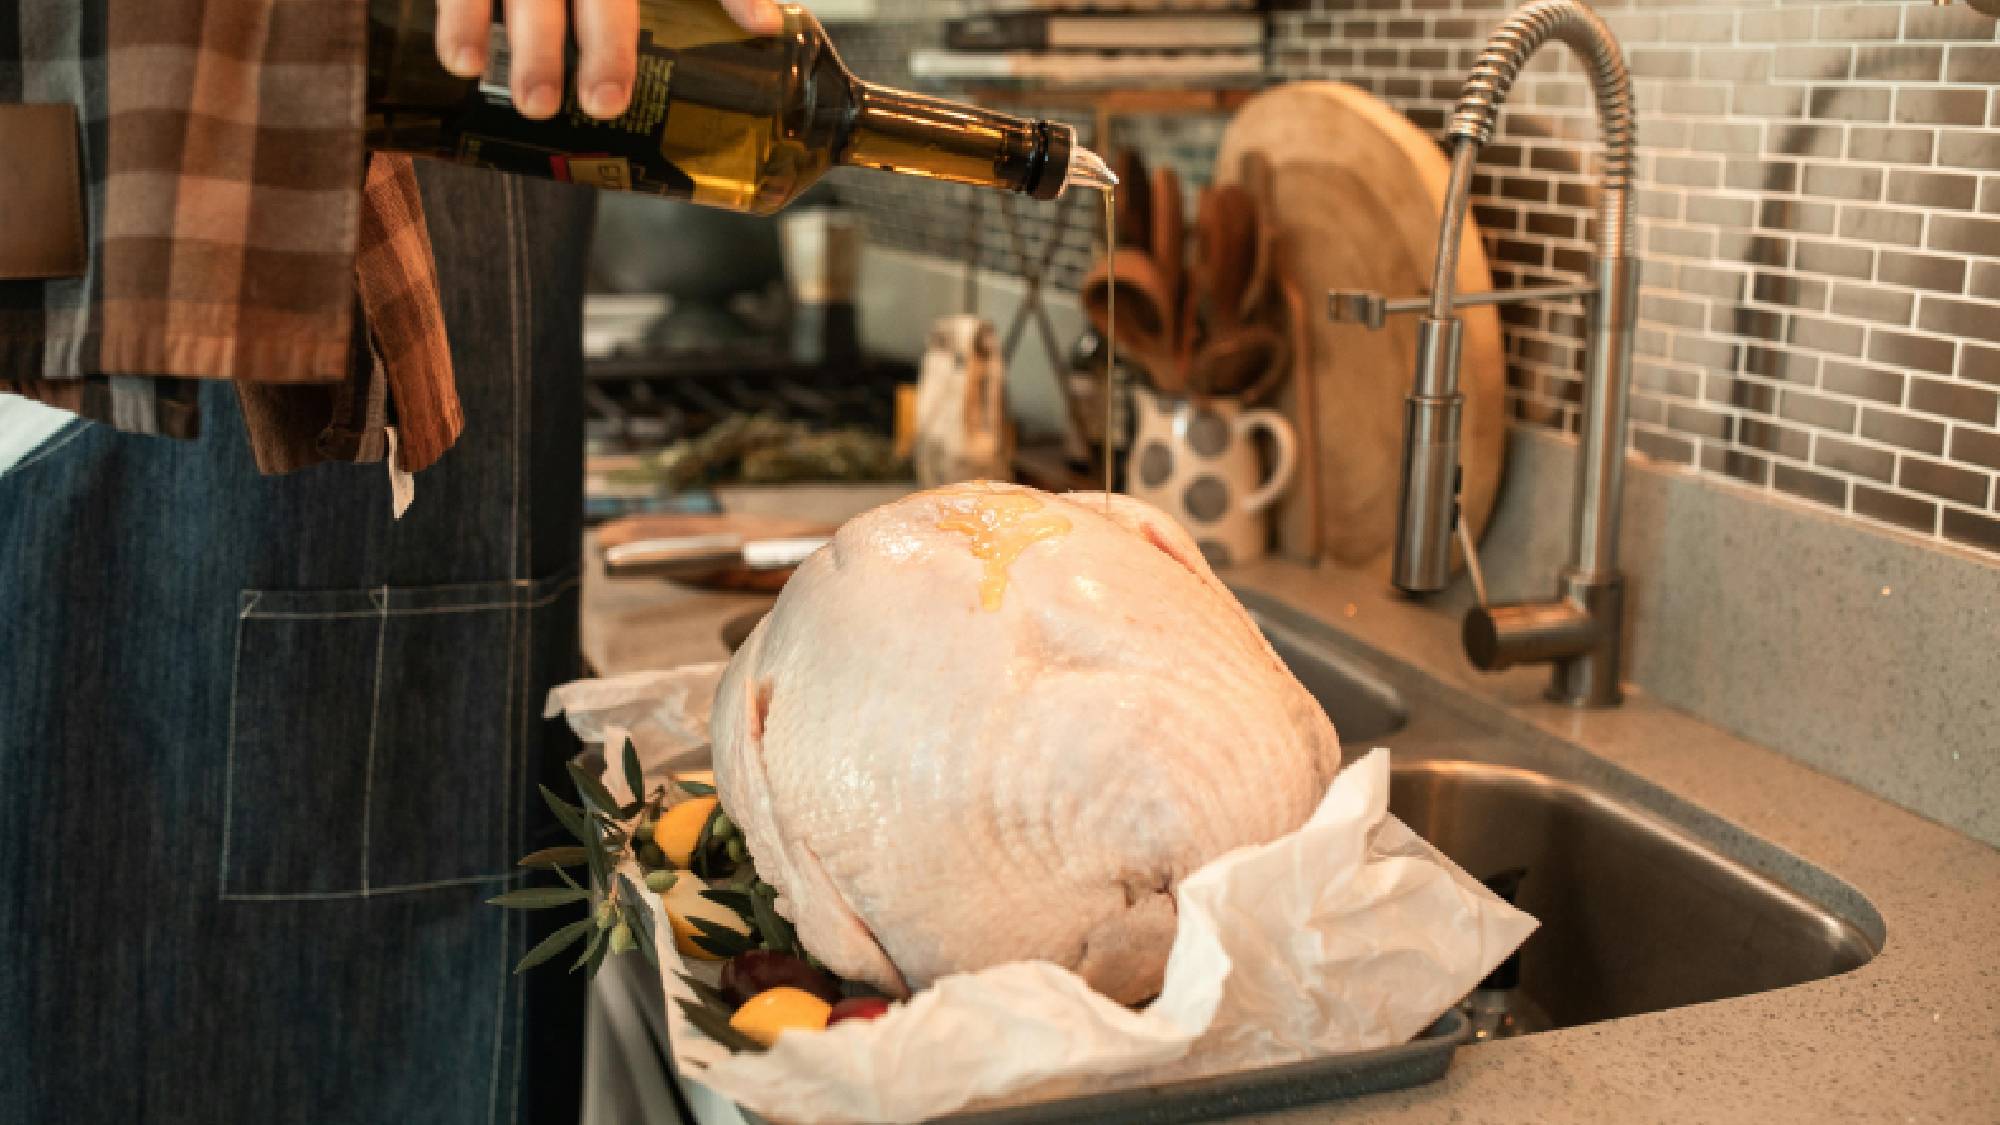
Remove the turkey from brine, pat thoroughly dry with paper towels and discard the brine. Let the turkey rest uncovered in the refrigerator for at least 4 hours before cooking — this helps the skin dry out for better browning. Then when you're ready, pop it in the oven or air fryer and enjoy your delicious turkey!
Now that you've mastered the art of brining, you're well on your way to serving the perfect turkey. While it cooks, discover 7 tips to keep your oven cleaner for longer and explore 5 pros and cons of cooking with an air fryer for future meals. Planning a kitchen upgrade? Here are 5 things you need to know before buying an induction cooktop.


