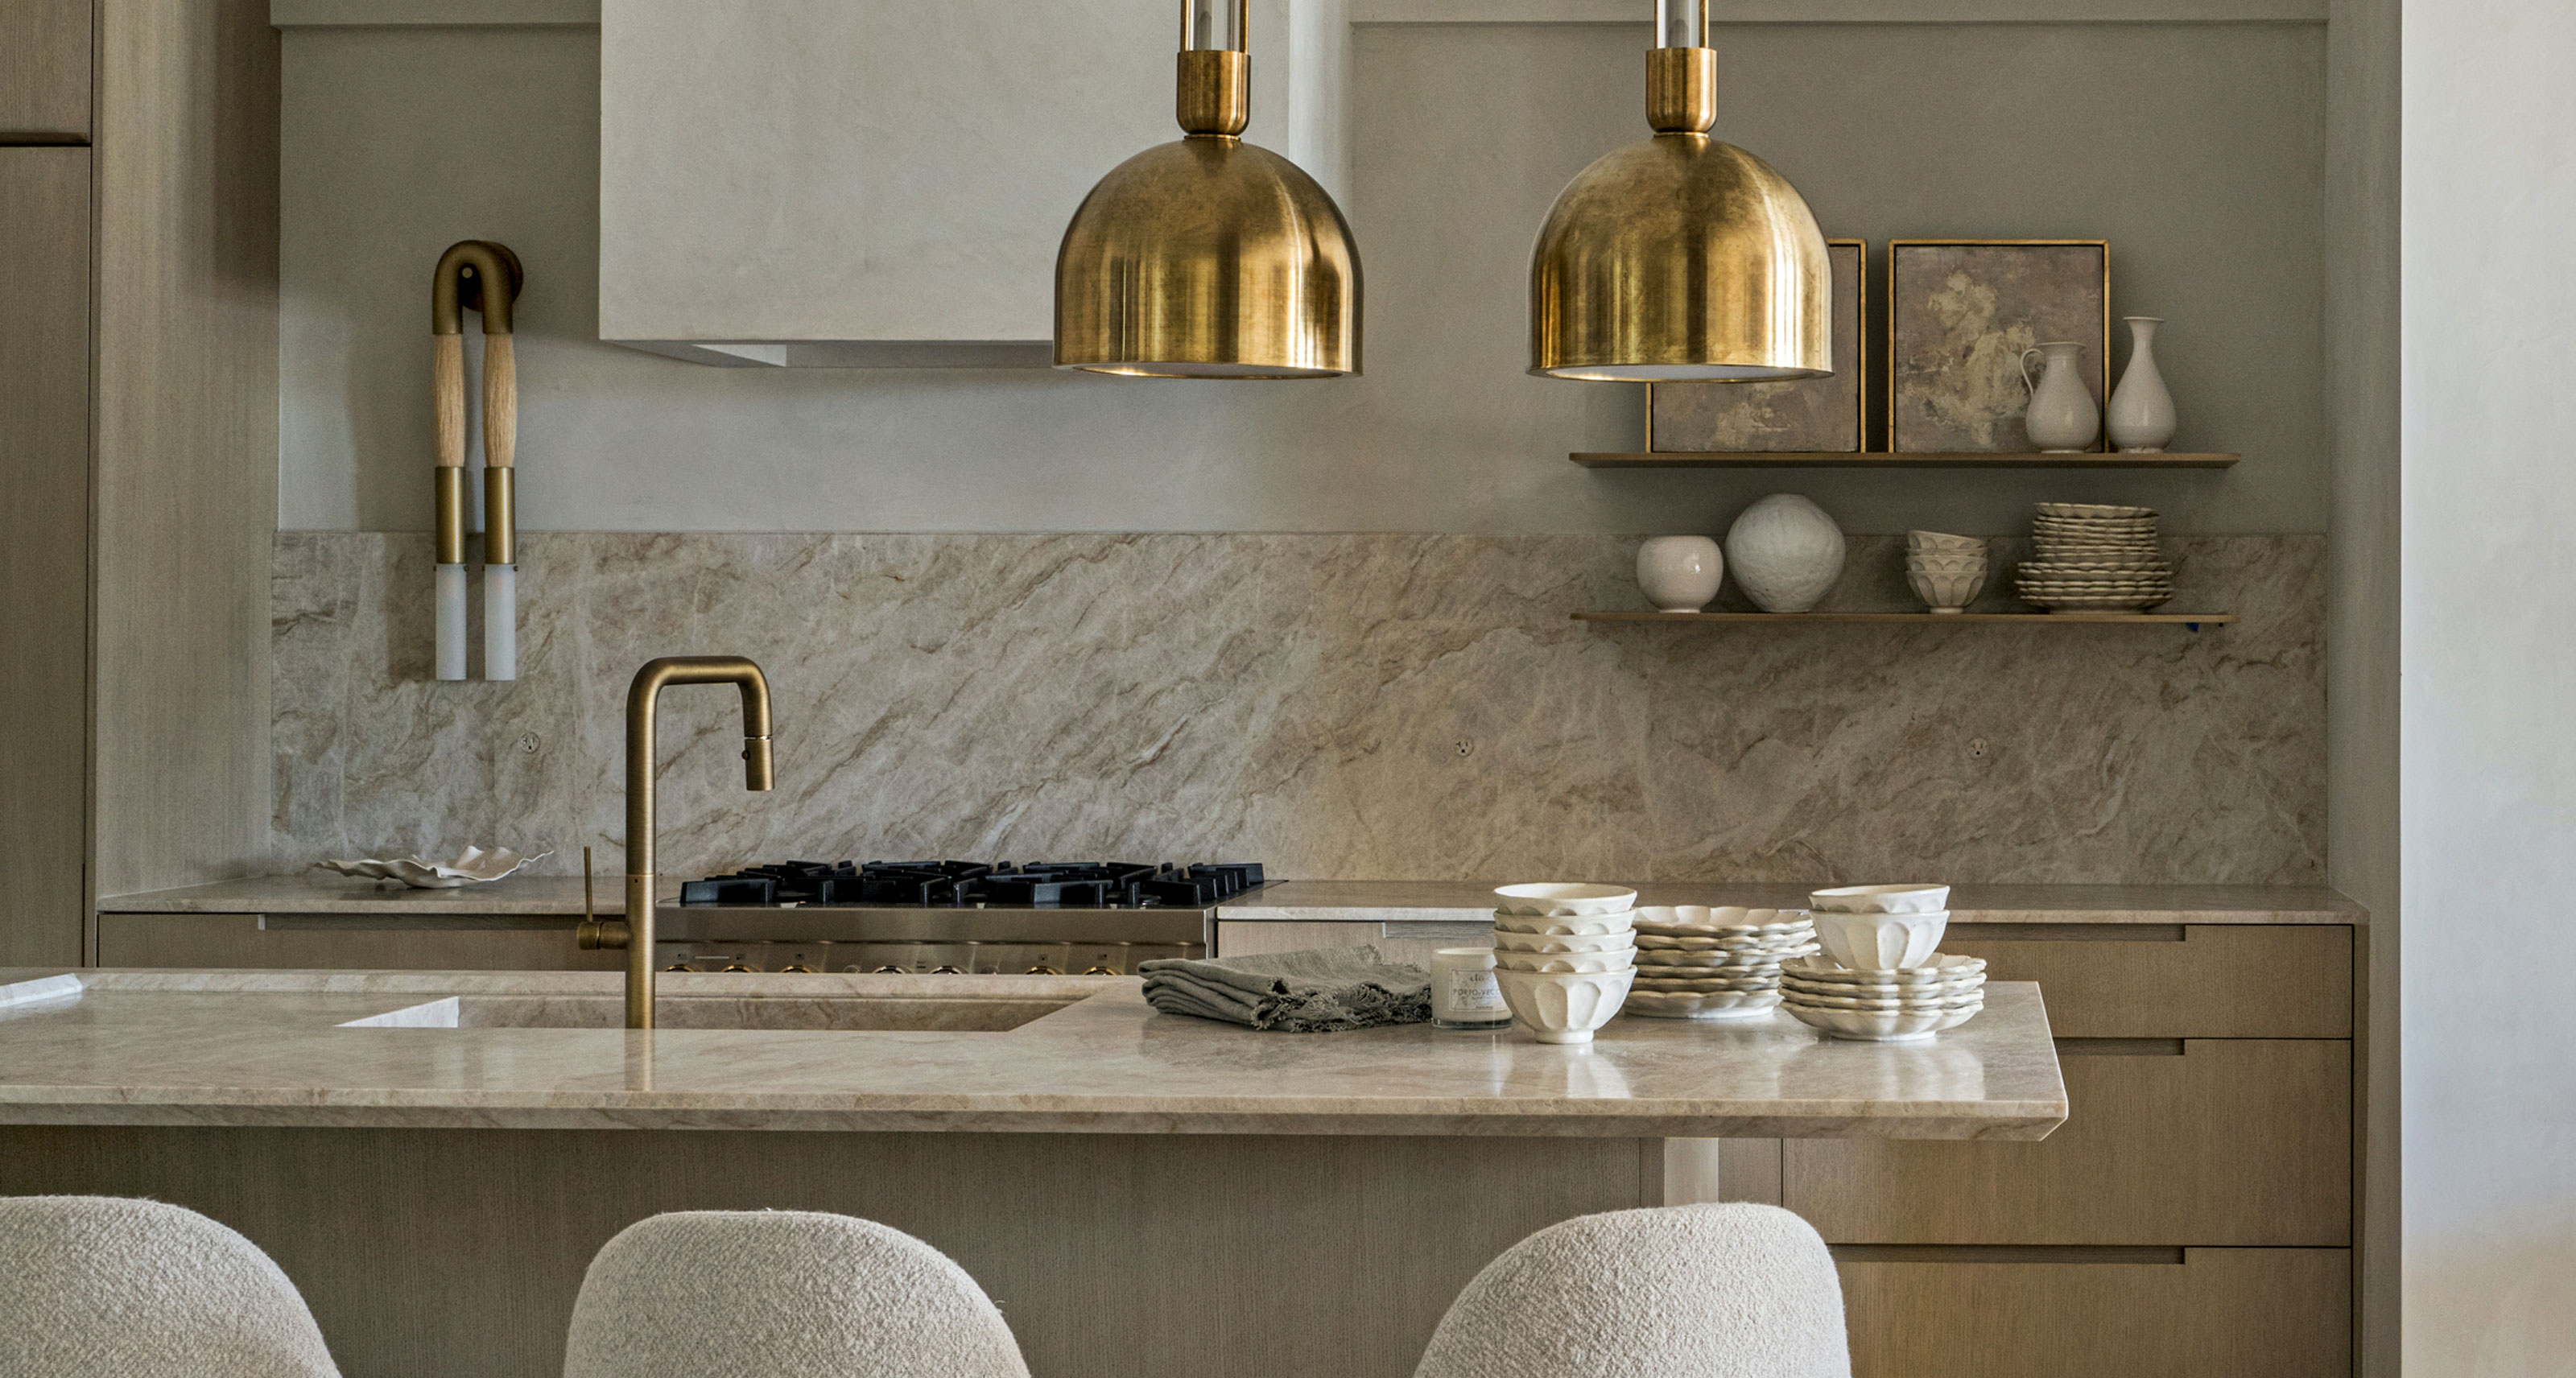
There are a million and one options out there for kitchen backsplashes, but there are some questions you'll need to ask about your design no matter which material or style you choose. Probably the most important one, in my opinion, is how and where you end the backsplash on an open wall — it may seem like a small detail, but it's an important one to get right if you want your kitchen to feel elevated and well put-together.
You'll find there's no one rule to make it work, but there is one thing you need to avoid — not making a mindful, purposeful decision with your kitchen backsplash ideas. Ending a backsplash without considering as part of the wider design, how it sits in relation to cabinets specifically, is a mistake that most interior designers know not to make. It'll leave you with a design that feels clumsy, with too many breaks between materials and less neat in its overall effect.
But what should you do when it comes to ending your backsplash on an open wall? I polled interior designers to find their approaches, and offer you the Livingetc answer to which works best.
1. Use upper cabinets as a guide
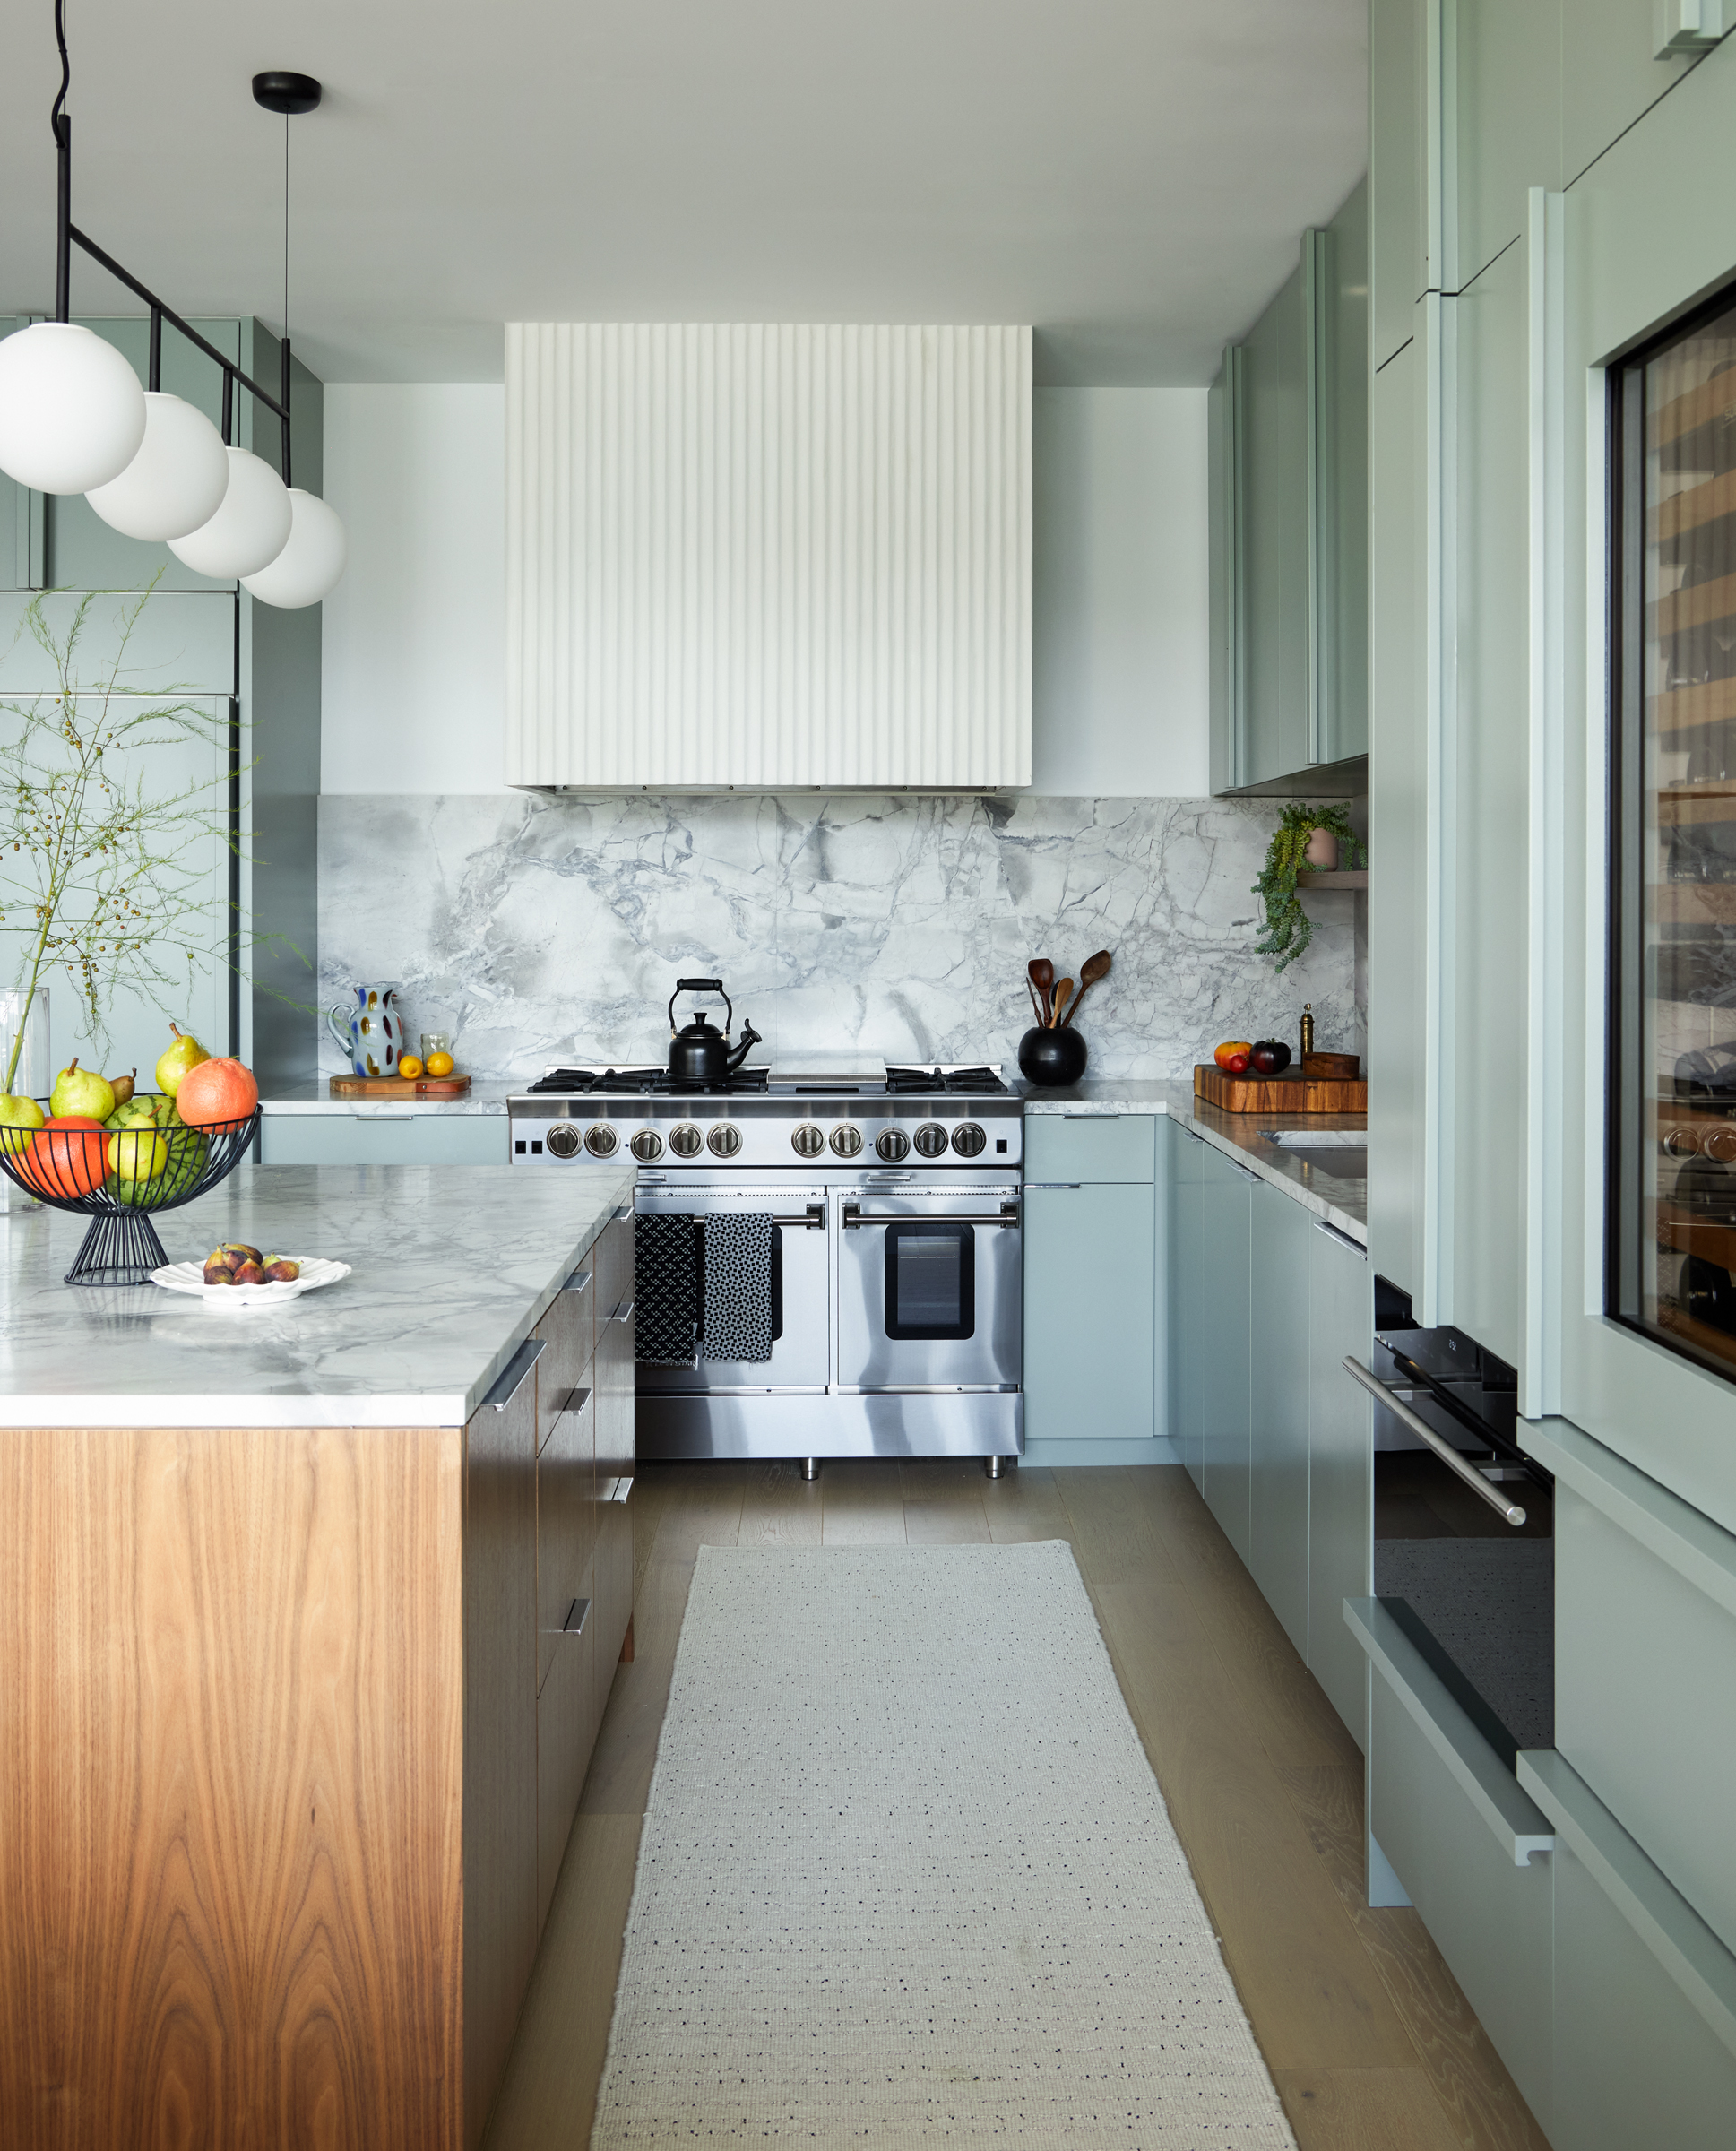
If there's one rule I would suggest, it's that if you do have upper kitchen cabinets, you, at the very least, use these as a natural breaking point for your backsplash. "Upper cabinets provide a good terminating point for tile when needed," agrees Clara Jung, founder of San Francisco-based studio Banner Day Interiors.
Finishing any lower than the upper cabinets causes another break in material (counter to backsplash to painted wall to cabinet), which will make your design look busier and less refined.
2. Design around open shelving
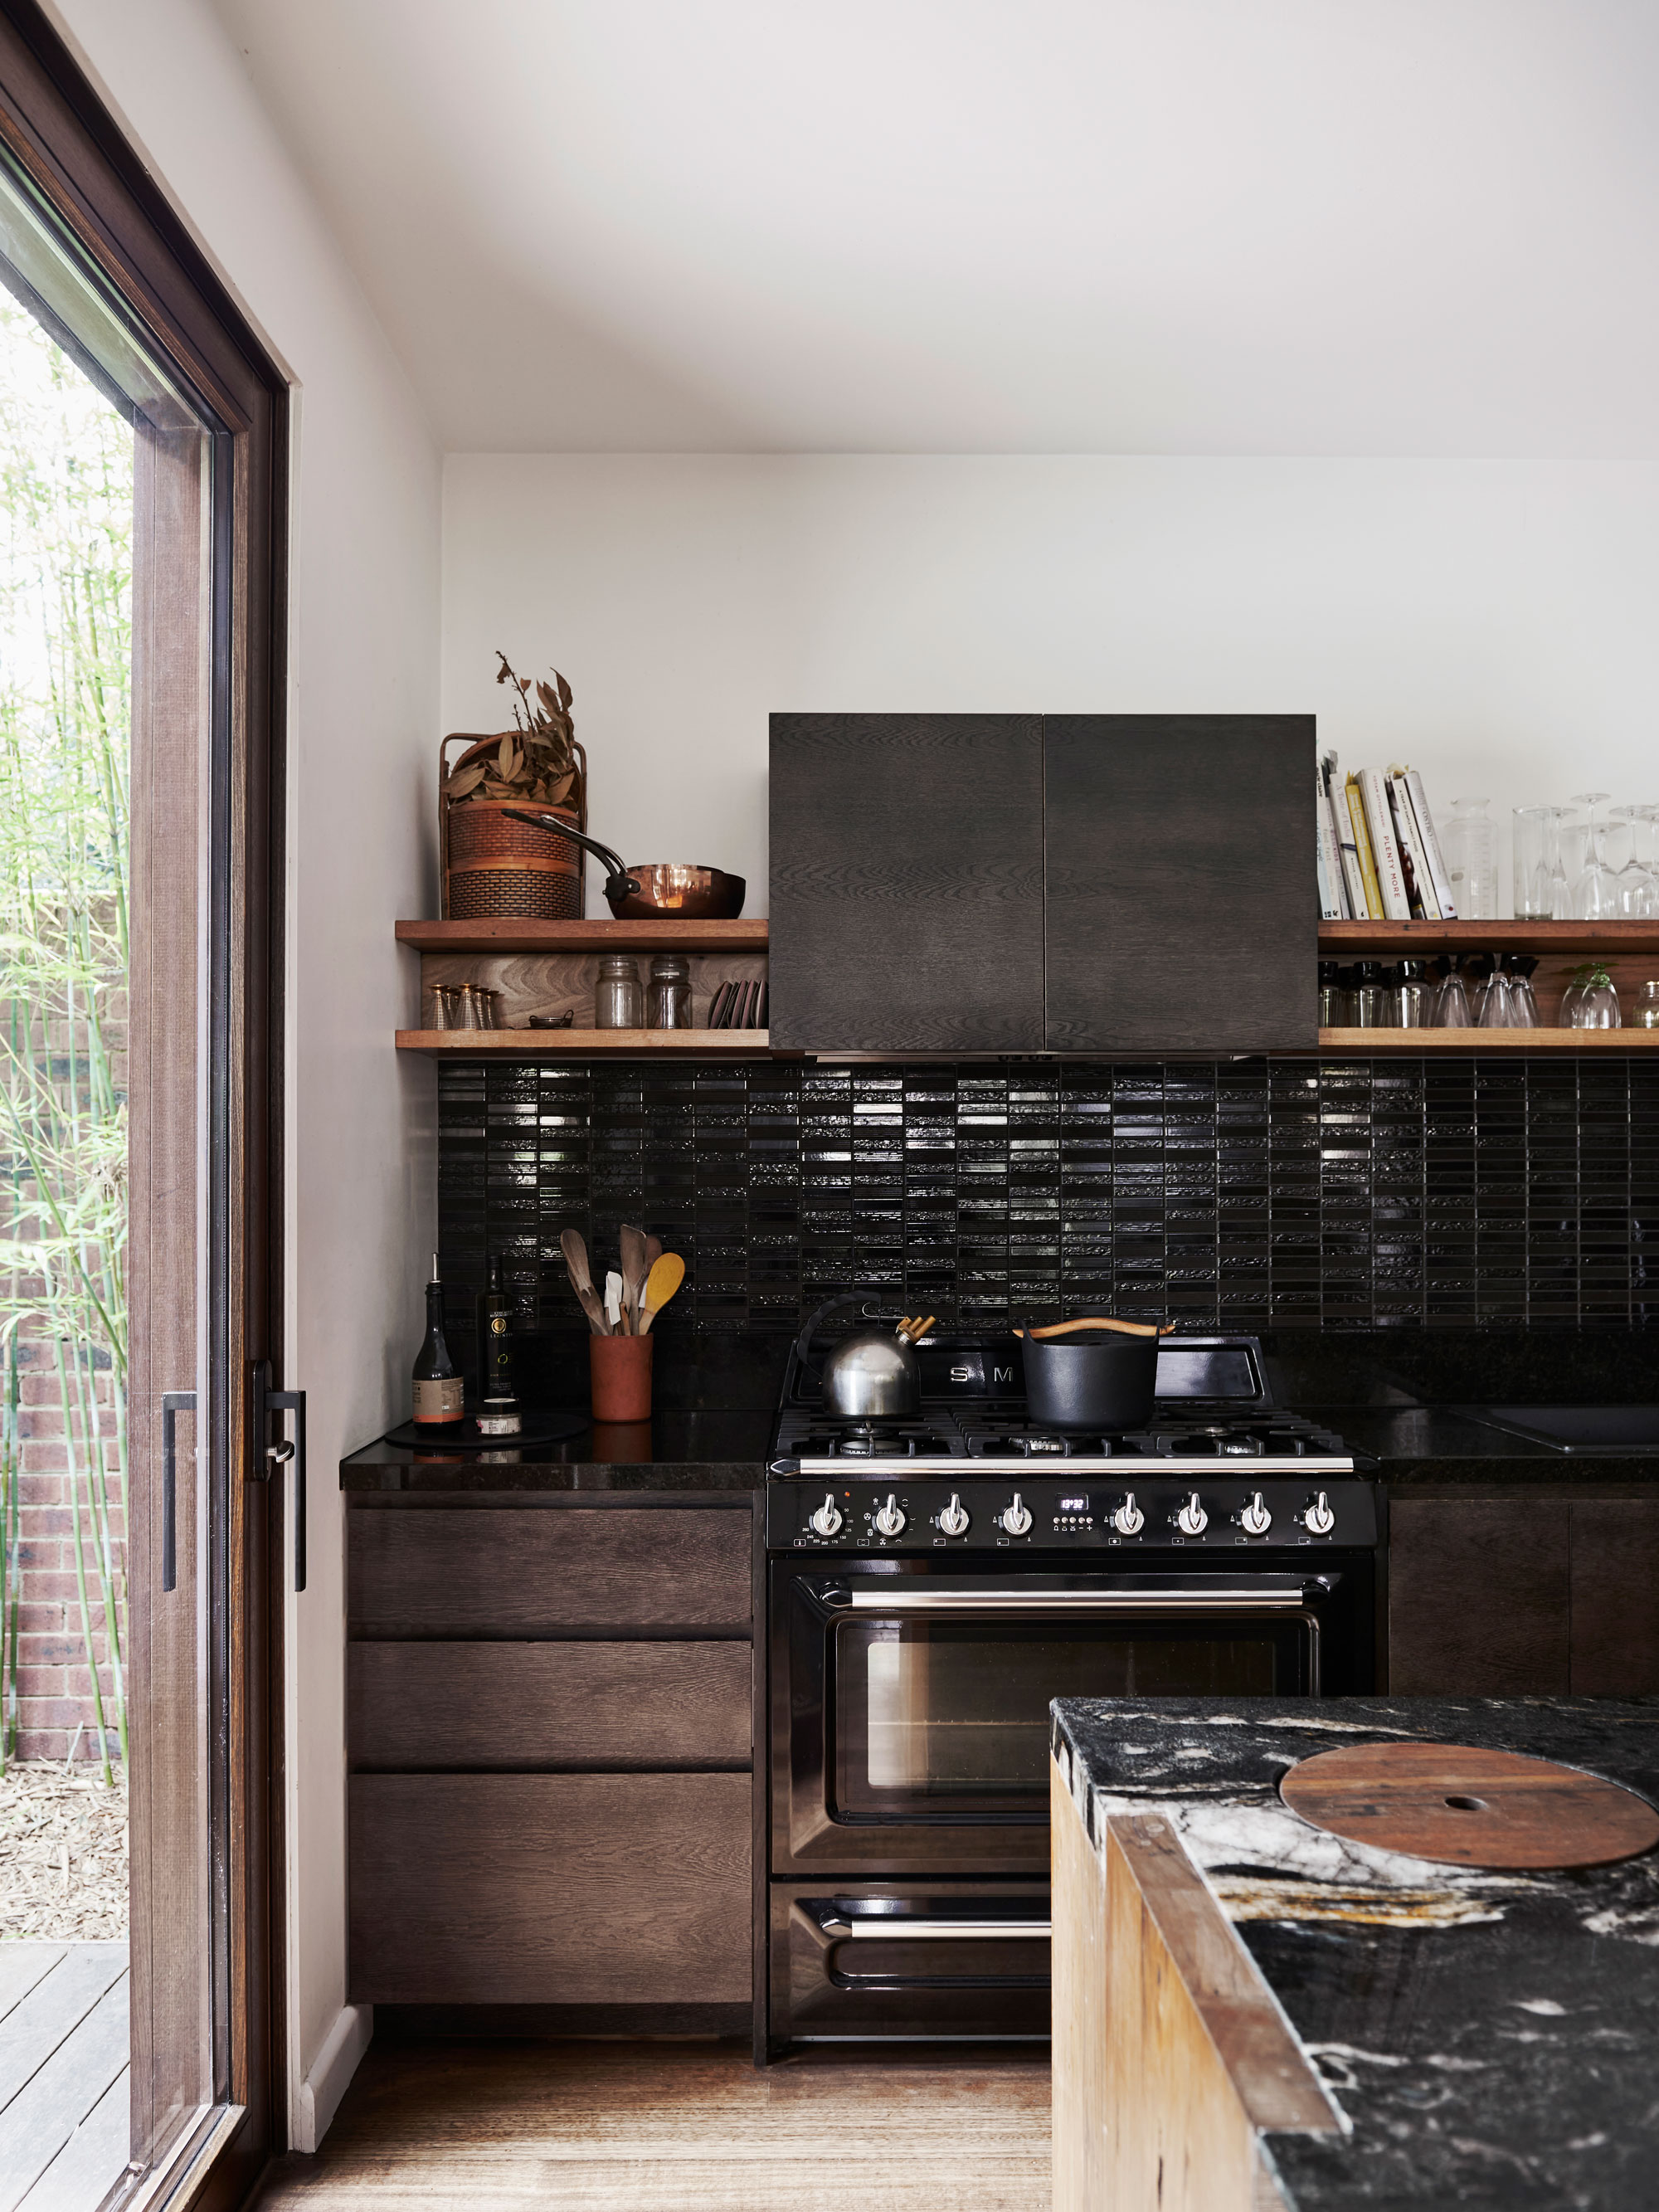
Many kitchens, even if they don't have upper cabinets, have some sort of wall-mounted storage, so if you've opted for open kitchen shelving, this also makes for a sensible spot to break your kitchen backsplash.
Running a shelf across the length of the backsplash makes for a particularly clean finish, while delivering good storage for plates and serveware.
3. Or a backsplash "ledge"

In lieu of a full shelf - after all, open storage isn't for everyone - a small ledge at the top of a backsplash can be all the punctuation you need to end your backsplash mindfully. This tends to be an option when you've chosen a "countersplash", a kitchen trend where the backsplash is made of the same material as your counters, or you've opted for a stone slab. Your fabricator will be able to make this as part of your backsplash design.
Price: $16.99
We love this affordable stoneware style for a modern rustic look.
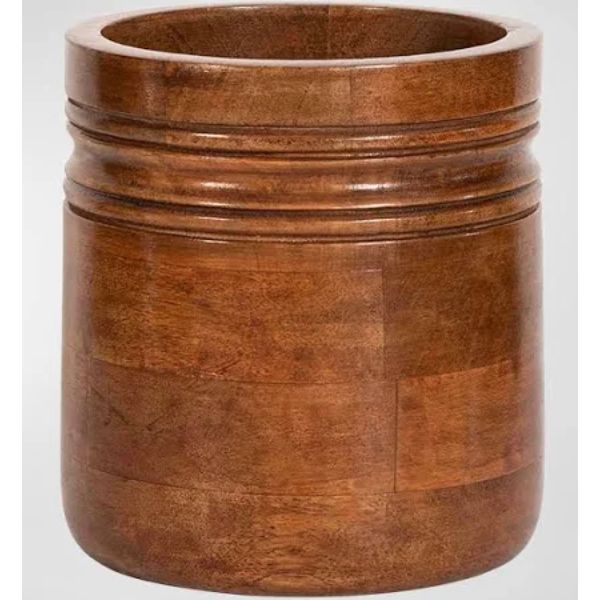
Price: $98
This luxurious wood utensil holder will bring warmth to a plan kitchen.
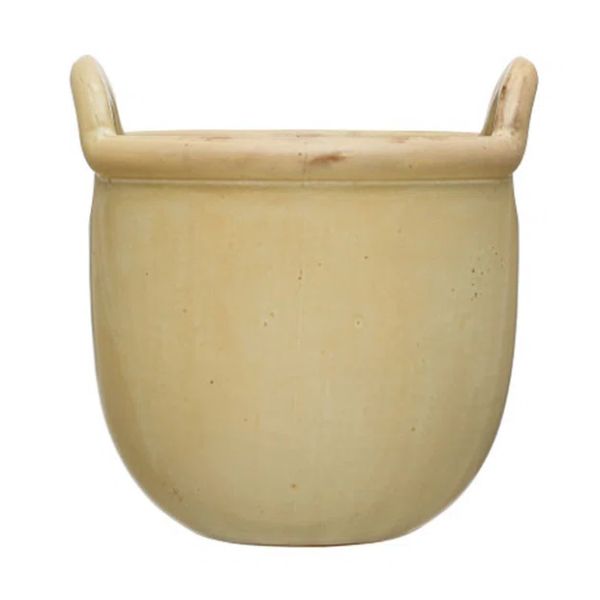
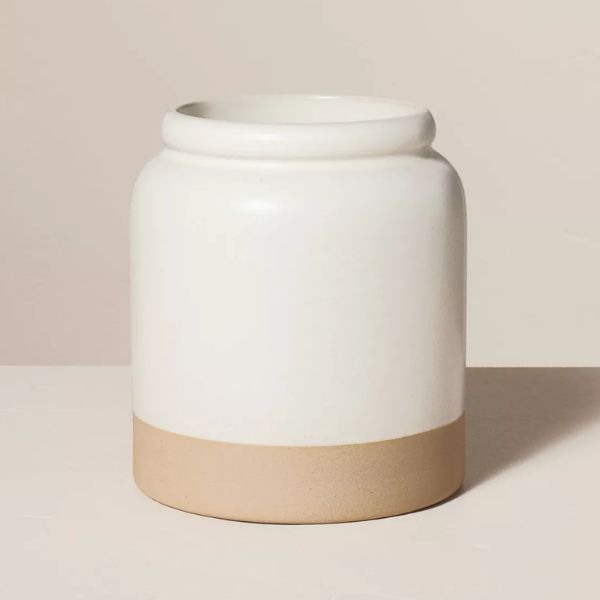
Price: $48.99
This beautiful ceramic crock looks even better in real life, according to reviewers.
4. Finish with a trim
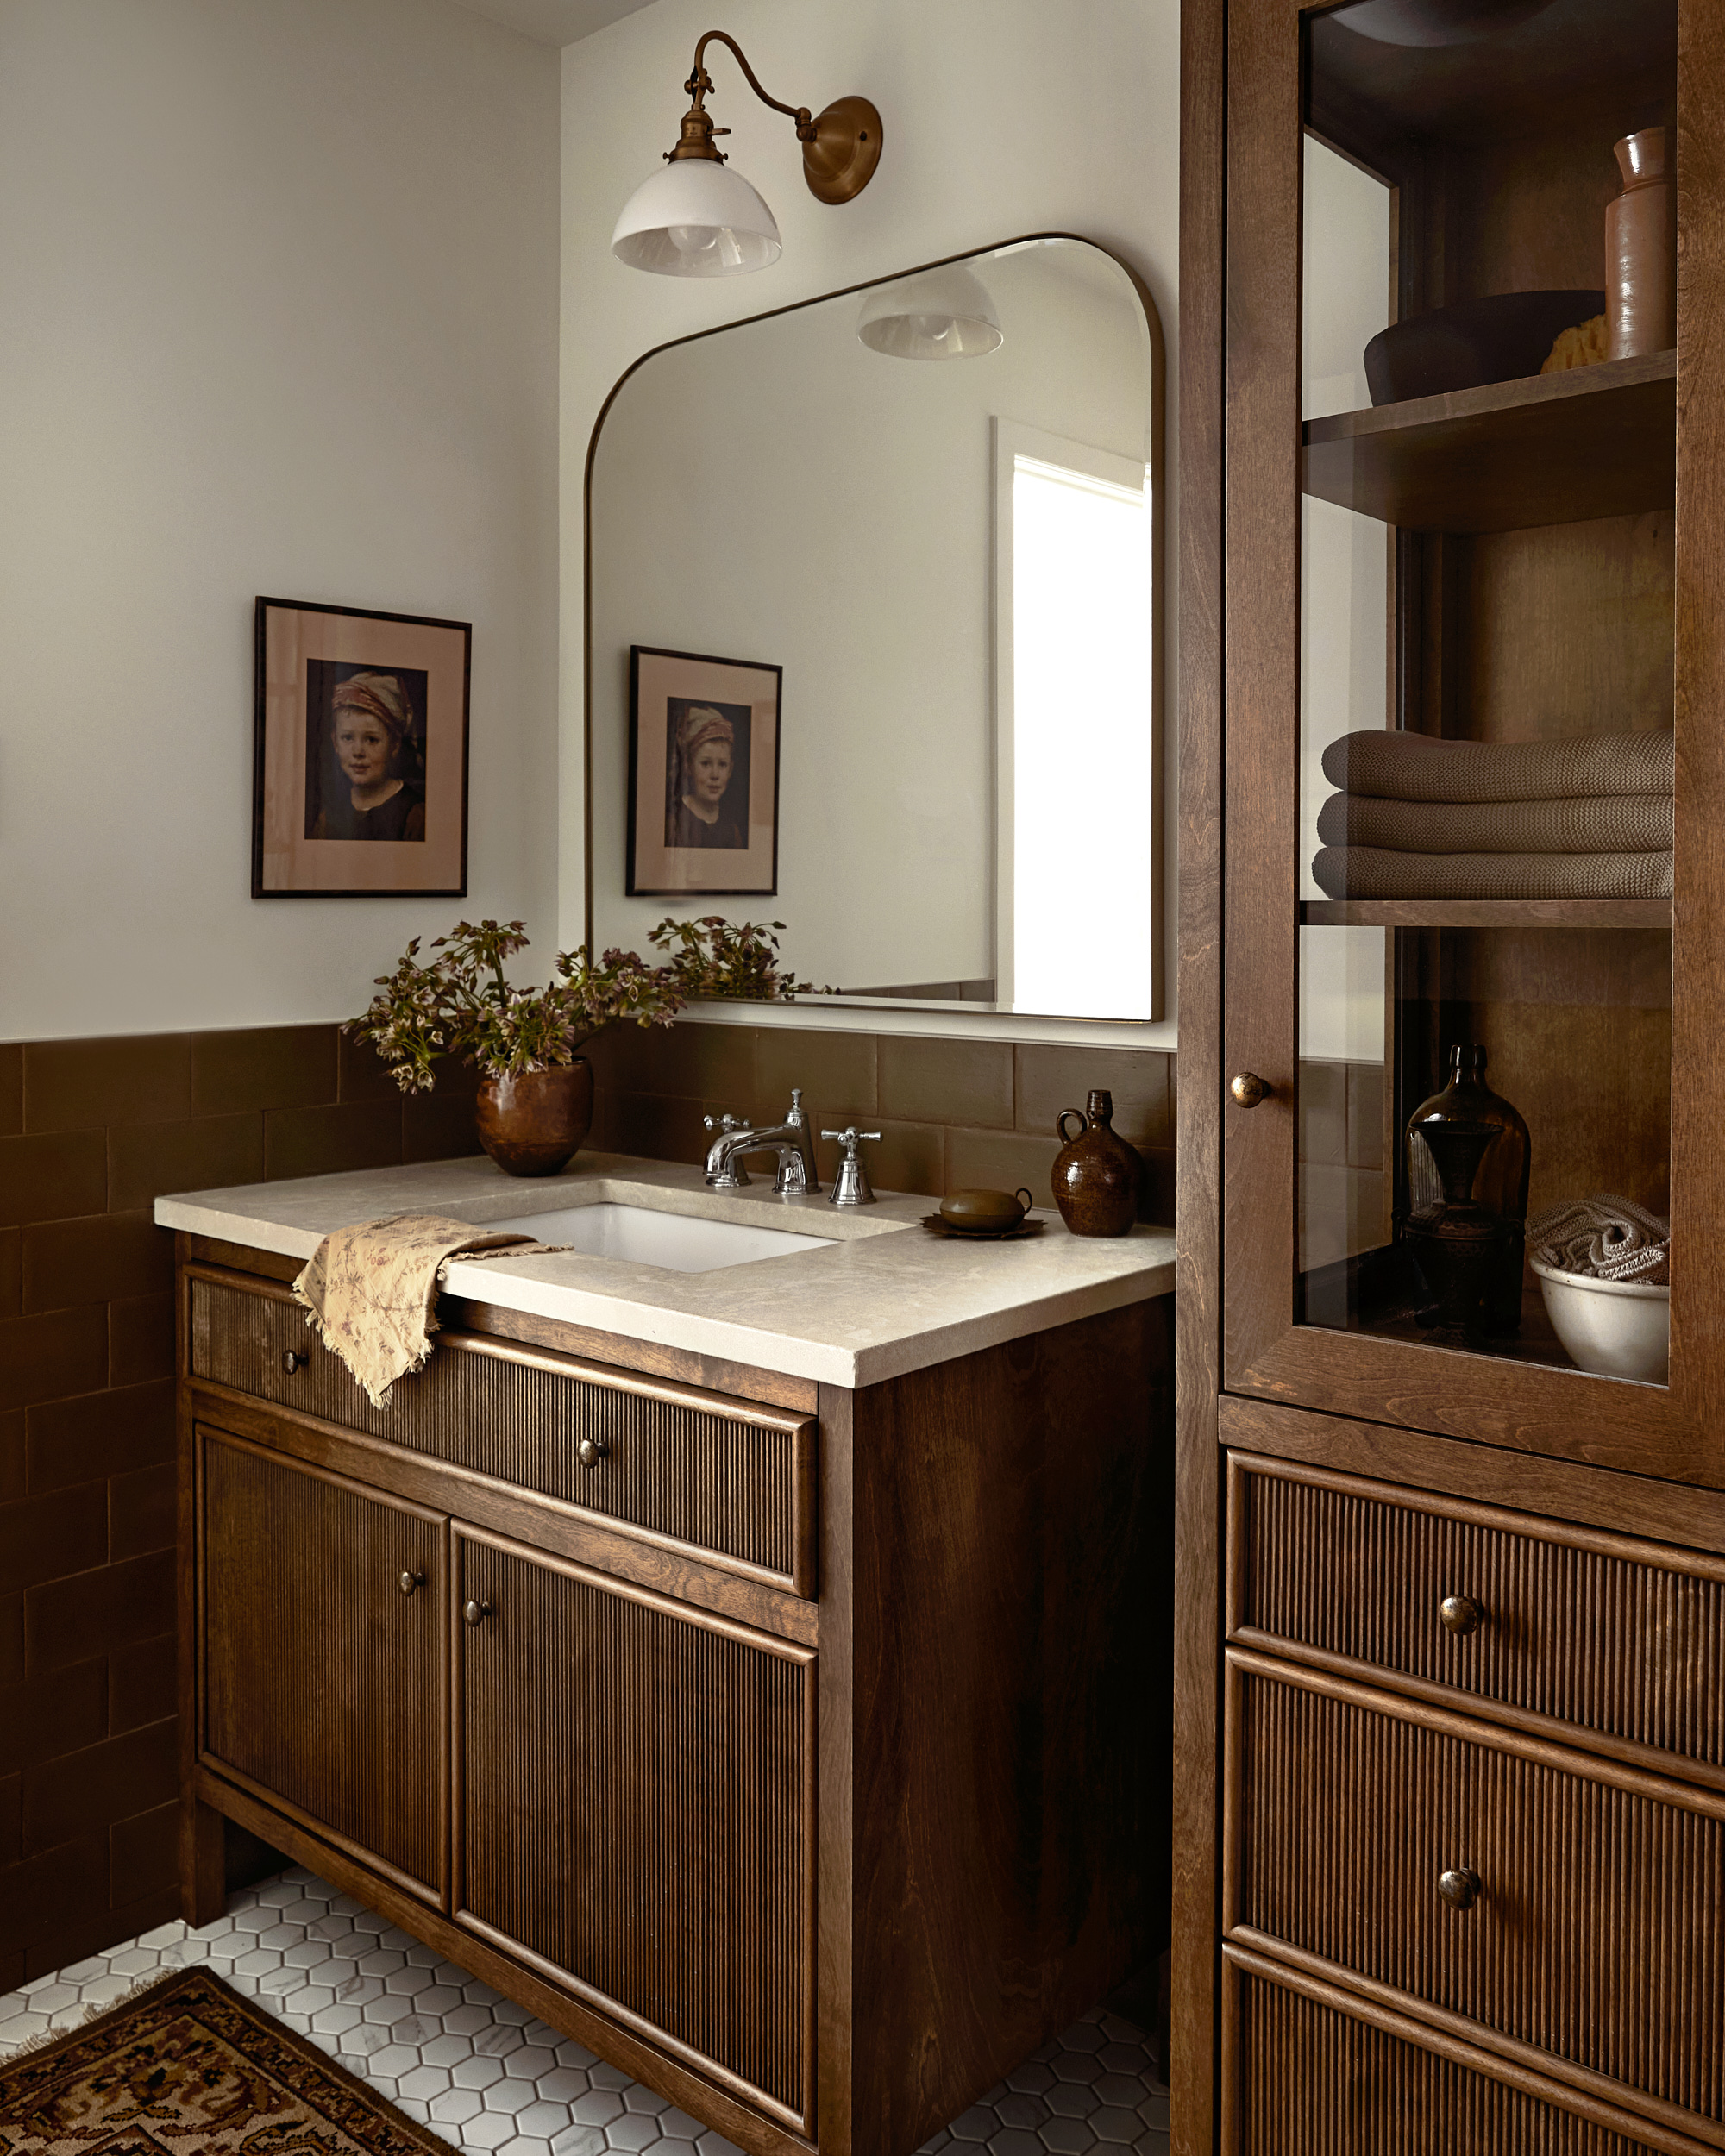
If you don't have a natural break in your kitchen from cabinets, or shelving, to end your backsplash at, consider a way to make your backsplash feel more finished by opting for an edging.
The most common tile edge finish you'll find is a "Schluter strip", but it's not our top choice for a modern, elevated kitchen or bathroom design. "Schluter strip is used, which is a metal strip that comes in different finishes that can be added to the end of the run of tile to finish the unfinished edge," Jeff Eakley, a senior designer for Bilotta Kitchen & Home, explains. But again, it introduces another finish into the mix, where really we're better to simplify the material palette.
"The most common way is to end the run with a bull nose, or rounded, finished edge," Jeff explains, "but a lot of tiles these days are also starting to come with finished, glazed edges."
5. Pair it with paneling
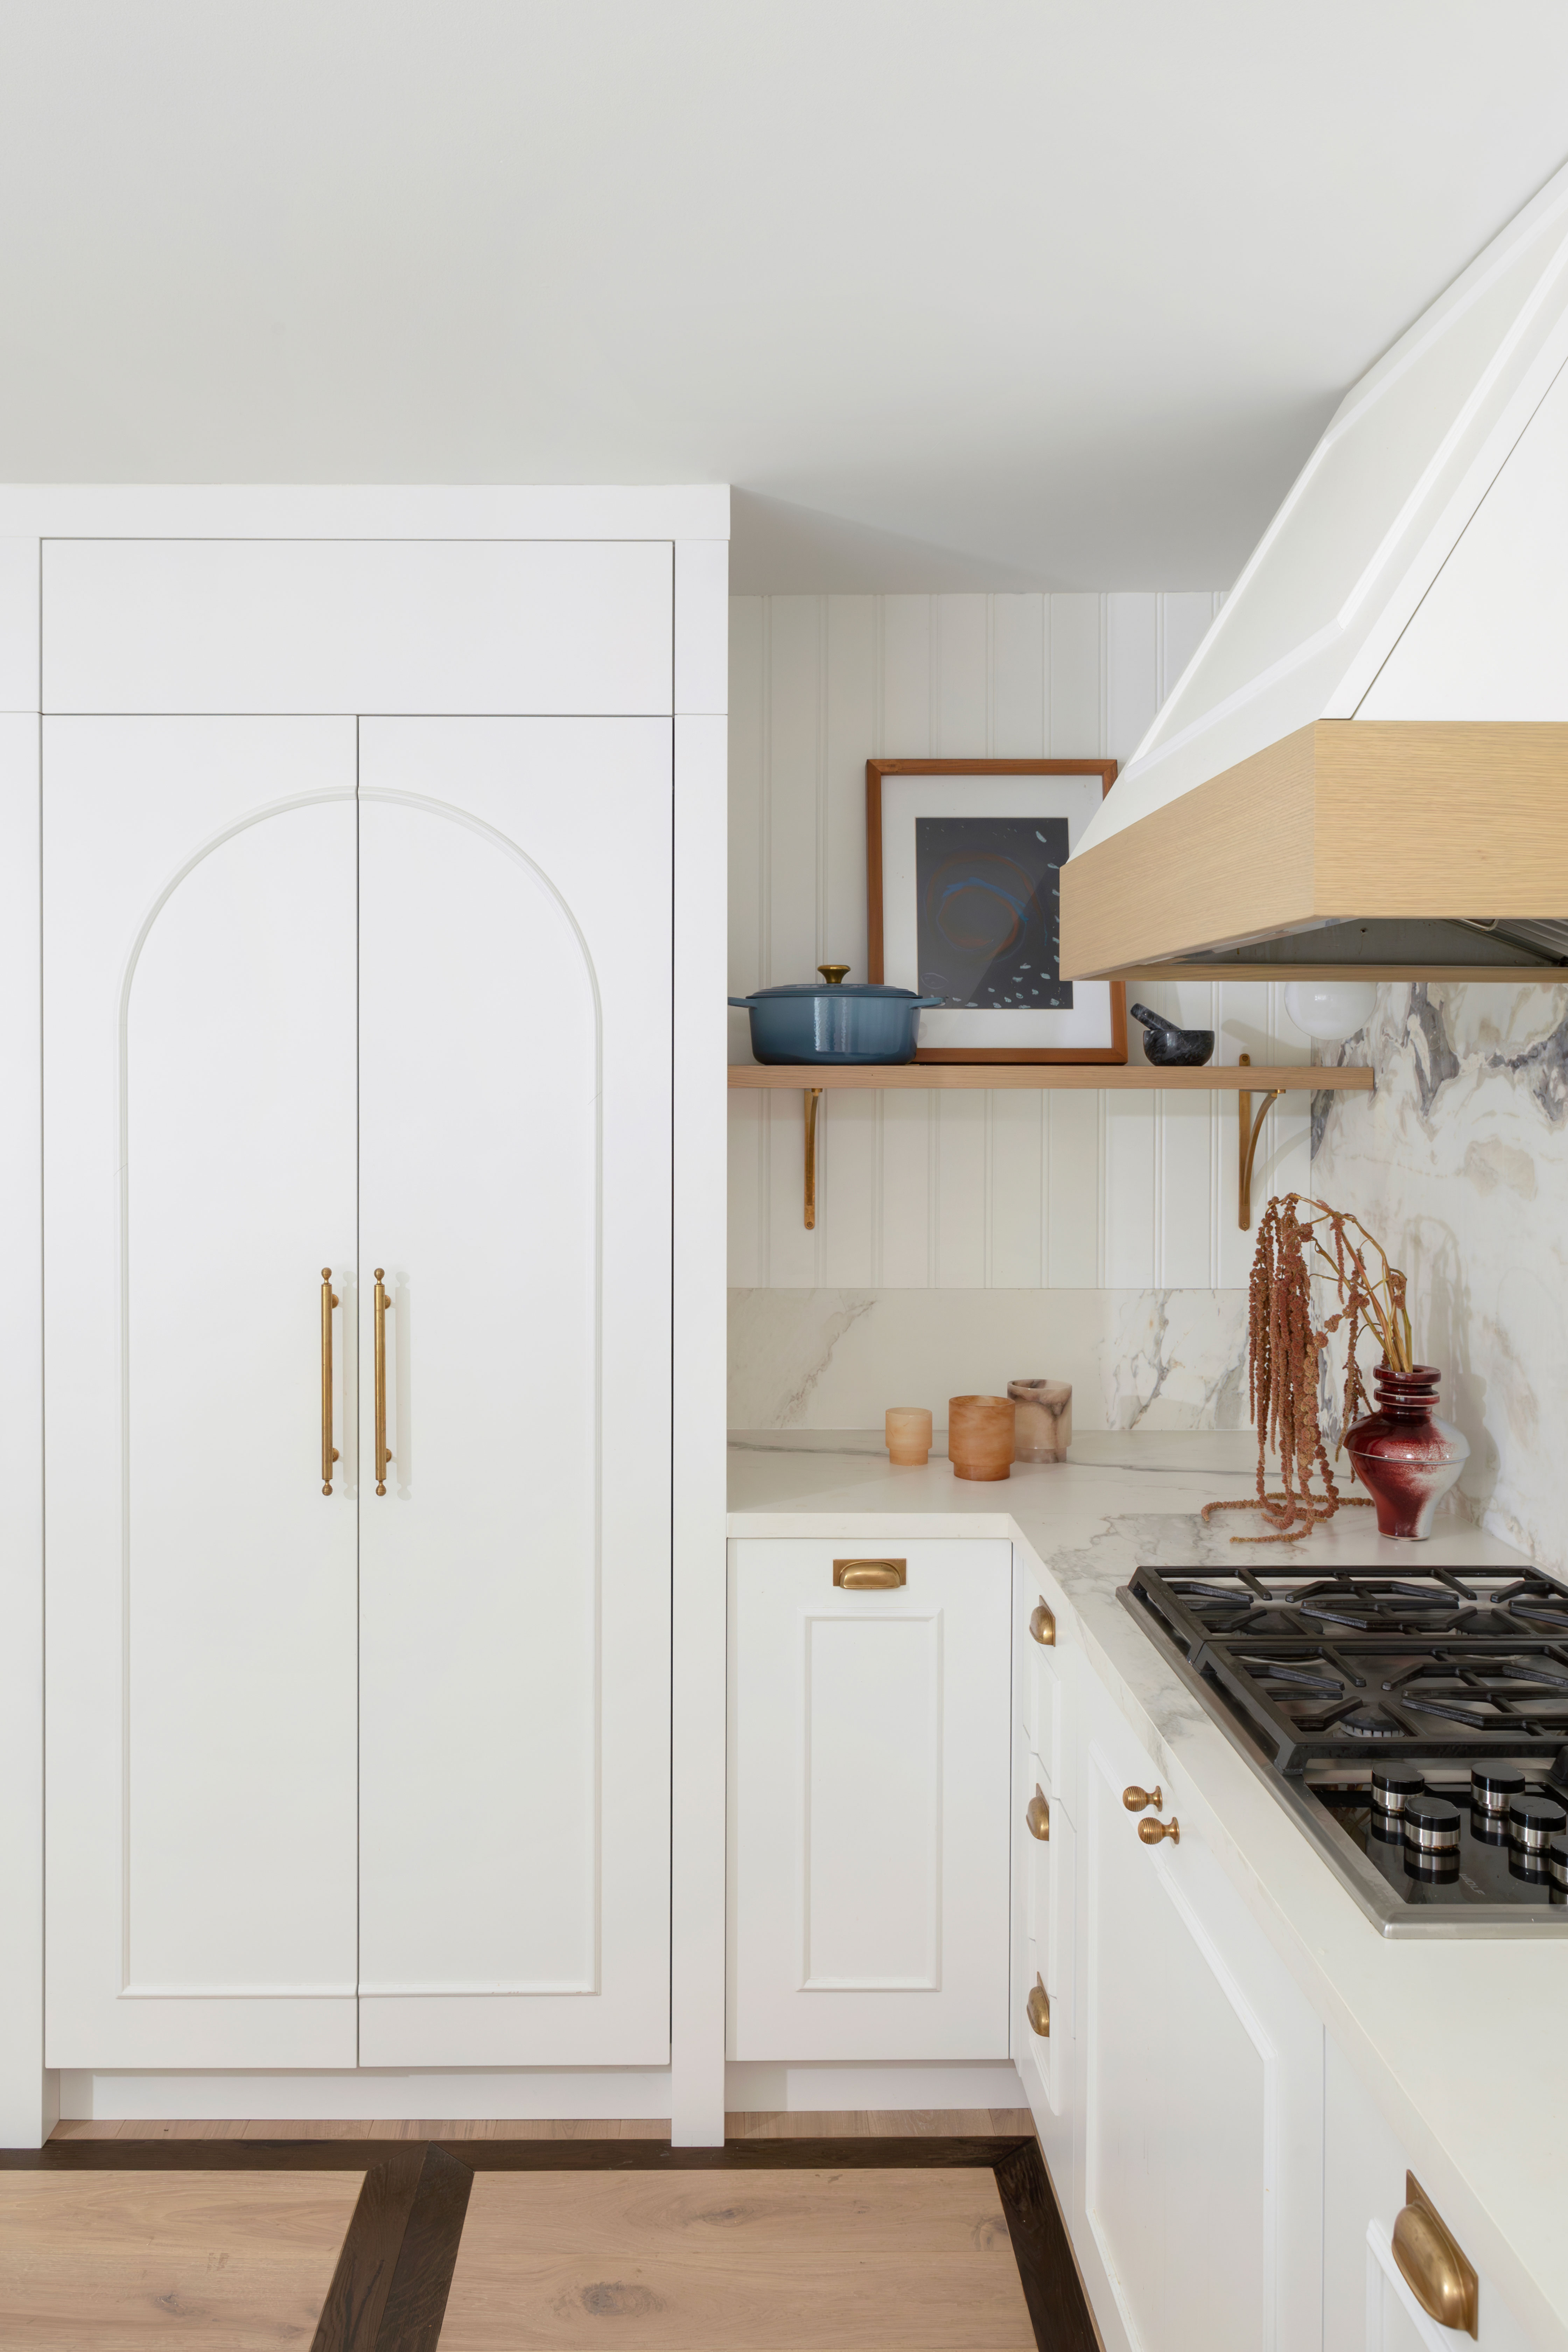
I loved this idea by designer Sha Wang, founder of Atelier Fēn, for making her white oyster marble backsplash flush with the wall in her own kitchen. "In the corners, I opted for white shiplap," the designer explains, "which makes the backsplash feel like it's inset into the wall. The essence of this kitchen lies in the artful fusion of elements, creating a refined and cohesive composition," she adds.
This wall paneling idea lends itself to different styles of paneling, too, depending on the type of kitchen you have.
6. Make it look custom
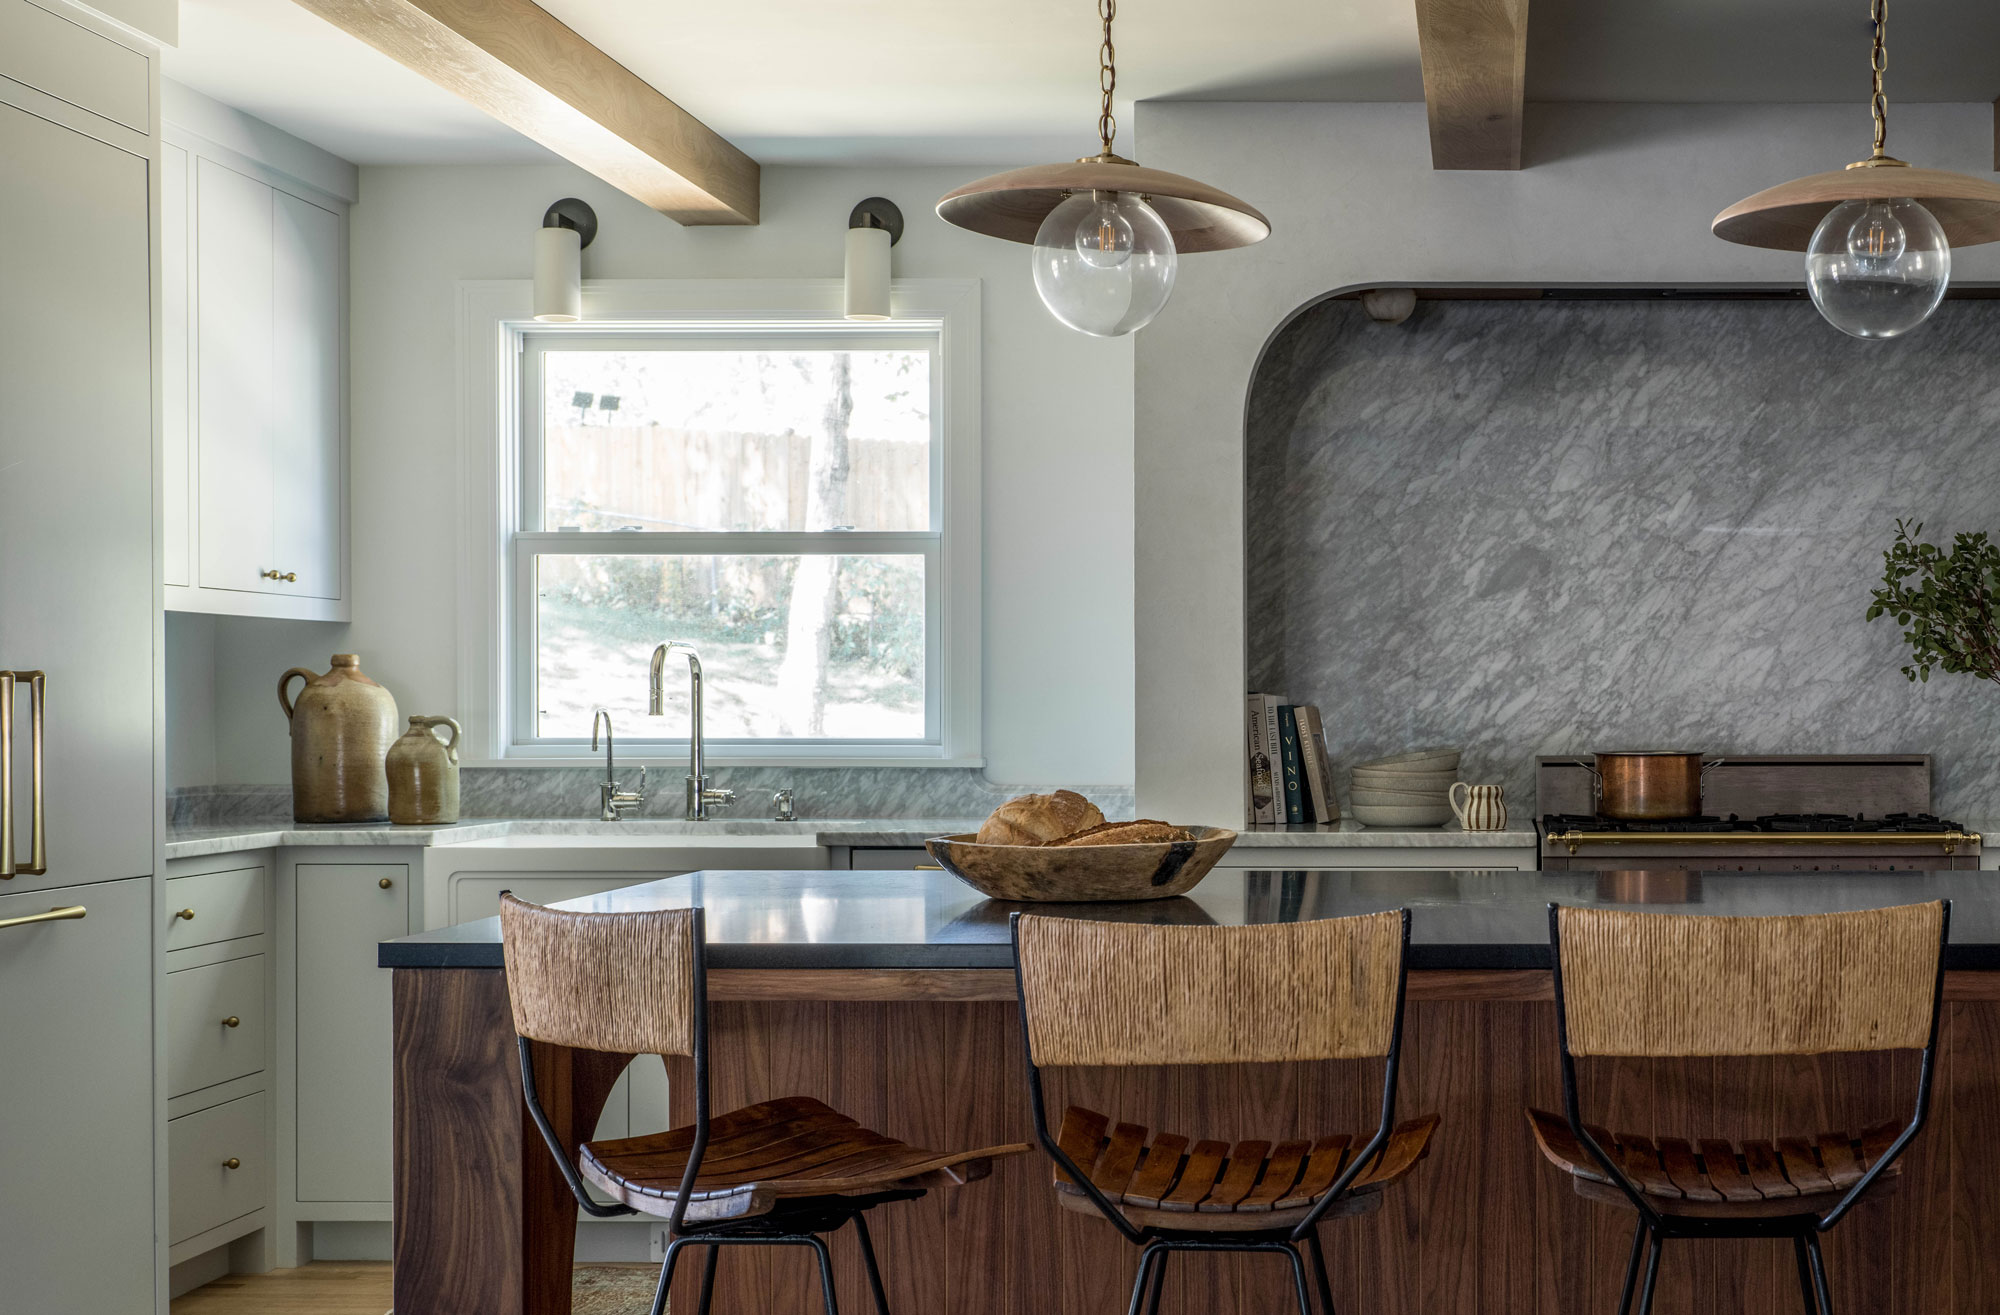
When you're dealing with the architecture of a room, not everything is going to be set up to make your ideas for ending a backsplash on an open wall perfect. However, this is often where designers find space to do something a little special — small details that make magic between the backsplash and the other elements in your kitchen.
This design by Yond Interiors is a perfect example. With the countertop upstand finishing at a height slightly lower than the kitchen windows, it could have felt a little awkward with the parallel lines of these two elements so close. However, by curving the upstand up to meet the windows instead, you can get a nice clean finish, and a little flourish that makes this kitchen design feel extra custom.
7. Don't end it on an open wall
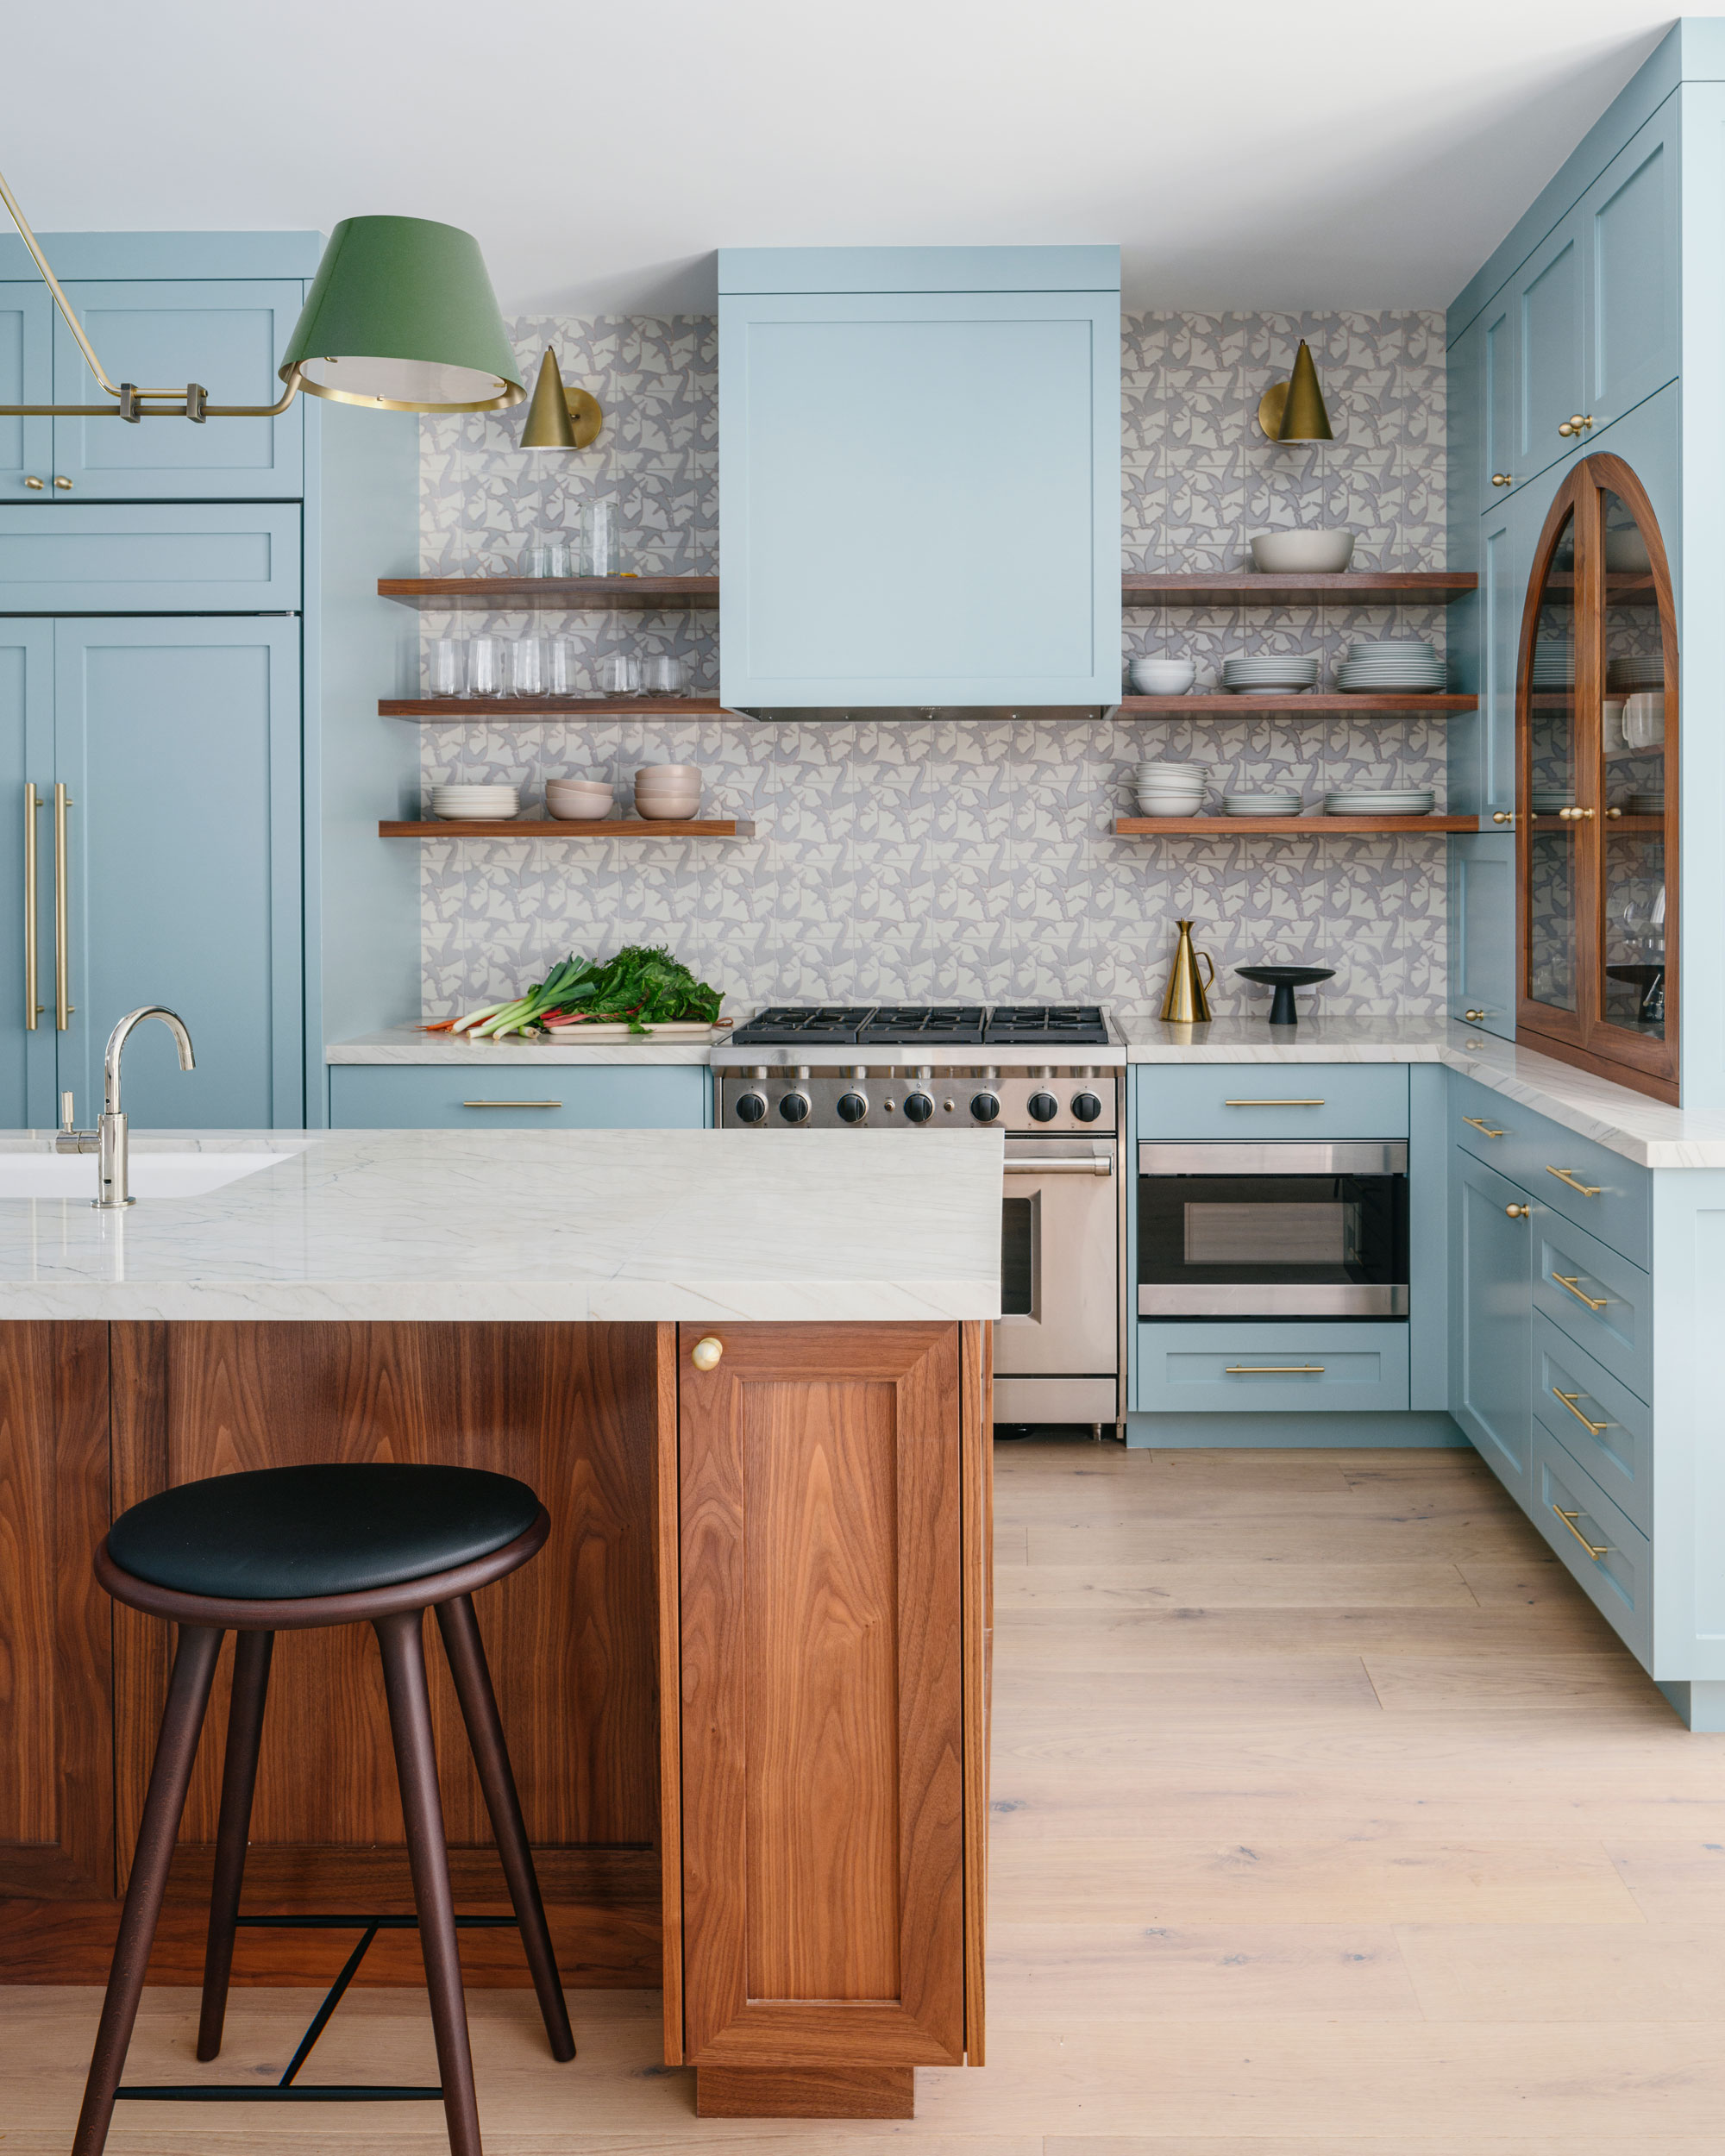
My top tip? Don't leave where your backsplash ends as an afterthought of your kitchen design. With the right planning, you can create a space where the backsplash always finishes up against a cabinet, and always has a solid finish above it.
So what do you do if you don't have upper cabinets or shelves? "If there is a moment for an entire tiled wall with no cabinet interruption, then we're game to design this statement wall," says Clara from Banner Day Interiors. "However, it's often the case that an entire wall can't be sacrificed for a statement wall which isn't a problem."
8. Break the rules, with purpose
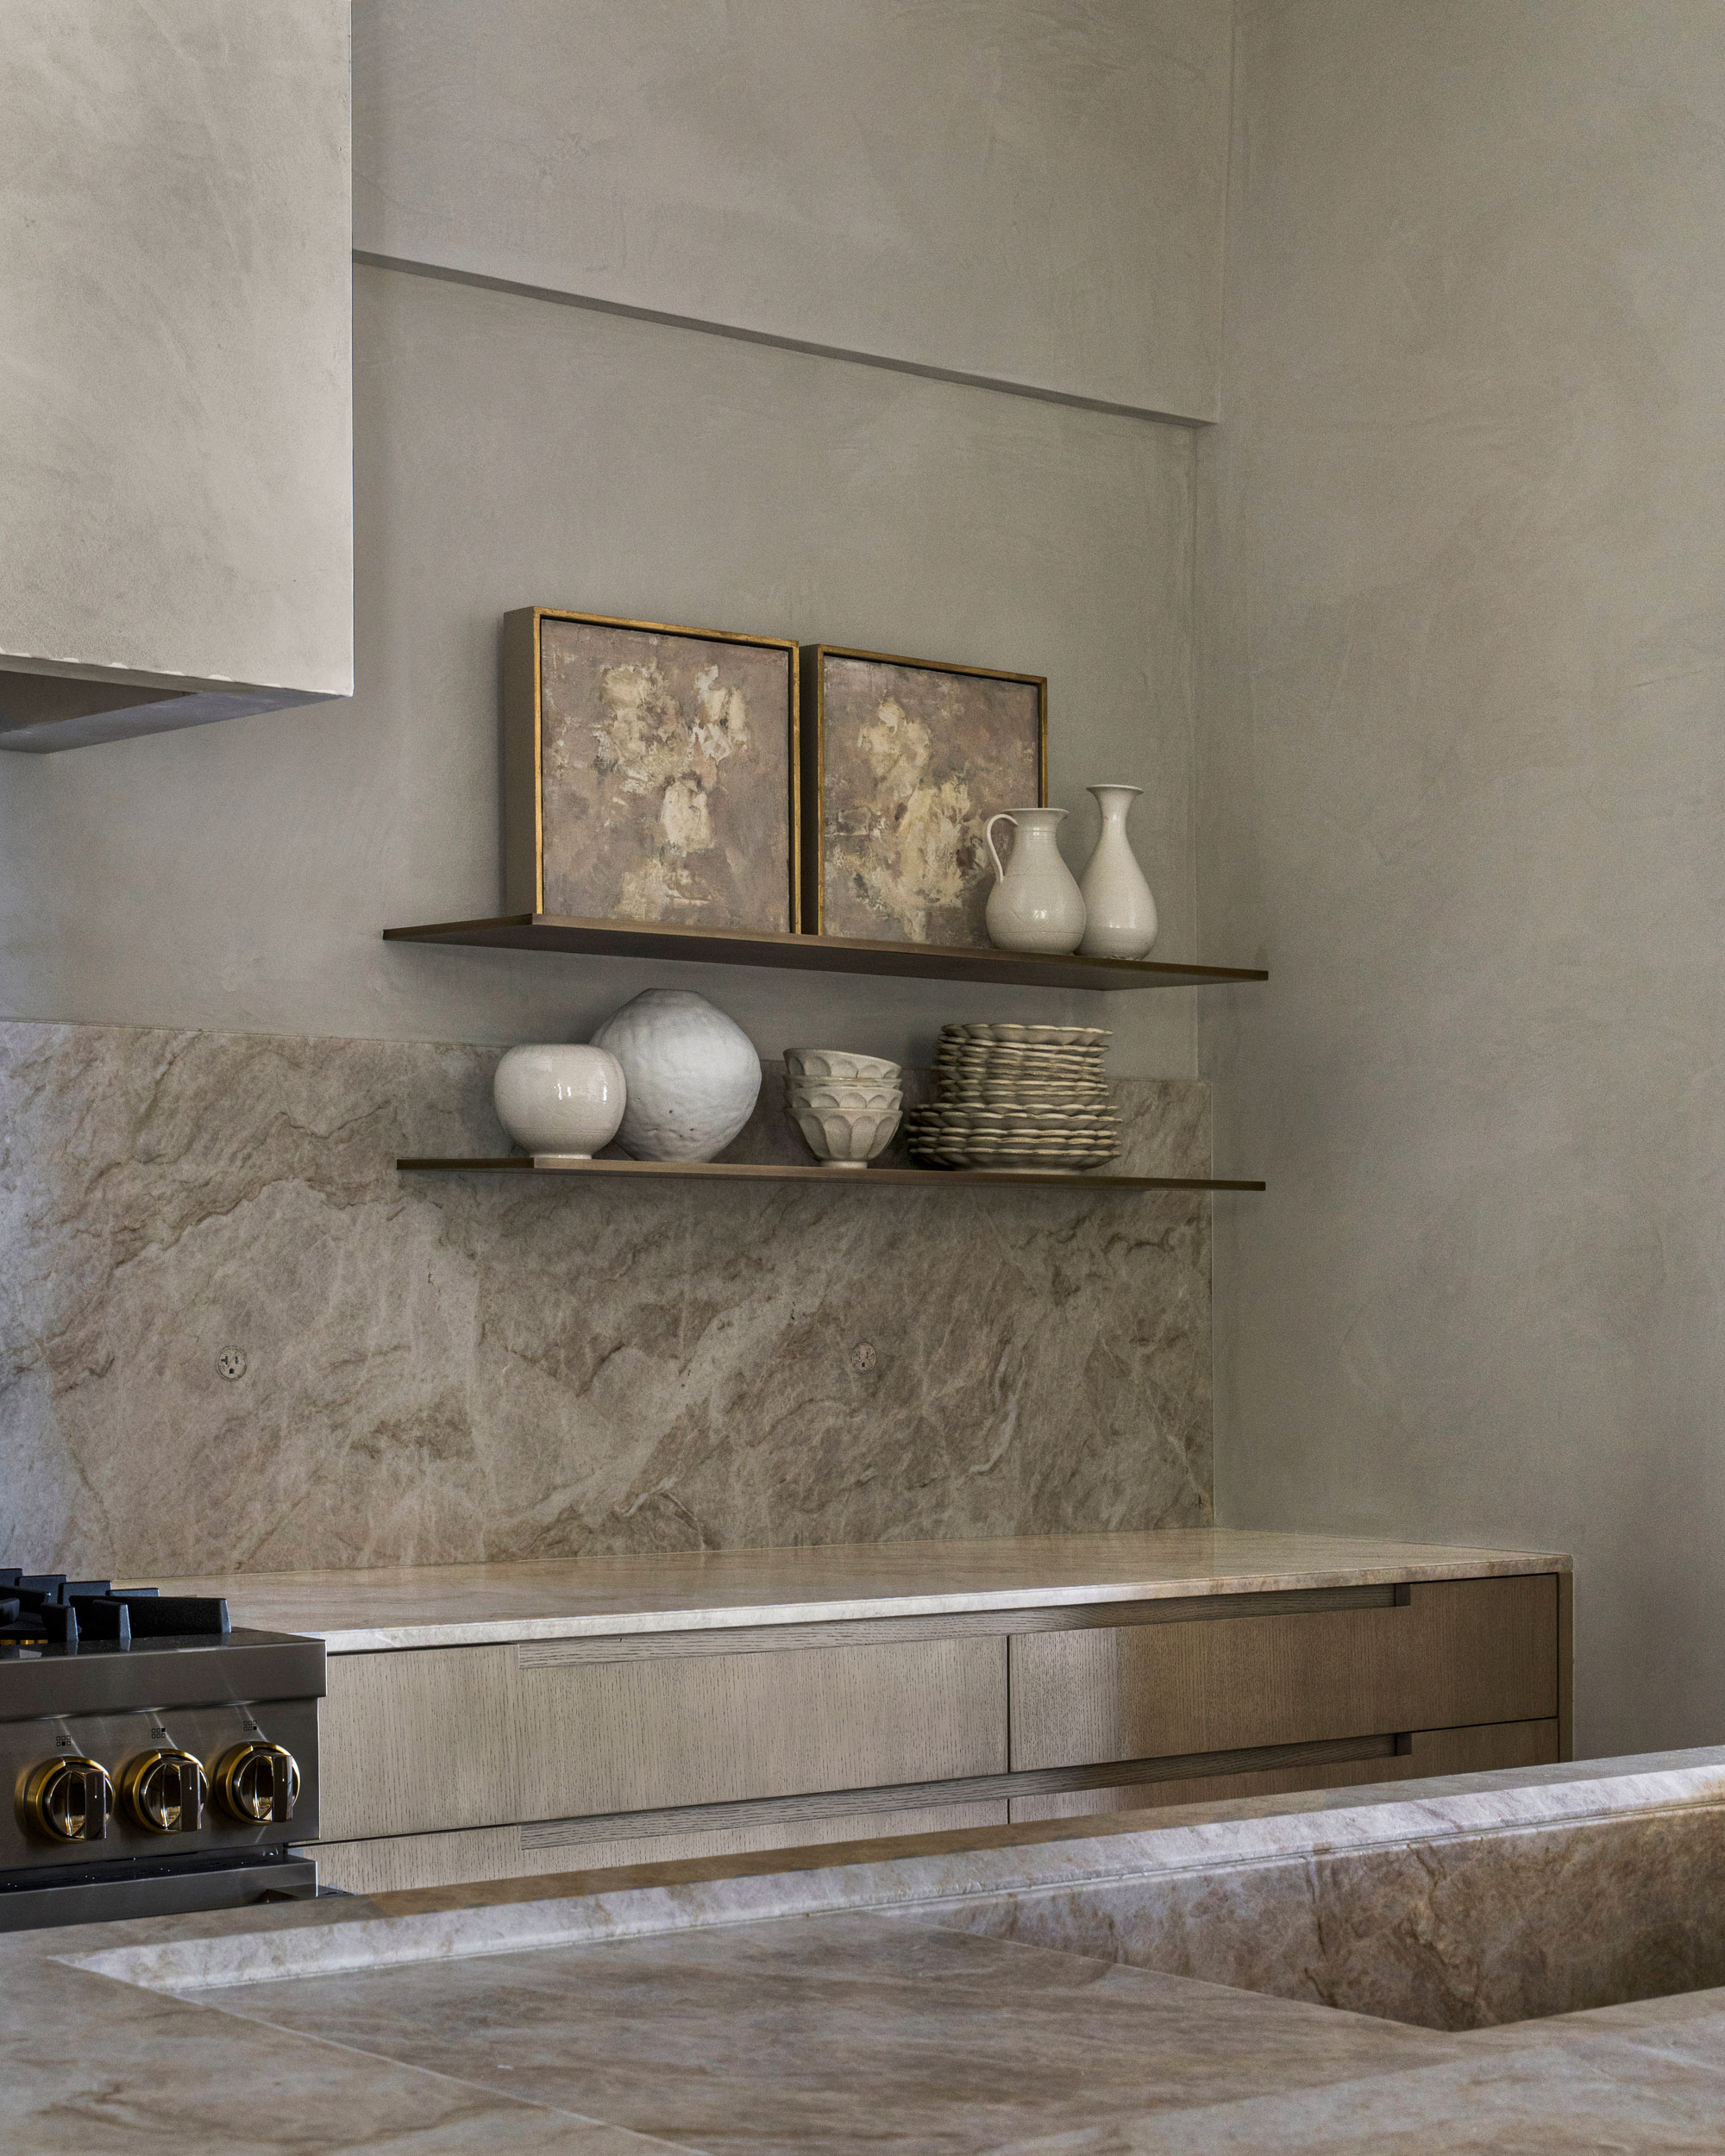
Of course, as with any "design rule", there'll always be a great example of how it can be broken, and for me, this kitchen design by Anne-Marie Barton of AMB Design Inc is just that. The backsplash doesn't end, where you might think it makes sense to, in line with shelving. Instead, it ends halfway between — it's unexpected, but perhaps works so well as this space is so minimal and material-focused.
"The Taj Mahal marble is the answer as an undercurrent to the lighting and shelving in the kitchen," Anne-Marie explains, "and positioning the shelves and wall sconce to intersect it helps to disrupt the linear nature of kitchen materials."
The answer to where to end a backsplash on an open wall is one it's hard to give a definitive answer to, but that's only because you shouldn't consider it in isolation from the rest of your kitchen design. "The backsplash design is determined by the architecture of the space generally alongside storage considerations," Clara says.
Thinking about it early on in your design means that it's part of the puzzle considered from the outset, helping you ensure a good, clean finish to your design overall.
Should a backsplash end at cabinet or countertop?
Often, upper cabinets are slightly inset from base cabinets, meaning that your countertop and upper cabinets don't finish at the same vertical line. In this instance, you should end the backsplash at the counter to avoid a gap at the end of your base cabinet run.
Of course, this creates a gap for the upper cabinets, but this generally reads better. A better alternative could be to opt for floor-to-ceiling cabinets, or a pantry cabinet that sits on top of the countertop, at the end of a run of kitchen. This helps contain the backsplash a little more neatly, without having to finish on an open wall.


