Watch video: Super-tele zoom skills
Canon’s RF 200-800mm lens almost feels like a prototype by a mad scientist, yet thanks to hi-tech RF mounts and EOS R cameras with amazing AF and high ISO performance, Canon can make such lenses a reality. But there have to be compromises to make sure the lens isn’t super-enormous and super-expensive. This is why the RF 200-800mm lens has a variable maximum aperture that starts at a not-so-fast f/6.3 at the short end and goes to a not-fast-at-all f/9 at the longer end.
These smaller apertures ensure this lens is a very manageable size and weight, which is impressive considering the huge focal length range. When retracted, it’s only 314mm long and it weighs just over 2kg. It’s relatively well priced, too, at $1,899 / £2299. It has a filter size of 95mm, the same as Sigma and Tamron’s 150-600mm lenses.
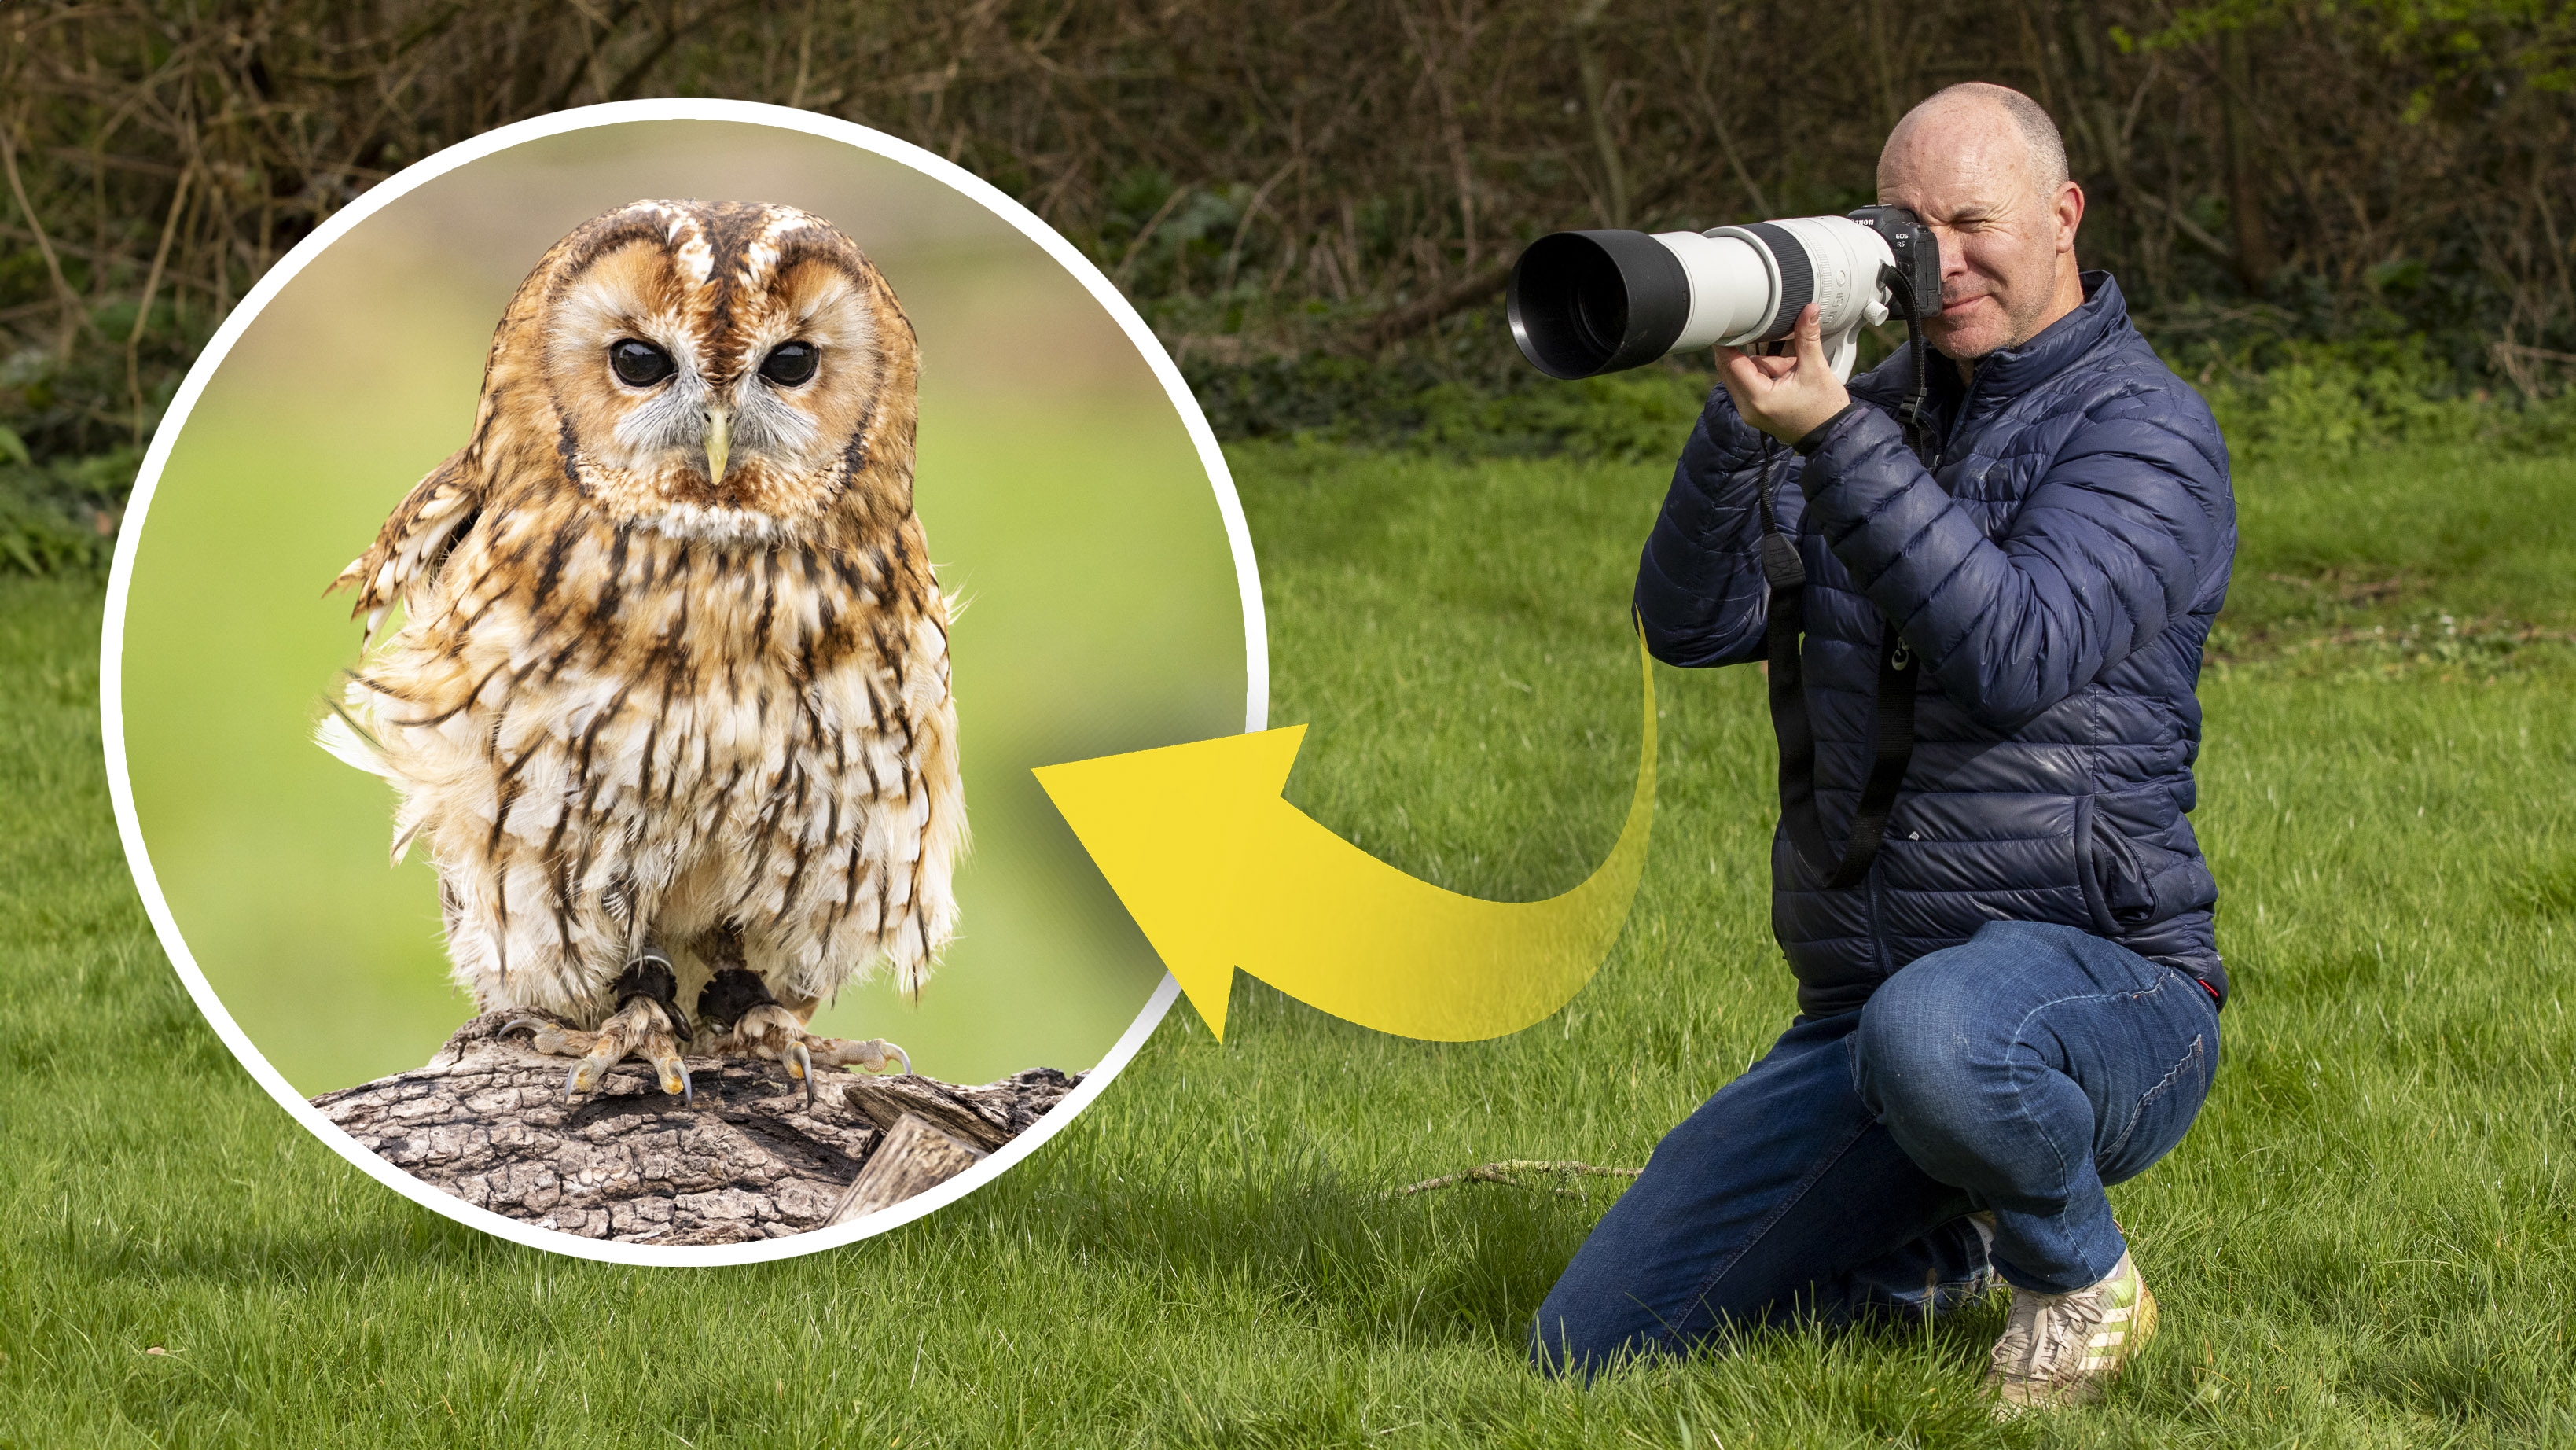
To test out this super-telephoto zoom in the field, we went to our local bird of prey center. As you can see on the right, there’s a big difference between 200mm and zooming in at 600mm…
1. Mighty telephoto zoom
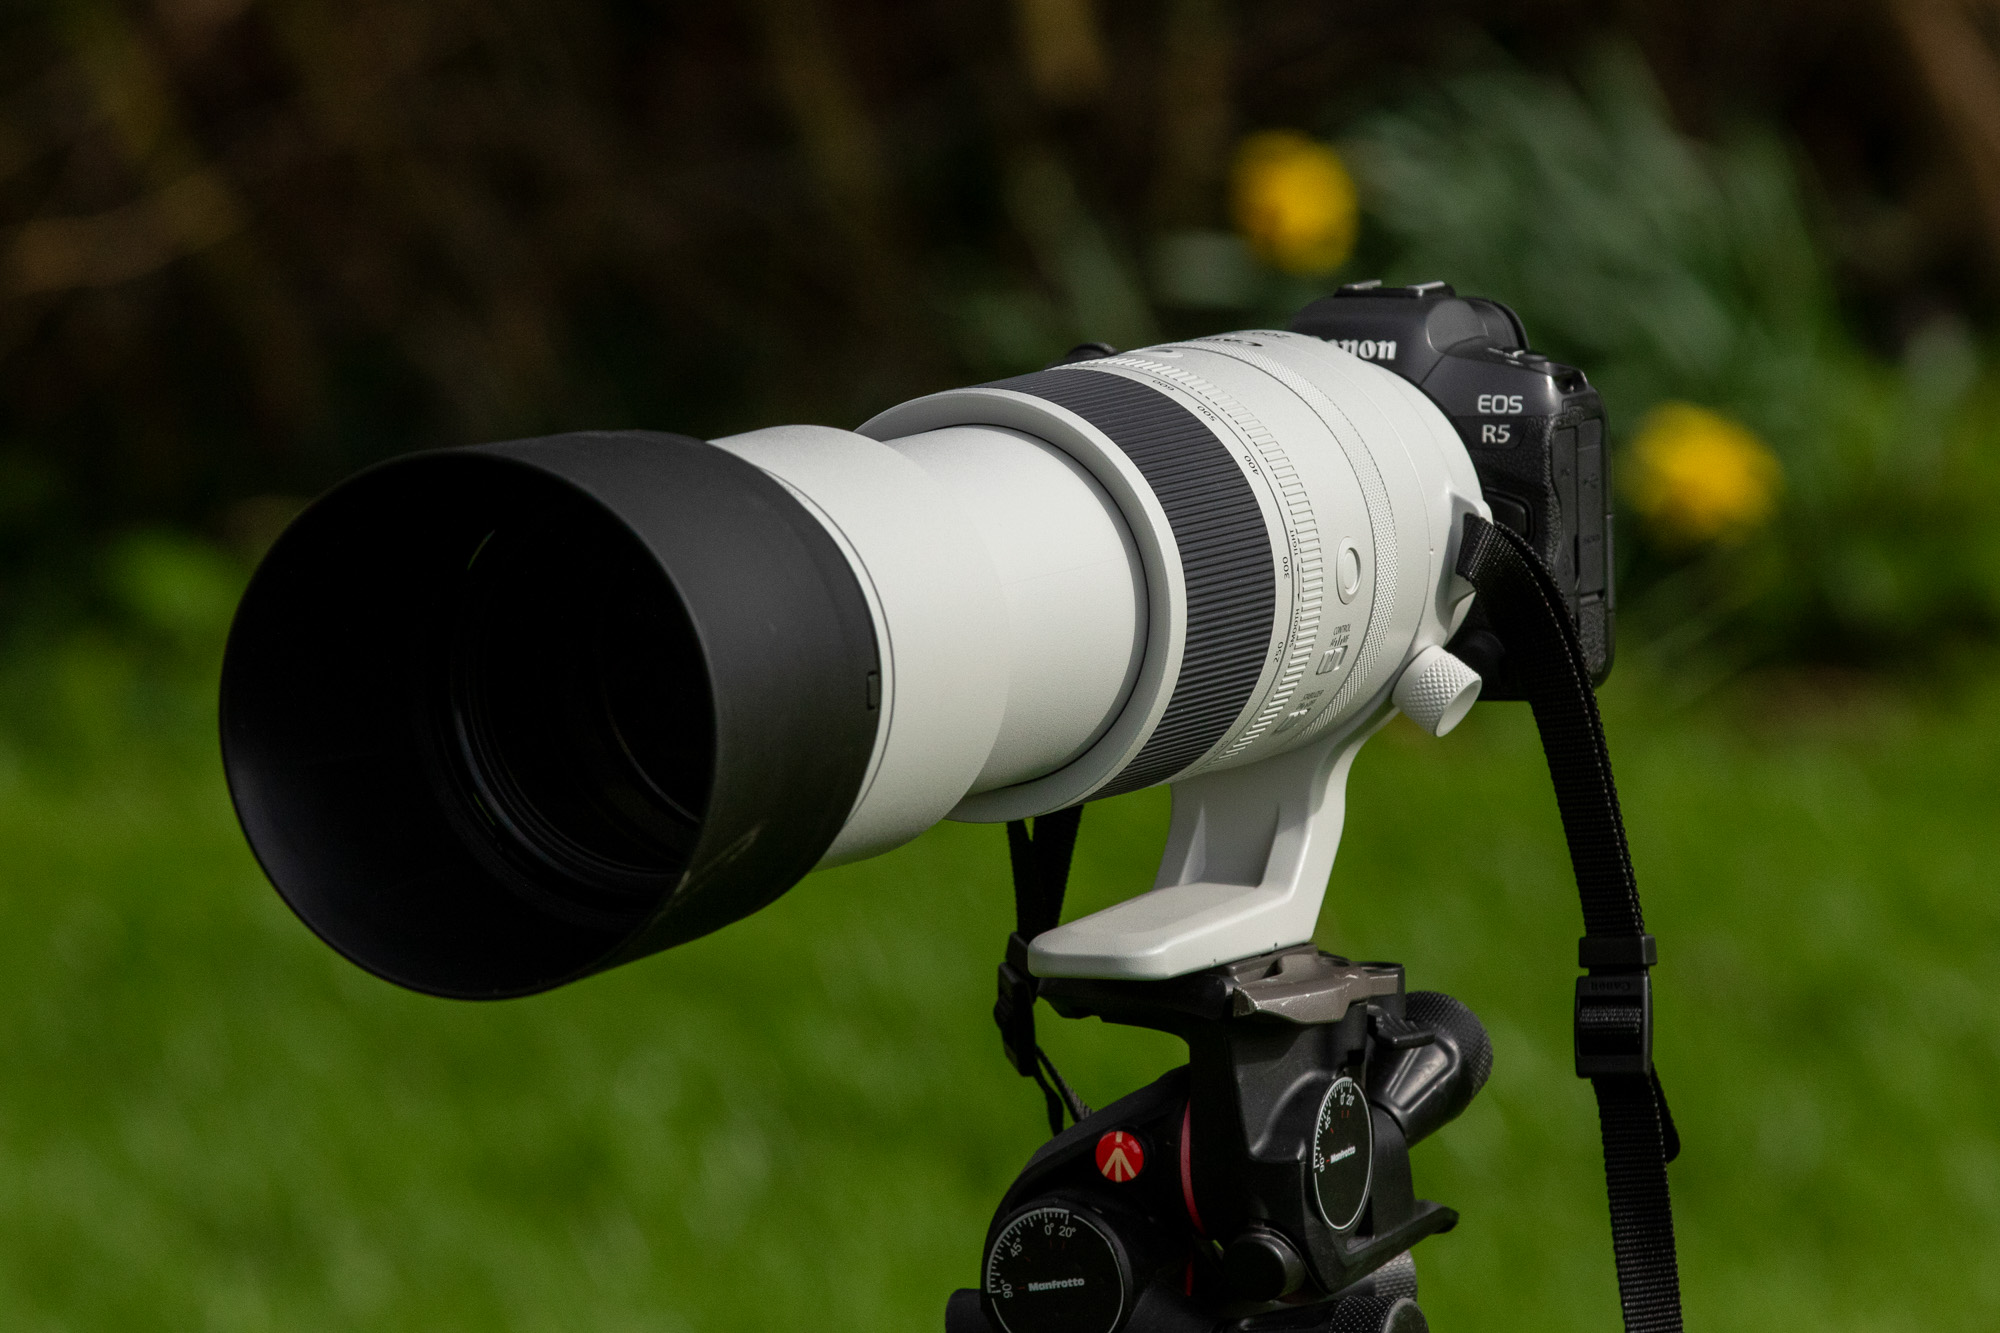
The Canon RF 200-800mm F6.3-9 IS USM comes in the white L-series colour, but it’s not an L-series lens, so it doesn’t have full weather sealing. However, Canon says it’s “dust and moisture resistant”, so should withstand light rain and dusty conditions.
2. Small & light for handheld
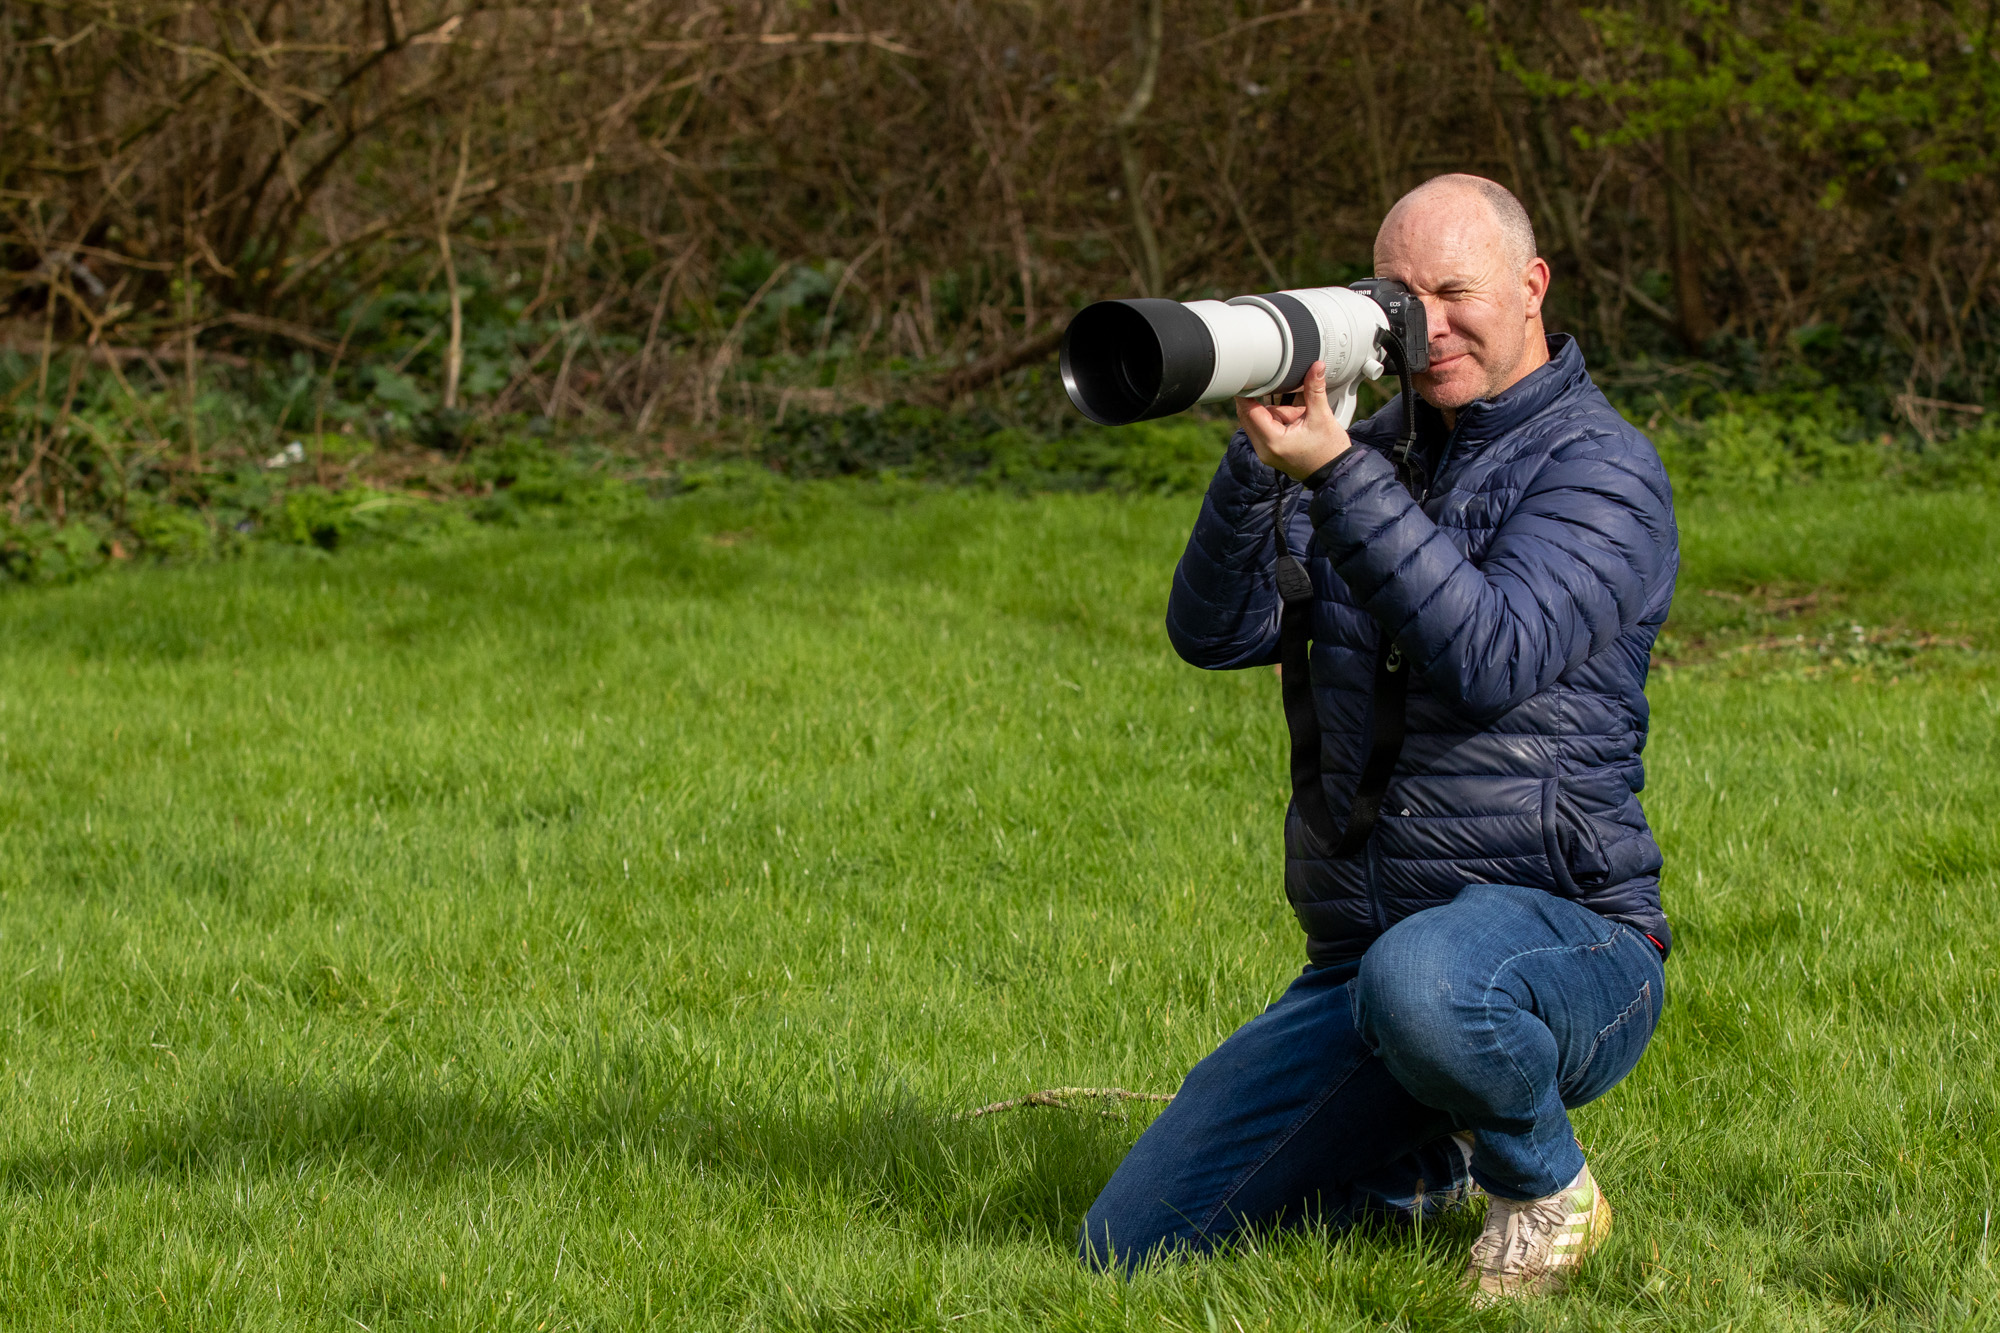
The lens felt light and easy to shoot with handheld, with no arm ache while we shot for an hour. Camera shake is more noticeable with very long lenses; IS offers 5.5 stops, or 7.5 stops with cameras with IBIS. This helps avoid shake at 800mm.
3. Use with newer EOS cameras
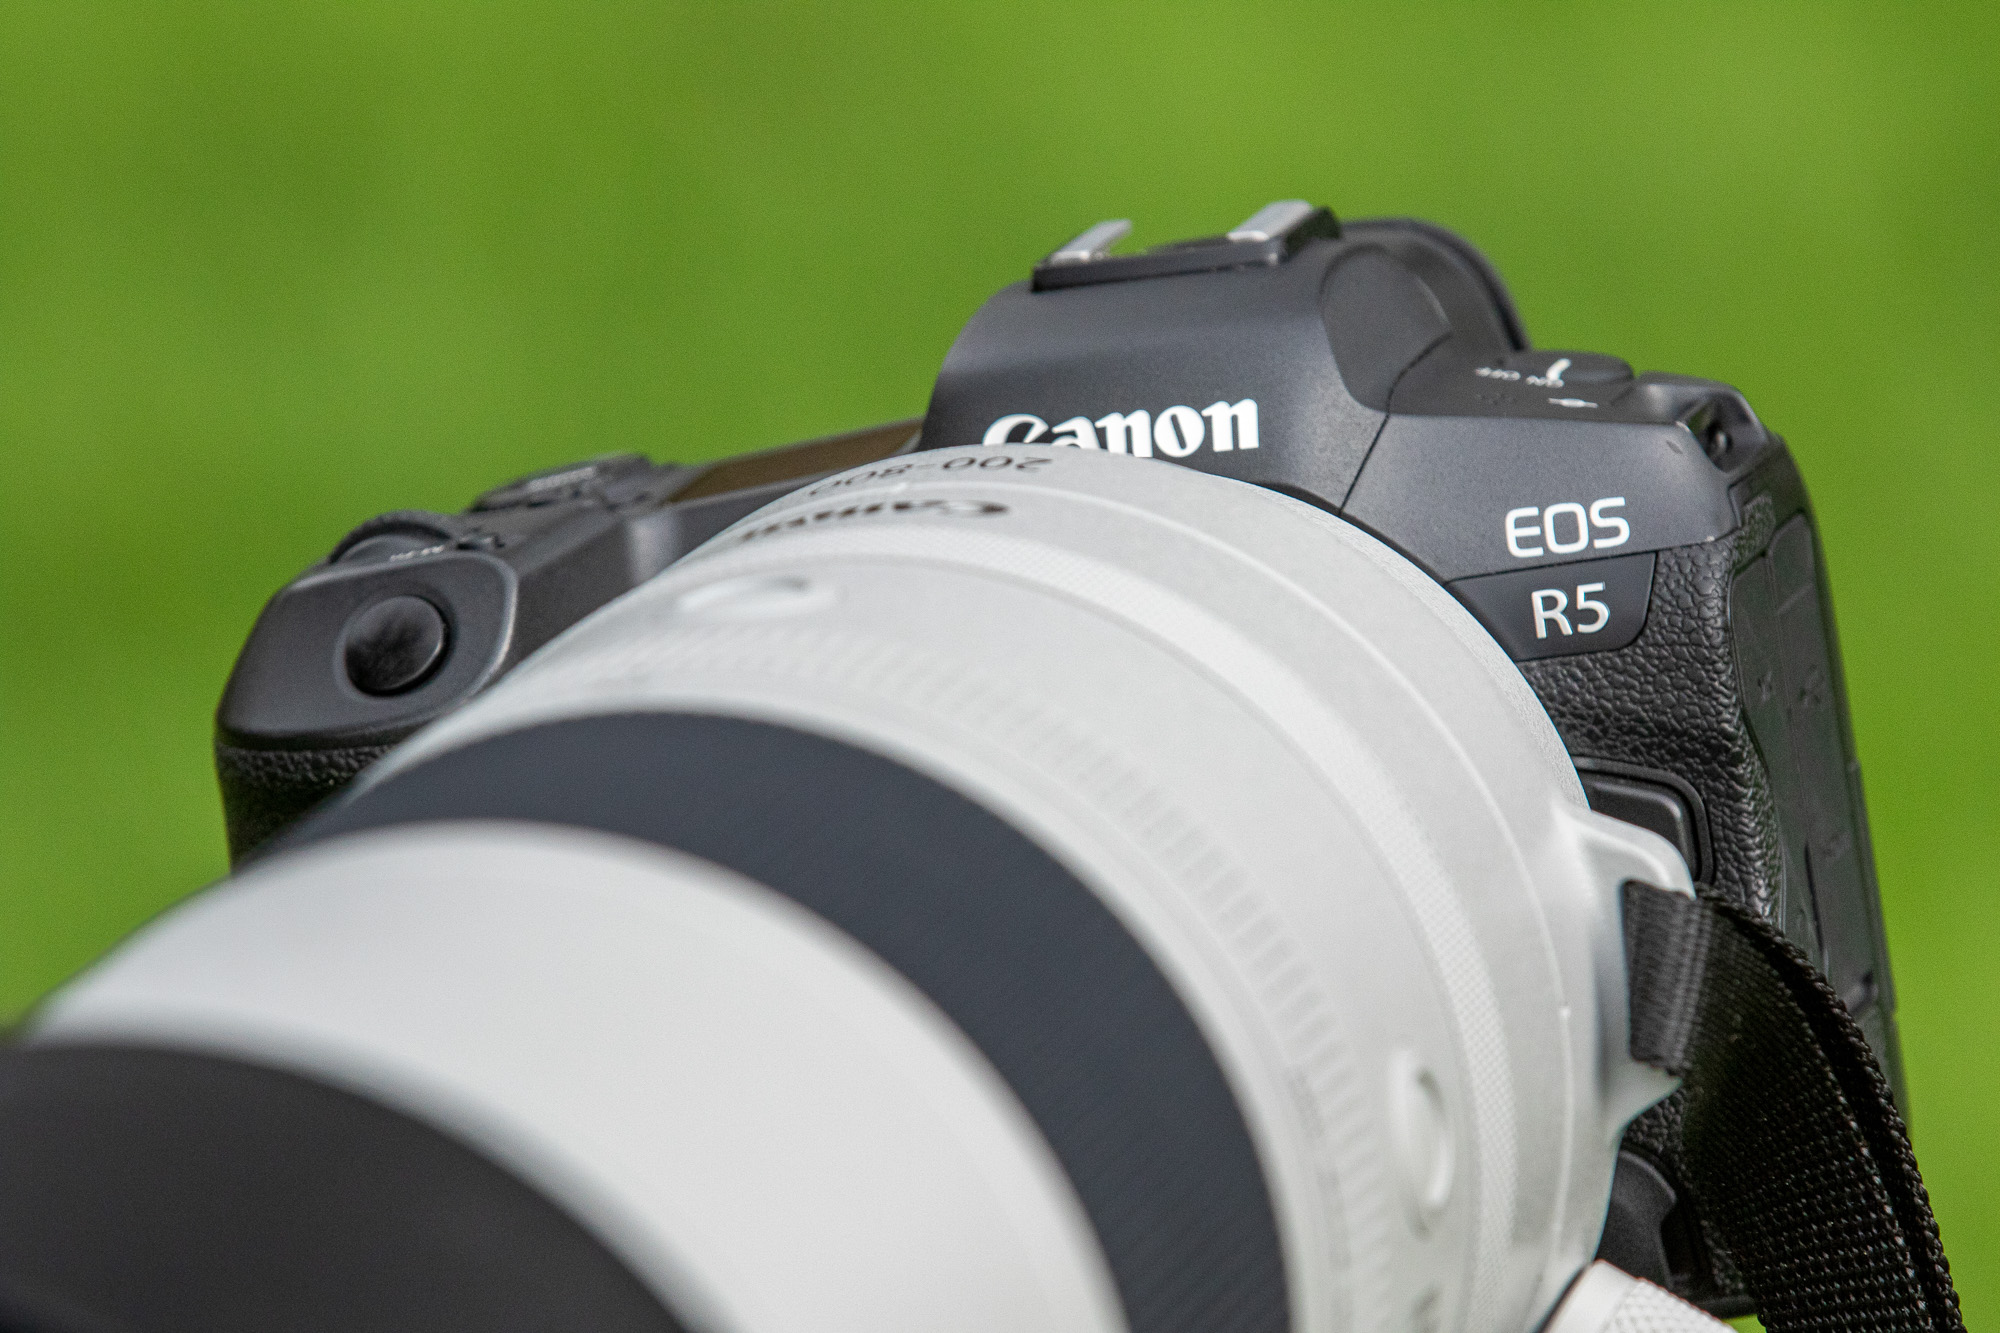
We recommend you use one of the latest Canon EOS R mirrorless cameras with the RF 200-800mm lens, such as the full-frame EOS R5 or EOS R6 Mk II, as you will want the autofocus AI tech with Eye Detection for Animals for sharp shots of distant subjects.
4. When aperture decreases
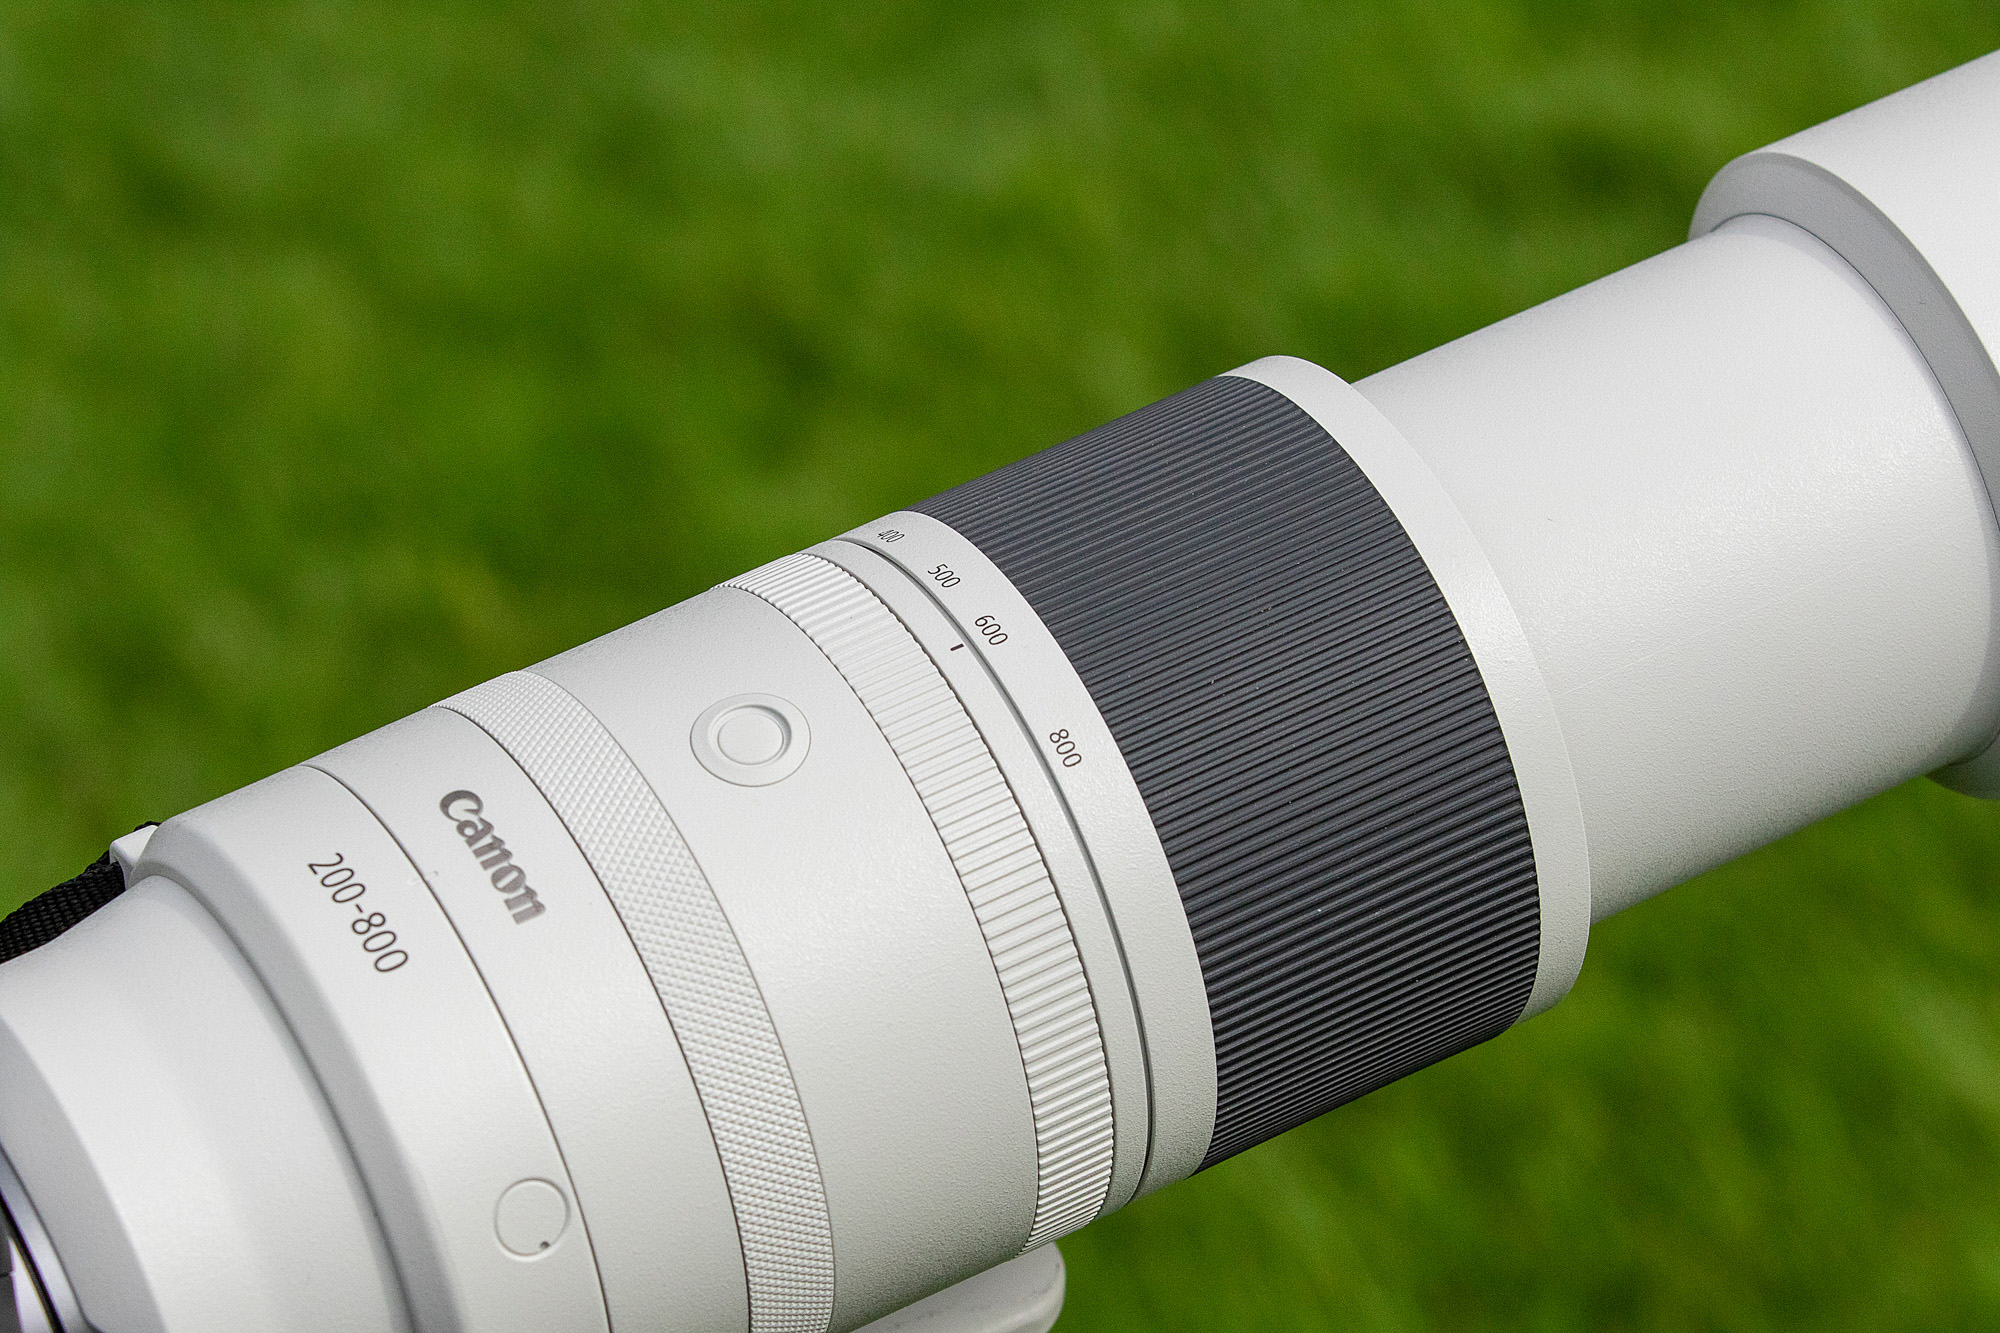
Aperture decreases as you zoom in, so it’s f/6.3 at 200mm, but even at just 300mm, it drops to f/7.1, then drops again to f/8 at 500mm, and you’re stuck with f/9 at anything over 600mm, up to 800mm, when the narrowest aperture is f/51!
5. Shutter speed too slow
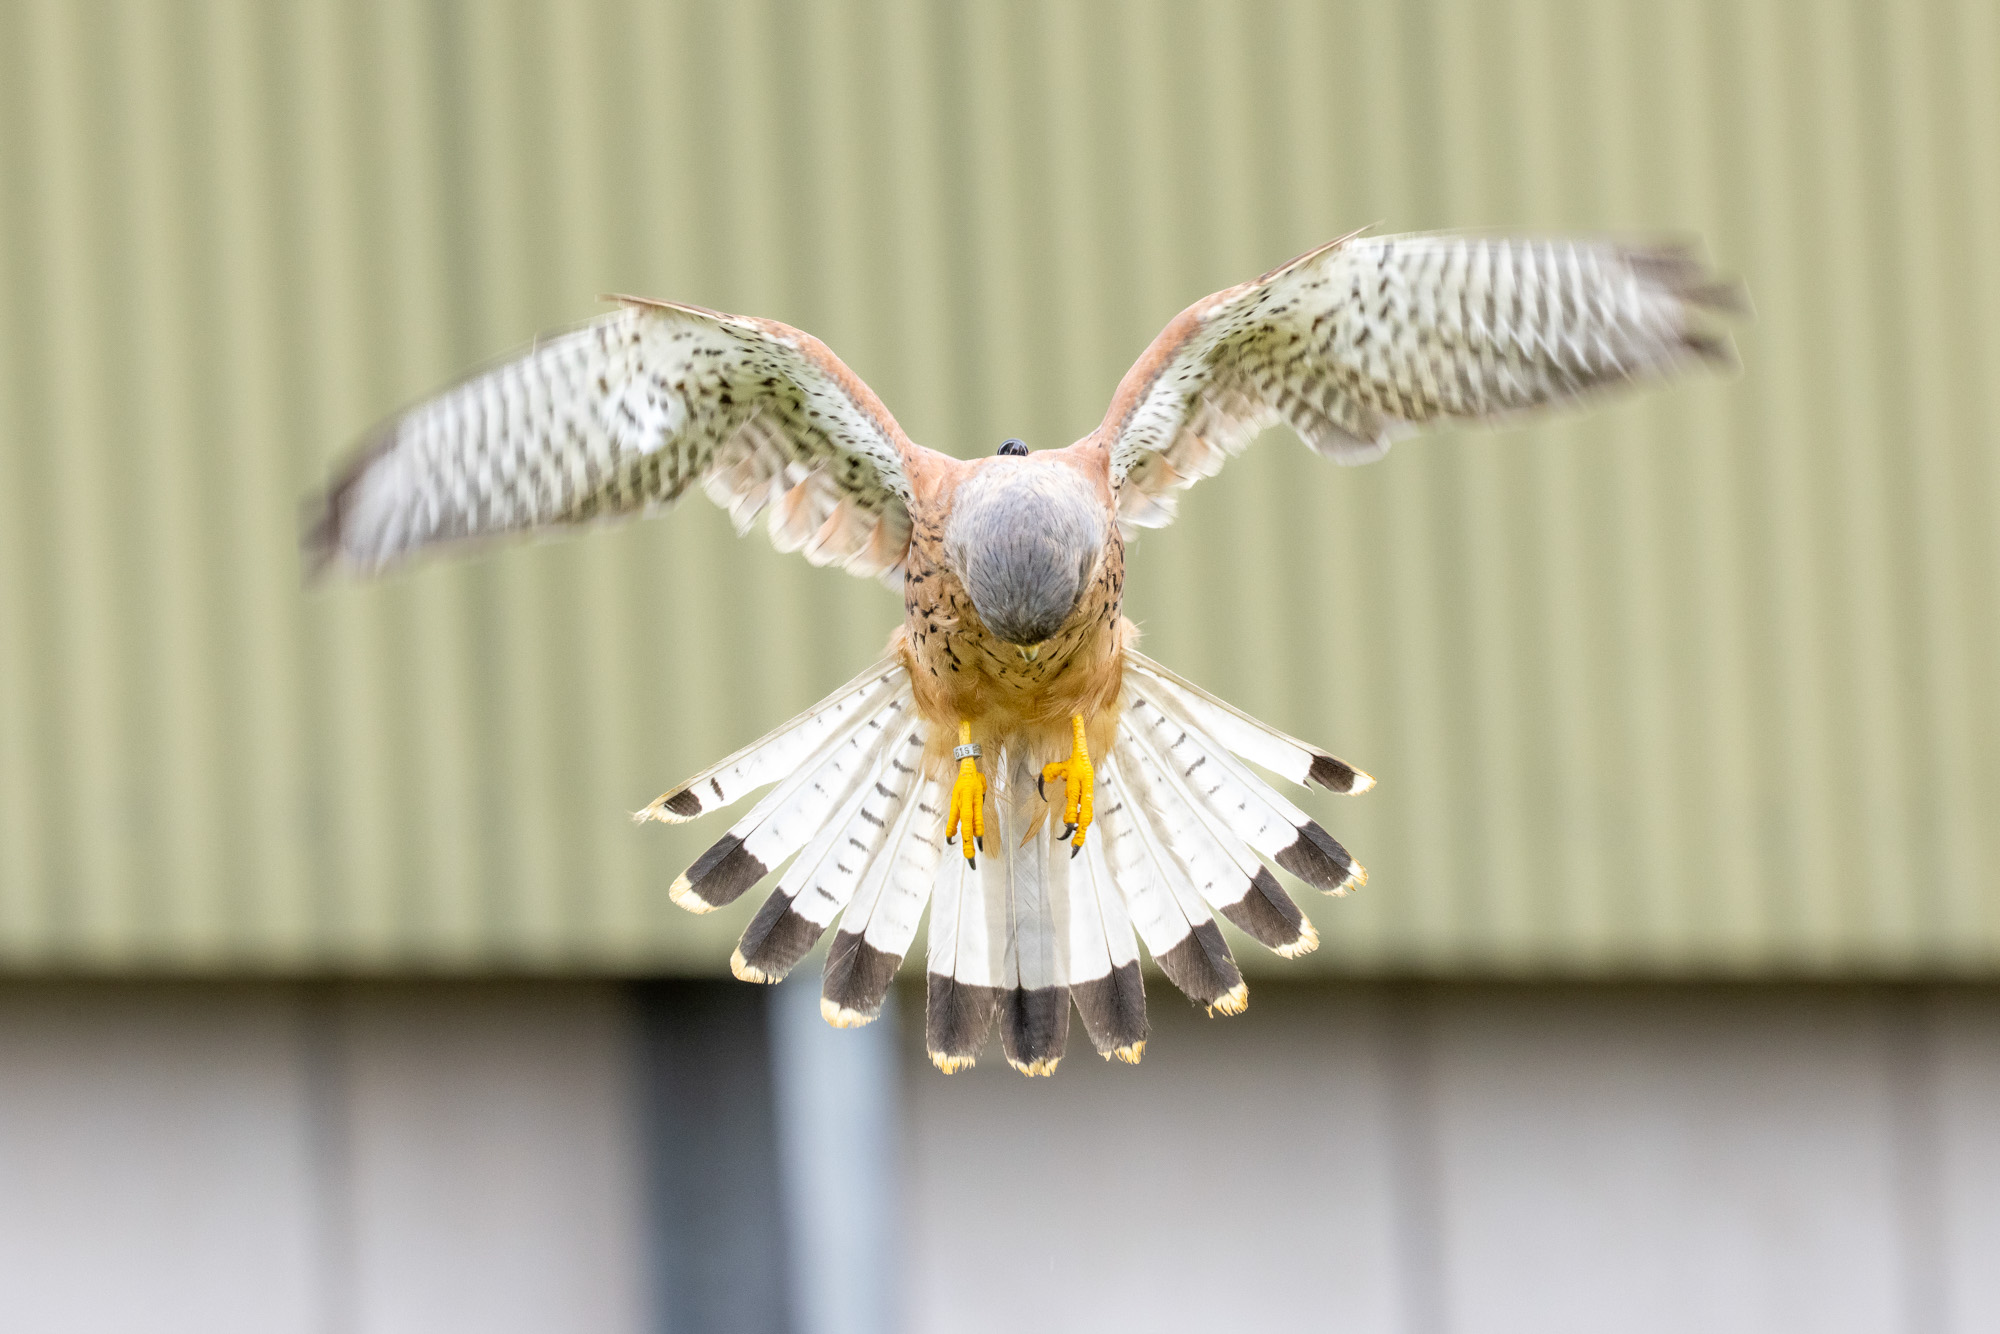
Narrow apertures = slower shutter speeds, so be prepared to push your ISO for faster shutter speeds with the RF 200-800mm. We shot at 1/500 sec, f/9, ISO1600 here, but this wasn’t fast enough to freeze this kestrel’s flapping wings as it hovered.
6. Exposures for wildlife
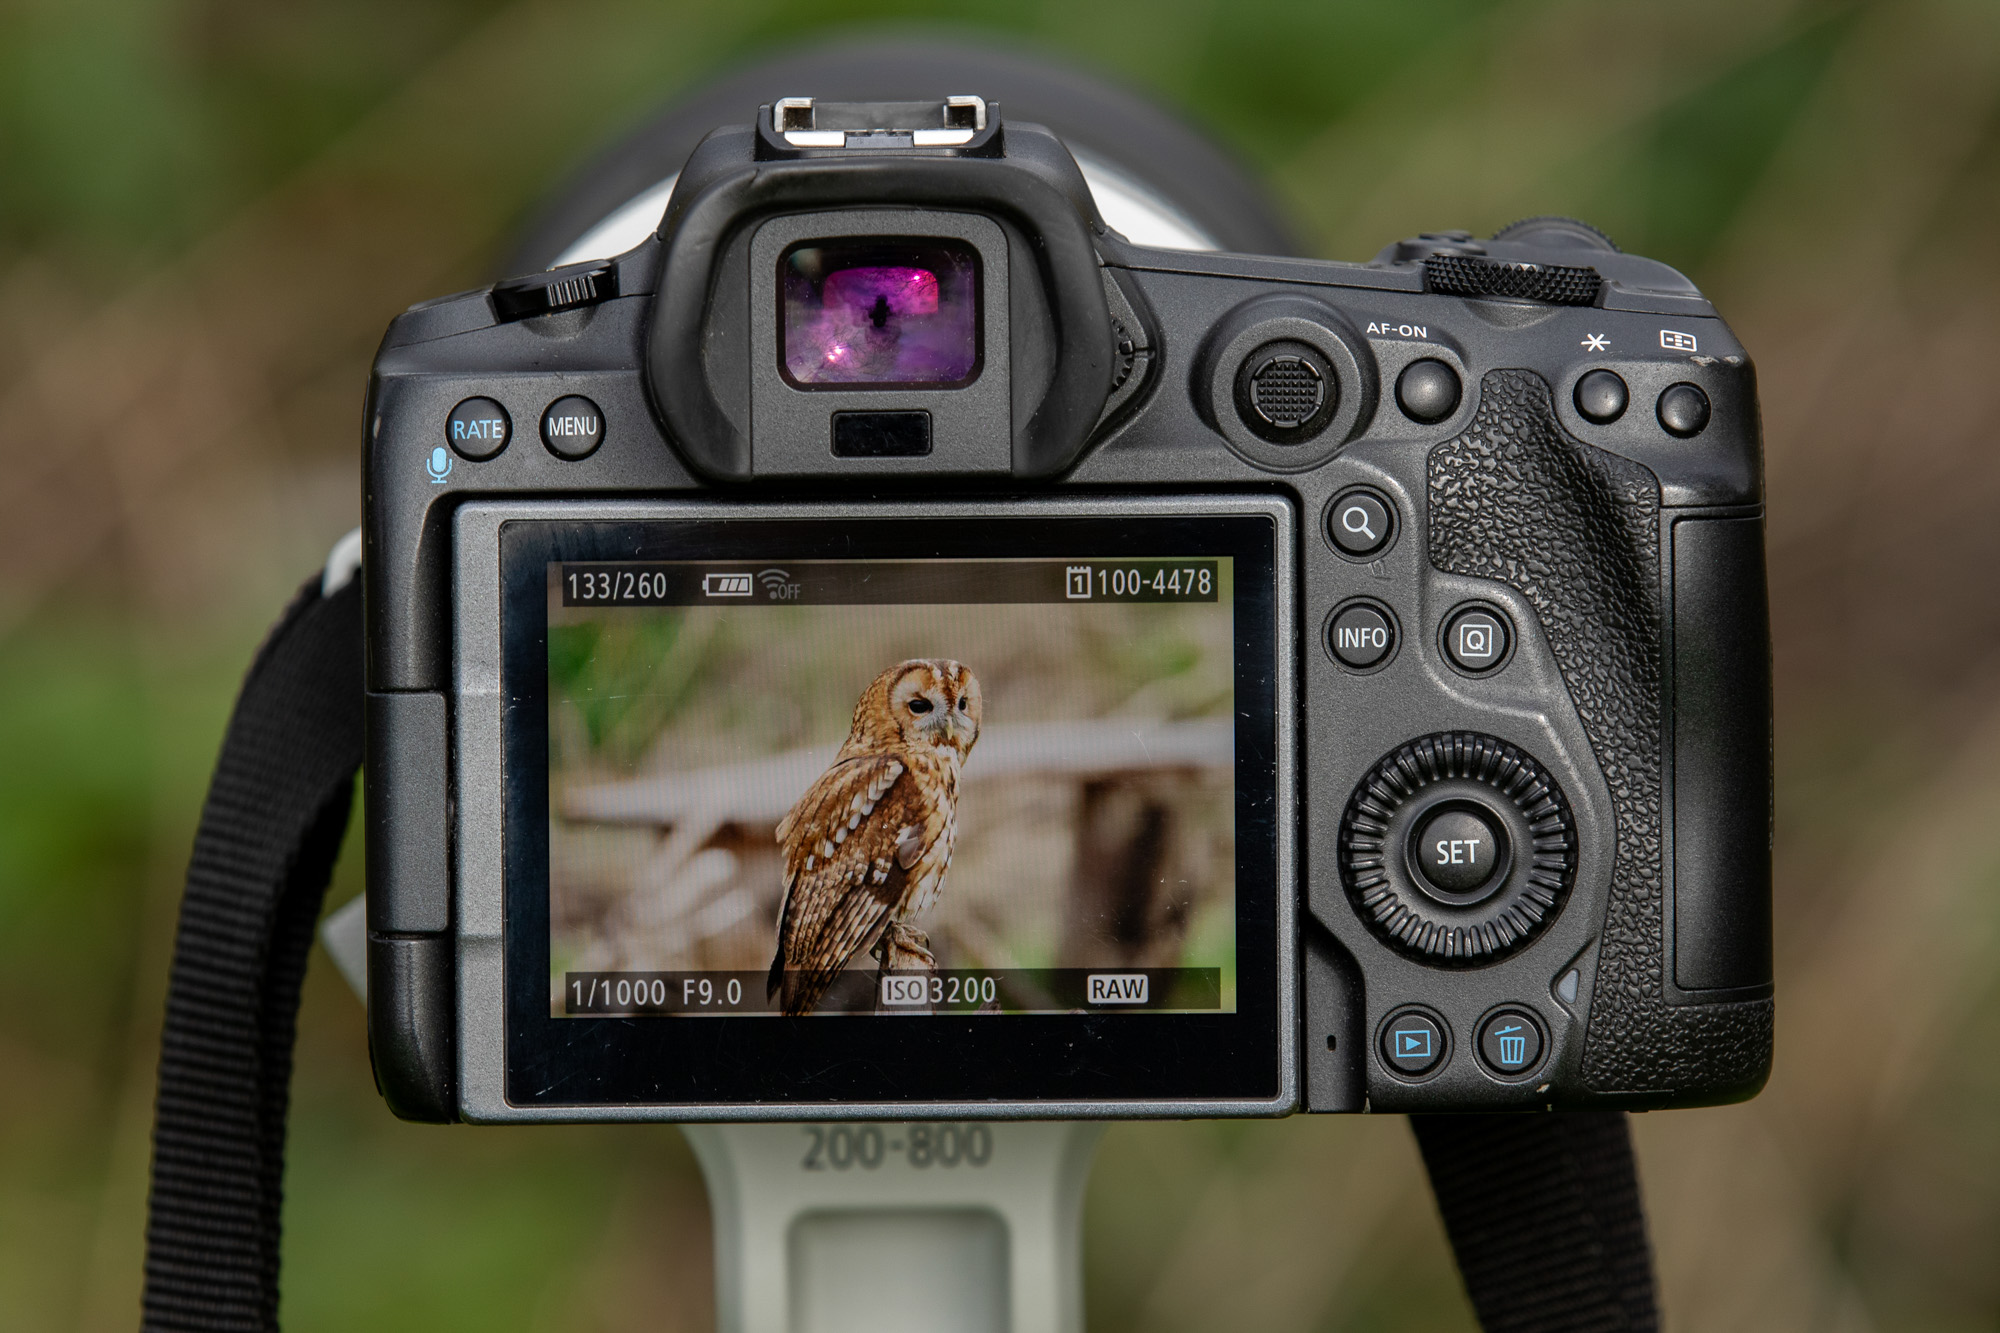
Even in daylight on an overcast day, we had to resort to shooting at ISO3200 at f/9 to get a high shutter speed of 1/1000 sec for the birds. The tawny owl was sitting fairly still, but the fast shutter speed was needed to freeze the feathers in the wind.
7. Not so sharp at 800mm
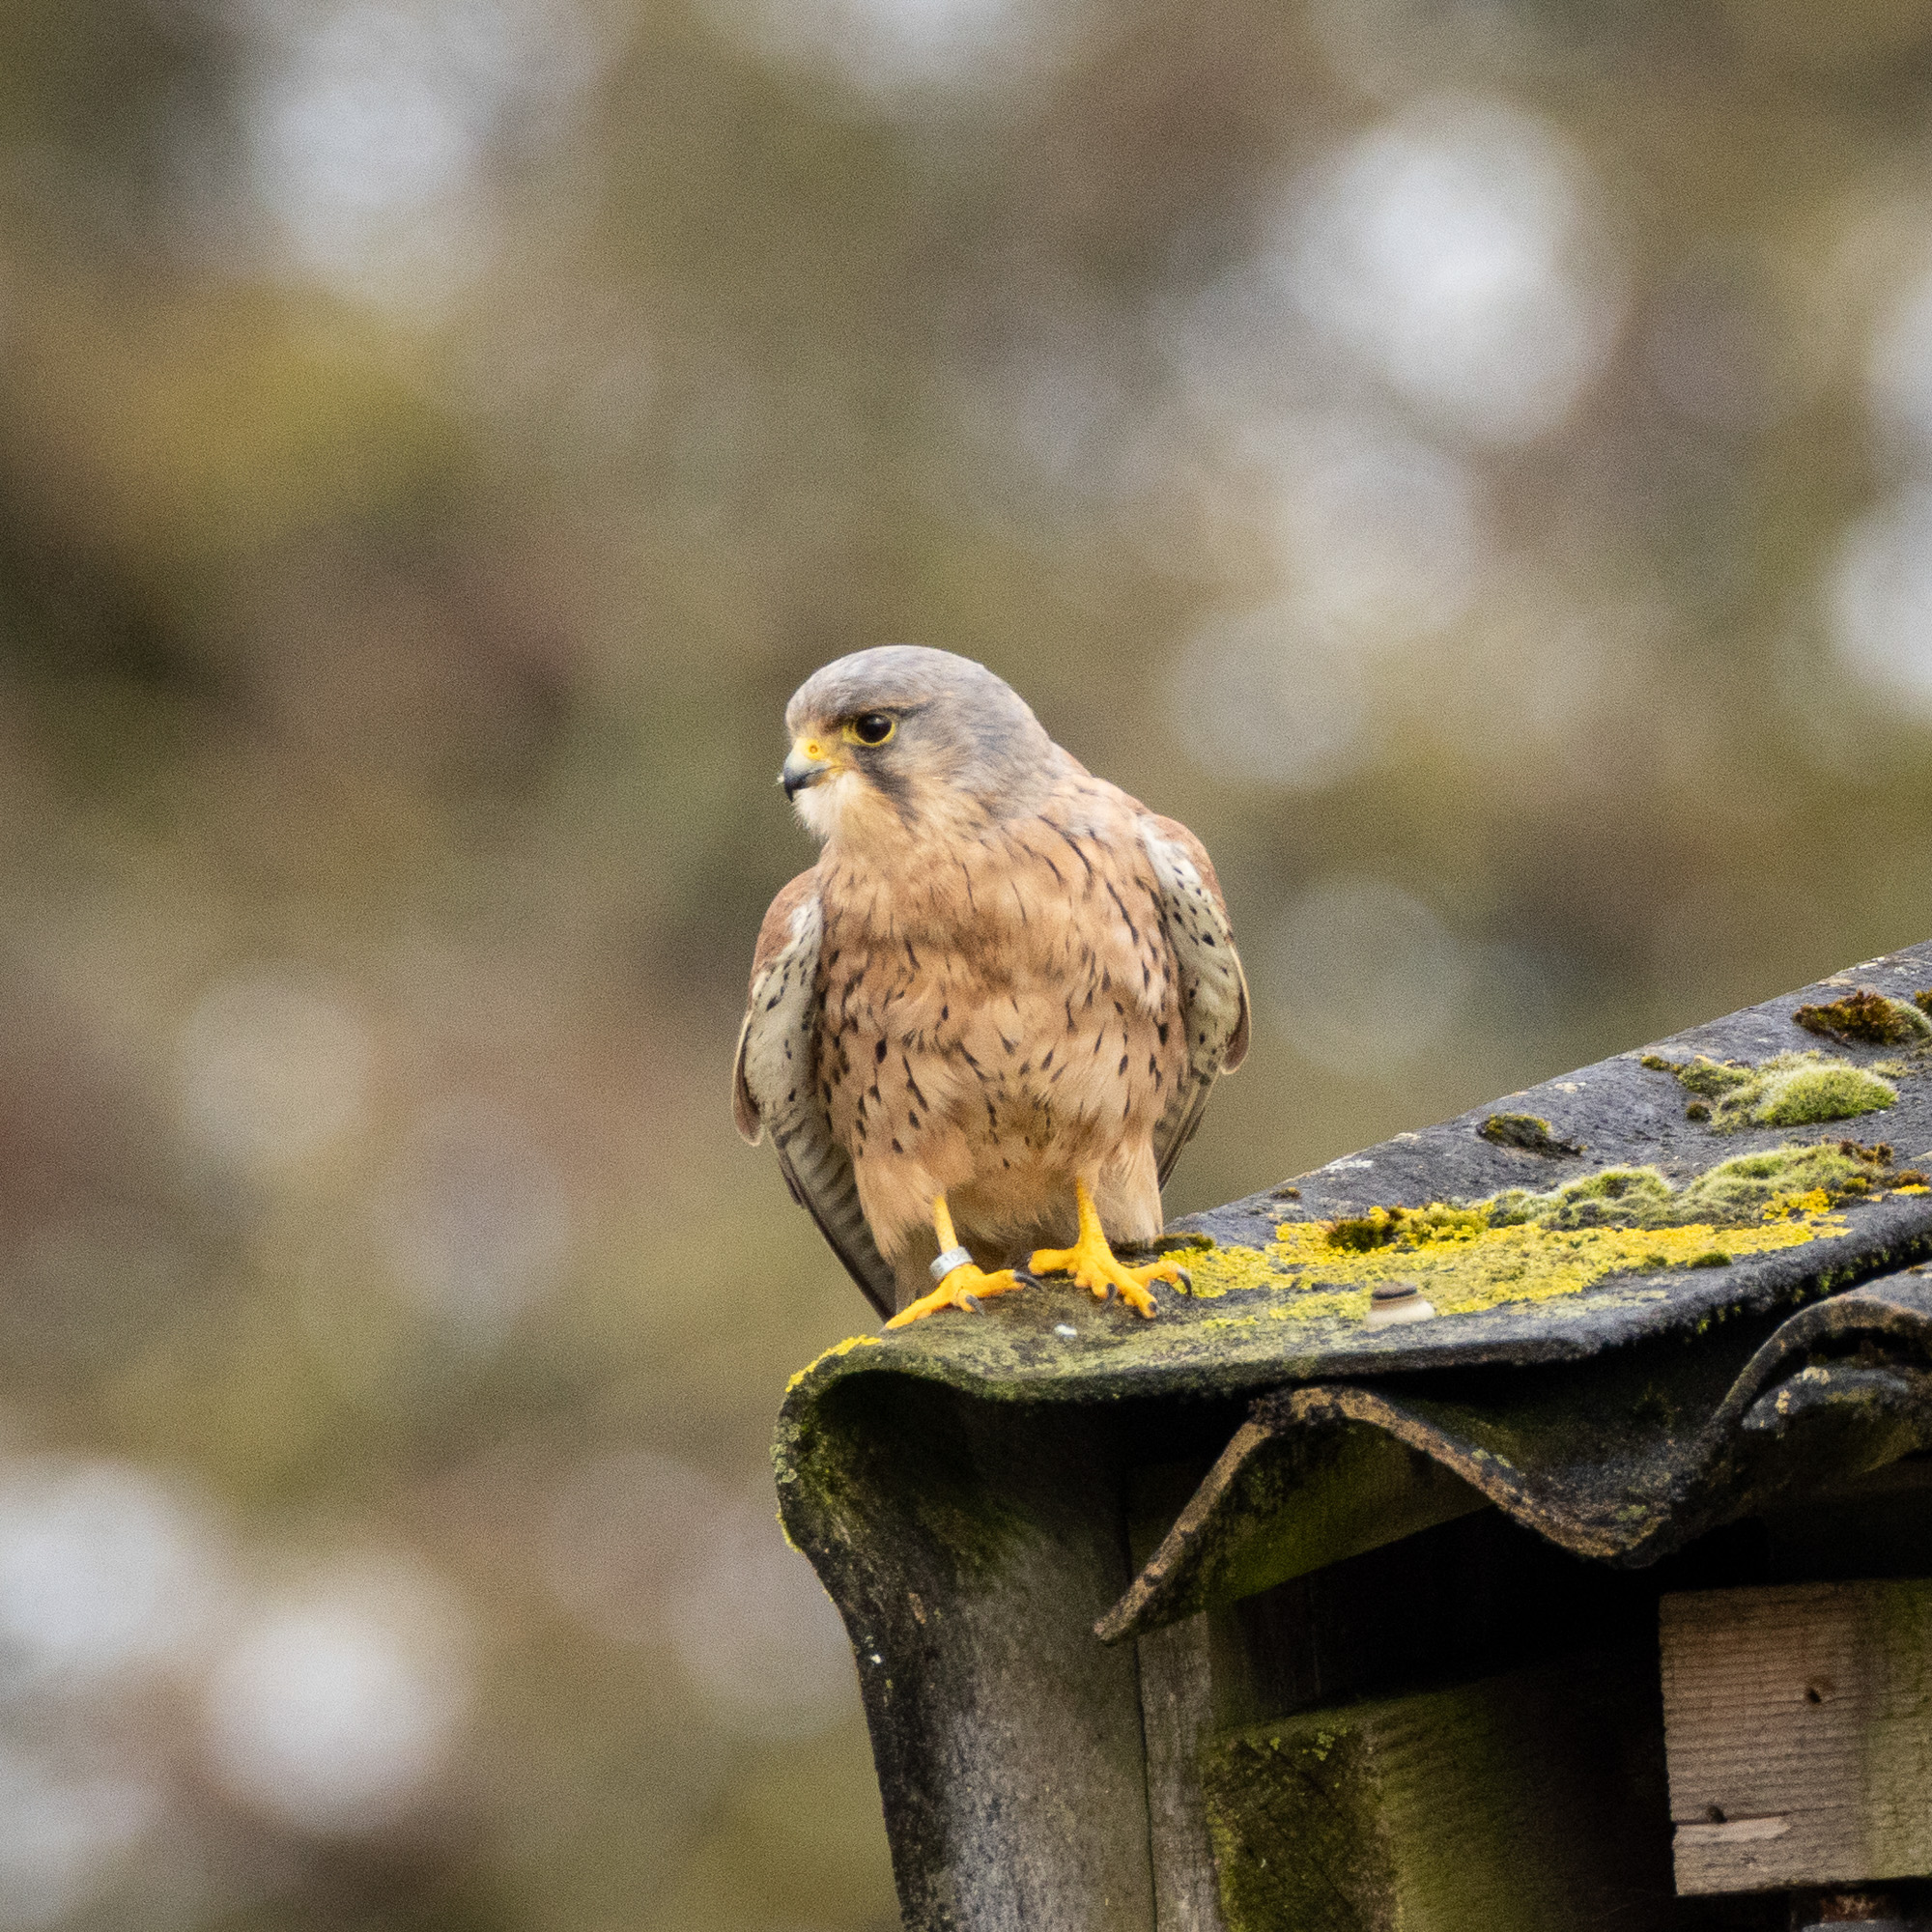
It was fun using the lens at 800mm, as we could zoom in on birds about 20 metres away, and use the EOS R5’s AF to lock on for a sharp shot. Or so we hoped. The lens offers the best image quality through its 200-600mm range, while between 700mm and 800mm, there is a noticeable drop in sharpness in the centre of the frame and overall image quality. So, you could say you have a very sharp 200-600mm lens!
8. Distant backgrounds are best
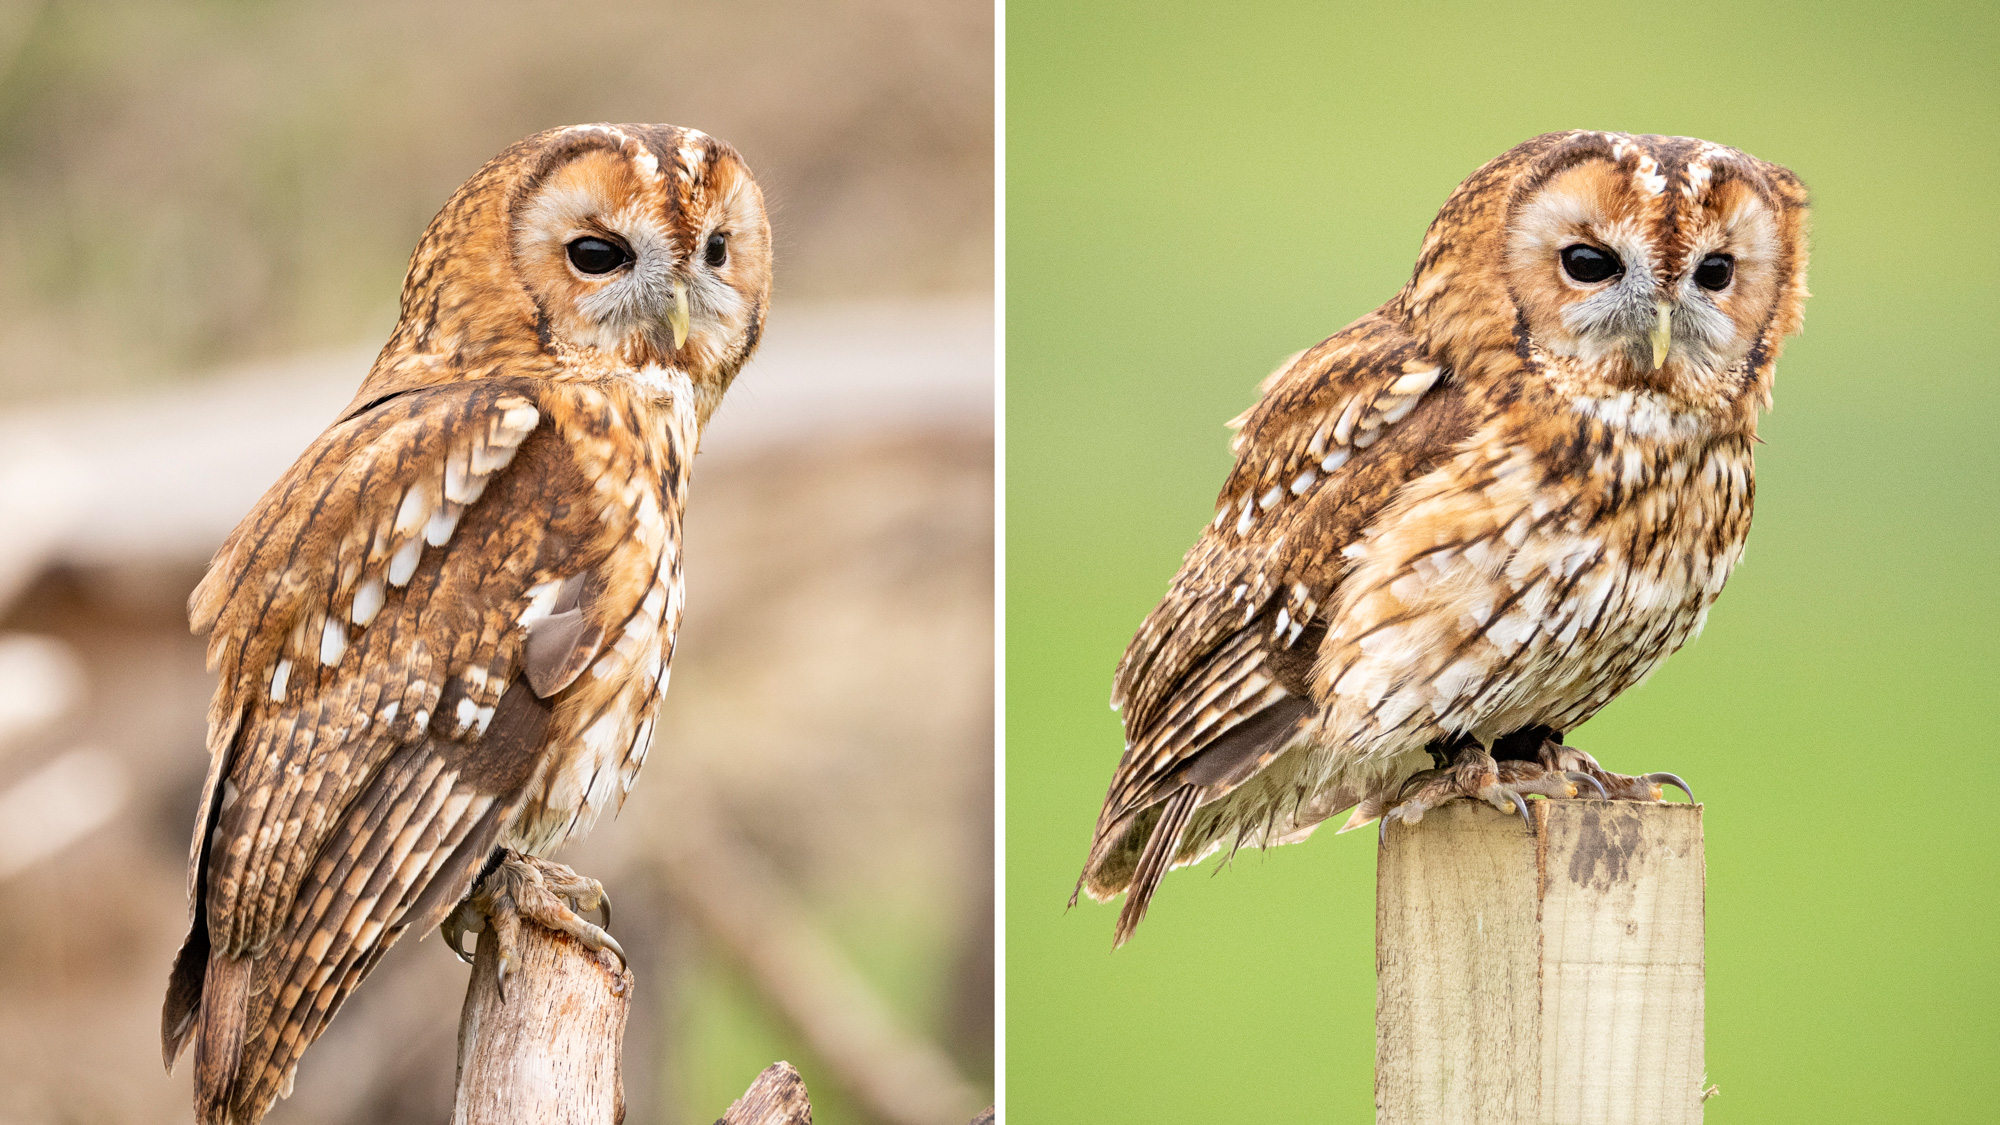
If you saw this photo (above right), you might assume it’s shot at f/2.8 or f/4 with a 400mm lens. But this was shot at f/9 and 800mm on the RF 200-800mm. Usually, f/6.3 to f/9 aren’t the apertures you’d want for wildlife, as the super-long focal lengths decrease depth of field, even at these narrower apertures. But the trick is to shoot subjects positioned miles from greenery behind, so you can really blur backgrounds so they stand out from surroundings – like this tawny owl on a post, with the fields 50+ metres beyond.
Compare this to the photo of the owl above left, when it was nearer to the hedges, wooden fence and logs behind. This was shot at f/9 at 570mm, and while our owl subject is sharpest in the frame, the background isn’t sufficiently blurred, so remains distracting to the eye, and therefore the bird doesn’t stand out so well.
9. Crop a lot!
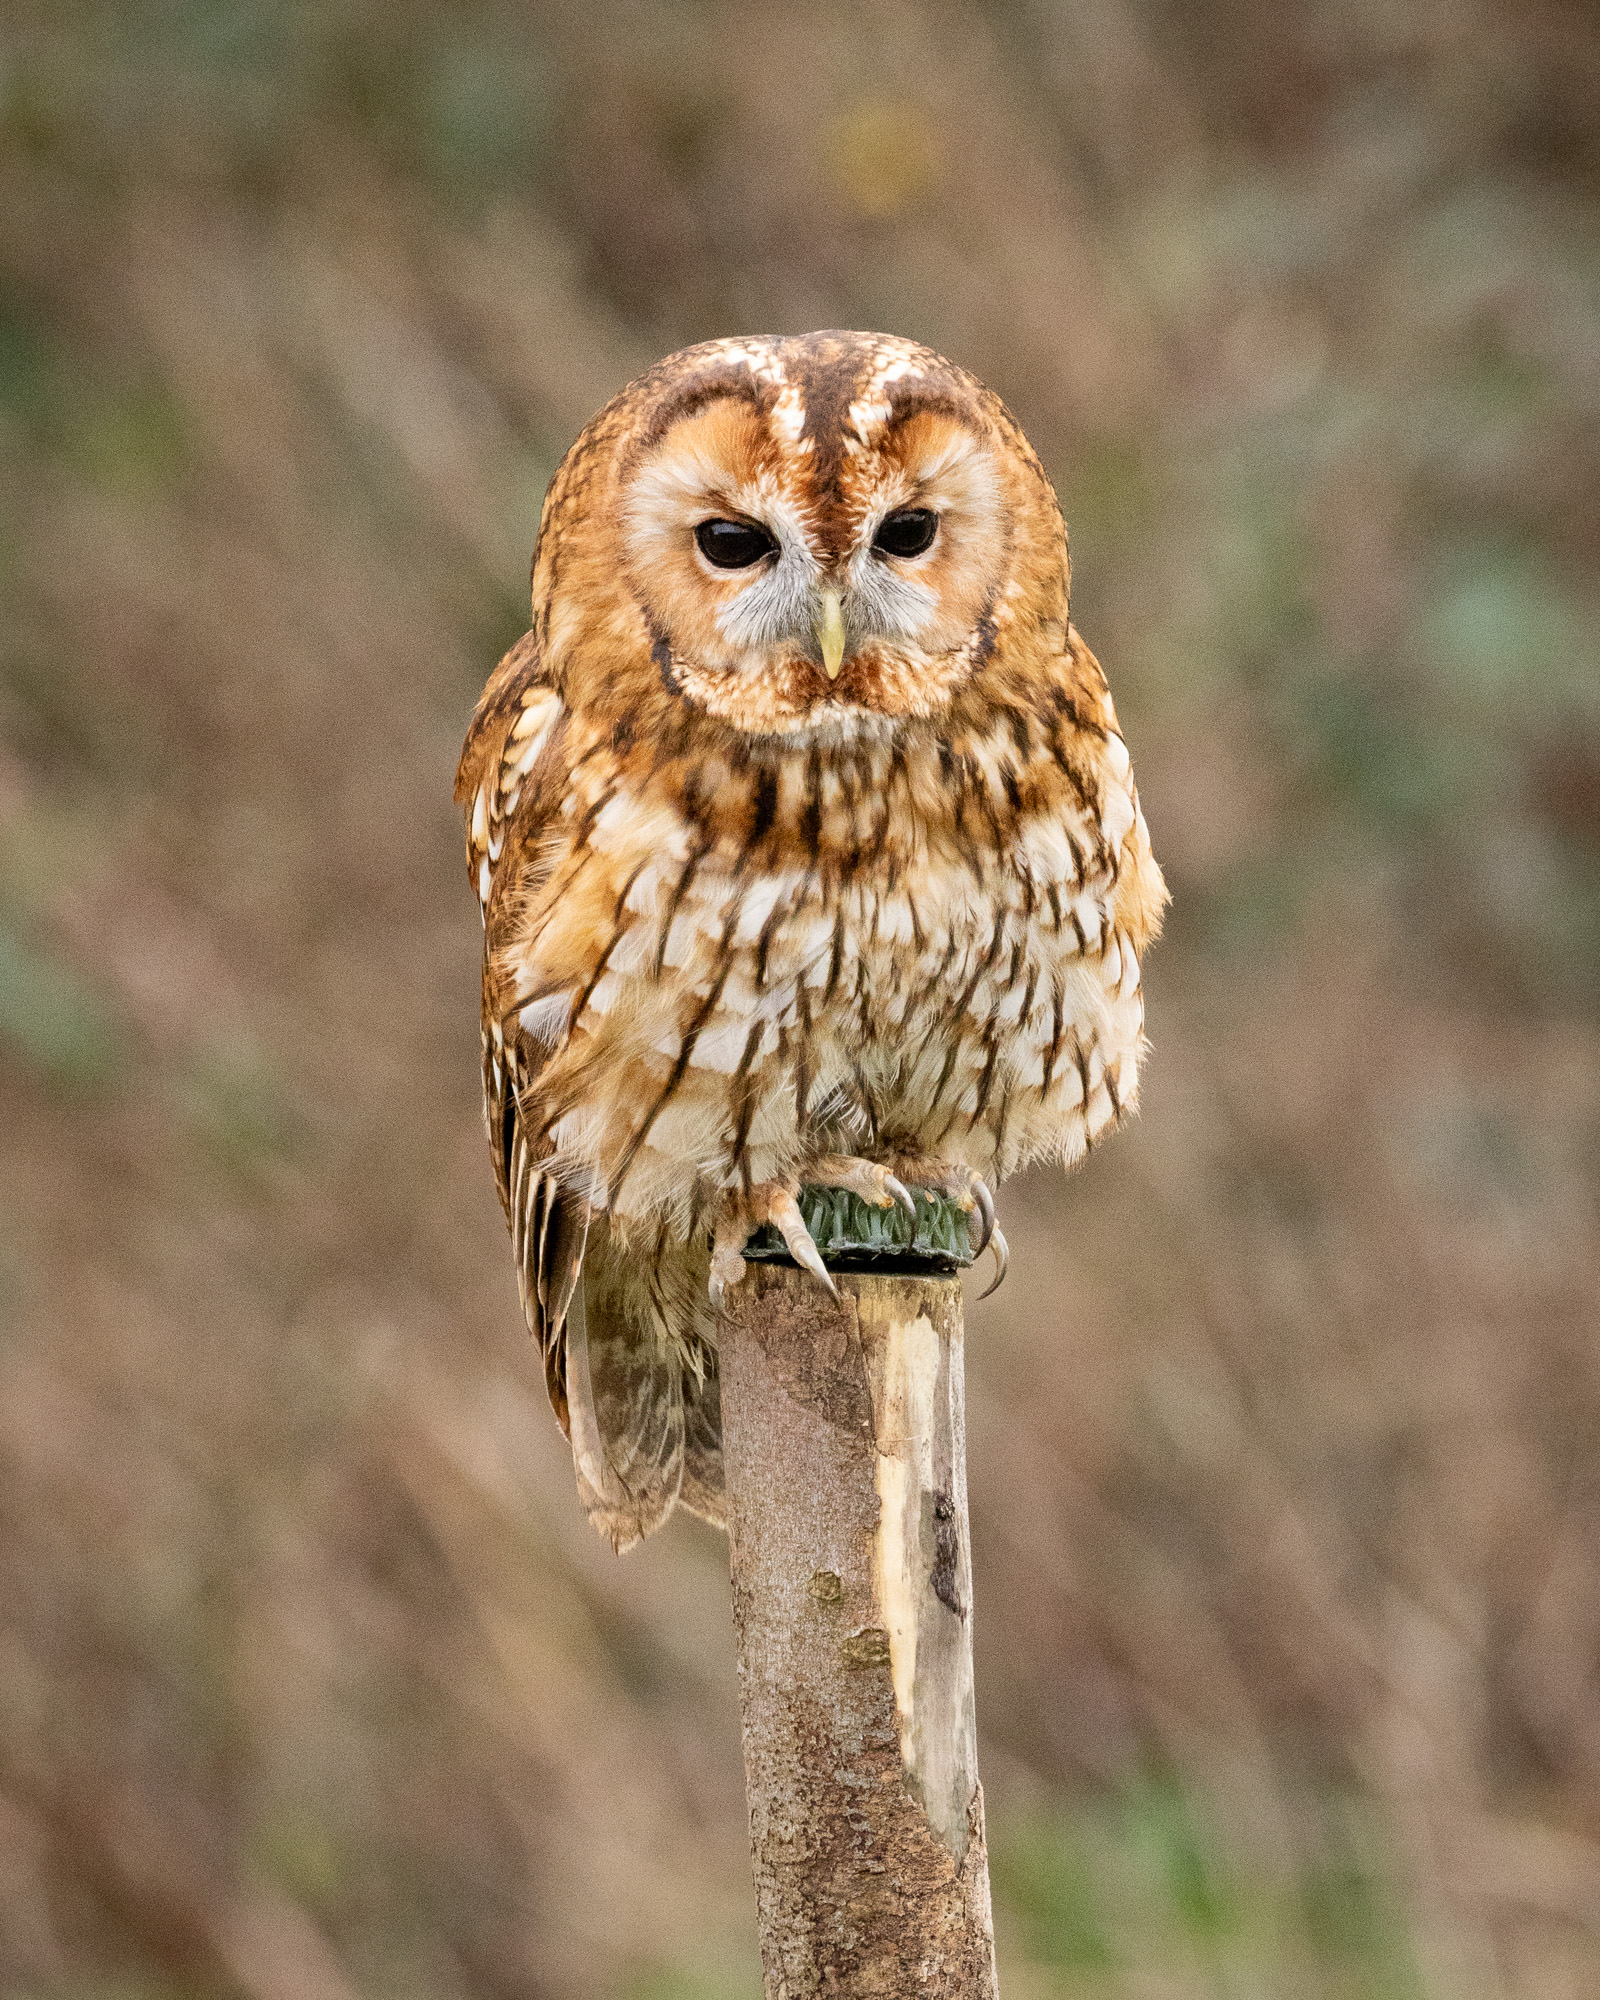
When shooting with the RF 200-800mm, we benefitted from the 45MP full-frame R5’s high resolution, which enables you to crop quite drastically and still be left with very usable sized images. RAW/Large JPEGs are 8192 x 5464 pixels, but even when we heavily cropped the shot to the image on the right, we still had an image that was 2938 x 3672 pixels in size. Big enough for an A4 print and all online use.
10. Use the 1.6x crop mode
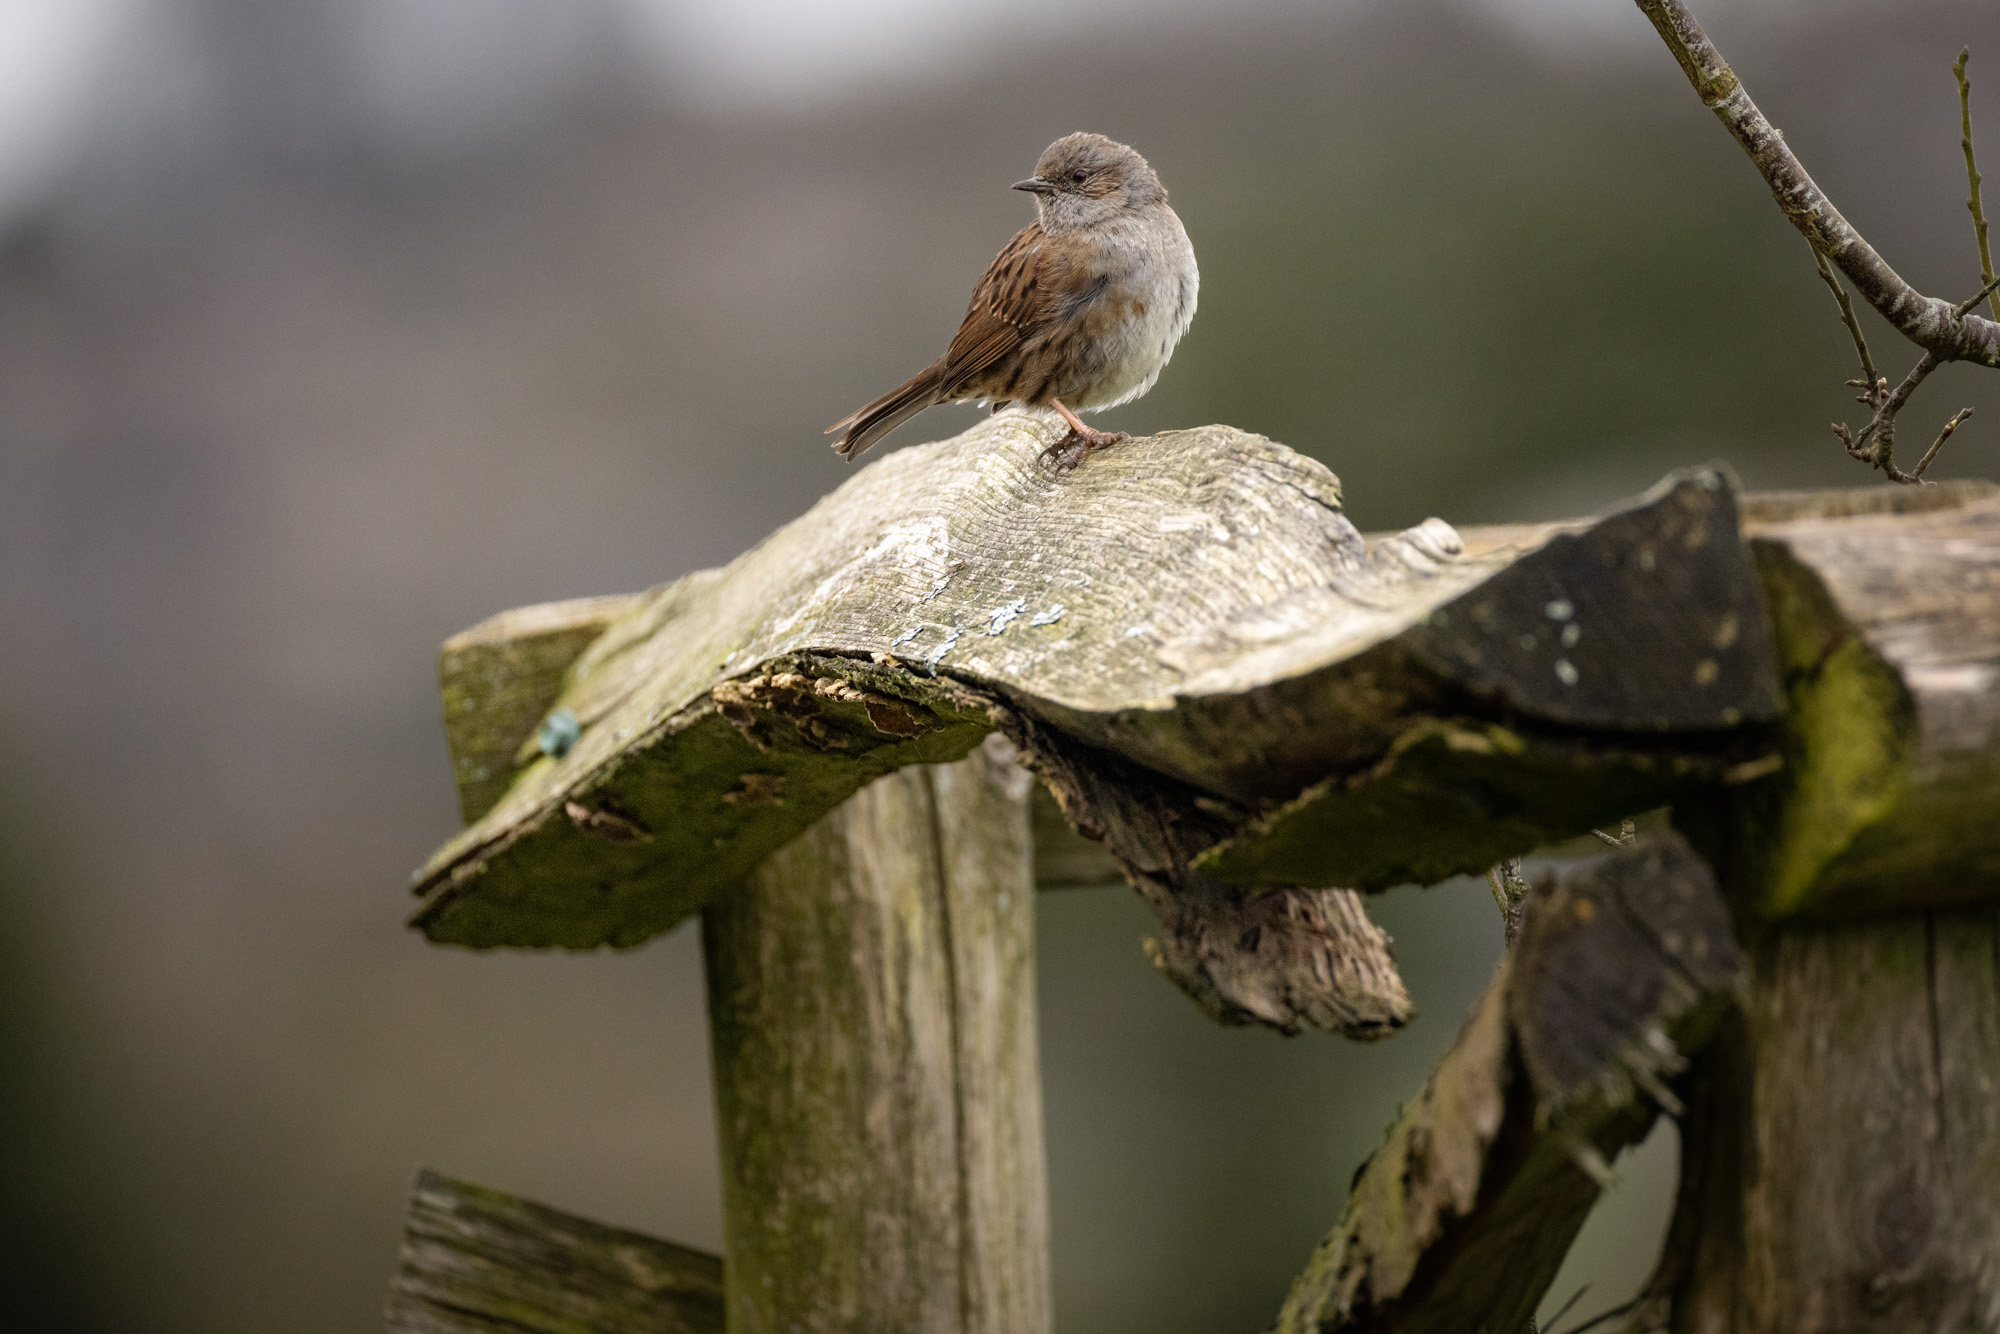
Another benefit of the Canon R5 full-framer is the Cropping/aspect mode, found in the red shooting menu. Using the 1.6x option when at 600mm for sharper shots, we increased the effective focal length to 960mm. We spotted this little dunnock 10 metres away, and could capture a frame-filling shot, with the bird undisturbed as we were standing far away.
See our guide to the best Canon RF lenses


