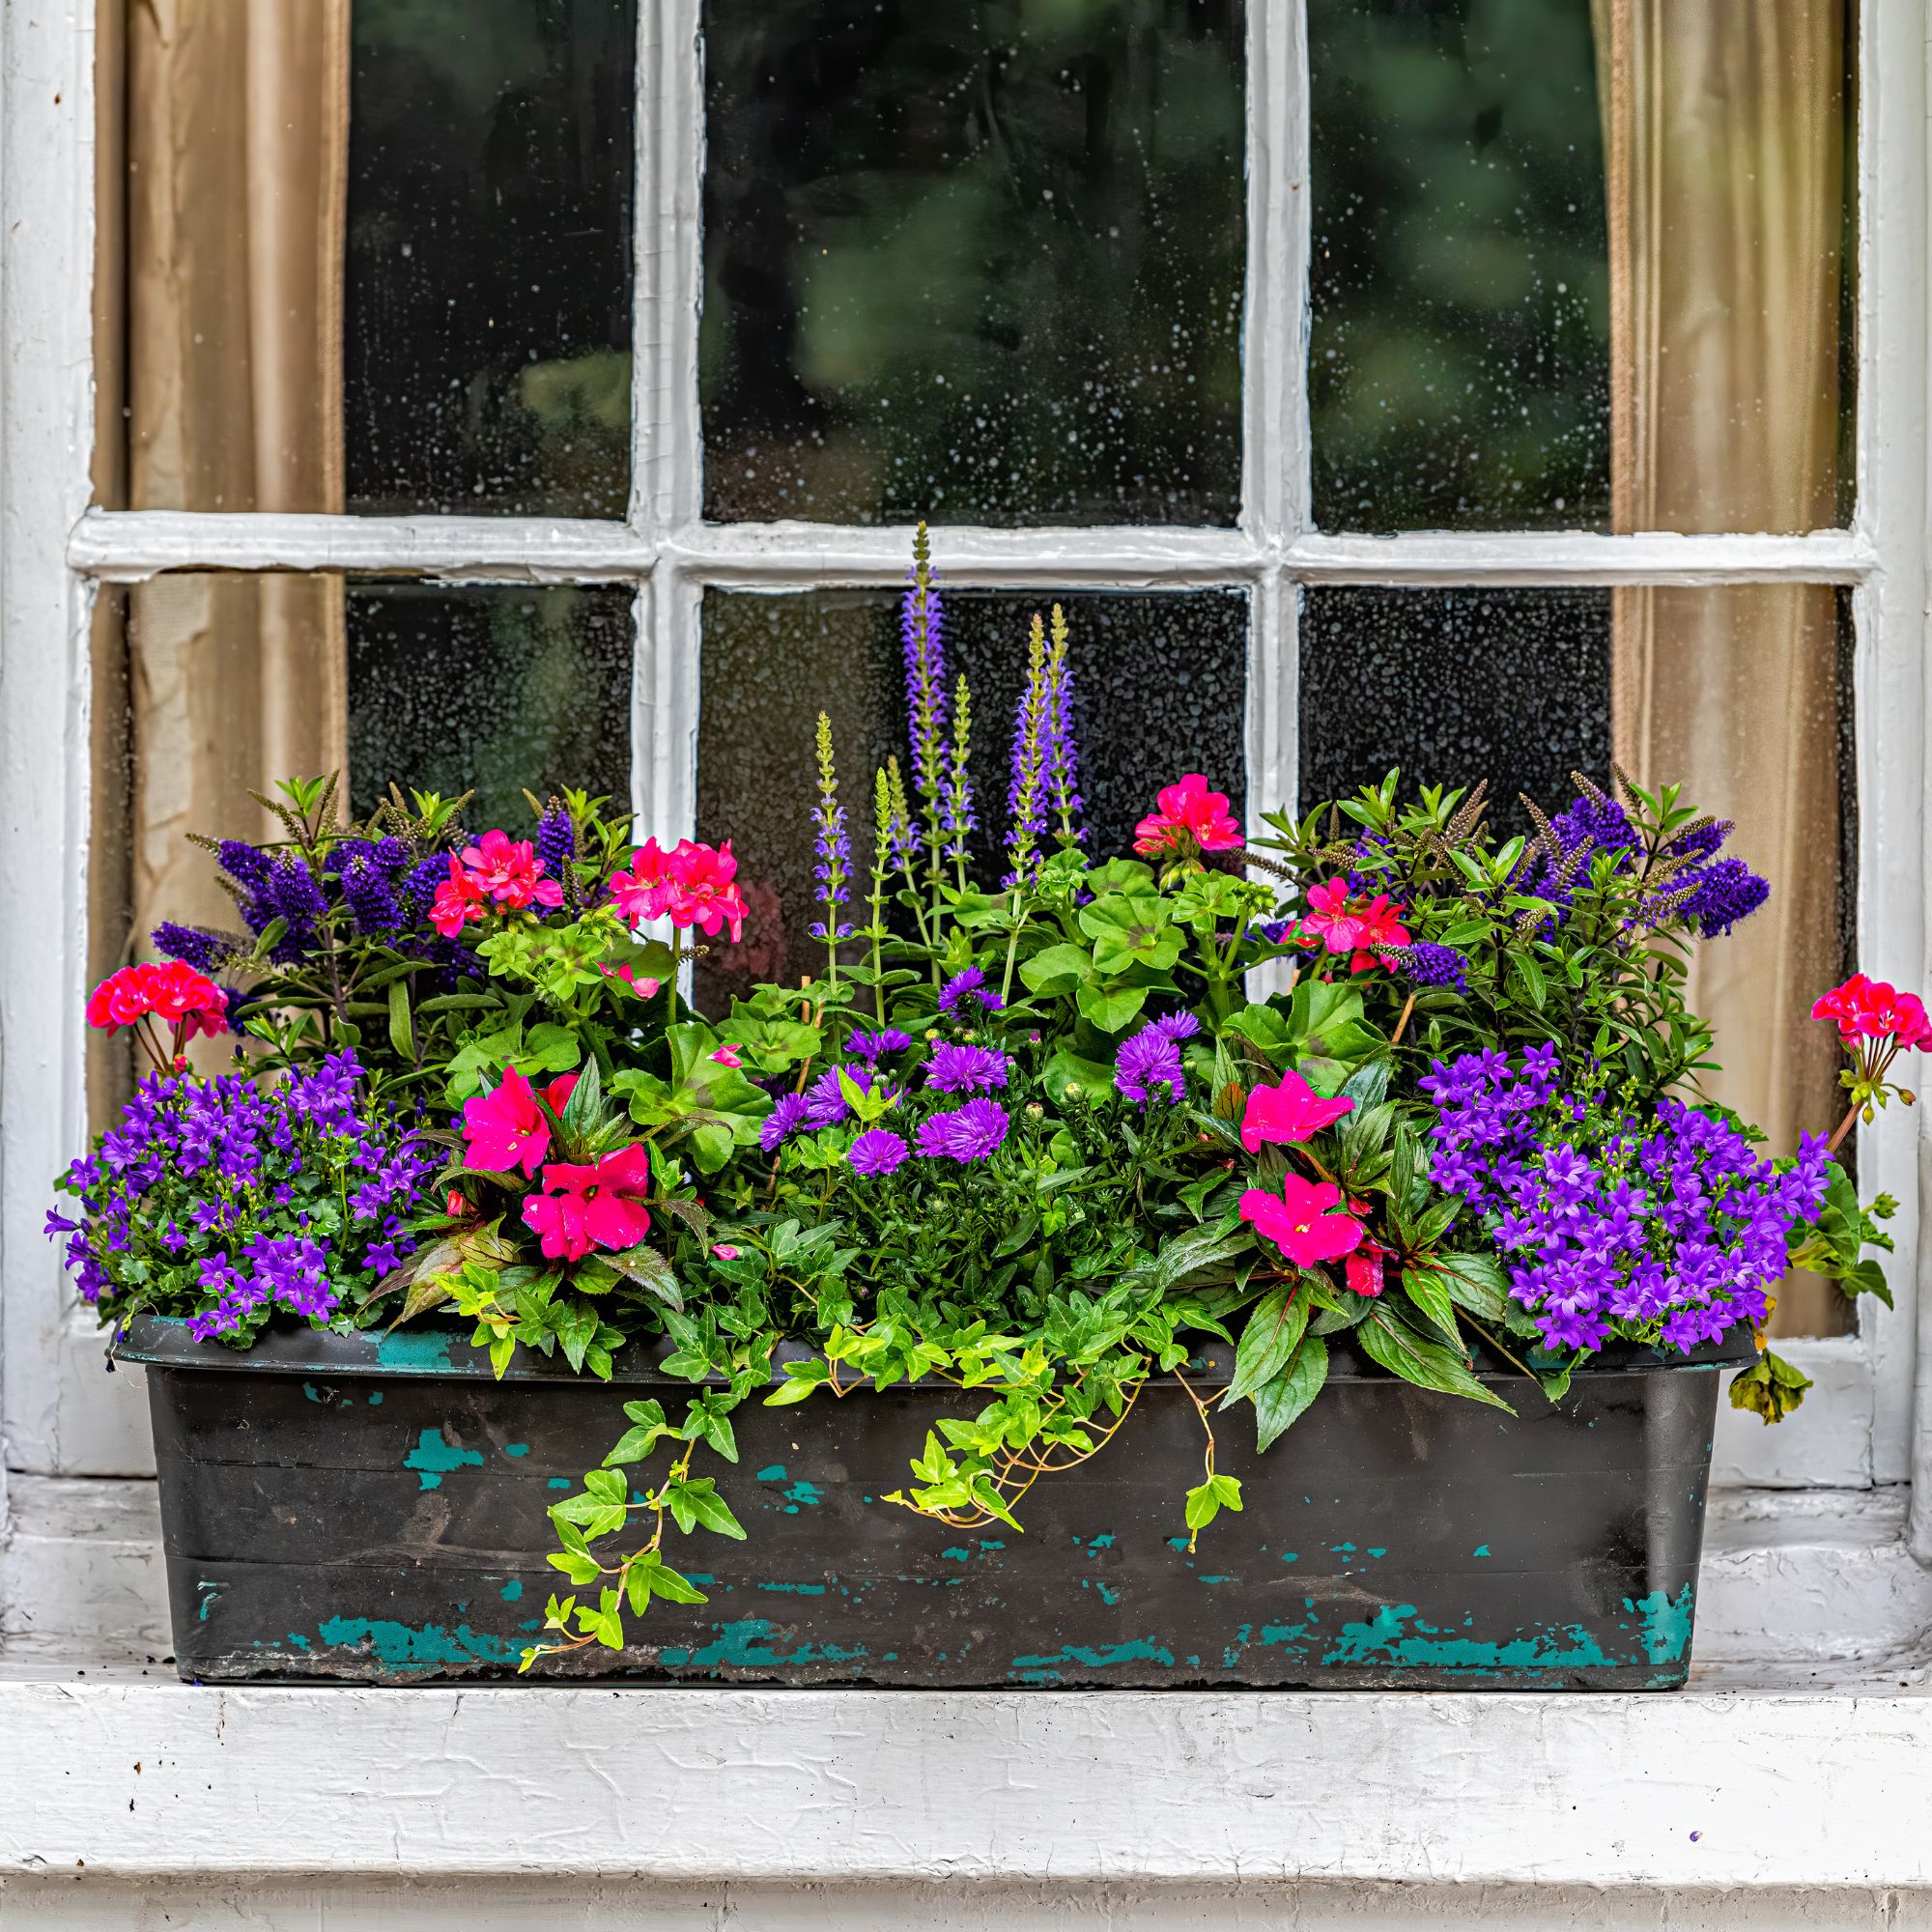
It's not all that surprising so many of us want to learn how to take geranium cuttings – especially now that the art of pelargonsjuka has cemented a place for itself on our list of must-try garden ideas.
One of several Scandi garden trends, pelargonsjuka captured our imaginations because it was so simple (and beautiful, too). Translating simply as 'pelargonic disease', the term refers to Sweden's never-ending love affair with geraniums (aka pelargoniums), and how they love to display them proudly outdoors over the summer, before bringing them inside for...
Well, ostensibly for overwintering, but also to serve as a reminder of sunnier times during those oppressively dark winter months.
How to take geranium cuttings
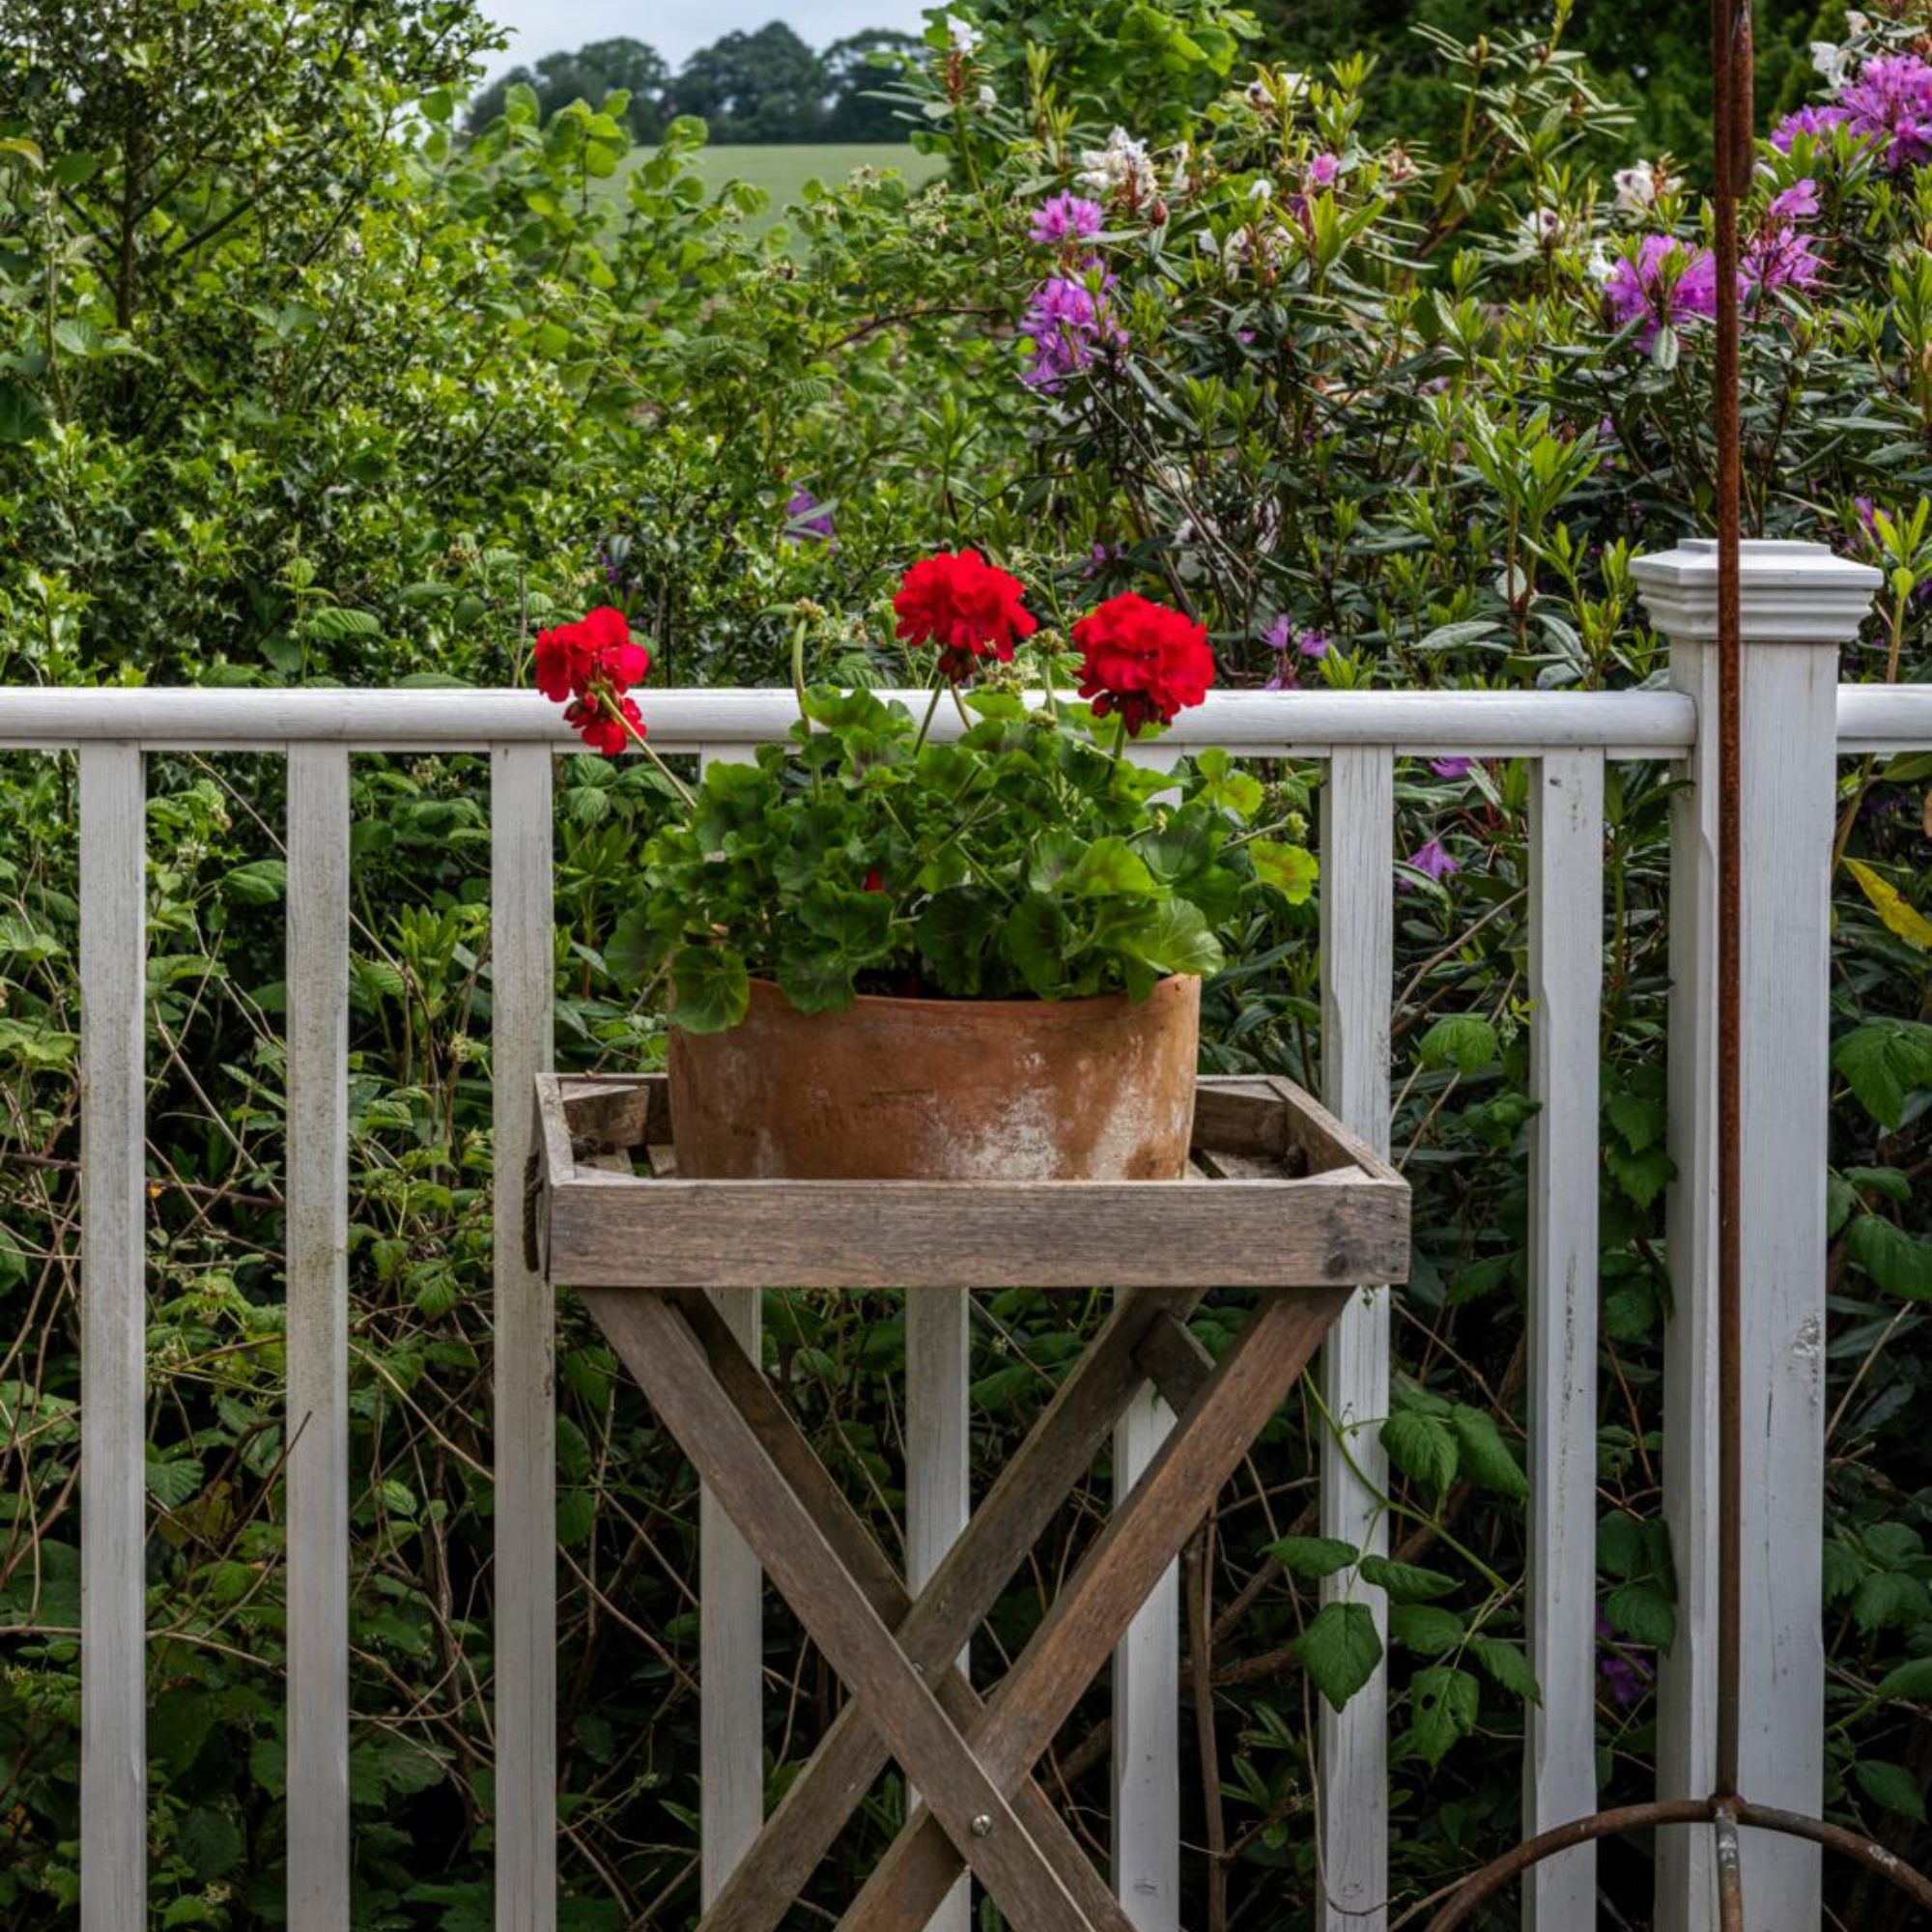
If you're keen to embrace your inner Scandi, then now is definitely the time to learn how to take geranium cuttings – and pelargonium cuttings, too.
'Geranium cuttings can be taken at any time of the year, but it’s best to do it in summer while it’s still warm and bright outside,' says Chris Bonnett, founder of GardeningExpress.co.uk.
'This way, you’ll have flowering geraniums by this time next year.'
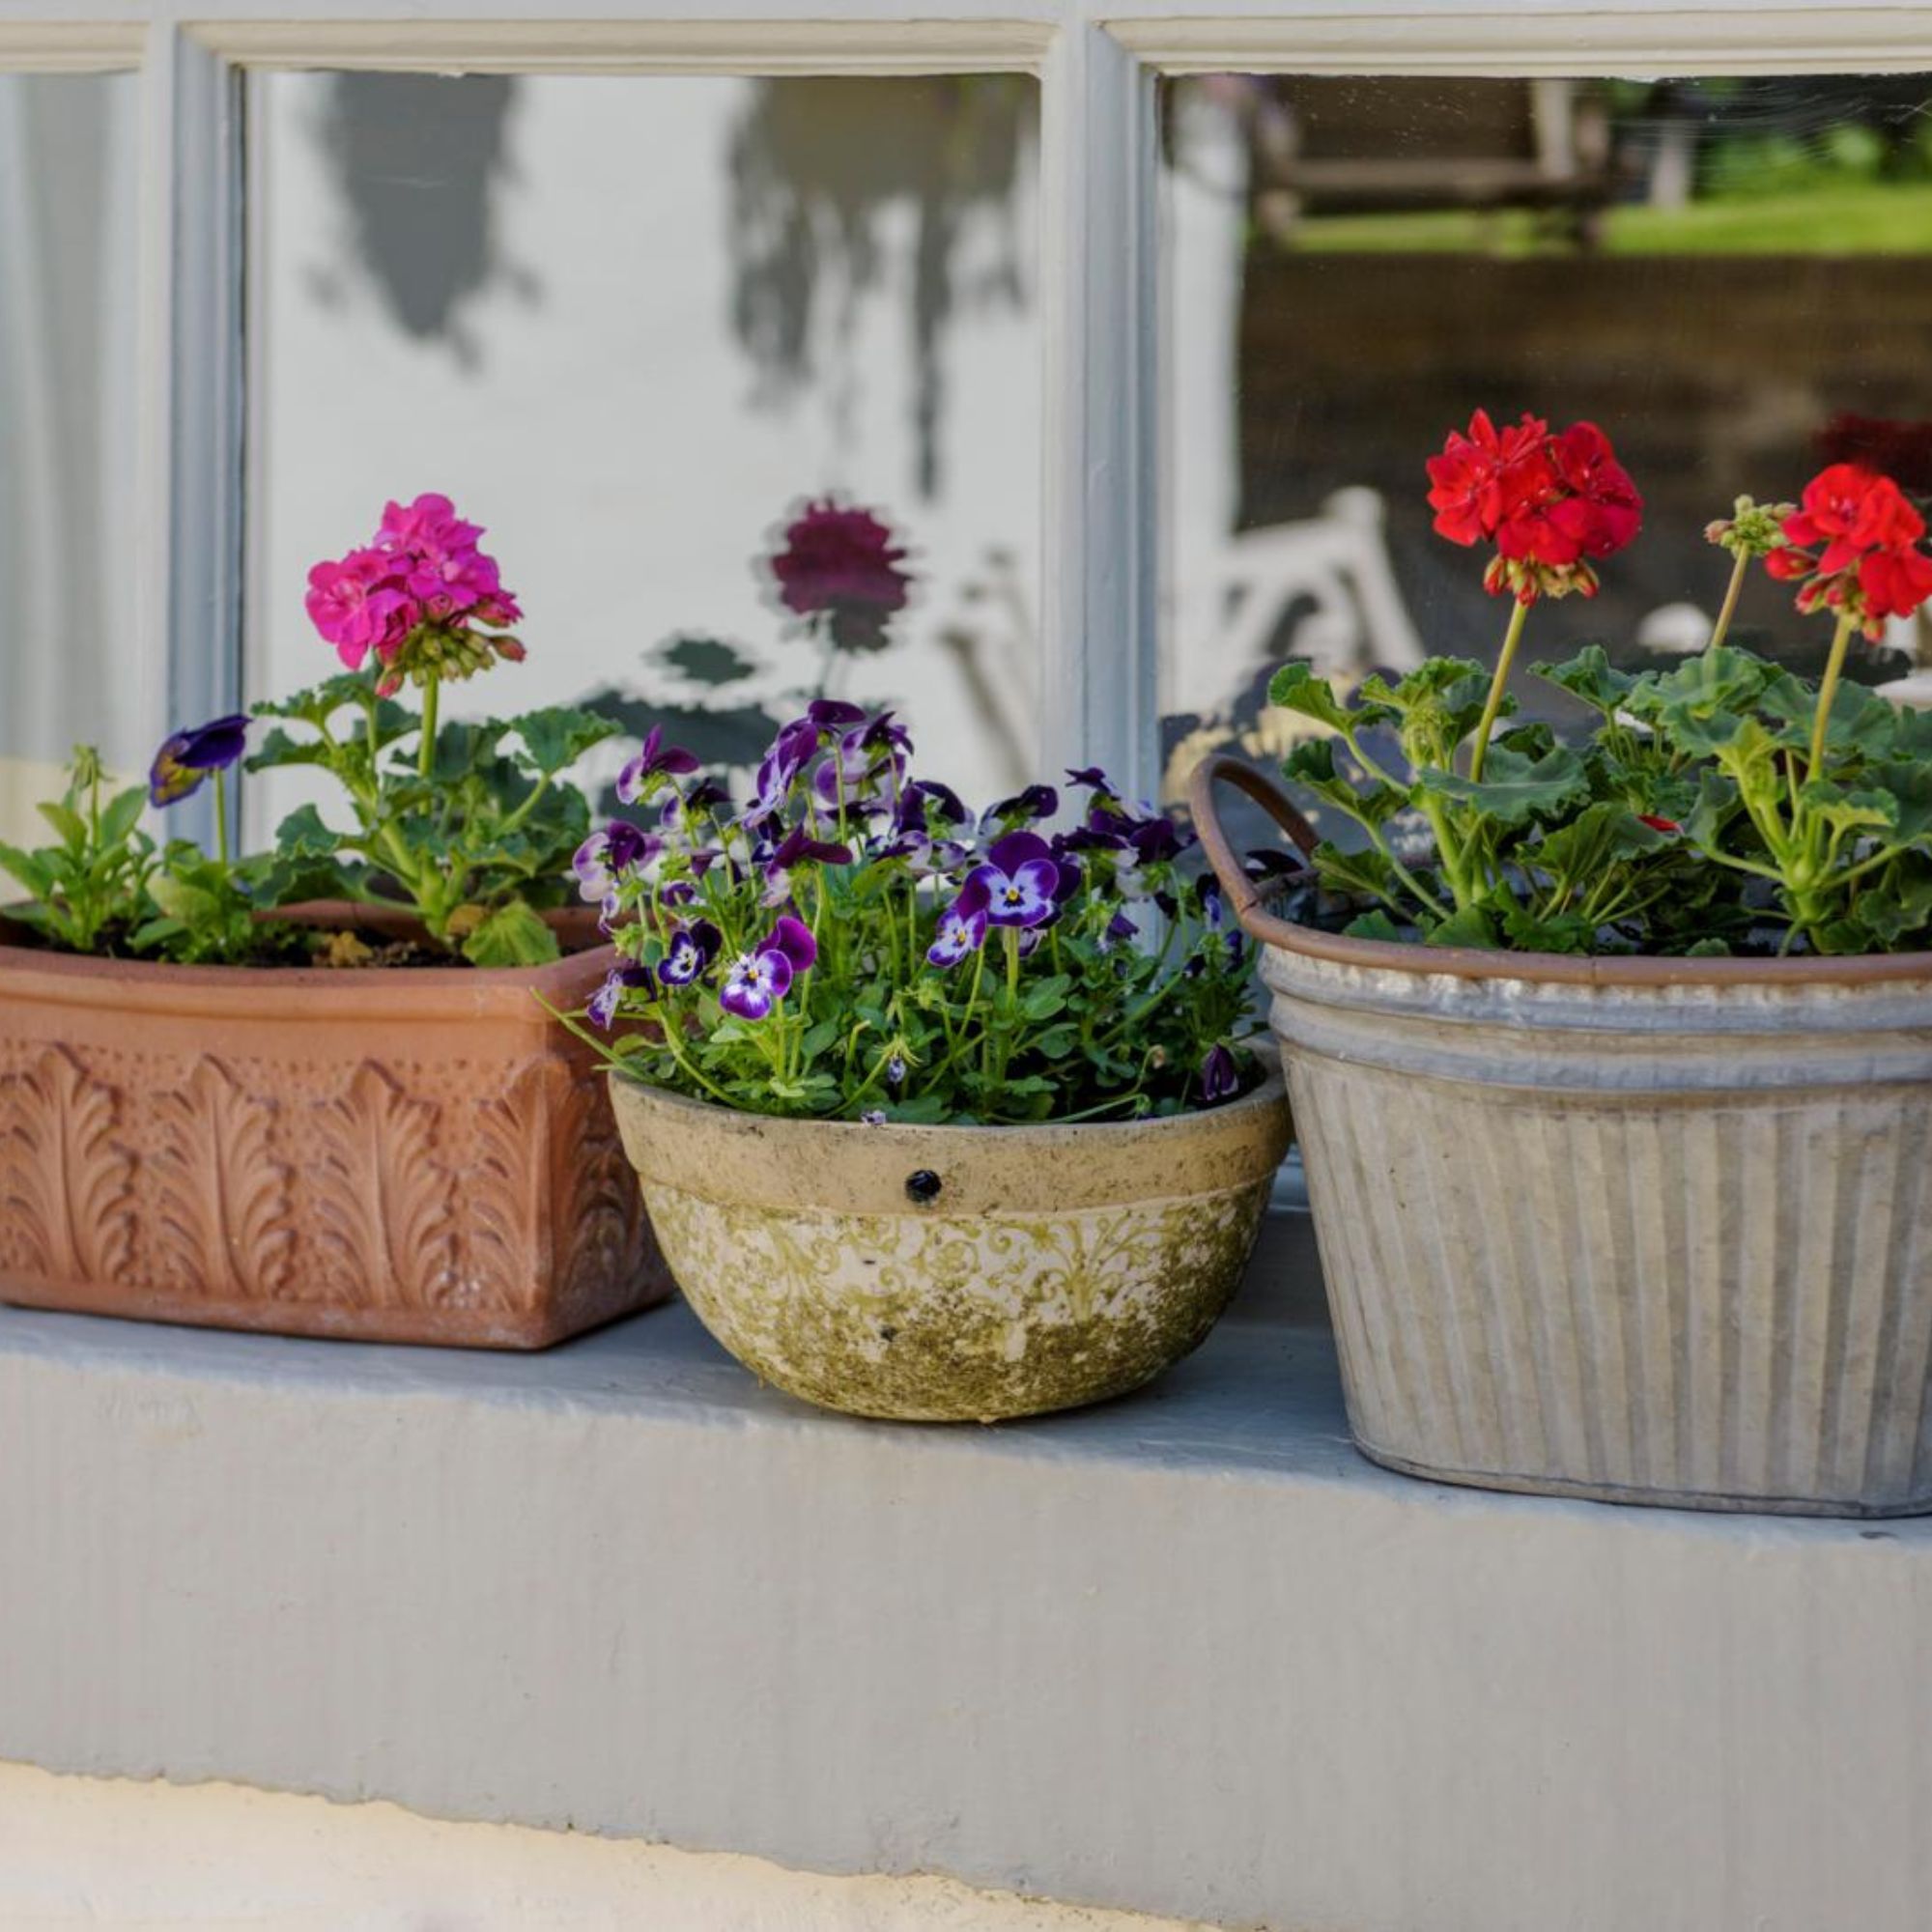
Annika Zetterman, whose Instagram is filled with gorgeous Scandi garden design ideas, agrees.
'By taking them late summer, one saves space by not having to save the entire "big" plant,' she adds.
With that in mind, then...
What you will need:
It's always best to gather all of your equipment before you start to take geranium cuttings, as you will want to complete the process as quickly as possible.
To that end, then, you will need...
- A healthy geranium/ pelargonium
- A clean, sharp pair of secateurs
- A clean container
- A plant mister
- Peat free compost (try using Sylva Grow Peat Free)
- Hormone rooting gel or powder (optional)
- Individual 10cm pots
Step-by-step guide:
Once you have all the tools you need to hand, you can set to work in earnest learning how to take geranium cuttings. Just be sure to block out a morning or two in your calendar, as it's best to do this before the sun is at its highest.
Done? Here's what you need to do next, then.
1. Prep your plants for the winter ahead
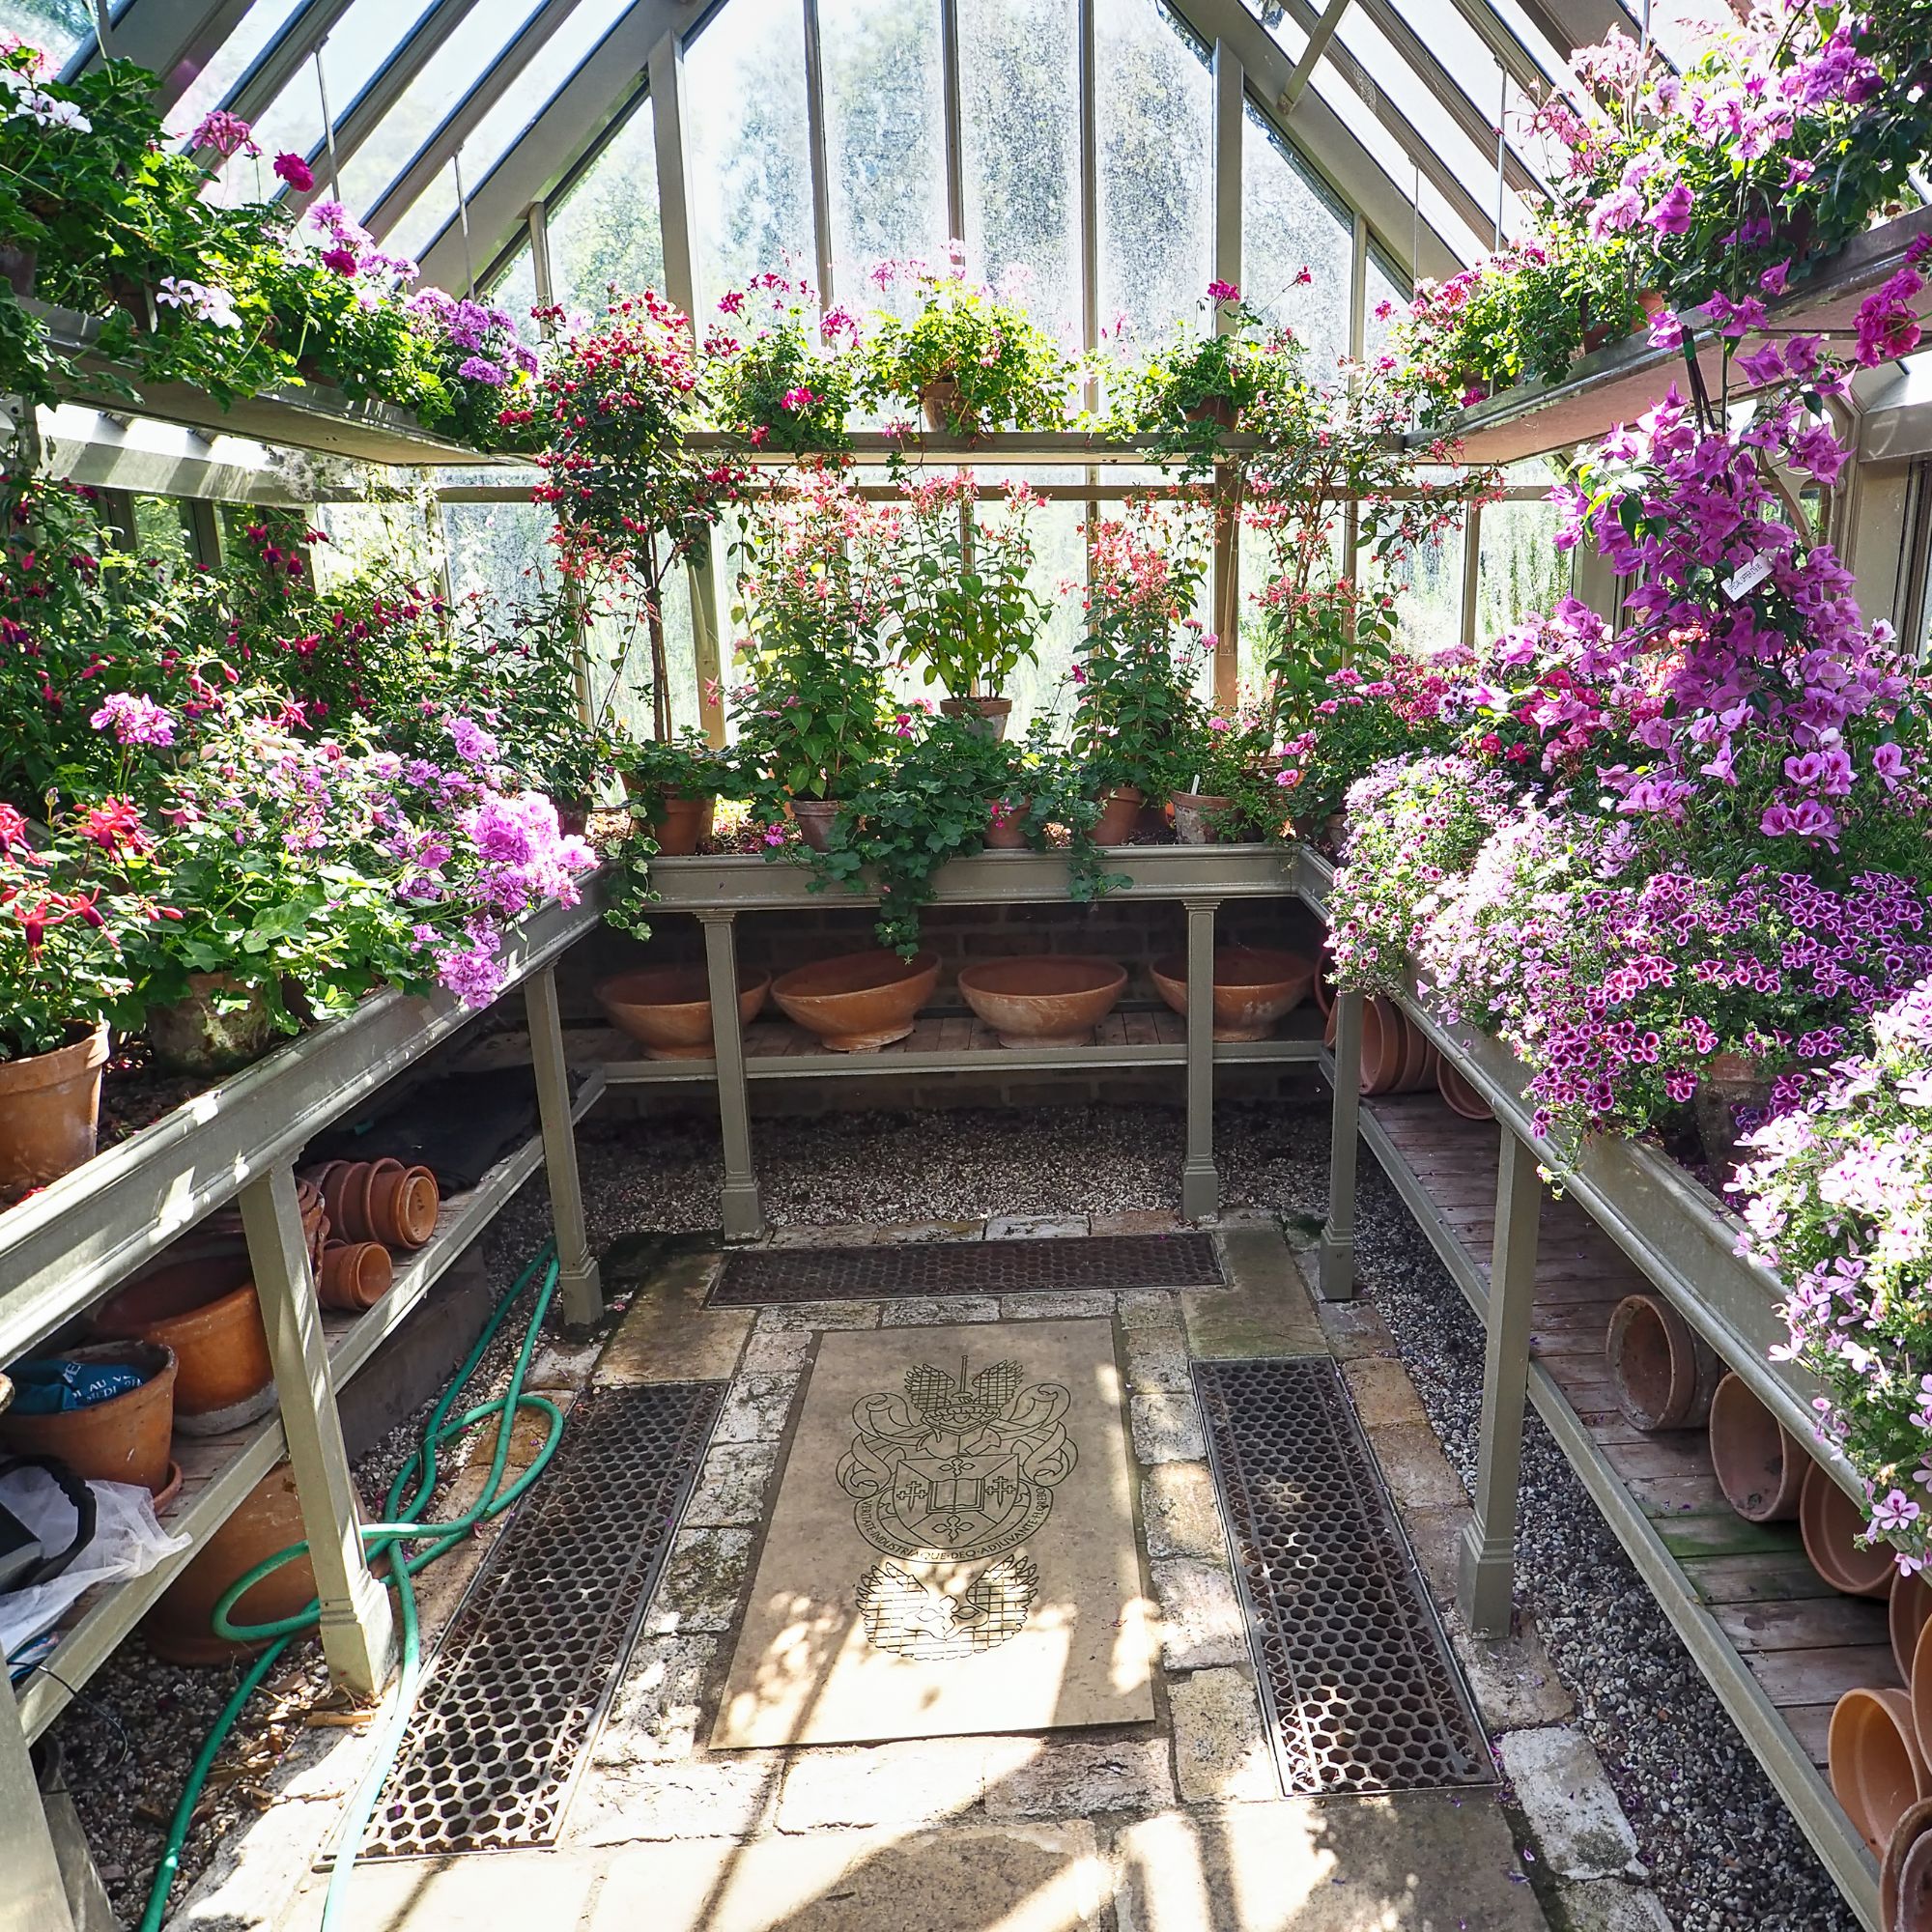
Geraniums should absolutely be brought indoors for overwintering – either as they are in a heated greenhouse, wrapped in bubble-wrap and stashed in an unheated greenhouse or shed, or (true Scandi vibe) as sunbathing houseplants in our homes.
Whichever you opt for, your plants will likely need a bit of prepping. Experts suggest you cut your plants back by about two-thirds, removing any dead, damaged, or unhealthy areas.
While you're doing this (and checking for bugs), you can get to work on taking cuttings, too.
2. Find a node and make a cut
You need to look for the node (or leaf joint, if you prefer) of a healthy-looking stem without any buds on it. Then, use your sharp pair of secateurs to make a cut about 5-10cm long.
3. Strip the cutting
Remove all but 2-3 leaves from your cutting, to help it focus all of its energy on growing roots.
Don't pull or strip them from the stem, however: instead, you want to pinch off the tender new growth at the end of the stem with your fingers.
4. Plant your cutting
Fill your pots with compost, and make a hole for your cuttings.
You can dip the base of your cutting in hormone powder if you like (although many who already know how to take geranium cuttings choose not to), before planting them so that the first pair of leaves just above the level of the compost.
5. Create a greenhouse-style environment
While you can pay for a propagator, you can simply mist your cuttings and cover their pots with plastic to create a greenhouse effect. Position them somewhere warm and sunny – although you need to avoid scorching direct light.
6. Be patient
Keep checking your cuttings for the next 2-4 weeks, using your mister to ensure soil is moist but not waterlogged.
Christopher O'Donoghue from Gardens Revived advises removing the plastic cover 'for 10 minutes at least twice a week,' so that they stay well ventilated.
7. Nurture, nurture, nurture
Once rooted (gently tug your plant and see if there's resistance), you can carefully take your cutting from the pot and pot it up into fresh peat-free potting compost.
'Water them sparingly,' says Christopher, noting that overwatering is almost always worse for plants than underwatering. He also advises you give them a good dose of liquid fertiliser every 7-10 days from the late winter onwards.
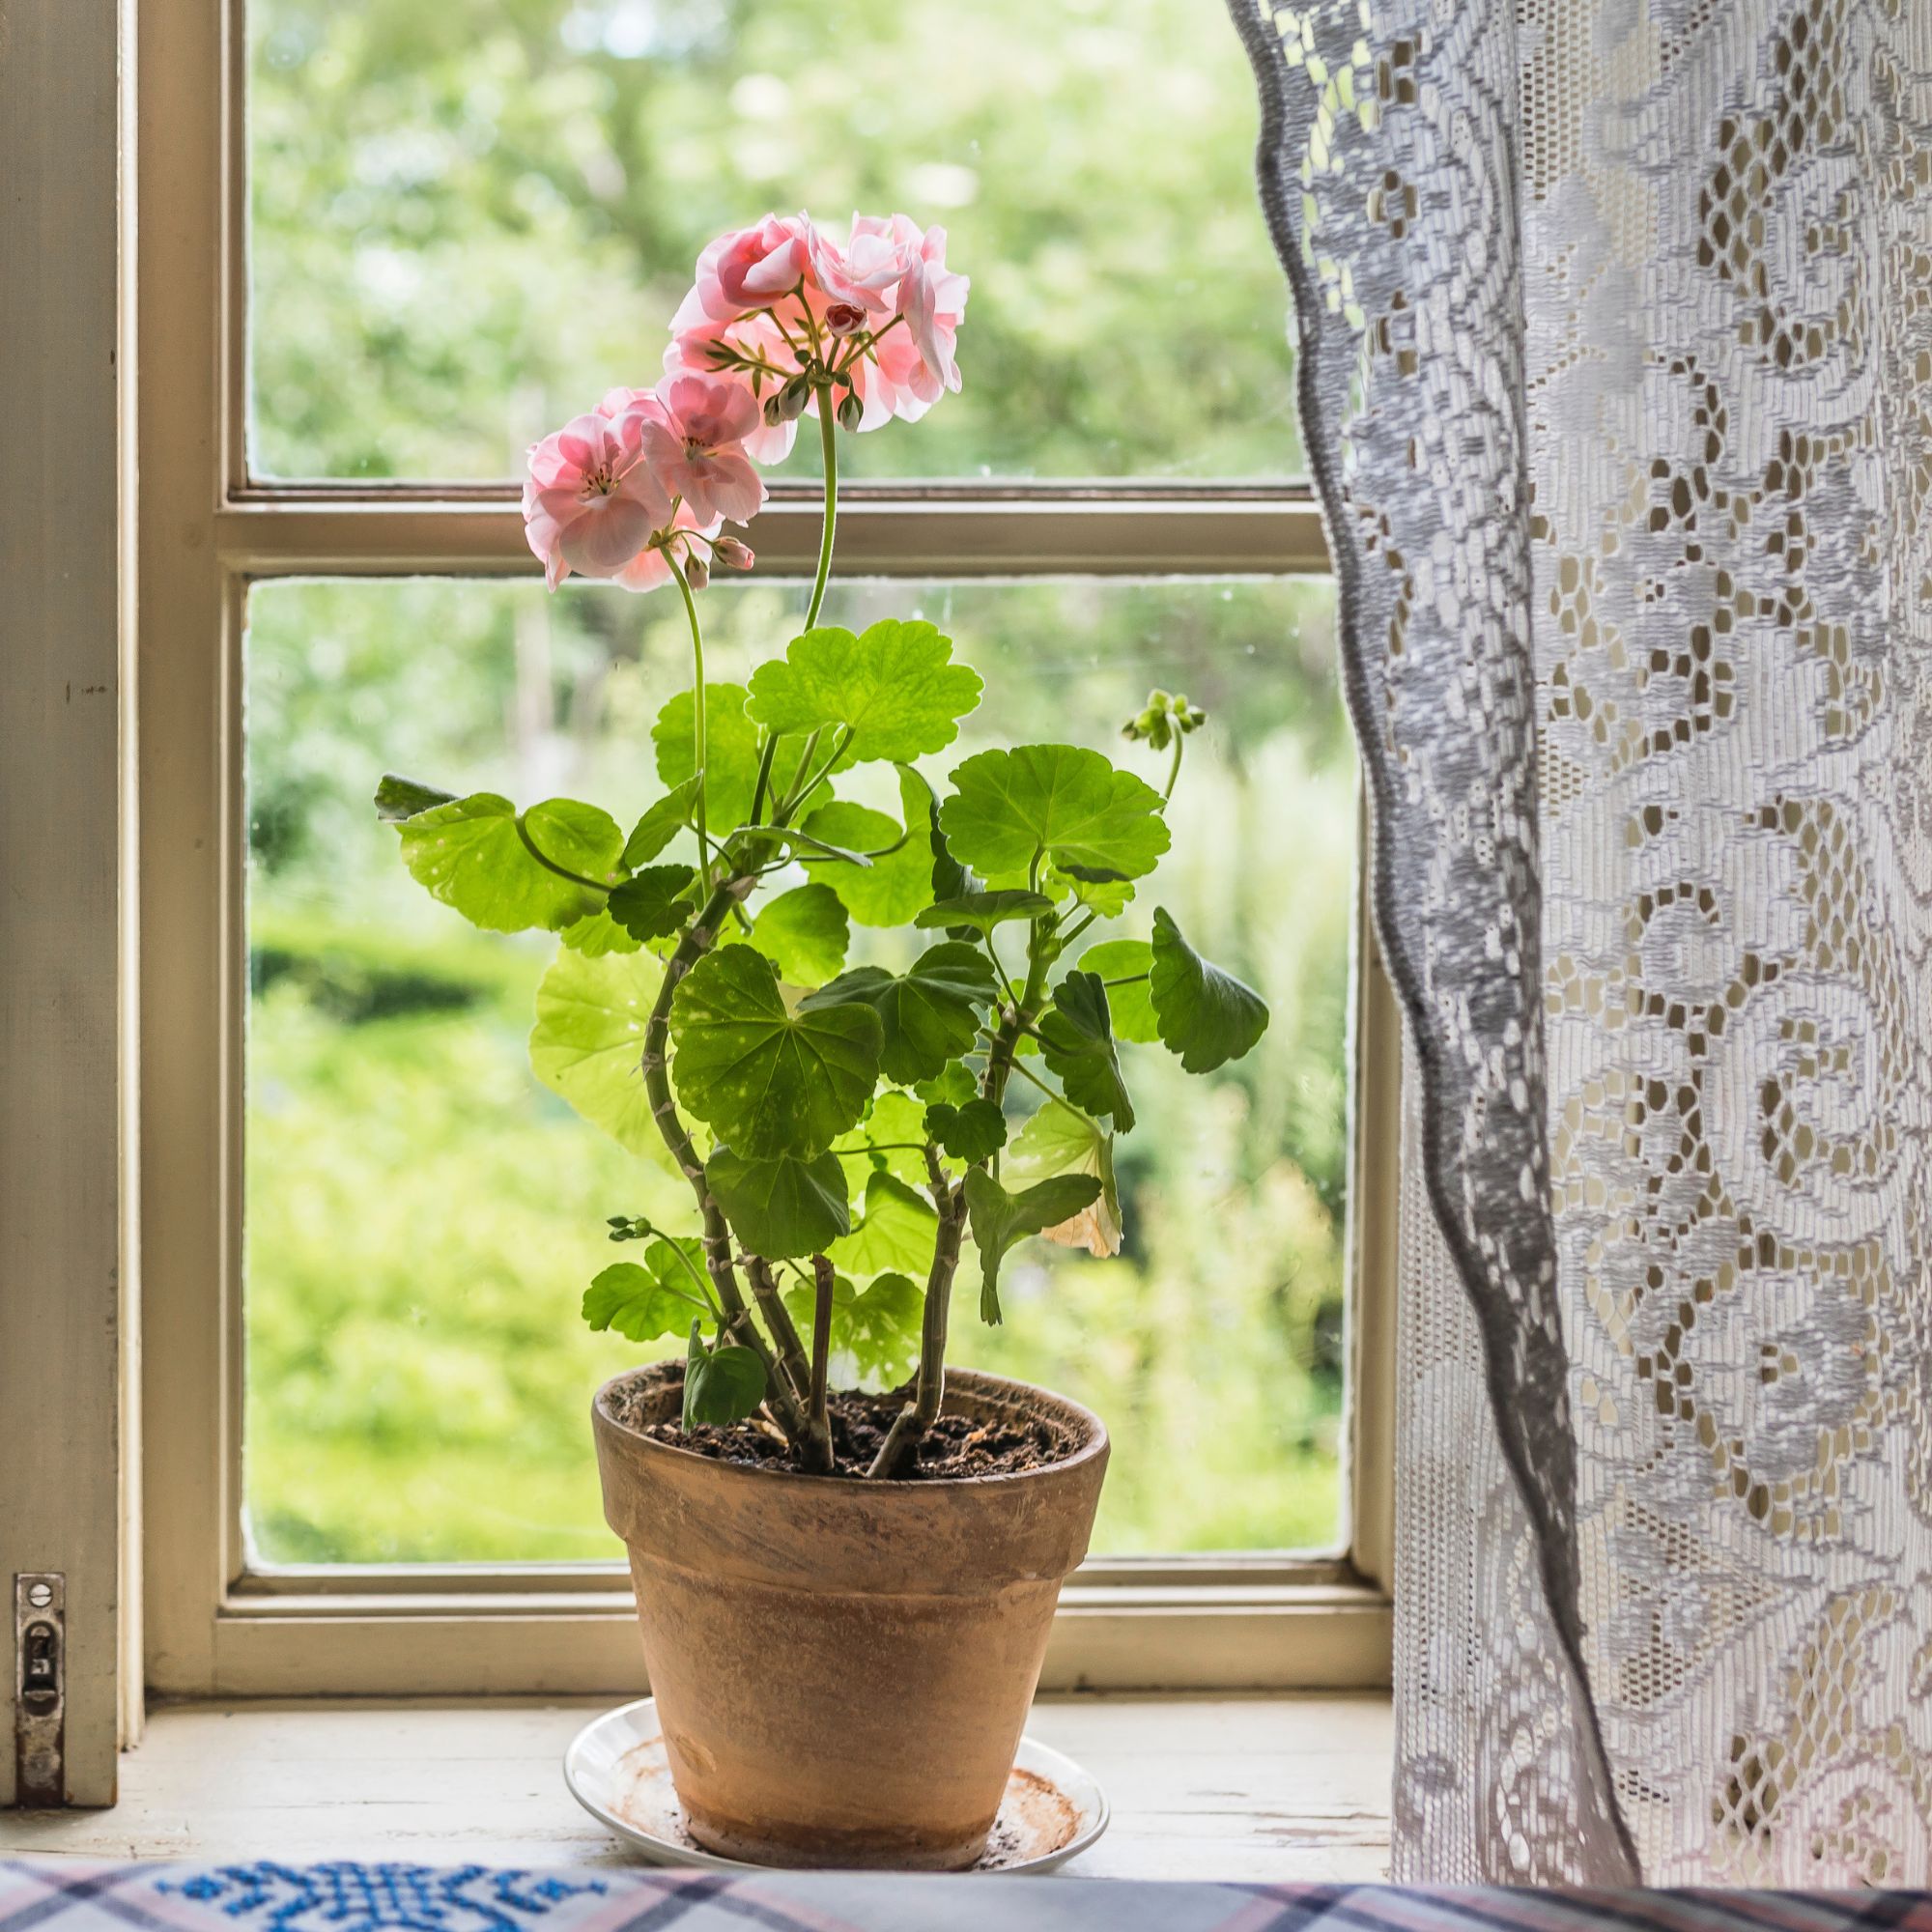
That's it: you've learned how to take geranium cuttings! Now, you can let your plant babies live in your house over winter before planting them out next spring – after the final frosts have been and gone, of course.
Just be sure to harden them off first by using a cold frame or, alternatively, wrapping them in fleece and popping them in a sheltered spot.
Whichever method you opt for, we hope you enjoy getting to know your new pelargonium roommates over the winter months – and that your first foray into the world of pelargonsjuka proves as joyful for you as it does our Scandi friends!
What is the difference between pelargoniums and geraniums?
Fun fact: while most people use the name geranium for pelargoniums, a geranium is actually a different plant. The Royal Horticultural Society (RHS) advises that we refer to perennial geraniums as ‘hardy geraniums’, and pelargoniums as ‘tender geraniums’ due to the fact they are not winter hardy.
When should you take geranium cuttings?
While geranium cuttings can be taken in both spring and autumn ('Basically any time when the plant is not resting,' advises Annika), gardening experts advise waiting until late summer, as this means you're guaranteed flowering geraniums the following year.
Can you root geranium cuttings in water?
When it comes to taking geranium cuttings, most gardeners will advise that you plant them into a good peat-free potting compost rather than water, as these are not traditionally thirsty plants. In fact, once they've rooted and established themselves, you'll likely want to let their trays dry out between waterings – largely because because geraniums hate getting their feed wet.


