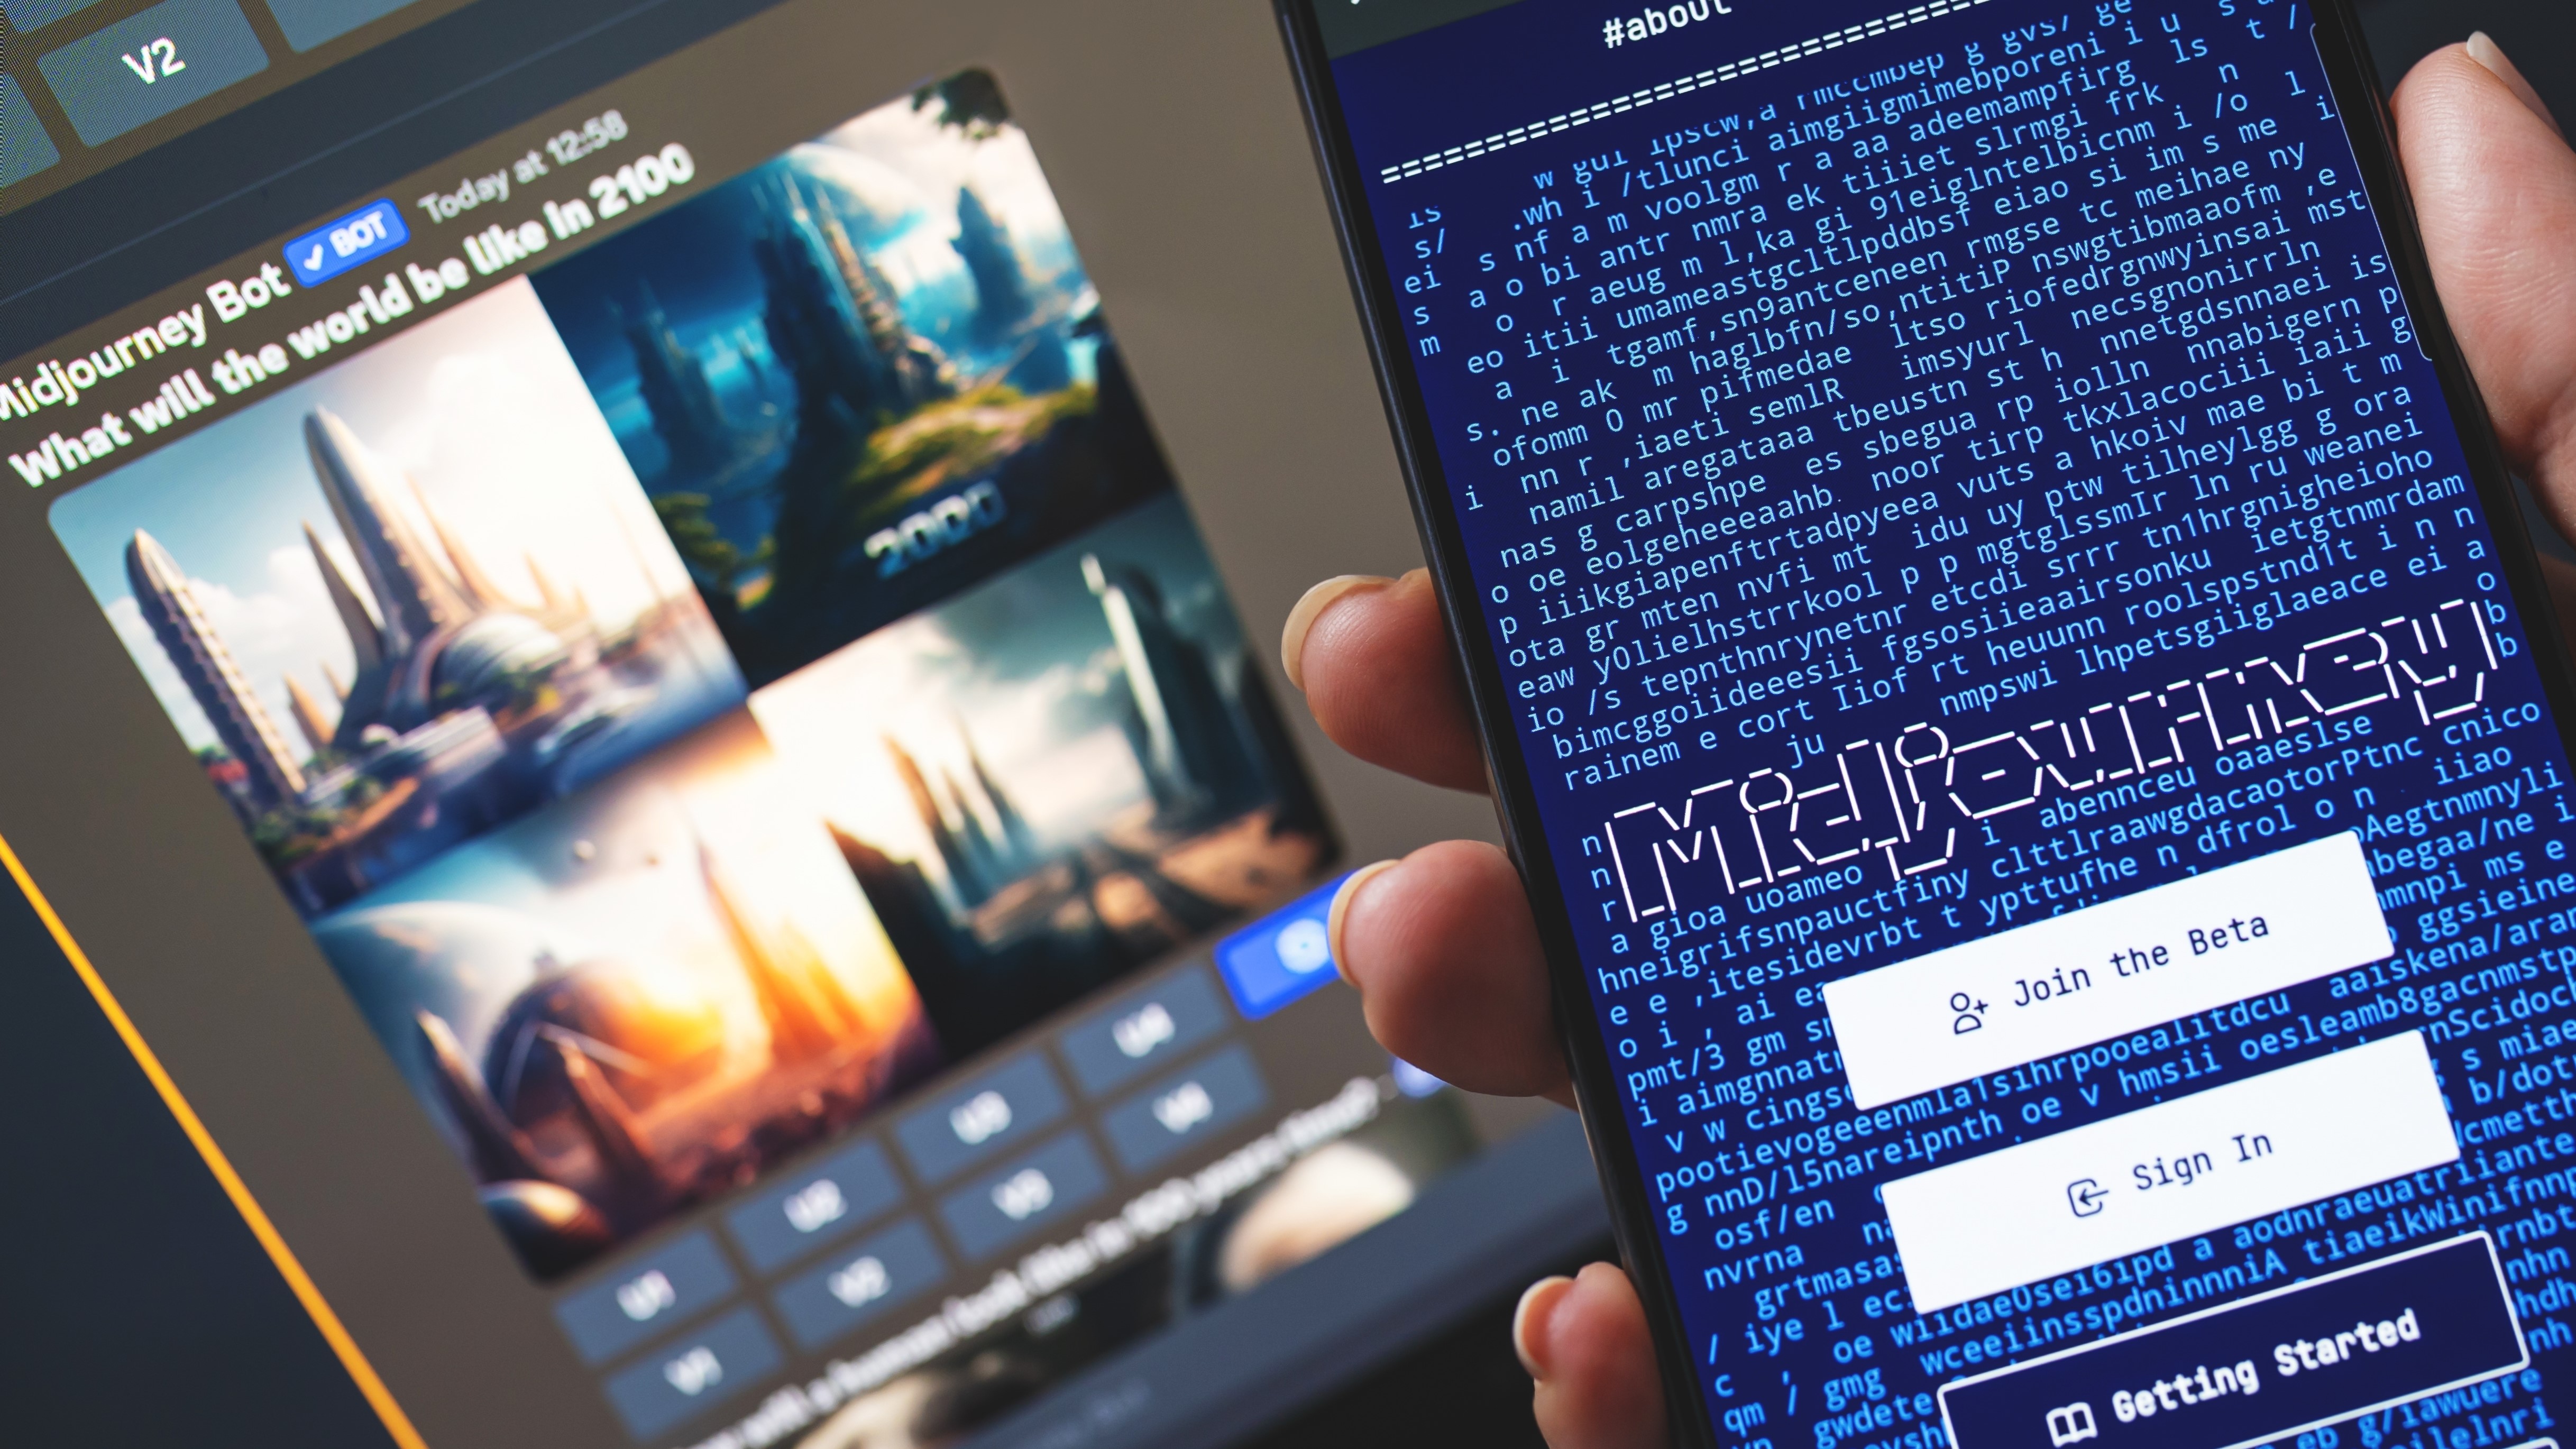
AI image generator Midjourney has launched a new feature that lets users expand on an image they created by generating additional visual elements around it.
This feature is aptly called Zoom Out - if you zoom out from a specific point of an image, you’ll get to see what’s around it. The concept is similar to that of Photoshop’s Generative Fill feature which allows users to extend or remove content in images non-destructively using AI.
The biggest difference is that Midjourney’s Zoom Out only works on images that it generates whereas Adobe’s Photoshop can handle any image a user throws at it.
How does it work?
As with other AI image or video generators, you start with your initial prompt asking Midjourney to produce an image for you. Then you’re presented with an option to zoom out by either a factor of 1.5x or 2x. These options should appear automatically after you’ve upscaled an image you generated. For the uninitiated, that means you’ll need to purchase at least a basic subscription to use Zoom Out.
Another option is to use the ‘custom zoom’ button that accepts values between 1 and 2. With custom zoom, you can change your prompt before expanding your image. Want your generated image to appear as a framed picture hanging on a wall? That’s now possible thanks to Midjourney v5.2.
Additionally, you can also adjust the aspect ratio of your creations using the ‘Make Square’ tool. If your original image is wide (landscape) Midjourney will then generate further scenes vertically. If your original aspect ratio is tall (portrait), the AI will expand your image horizontally.
However, Midjourney says using Zoom Out does not increase the maximum 1024px x 1024 px size of an image.
The online reactions to Zoom Out have been overwhelmingly positive. And I'm not surprised.
Twitter user Matt Wolfe believes this new feature could be the key to generating scenes with the same character. After a new character has been generated, they can be placed in different scenes using Zoom Out.
When done right, I feel like this new zoom out feature could be the key to getting a consistent character in MidJourney.1. Generate a super closeup of a face.2. Do a custom zoom with whatever scenario you want.3. Zoom out 2x again on the resulting image. pic.twitter.com/wWMovgi3rxJune 24, 2023
Others are already keen on directing AI movies using nothing but text prompts and inserting the outputs in a regular video editor.
⚔️ "The defeated gladiator" ⚔️I created this AI-generated video using Midjourney's "Zoom Out" feature + CapCut video editor.Can you imagine the possibilities? Soon, we will be directing movies simply using natural language! pic.twitter.com/W5NAlU2jilJune 26, 2023
Our test
Naturally, we here at Tom's Guide were very curious to test this out for ourselves.
So I designed a little stress test for the AI. I wanted a main character that could be our focal point but placed in a setting that’s ripe for Zoom Out to show us its capabilities.
I started with the prompt: A rabbit sitting down on a seat while eating popcorn in a cinema full of animals.
As expected I got a selection of four different looking (but all unbelievably cute) bunnies. I wasn’t going to let the AI distract me from my mission, so I decided to upscale the image that generated the most complex-looking neighbours for my furry friend.
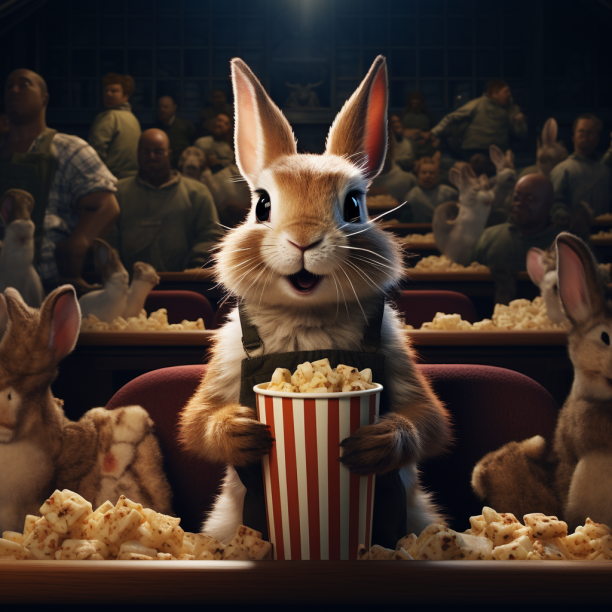
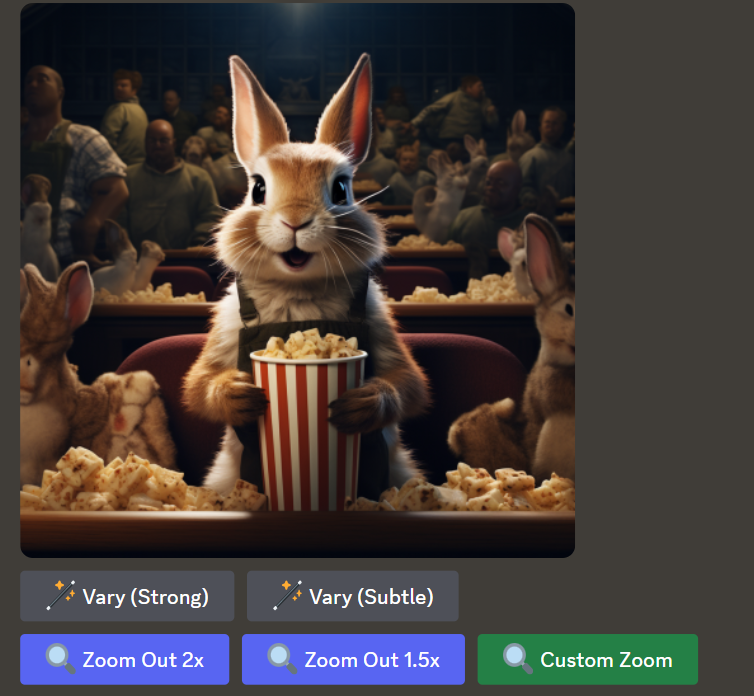
As promised I was then given the option to ‘Zoom Out 2x’, ‘Zoom Out 1.5x’, or use the ‘Custom Zoom’ buttons.
Since my Twitter feed was full of cinematic masterpieces I had high hopes. The 1.5x zoomed version felt decent enough for a first attempt. I saw what some of the rest of the characters looked like while maintaining the same general scene and styling.
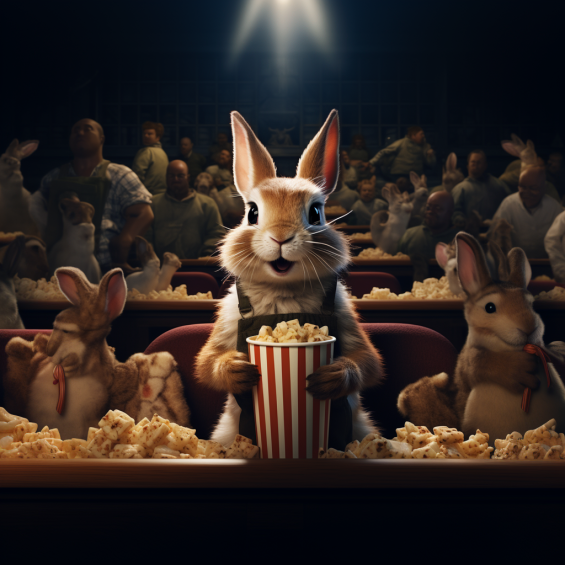
On the flip side, the more I thought about it, the more I felt as though I was presented with an un-cropped version of the image I should have been given in the first place. If I’m being picky, the cinema seems to be mostly occupied by what appear to be humans rather than animals.
I then decided to try out the 2x zoom version and for some reason I felt it worked better for this particular scene.
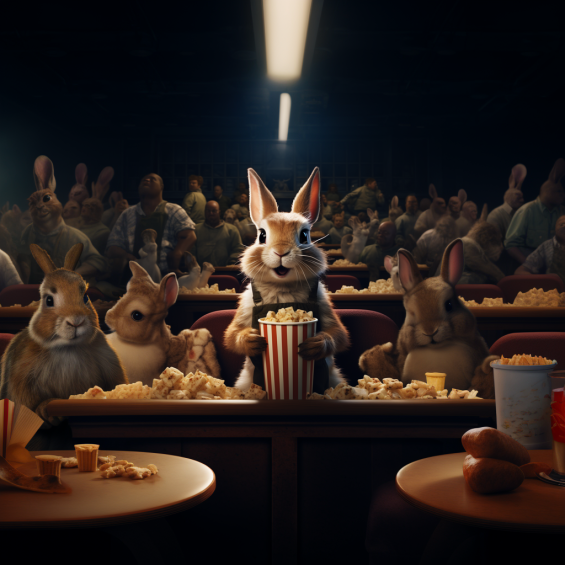
The last thing left for me to try was a custom zoom of my image. I played the part of a director who had a complete change of heart about his scene’s direction. I asked for a 2x zoomed version of the previous scene but I wanted everyone but the bunny to be a hippo.
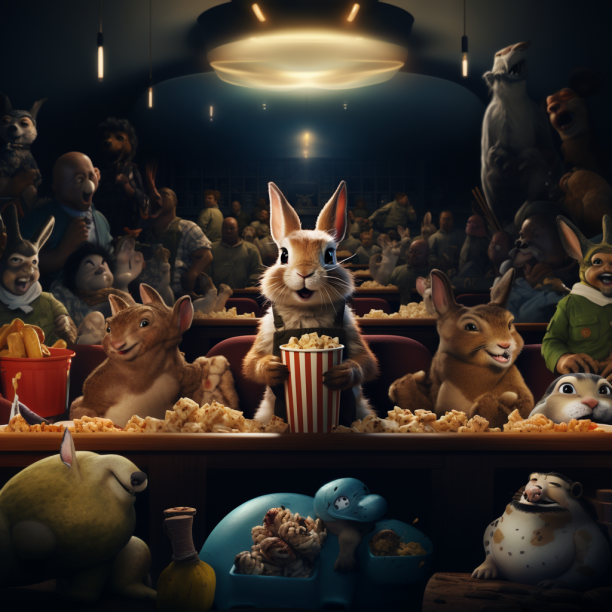
The result was roughly similar to our original 2x version, albeit with a significant lack of hippos.
The verdict
I’m basing this judgement on this first attempt, so things might have gone differently had I gone with different prompts. But I think that for now, this feature will work better if you place your main characters in a more predictable and consistent environment — something that allows the AI to think of the surrounding scene as a pattern.
I tried to create a cast of individual characters next to my bunny and the AI had to work hard to generate multiple mini-scenes. With Zoom Out, less is more.
I wanted to test Midjourney’s limits and to its credit, nothing wonky stands out if someone just gives my end results a quick glance.
But if you want to channel your inner Spielberg and create a stunning expanding scene that will make your followers stop scrolling, definitely put more thought than I did into what you want to achieve from Zoom Out.


