
Windows 11 is growing in popularity, so if you’ve just bought a new laptop or PC, or you’ve finally given in to Microsoft’s nagging and updated from Windows 10, then there are five big mistakes you should be wary of to ensure you’re getting the most out of the operating system.
Below, I’ve listed what I think are the most common mistakes people make when using Windows 11 and will explain how you can avoid making them. Even if you’ve been using Windows for a while, there may be some bad habits that have crept in.
So, read on to find out how you can make sure that Windows 11 works for you – not the other way around.
1. Don't expect Windows 11 to be identical to Windows 10
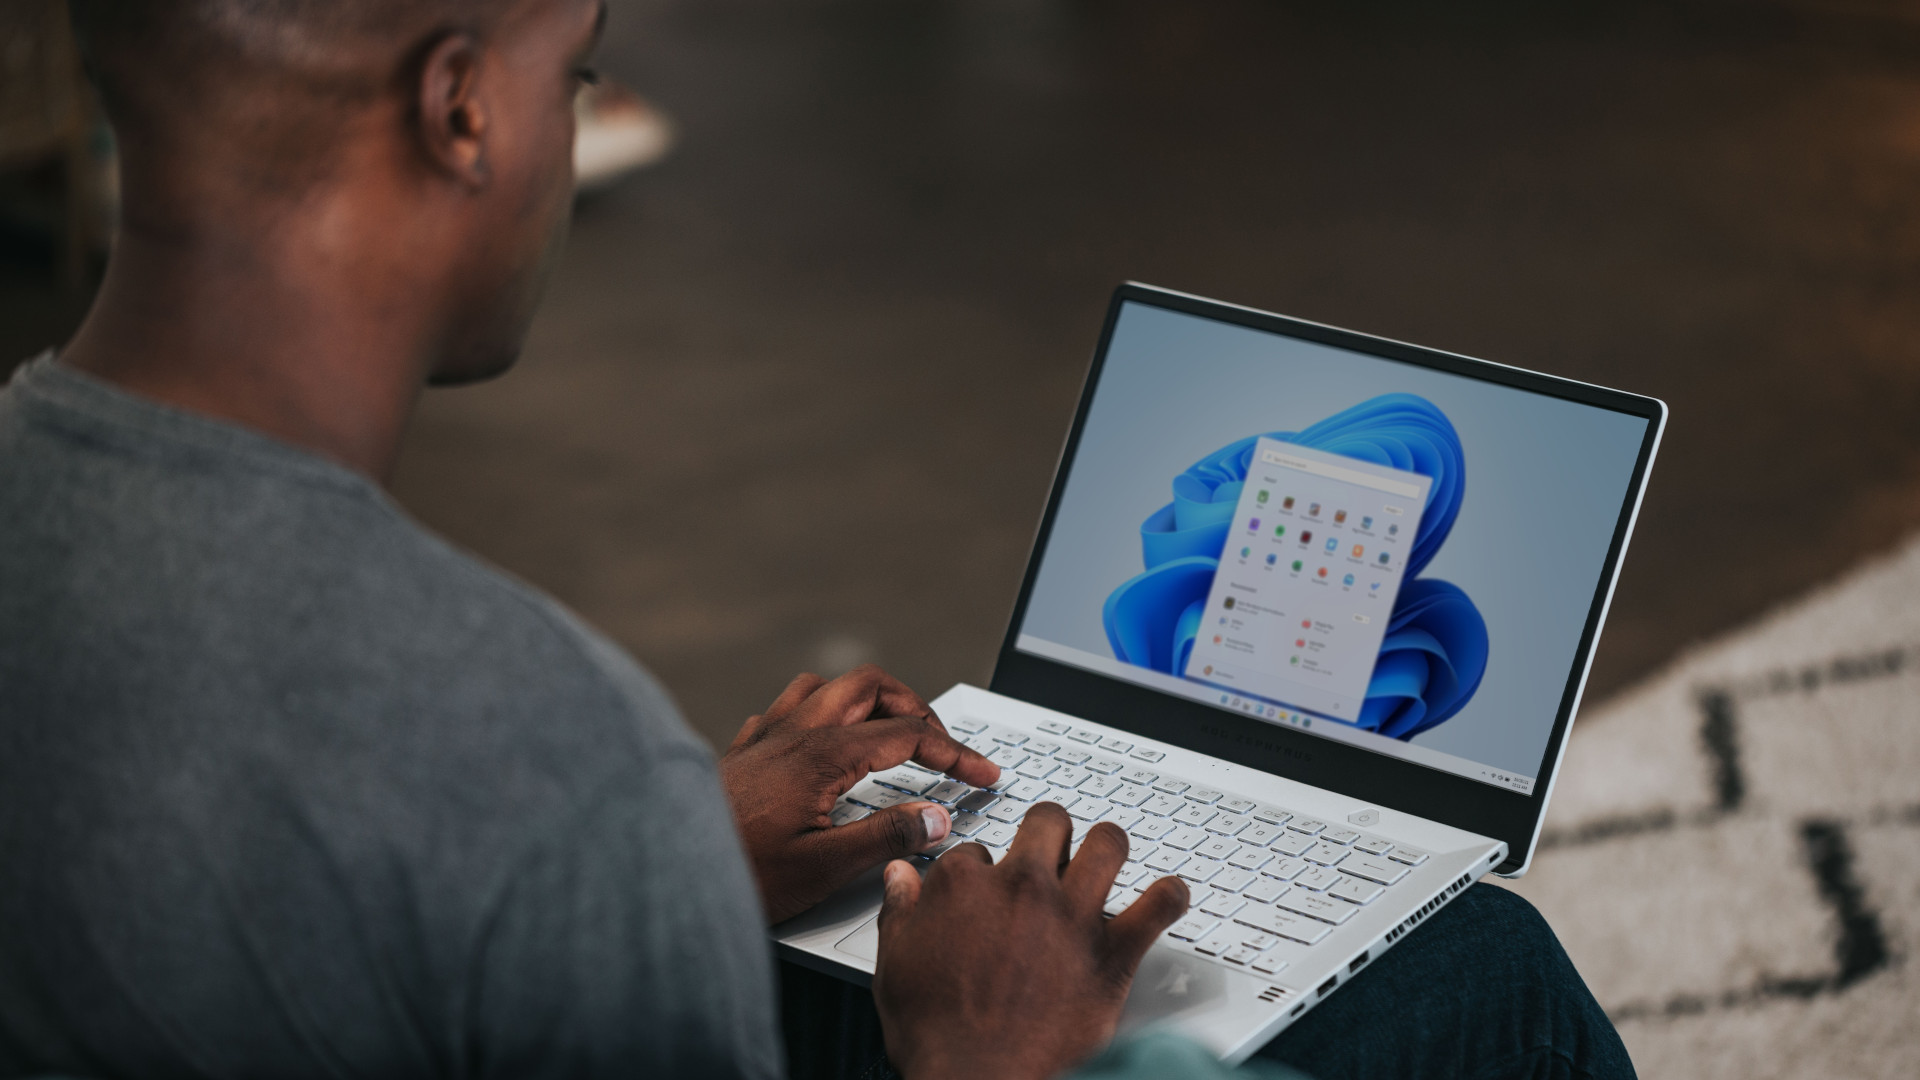
Windows 10 and Windows 11 share a lot of DNA, as you might expect, but don’t make the mistake of thinking that Windows 11 is going to be exactly the same.
If you do, you’ll miss out on some great Windows 11-only features such as Snap Layouts, which makes it easy to quickly arrange windows on your desktop so you can find the apps you’re looking for.
Trying to use Windows 11 like you did with Windows 10 can also lead to a lot of frustration. For example, the Start menu and Taskbar in Windows 11 work quite differently to Windows 10 – and frustratingly, they actually lack some of the functionality of the Windows 10 versions.
That means you can’t just drag and drop app icons from the desktop or file explorer onto the Taskbar to pin them, and you can’t move the Taskbar to other parts of the screen.
We hope that Microsoft will add those features later on, but until then if you at least know to expect those changes, then you may not be quite so annoyed.
2. Don’t dismiss OneDrive
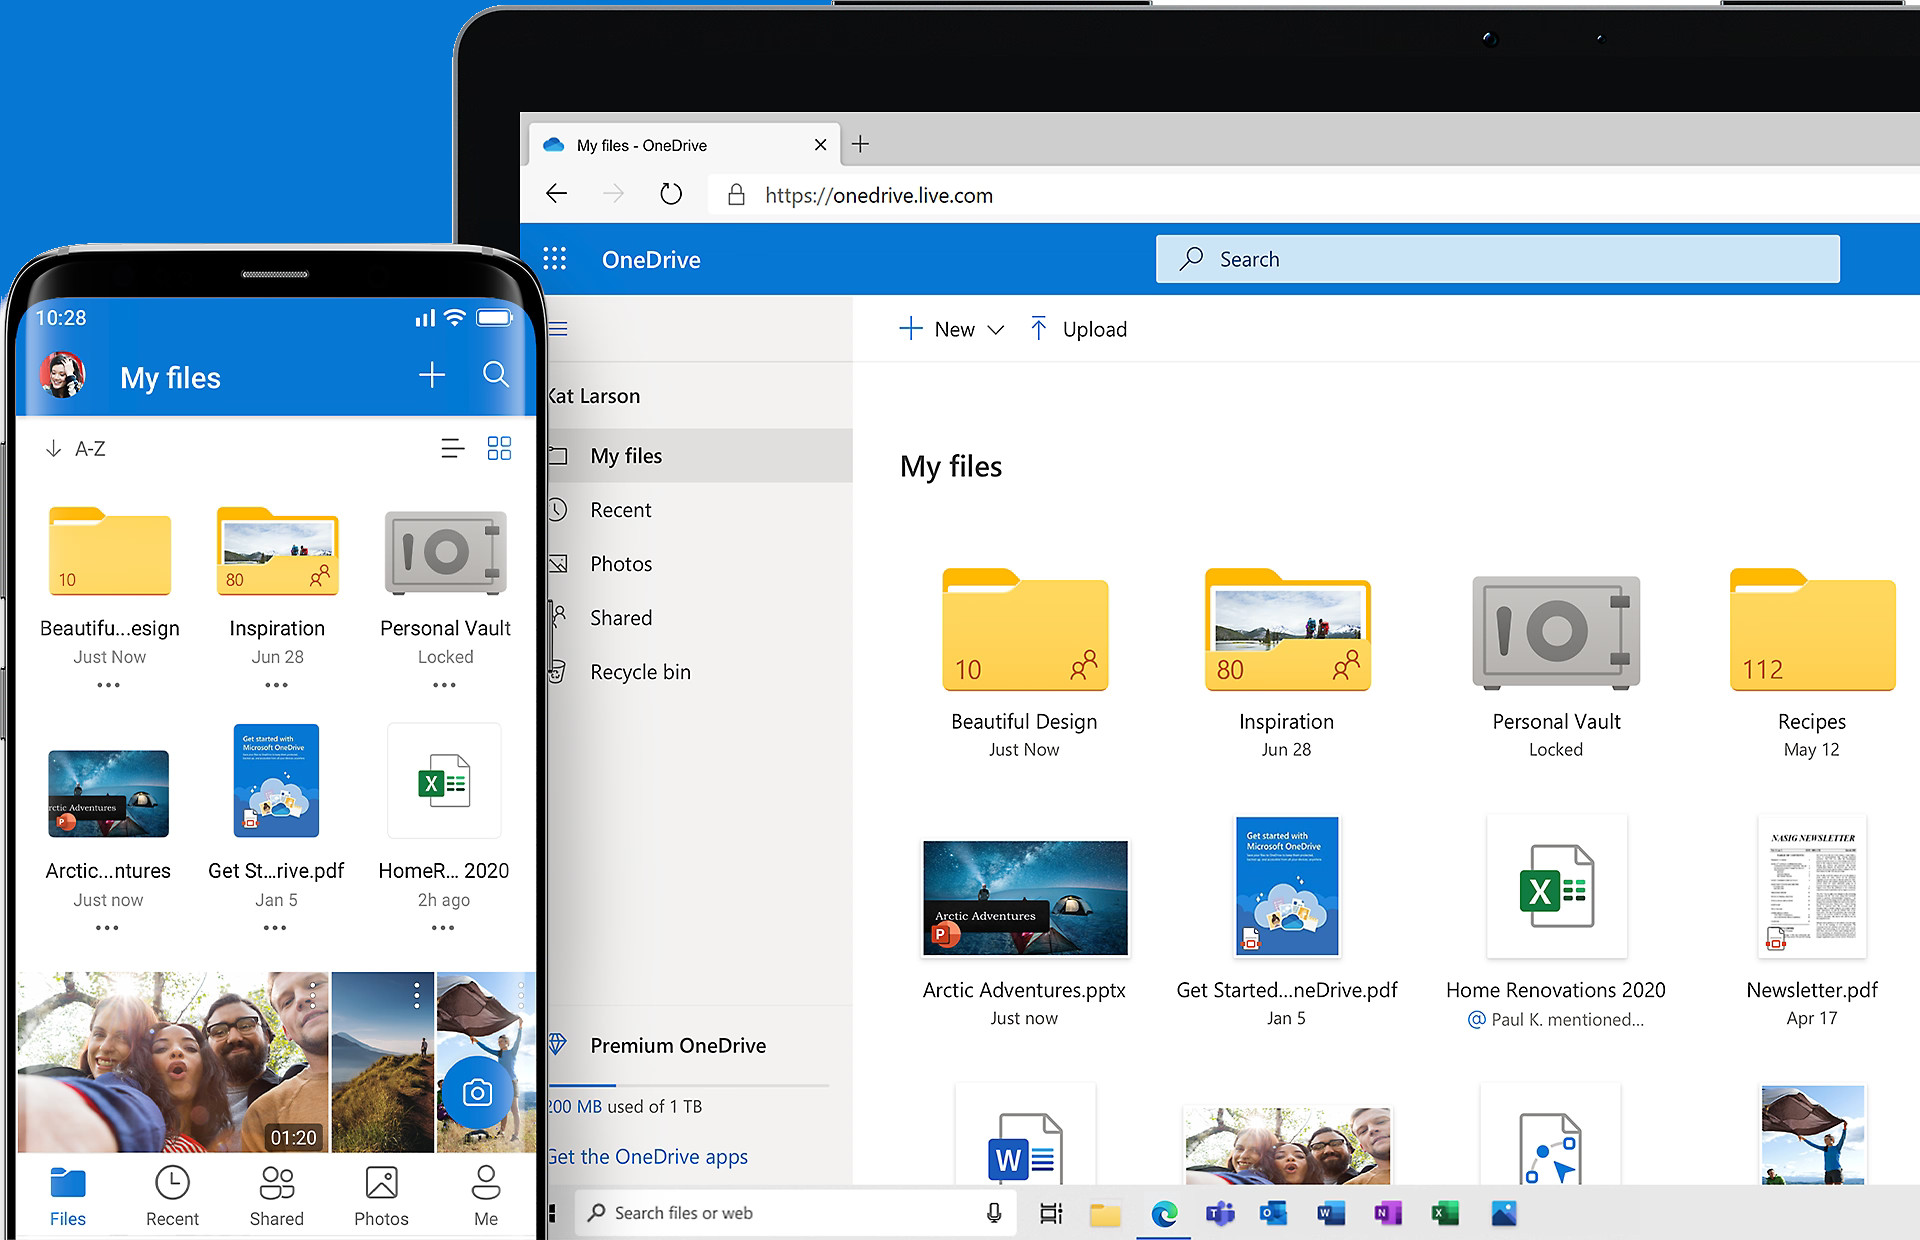
Microsoft gets a bit heavy-handed when it comes to trying to get you to sign up to its services in Windows 11, and while that might be annoying, it also means you could miss out on a genuinely useful feature: OneDrive.
This is Microsoft’s cloud storage service, and it’s tightly integrated into Windows 11. By using it (you get asked to save files there when you first use your new laptop or after upgrading), you can save and open files as usual, but they are also uploaded to OneDrive without you having to do anything else. Then, if you log into another device, all your files will be there waiting for you.
This can be super-useful if your laptop or PC fails, or you need to reinstall Windows 11, as your important files will be safely stored online.
You get 5GB of storage for free, which is pretty decent and you can subscribe to get more space if you need to. Unlike other services like Google Drive or iCloud, you don’t need to install a separate app, you just use Windows as usual.
3. Clear the junk
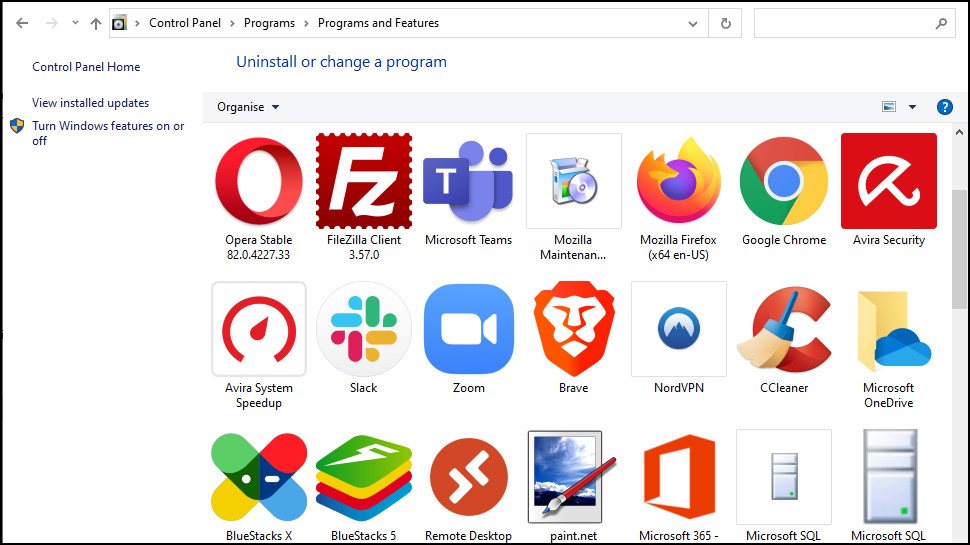
If you’ve got a new laptop or desktop with Windows 11, then you may see a load of pre-installed apps that you don’t really need. Some of these can be easy to ignore, while others can bug you with pop-ups and notifications trying to get you to subscribe. They can all take up hard drive space, so don’t just leave them on your machine – in the Windows 11 Search box on the taskbar, type in ‘Uninstall’ and then click ‘Add or remove programs’.
Uninstall any app you’re not going to use. Some laptop makers include a trial subscription for anti-virus software and that can often keep popping up asking you to subscribe. If you don’t want to, make sure you uninstall it. Windows 11 comes with Windows Defender, which these days is a very good anti-virus application that will keep you safe without hogging up resources on your computer.
4. Don’t let your hard drive fill up
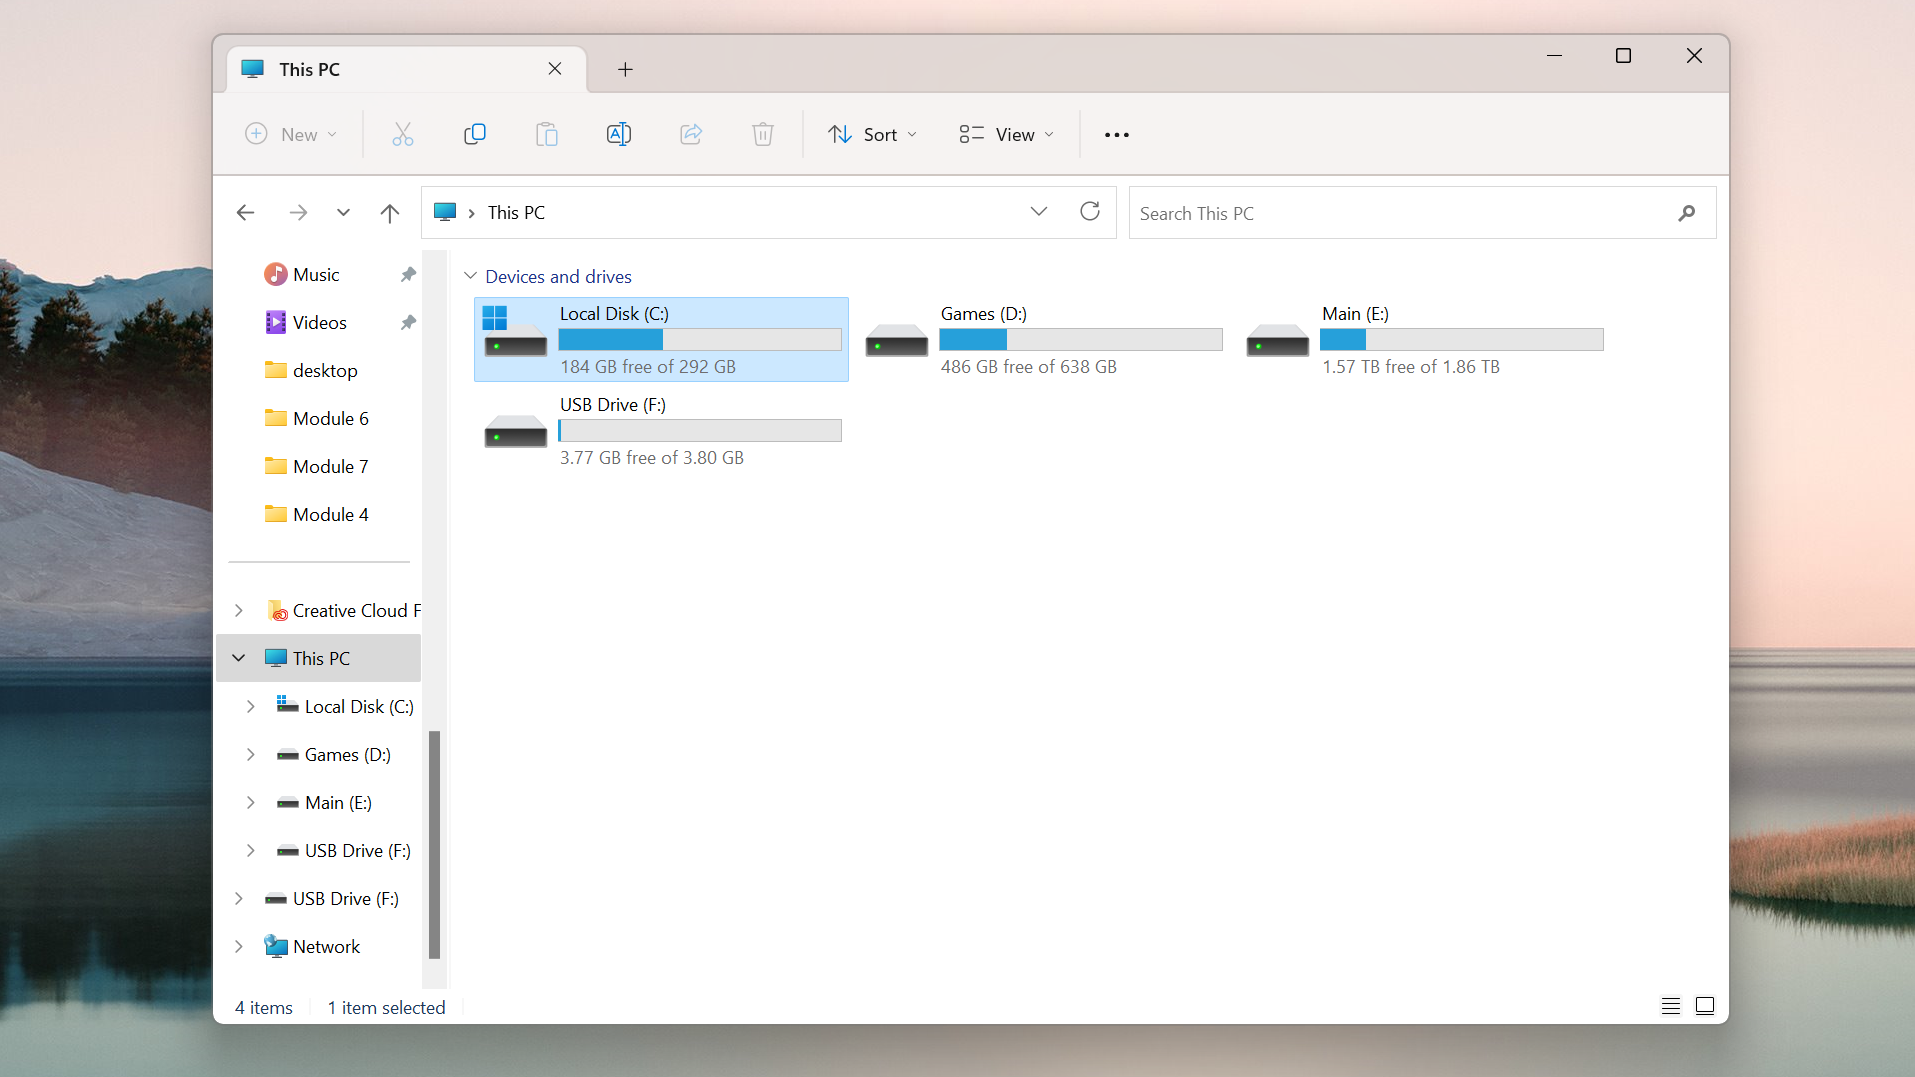
One of the biggest mistakes people make when using their computer is letting the hard drive where Windows 11 is installed fill up.
The fuller this drive, known as the ‘boot’ drive becomes, the worse Windows 11 can perform. You can see how much space you have left by clicking the File Explorer icon on the taskbar, then on the left-hand menu scroll down to ‘This Computer’. You’ll see all the hard drives on your system and how much space is left. If any of the bars below the hard drives are red, that means you’re running out of space, so you may need to uninstall some things.
This is especially true for the ‘Local Disk (C:)’, which is where Windows 11 is installed. If you have a second hard drive, make sure you install things on that instead.
You can type in ‘Storage’ to see what’s taking up space, and remove any temporary files to quickly free some up.
5. Cut down on startup apps
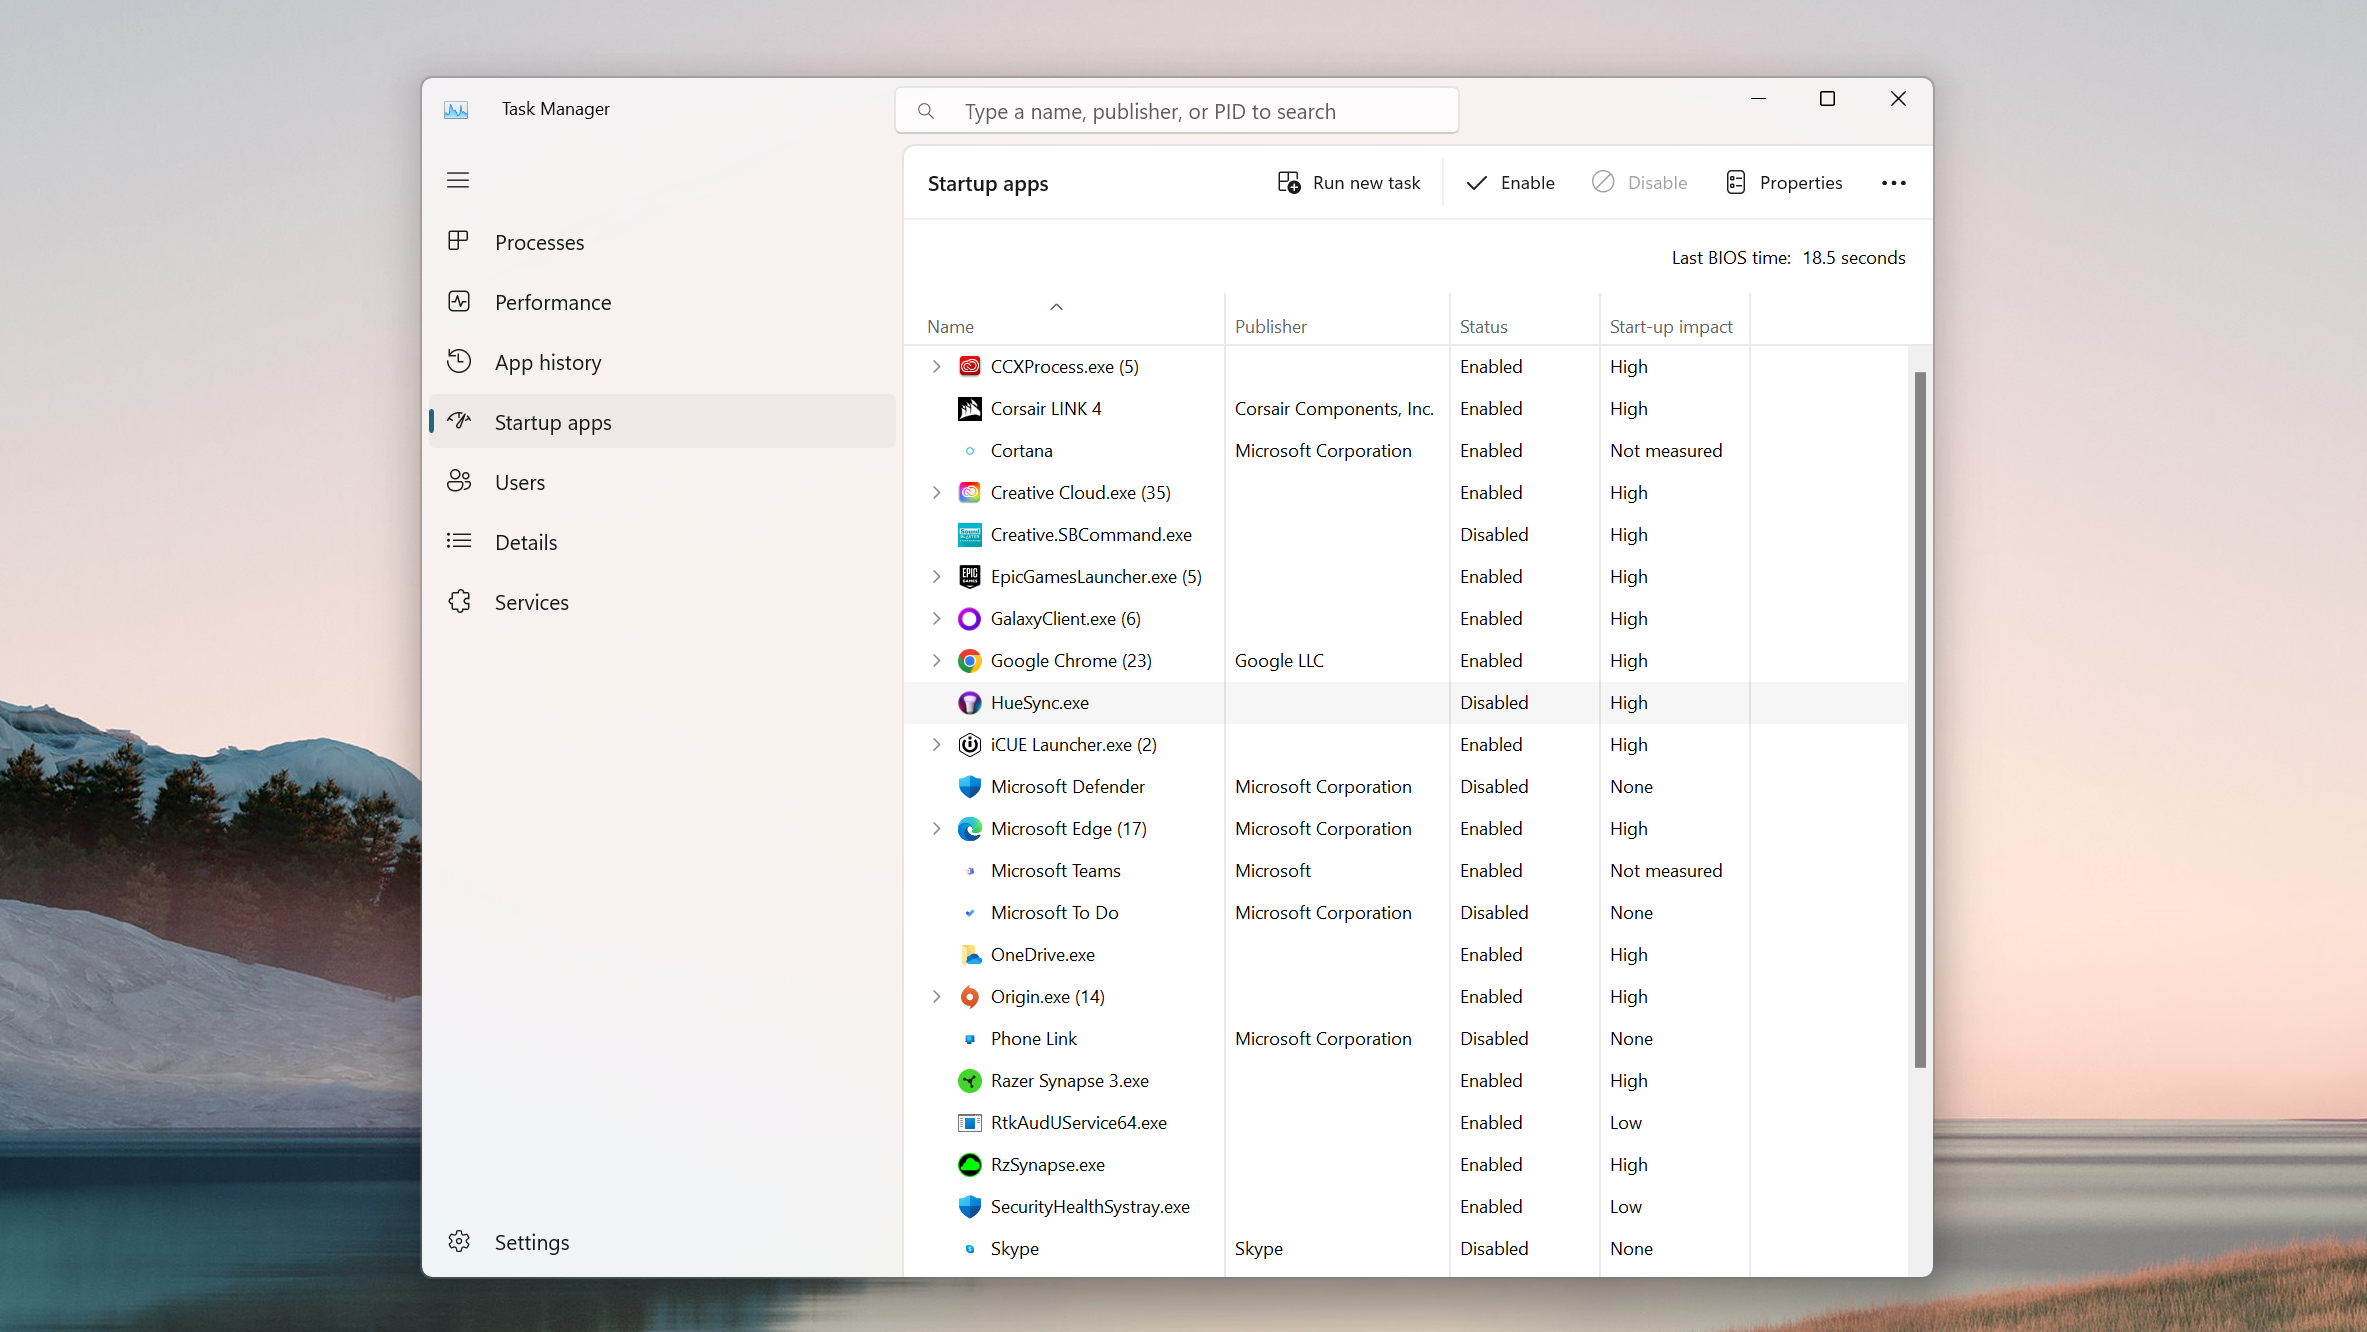
Another big mistake people make is allowing more and more apps to start up when Windows 11 starts. You’ll be surprised how many applications you install will quietly allow themselves to load when you start you PC.
While this can make opening those apps up faster, having too many open up at startup can slow down how quickly Windows 11 loads.
To see which apps are slowing down Windows 11’s startup, press Ctrl + Shift + Esc on your keyboard to open up the Task Manager. Click on ‘Startup apps’ to see what’s loading and how much impact they have on Windows 11’s start-up speeds. Any that are deemed ‘High’ should be disabled, especially if you never use them. To do this, right-click an app and select ‘Disable’.


