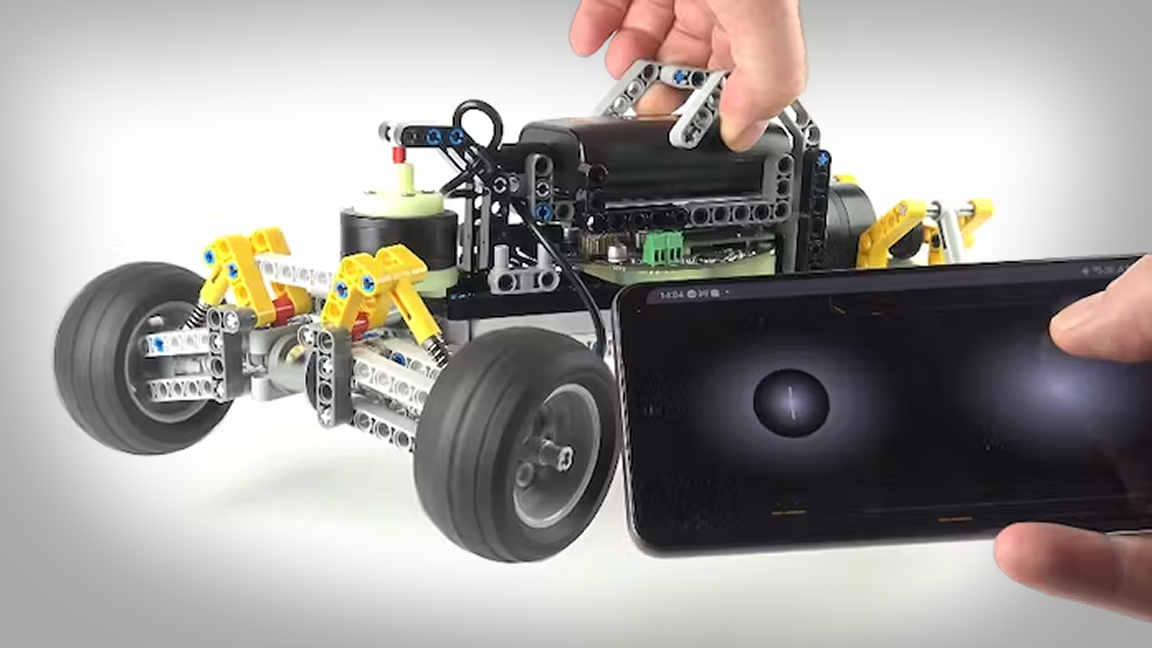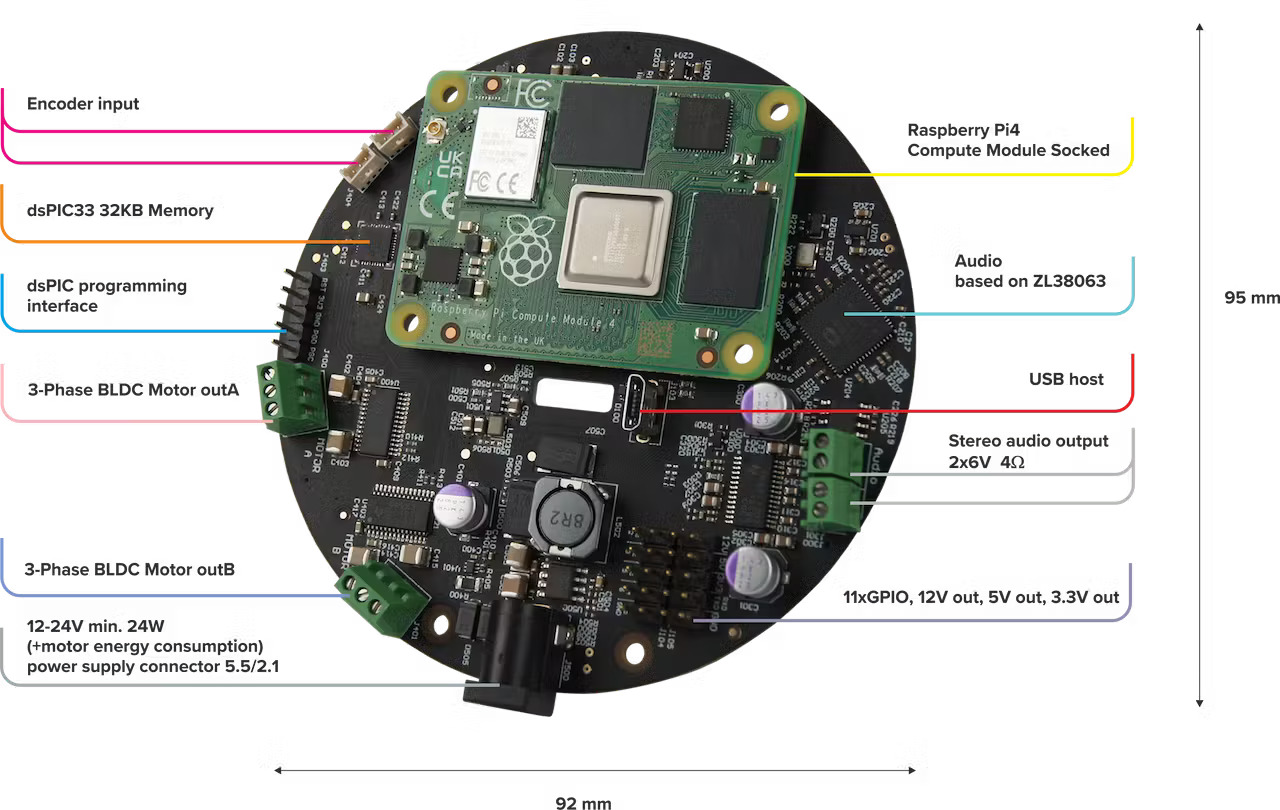
The Raspberry Pi is an excellent go-to board for makers that want to get their project ideas off the ground—or in this case, locomoting around on the ground. Developer duo Artur Majtczak and Maciek Matuszewski are the masterminds behind SaraKIT, a custom carrier board for the Raspberry Pi Compute Module 4 that’s being used to drive their cool LEGO RC car project.
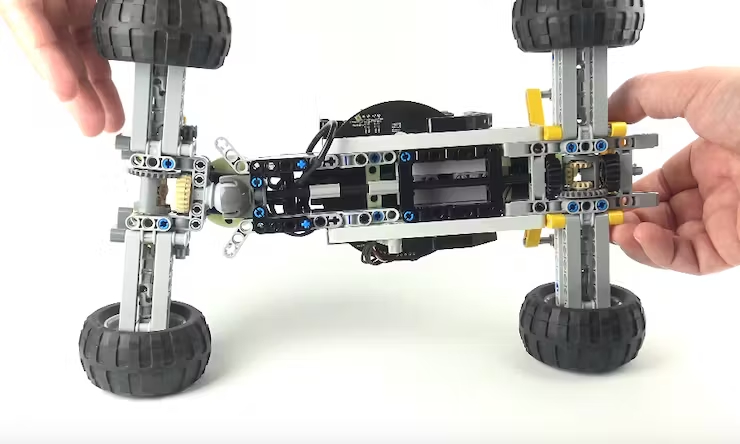
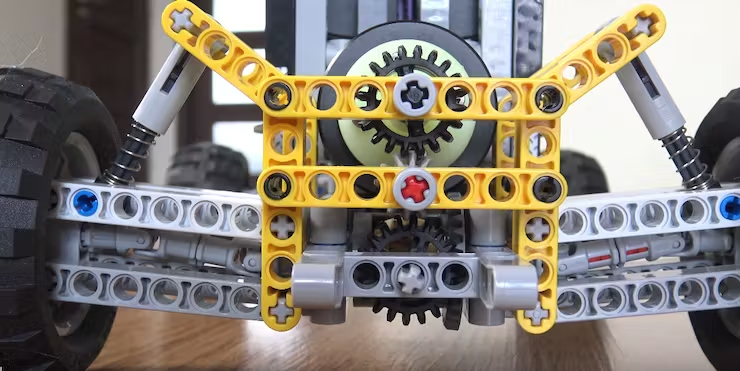
The car is smartphone operated and stands out with 4-wheel drive alongside two differentials lending to some serious precision driving. The SaraKIT board makes it easier to control these extra components with features like fractional angle control. Of course, the body is made using LEGO for fun but you can also make adjustments to the build by changing the gears at the rear to impact both power and speed.
The SaraKIT CM4 carrier board adds a variety of features to the CM4 that take this car to the next level. This includes things like the super precise motor control we mentioned above as well as voice control using 3 microphones with the ability to implement sound localization. Two CSI ports are included for attaching camera modules, it has two accelerometers, a gyroscope and a temperature sensor.
The build is fairly straightforward. The Raspberry Pi CM4 is attached to the SaraKIT board. The body is built using LEGO but also uses some 3D-printed components for mounting the hardware in place. These STL files are available for download on the project page at Hackster. There is an alternative, in the form of the Raspberry Pi Build HAT, a board that bridges the world of Lego Mindstorms / Technic and Spike with the Raspberry Pi.


The software for this project hasn’t been released yet but plans are in the works to put the source code on the team’s official GitHub page. According to the project page at Hackster, it includes sample scripts in C++, Python, as well as Delphi. It’s not clear when this will be shared but you can keep an eye out for it in the future.
If you want to see this Raspberry Pi project in action, check out the demo video shared to YouTube. You can also read more about the build process in greater detail over at the official project page at Hackster.


