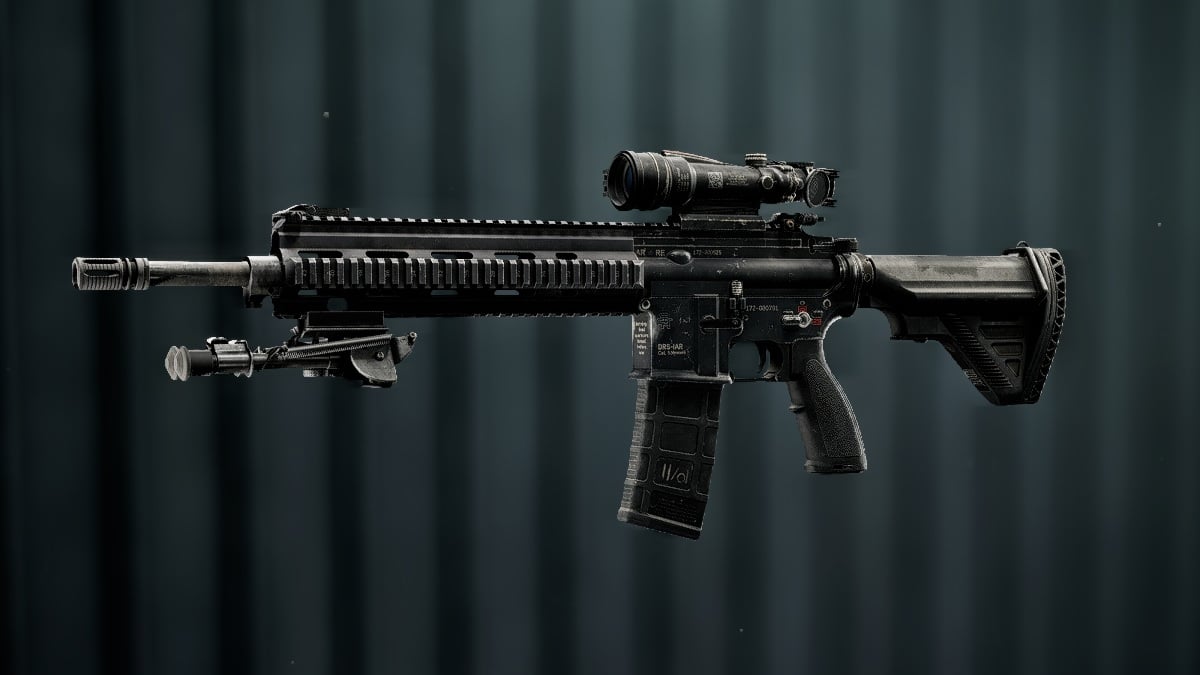
The DRS-IAR is one of the most reliable LMGs in Battlefield 6, as it offers handling similar to an assault rifle but with LMG ammo economy.
With the right attachments, the DRS-IAR turns into a beamer that can melt players across mid and long ranges, while still offering good enough handling to keep up with the fight.
If you play patiently, rotate between strong positions, and use your utility to control space, this DRS-IAR loadout below will quietly dominate every Battlefield 6 lobby you drop into during Season 2.
The best DRS-IAR loadout in BF6
Best DRS-IAR build
| Slot | Attachment | Attachment Points |
|---|---|---|
| Muzzle | Lightened Suppressor | 30 |
| Barrel | 20″ SDM-R | 10 |
| Underbarrel | 6H64 Vertical | 25 |
| Ammo | Polymer Case | 10 |
| Magazine | 36 RND | 15 |
| Optic | OSA-7 1.00x | 10 |
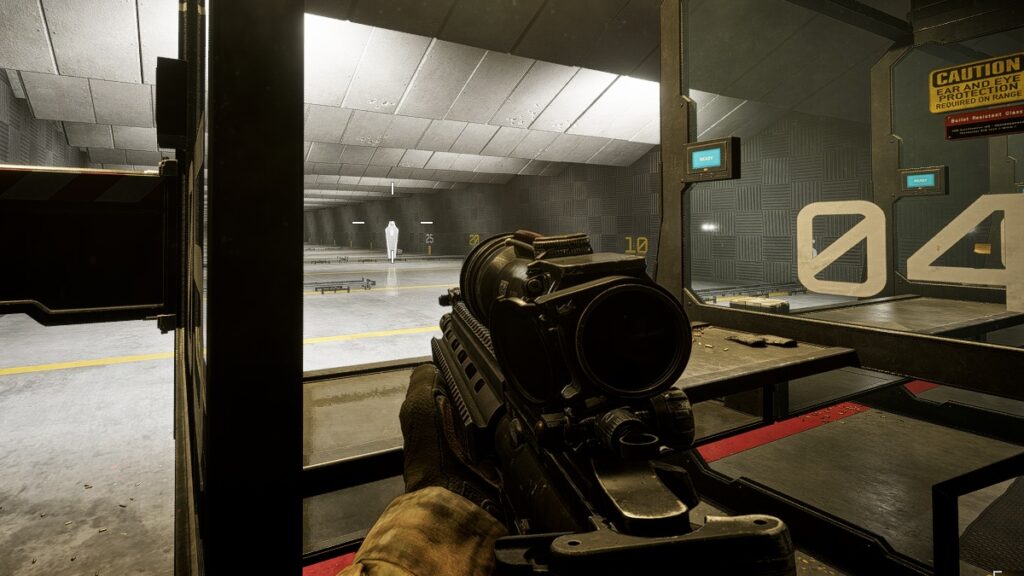
The Lightened Suppressor keeps your shots off the minimap while slightly tightening recoil and preserving enough bullet velocity to stay competitive on larger maps.
Paired with the 20″ SDM-R barrel, you get a healthy boost to effective range and bullet speed, which helps your beams connect faster on enemies crossing open lanes.
The 6H64 Vertical underbarrel is the backbone of the setup, dramatically cutting vertical recoil so your spray pattern becomes predictable and easy to pull down. Polymer Case ammo then stabilizes your aim during longer bursts, reducing the bloom that normally kicks in when you hold the trigger down on an LMG.
For magazine choice, 36 RND is the sweet spot between staying mobile and having enough bullets to clean up two or three players without reloading in the middle of combat. Finally, the OSA-7 1.00x optic gives you a clean one-times sight with low visual recoil, letting you track targets through tracers, explosions, and suppression effects.
At longer ranges, stick to controlled bursts, and up close and in mid-range duels, you can comfortably hold down the trigger thanks to the 6H64 Vertical and Polymer Case combo.
Best DRS-IAR class setup
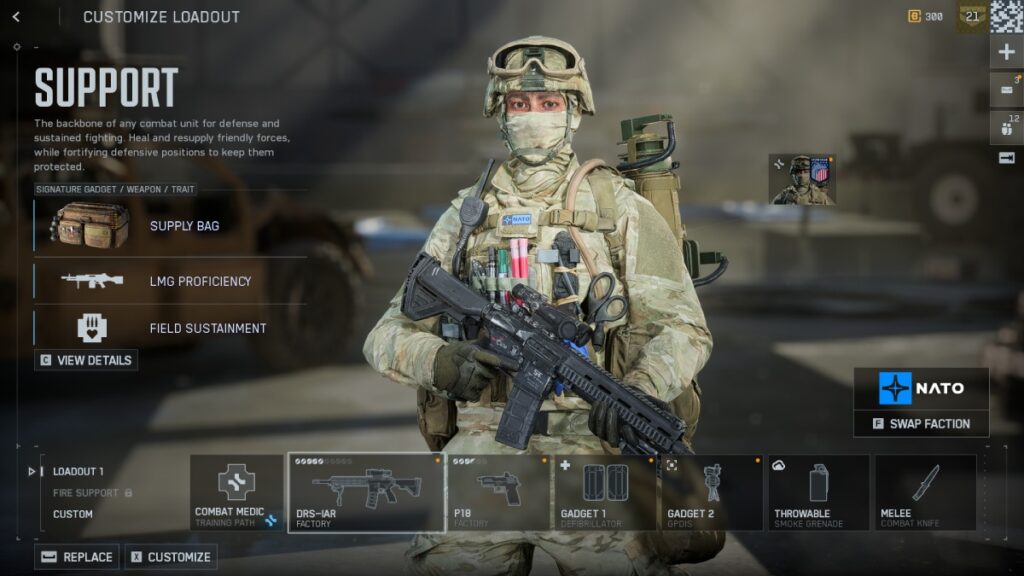
- Class: Support
- Training Path: Combat Medic
- Secondary: Personal preference
- Gadget one: Defibrillator
- Gadget two: GPDIS
- Throwable: Smoke Grenade
Support running the Combat Medic training path is built to live on the frontline, constantly rotating between revives and resupplies. The Combat Medic bonuses speed up and stabilize revives, letting you drag teammates out of danger and pick them back up without instantly throwing away your own life.
The Defibrillator is mandatory for this setup, since you effectively become the core of your squad’s survivability. Use it to chain revives from behind cover, especially right after you have cleared a lane with your LMG, so the team never fully wipes while contesting an objective.
GPDIS fits perfectly into objective-focused play because it intercepts incoming grenades and other explosives before they land, keeping chokepoints from being erased by spam. Drop it on common push routes you are defending so your revive and resupply cycles are not cut short by random explosives.
Smoke Grenades are one of Support’s strongest tools, blocking sightlines, disrupting snipers, and opening safe paths for revives. Pair smoke with your Defibrillator to drag and pick up teammates inside the cloud, then swing back to your LMG to punish anyone who decides to push through blind.