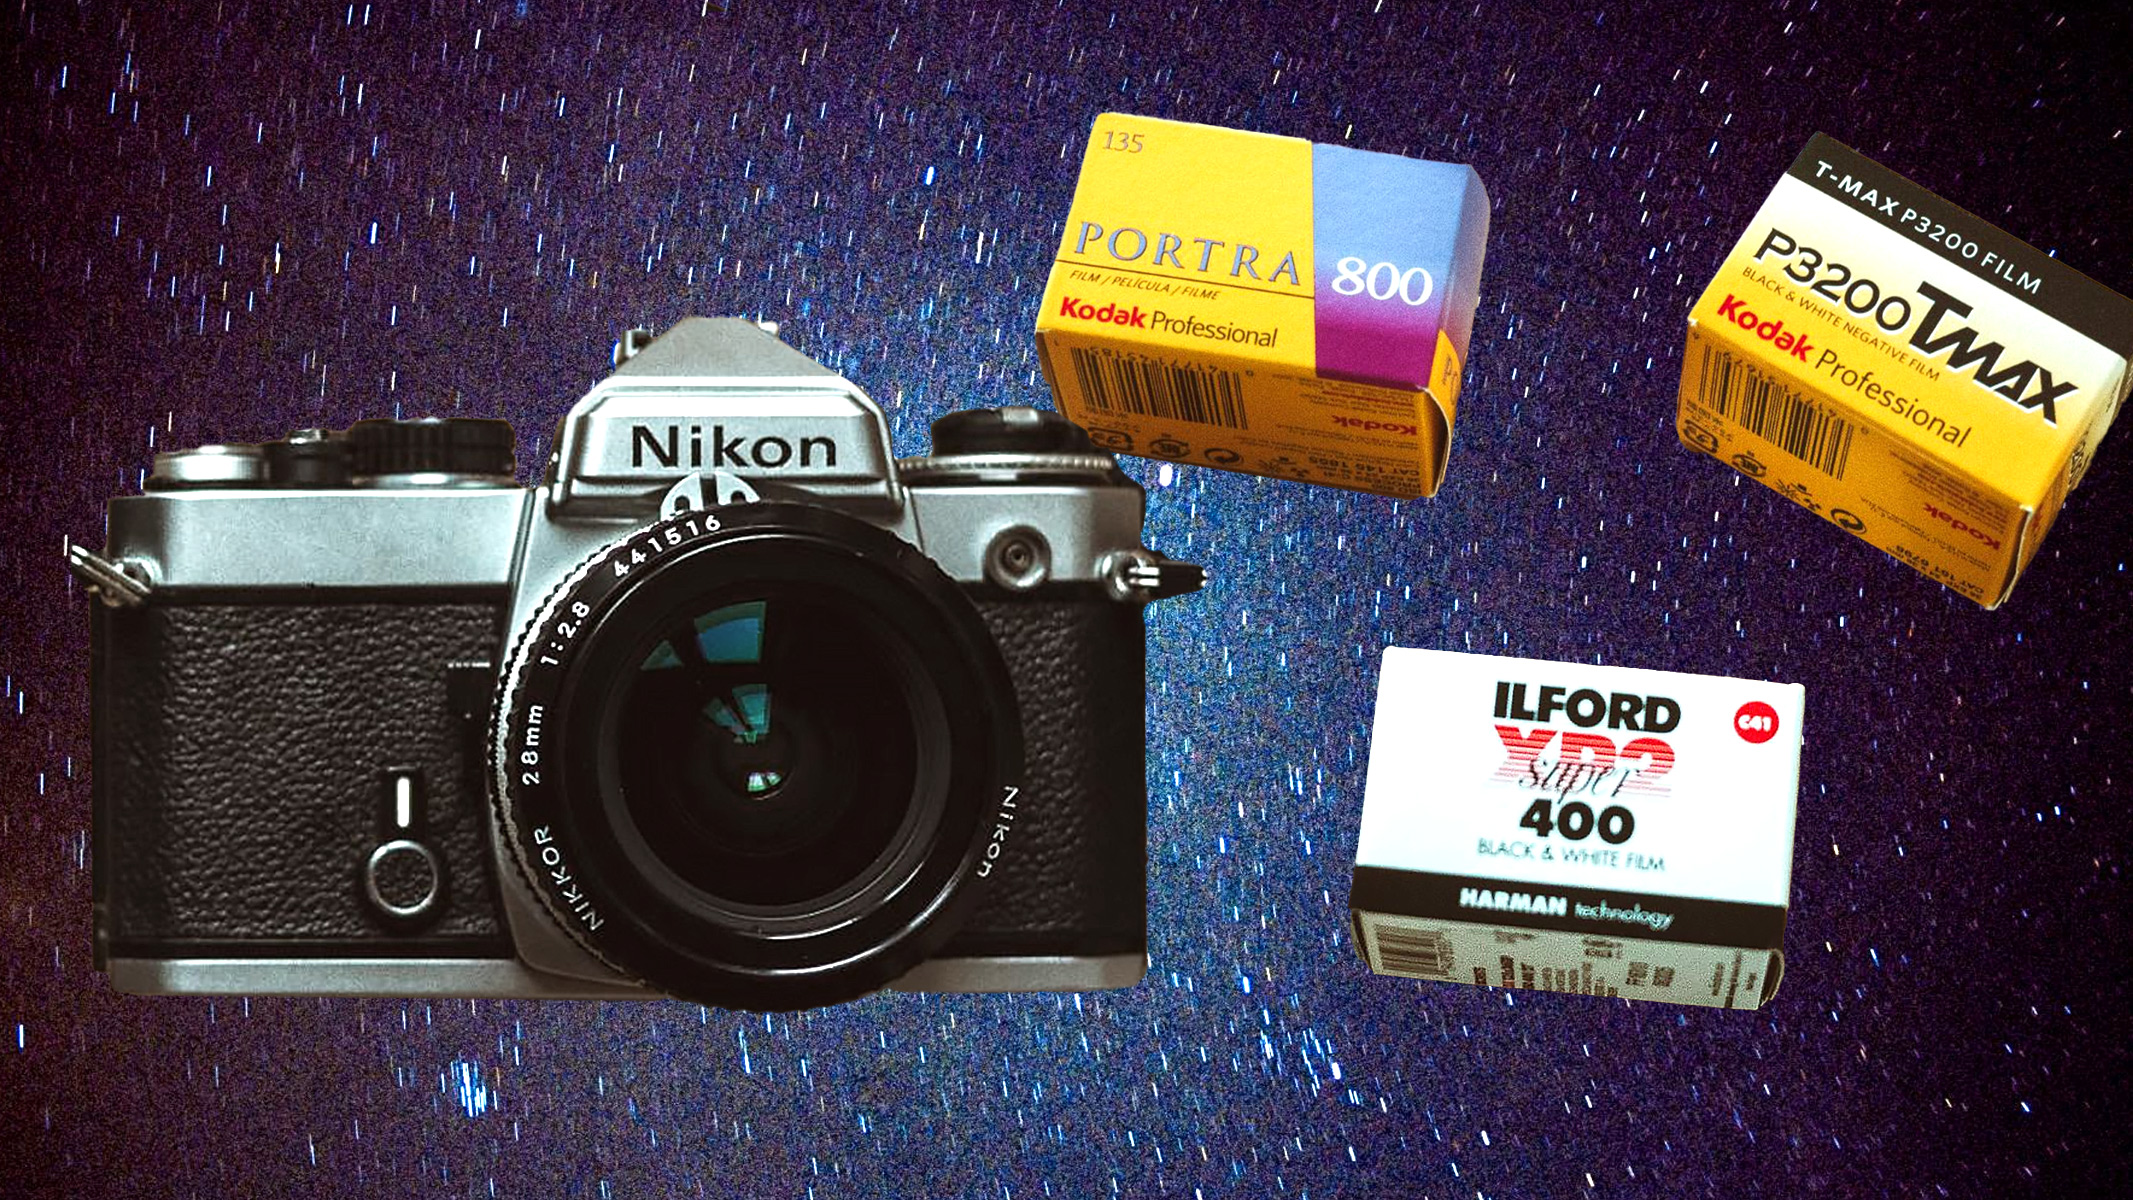
Astrophotography with a film camera is as fascinating and rewarding as photographing the night sky with a mirrorless or DSLR camera. But you must carefully choose your camera equipment to get sharp and colorful results. The best cameras for astrophotography offer the latest digital imaging technology, enabling you to push the ISO to extremes and shoot in low light without getting unusable levels of noise in your images. They're also versatile enough for daytime shooting, so you get more value from your camera purchase.
Digital cameras have the latest features, but that doesn't mean they're the only option. Film cameras and analog photography have had a real resurgence in popularity in the last few years, beloved for their retro style and vintage appeal. Can you take astrophotography with a film camera? Yes. But you'll have to put more thought, planning, effort, and care into your shoot.
We'll help you choose the best camera, lens, and film for analog astrophotography, as well as the practical skills and techniques needed for the shoot. You might also want to read our astrophotography for beginners guide, which has lots more helpful tips on planning and composition than we've covered here.
Which film camera to use for astrophotography:
- Bulb or manual exposure modes
- Removable and interchangeable lenses
- A format that's easy to find film for
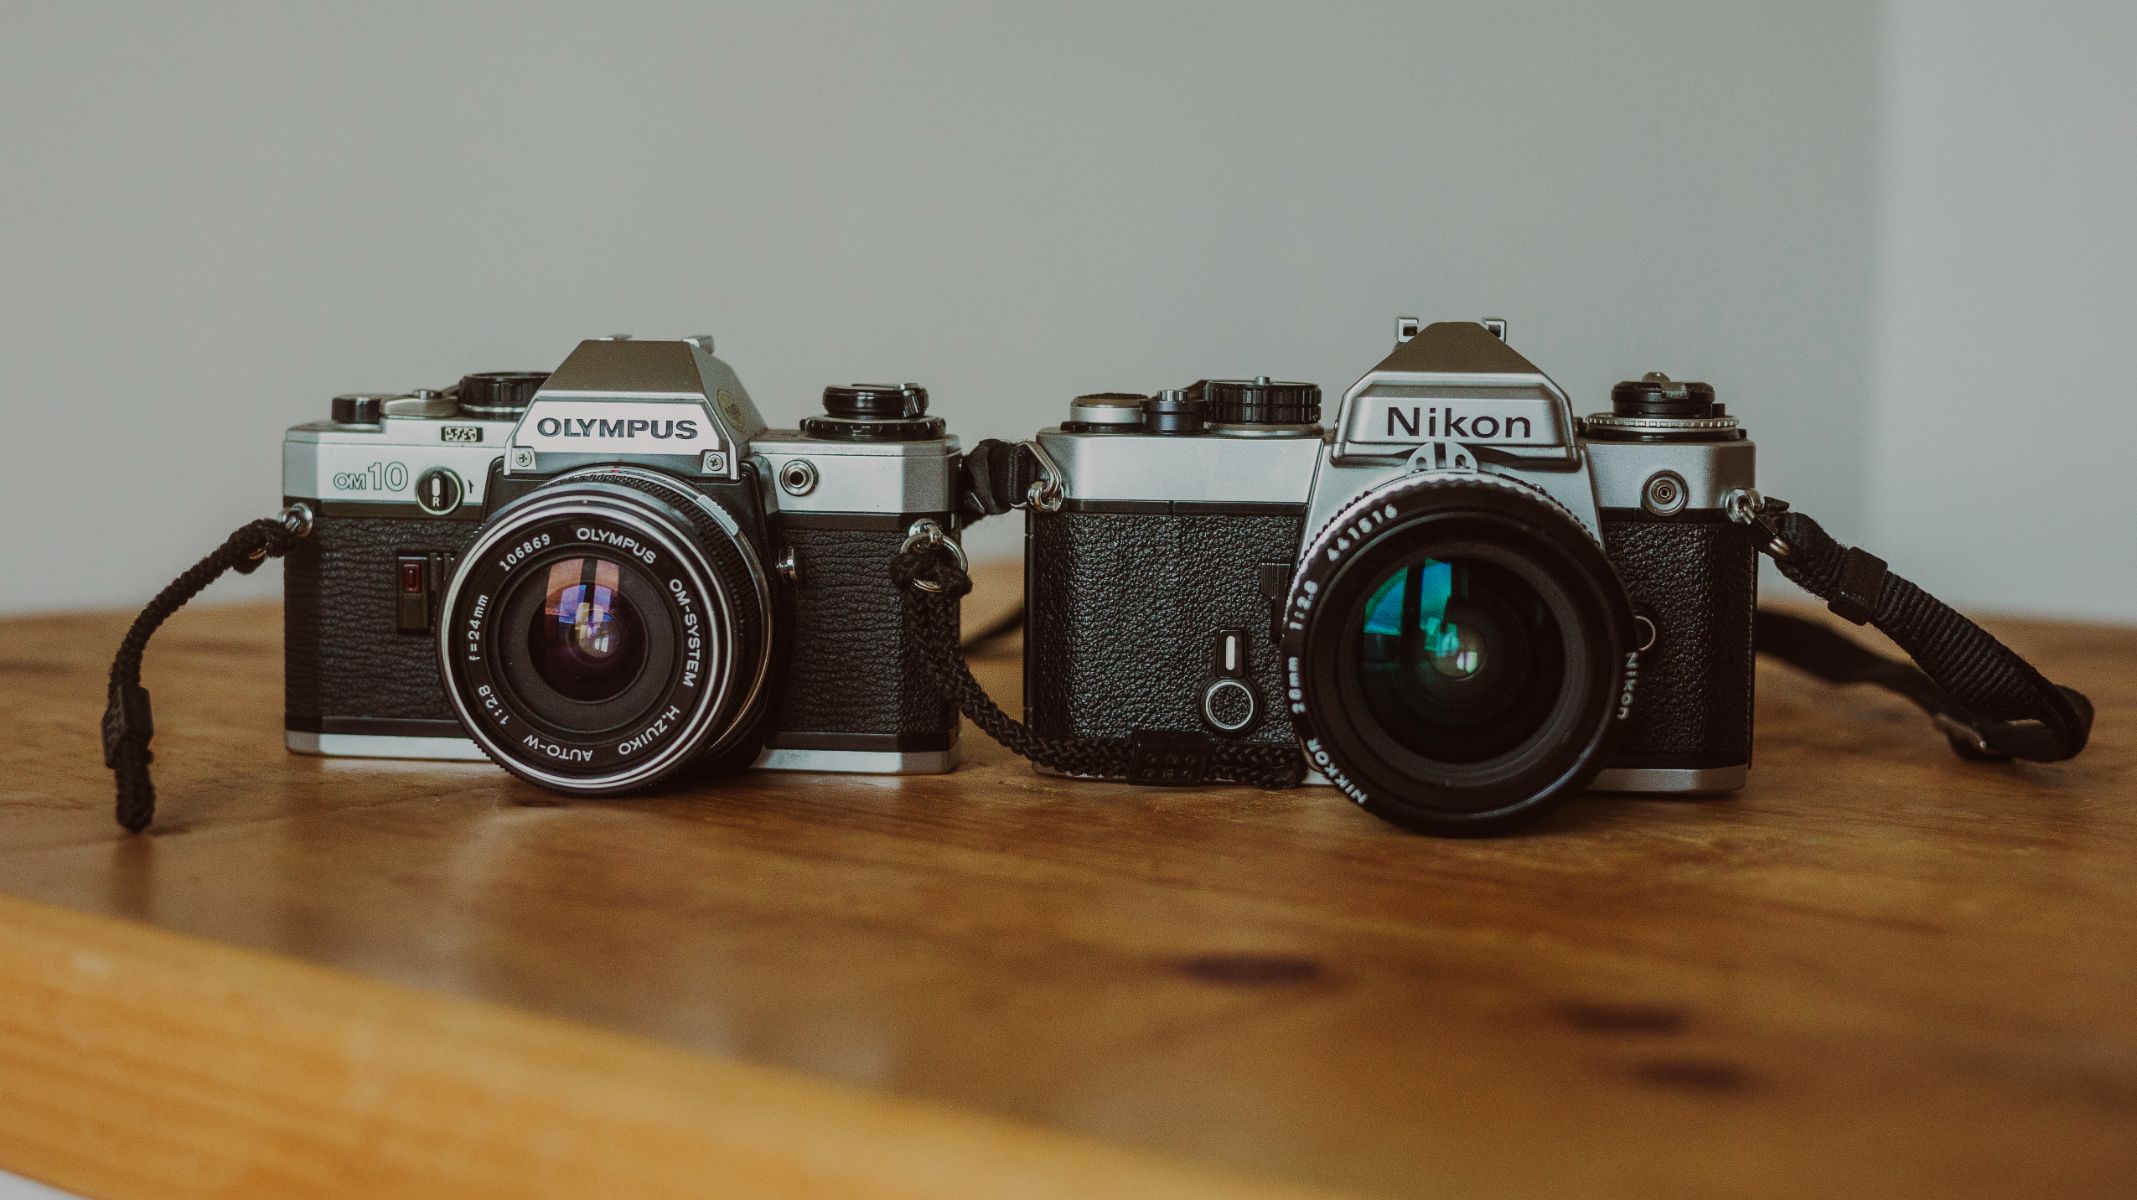
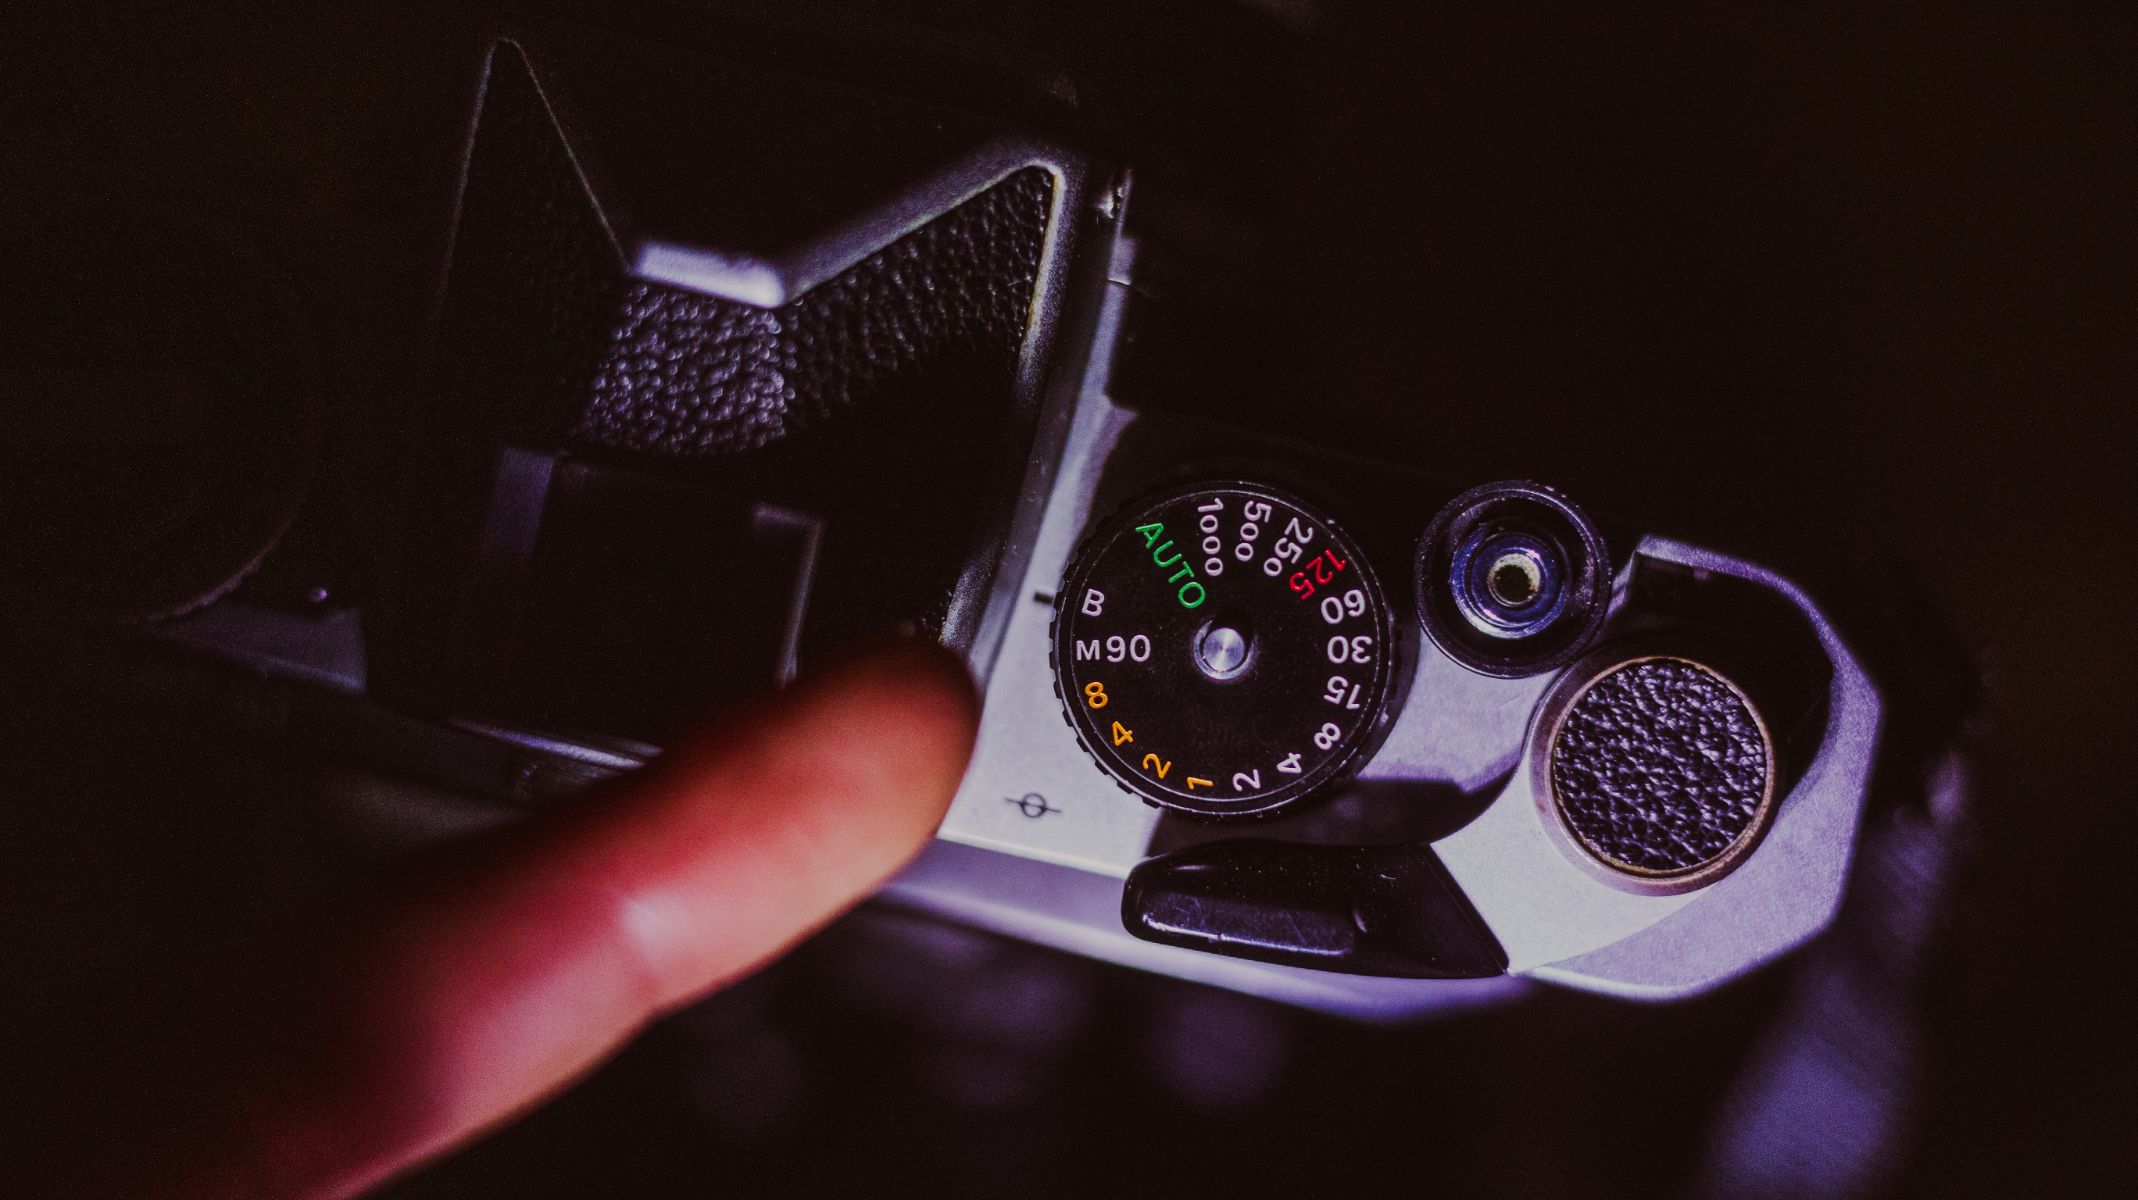
Generally, the best film camera for astrophotography will be a 35mm SLR camera, which you might even have in an attic at home (or a relative's). These cameras are easy to find secondhand on sites like eBay and have interchangeable lenses, so you can choose and change the focal length. Look for one capable of opening its shutter for extended periods with 'Bulb' mode and a cable release, as well as 'mirror lockup,' which reduces vibration-induced motion blur caused by the camera's mirror.
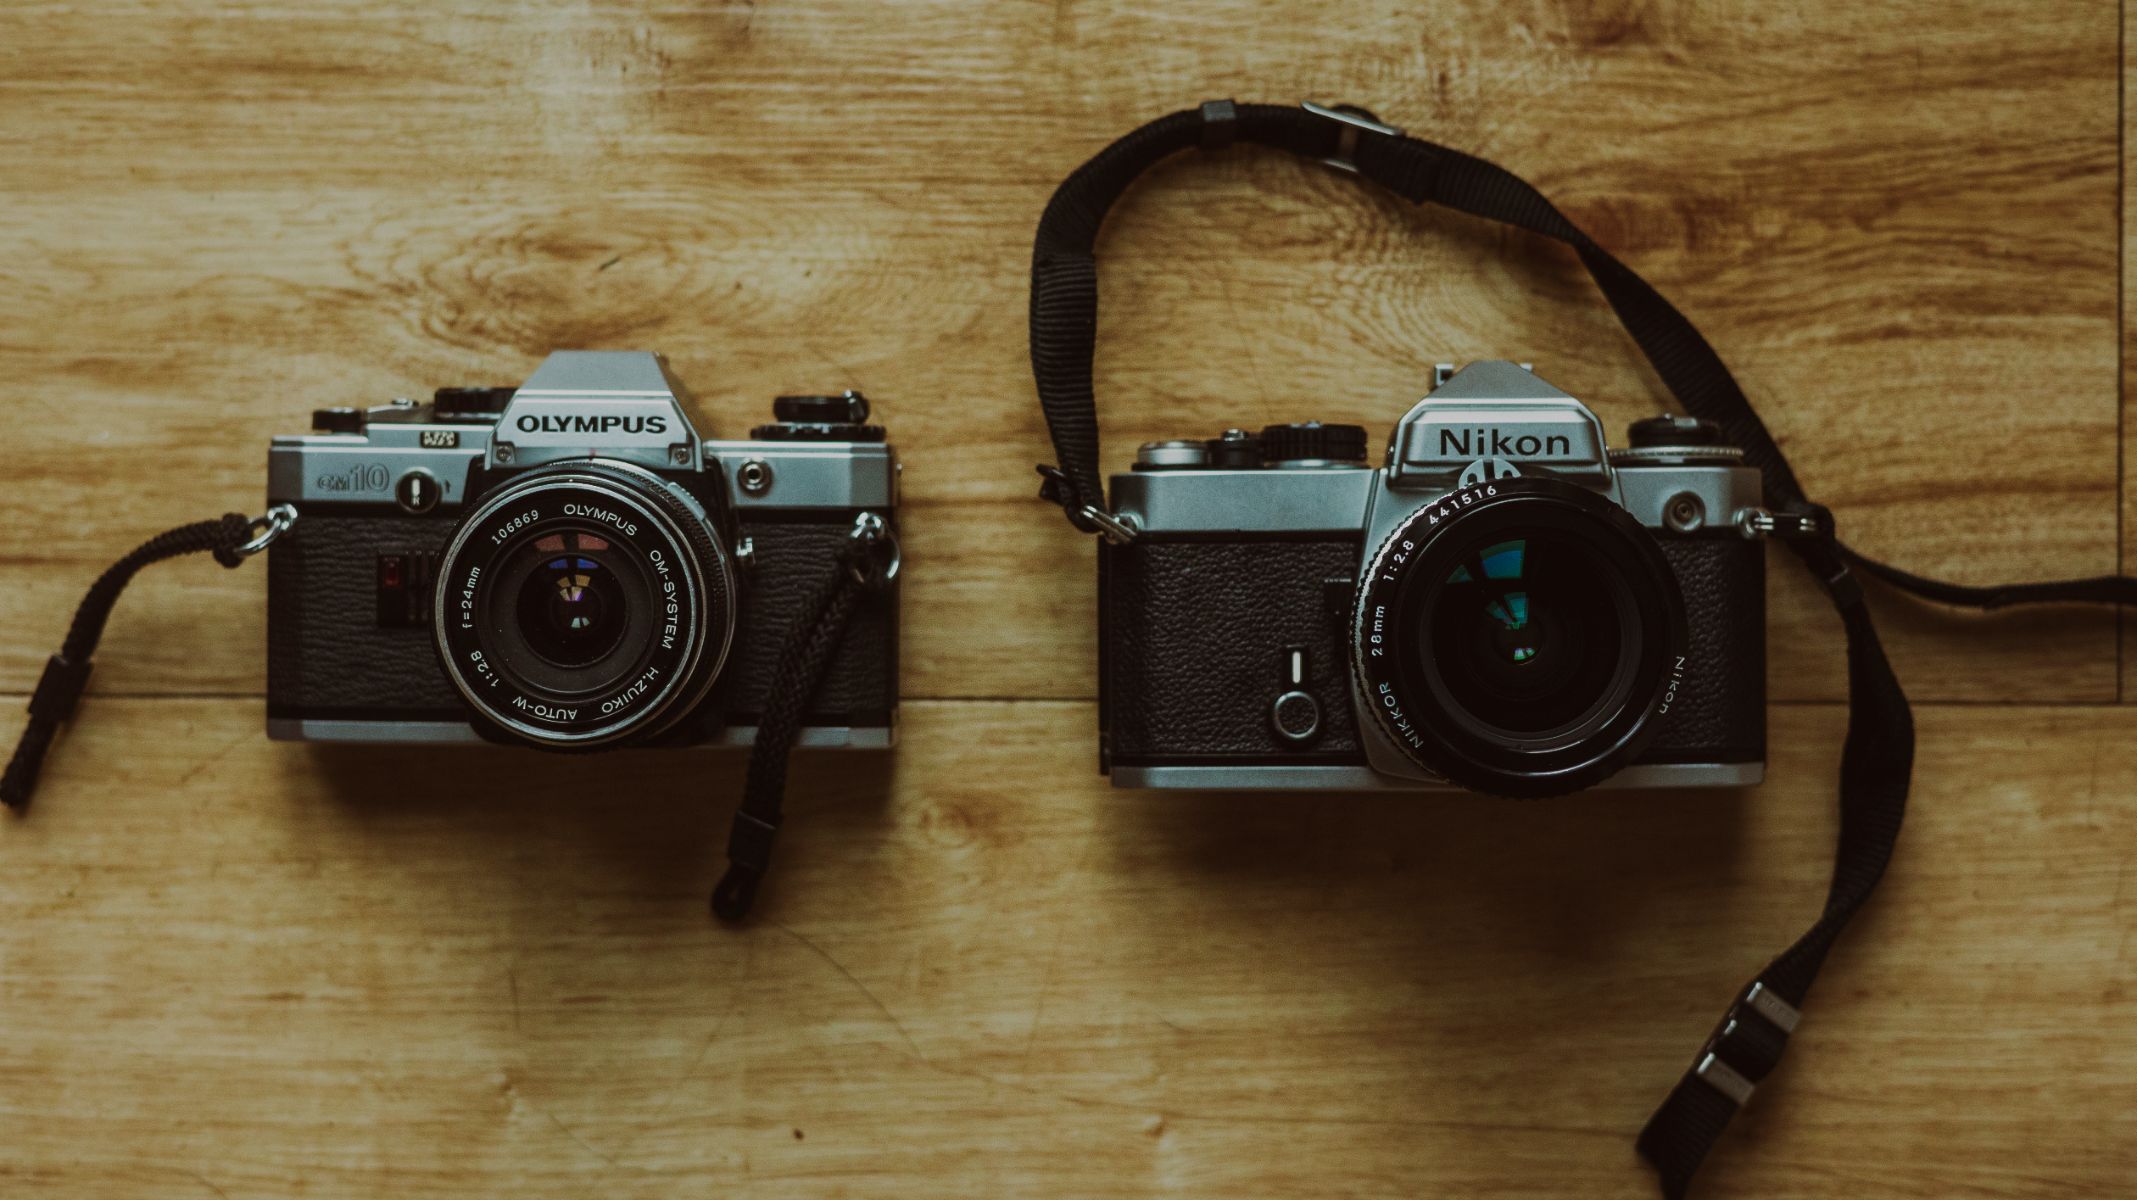
Many of the most popular camera manufacturers made their name by making 35mm SLR cameras, including the Olympus OM1, Canon AE-1 and Nikon FE, which we'll use here. When buying a secondhand camera, consider the item's condition rating and seller ratings (if the marketplace has them), as well as any testing that's been done to ensure its working order.
Once you've mastered the basics of film astrophotography, you could advance your skills by using a medium format camera — which will have a larger sensor and result in much higher-resolution images.
Which film to use for astrophotography?
- 35mm film is the most readily available
- Choose a 400-speed film or above (ISO400)
- Experiment with sensitive black-and-white films
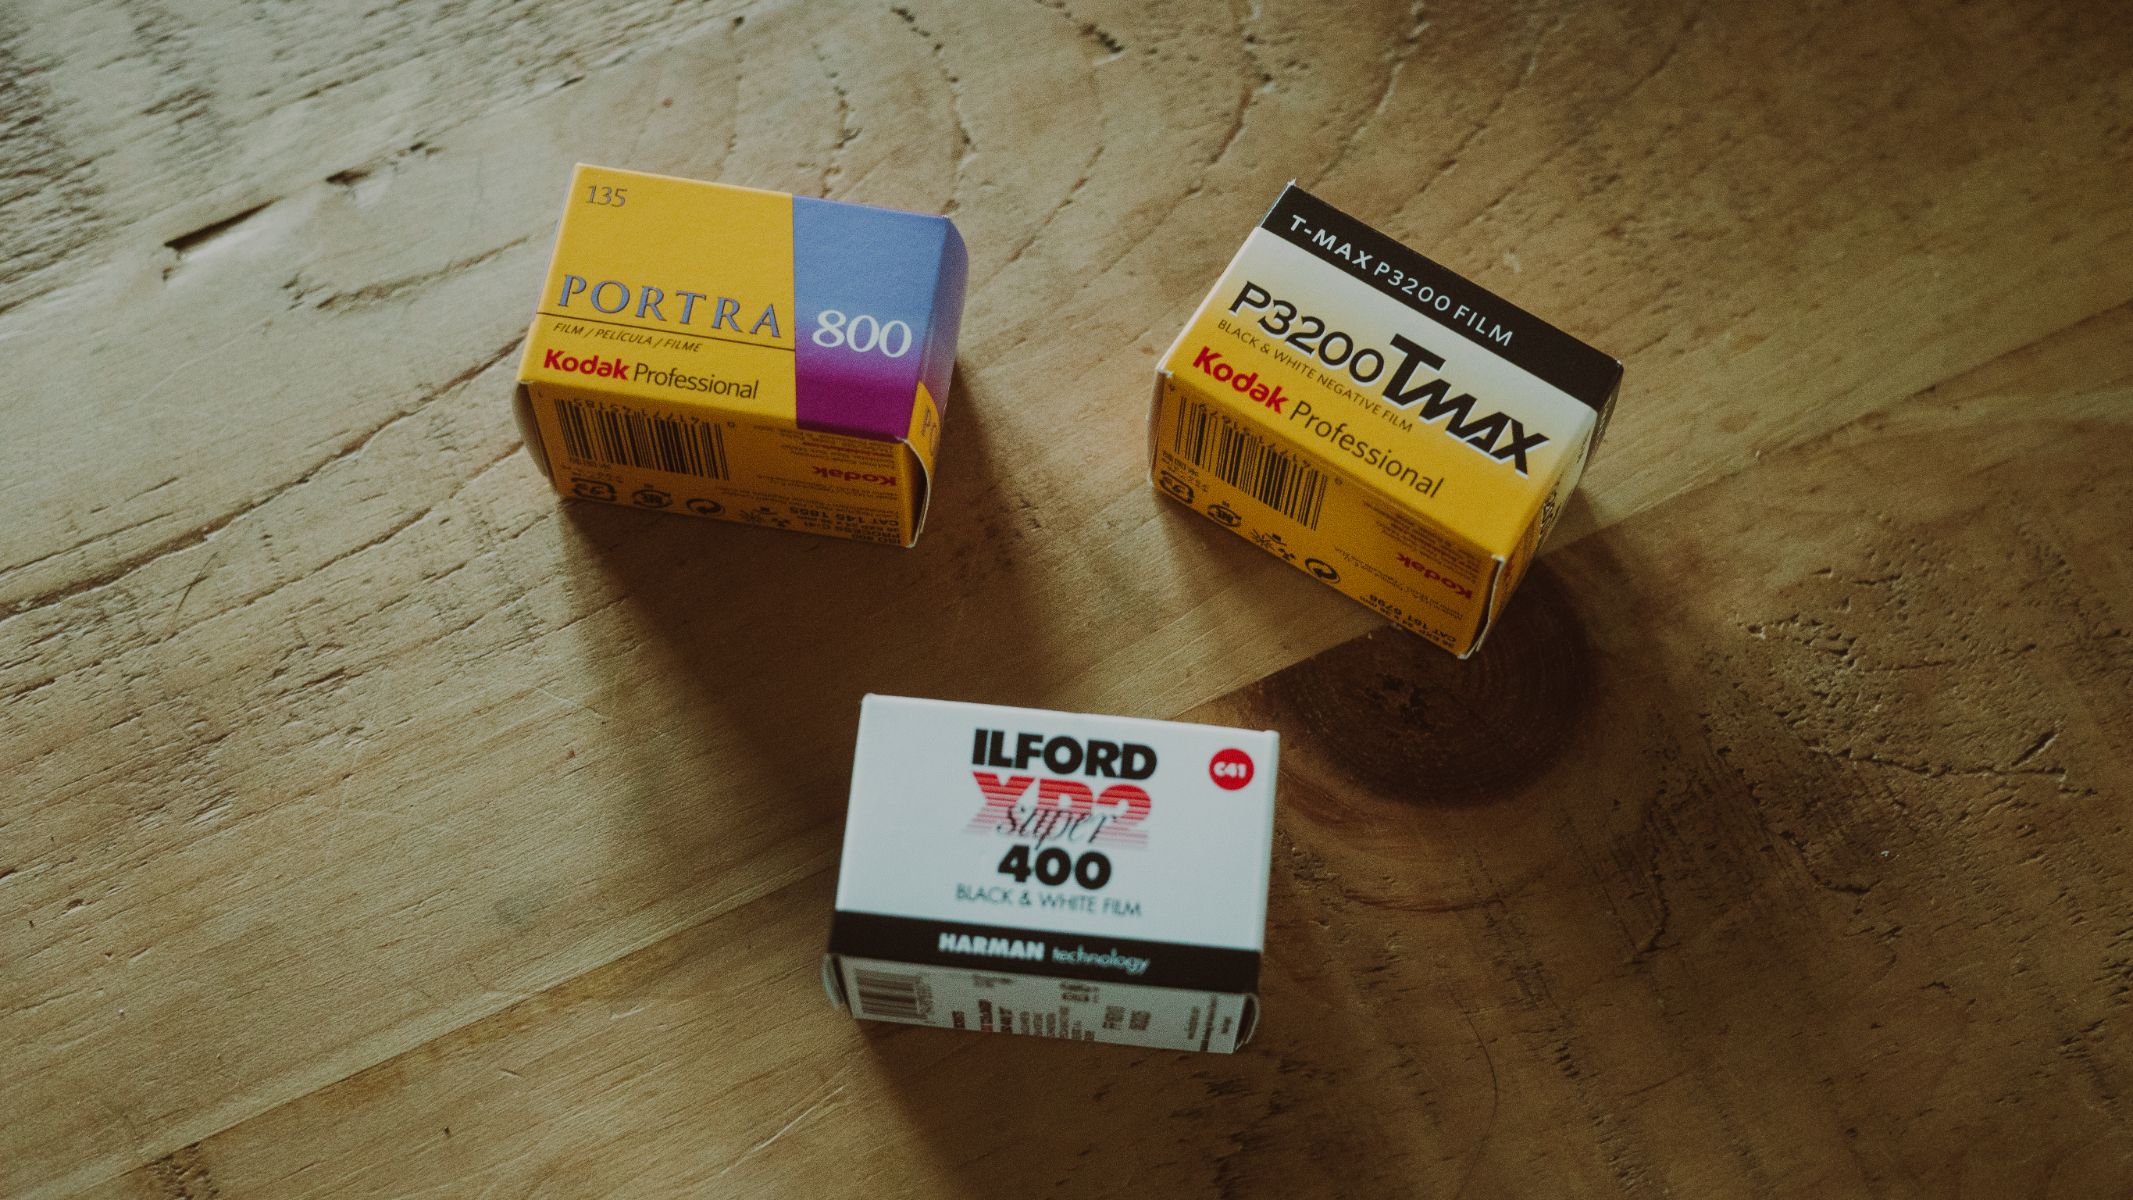
Any film labeled as 35mm should be compatible with a 35mm SLR camera, but which is best suited to astrophotography? The light sensitivity of a film is measured in ISO (in much the same way as on a digital camera). For beginner analog astrophotographers, a film speed of 800 ISO is a good place to start; Kodak Portra 800 offers high sharpness and fine grain for low-light work.
However, some film astrophotographers choose films specifically for their blue and red light sensitivity. Provia 100f is one of the best films for color reproduction — albeit with a very low ISO that requires a much longer exposure time.
The beauty of astrophotography is arguably in the color detail, but with black-and-white films; you can sometimes push the ISO higher. If you like the idea of going monochrome, Kodak Professional T-MAX P3200 or Ilford Delta 3200 are worth trying. Ilford also makes films with extended red sensitivity (SFX 200), which can yield interesting results for night-sky shots.
Picking out the best lens for film astrophotography
- A wide-angle focal length is best
- An aperture of f/2.8 or wider
- Checking your camera's lens mount
You need to know what lens mount your camera takes (our Nikon FE camera was the Nikon F-mount), and then look online or in secondhand camera shops for compatible optics. The principles of what makes the best lens for astrophotography in digital cameras are similar to film cameras.
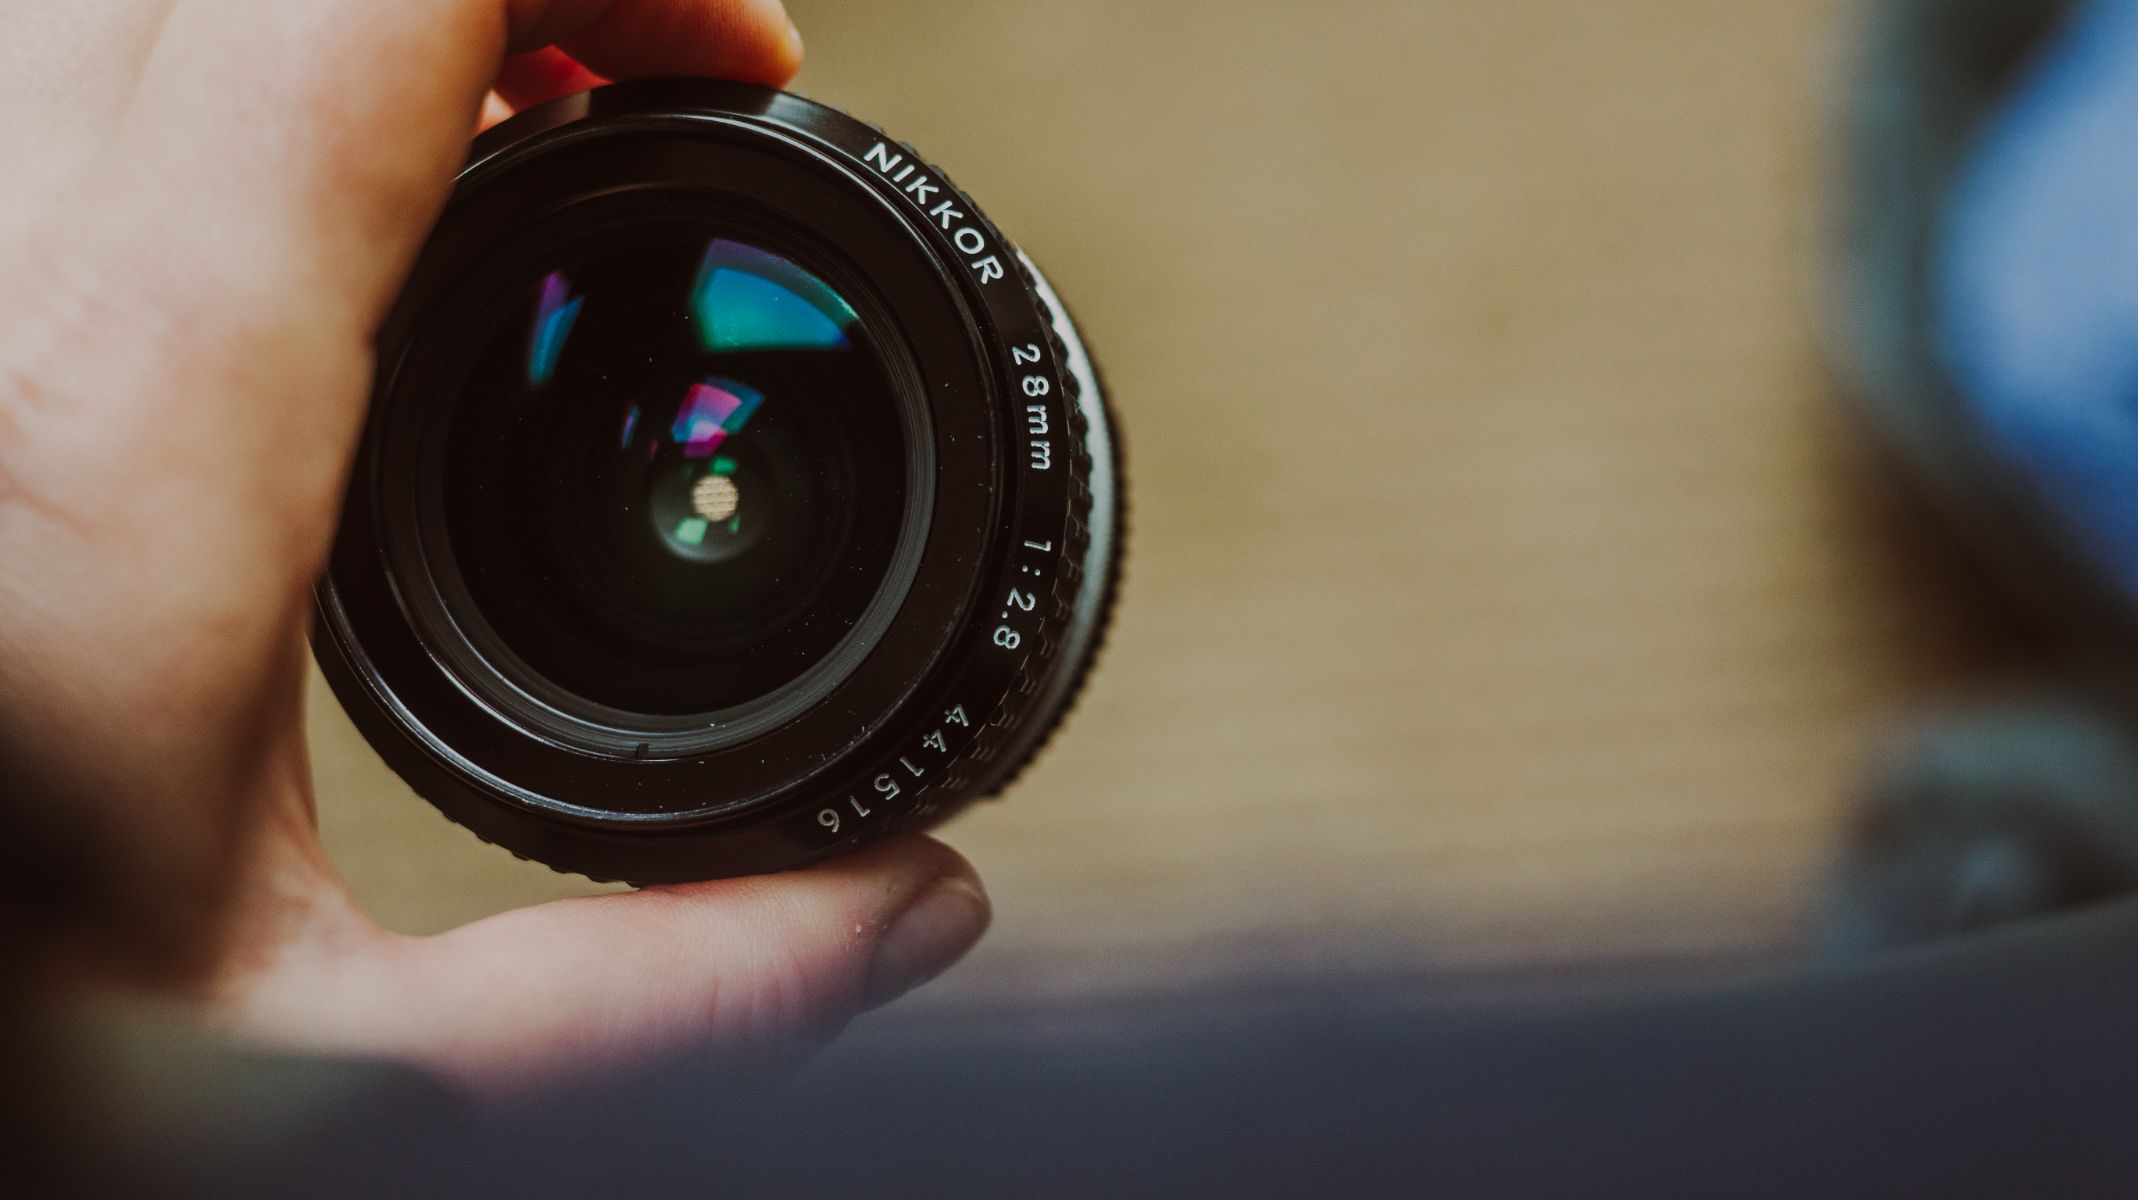
You want a lens with an aperture such as f/2.8 (or lower), as this will let more light reach the camera's sensor. Many 35mm cameras come bundled with a 50mm f/2.8 kit lens, and while this might be adequate for practicing your astro techniques, it's better to get a wider lens if you can, for more expansive views of the night sky. We've used a Nikon 28mm f/2.8 lens.
Optional accessories
- A cable release that's compatible with your camera
- A sturdy tripod to mount your camera on
- A head lamp for seeing in the dark
You'll need a tripod, but as film cameras and lenses are often lighter than their modern counterparts, it doesn't have to be a heavyweight model like those in our best tripods guide.
A wired manual cable release helps fire the shutter without moving the camera during the exposure — unless your camera has a self-timer and auto mode.
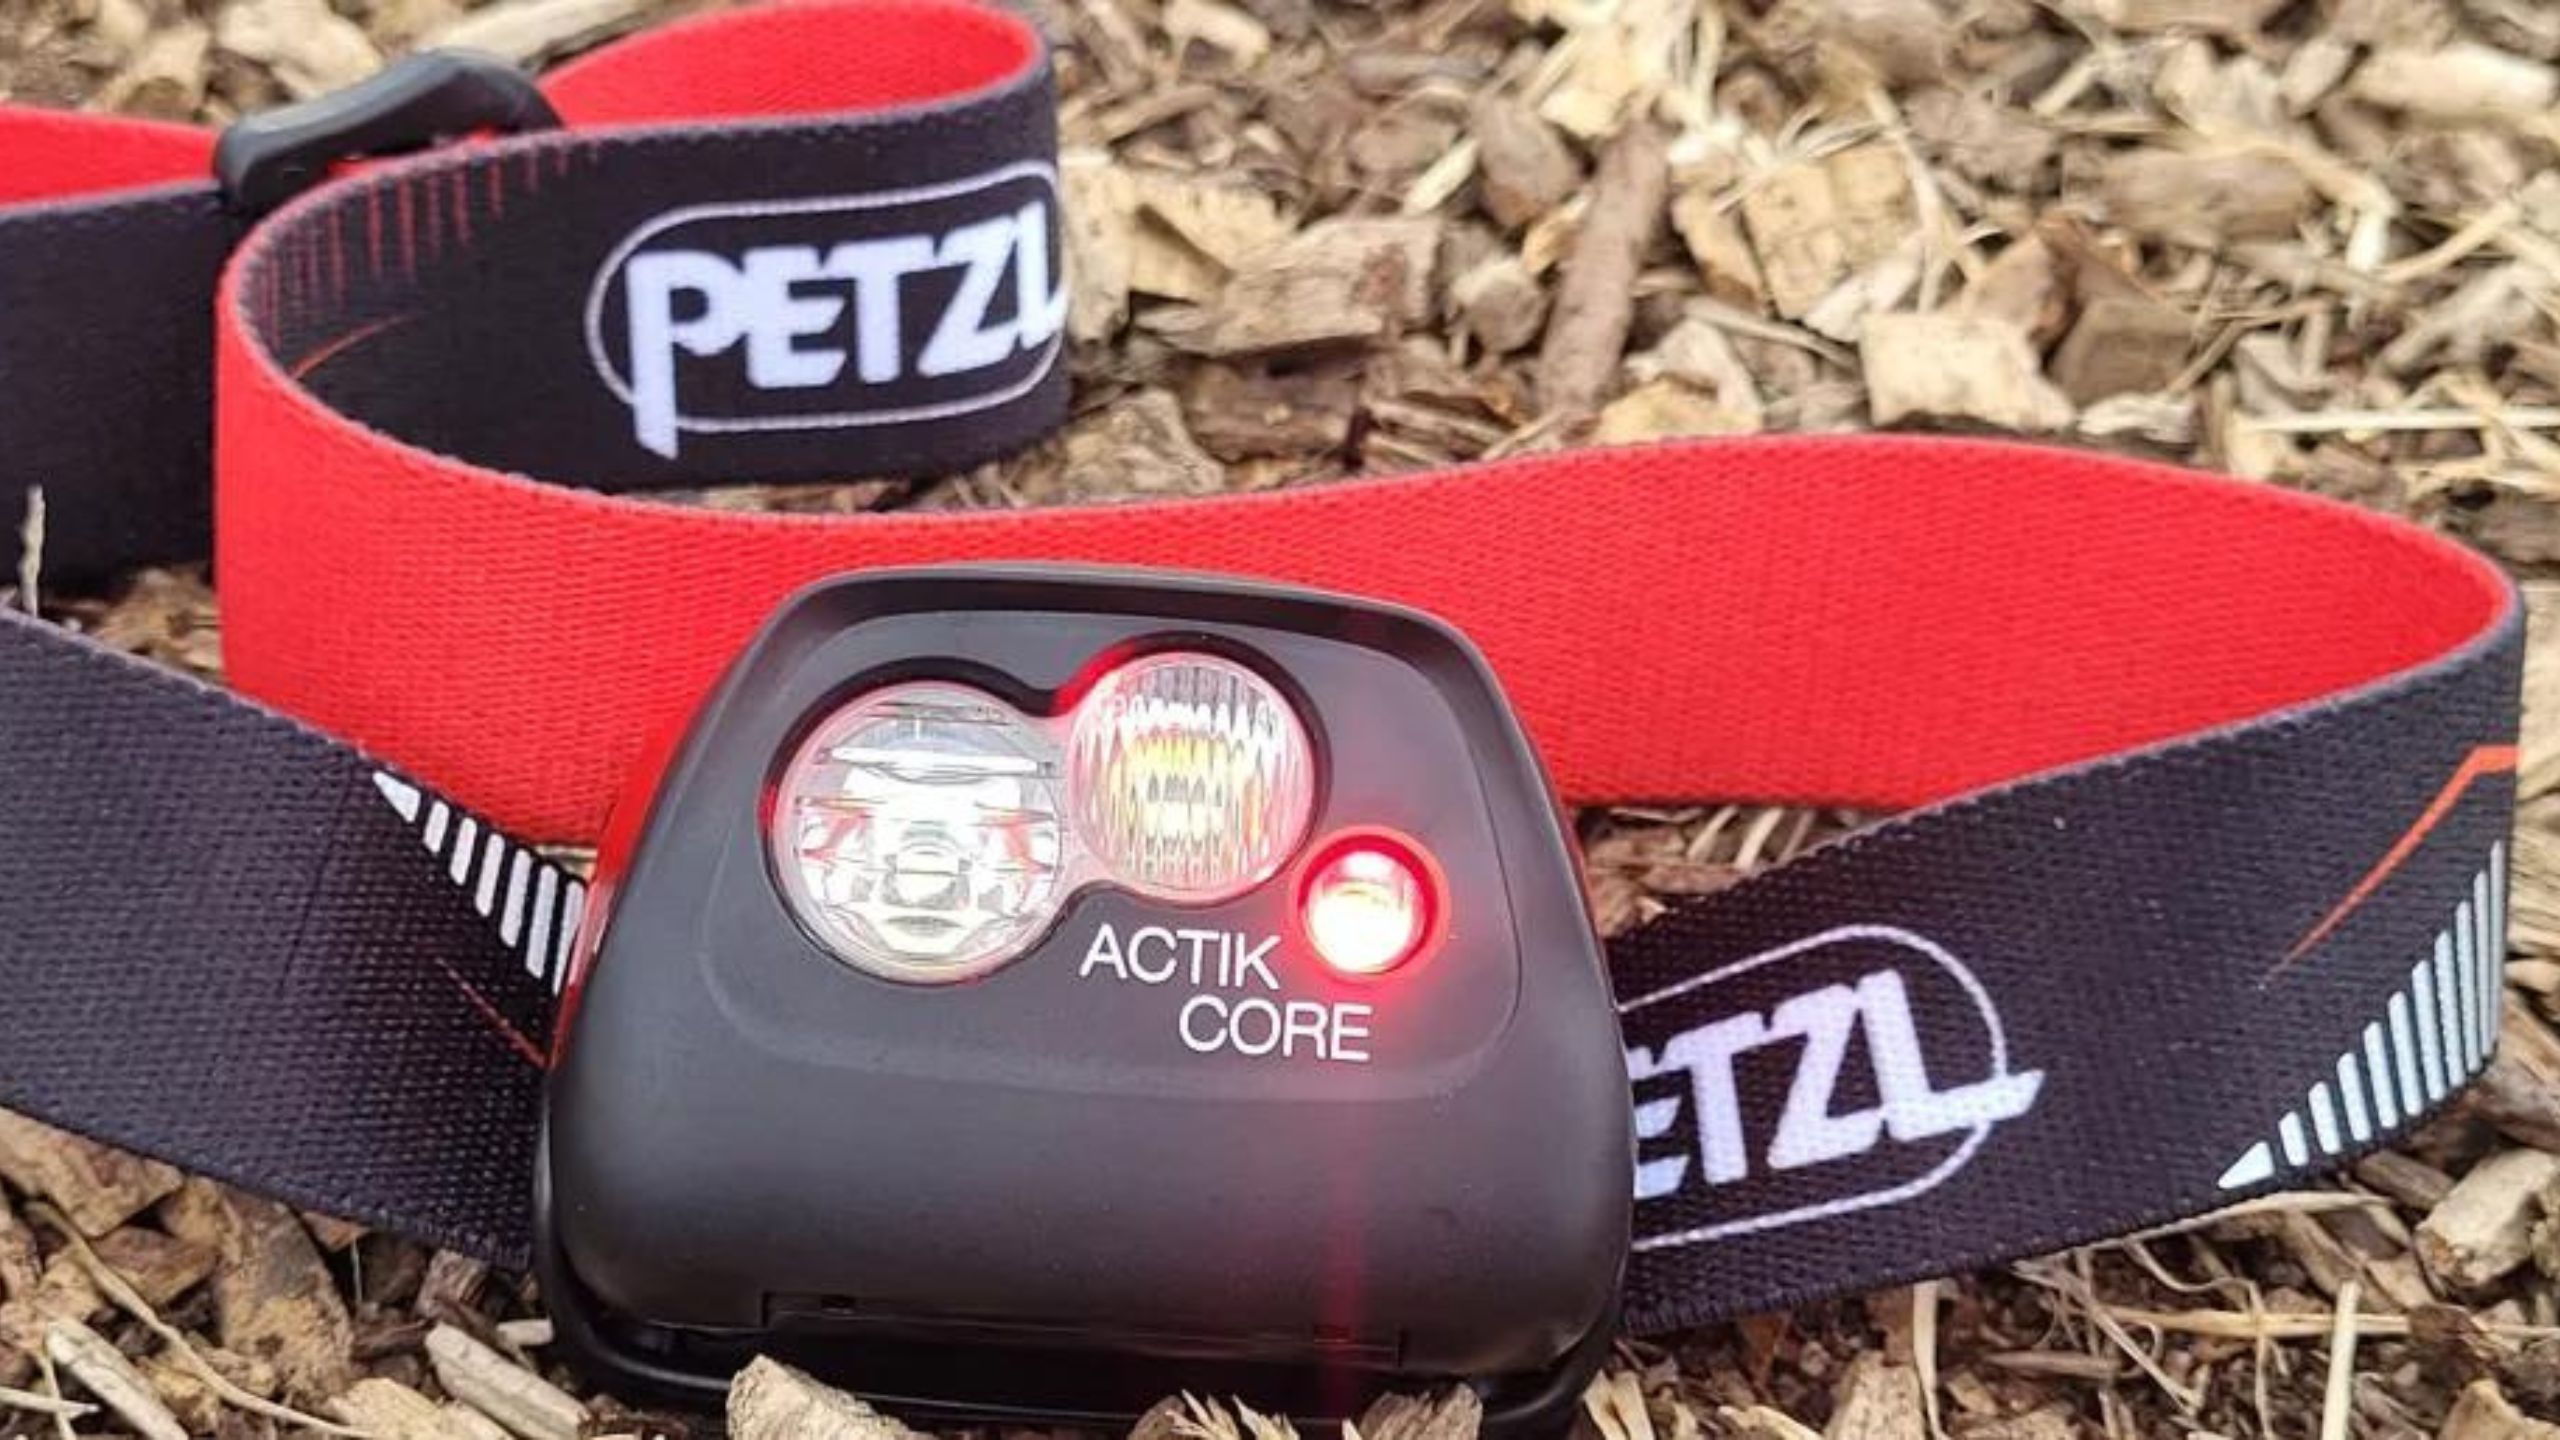
Given that you'll be shooting in the dark, having a small torch with a red light mode is a good idea, which will help preserve your night vision. Unlike digital cameras, film models don't have light-up LCD screens of viewfinders, and you'll need it to see your settings, lens focus and composition.
A head torch is useful for keeping your hands free — we were lucky enough to have one built-in to our Irix Expedition LED Winter Hat, but take a look at our best headlamps for astrophotography for some of our favorite models. Just remember to turn all lights off before you start your exposures.
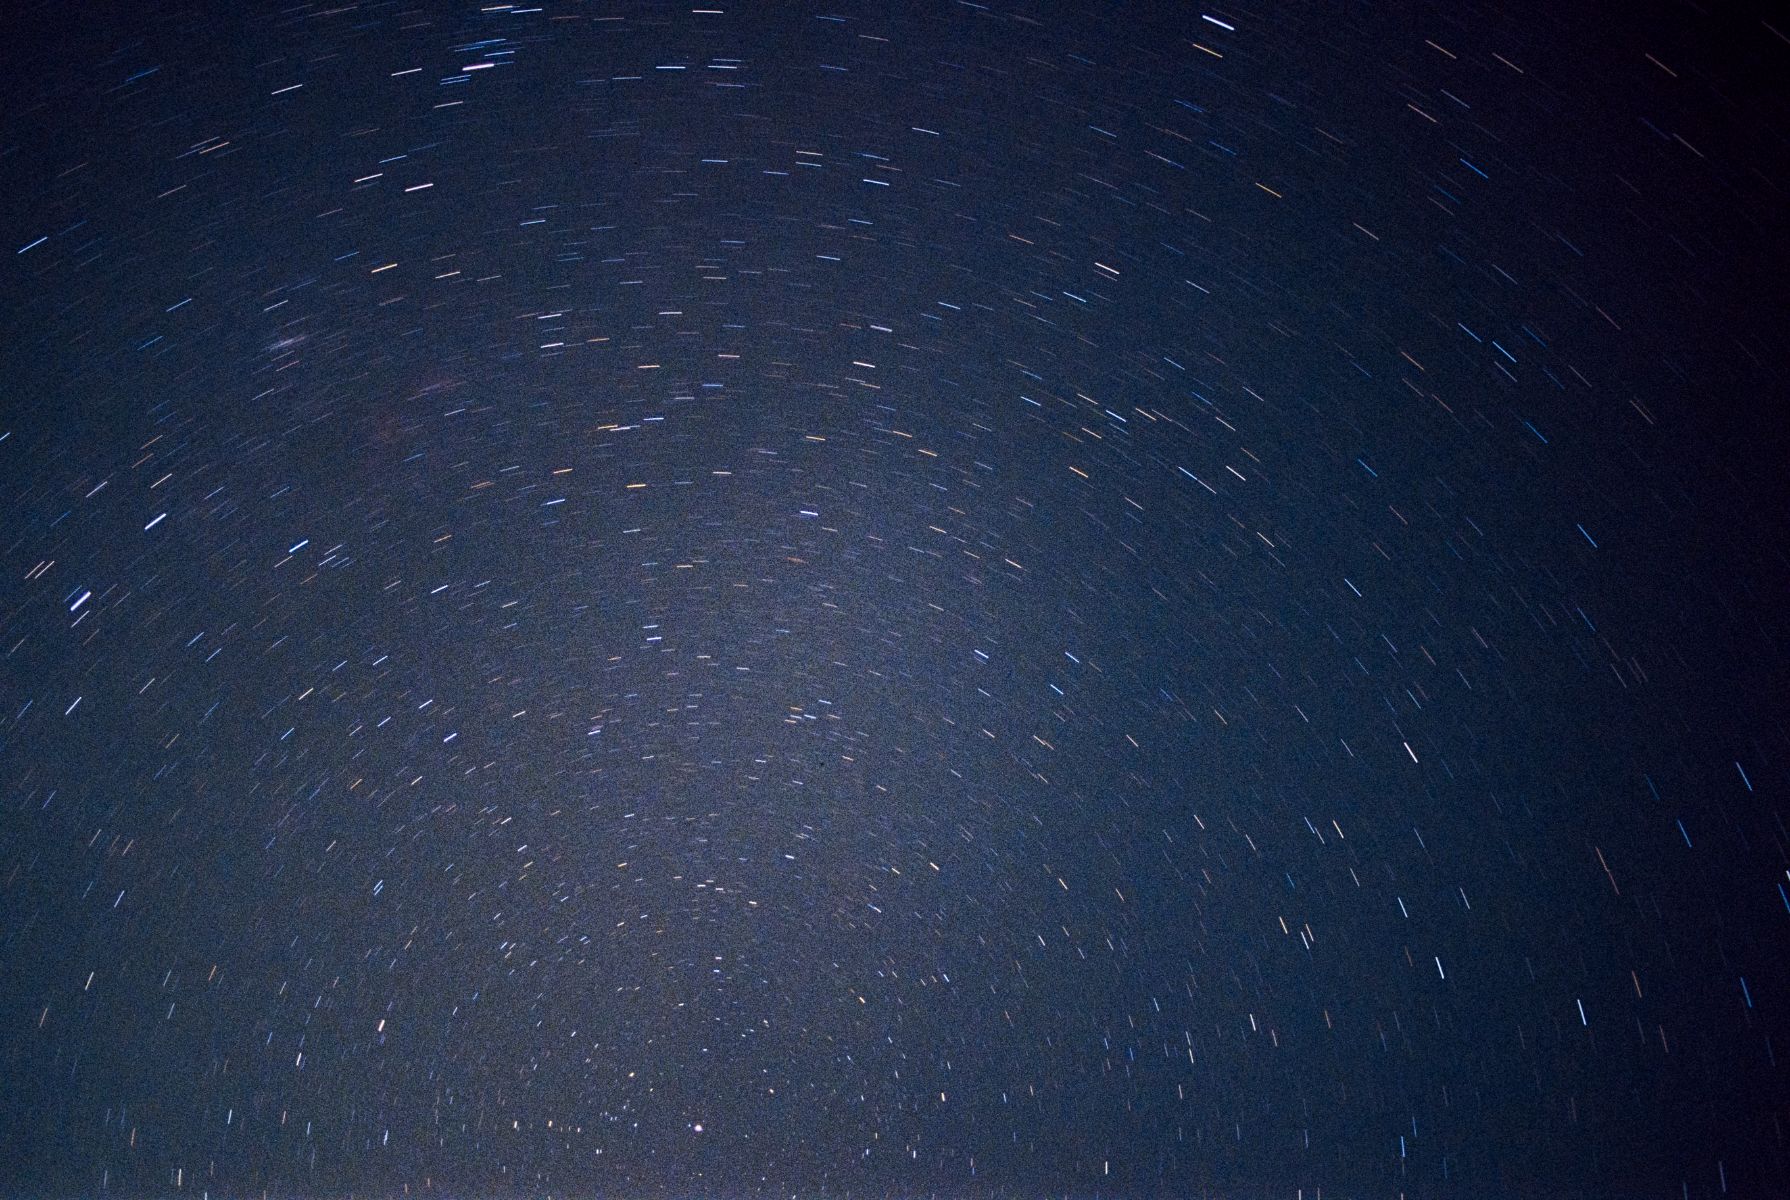
As with all astrophotography, the Earth's rotation can mean that you end up with star trails rather than sharp points of light. Getting around this means using one of the best star trackers (a mount that rotates your camera at the same rate as the Earth to allow blur-free long exposures). That said, this is quite an advanced setup, so we wouldn't suggest you get one immediately.
Set-up and prep for film astrophotography:
- Load your 35mm film
- Change the battery if your camera has one
- Set the film speed
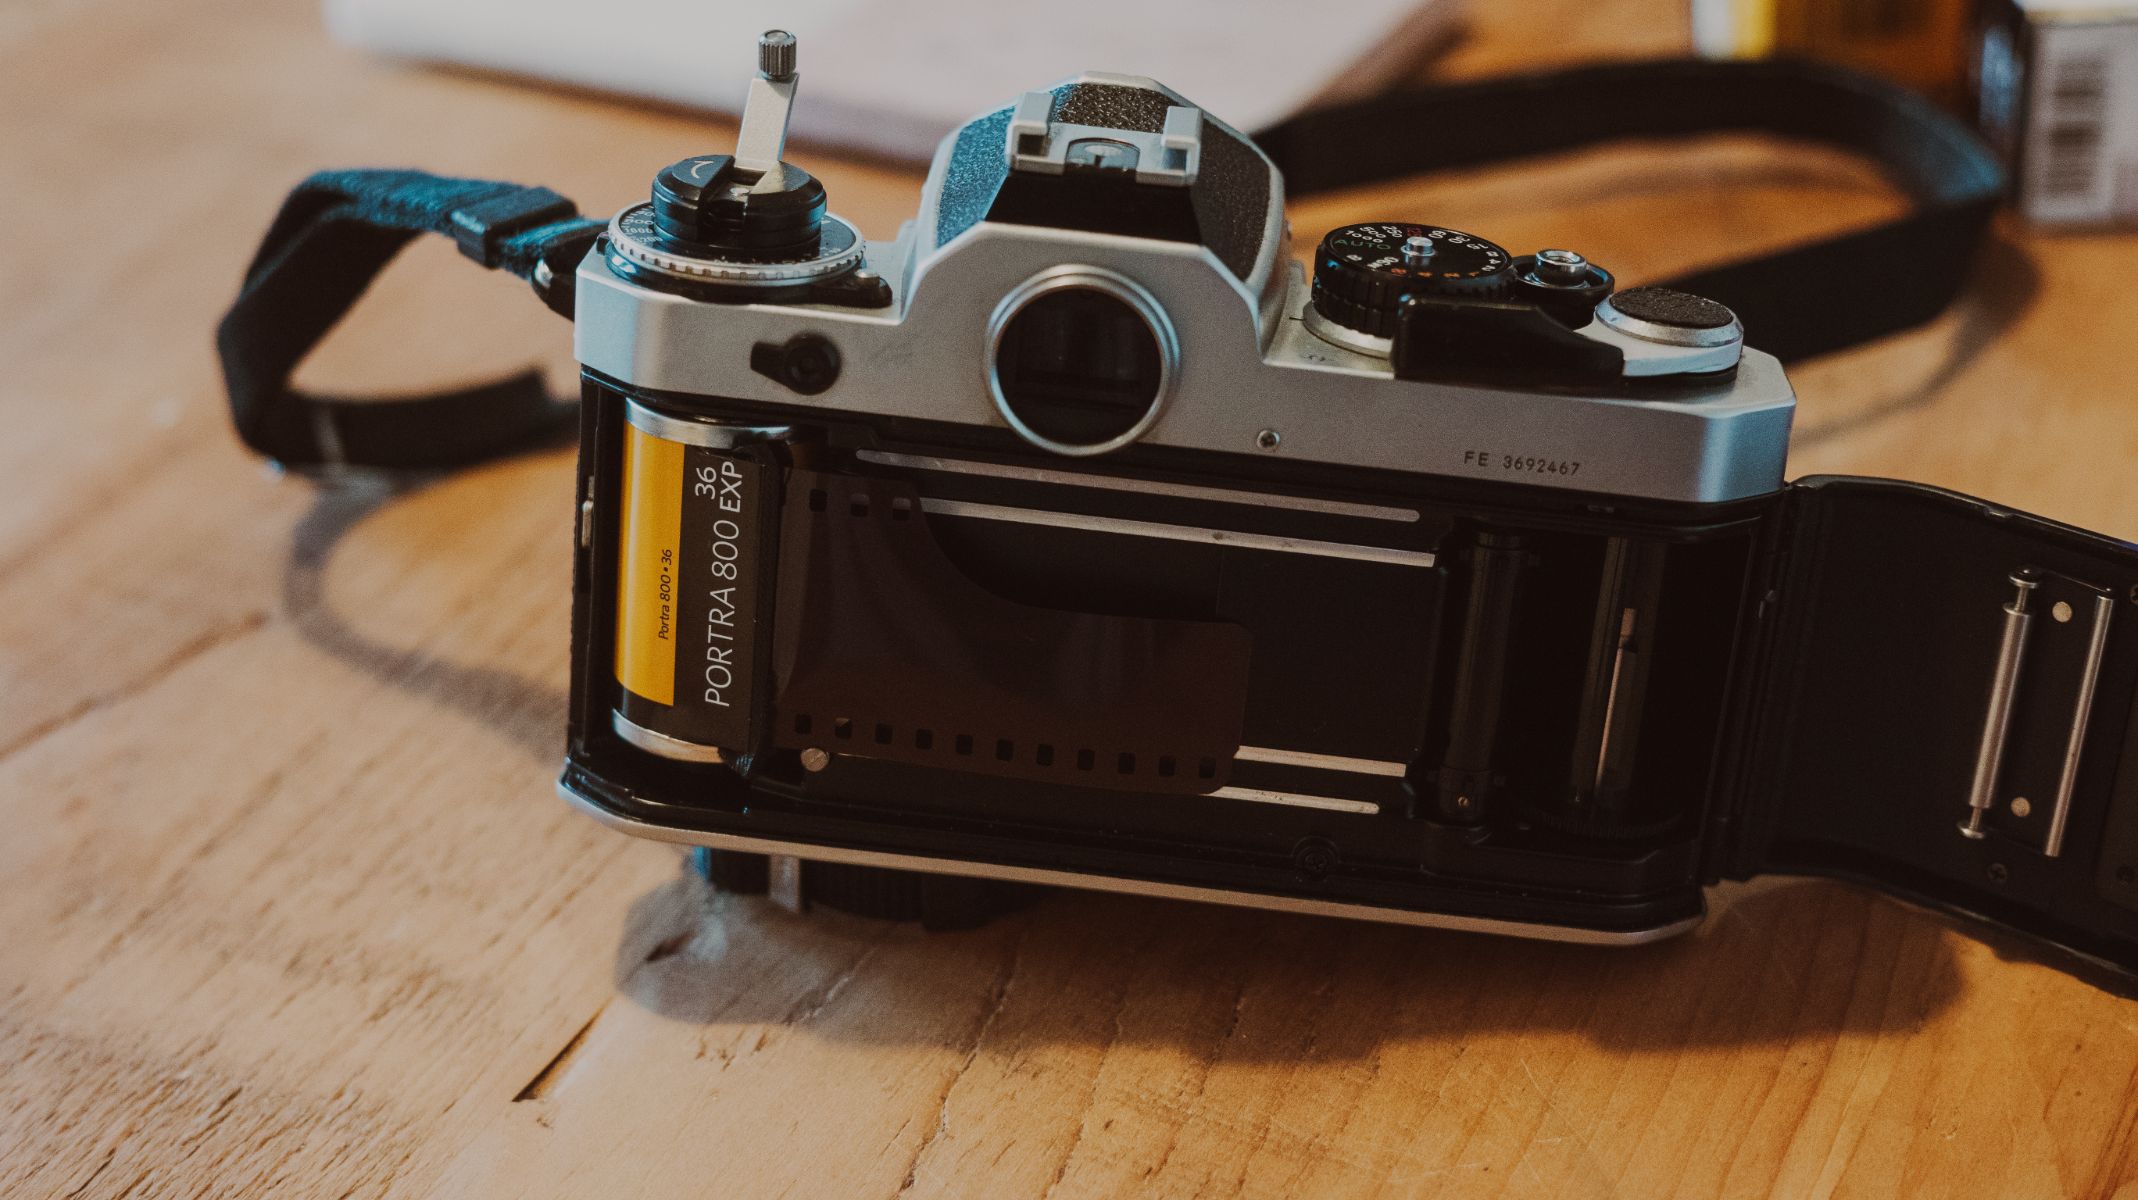
To prepare your camera, load your chosen film and ensure the roll has been taken onto the spool. Note what film is inside the camera, so you don't forget, and set the camera's ISO dial to match the film inside.
If you haven't used your film camera recently or bought a secondhand one, test any batteries and change them if you need to. Each camera has a different battery indicator — usually, there's a light or noise — but you should be able to find a manual online if you're unsure.
When prepping for a shoot, check the weather beforehand and look for clear night skies. Consider your location as light pollution is a significant problem if shooting in an urban area. Sites like Light Pollution Map can guide you on where it is best to shoot, but we'd still recommend trying it near your home if you can't travel miles away.
Perfecting the technique:
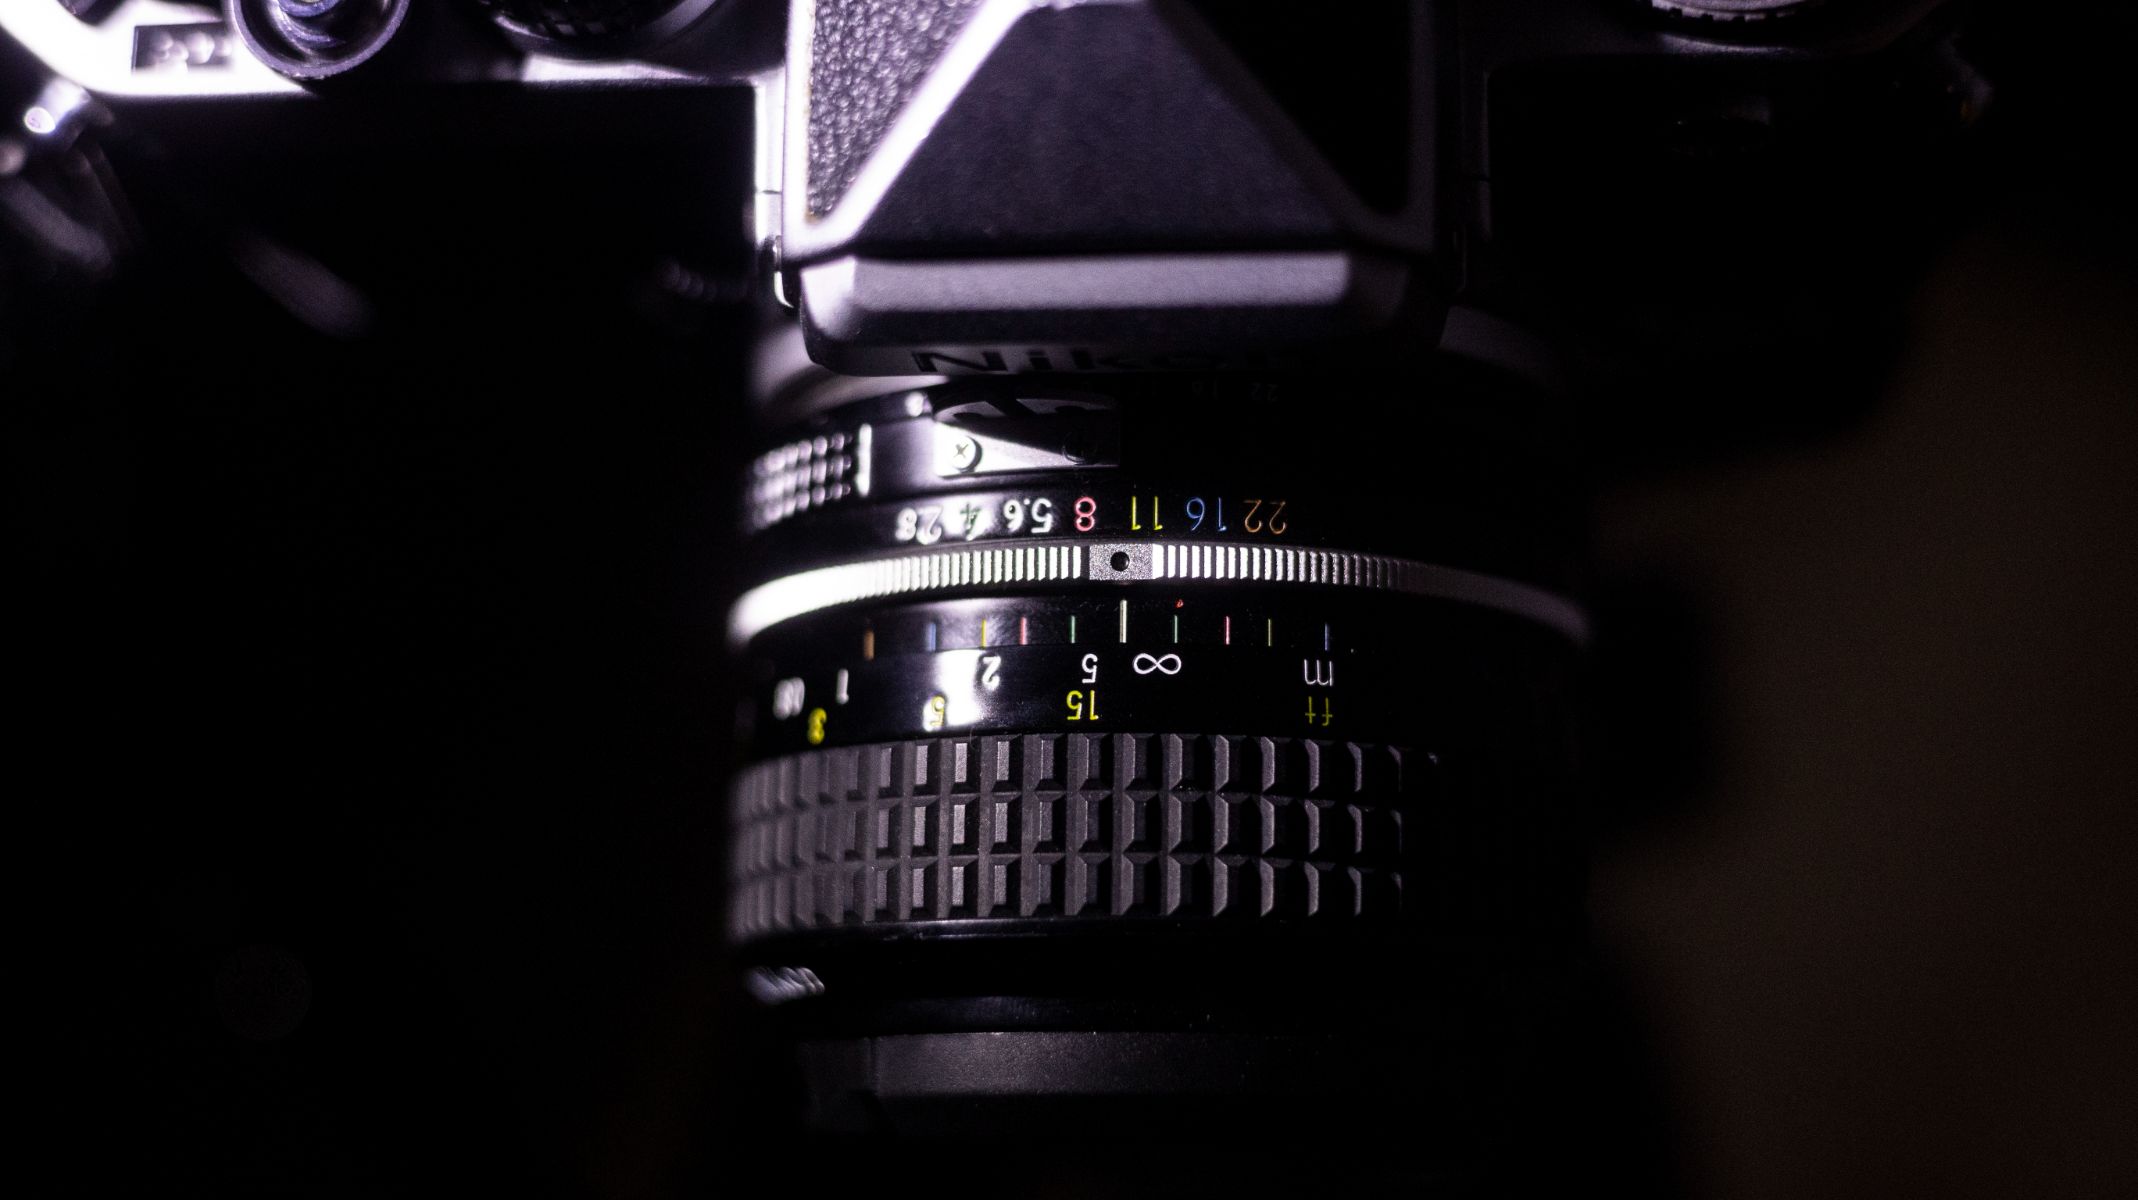
- Cover the viewfinder with dark tape
- Set the lens to focus to infinity
- Keep a note of your exposure times and settings
At your chosen location, mount your camera on a tripod and make sure it's steady. Set the focus to infinity, and the lens aperture as wide as it can go. It's a good idea to cover the viewfinder with dark gaffer tape to avoid any light leaks during the exposure, and as you shoot, we'd recommend keeping a log of the exposure used for each frame so that you can see what worked when they get developed. Avoid winding the film on until you're ready to take the next shot, so you don't press it accidentally.
Challenges we faced (and how to get over them):
- Exposure times
- Reciprocity failure
- Hard to compose images
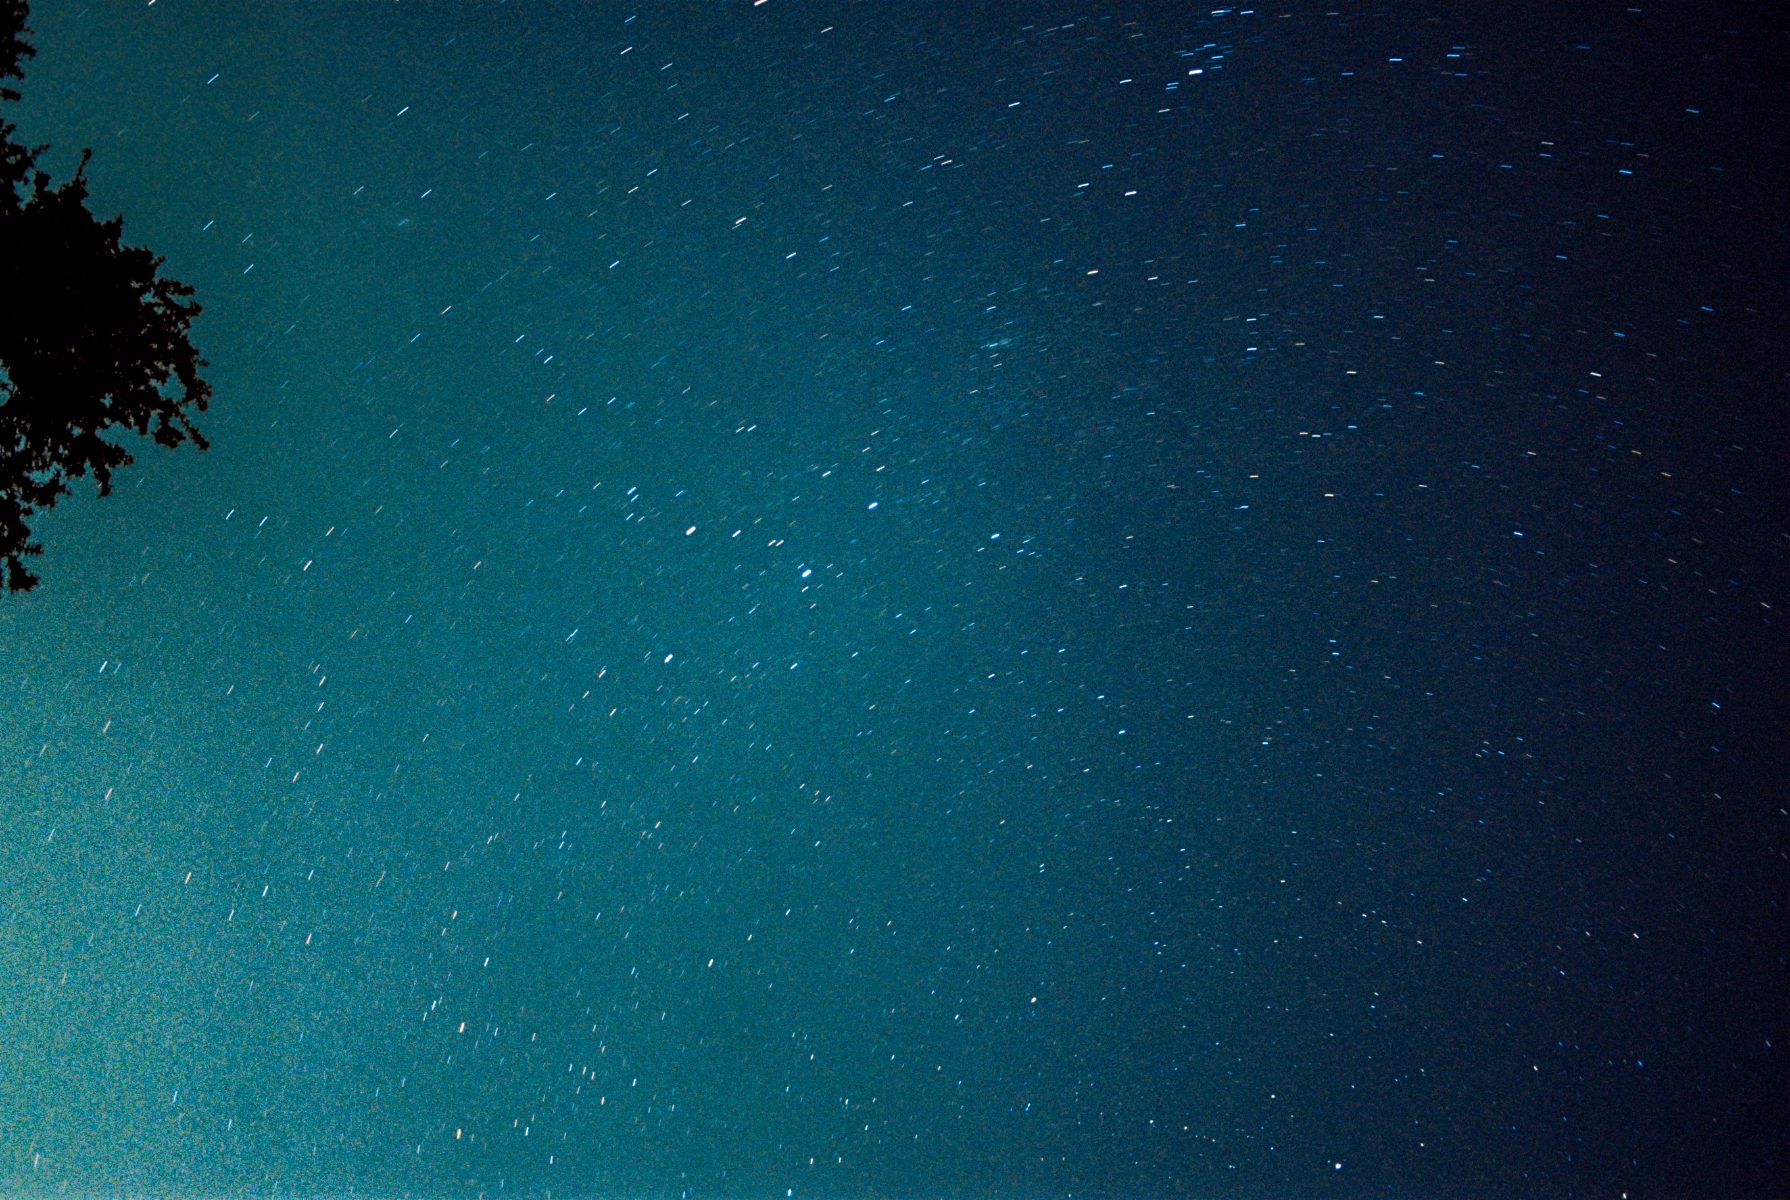
The main challenge of shooting film astrophotography is knowing how long the exposure time should be, as the required exposure will go beyond what's shown on your camera meter (if you have one). Don't be afraid to extend your shutter time beyond typical recommendations for pin-sharp milky way photography, and bracket a variety of shutter times, for example, 15, 30 and 45 seconds.
Composing images through an analog viewfinder in the dark can be difficult. You might want to set up a digital camera (with a similar focal length) in the same spot first to see how the composition looks.
We encountered a lot of light pollution as we were shooting on the edge of a city. That meant that the edges of some of our shots were too bright, so once we'd scanned our negatives into high-quality JPG files, we pulled back the highlights and increased their contrast in Adobe Photoshop CC. The dehaze slider is great for cutting through excess light and impurities in the air, but it also tends to introduce unwanted noise.


