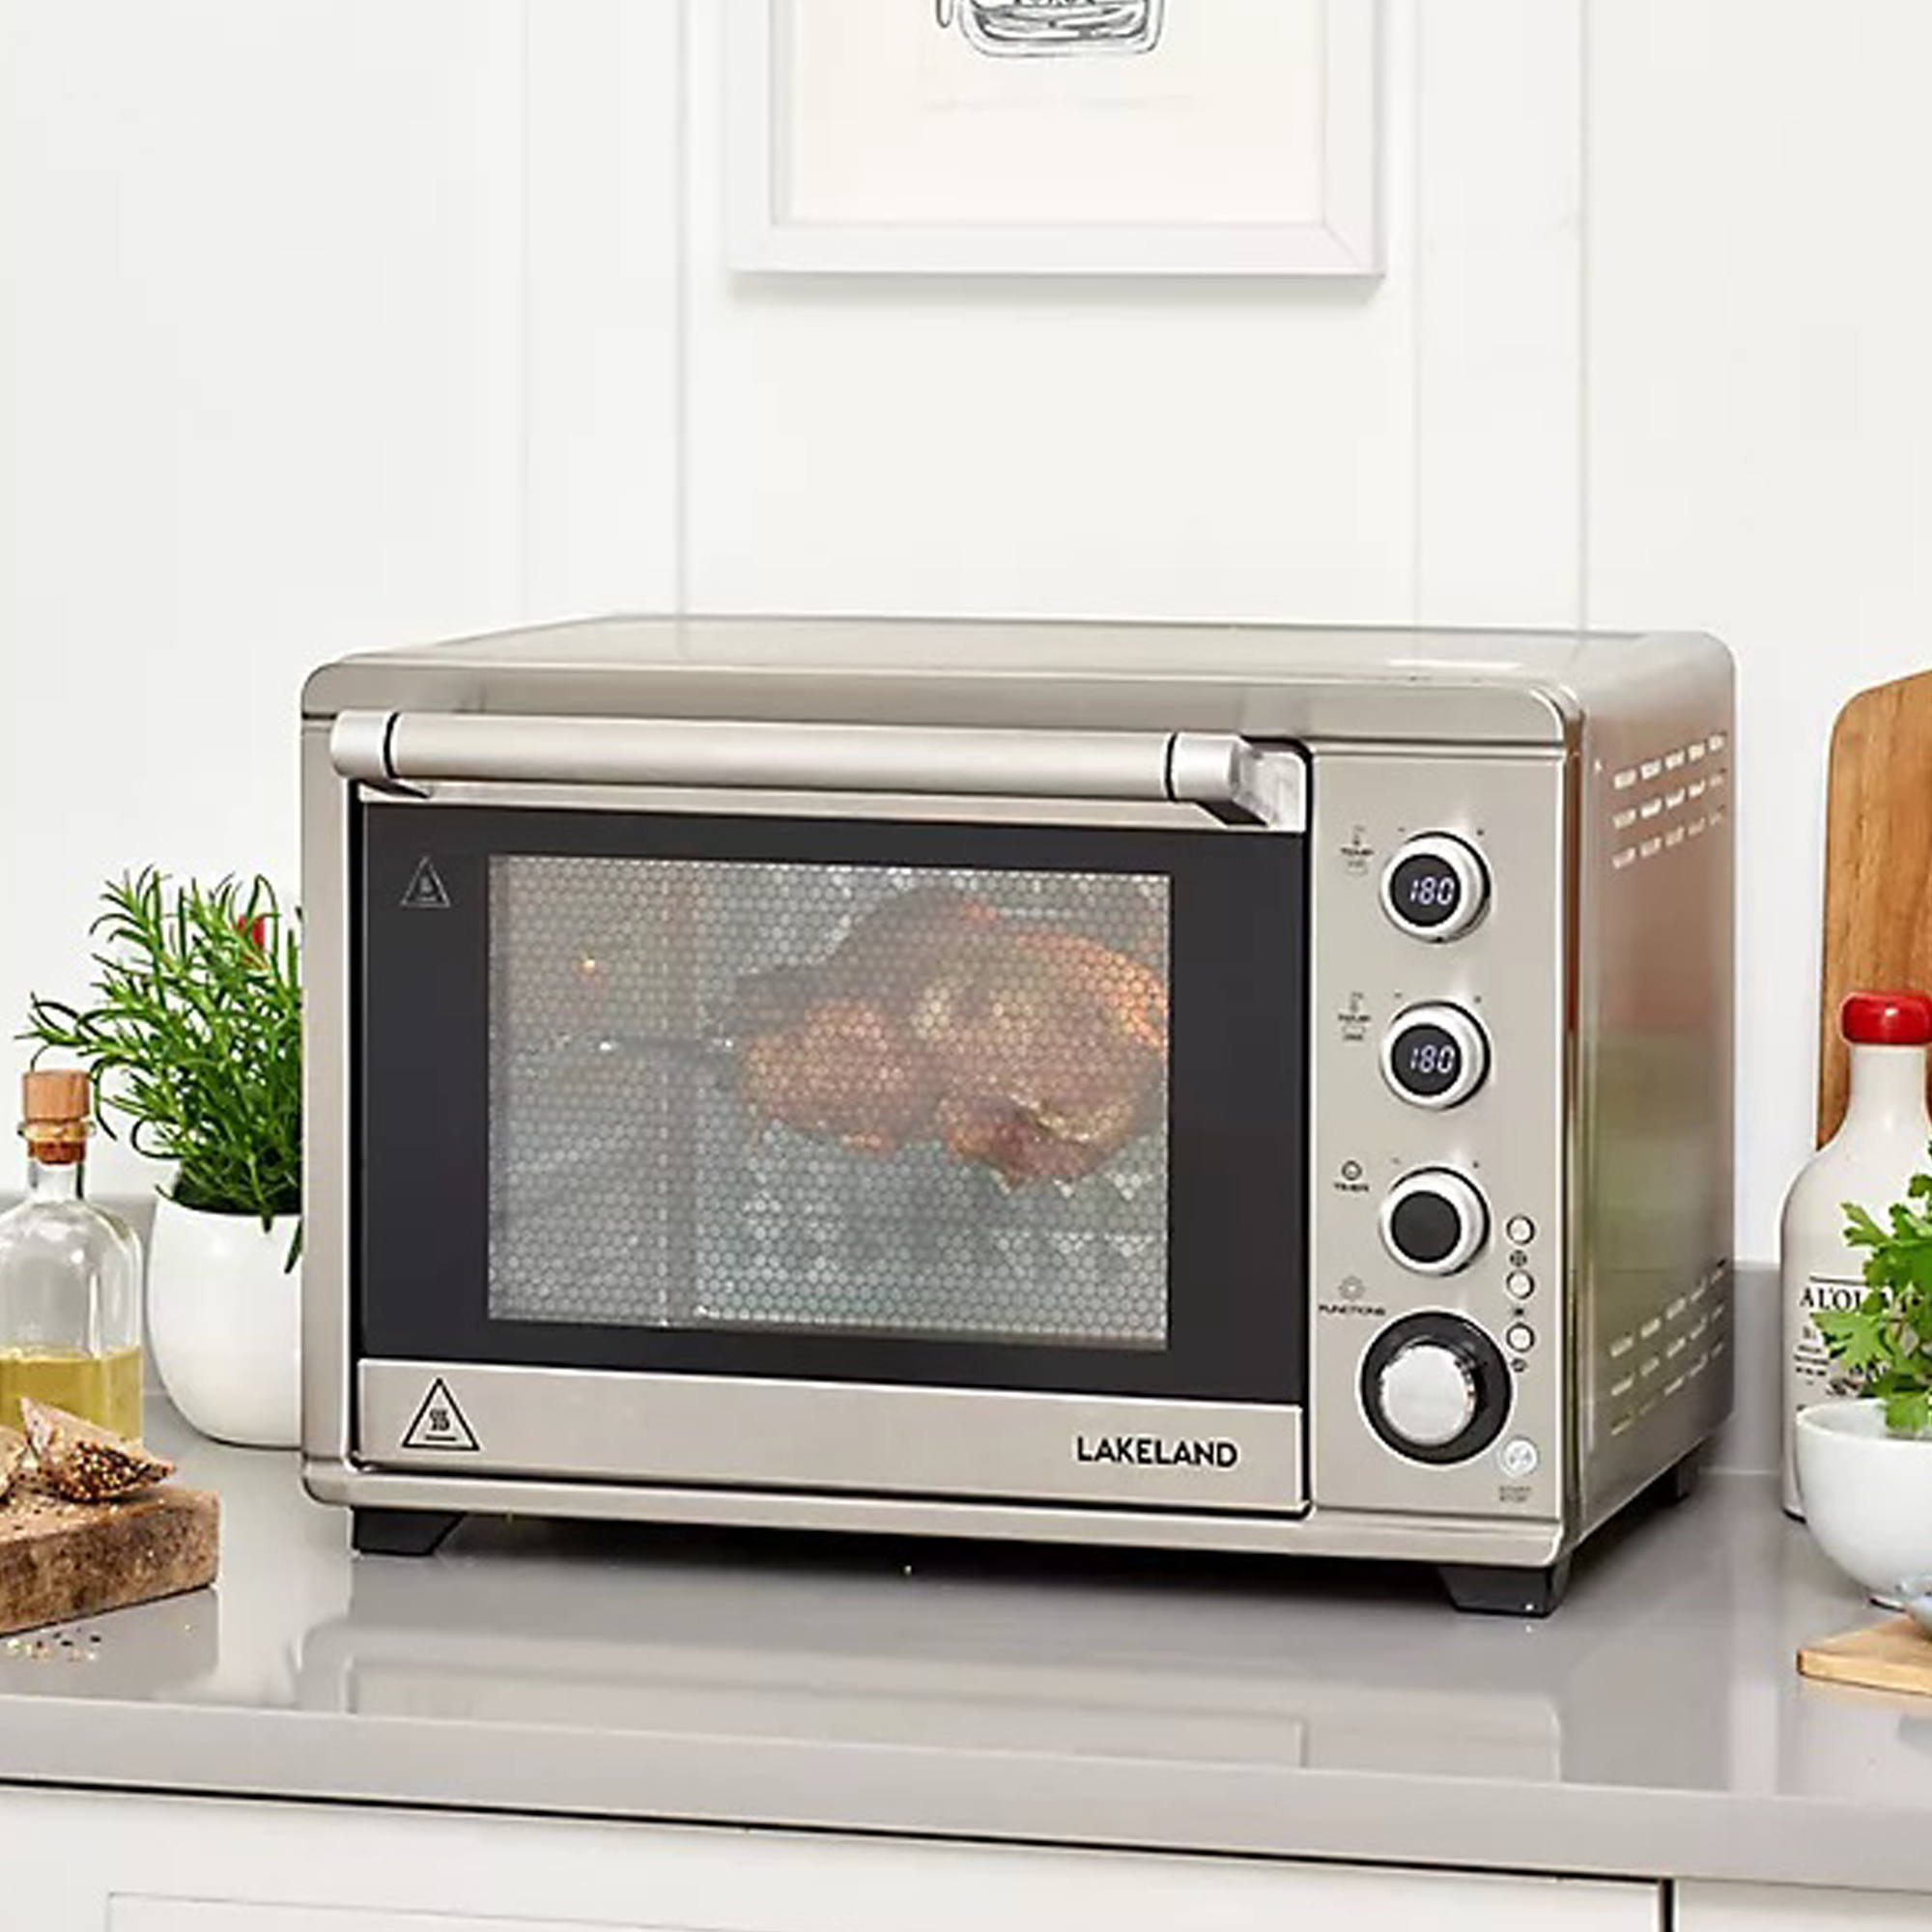
Not everyone will have a need for a countertop oven, so this is a somewhat niche cooking appliance. But if you’re looking for an oven to pop in an air bnb, holiday rental, or granny annexe, where you don’t anticipate much cooking will take place, it could fit the bill. Likewise, if you have an Aga that gets turned off in summer and you want a small oven that you can use in the warmer months, but hide away in winter when the Aga goes back on, this is ideal. I tried out this version from Lakeland to see if it can rival the best air fryers and to see if countertop ovens are about to be the next big thing.
Perhaps you enjoy large gatherings and need something that you can set up to give extra oven space when you’re catering for a crowd. Whatever your situation, this little oven offers a unique solution. At £199 it’s more expensive than some of the cheaper built-in ovens you can buy but with the added rotisserie function as well as a keep warm mode, and the ability to put it wherever suits, it’s a versatile option.
I tried it in my home for two weeks and cooked a variety of sweet and savoury foods to test out how it cooks, bakes and grills. And I absolutely had to try out the rotisserie too. It’s a decent little oven that’s up to the job for most cooking tasks. It’s small though, so some things need to be cooked in batches. And like my built-in oven, there are some foods that cook up better in an air fryer. So read on to see what foods it cooks up a treat and which ones had me reaching for the air fryer.
Lakeland Digital Mini Oven product specs:
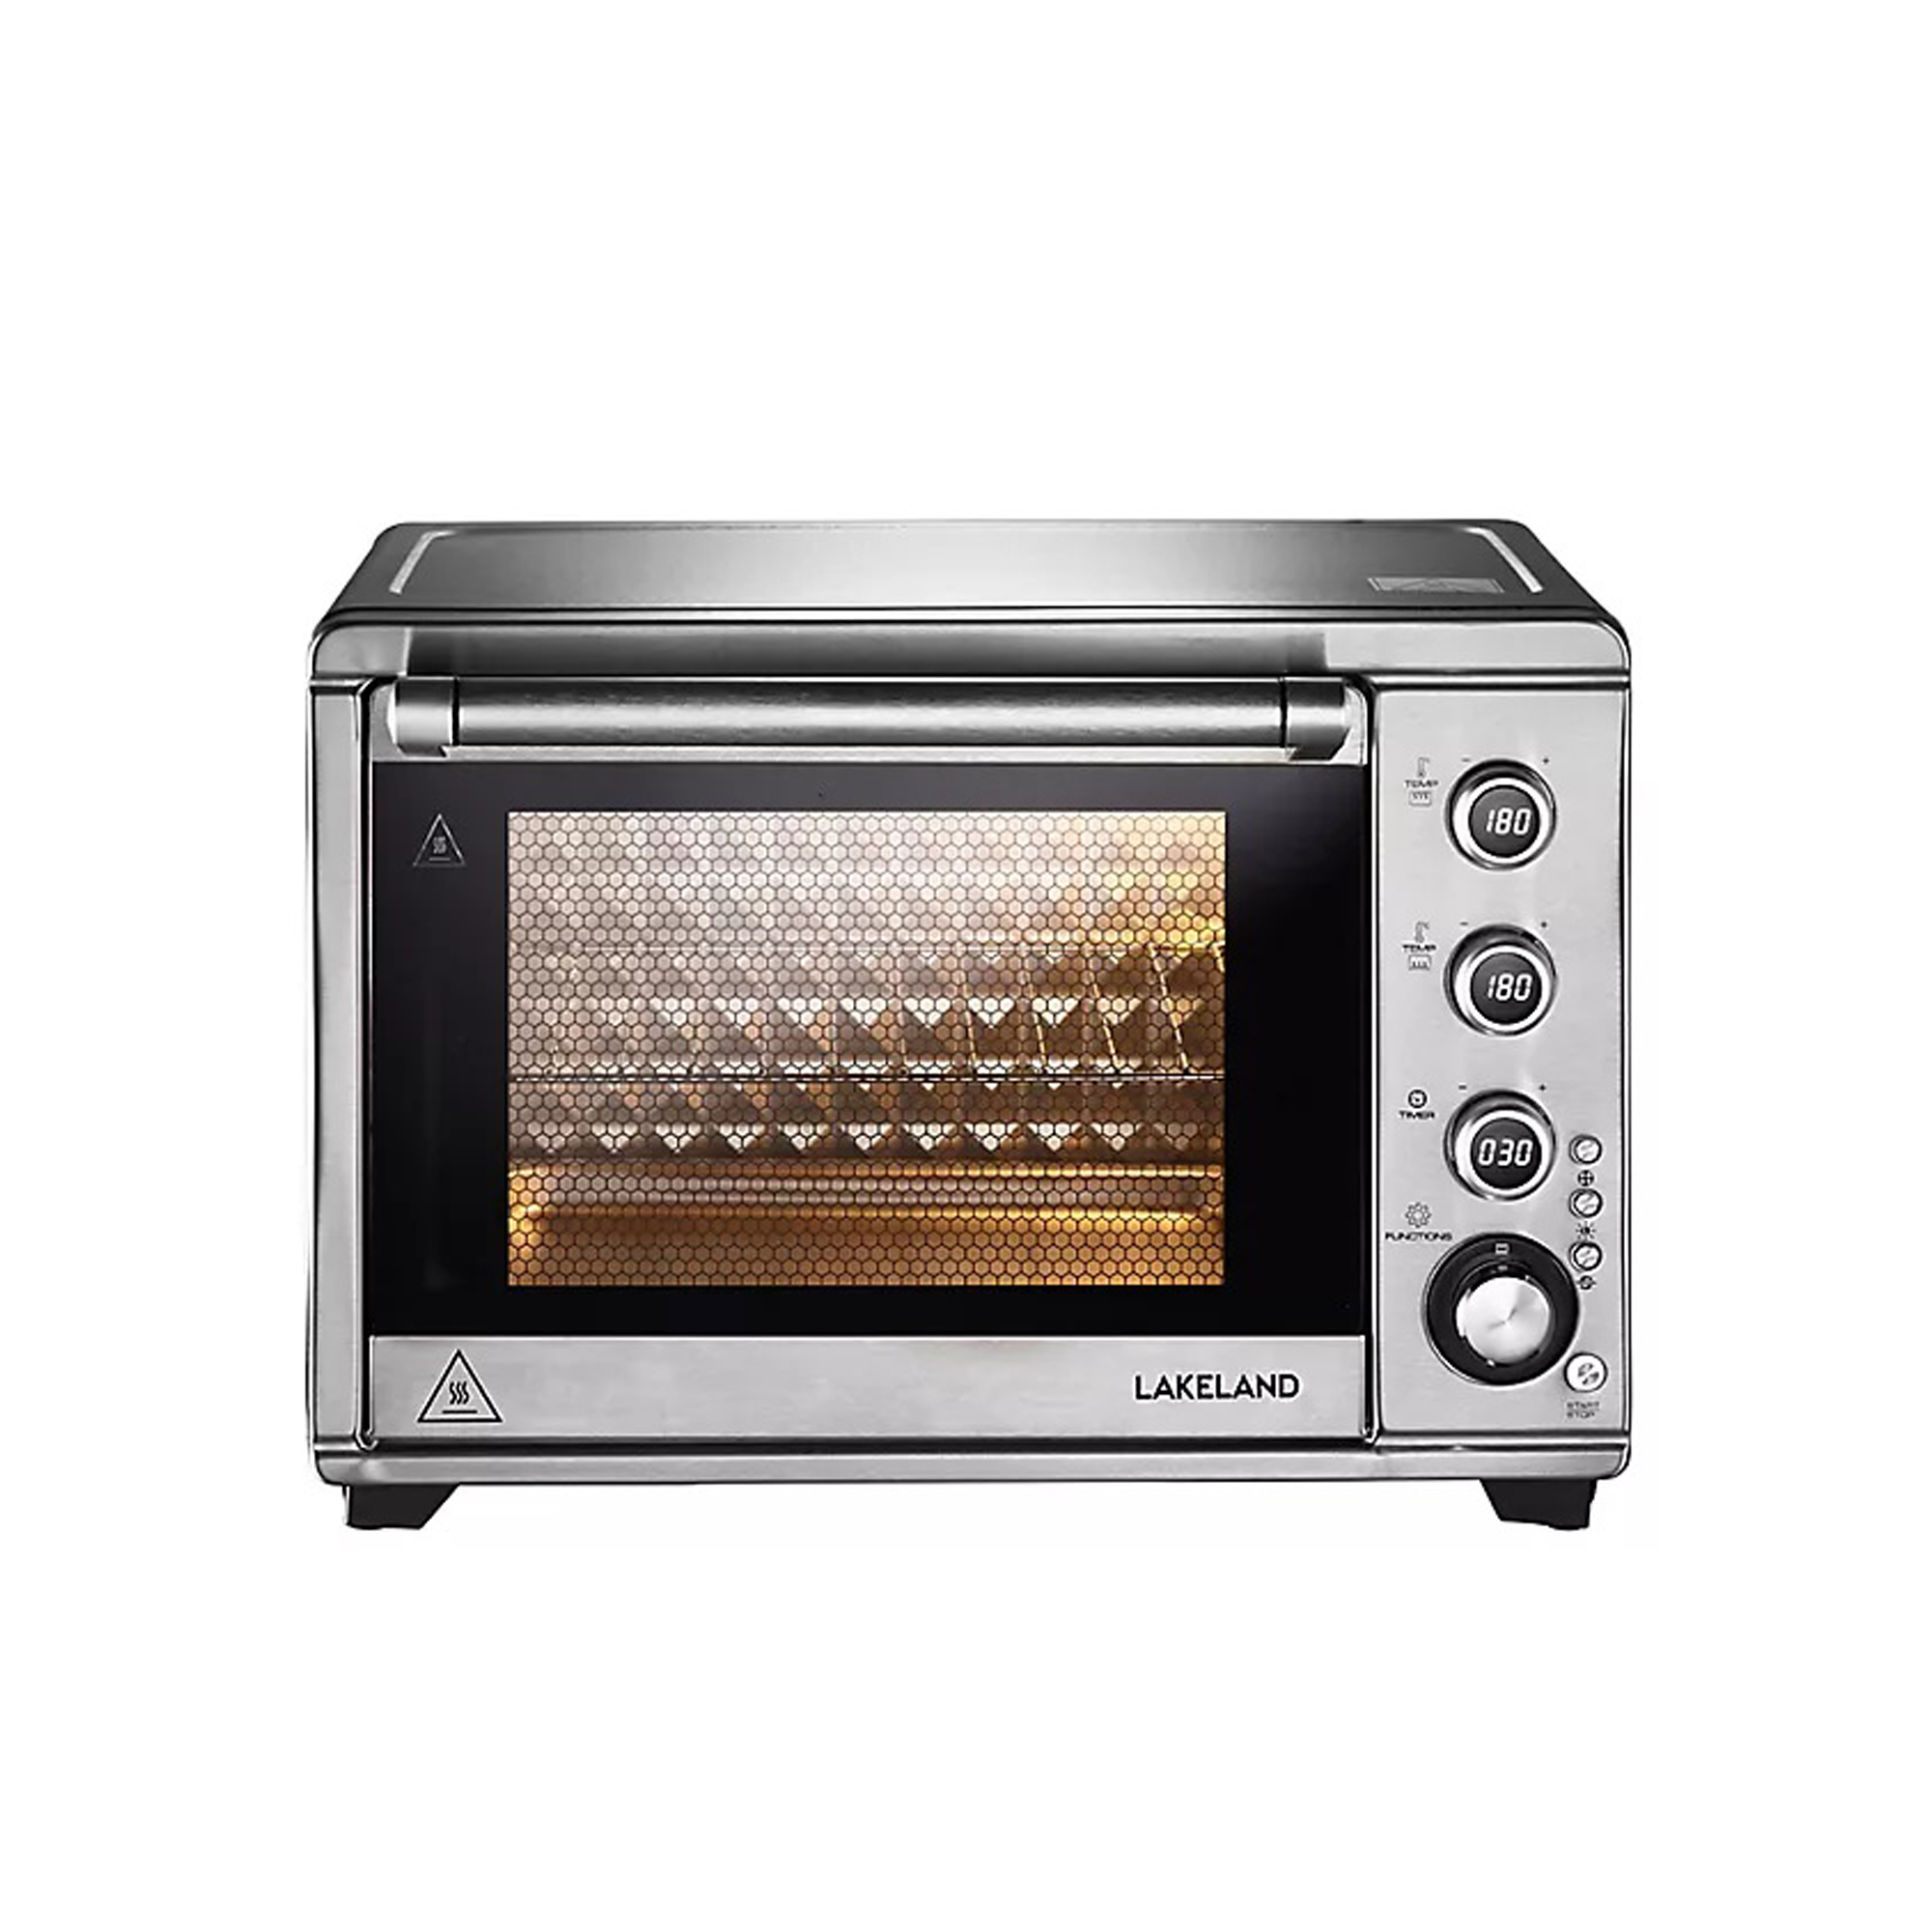
- Functions: top and bottom oven, top oven, bottom oven, keep warm mode, yoghurt mode, top grill, top and bottom grill, custom mode
- Settings: fan, light, rotisserie, timer
- Power: 1800 Watts
- Dimensions: 50 x 44 x 35cm
- Cable length: 90cm
- Accessories: baking tray with handle, wire rack, crumb tray, rotisserie rod with forks and handle,
- Dishwasher safe accessories: no
Unboxing and setting up
Since it’s bigger than one of the best microwaves, this oven does come in a cumbersome box. It’s awkward to lift and move around, and for some people, a second pair of hands might be useful to get it out of the box and onto the worktop..
As I opened it up, I found an inner box within the outer box and it has thick plastic corner protectors on each of the eight corners. While this does keep it well protected during delivery, it means there are several chunky plastic pieces to dispose of.

The oven itself is surrounded by cardboard inserts with a few plastic bags, which is all pretty easy to recycle. At first as I was unboxing it I thought some accessories were missing, but they’re packed underneath the lower protective cardboard insert - good job I checked thoroughly before phoning Lakeland!
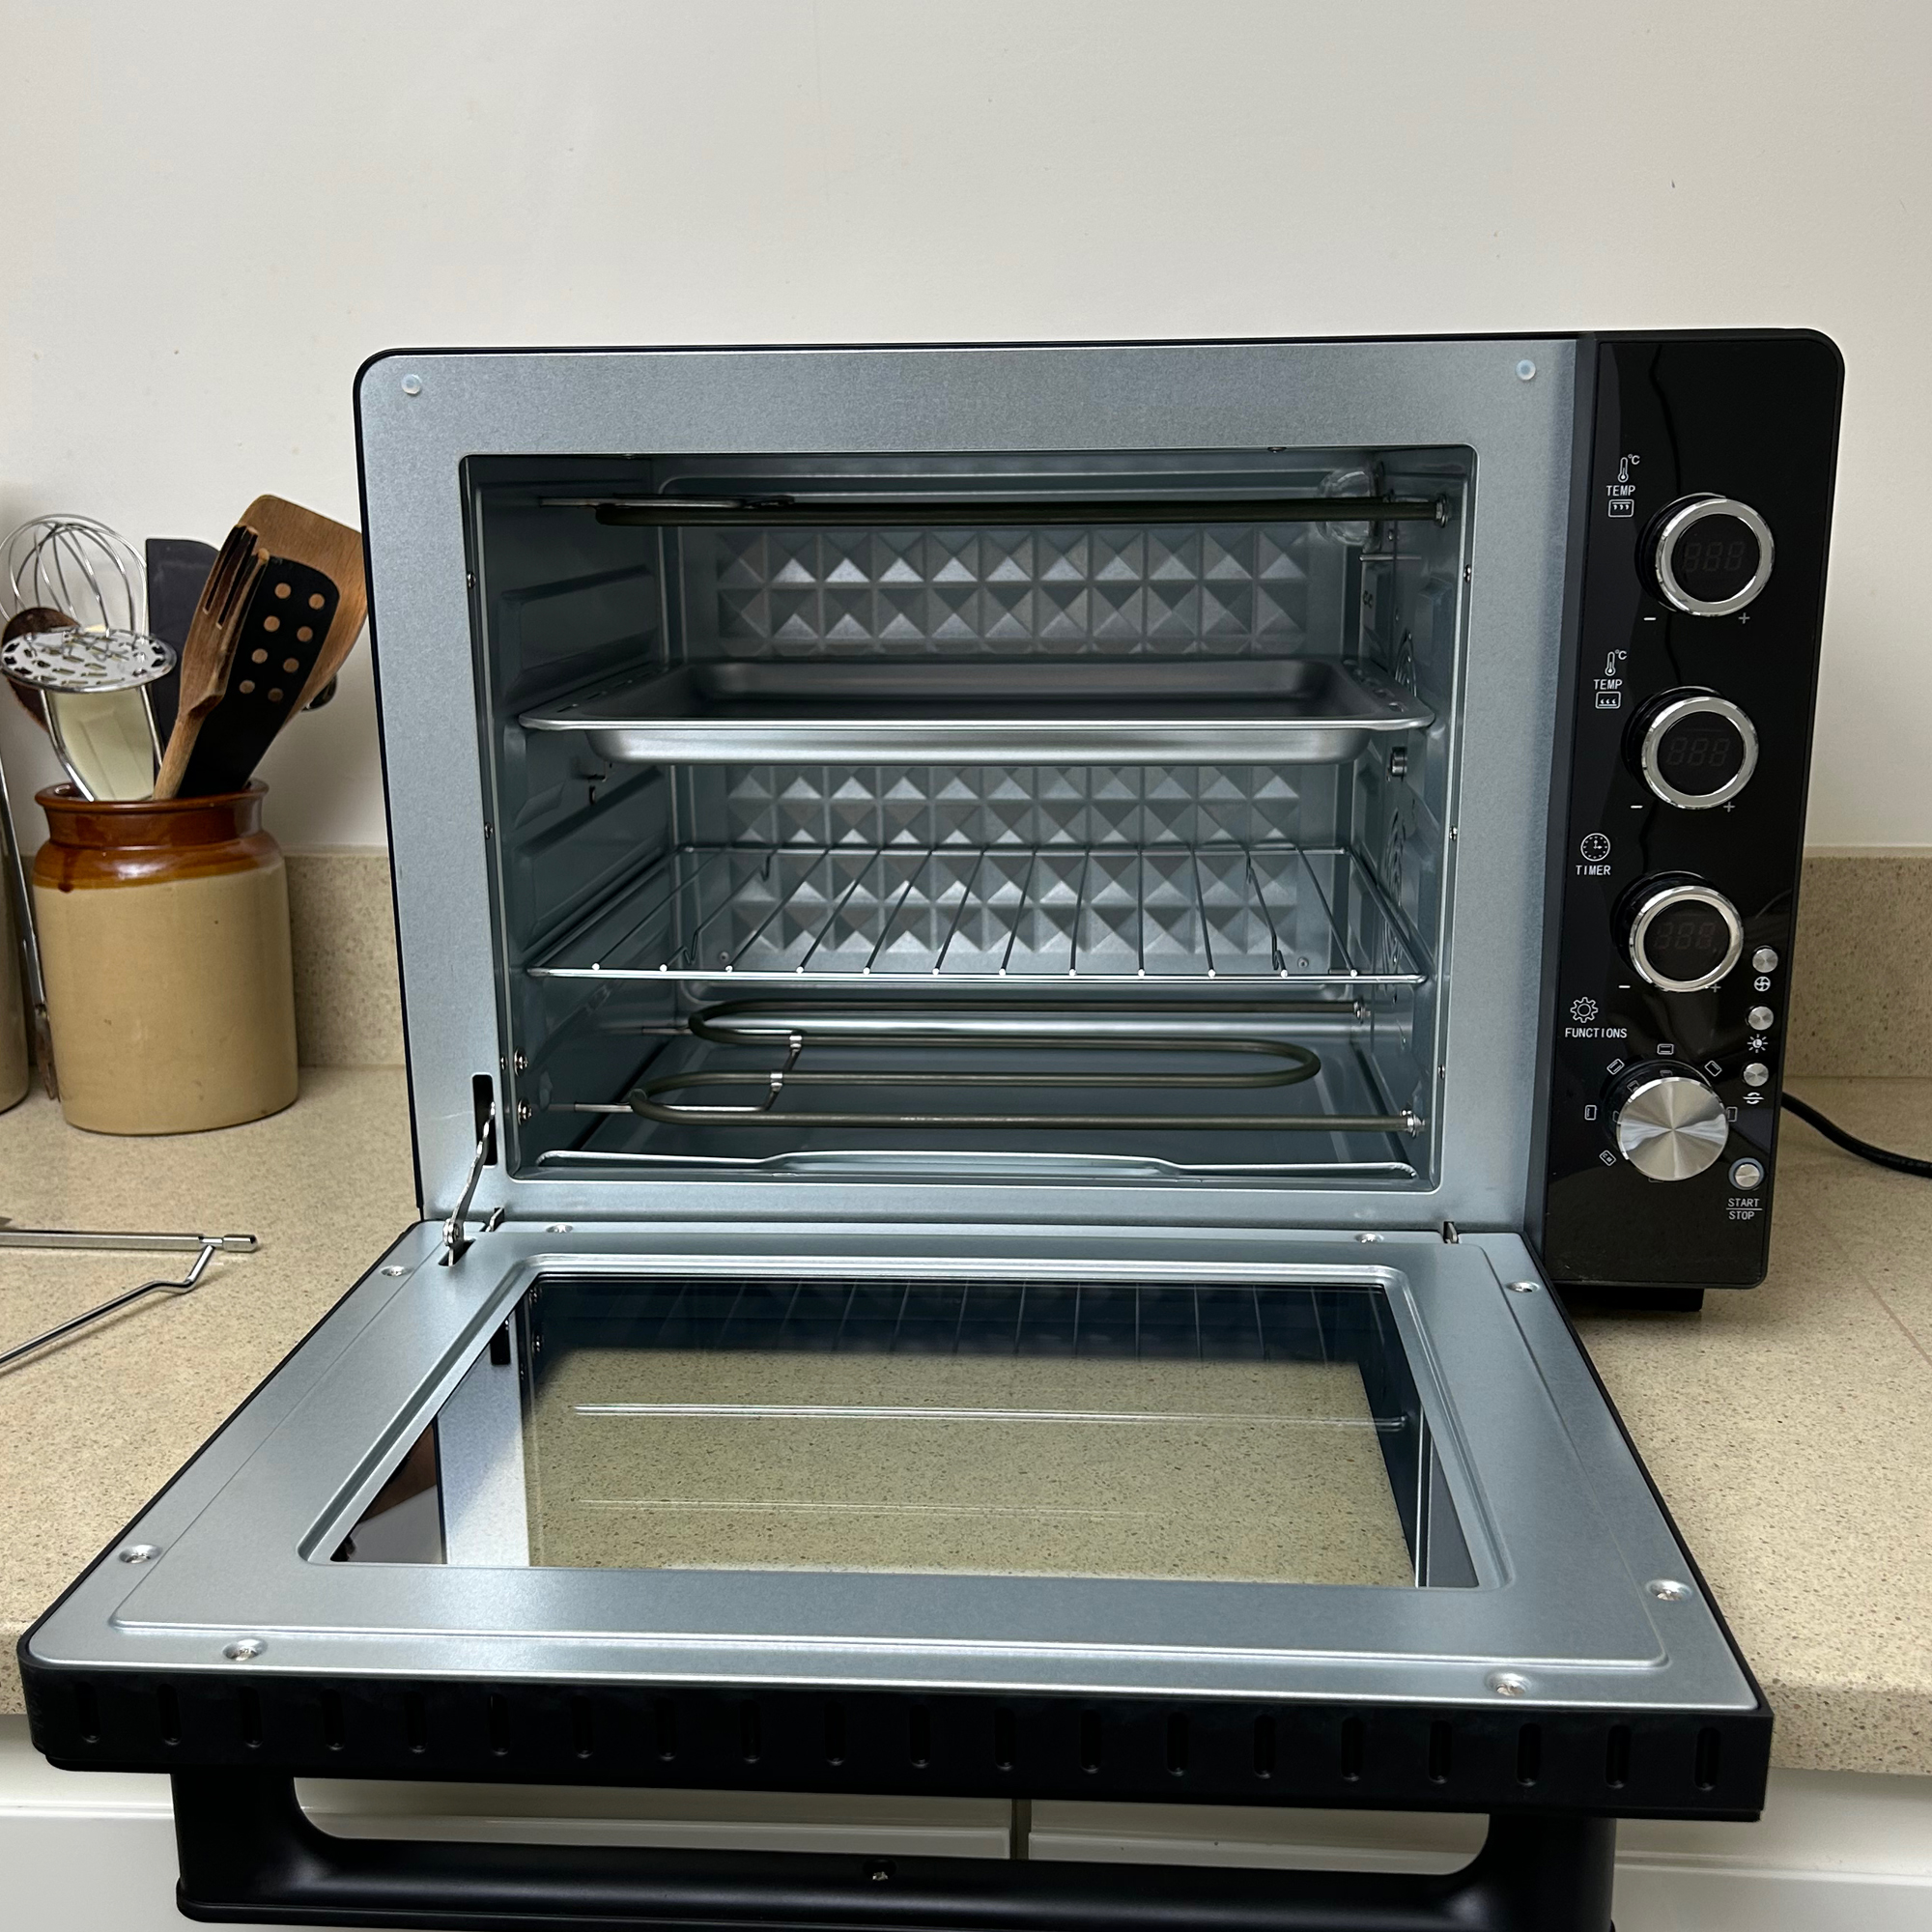
Setting up isn’t too tricky, I plugged it in and slid the shelf and tray into place. There’s also a crumb tray that slides in below the bottom element. I left the rotisserie accessories inside the oven when I wasn’t using it and simply placed them on top, when cooking.
Before use, the manual advises running it at the maximum temperature for 15 minutes. And my advice is to open windows or do this near an extractor fan, because it did give off quite a strong chemical smell when I did this.
First impressions
The drop down door opens easily, but immediately I was struck by how uncomfortable the handle is to grip. It has hard plastic edges that feel like they need sanding down and smoothing off. Thankfully, it’s not something you hold onto for very long so I soon got over it.
The manual is basic, it doesn’t give any suggested uses for each of the settings, which I would like to have seen. It also would have been useful to get some suggested cooking times for the rotisserie. Nevertheless, it does contain all the information needed to set up and use the oven.

Overall, the controls are very straightforward to use, simply select the cooking function, using the bottom dial. Then the dial above it sets the timer which starts counting down after the oven has preheated. And once the timer finishes, it switches the oven off which is a great safety feature.
The top two dials allow you to set the temperatures individually for the top and bottom elements. The only other controls are four small buttons, one to start/ stop, one to engage the rotisserie, another to start the fan if using, and the last one switches on an internal light. Frustratingly though, all the little screens within the dials stay lit unless you switch it off at the plug.
Cooking
Baking granola
Baking up a batch of homemade granola is a weekly occurrence in my house, so it’s something I had to try. I switched on the top and bottom heat, set it to 160oC and put the fan on for good measure. After only two and a half minutes, it beeped to tell me it had preheated, which took me by surprise as I’d expected it to take a bit longer.

I popped the granola on the baking tray, but used baking paper since it’s not non-stick. I stirred it every 10 minutes, but it took a lengthy 40 minutes to brown sufficiently, which is double what I give it in my built-in oven. A week later I tried it again at the higher temperature of 180oC but it still took 40 minutes to brown.

Lately, I’ve been baking my granola using the bake function on my air fryer. It can cook a batch of granola in 15 minutes, so this oven felt a little slow in comparison. That said, it did the job, I’d just turn up the temperature dial even more next time to speed things up.
Baking cookies
After the granola was slow to cook, I was a little concerned about how a batch of cookies would turn out. My go-to cookie recipe advises cooking at 180oC for 8-10 minutes. I set the oven to top and bottom heat at 180oC and again, it took two and a half minutes to preheat.
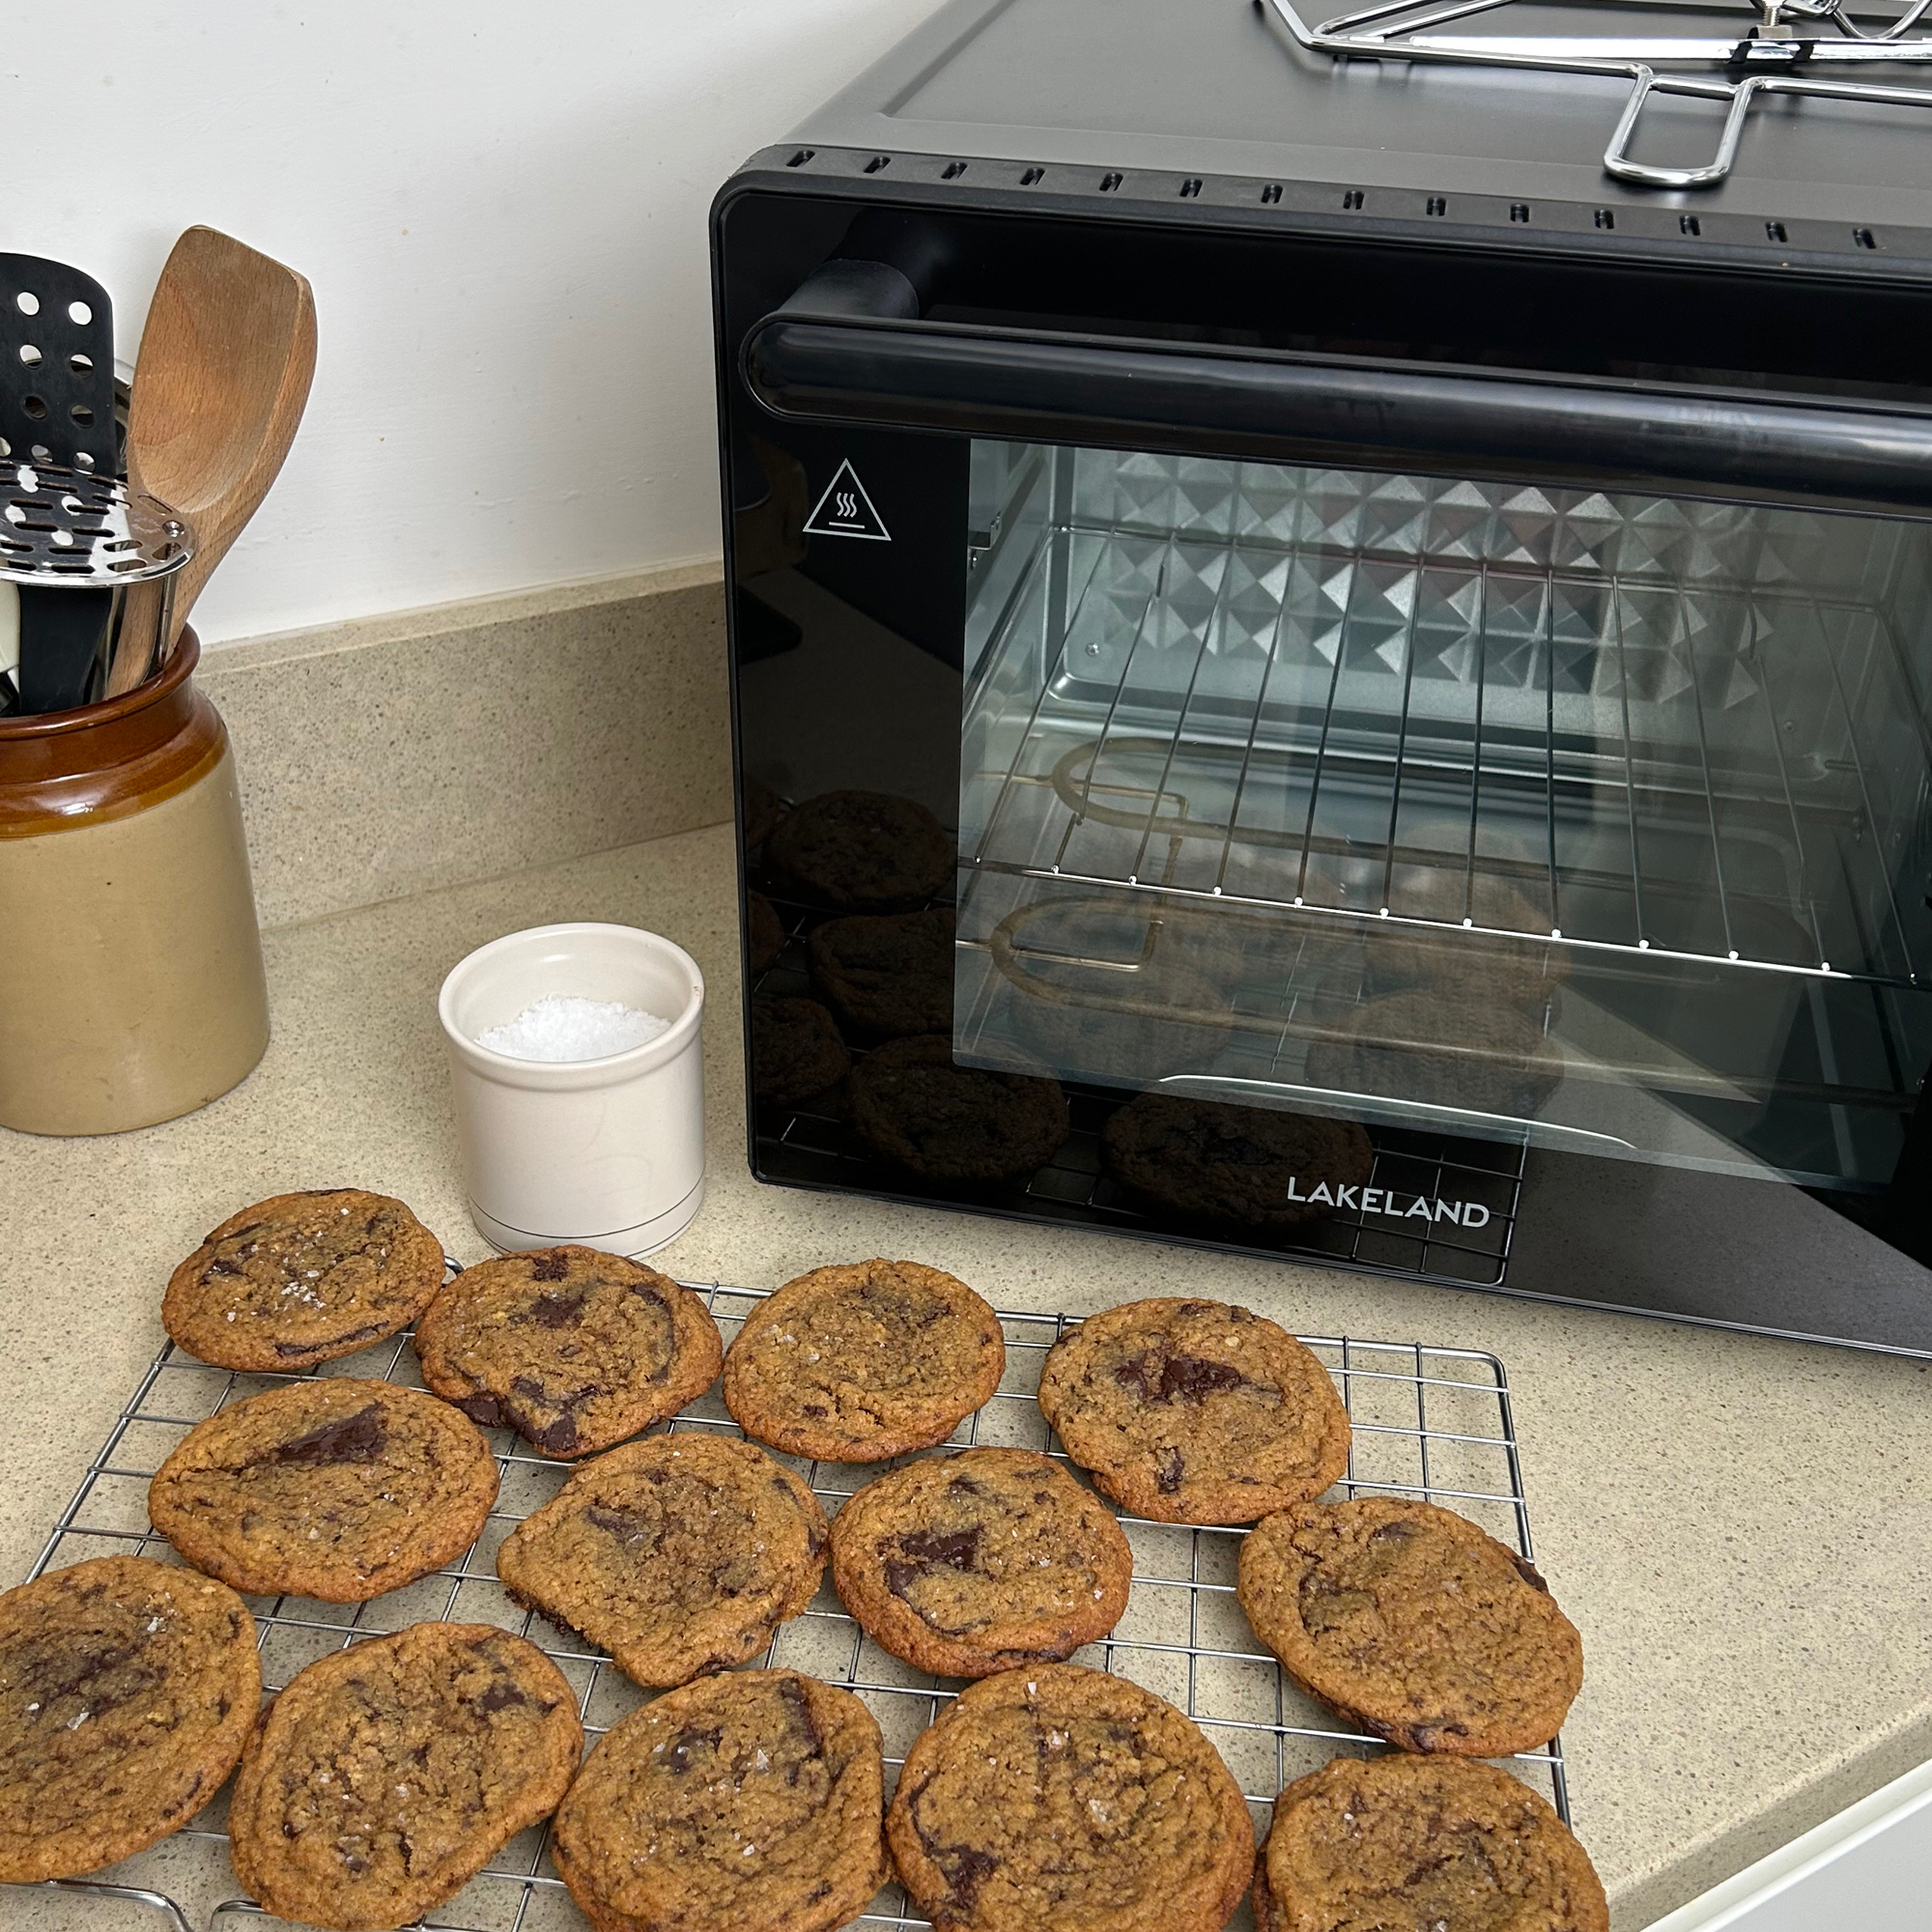
I could only fit five cookies on the tray at a time, so ended up doing it in four batches because none of my other baking trays fit in the oven. Nevertheless, to my surprise each batch cooked to perfection in the suggested 10 minutes. They were perfectly cooked, but gooey and delicious, I couldn't ask for more.
Cooking potatoes
Yes, I know there’s an energy crisis and I know I could cook a baked potato in the microwave in a fraction of the time, but I simply love an oven-baked potato with that crisp crunchy skin that you only get when it’s cooked for a long time in the oven. So, I preheated the oven to 180oC and set the timer to 2 hours. To my delight, my two medium size (200g) potatoes were super crisp on the outside and fluffy in the centre in around 1 hour 45 minutes.
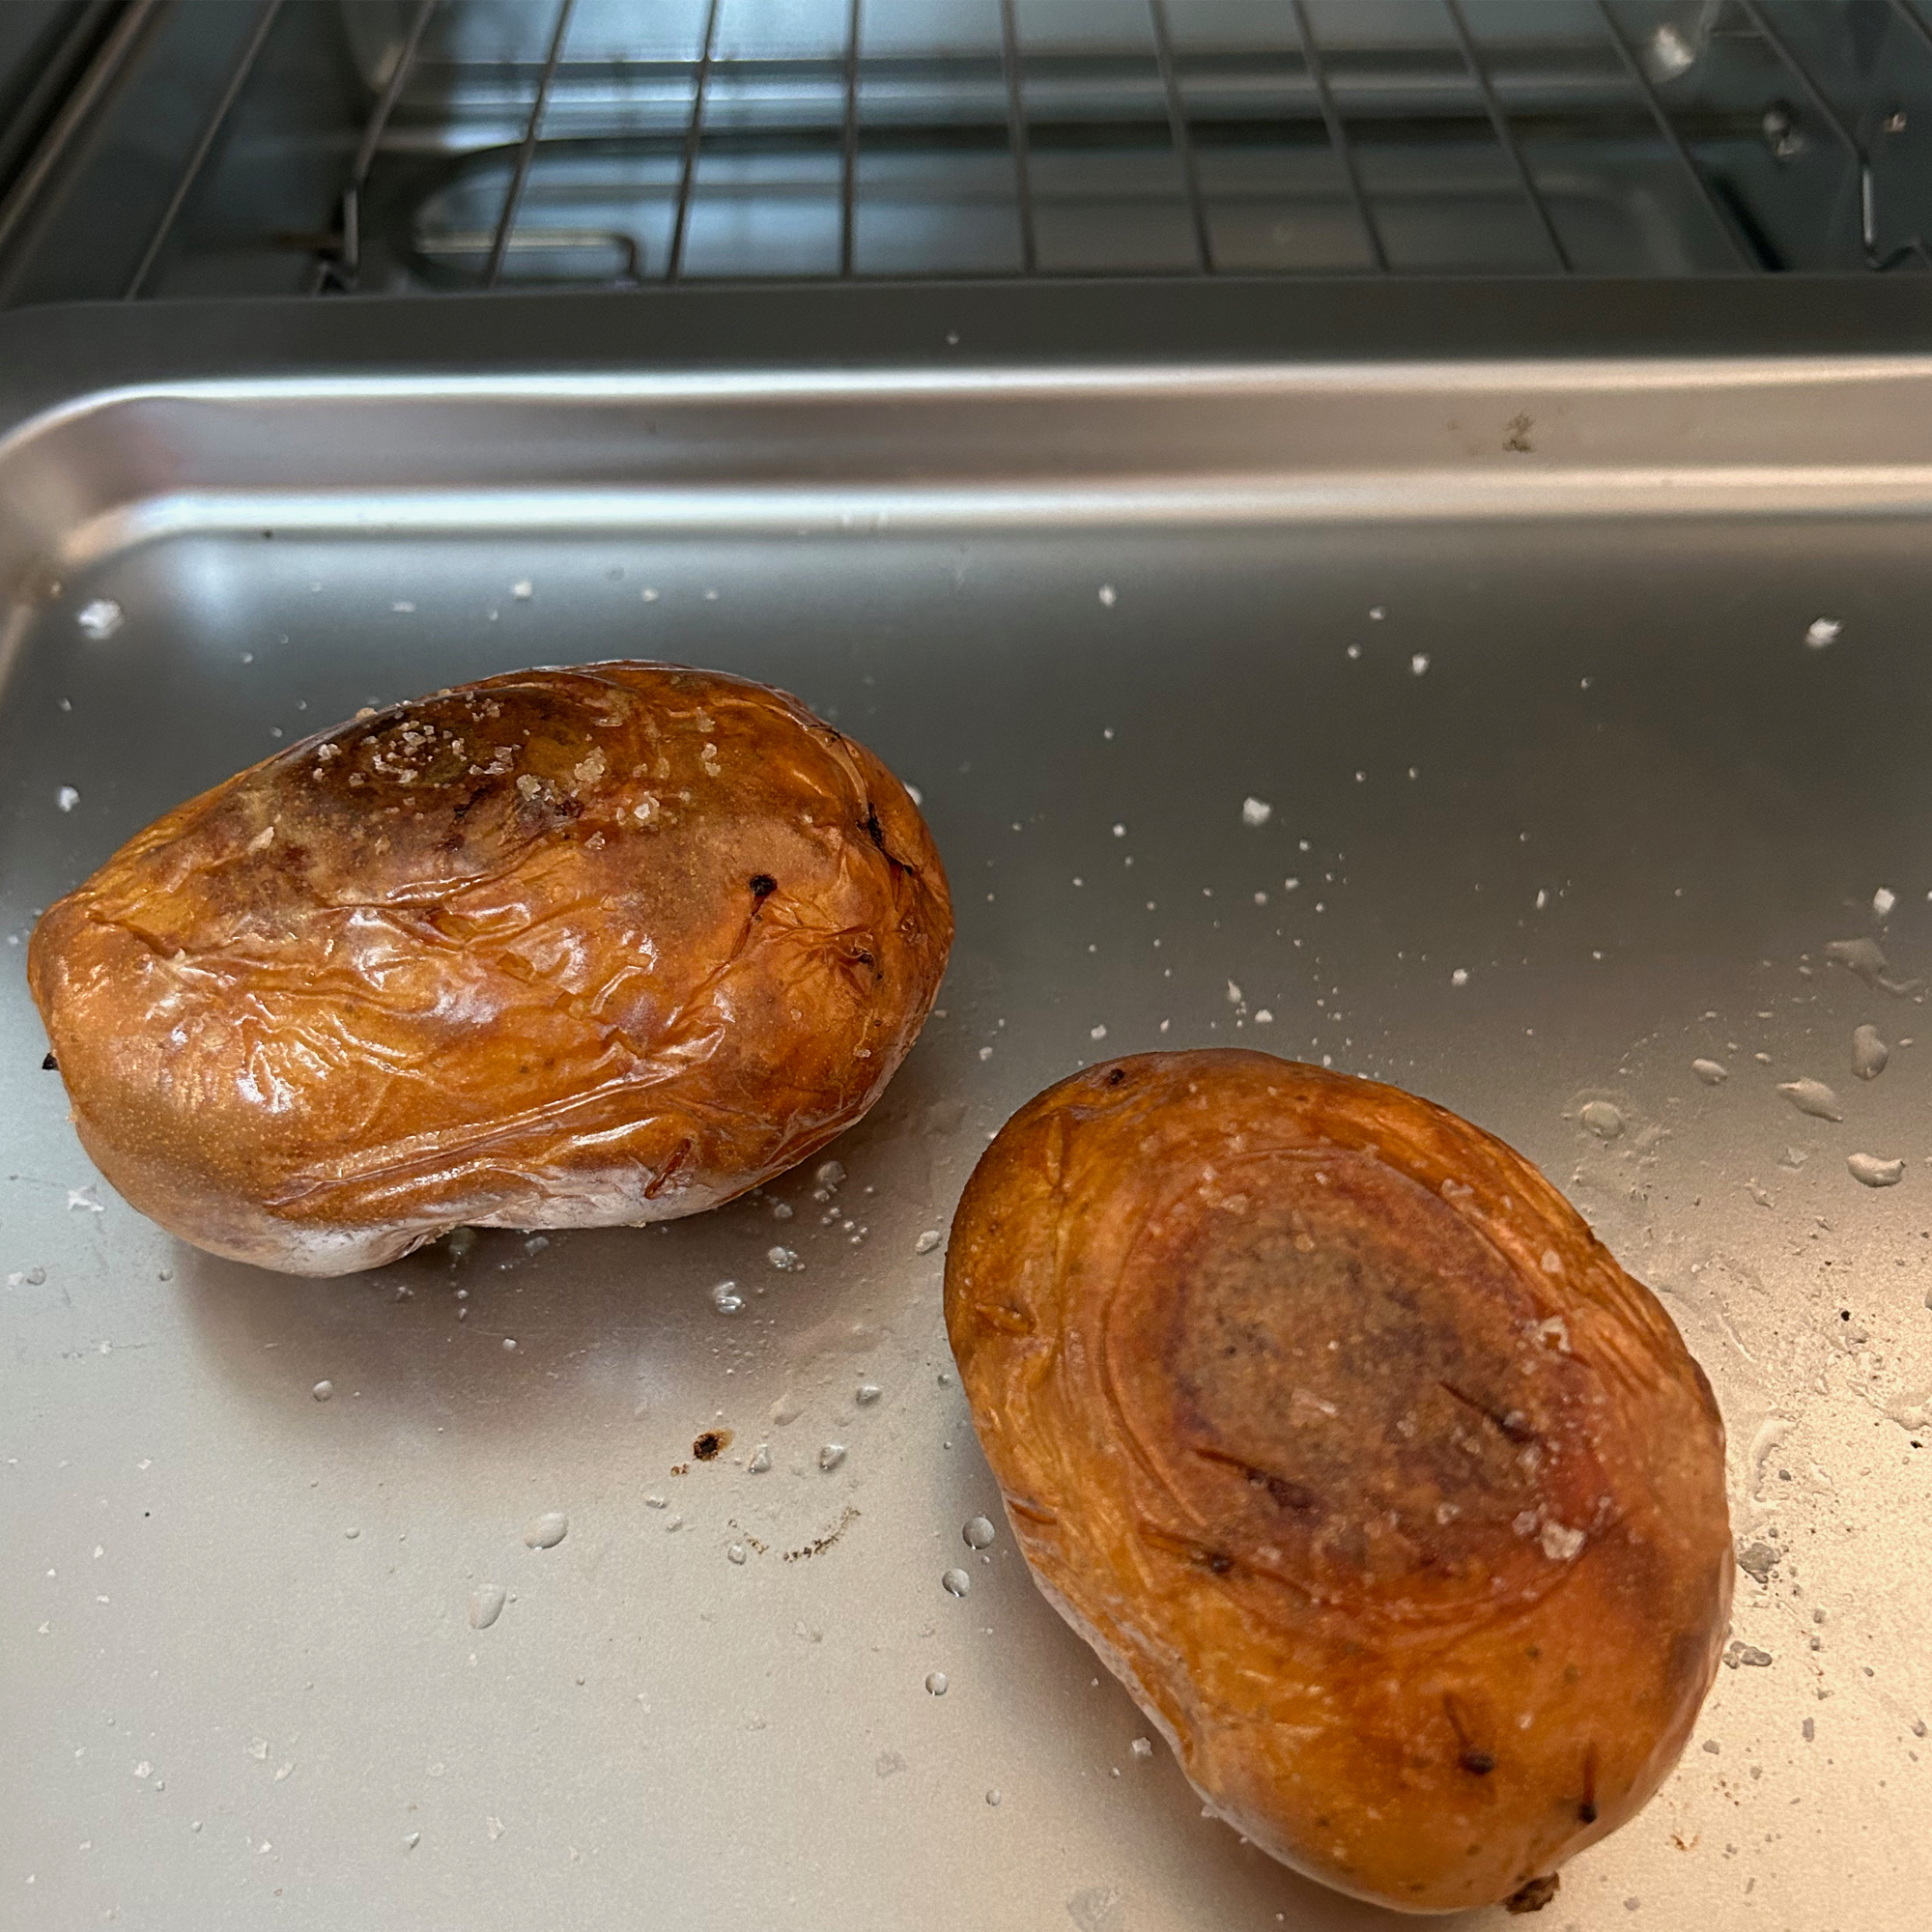
I also tried making roast potatoes, which is the kind of thing you might cook in this oven, if you’re buying it near Christmas to give you additional oven space. I preheated the oven to 220oC, which again took only 2 ½ minutes - I’m beginning to think it just has a default preheat time.

I added my par-boiled potatoes to a tray of hot oil. This time I also put the fan on to make sure they cooked evenly. After 20 minutes I attempted to turn them, but they had stuck to the tray so I had to be forceful with the spatula.
I turned them again after 40 minutes, and after 60 minutes they were done. Crisp, golden roast potatoes with fluffy centres - a great result. A word of warning though, both the door and the top of the oven get quite hot and I recorded 60-80oC on the top of the oven and 50oC on the door. Thankfully the handle and the controls stay cool.
Roasting vegetables
I chopped up a mixture of onion, pepper, mushrooms, and cherry tomatoes and roasted them at 200oC for 40 minutes, then turned the temperature up to 220oC for a further 10 minutes. The result was slightly caramelised and lightly charred roasted vegetables, that made the perfect addition to pasta and a jar of pesto.

Grilling bacon
The highest temperature available when using the top grill is 180oC, so that’s the setting I went for. And to my surprise the preheat took 4 ½ minutes - not the standard 2 ½ that I’d got used to when using the oven. Anyway, I added bacon to the wire shelf, with the baking tray directly below to create a standard grill pan style arrangement.
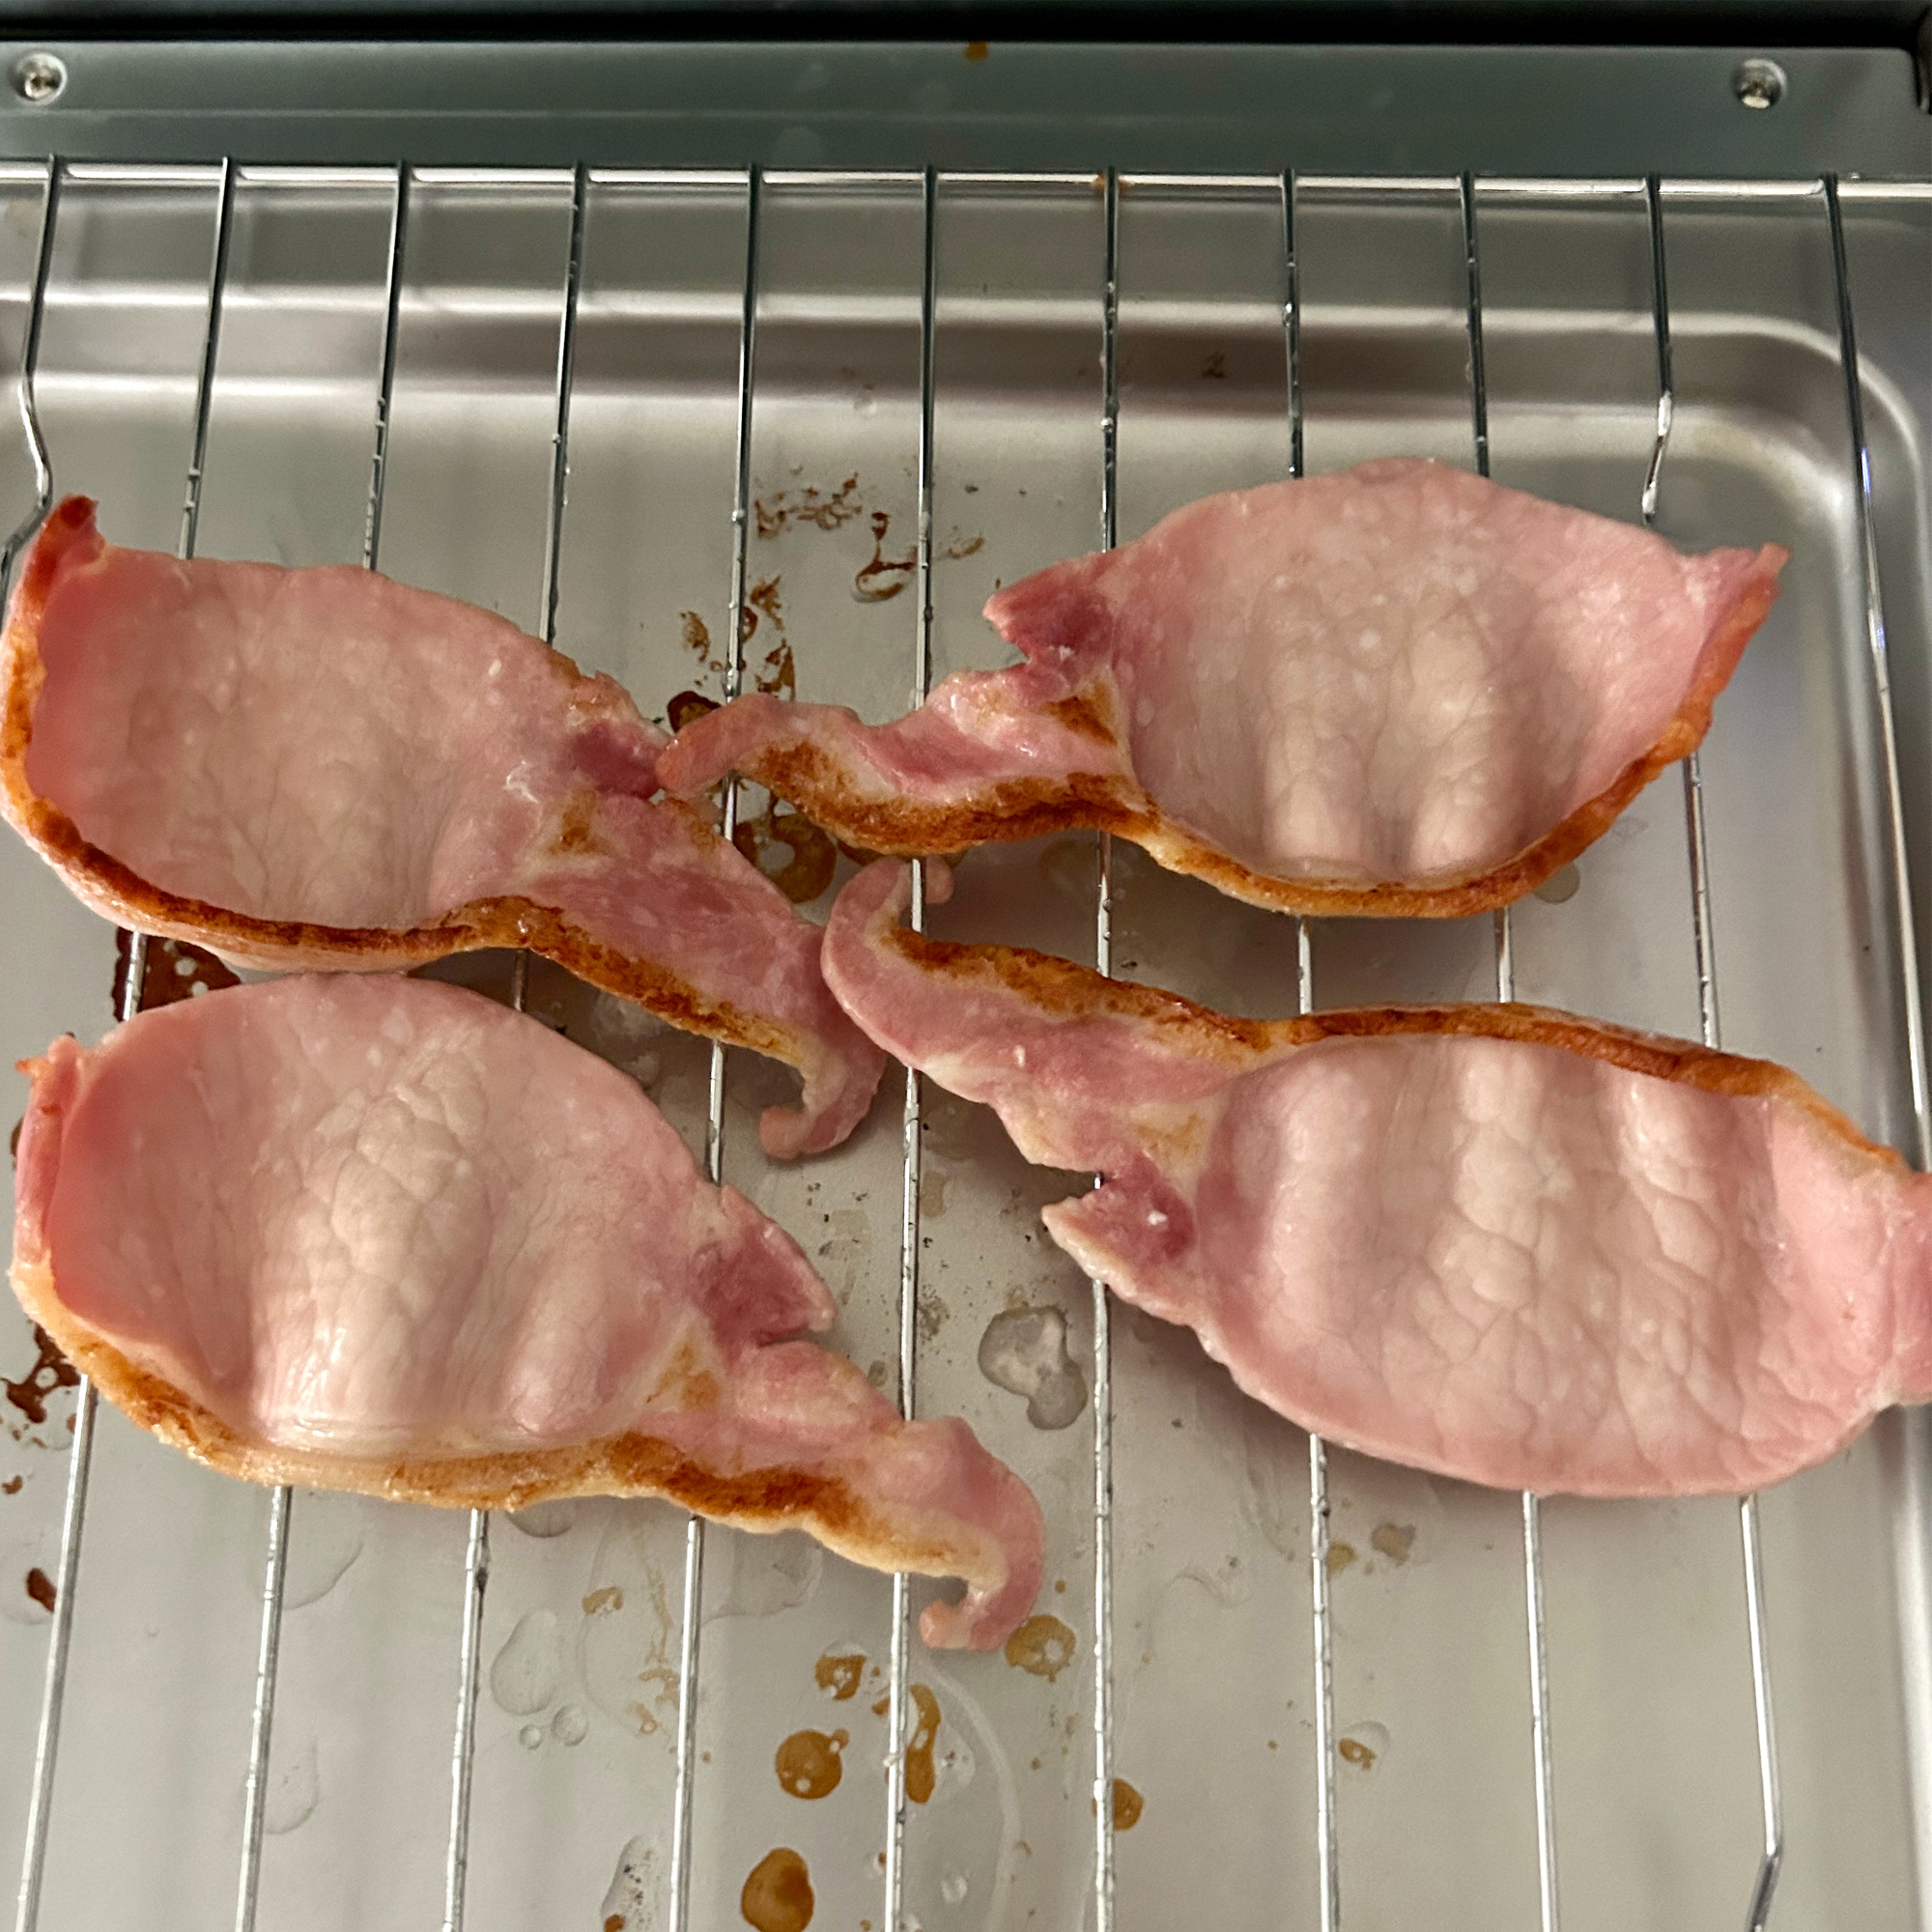
I followed the instructions in the manual and left the door open during grilling. The bacon took a respectable 10 minutes to reach my perfect combination of crisp rendered fat, with meat that’s still moist and soft. Admittedly, my air fryer does the job in around half the time, but the result was similar.
Cooking rotisserie chicken
Despite the instructions giving no advice on timings for the rotisserie, I decided to go big and do a whole chicken. I used the top oven only, since this is what’s recommended and preheated it to 180oC. Adding the chicken to the rod and tightening the forks onto either end was quite straightforward. But you do have to really push the forks firmly into the chicken to make sure it’s secured and doesn’t move around as the rotisserie spins.

There’s a useful handle to help with loading the chicken into the rotisserie slots on either side of the oven. And once it’s in position, you just have to press the rotisserie button to start it turning. The internal light is really good and I kept switching it on to check on progress, luckily it switches itself off after a few minutes to save energy, because I kept obsessively watching it!
After 1 hour 20 minutes my meat probe confirmed that the chicken was thoroughly cooked inside. At this point I smothered it in chilli sauce and put it back in for a further 20 minutes to brown the skin further. The finished chicken didn’t have super crisp or overly browned skin, but the chilli sauce meant it was very tasty and the meat was very moist and succulent.
Heating frozen breaded foods
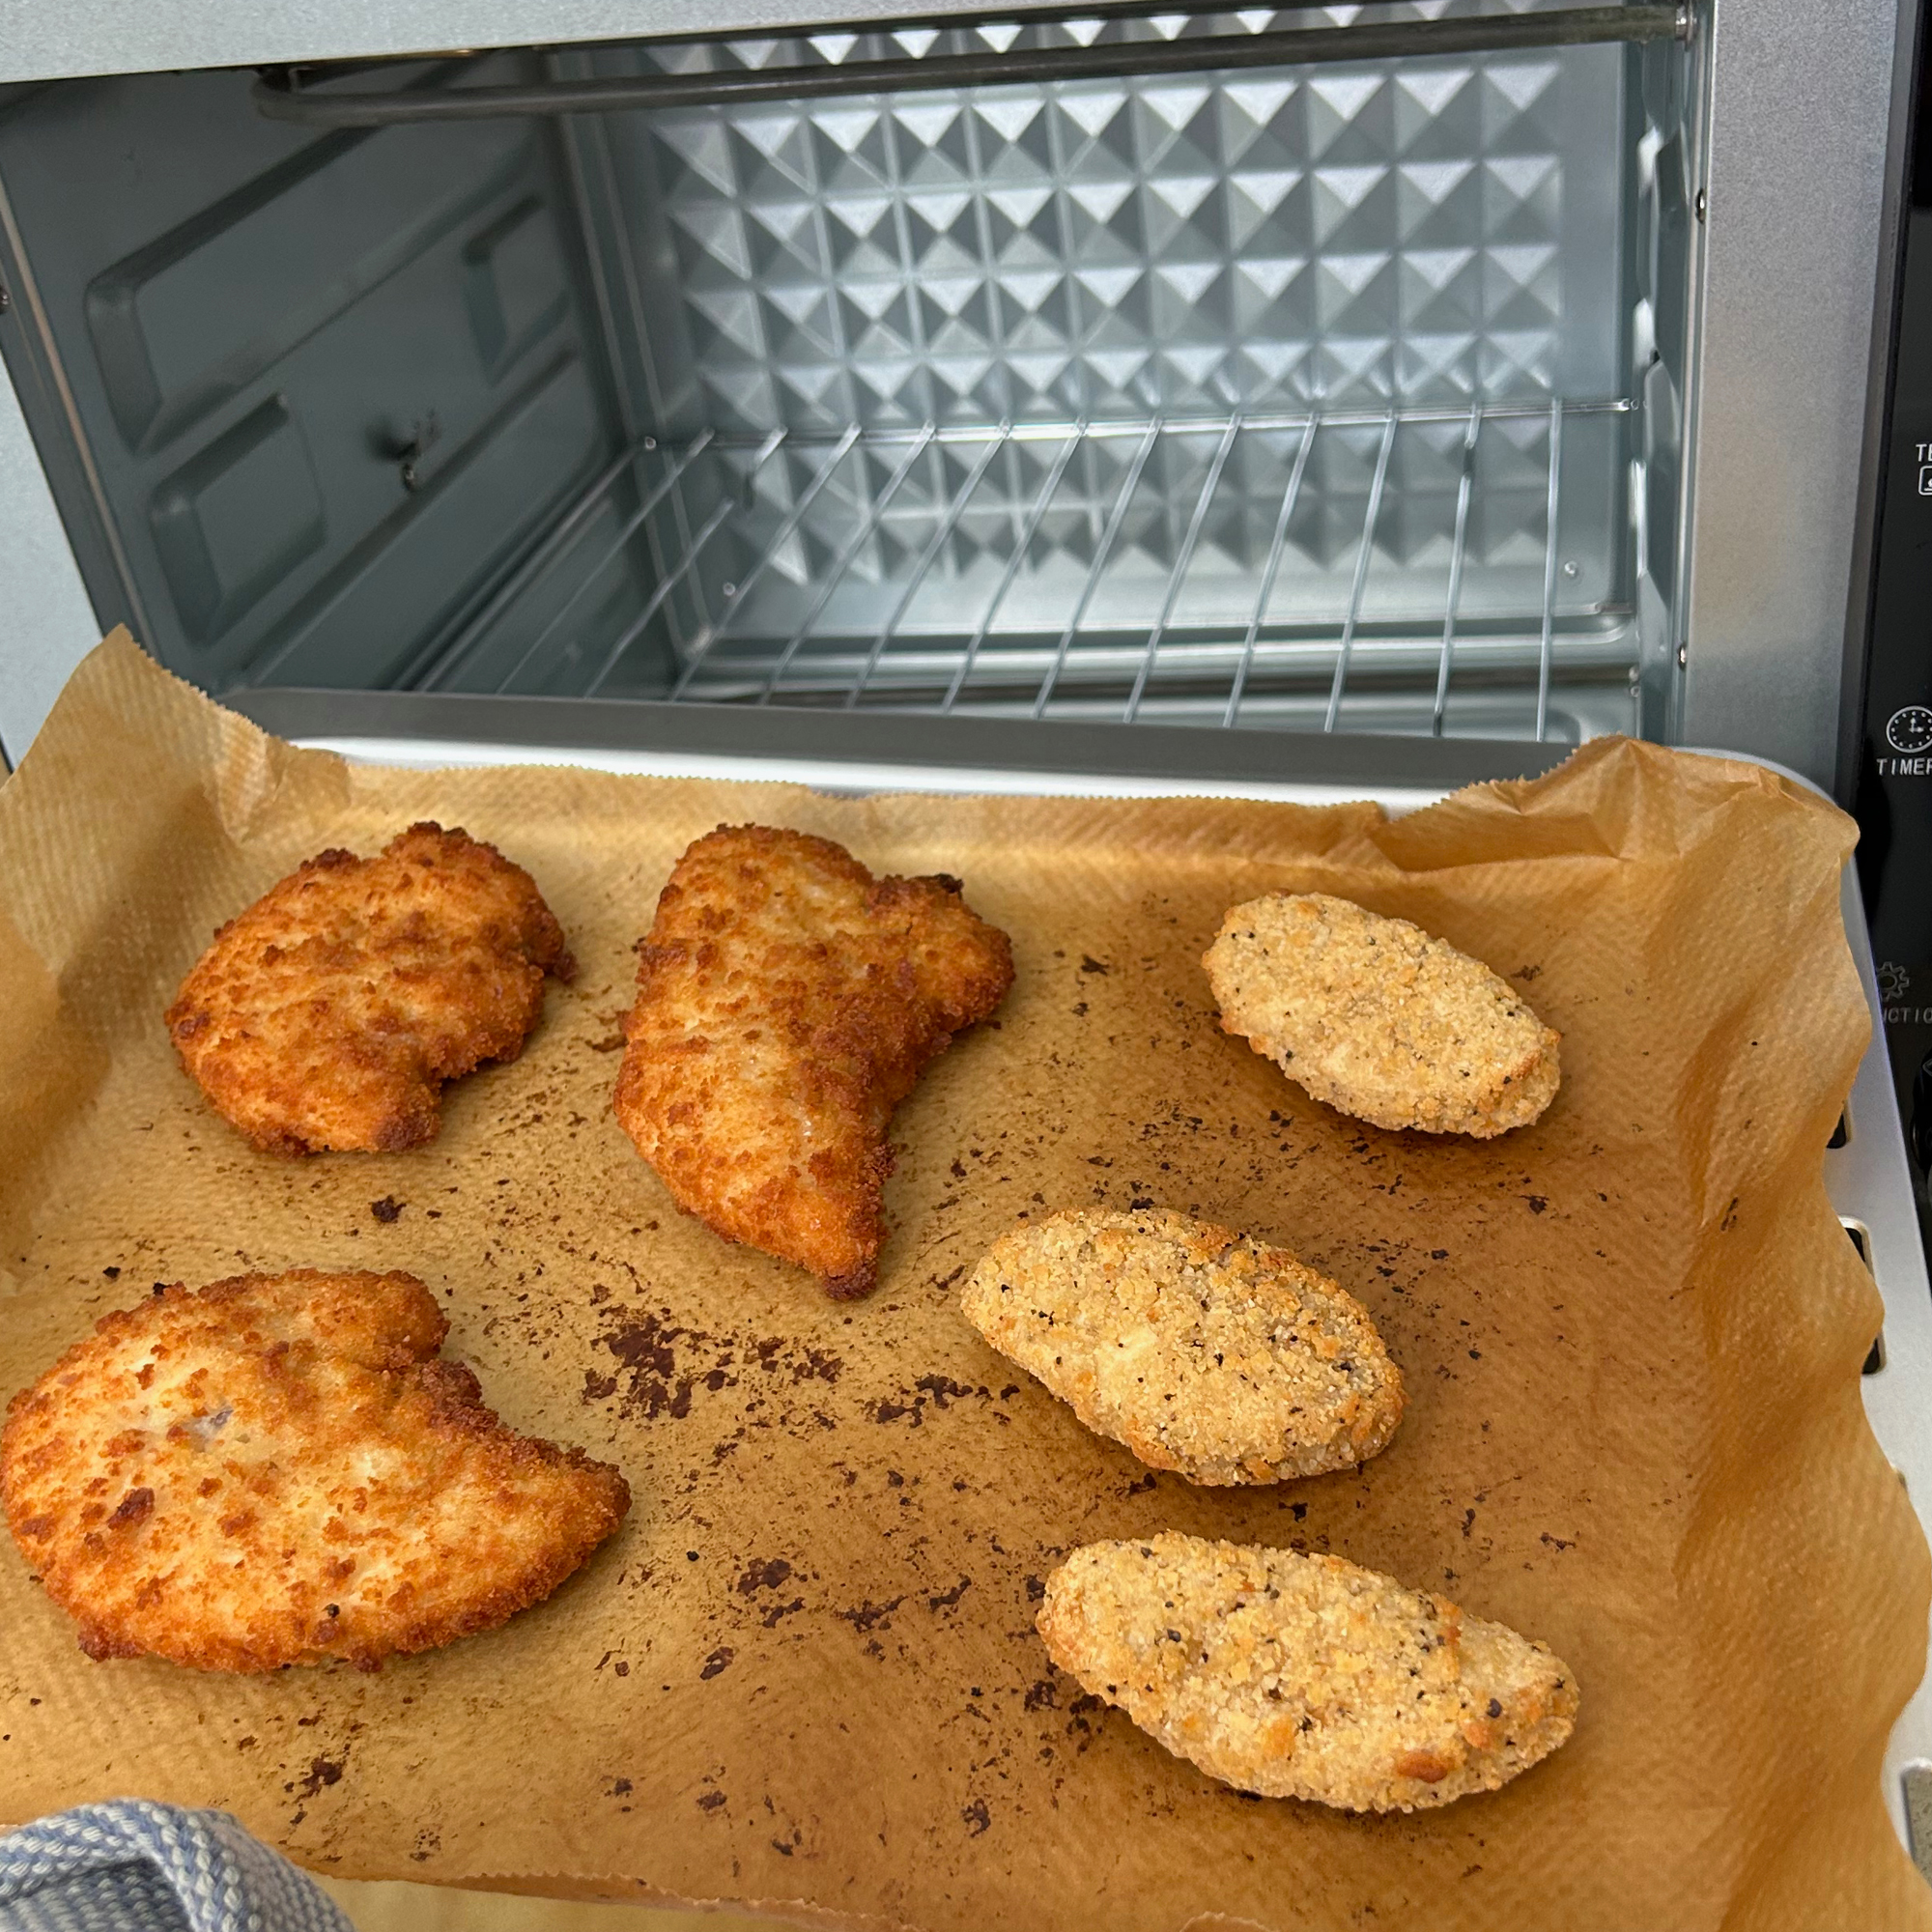
Lastly, when making a lazy caesar salad, I cooked up some breaded chicken tenders and some Southern Fried breaded Quorn nuggets. I’d usually cook both of these in an air fryer and unfortunately the results in the oven didn’t live up to the crunchy, crumb and speedy air fryer cook time. Even though I set the oven to 220oC, the chicken took the best part of 30 minutes and the Quorn needed almost 25 minutes. And neither had the texture we’ve come to enjoy from our air fryer. But if you’re used to cooking things like this in an oven, I’d say it’s a comparable result - if a little slower.
Cleaning
I’ve got mixed feelings about cleaning this oven. On one hand I love the removable crumb tray in the base of the oven, it slides out and is a great solution to the problem of cleaning under the bottom element. However, the manual doesn’t say any of the accessories can be washed in the dishwasher, which is annoying and I would have preferred a non-stick tray.
The stainless steel interior of the oven is pretty easy to keep clean if you regularly wipe it over. But I’d advise using baking paper on the tray to avoid things sticking, which will be tough to remove. And although the exterior has a glossy finish, I didn’t notice too many greasy fingerprints accumulating and when they do, they wipe away easily.
How does it compare to similar models?
As I’ve already mentioned, for some foods you might be better off with an air fryer such as the Instant Vortex Plus 6-in-1. It’s £50 cheaper at around £149.99 and can cook brilliantly crisp breaded foods, plus it’s a great option for chips and bacon. Furthermore, with additional functions such as bake, grill, roast and dehydrate mean it’s a multi-purpose appliance. It’ll take up less space on your worktop too, but the downside is that it doesn't have the internal capacity that the Lakeland Mini Oven offers.
Alternatively, you could opt for a multi-cooker for maximum flexibility. The Ninja Foodi 9-in-1 offers air frying as well as grill and bake functions but has the added benefit of being able to saute, pressure cook, and slow cook - it’s a real work horse that’ll earn its place in your kitchen. It’s a similar price to the Lakeland Mini Oven, but again the capacity is far smaller so it won’t suit everyone.
Should you buy the Lakeland Digital Mini Oven?
This oven did surprise me with its ability to bake delicious cookies and create crisp roast potatoes and jacket potatoes. And the rotisserie function is an enticing added extra for meat lovers. I’d say it’s certainly up the job if what you need is a small oven for occasional use. But keep in mind that it can’t take full size baking and roasting trays.
If you’re simply looking for something small, you might be better off with a multi-functional air fryer, but it depends on what you intend to cook. For baking cakes, cookies and pies the Lakeland Mini Oven will trump an air fryer every time, so my best advice is to consider exactly what you want to use it for so that you can choose the most appropriate appliance.
About this review, and the reviewer
After completing a Home Economics degree, Helen went on to work for the Good Housekeeping Institute and has been reviewing home appliances ever since. She lives in a small village in Buckinghamshire in the UK and was allowed to keep this Lakeland Digital Mini Oven after the review.
Helen used this cooker at home to make meals and snacks for herself and her husband. She tried to use as many of the functions as possible and used it in place of her usual built-in oven and trusty air air fryer.


