
Although Call of Duty is known for its dramatic setpiece action, Black Ops 6 shakes things up a little when it comes to its campaign. Sprinkled between gunfights and explosions are various puzzles, the most important of which are the safes which require cracking. To do that, you’ll need to know all the Black Ops 6 safe codes, including how to find and open every safe. There's also the Black Ops 6 safehouse puzzle, which is a unique spin on the formula you'll come to recognise.
While you won’t need the best Black Ops 6 loadouts at hand to solve these puzzles, there’s no shortage of action in the campaign mode. Luckily, these puzzles are completely optional, so you can skip them if you’re not cut out for the Robin Hood lifestyle. Don’t forget though, you need money to upgrade the safehouse.
There are a total of nine safes to find in the Black Ops 6 campaign—one in each main mission (excluding the opening and finale), and one elaborate safehouse puzzle. Thankfully, aside from the safehouse safe, all safes follow the same structure. So, once you’ve solved one, you’ll have a good idea of how to open the rest.
How to unlock safes
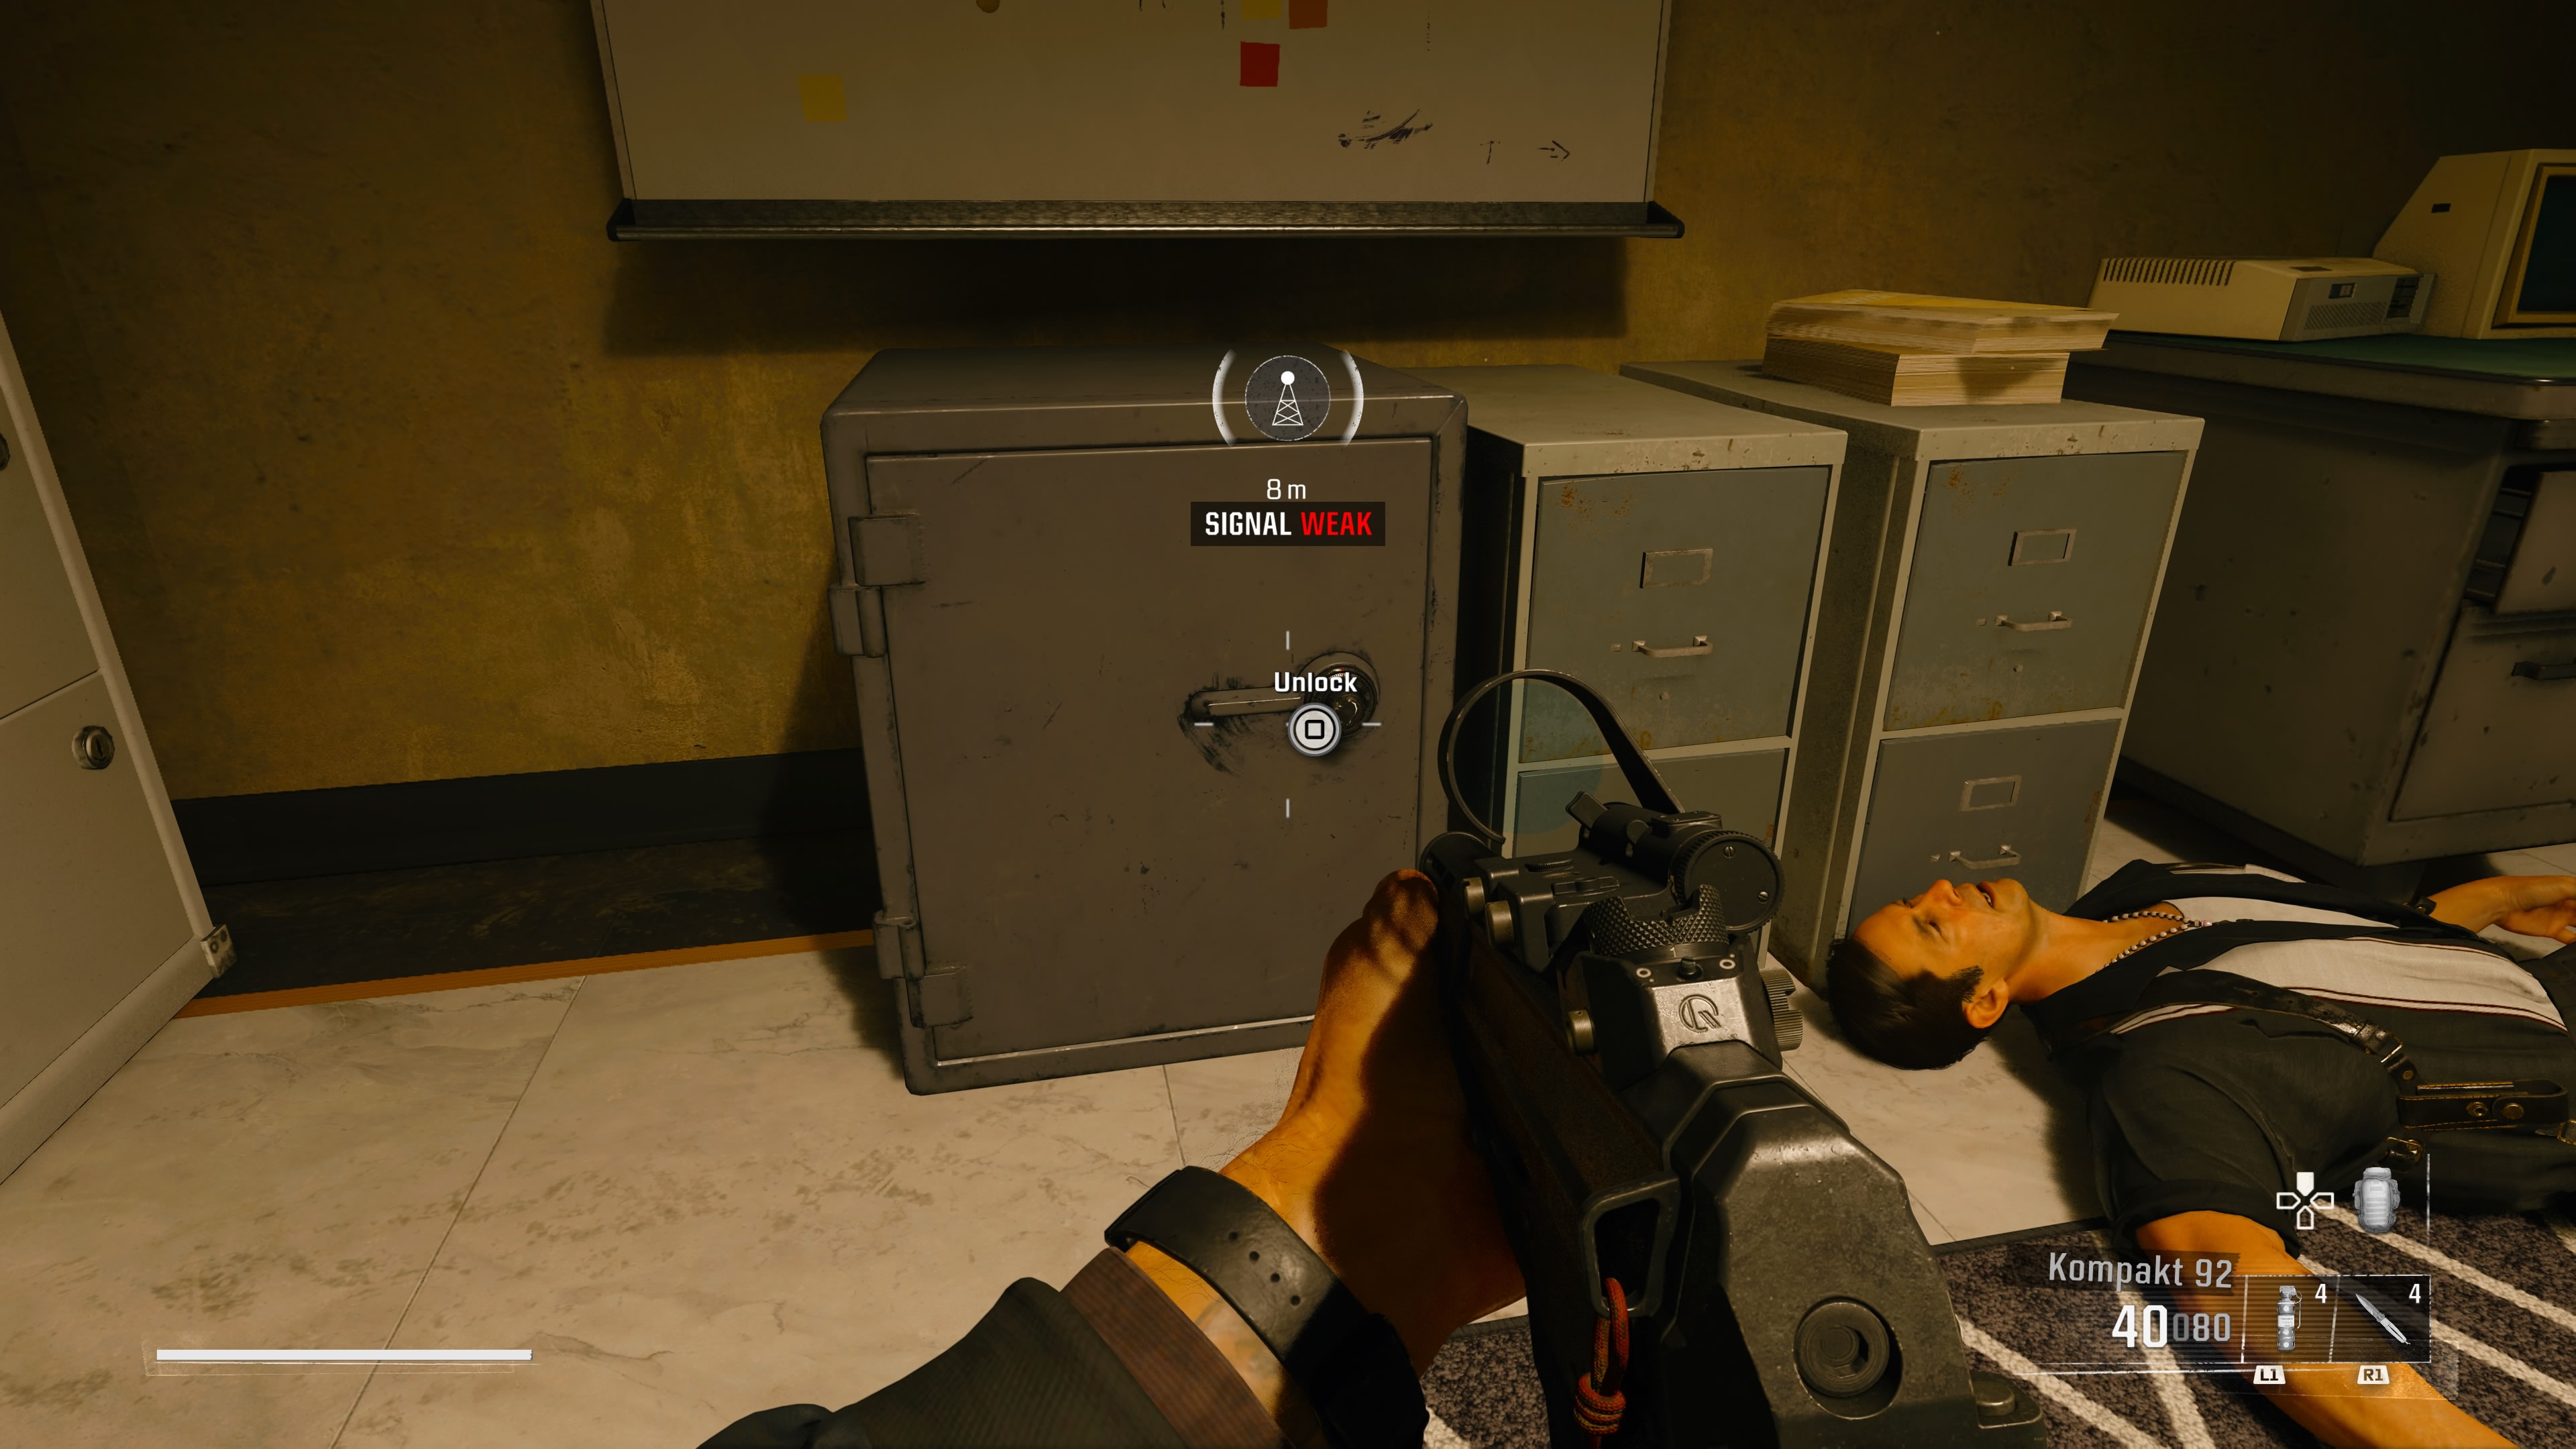
The first step is finding the safe. After that, you need to look around and locate a nearby radio, which you'll know you're getting close to when the signal strength indicator appears on-screen Use the indicator to pinpoint the location of the radio.
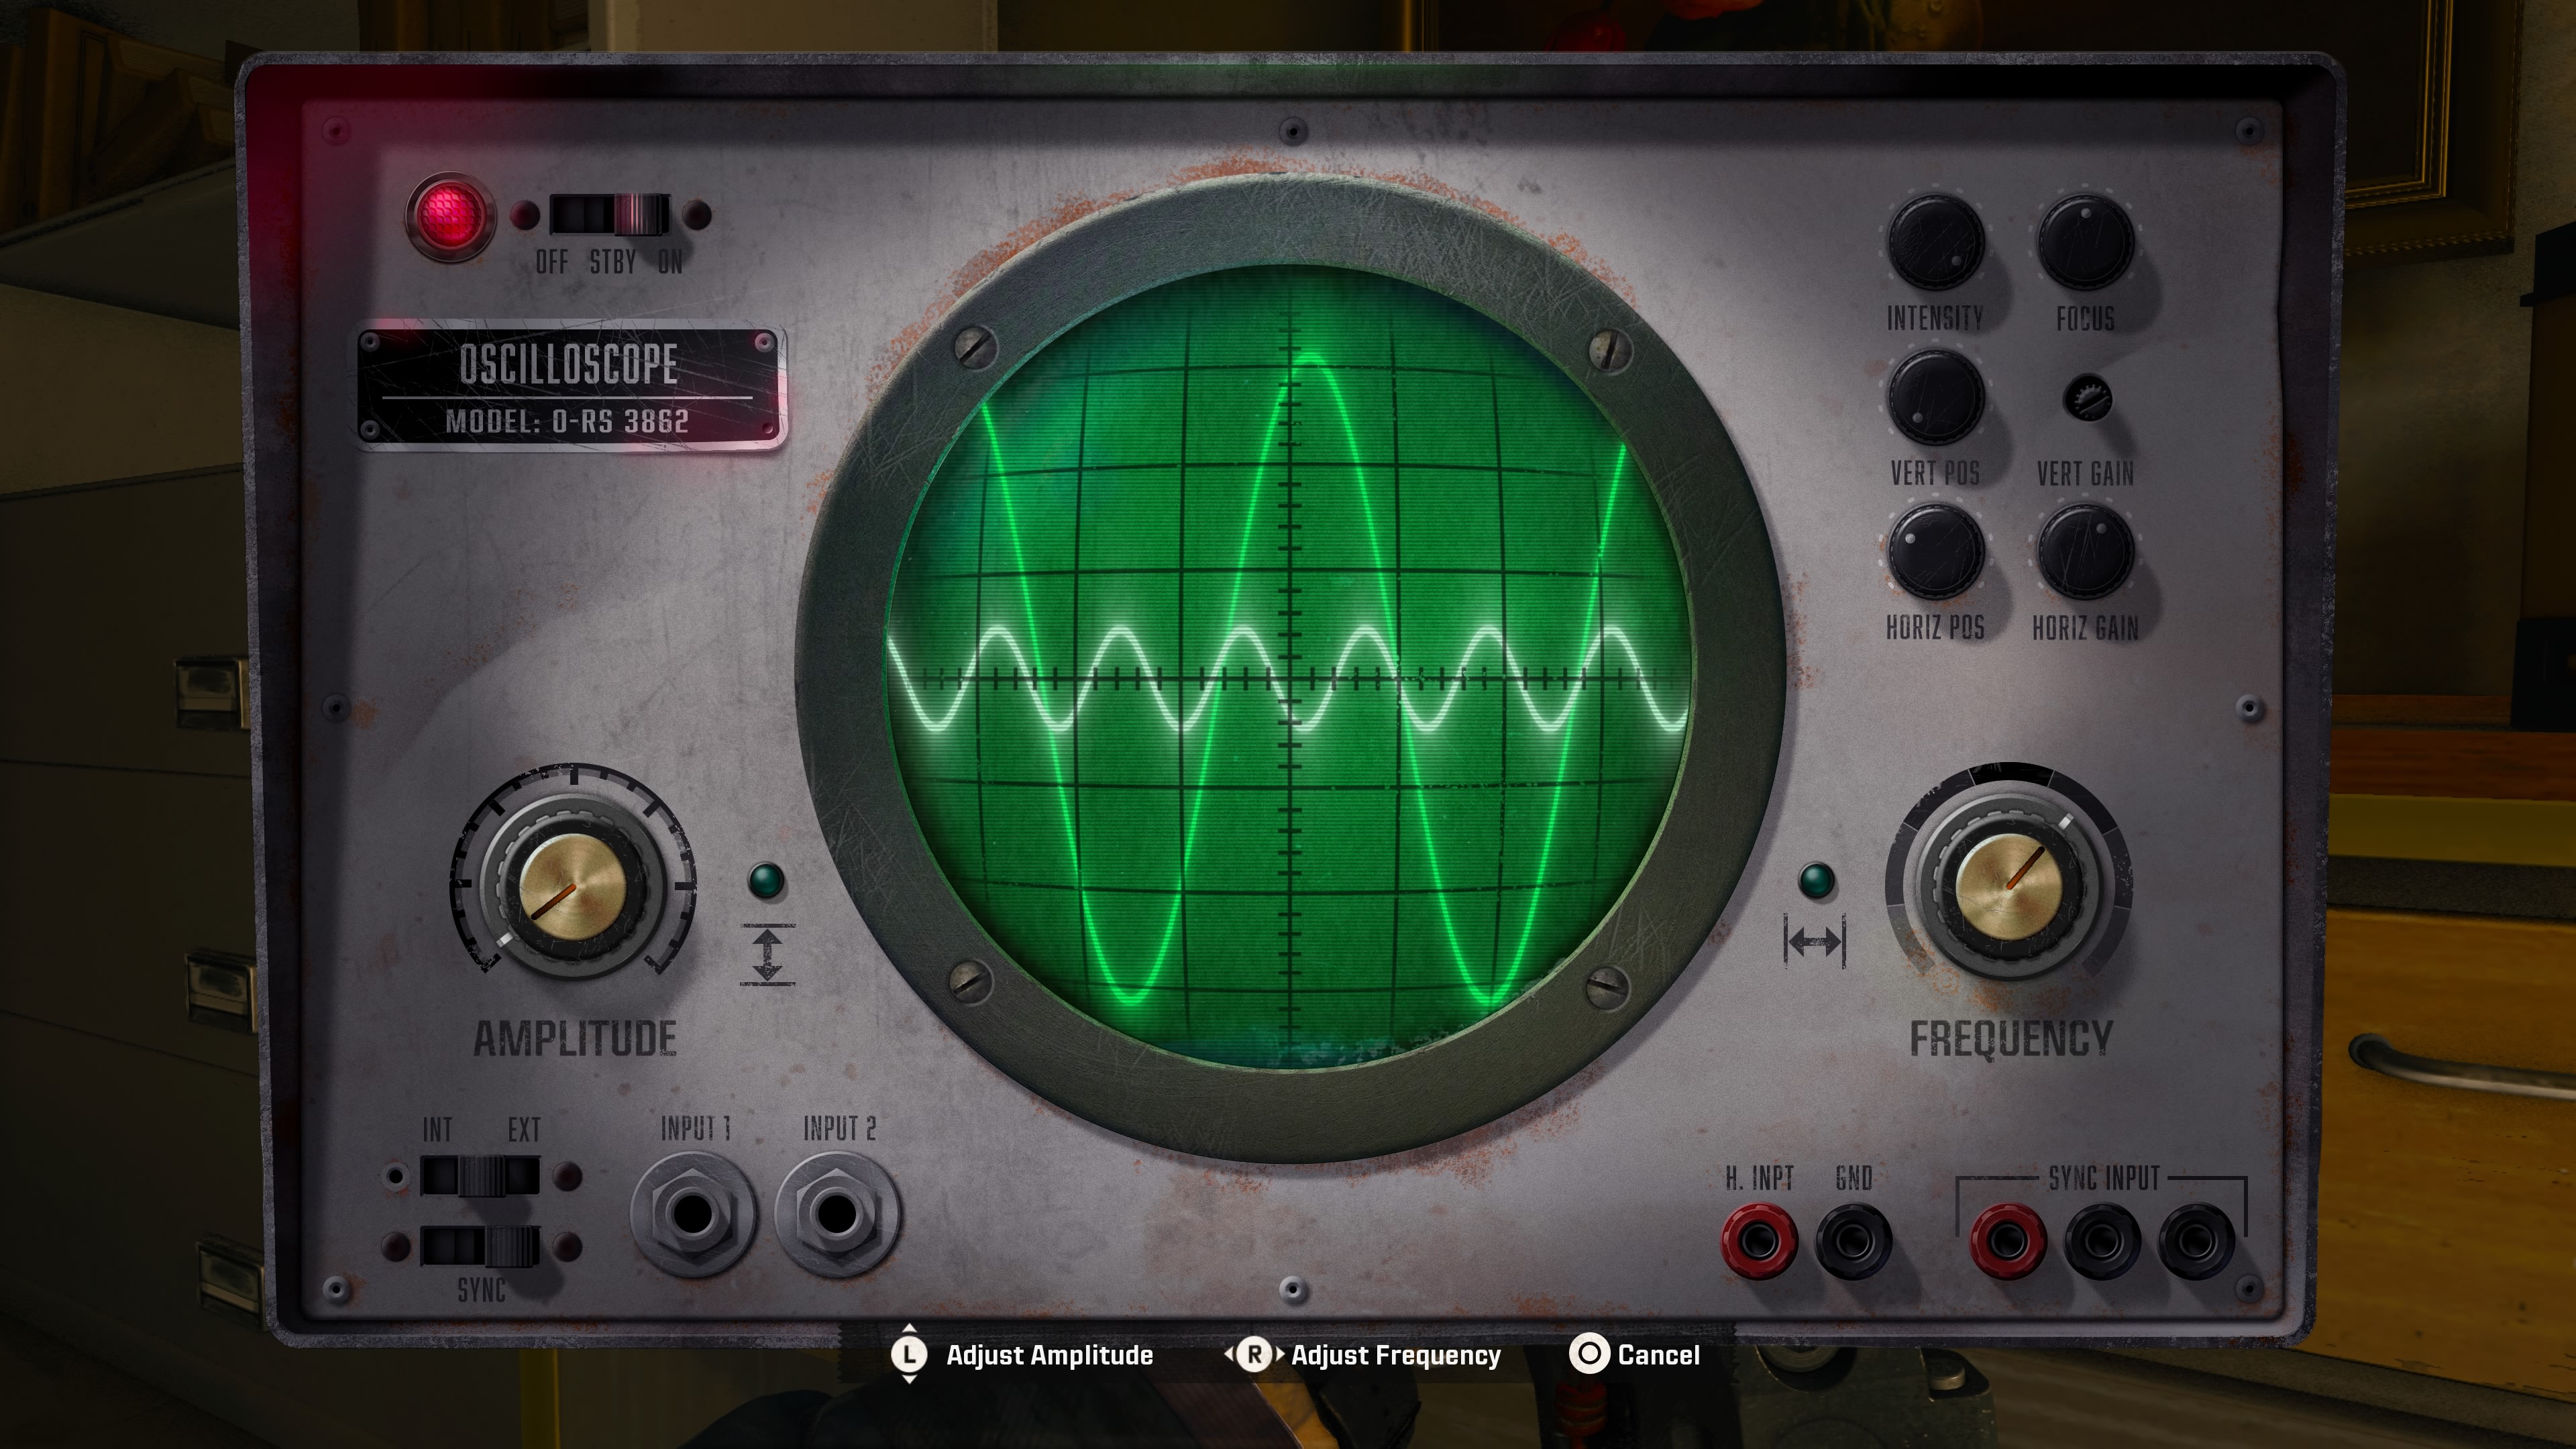
Once you’ve found the radio, interact with it to begin the waveform puzzle.
Here, you must change the frequency and amplitude of the waveform to match the signal (basically bending the shape of the waveform to match the background), at which point the radio will begin to play a repeating string of numbers. Those numbers are the safe code—punch them into the safe to claim your rewards.
Blood Feud safe code and location
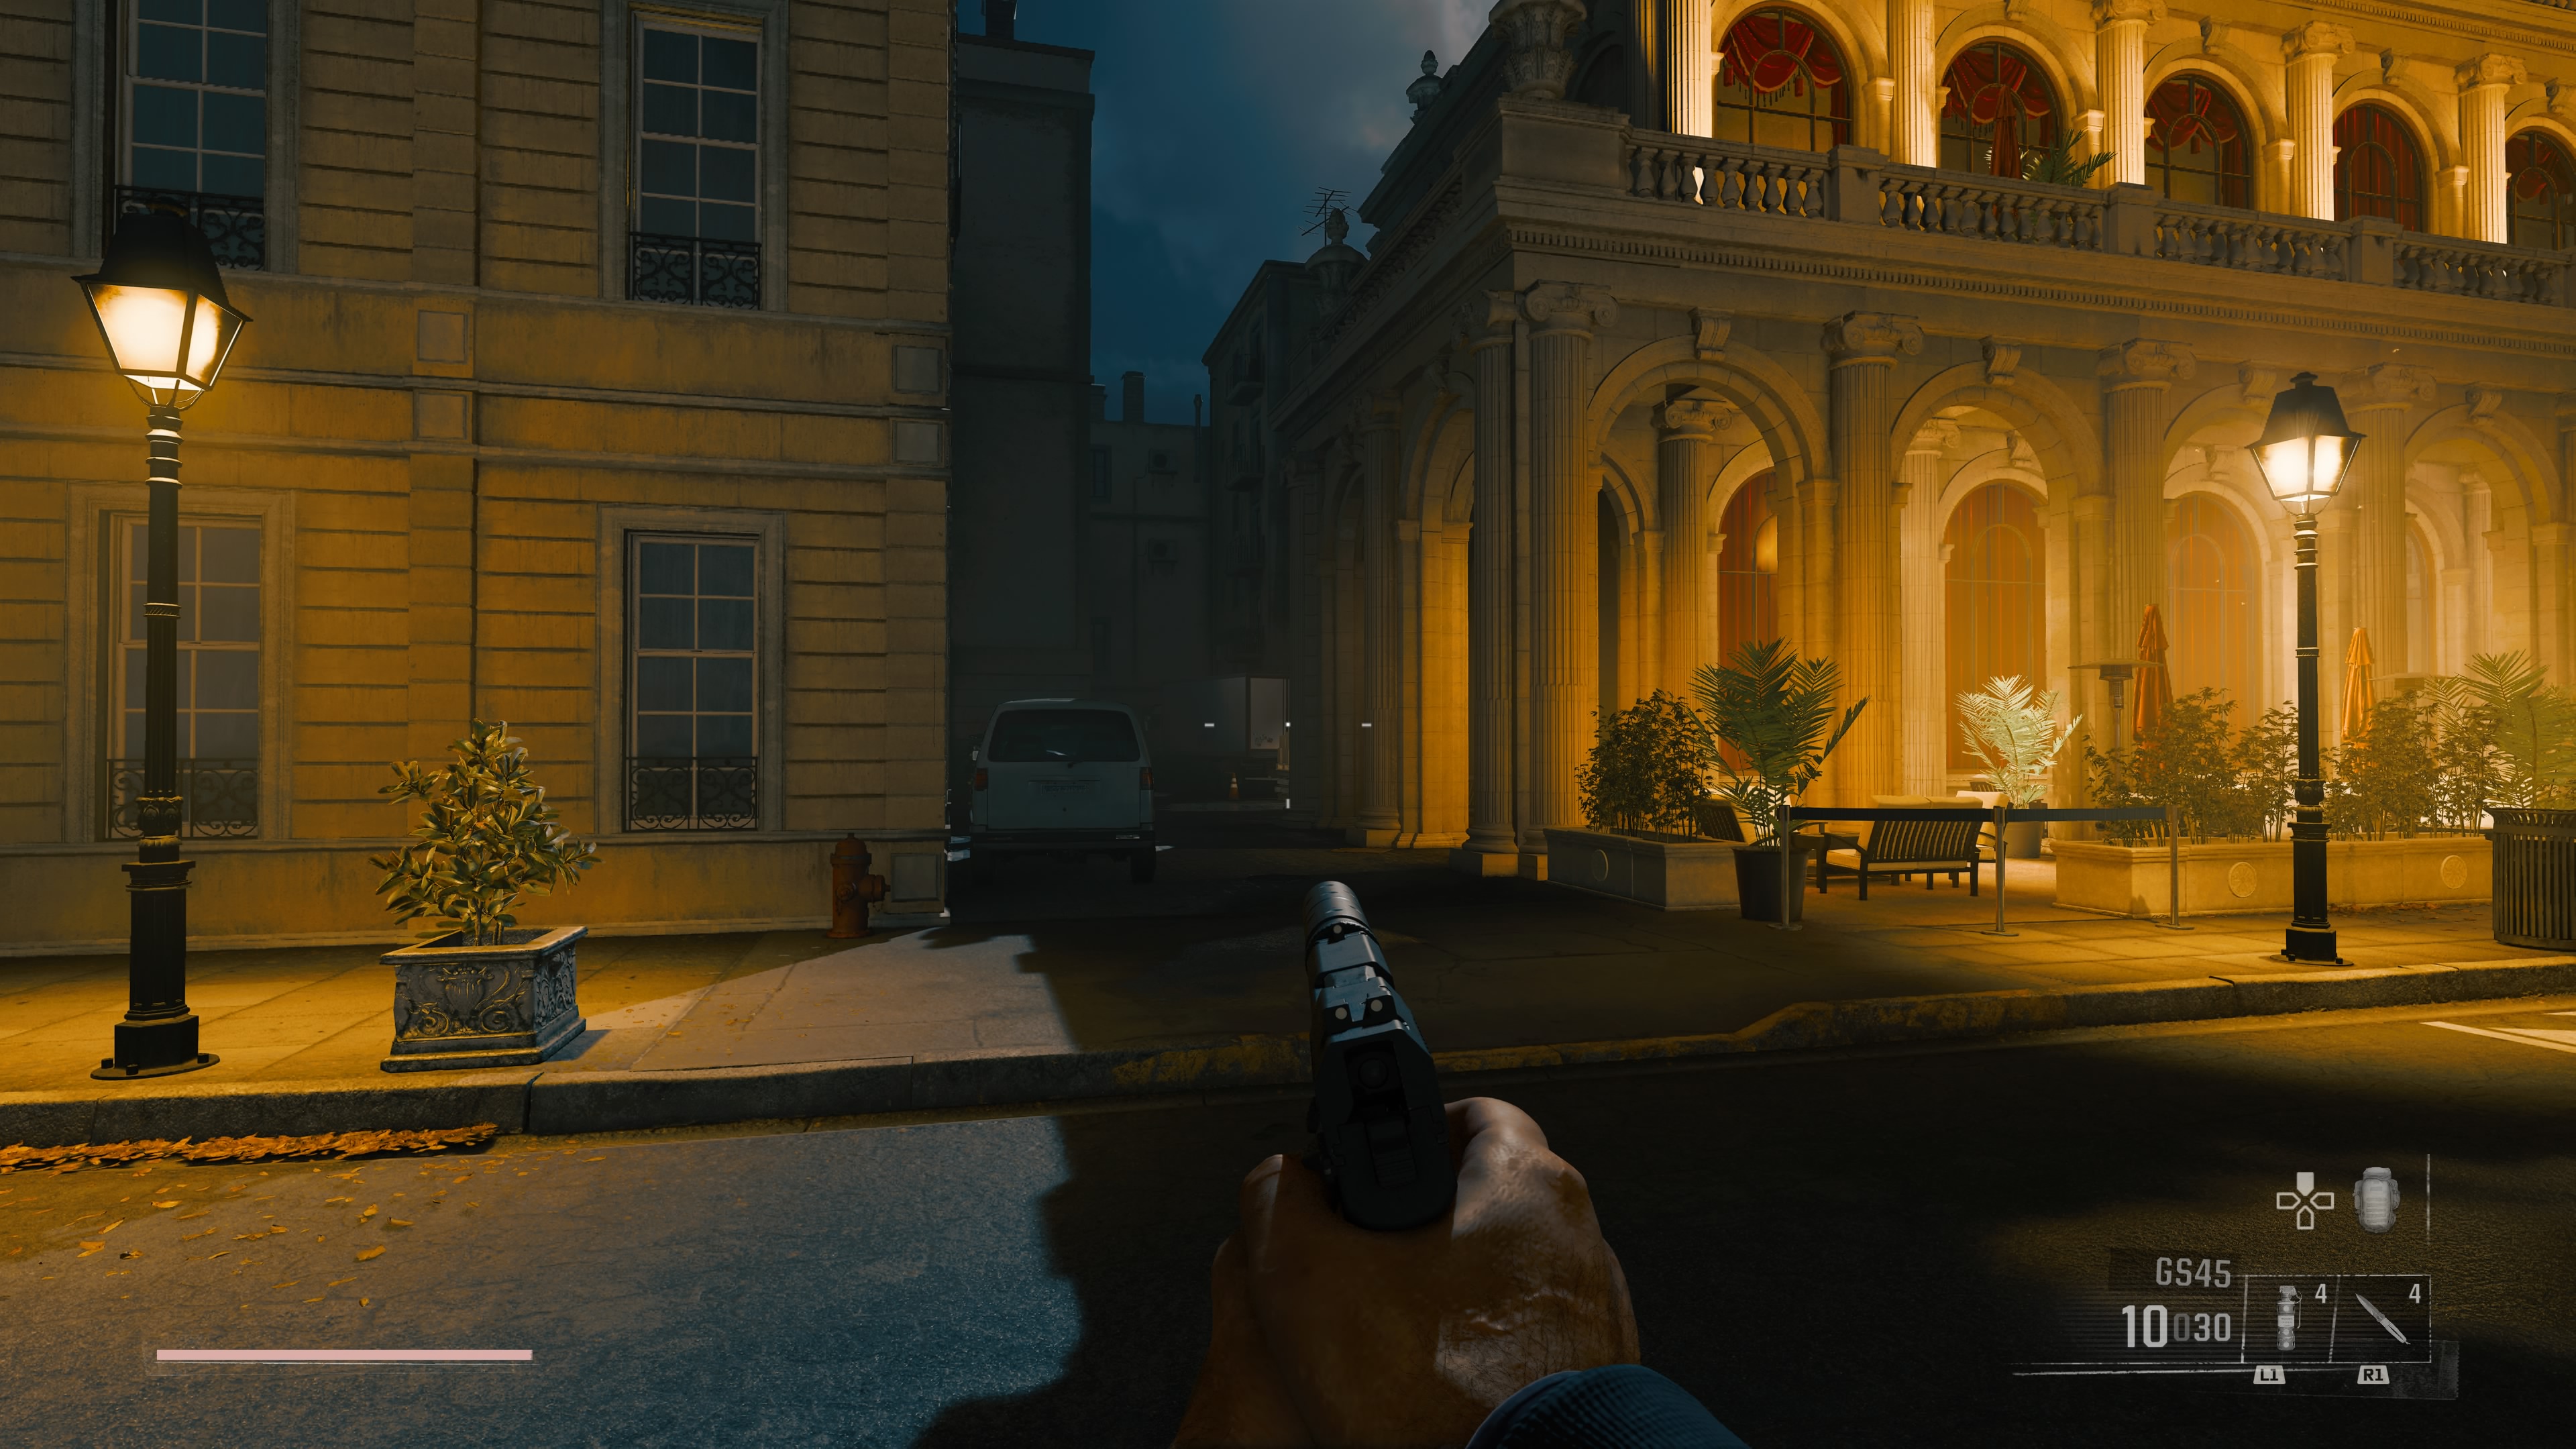
Blood Feud is the first campaign mission to feature a safe, and opening it is simple once you know where to look.
Progress through the mission until you reach Chateau de la Haute Lune, where you will exit the van into a plaza area. Both your main mission objective and the safe are located inside the main building. However, instead of barging in the front door, head to the far left side of the building.
On the left side of Chateau de la Haute Lune, you will see a stack of cardboard boxes behind a white van parked down the alley. There will be a light above, so you’ll know when you’re in the right place.
Climb these boxes to reach a ledge where you can open a vent into the building. Head into the vent and take the first right, where you will hear two guards talking. Remove the vent panel to kill these two enemies and then drop down into the room.
You will find the radio on a desk to the side of the room, near the exit door. Match the signal and then claim your $1,000 from the safe next to the green desk at the centre of the room.
Most Wanted safe code and location
Most Wanted drops you into Capitol Station with the freedom to decide how to proceed, with three major leads to follow. It’s easy to get caught up in the Mission Impossible-like scenario here, so it’s a good thing that the safe can be opened almost immediately.
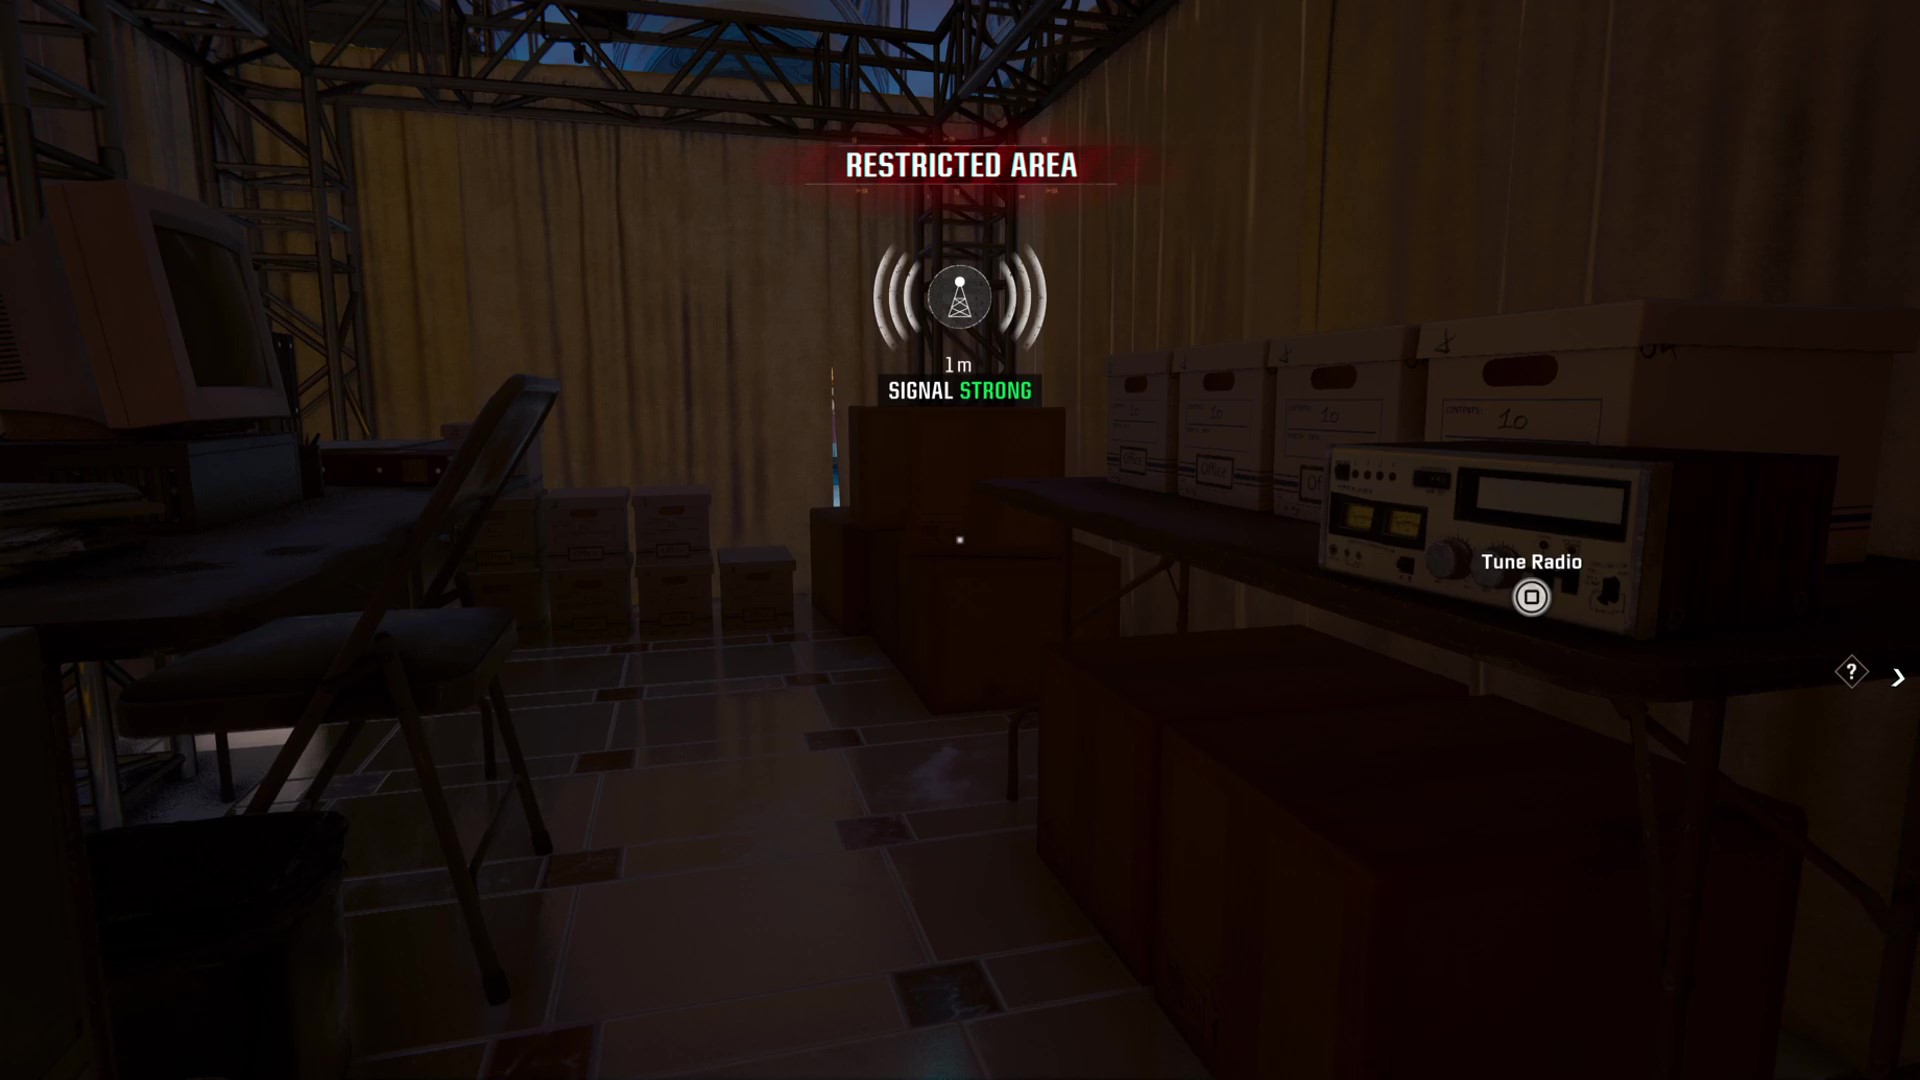
Once you’re free to explore the party, head to the off-limit area behind the bar. This will be directly to your right as you enter Capitol Station.
Wait for the guard to leave the entrance on a quick patrol and sneak in, heading through the closest red and yellow curtains. Then, take the first right out of another set of curtains to find a small room.
The radio will be on the desk directly to your right and the safe is at the back left.
Hunting Season safe code and location
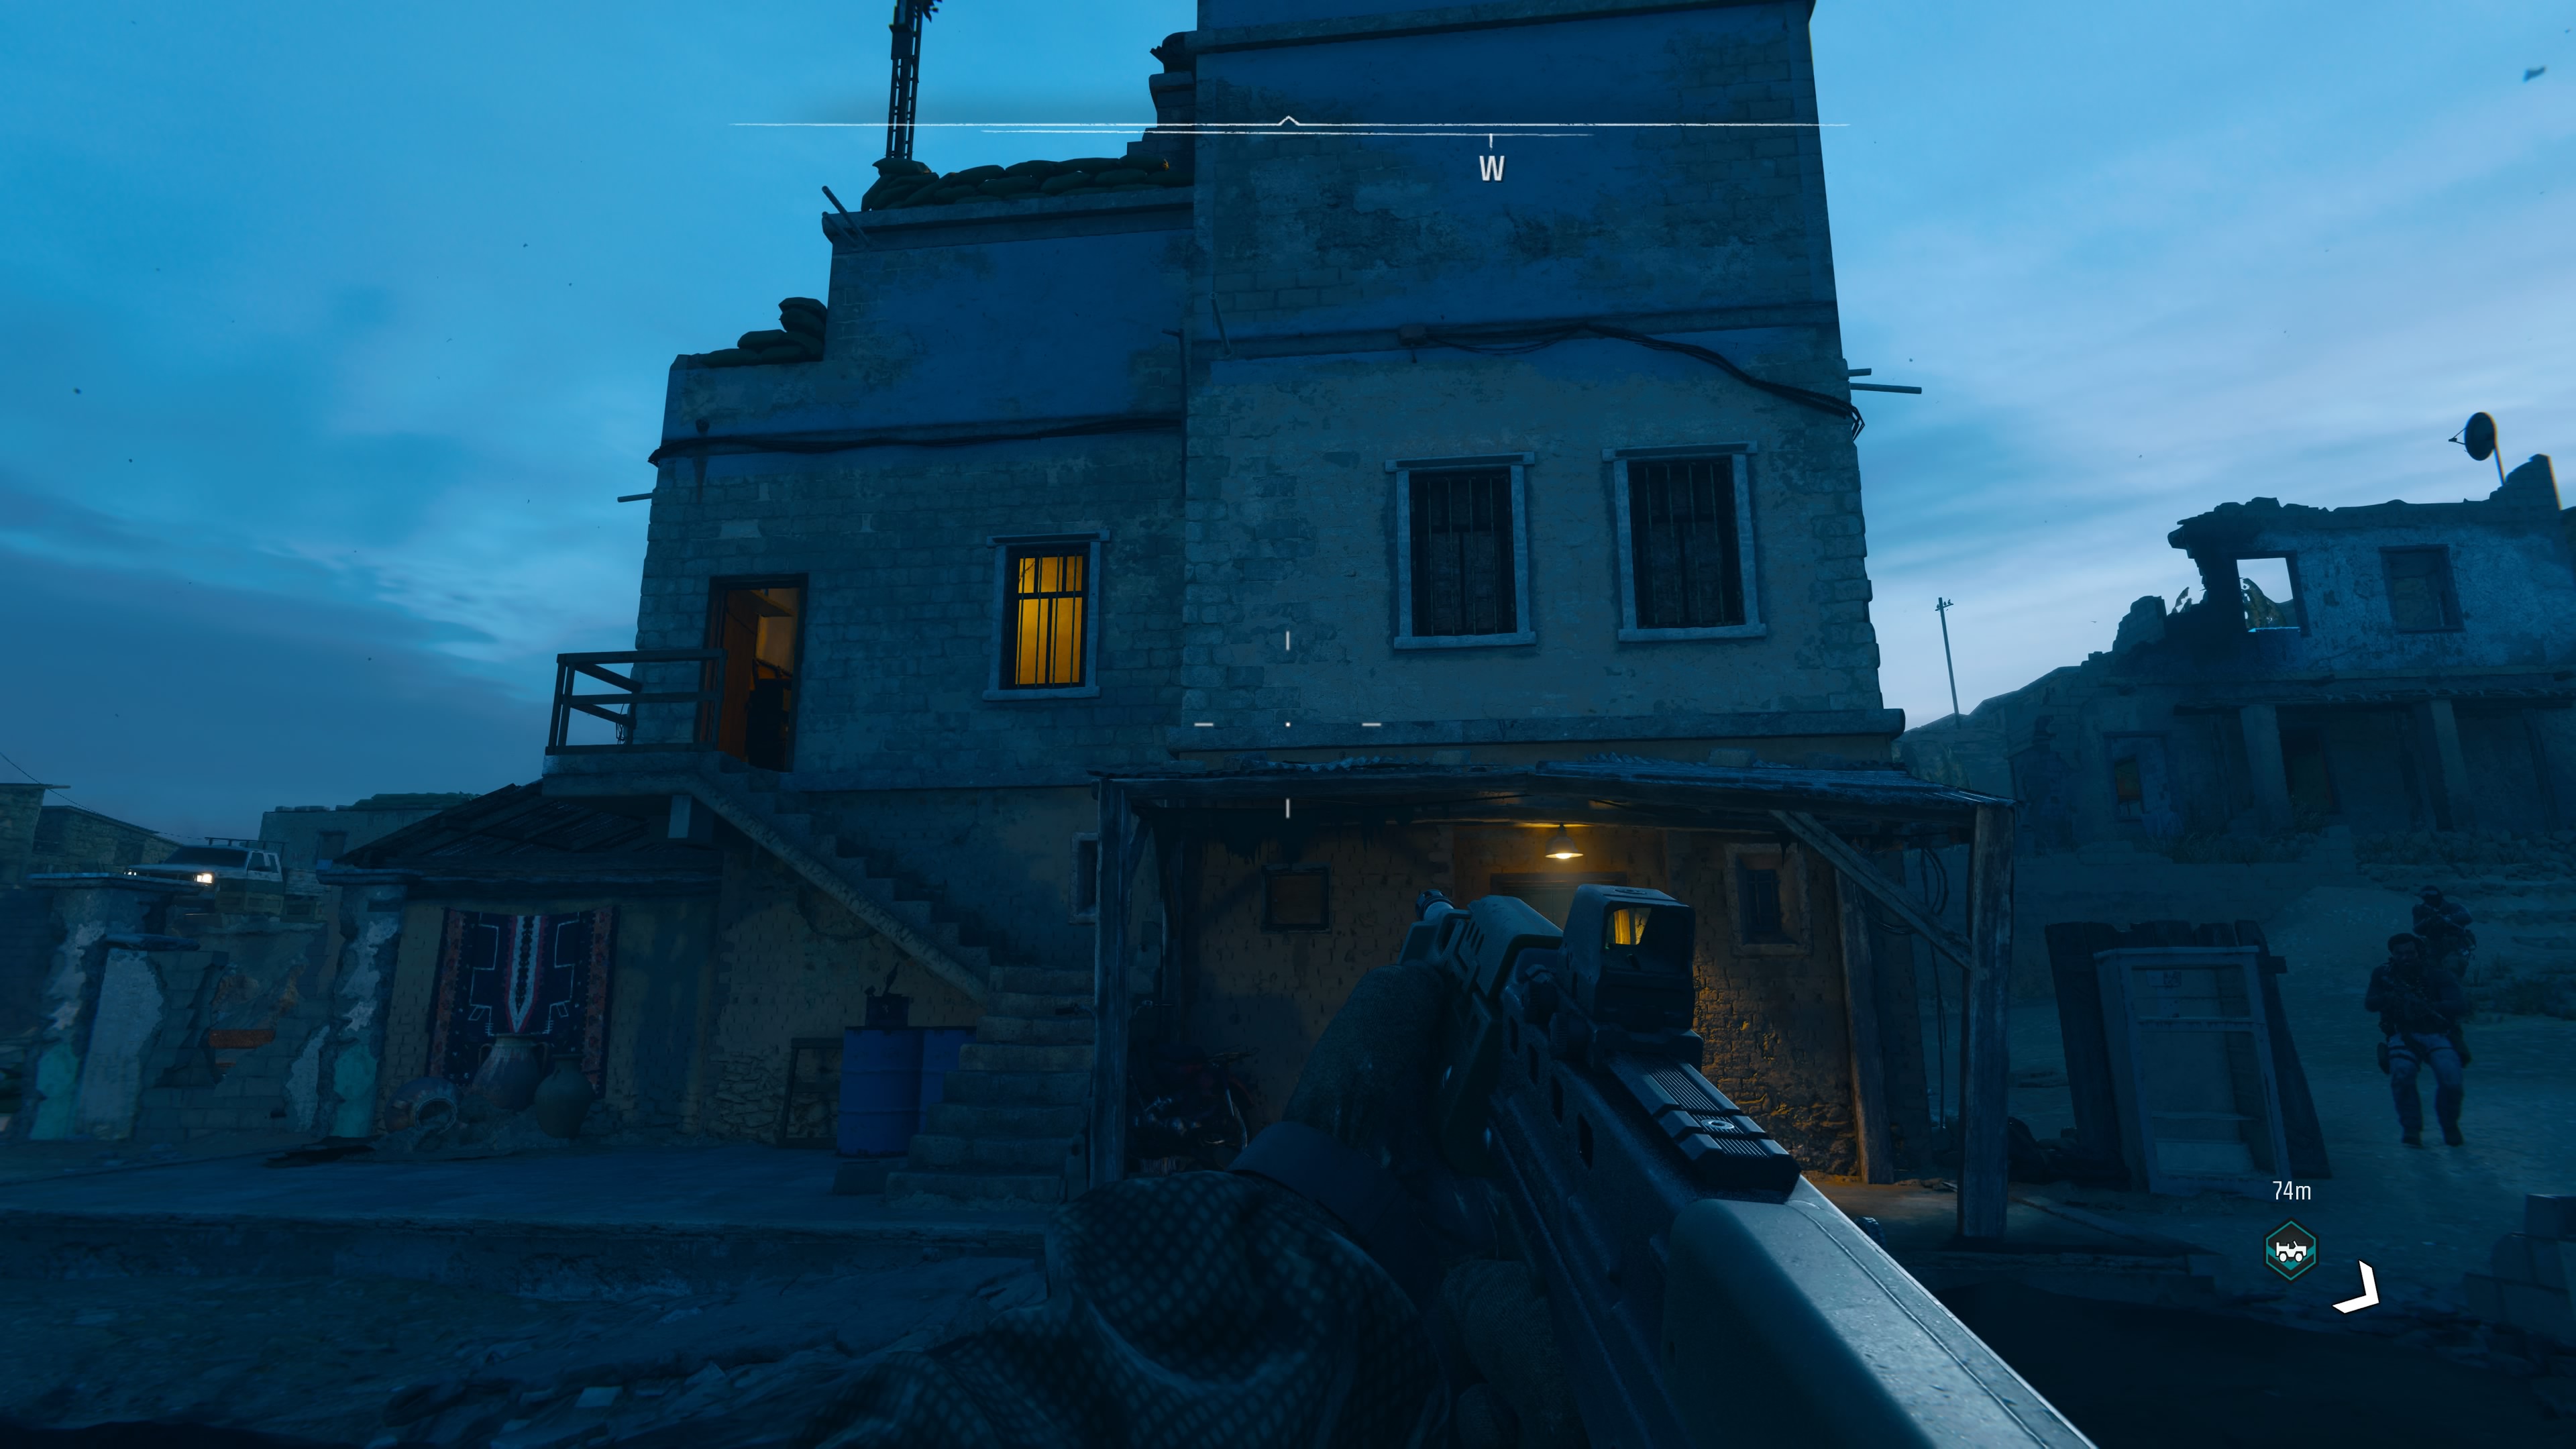
In a surprising shakeup, Hunting Season unleashes you onto a large, open map with several objectives to complete however you’d like.
With such a sprawling locale to search, it’s easy to miss the Hunting Season safe. Thankfully, it’s not too far away from one of the main objectives.
You will want to head to the Village point of interest to the southwest of the Layup (northwest of the Satellite Farm Outpost). This is an enemy outpost, meaning you’ll first have to clear out the area. There are a ton of enemies in the village, including some with rocker launchers, so I don't recommend barging in.
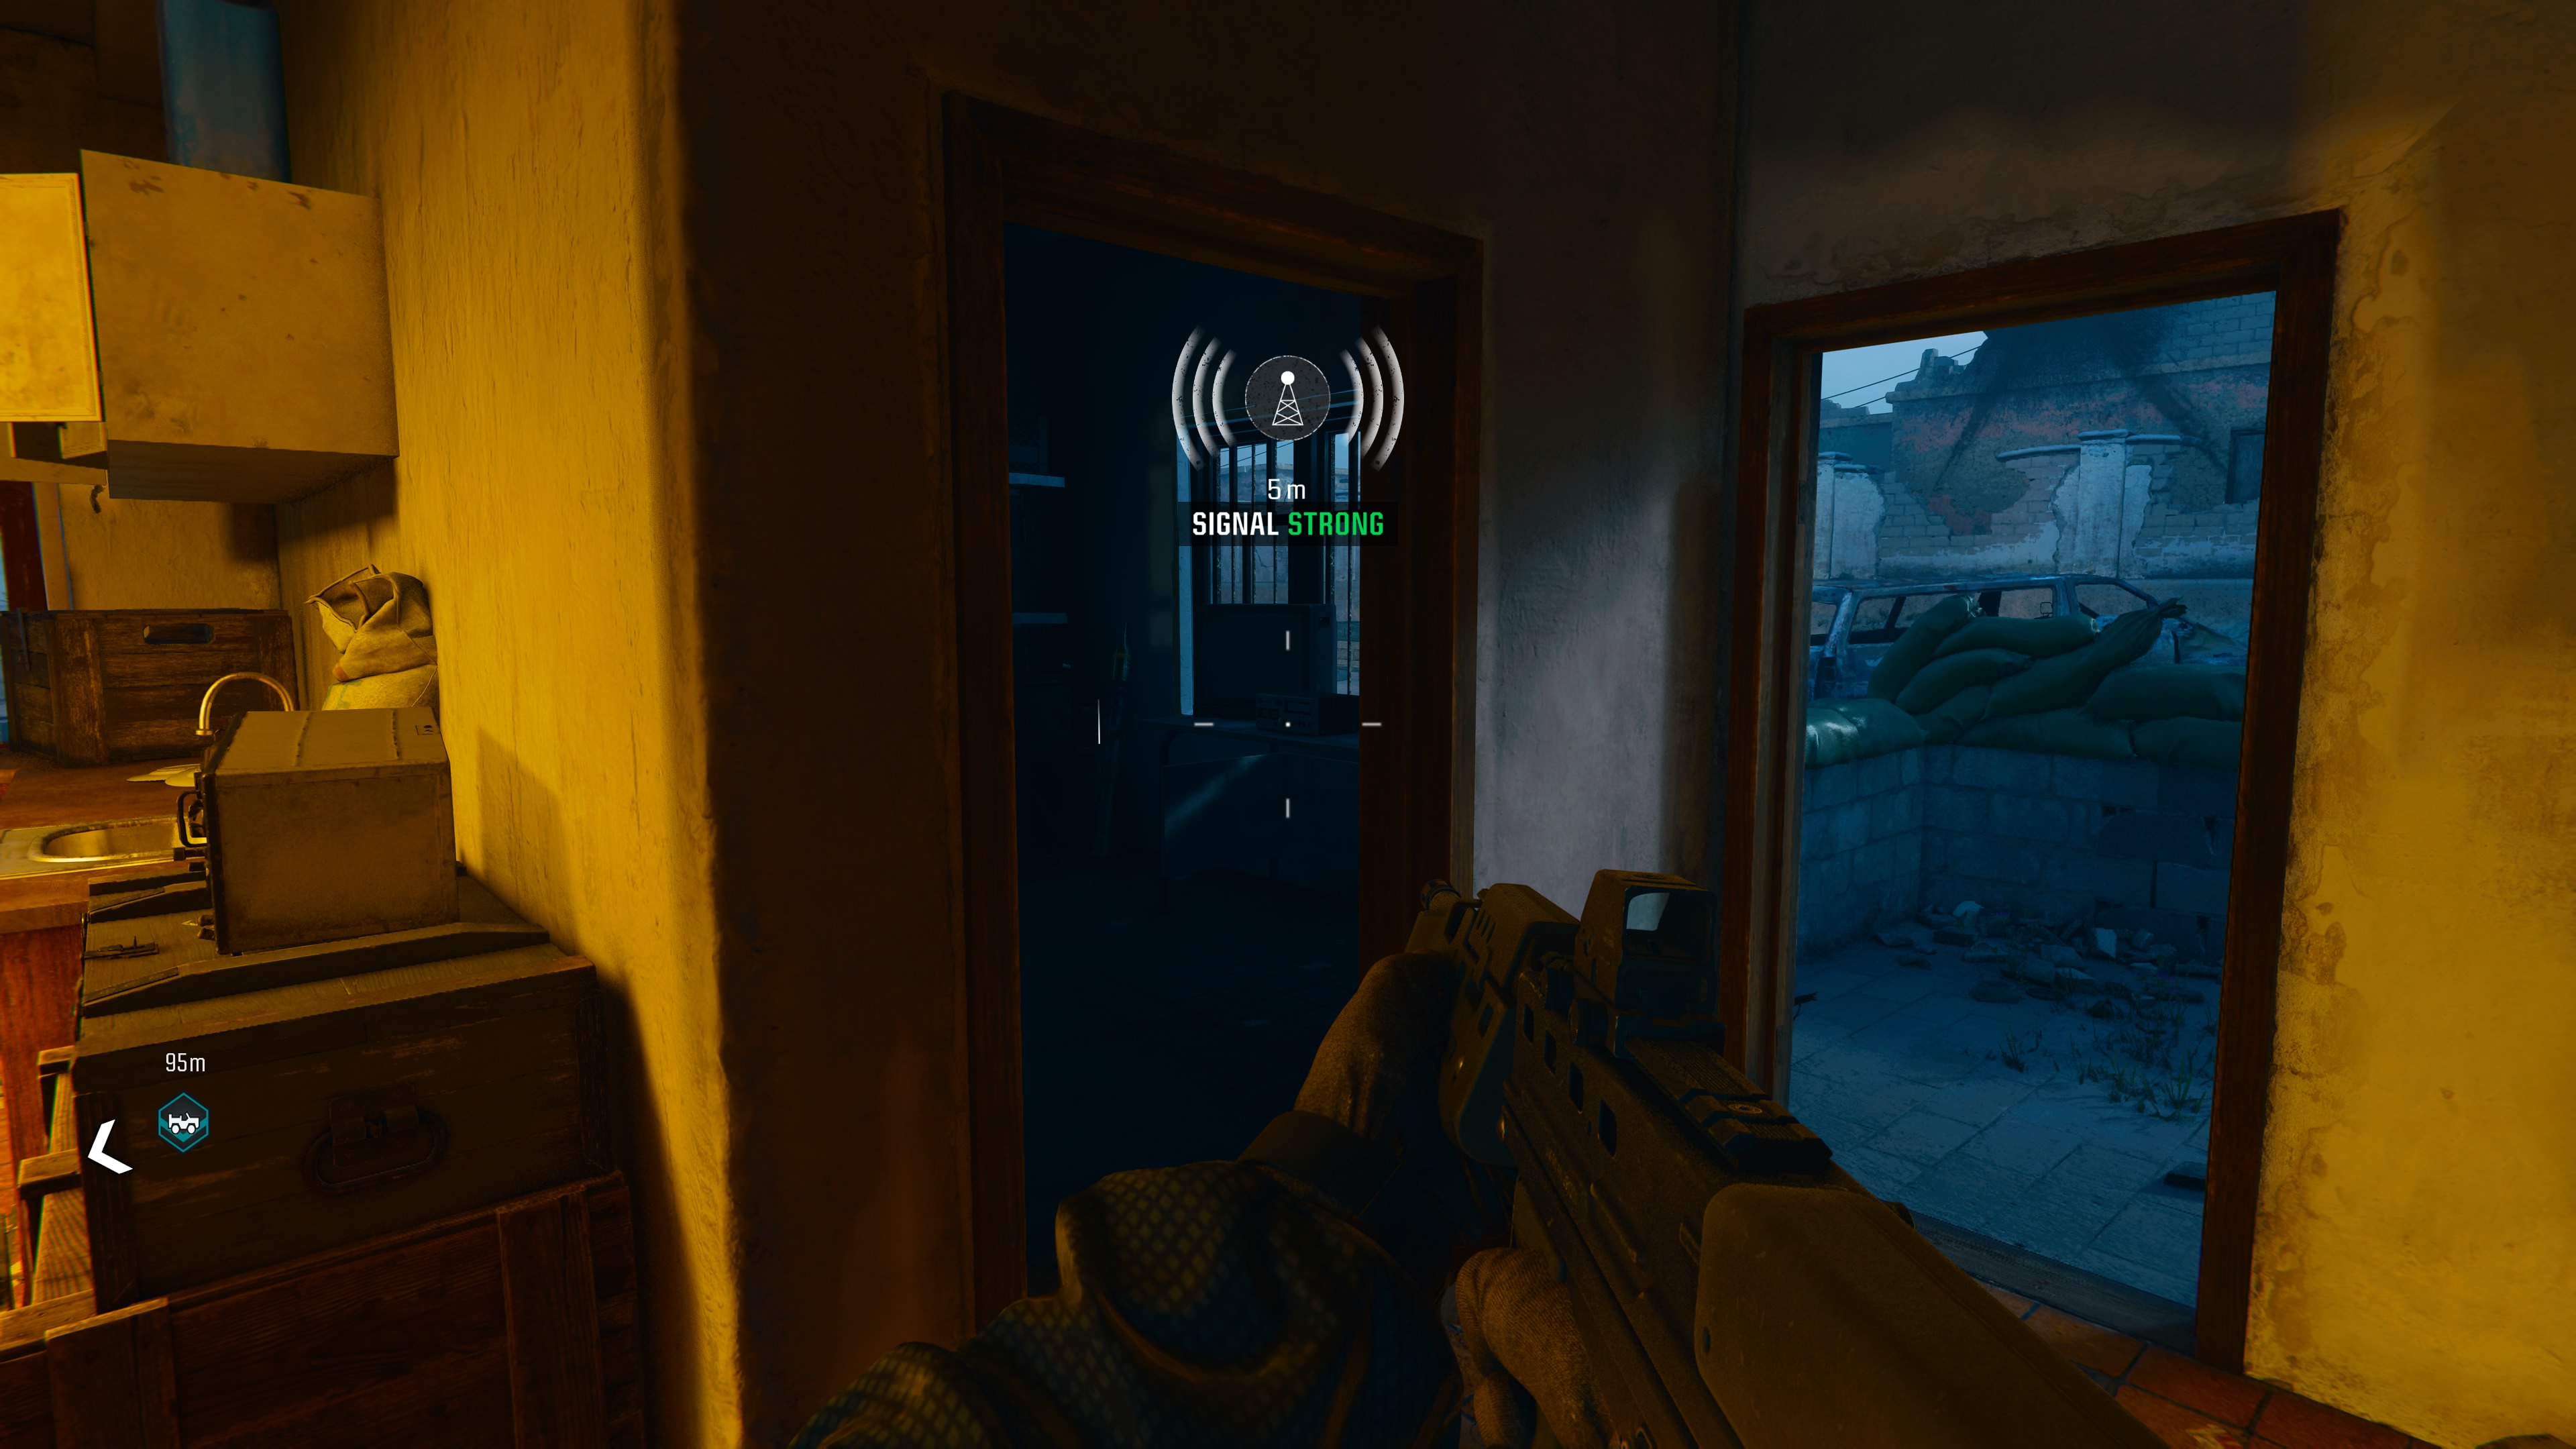
Once clear, head inside the large house at the centre of the village. If you’re entering from the west, then you will need to head up a small staircase, whereas the east side entrance already takes you to the main floor.
The radio is located on a desk with a TV in a small dark room by the east exit. The safe is tucked in next to a cabinet in the well-lit kitchen area.
The Cradle safe code and location
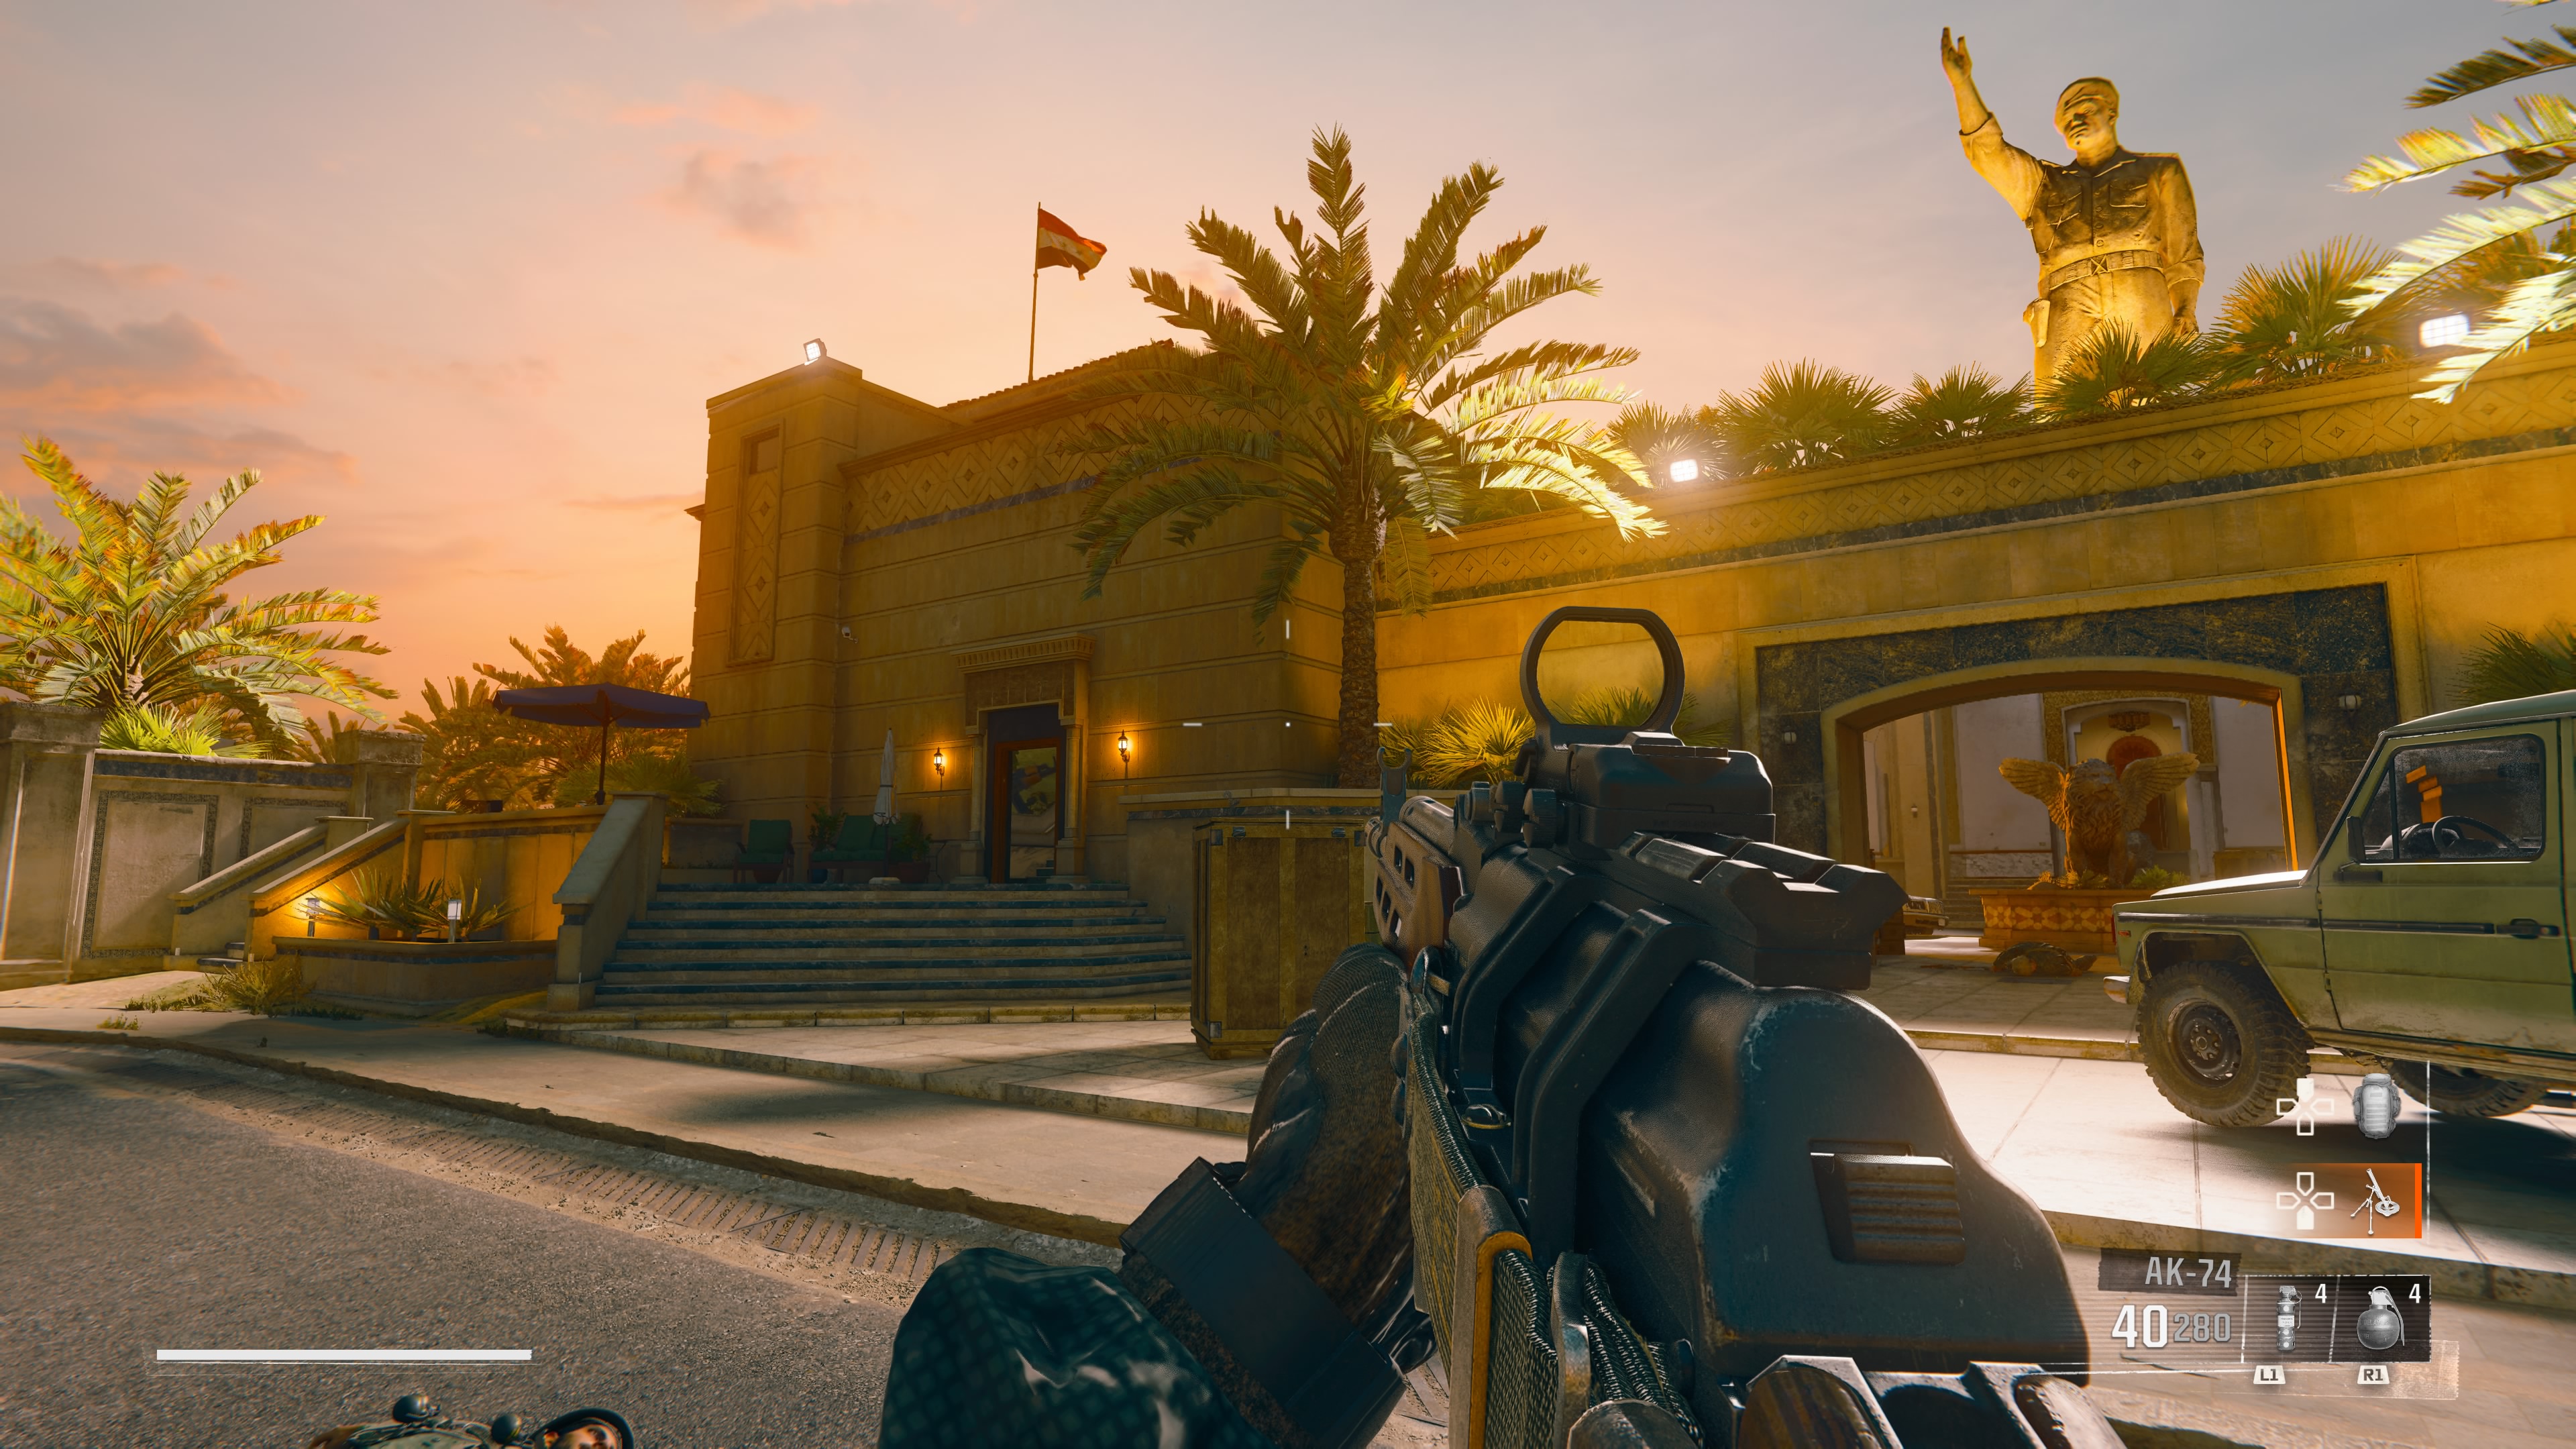
In what must be a conscious decision to catch out those rushing through the campaign, the safe location in The Cradle is found almost immediately.
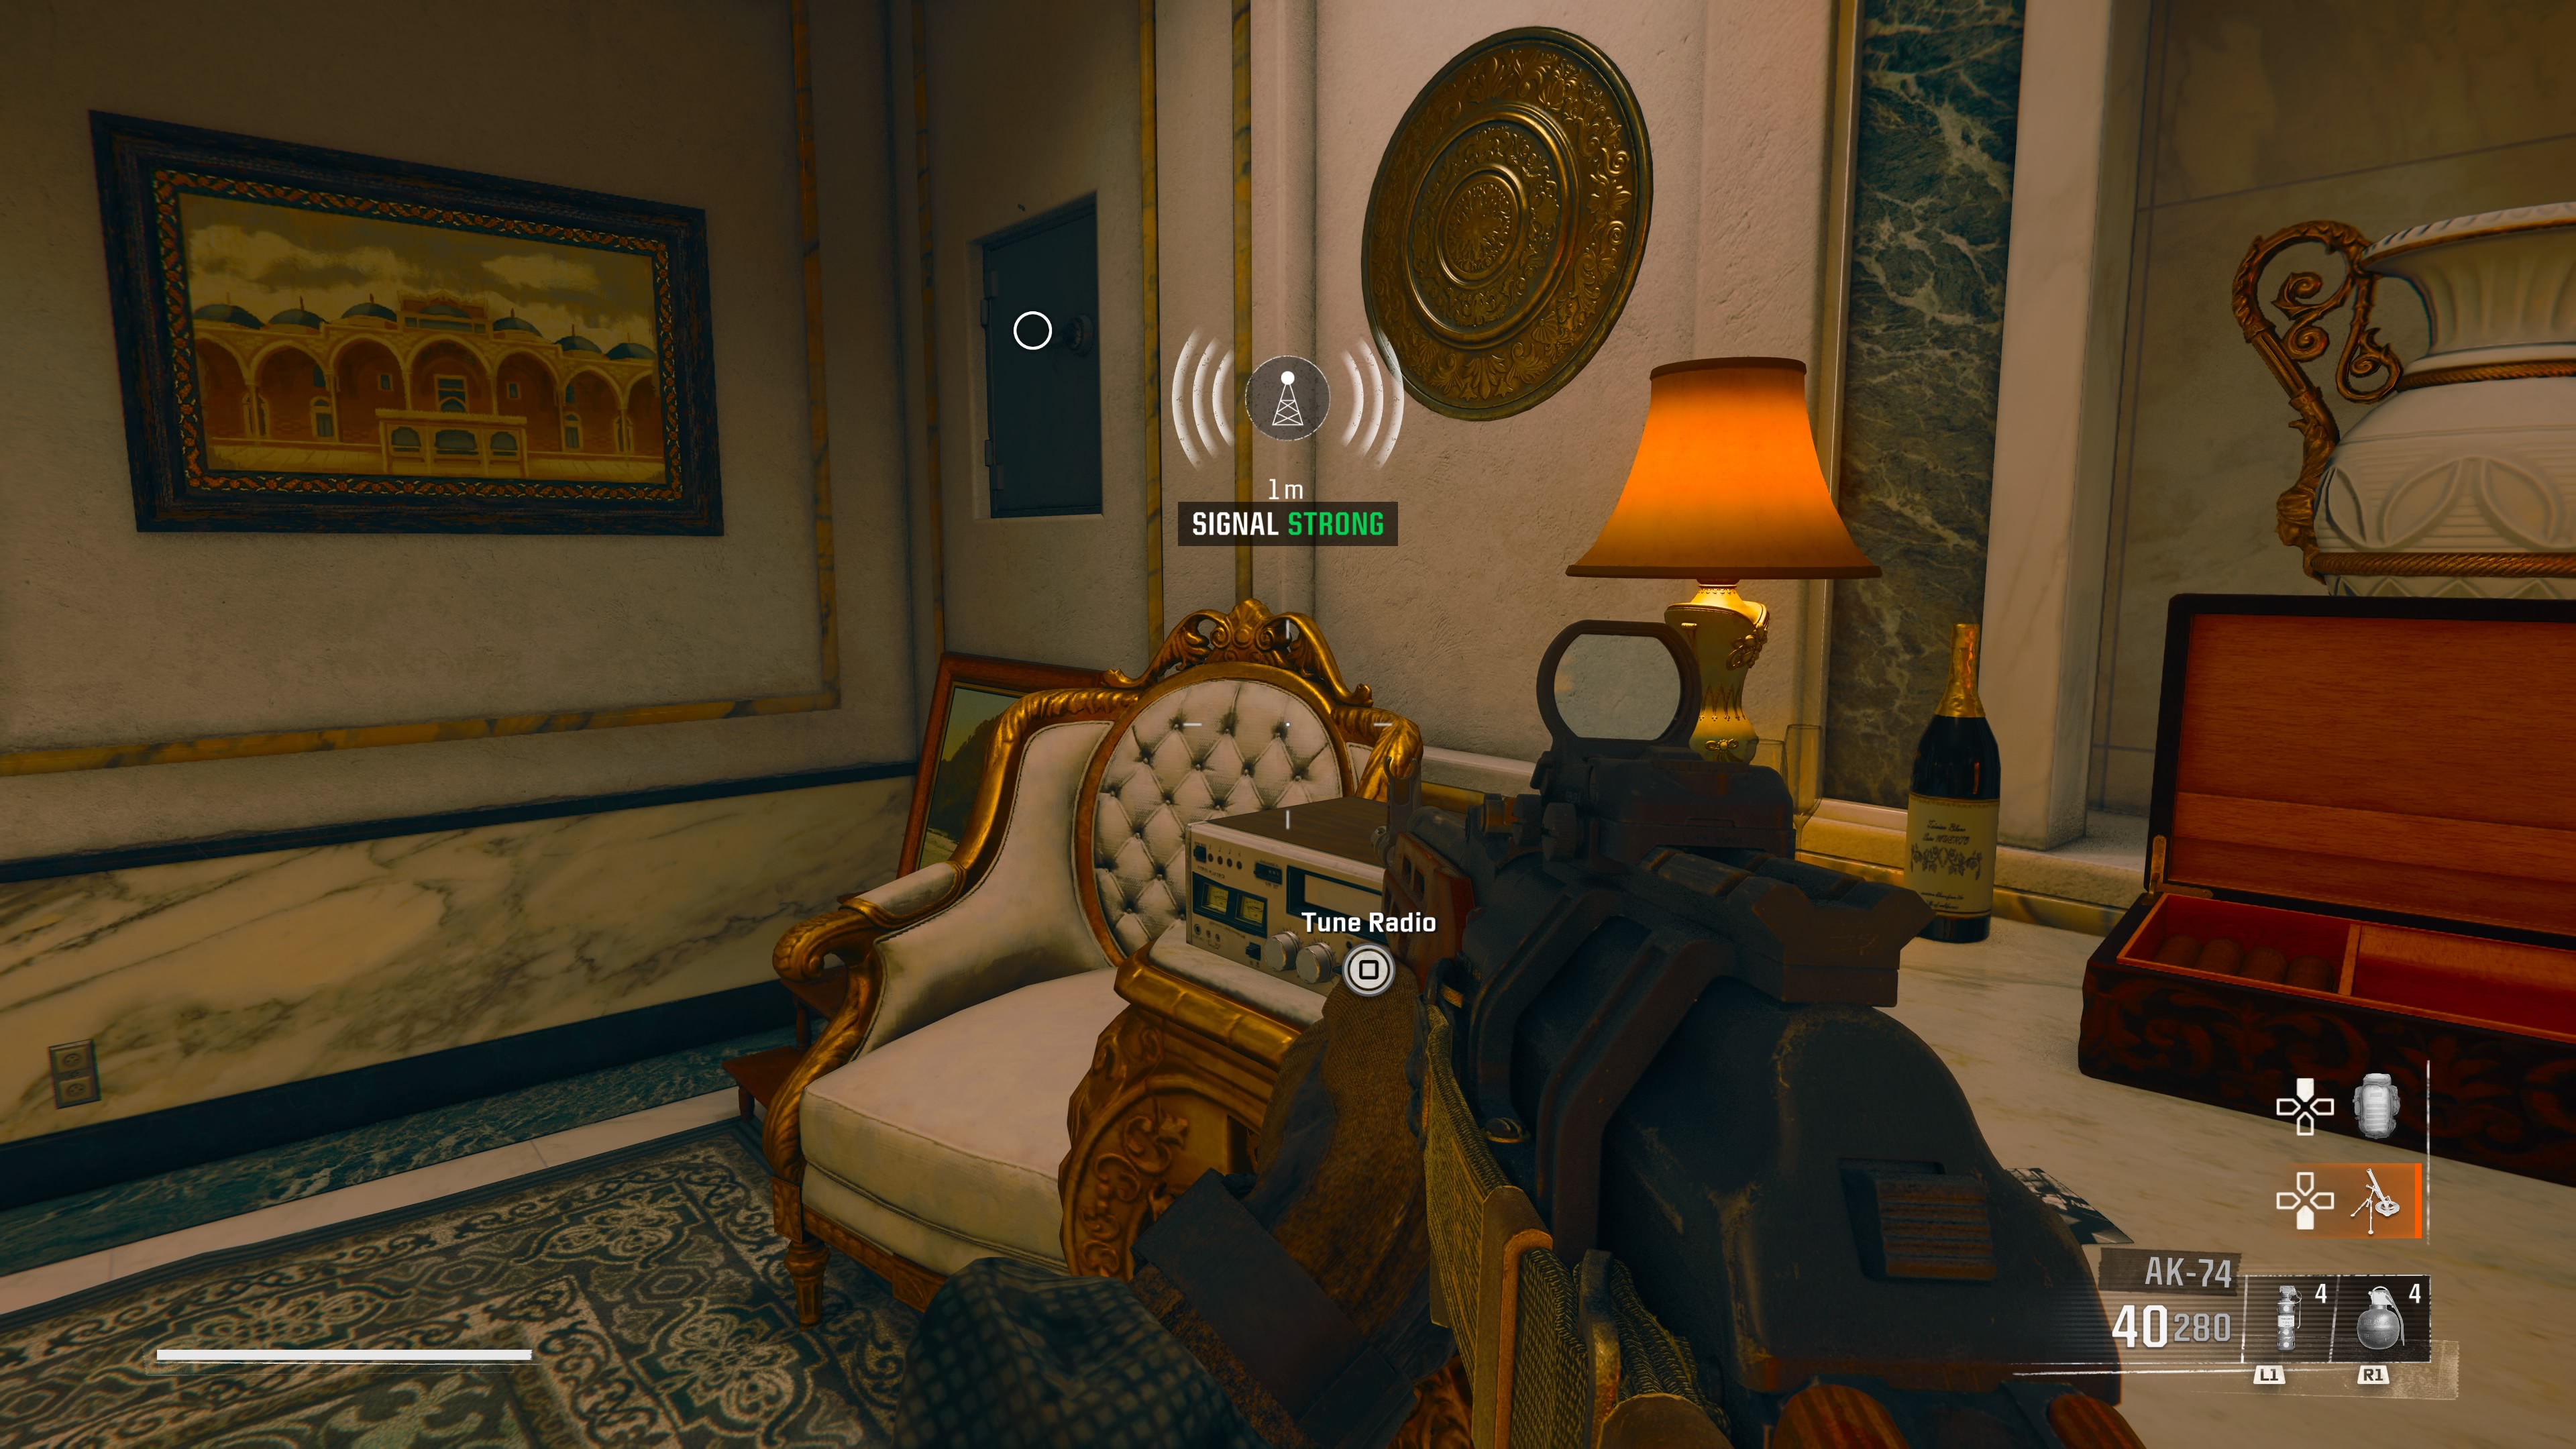
Upon starting the mission, you’ll see a large statue in the background, with a room either side of an arched doorway. Head into the building on the left side and go up the stairs to find a lavish seating area.
The radio is located on a table directly to the right of the built-in wall safe. How convenient!
Emergence safe code and location
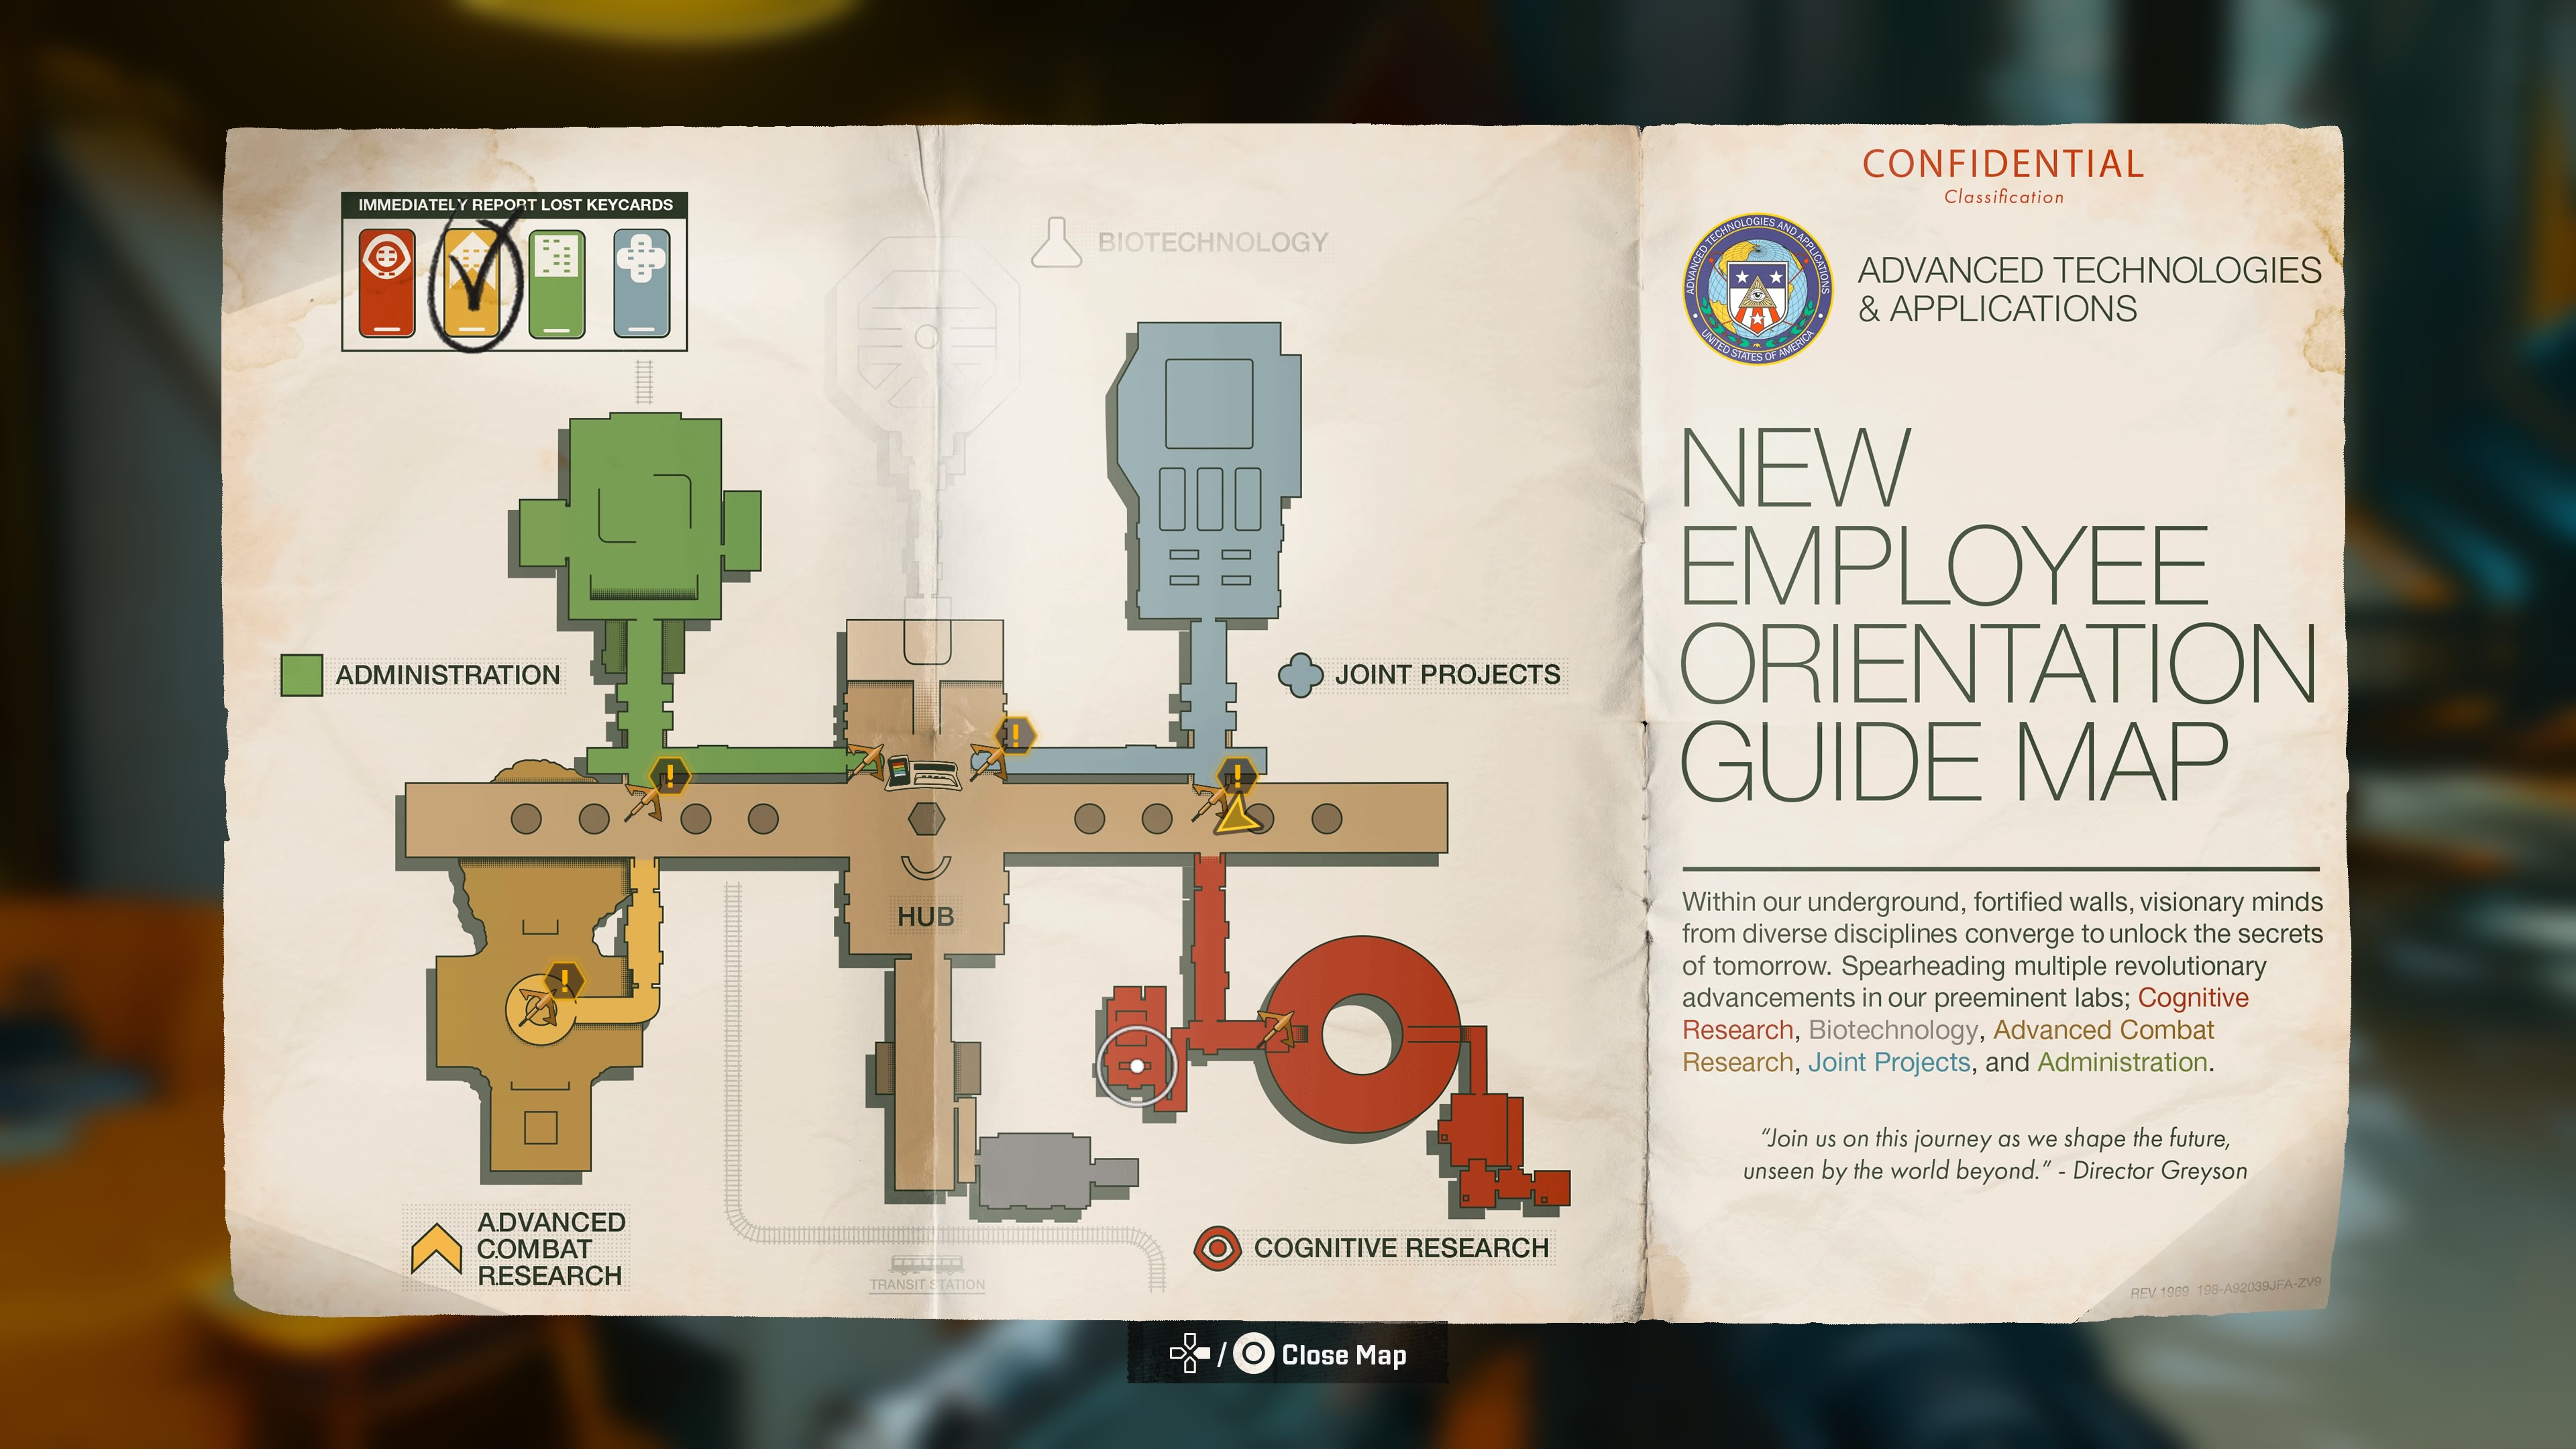
Emergence is one of Black Ops 6’s most unexpected missions, though don’t get carried away with excitement as it’s very easy to miss this safe.
Progress through the mission until you reach the futuristic science lab and are set the task of finding four security cards from the four sectors of the facility. Proceed with your objective until eventually you head to the Cognitive Research (red) sector.
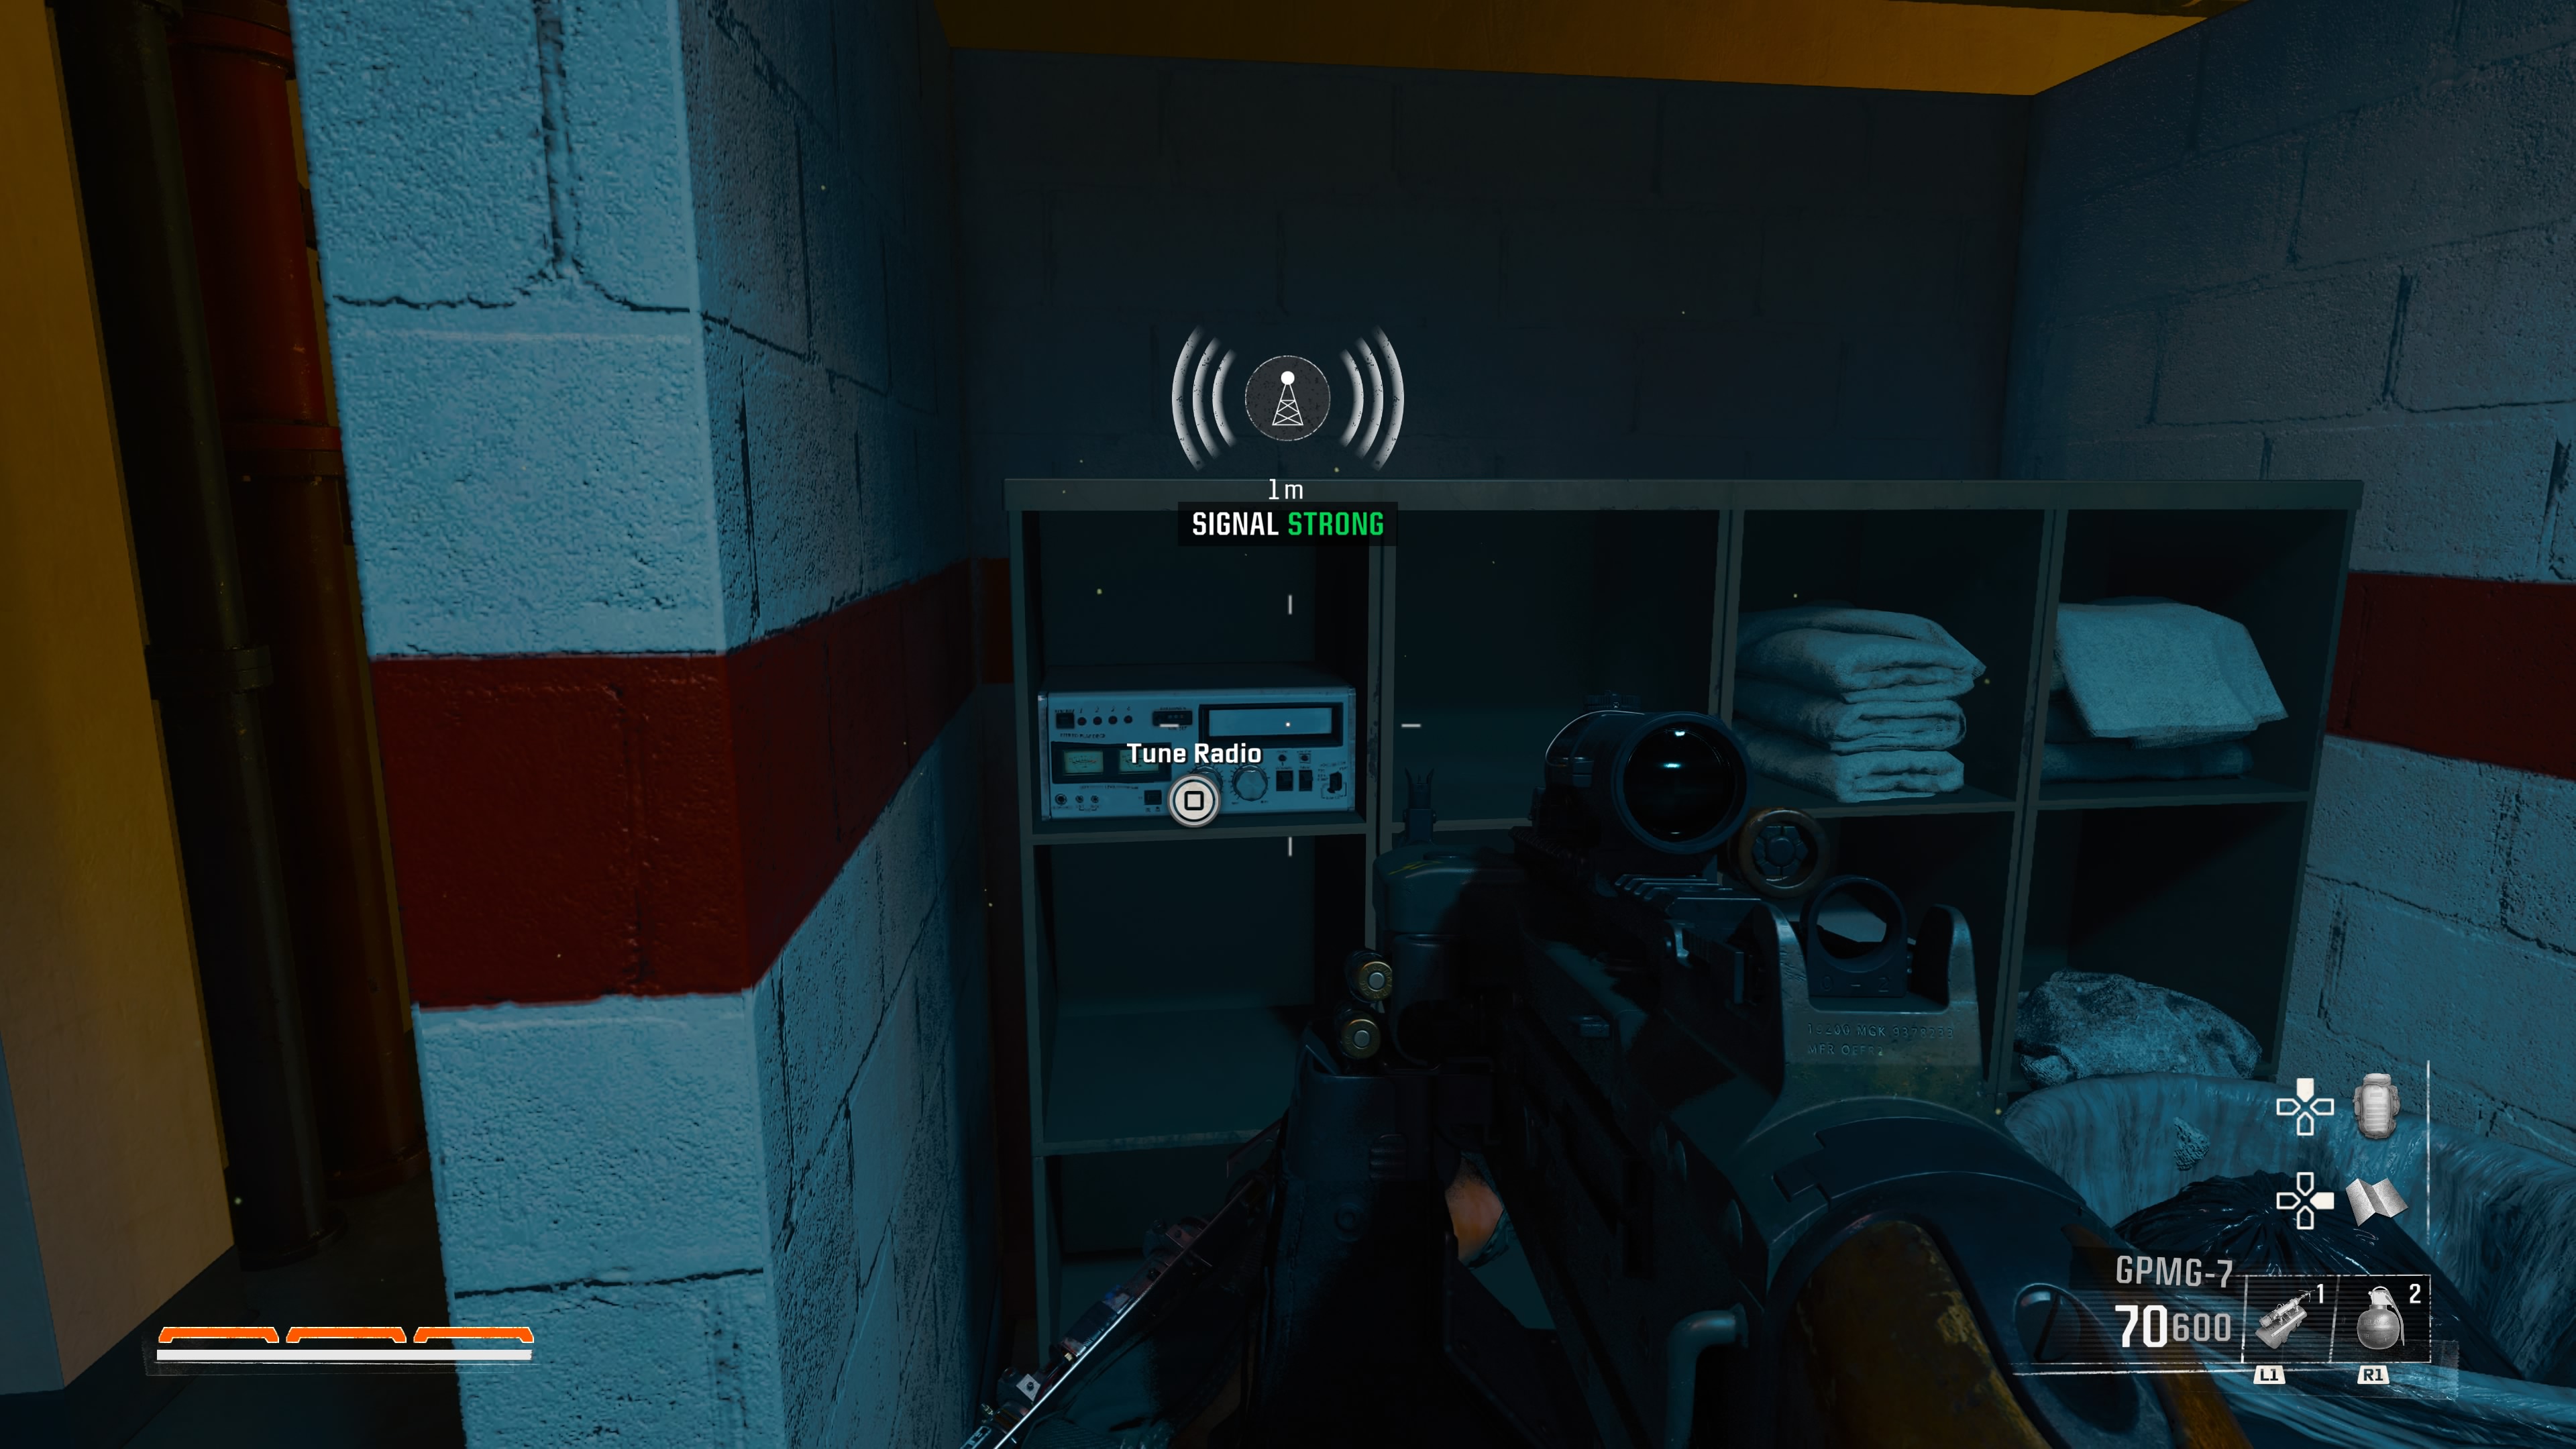
Upon entering Cognitive Research, continue down the hallway where you will find a wheelchair near a doorway. Instead of taking the left turn, head right into a hallway that leads to a locker room.
The radio is tucked into a nook on the left of the shelves at the centre of the room, while the safe is against the wall near the exit, next to a rack of lab coats.
High Rollers safe code and location
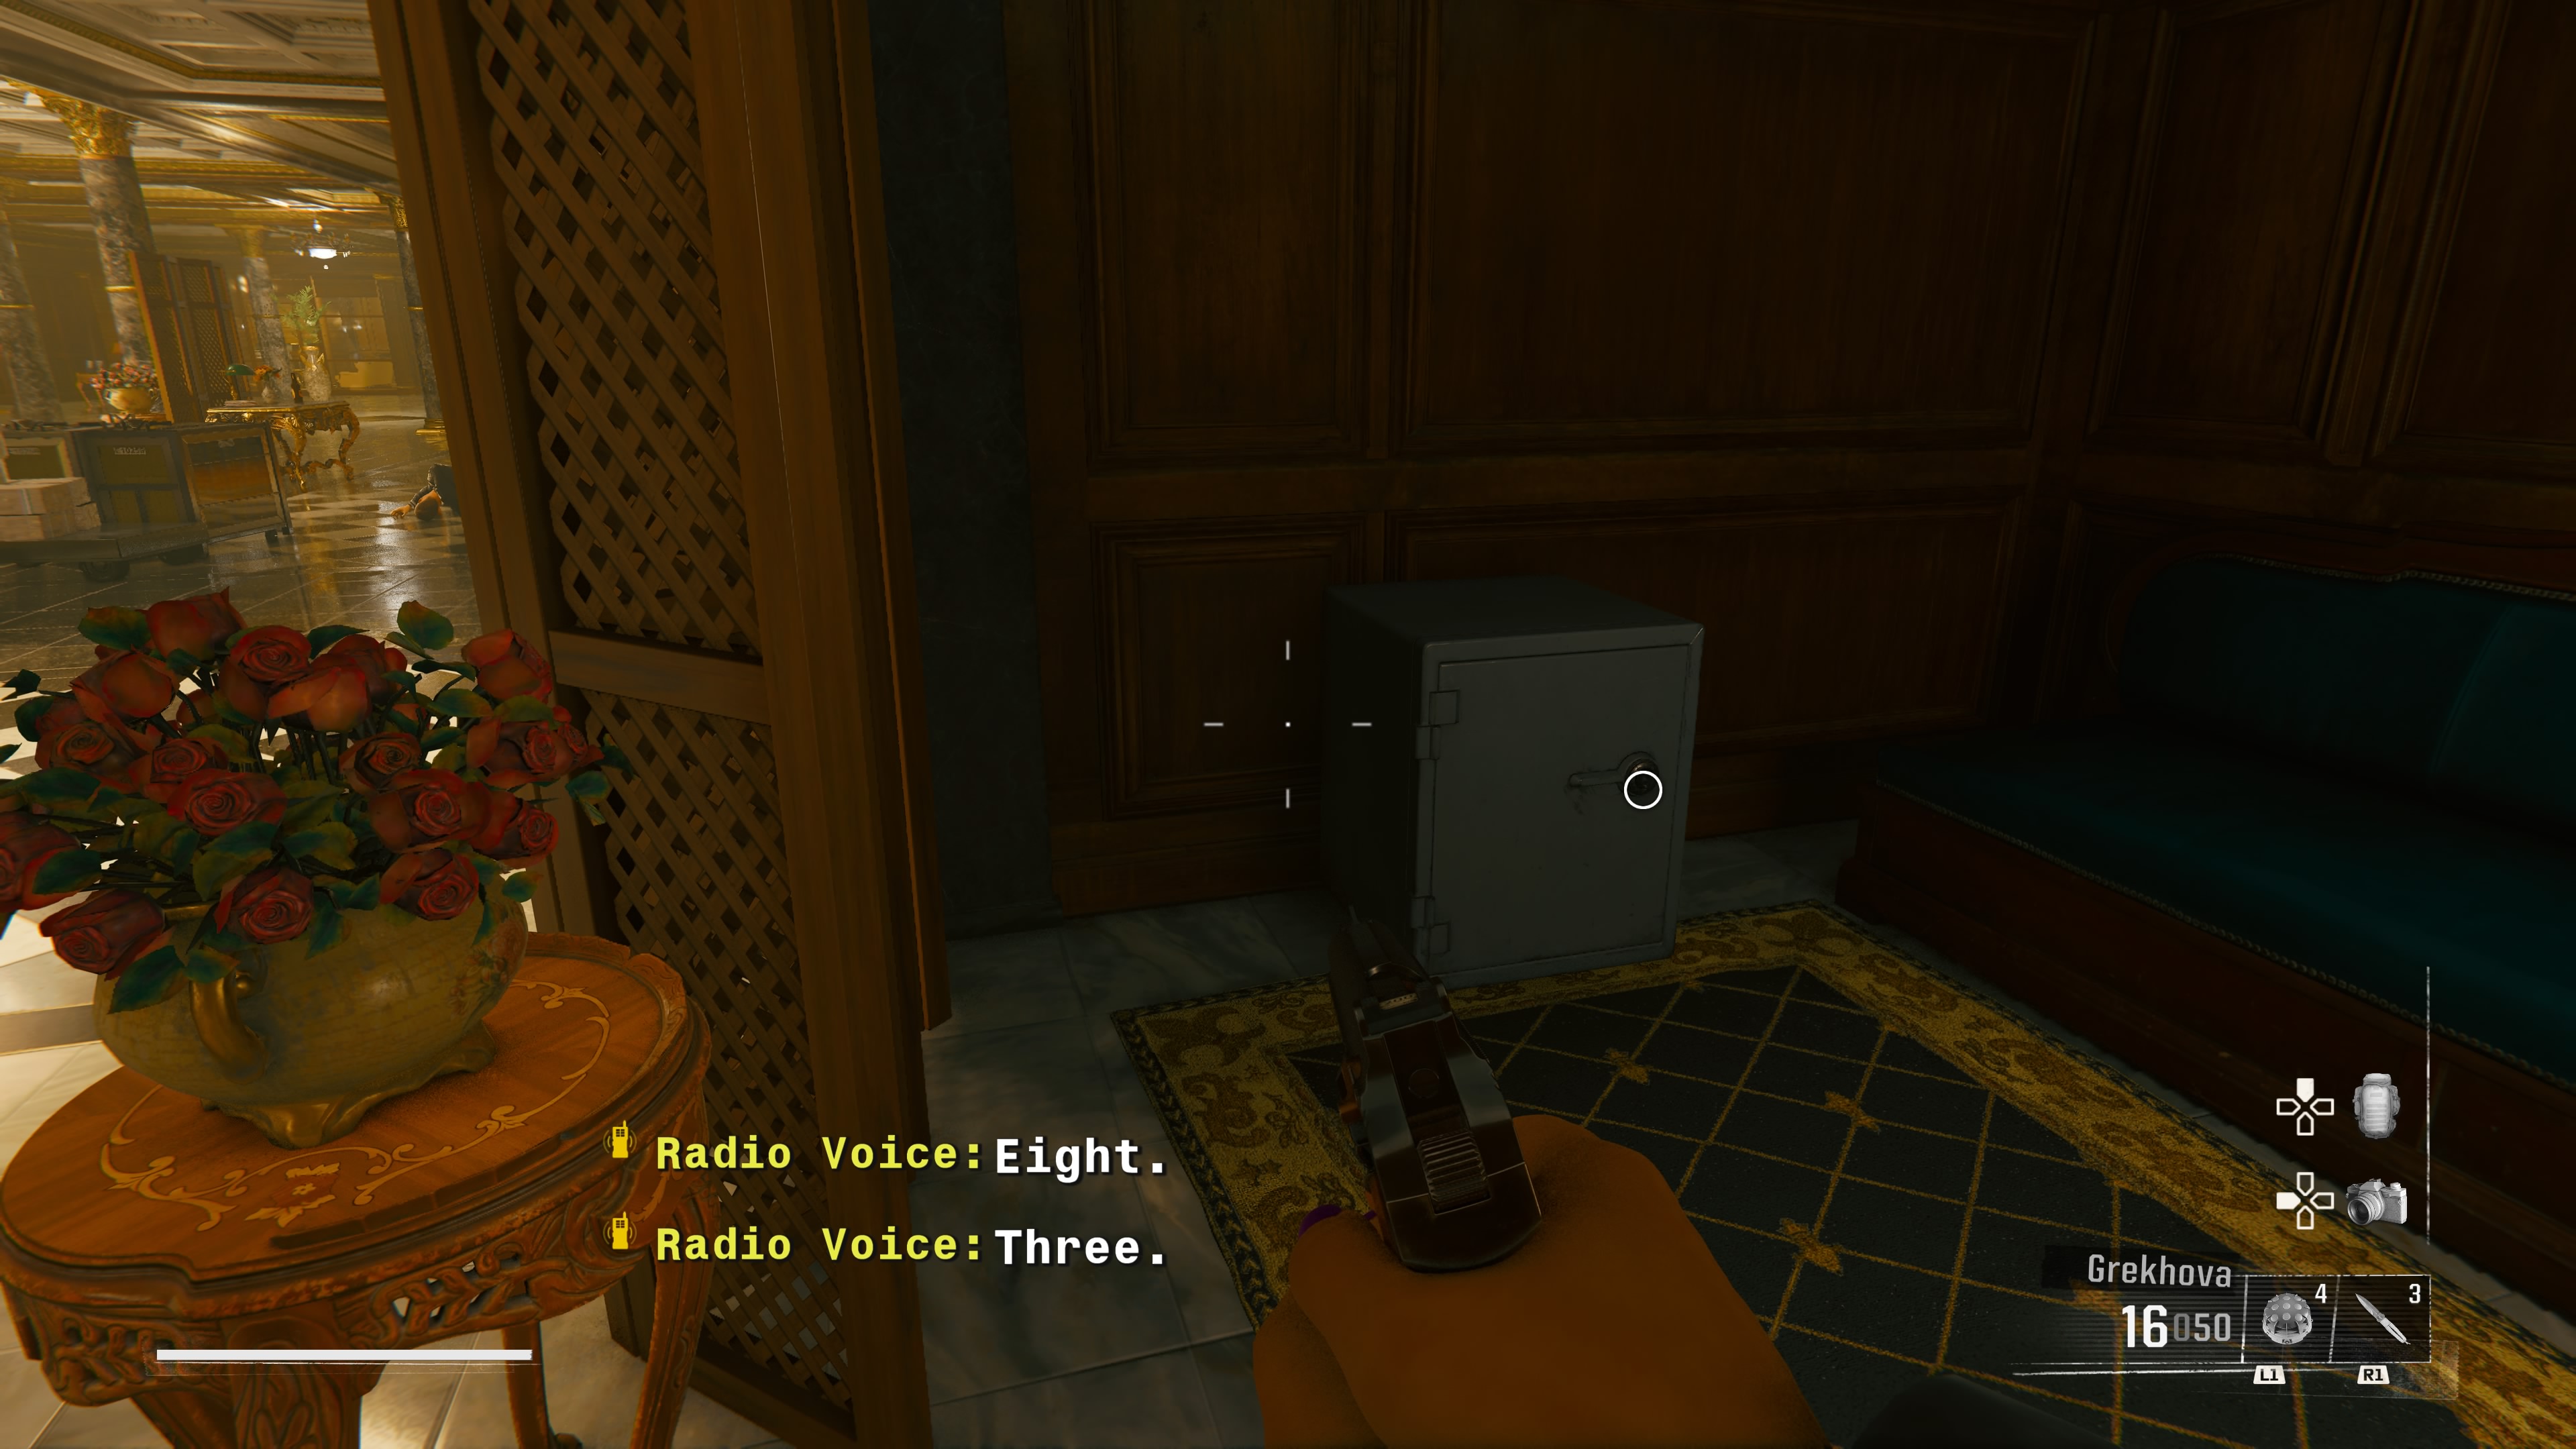
The High Rollers safe is very hard to miss, though it’s easy to second-guess yourself given it's found late into the mission. Continue with the mission as normal until you are controlling Sev inside the vault room.
Here, you will have to call the elevator for Marshall and Felix to break into the vault which, conveniently, is right next to the radio and safe. Yes, the radio really is sat directly to the left of the elevator and the safe is on the right, behind a wooden panel.
Ground Control safe code and location
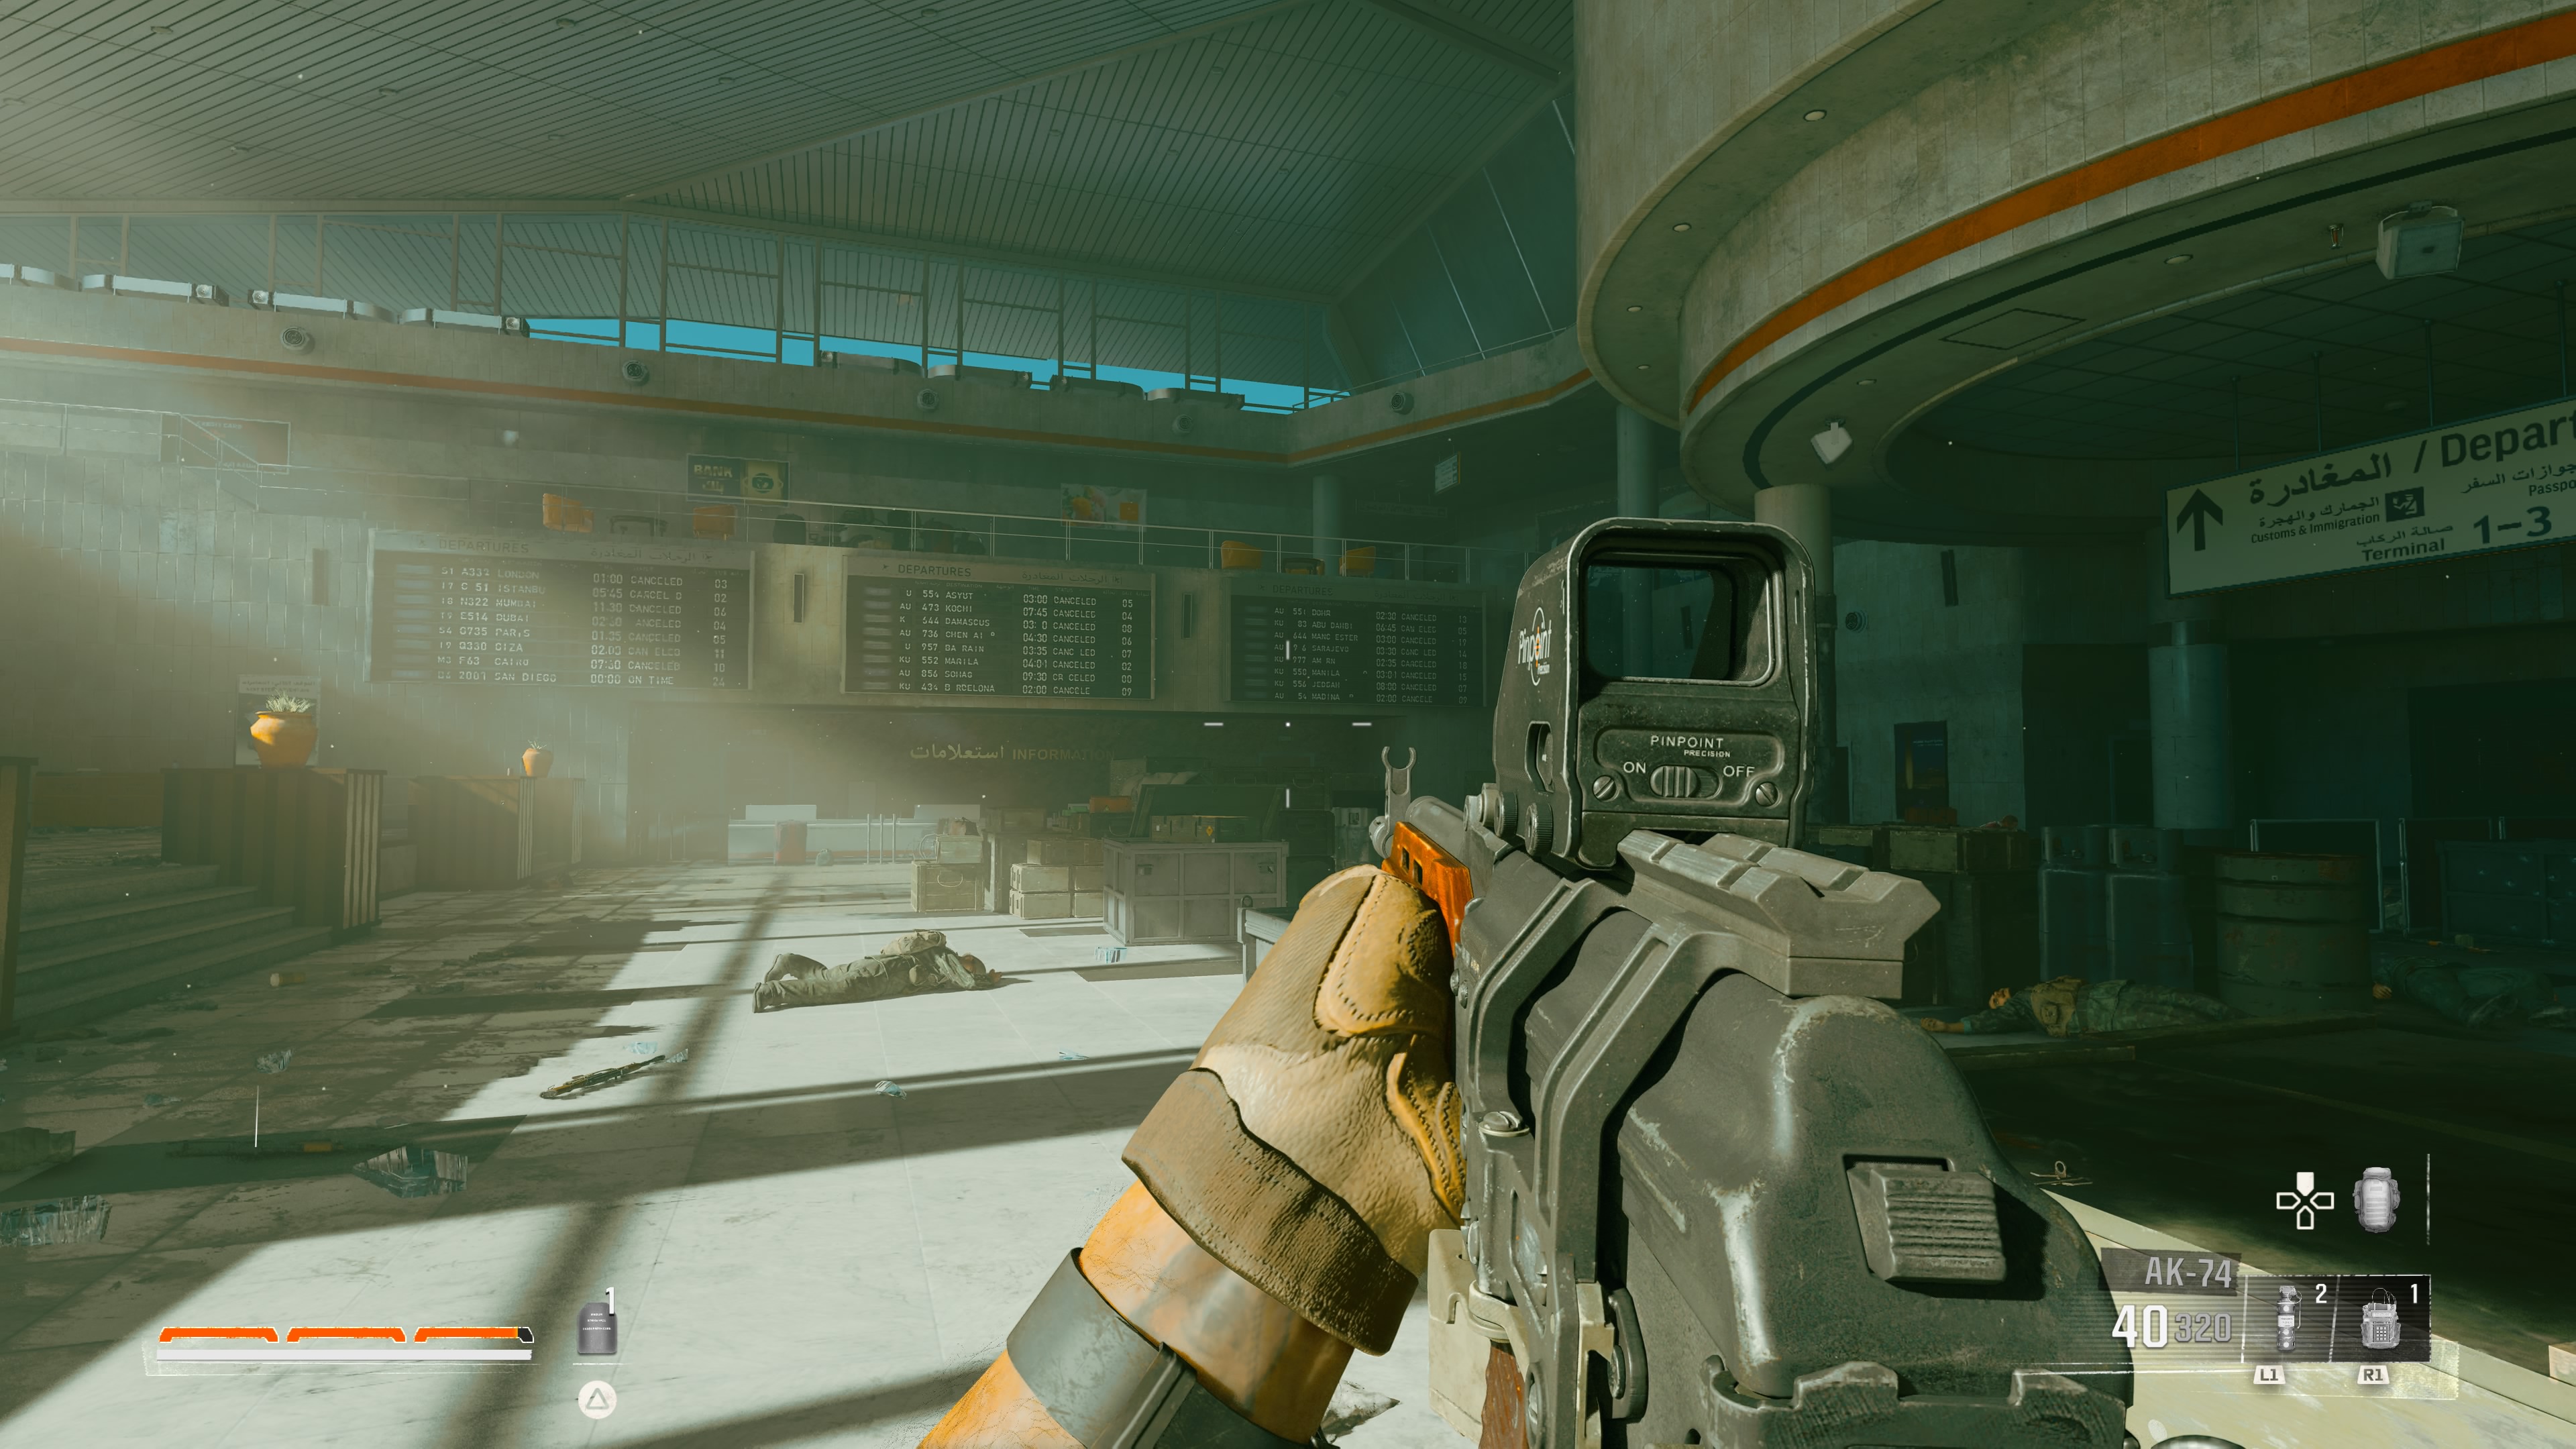
Hot on the heels of Gusev, Ground Control is an intense mission that doesn’t give you much breathing room to explore. Thankfully though, its safe is located towards the start.
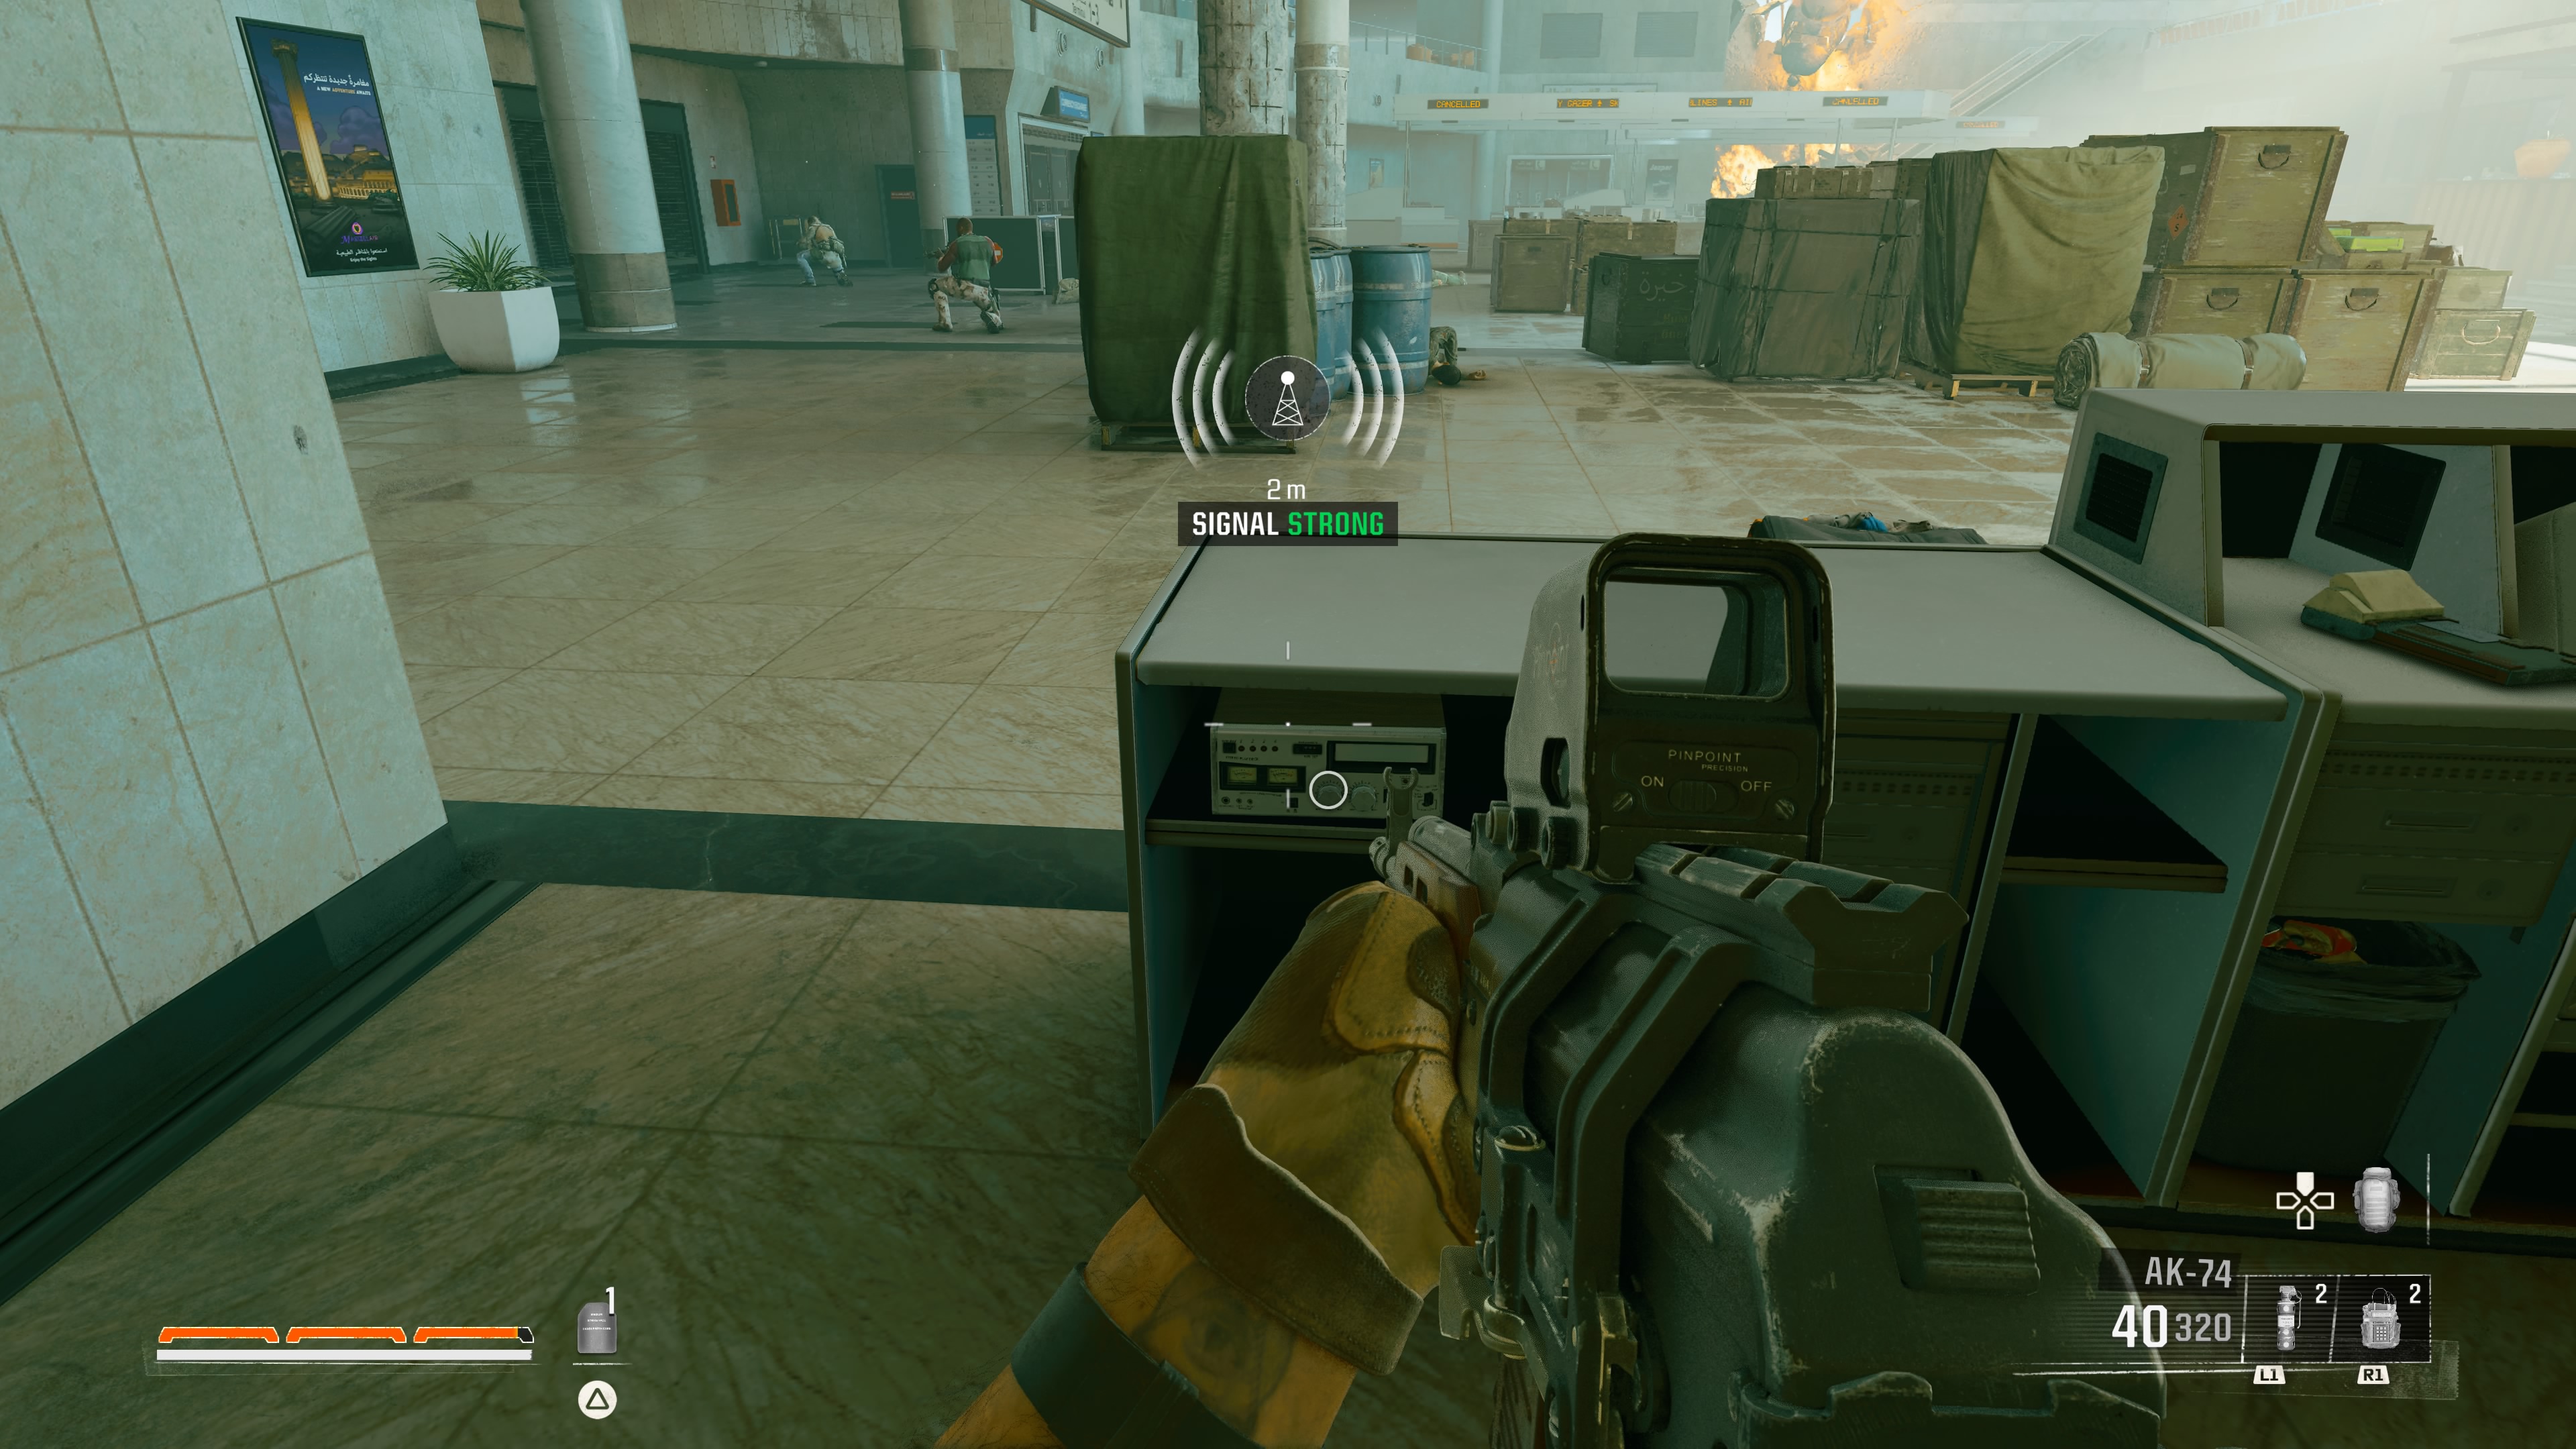
Once you’ve entered the airport, continue through the first terminal and eliminate the enemies. Before you head into departures (which will trigger a shootout), turn directly to your left to find the information desk.
The radio is tucked into a cubby hole on the far right end of the desk as you approach. The safe is a short distance away in the room directly to the left of the departure gate.
Under the Radar safe code and location
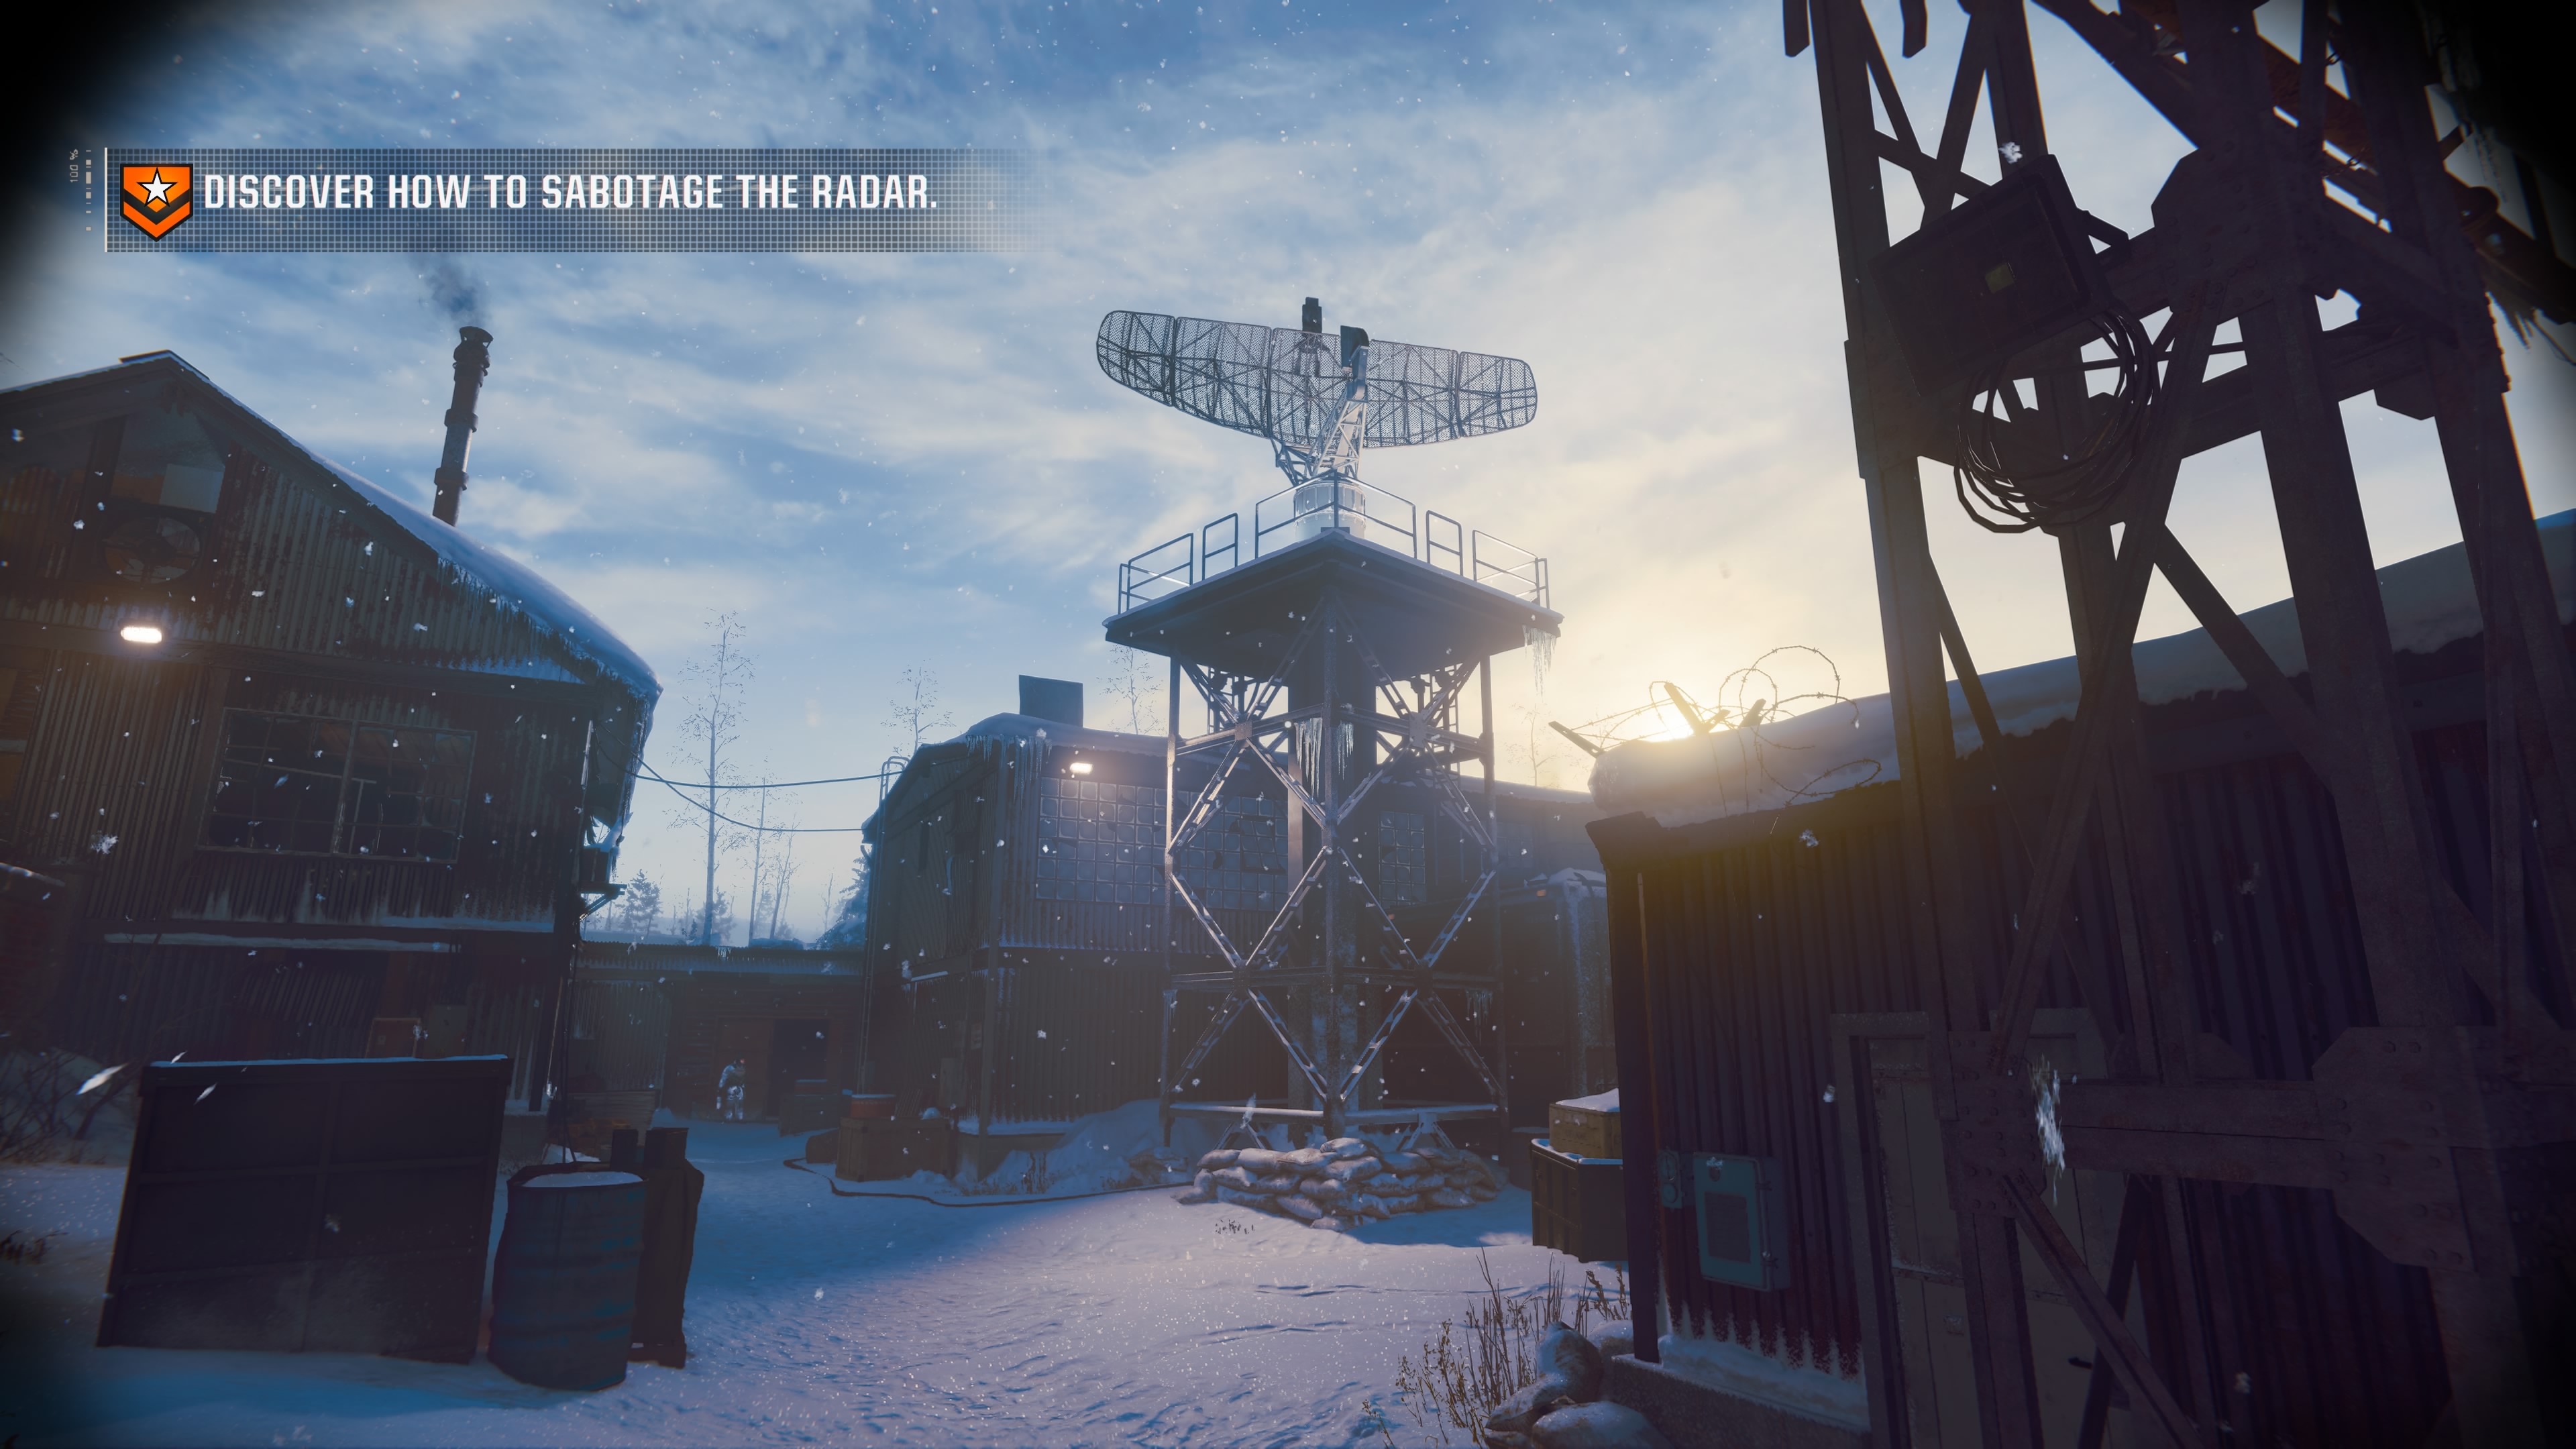
Like The Cradle, the safe in Under the Radar can be accessed almost right away. Once you’re given your three objectives, leave the watchtower as normal and head straight to the Radar Dish objective.
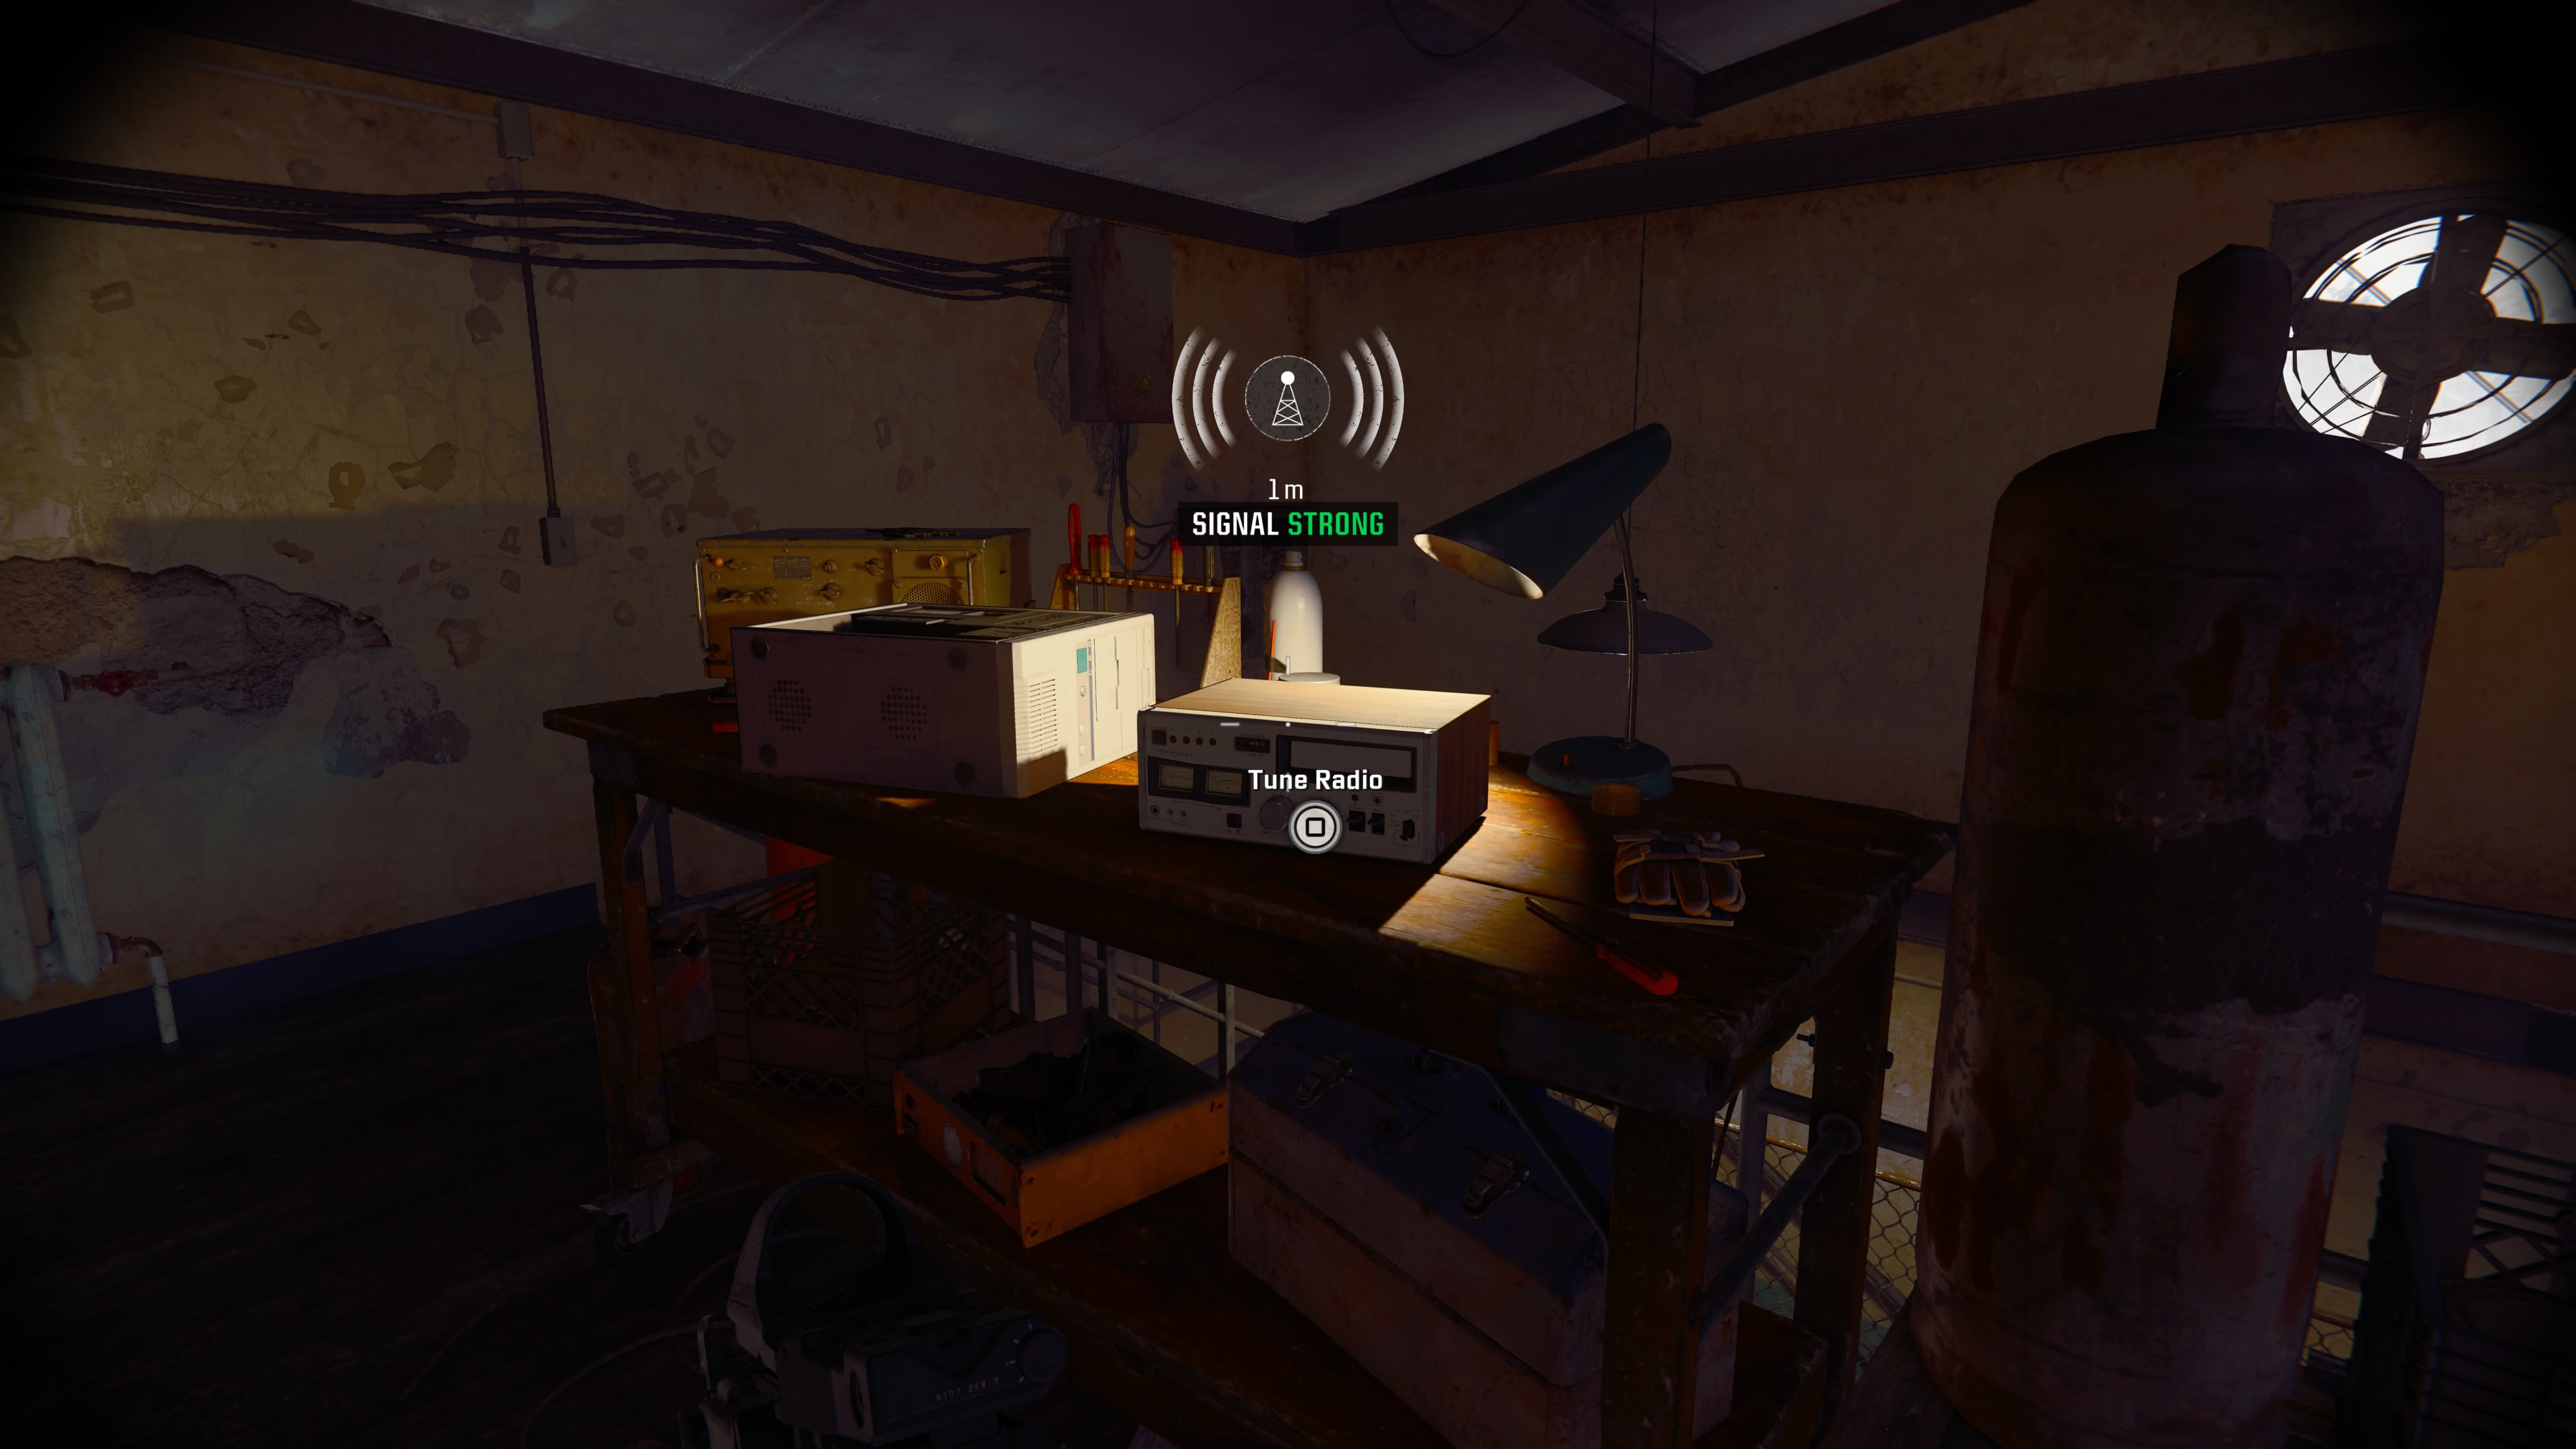
Enter the building (either via the ladder on the outside or the front door and heading upstairs) where you will see a guard standing next to the radio, and two more behind a locked area.
Take out the guard by the radio and match the signal as usual. Then, lockpick the gate directly behind you and kill the two guards inside. The safe can be found in the corner directly to the right of the gate.
How to open the Safehouse safe
The safehouse safe code is the most elaborate safe puzzle in Black Ops 6, and the only one that breaks from the usual formula.
To open this safe, you will first need to complete various puzzles within the safehouse, including the piano and generator puzzle that you might have come across while wandering around.
Don’t worry if you missed this safe the first time you visited the safehouse, either. You will have several other opportunities to obtain it as you progress through the campaign.
Step 1: Generator
Begin by heading down into the basement, found through a closed door in a hall behind Woods, near the entrance of the building. Here, you will find a generator with three interactable components. While the nearby note does give you instructions on how to get the generator running, they’re not all that clear.
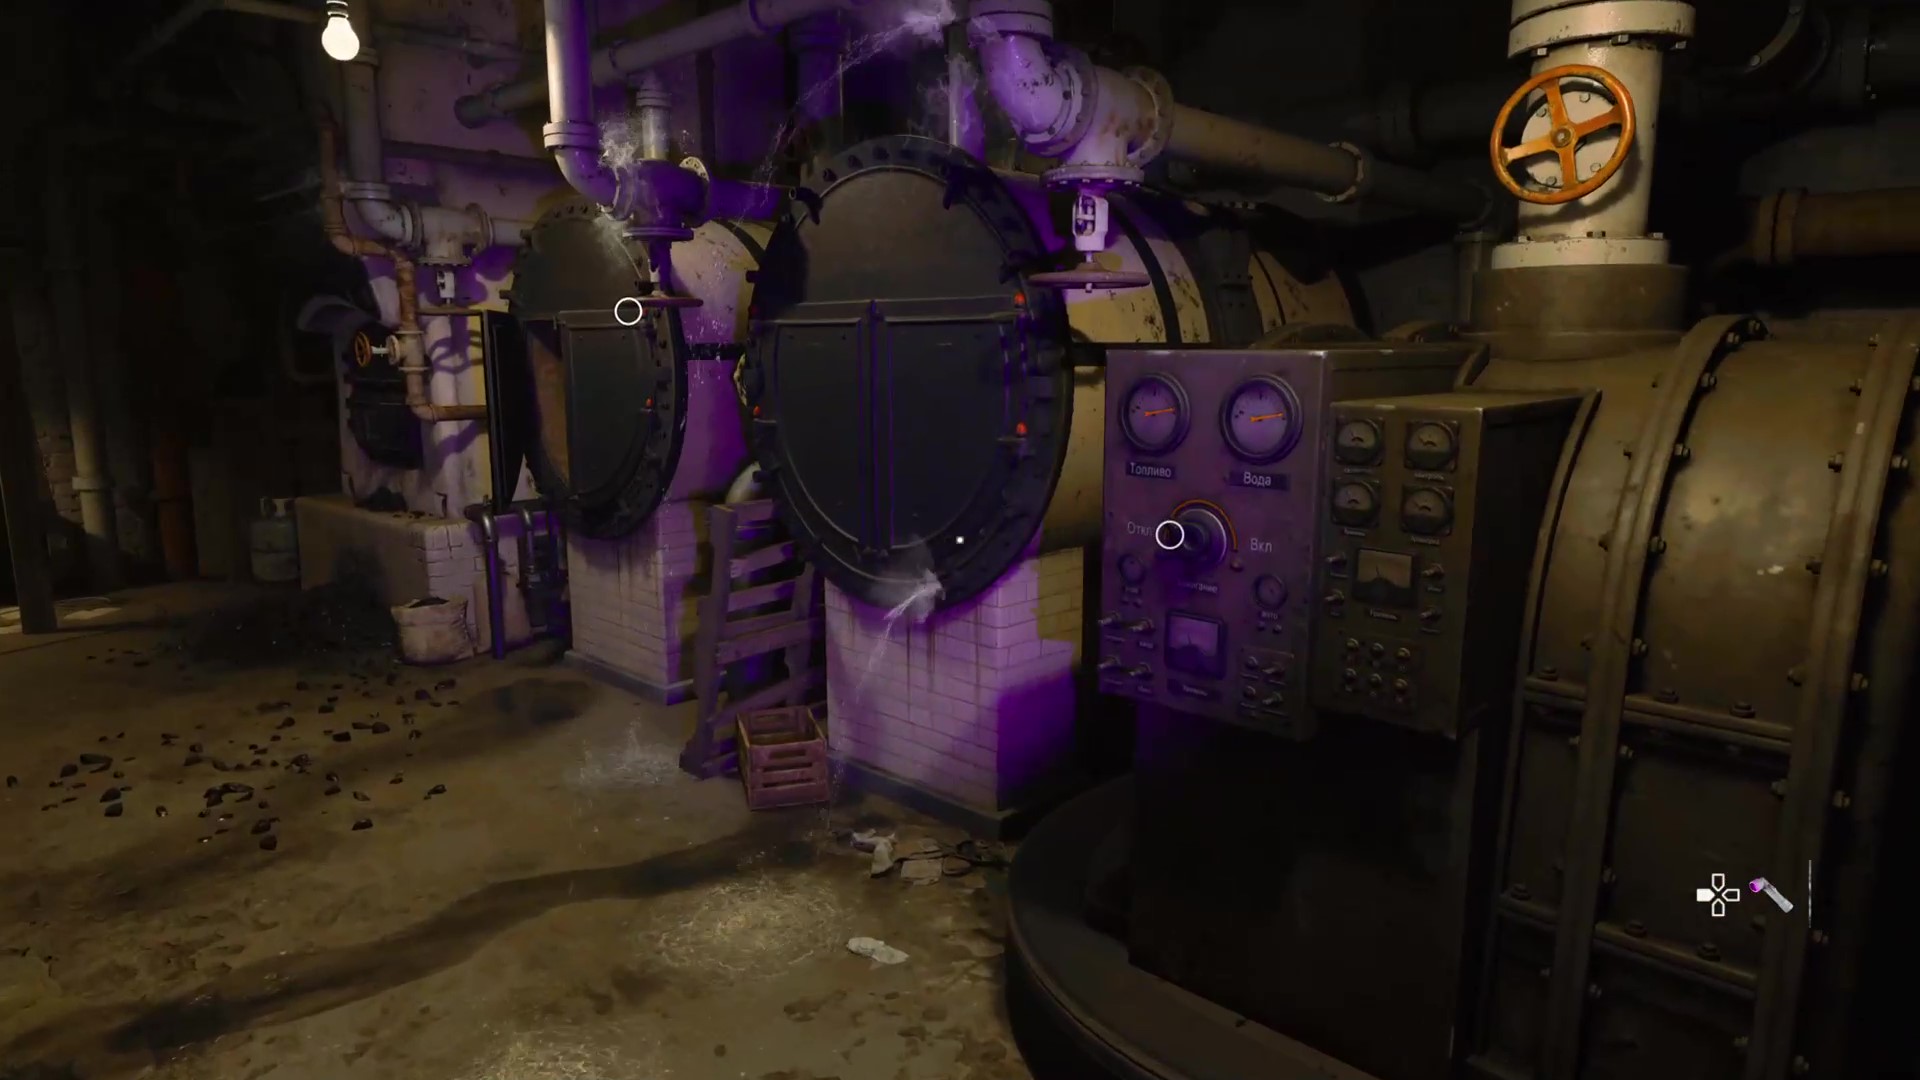
To turn on the generator, you must turn the boiler wheel twice and turn the fuel valve once. Then, turn the pilot dial. With the generator fixed, all you have to do is turn the boiler wheel twice to refill the generator with water and you’re good to go.
Step 2: Piano
The safehouse piano puzzle is arguably the most confusing step to cracking the safe, at least before you understand how it works.
This room, found at the back of the house near the garden, has a piano and a blacklight. Pick up the blacklight and interact with the piano and you will see five symbols above the keys. Take note of the symbols and their order on the piano, as this varies from player to player.
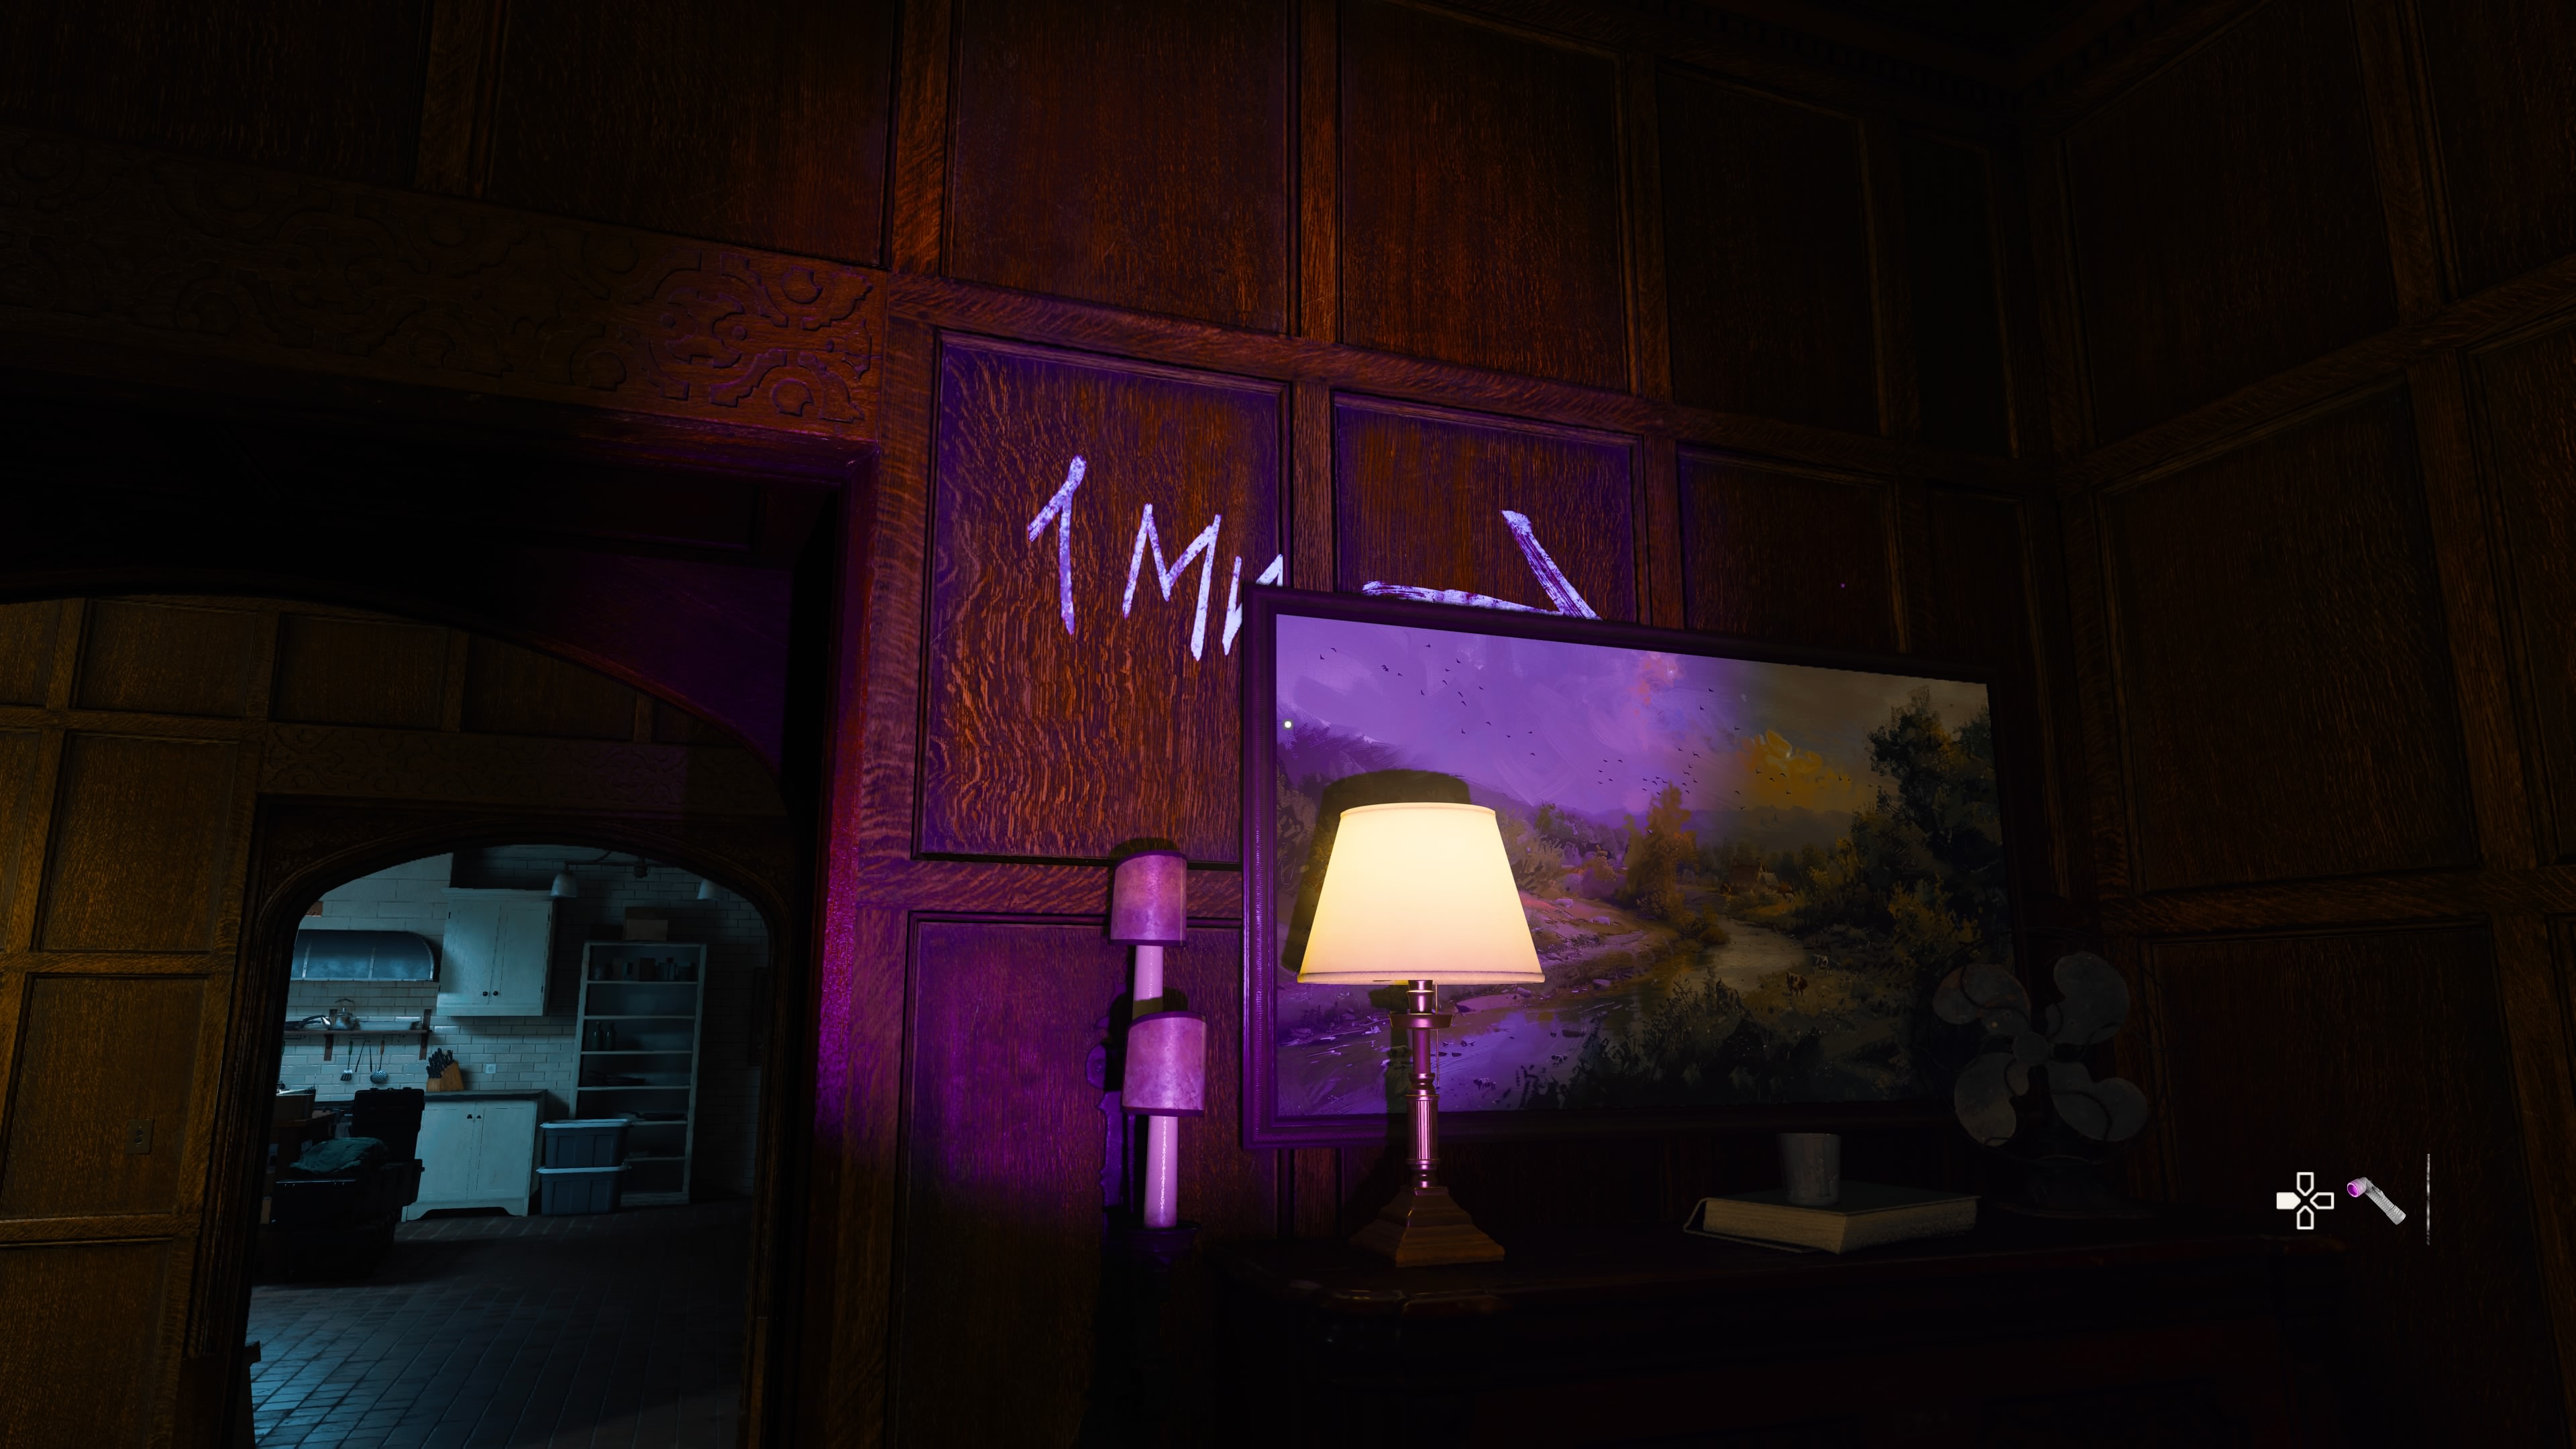
Look around the room using the blacklight and you will see these very same symbols on the walls, marked with an arrow pointing in another direction and a number.
Find the first symbol and take note of the number before following the arrow to the next symbol. Thankfully, this order is fixed, unlike the display above the keys.
In case you want to skip the detective work, you will need to press whichever piano keys align with the following symbols, in order:
- Ми
- Рe
- Cи
- До
- Pe
With the piano puzzle complete, a door will open to the right which leads to another basement, continuing the safehouse safe puzzle. Head down the stairs and take the short hallway to the right where you will find a keypad.
Step 3: Keypad
As with the other keypad puzzles in the campaign, it’s merely a matter of identifying which keys need to be pressed using the blacklight, and then figuring out the order by process of elimination.
This five-digit code is random, so you will have to examine your keypad carefully. Take note that some numbers may be repeated, displayed through multiple fingerprints when viewed under your blacklight.
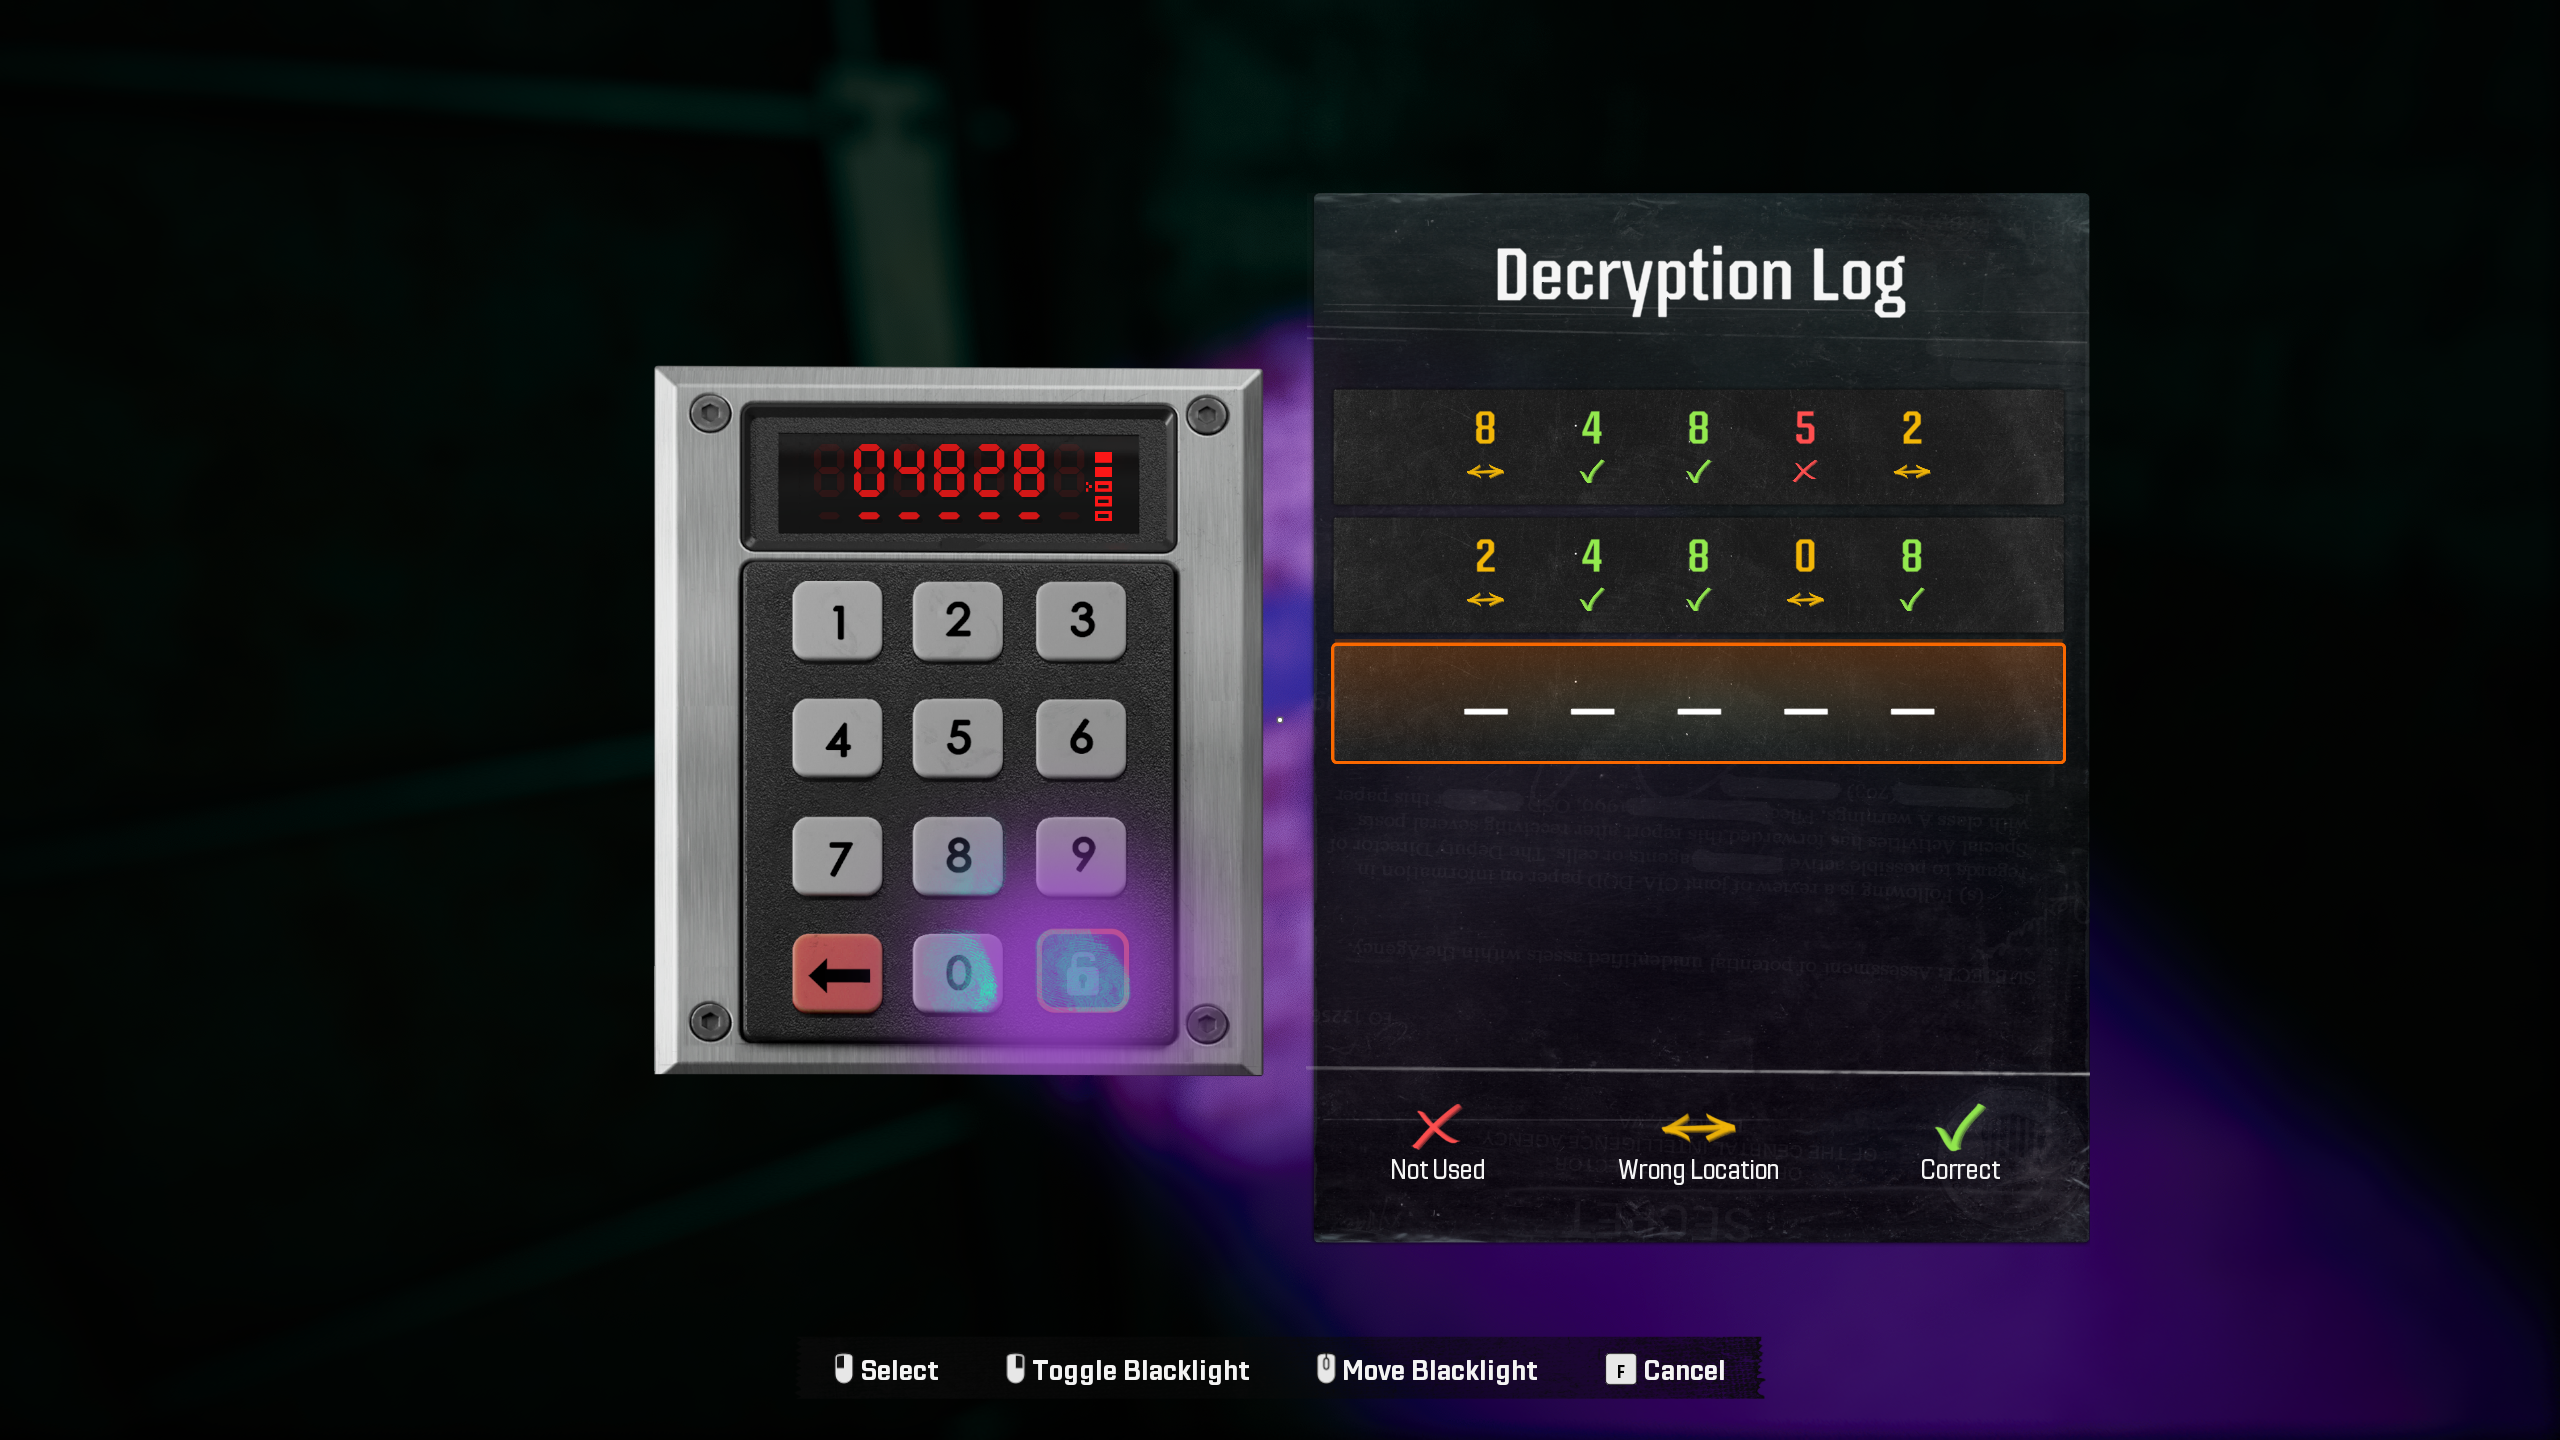
Enter the buttons and you’ll be told whether it’s correct or not. Green means that the number is in the right spot, yellow numbers are present in the sequence just in a different position, while red numbers are outright incorrect.
Step 4: Cipher
With the door unlocked, walk inside and head left to find a computer with a cipher puzzle. Again, this is a standard puzzle through the campaign, so you’ll get the hang of it if you haven’t already.
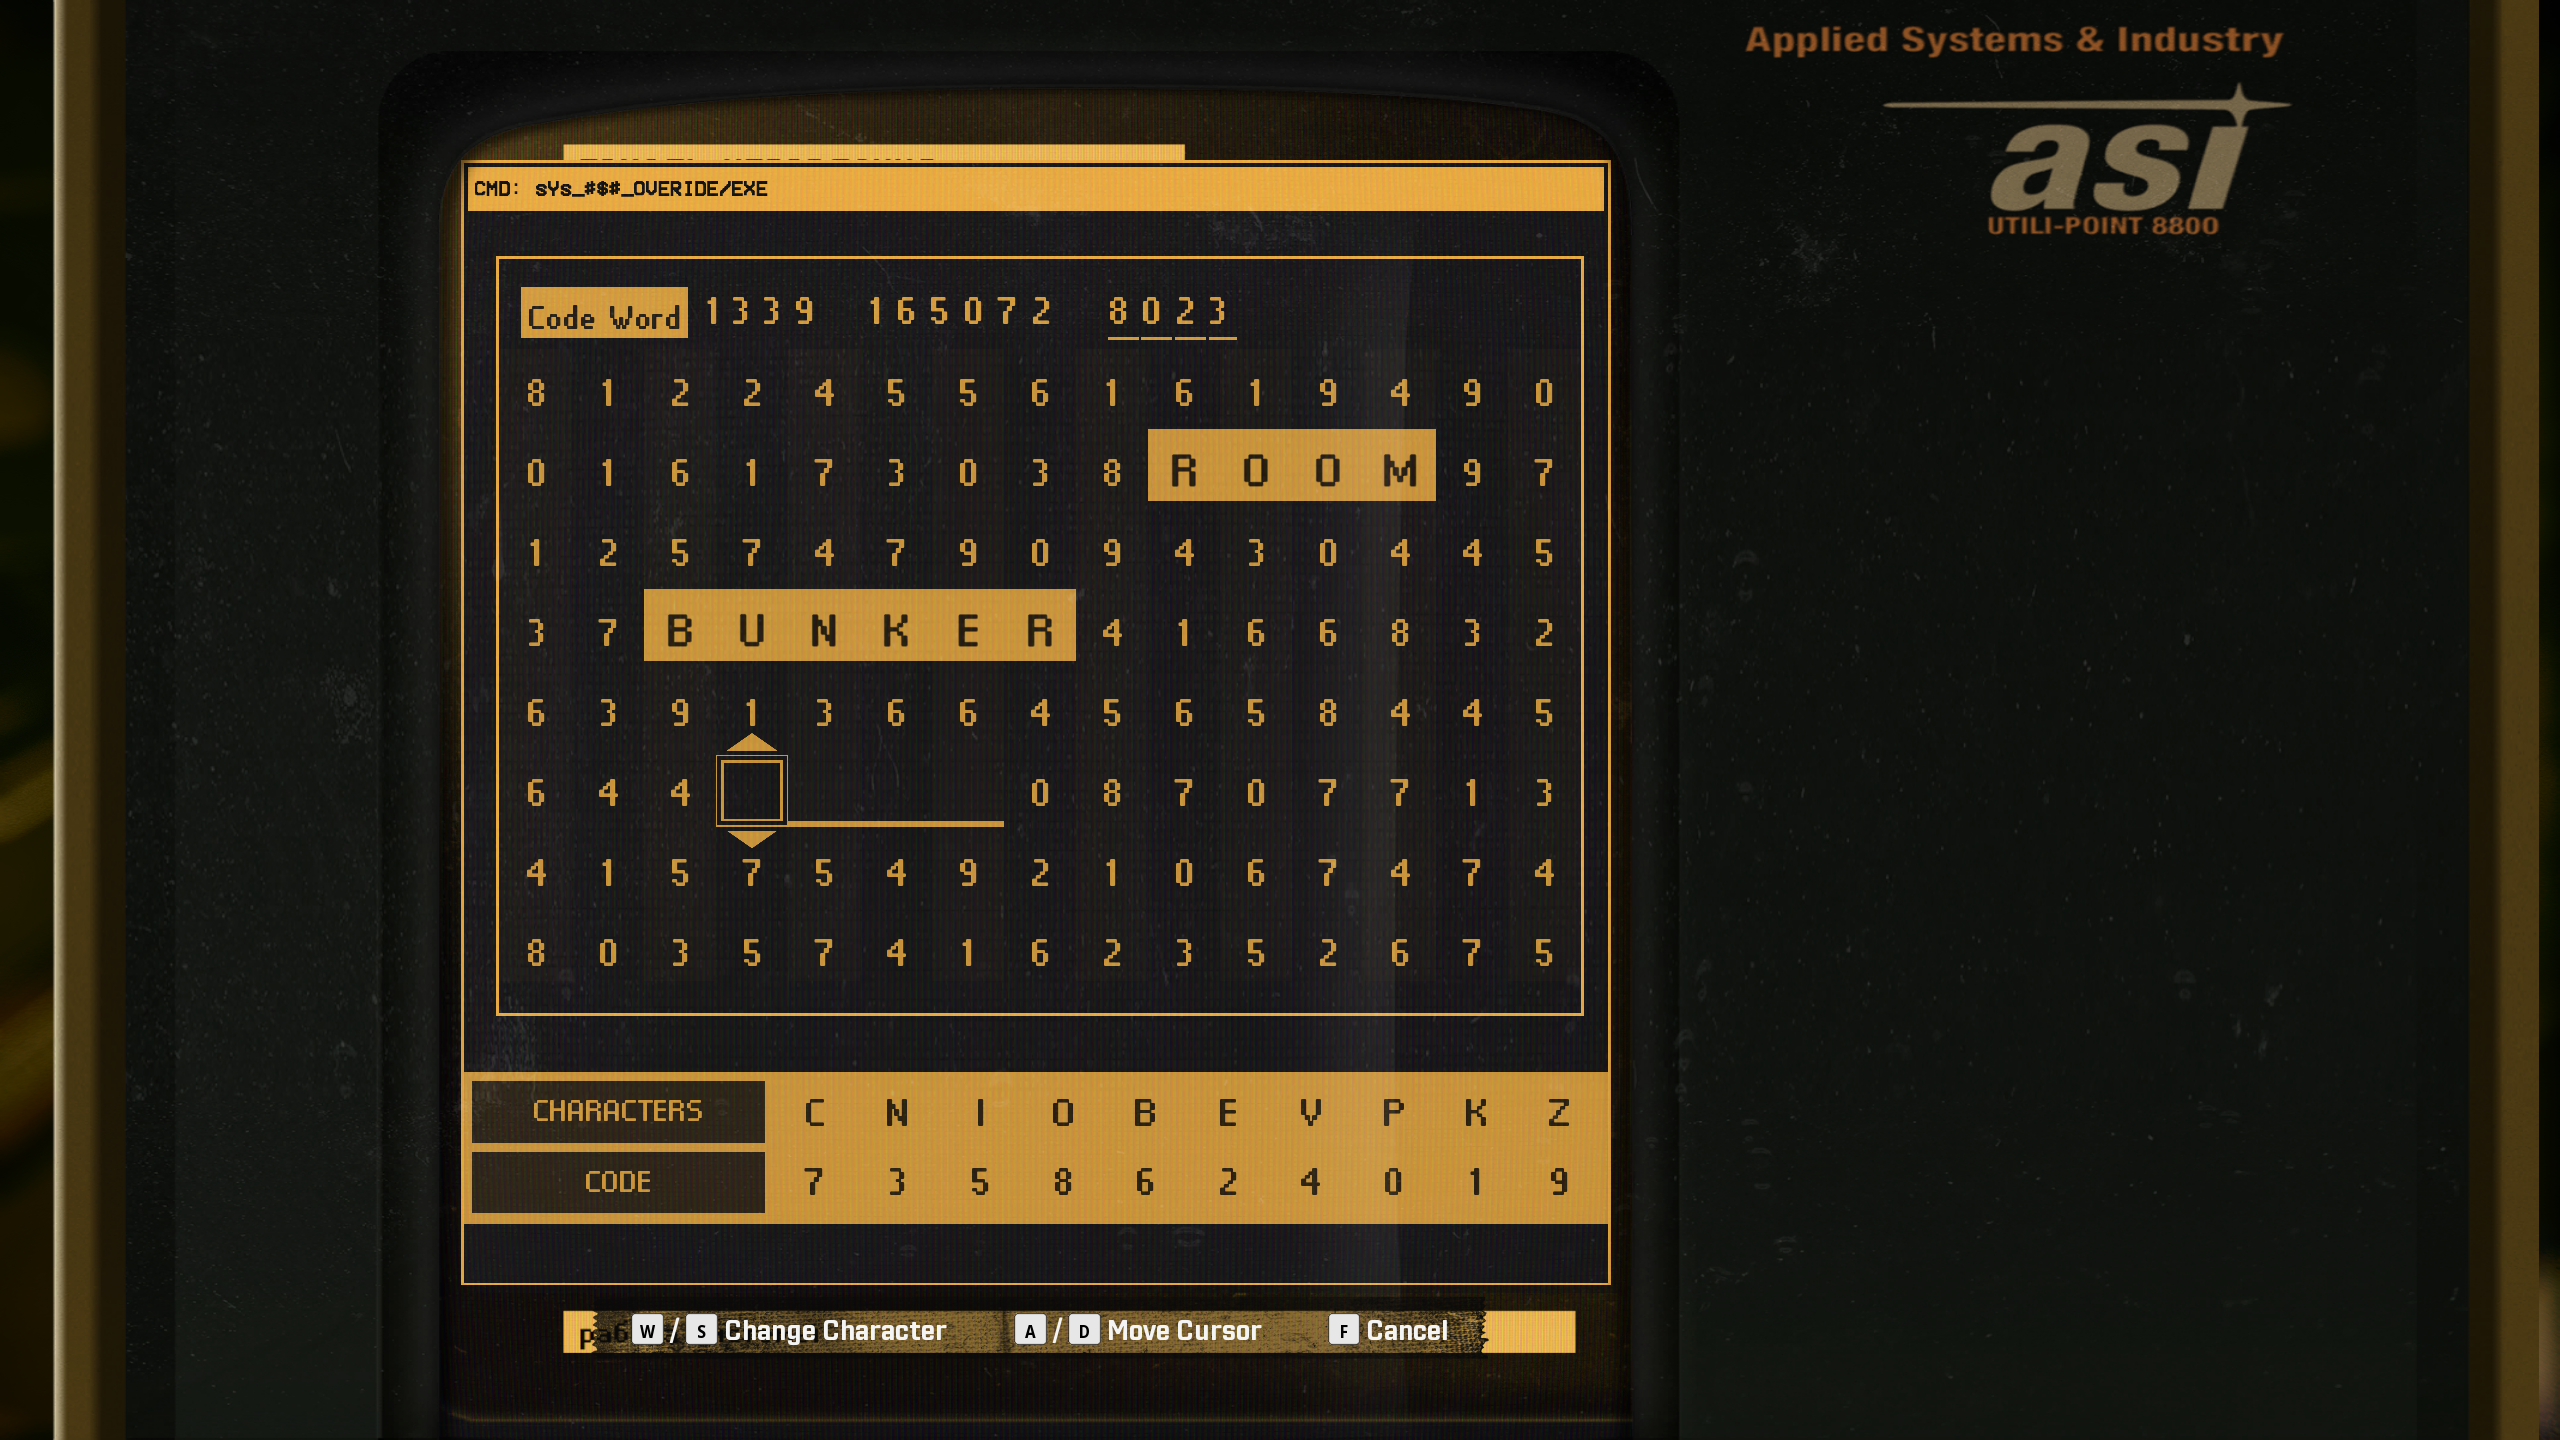
Examine the code word in the top left and use the cipher at the bottom to fill in the blanks. The good news is that you can’t fail this puzzle and, while the order is random, the code words are consistent.
If you want to speed things up, the code words are:
- BUNKER
- OPEN
- HOLDING
- ROOM
Once complete, leave the room and head down the hallway to the right where you will now find an unlocked door.
Go inside and lockpick the door in front of you. With this locked door open, you can now enter the interrogation room and pick up the key on the small desk at the centre of the room.
Leave this room to return to the main hallway, this time taking the hallway to your right. At the end of this corridor will be a locked door that you can open with your key. You’ll know you’re in the right spot once the signal strength indicator appears.
Step 5: Radio
Using the signal indicator, find the radio on the cabinet directly opposite you as you enter the room, next to the mannequin. Tune the radio and you will be given a unique recording.
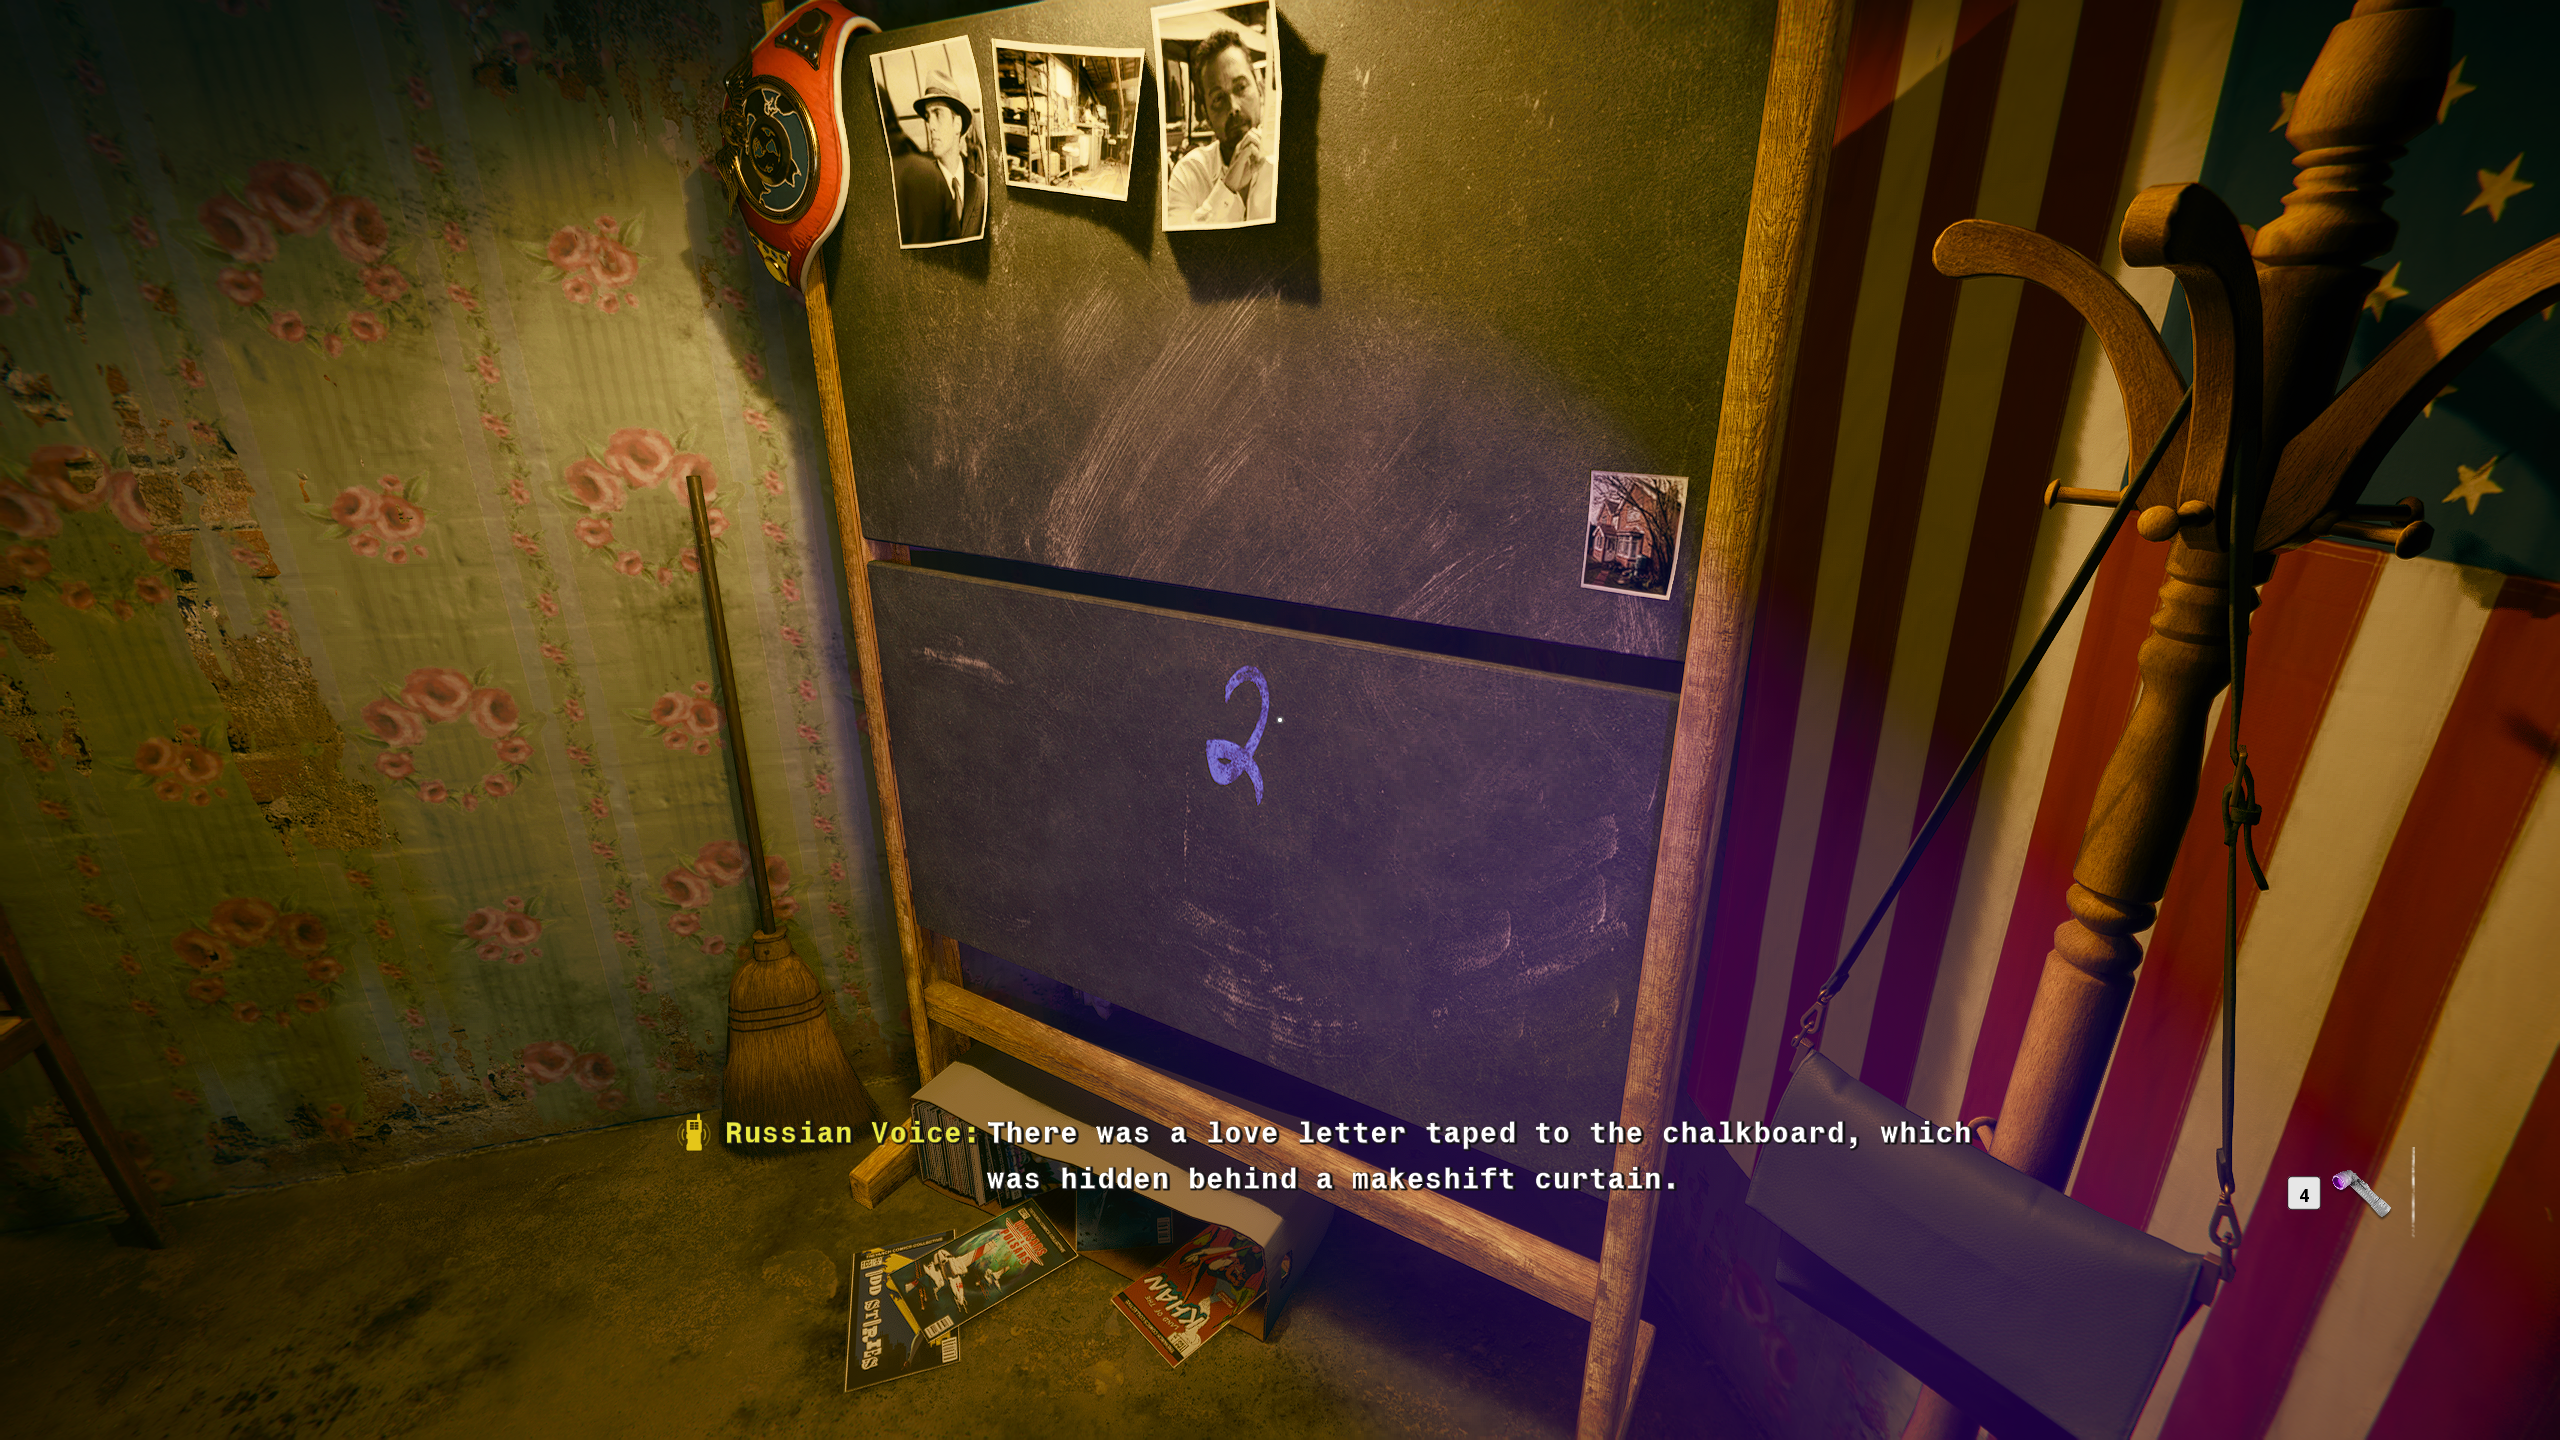
Unlike the other radios, this one will not directly reveal the code. Instead, it will hint at objects in the room which, when viewed under the blacklight, will reveal the safe code numbers. So, listen to the recording carefully and pick out key phrases and objects, as this puzzle has several random variations.
It’s a good idea to have a notepad next to you for this step as the safe is actually on the first floor, meaning you’ll have to remember your code for a short while. Additionally, it doesn’t matter if you can only figure out three of the four numbers, as you can brute force the final one.
Step 6: Safe
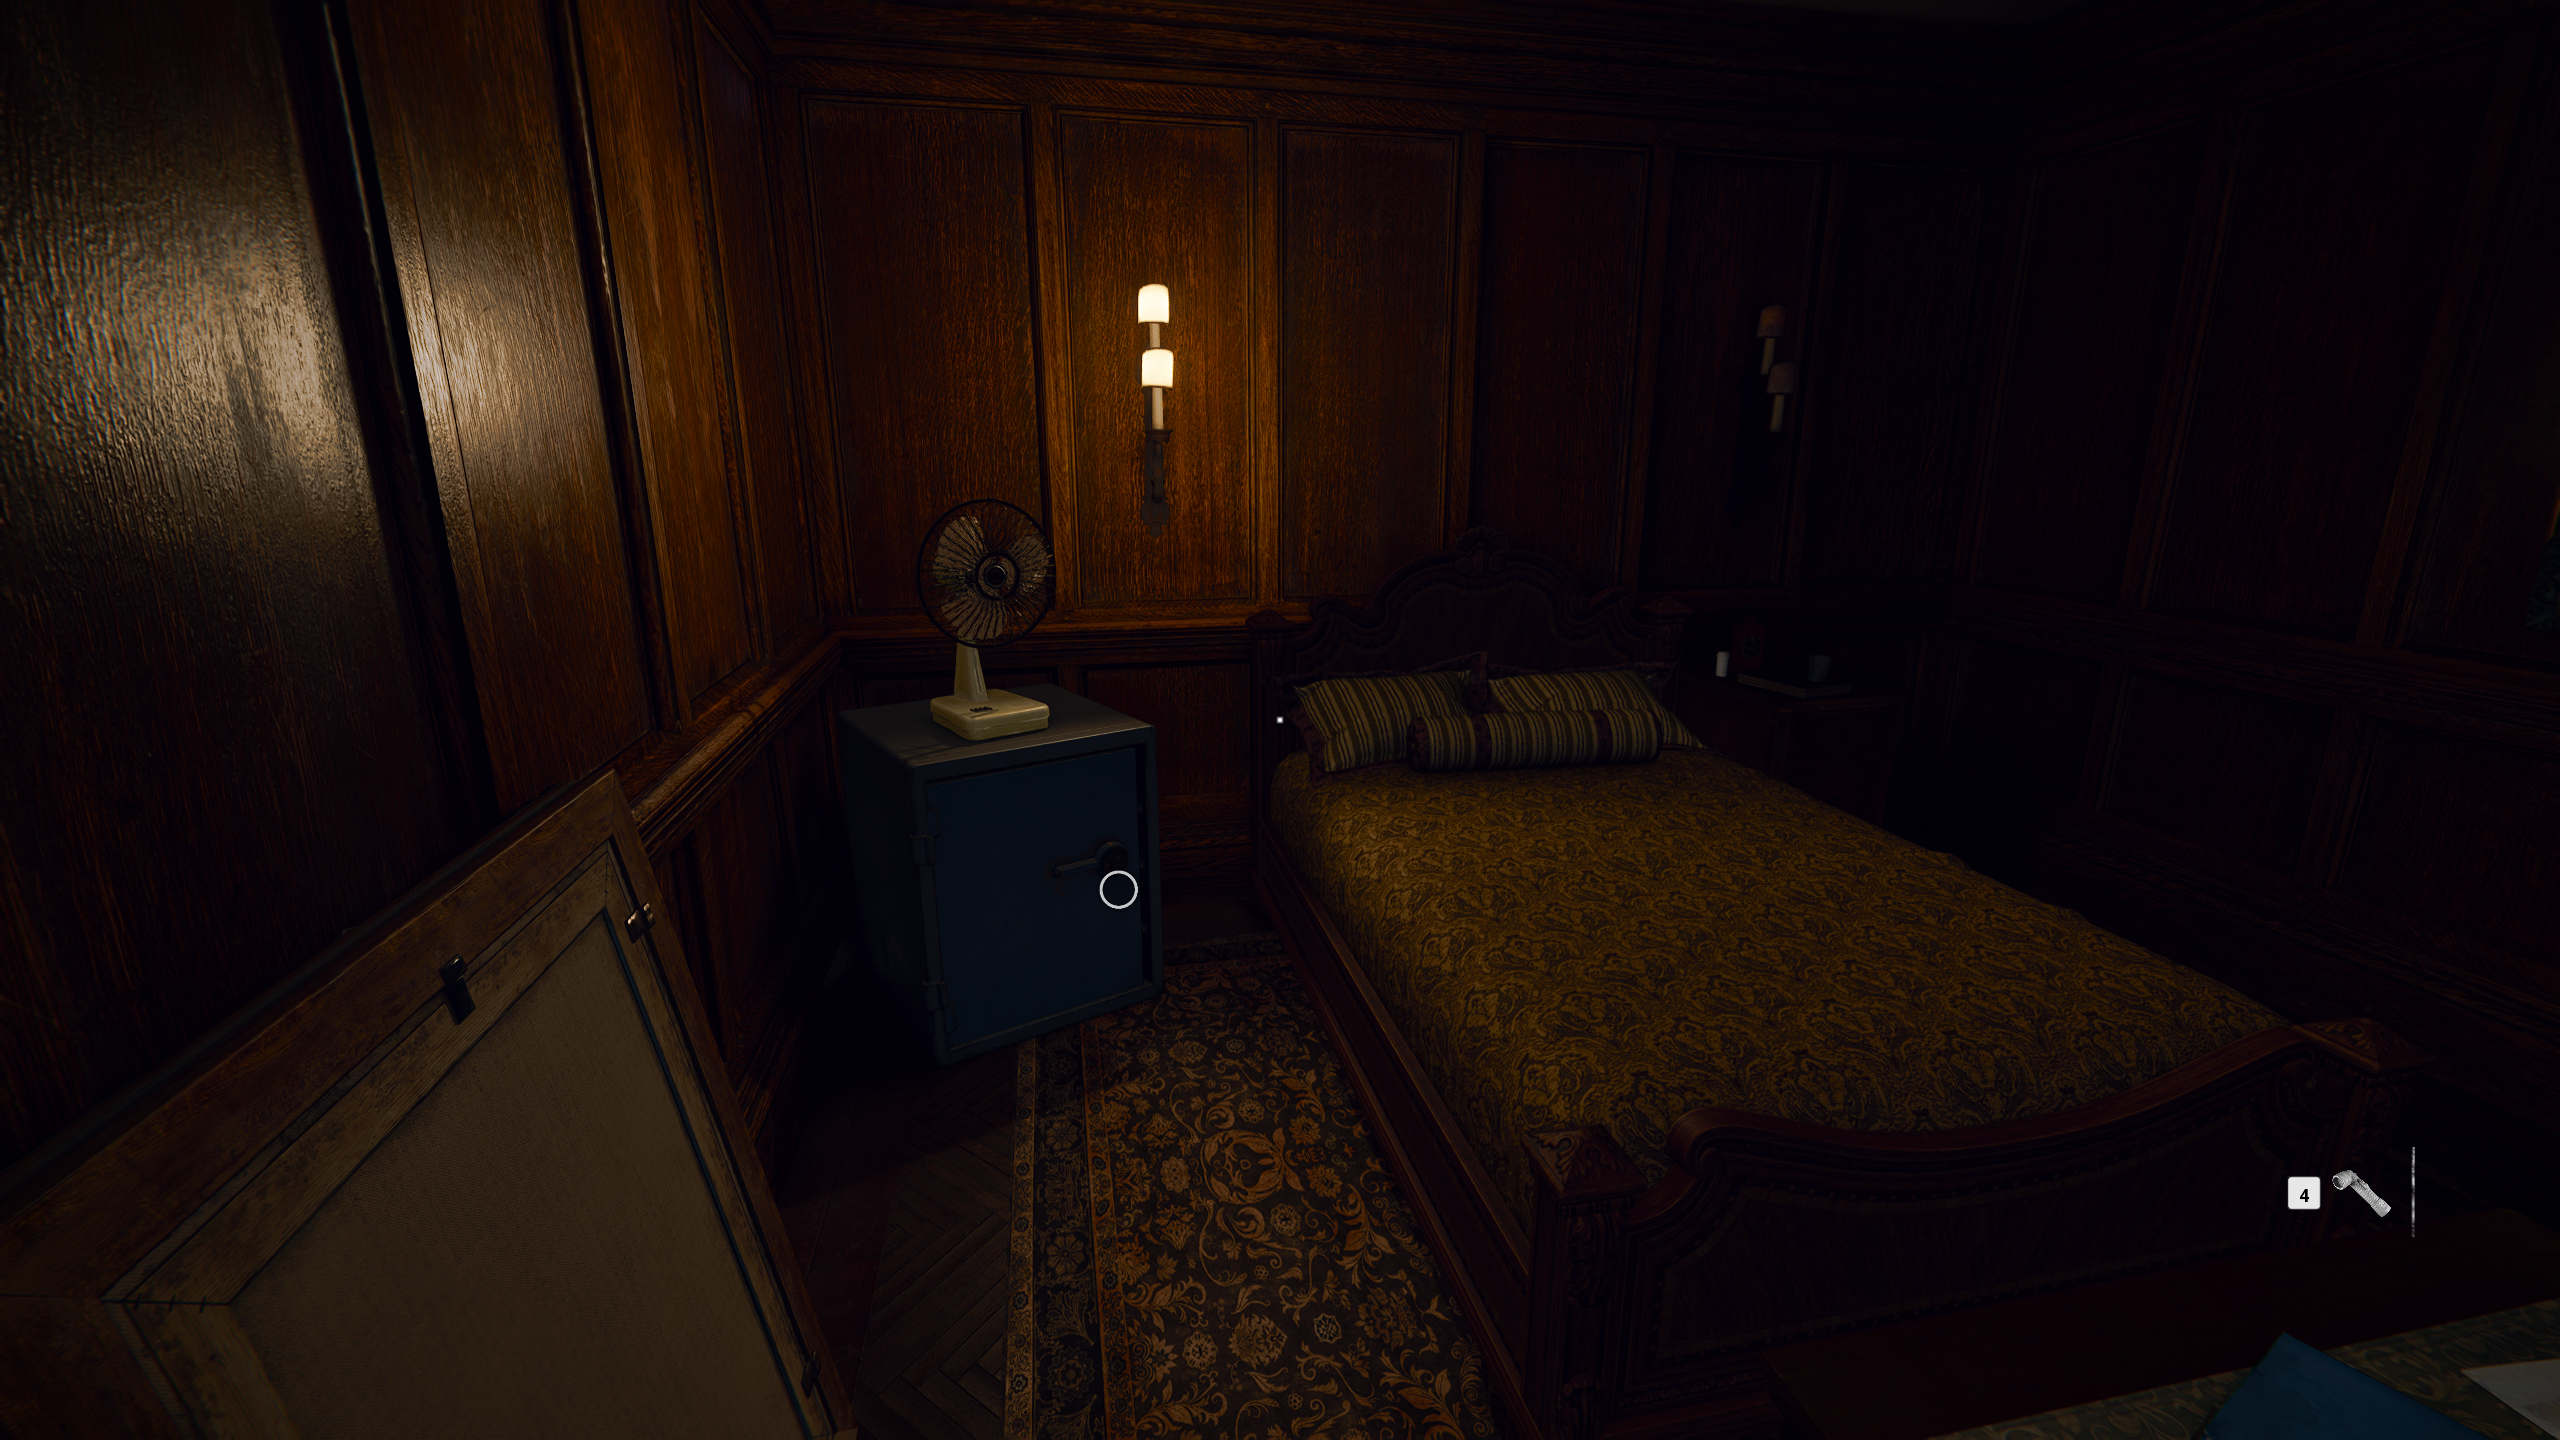
Once you have figured out your code, leave the basement to return to the ground floor. Then, head upstairs using the stairs by the front door. At the top, turn left and left again to find a bedroom with a safe in the left corner. Enter your code correctly and the safe will open.
With all the money from these safes, you’ll be able to purchase plenty of safehouse upgrades to bolster your combat effectiveness. Along the way, you’ll also earn several charms, stickers, and other rewards that will go nicely with your Mastery Camo in the multiplayer modes. What’s not to love about that?


