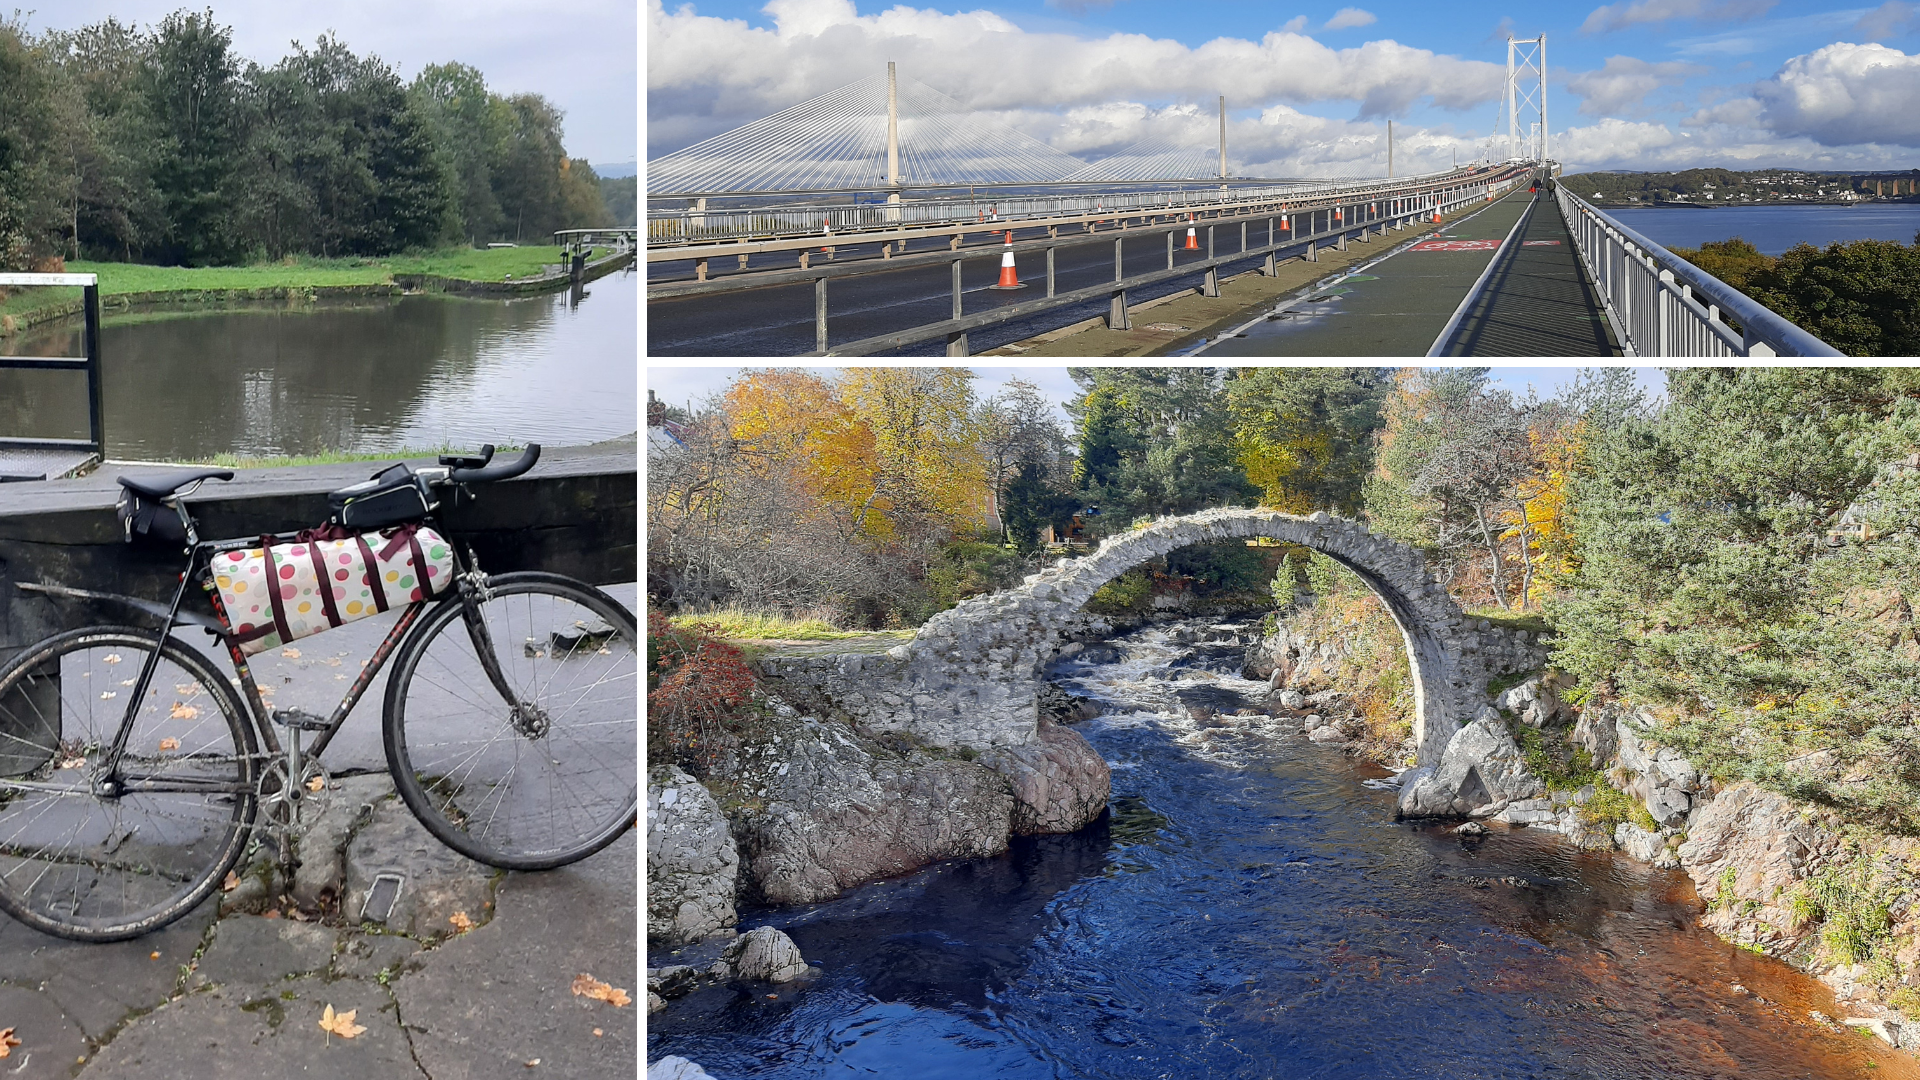
In autumn this year, I rode 1300 kilometers from the UK’s most southern tip - Penzance - to the northern city of Inverness in Scotland, on a fixed gear bike.
For the uninitiated, a fixed-gear bike (or fixie) uses a single chainring and single sprocket to provide a single gear. The sprocket has no ratchet system, so the pedals always turn with the wheels and there’s no such thing as coasting, or freewheeling. These are the bikes you’ll usually see used at track cycling events, but they’re also great for commuting and long-distance rides - as long as you get the gear right - because they need very little maintenance.
My plan was to attempt the fabled LEJOG (Land’s End to John O’Groats), but the weather didn’t quite play ball. Still, I climbed 9200 metres in 80 hours of (almost) non-stop pedalling, which provided plenty of opportunity for learning.
Of course, you don’t have to make life quite as difficult for yourself - you could take on a shorter distance and allow yourself some gears. If you’re tempted to try a challenge this year, here are my tips…
You don’t need the latest and greatest carbon-frame gravel bike to do a bit of adventure riding
If I could do it on a 1980s steel-frame track bike with a front brake drilled into the unsuspecting fork crown, you can do it on just about anything. I ran my 25 mm tyres (the widest that fit) a touch softer than usual to give me more cushioning (or at least that’s what I told myself). I had just three punctures and a torn valve over 1300 km of riding, which seems just about reasonable, doesn't it?
As kids we’d jump on our BMXes and go riding – no padded shorts, no cycling gloves, no clip-in shoes – just a bike. And a fixed gear returns you to that sort of riding: it’s minimum tech and maximum fun. As the late internet cycling tech legend Sheldon Brown once wrote: “Most cyclists coast far too much. Riding a fixed-gear bike will break this pernicious habit.” And it did. Until my dicky knee kicked in, but more about that later.
You don’t a need bikepacking-specific frame/saddle bag to travel
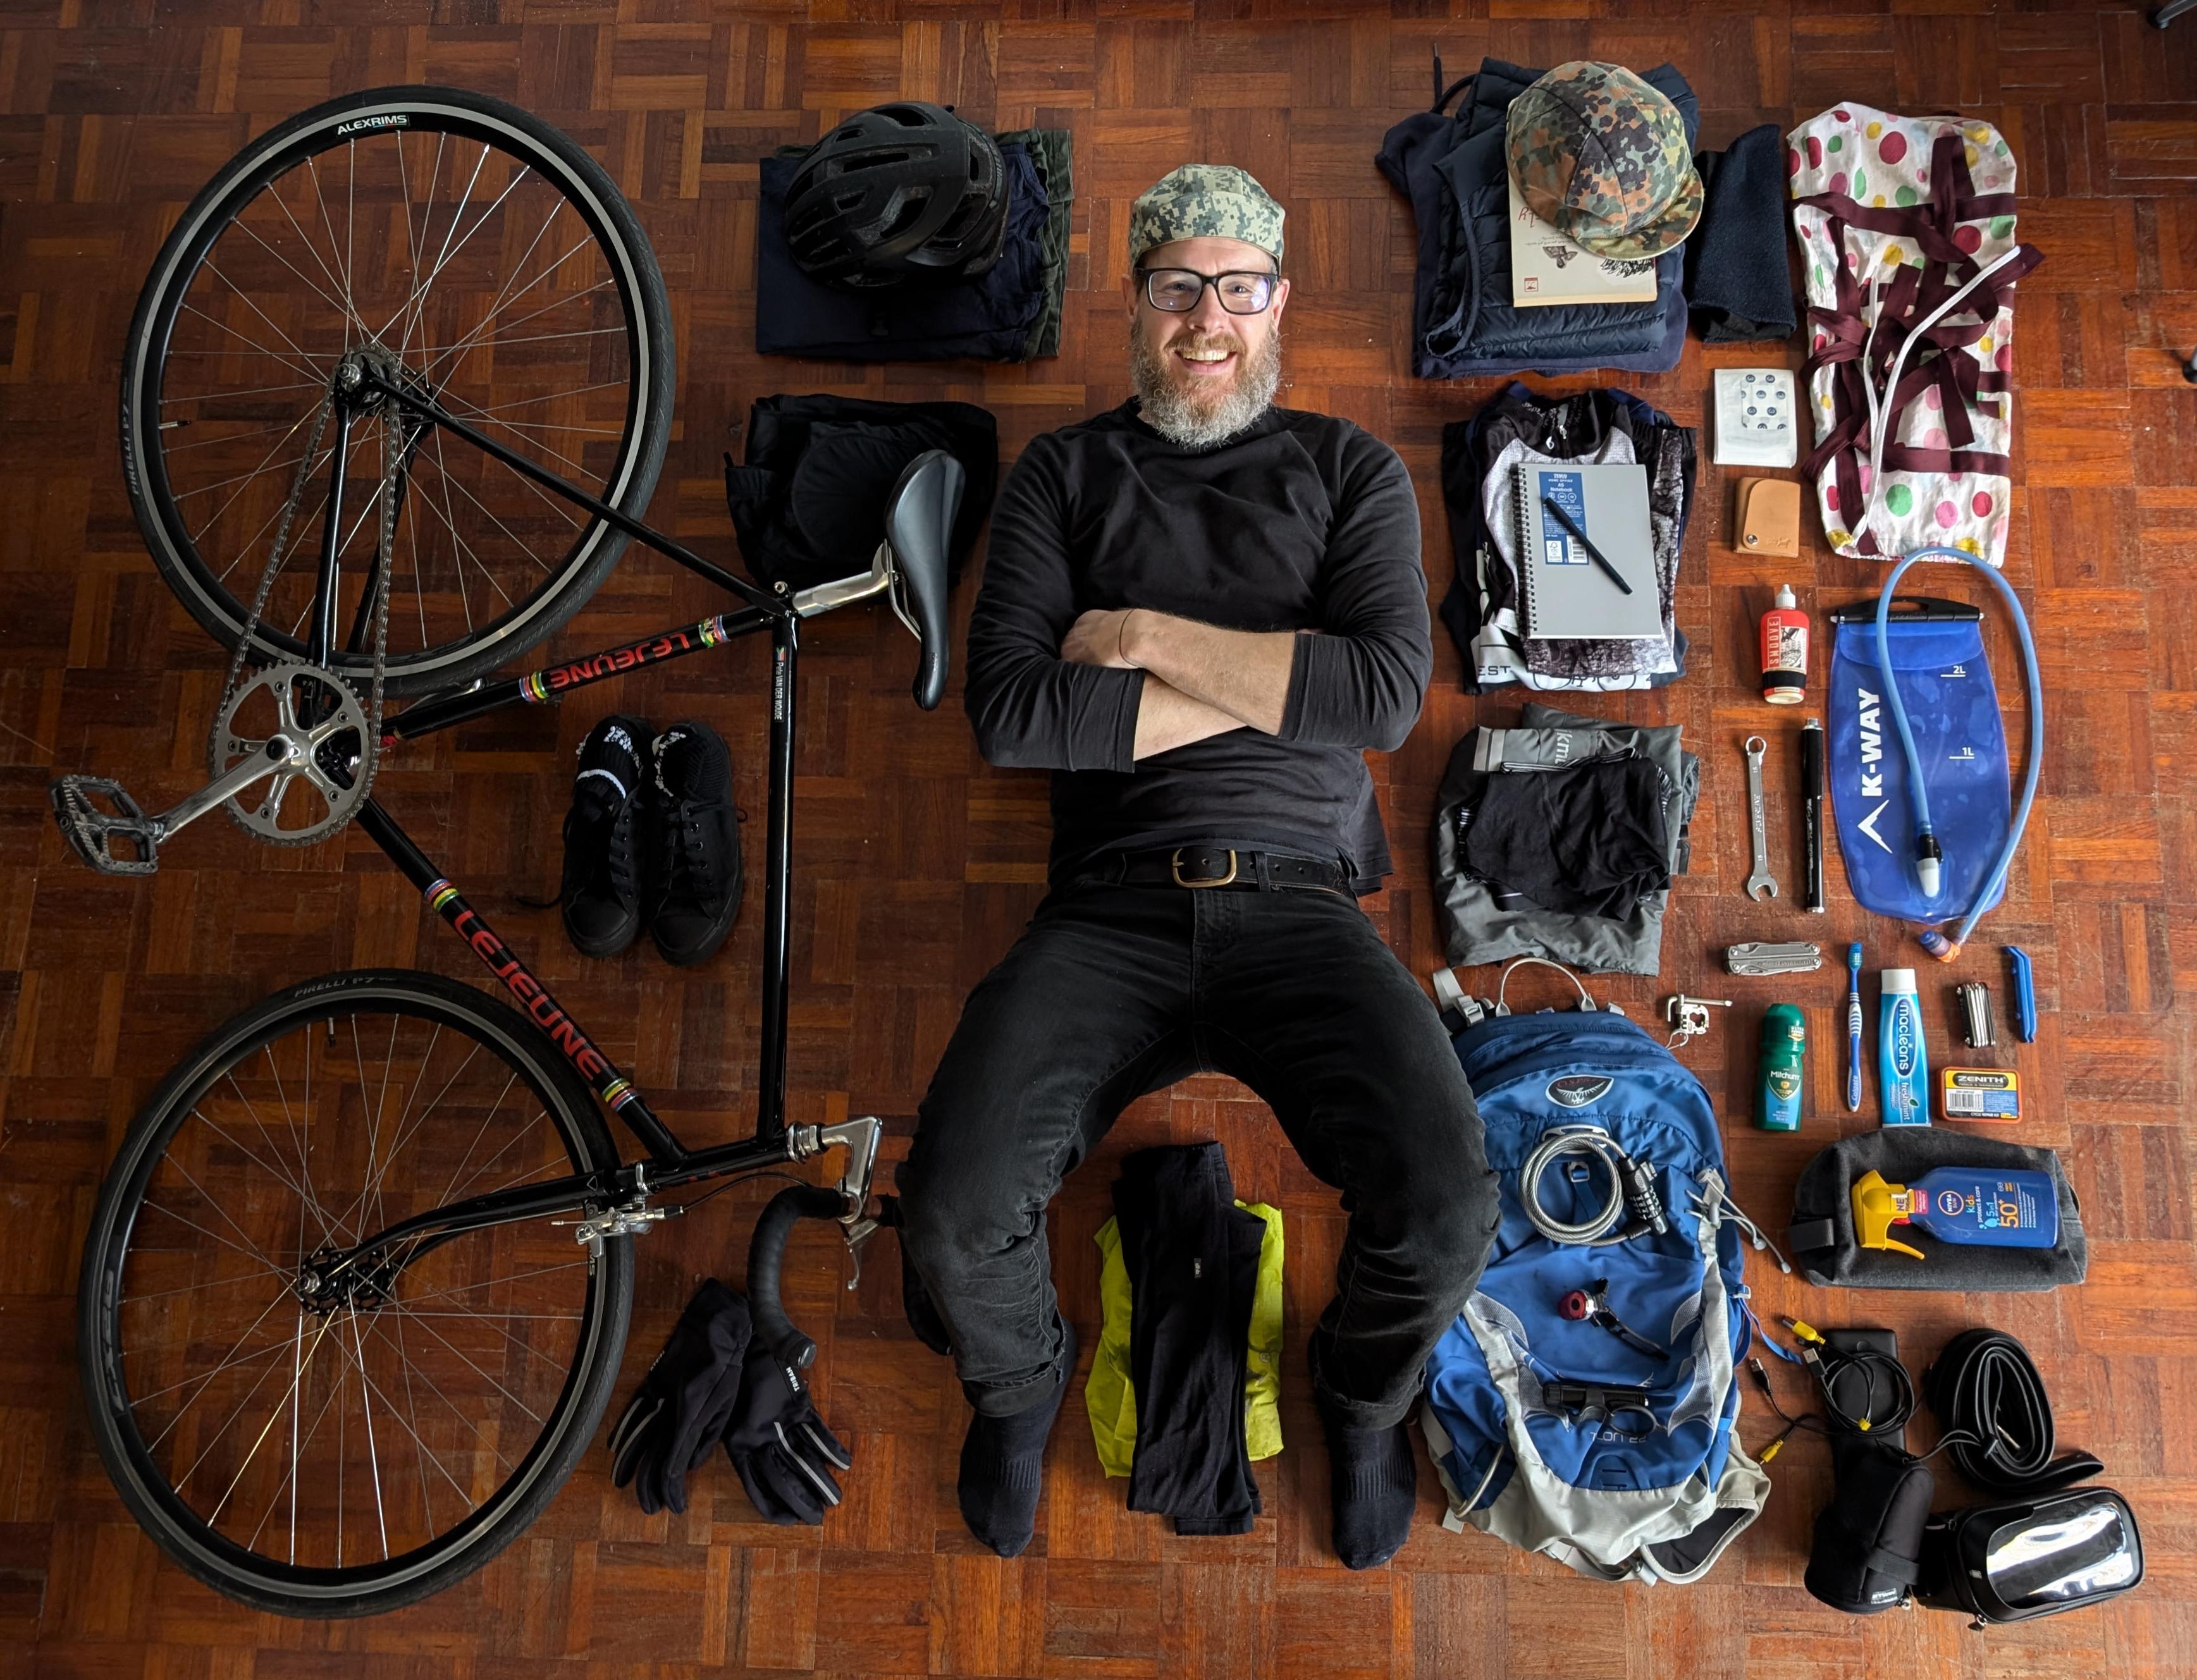
I planned my trip around staying at hotels, B&Bs and guesthouses, as opposed to camping, so I found I could fit all I needed into a frame bag and backpack.
I made the frame bag myself, from an old pair of curtains and an Amazon box, and I carried the rest of my gear in my trusty 22 litre Osprey backpack. The seat bags I’ve used in the past sway too much and they don’t hold a lot. A backpack keeps you warm and, apparently, offers an aero advantage, though the science on this could be shaky.
A bin bag and cling film can make anything waterproof
On the second day of my trip, I planned to avoid the predicted rain by leaving at sparrow’s fart, but the vertical river that assailed me an hour outside Holsworthy in Devon soaked me to the skin. The clothes in my frame bag were safe inside their bin liner, but my backpack cover leaked like a sieve. A wonderful housekeeper at The White Hart pub tumble-dried my things, returning them in another bin liner that afternoon. That black bag kept the contents of my backpack bone dry for the rest of the trip; it weighed nothing, cost even less and can be recycled.
Cling film proved equally magical. Although the marketing copy for my top-tube bag promised waterproofing, the insides were damp after the first day’s rain – not ideal considering it was home to my phone/GPS. A few wraps of cling film donated by my host on the first night solved the problem. I bought my own roll the next day.

A nail brush is a wonder tool.
I snagged one on the third day to clean my incessantly mud-caked shoes. After that, I used it daily – to clean my tyres, my brakes, my pedals, my frame bag, my mudguard and everything else. It’s also not bad at keeping your nails tidy.
You don’t have to plan your route in advance, and trust your eyes more than your GPS
I initially followed Cycling Britain’s LEJOG route, but soon began plotting my own route each night based on my legs and the weather. Google Maps’ information on distance, elevation and traffic makes route decisions easier, but it does sometimes try too hard to keep you off main roads.
Which brings me to my point on sometimes trusting your eyes more than the GPS directions. This is especially true when the blue line tries to turn you into a ploughed field, up a flight of stairs or onto a single track that a mountain goat would look at twice. I only learned this one after Google Maps took me into a farmer’s corn fields (first puncture of the trip), in the pouring rain, which had me hoisting my bike over more than a few farm gates before finding proper paths again.
You don’t need to book weeks ahead if you’re staying in paid accommodation
I managed to find decent, affordable accommodation on a day-to-day basis, usually while tucked in bed after a warm shower, which gave me much-needed route flexibility. The only near-failure occurred when I was told on arrival that my room was no longer available due to maintenance, but I found an alternative in the next village on the travel website Booking.com in 10 minutes.
Take care of your bum
The best upgrade I’ve made to my fixie was replacing the saddle, but only after measuring my sit bones. Sit on a piece of tinfoil on a carpeted stair or similar, measure the distance between the impressions your sit bones have made, and buy a saddle accordingly. Trust me. Or, take a look at this guide to choosing the right saddle for you.
Select your gear ratio for the long haul
While you don’t need to attempt your trip on a fixie, I wholeheartedly recommend it, even if only for the simplicity of this style of riding. Just be careful with your gear selection.
I usually ride a 49-tooth chainring with an 18-tooth sprocket, which represents a 73.5” gear. This is fine for town or pushing 80 km around my local terrain, the Kent Downs in southern England. But riding the steeper and longer Devon and Cornwall hills on a shorter (750 km) ride last year soon had me swapping my 42:16 setup (a 70.9” gear) for a 42:18 (a 63” gear), the easier gear proving more suitable for the climbs. For this trip, I decided to start with the 42:18, which had me pedalling comfortably at 12 mph and spinning out on the downhills at 24 mph.
Ride within your limits
My right knee started playing up at around the 900 km mark, which was likely from training too little and riding too aggressively. A physical trainer friend of mine recommended active rest. So, I took a 20-mile ‘rest day’ riding to Carlisle, where I flipped my rear wheel to take advantage of the freewheel. Coasting down hills for a few days rested my knee and allowed me to finish the ride in the fixed-gear setup.
Wear a cycling cap
The humble cotton cycling cap can absorb 27 times its own weight, which came in handy for both rain and sweat. And it kept the rising/setting sun out of my eyes. They wash easily, dry quickly and let everyone know that you’re a serious cyclist, even off the bike.
You don’t need an occasion
Like drinking a great bottle of wine, the ride is the occasion. So don’t wait around for the perfect time or weather. When my wife’s work contract finished a few weeks early, I realised that our six-year-old would be in good hands, so I dug out my packing list, and took the gap. She was a touch surprised since this was at 20:00 the night before I left, but when opportunity knocks, only the fool fails to open the door.


