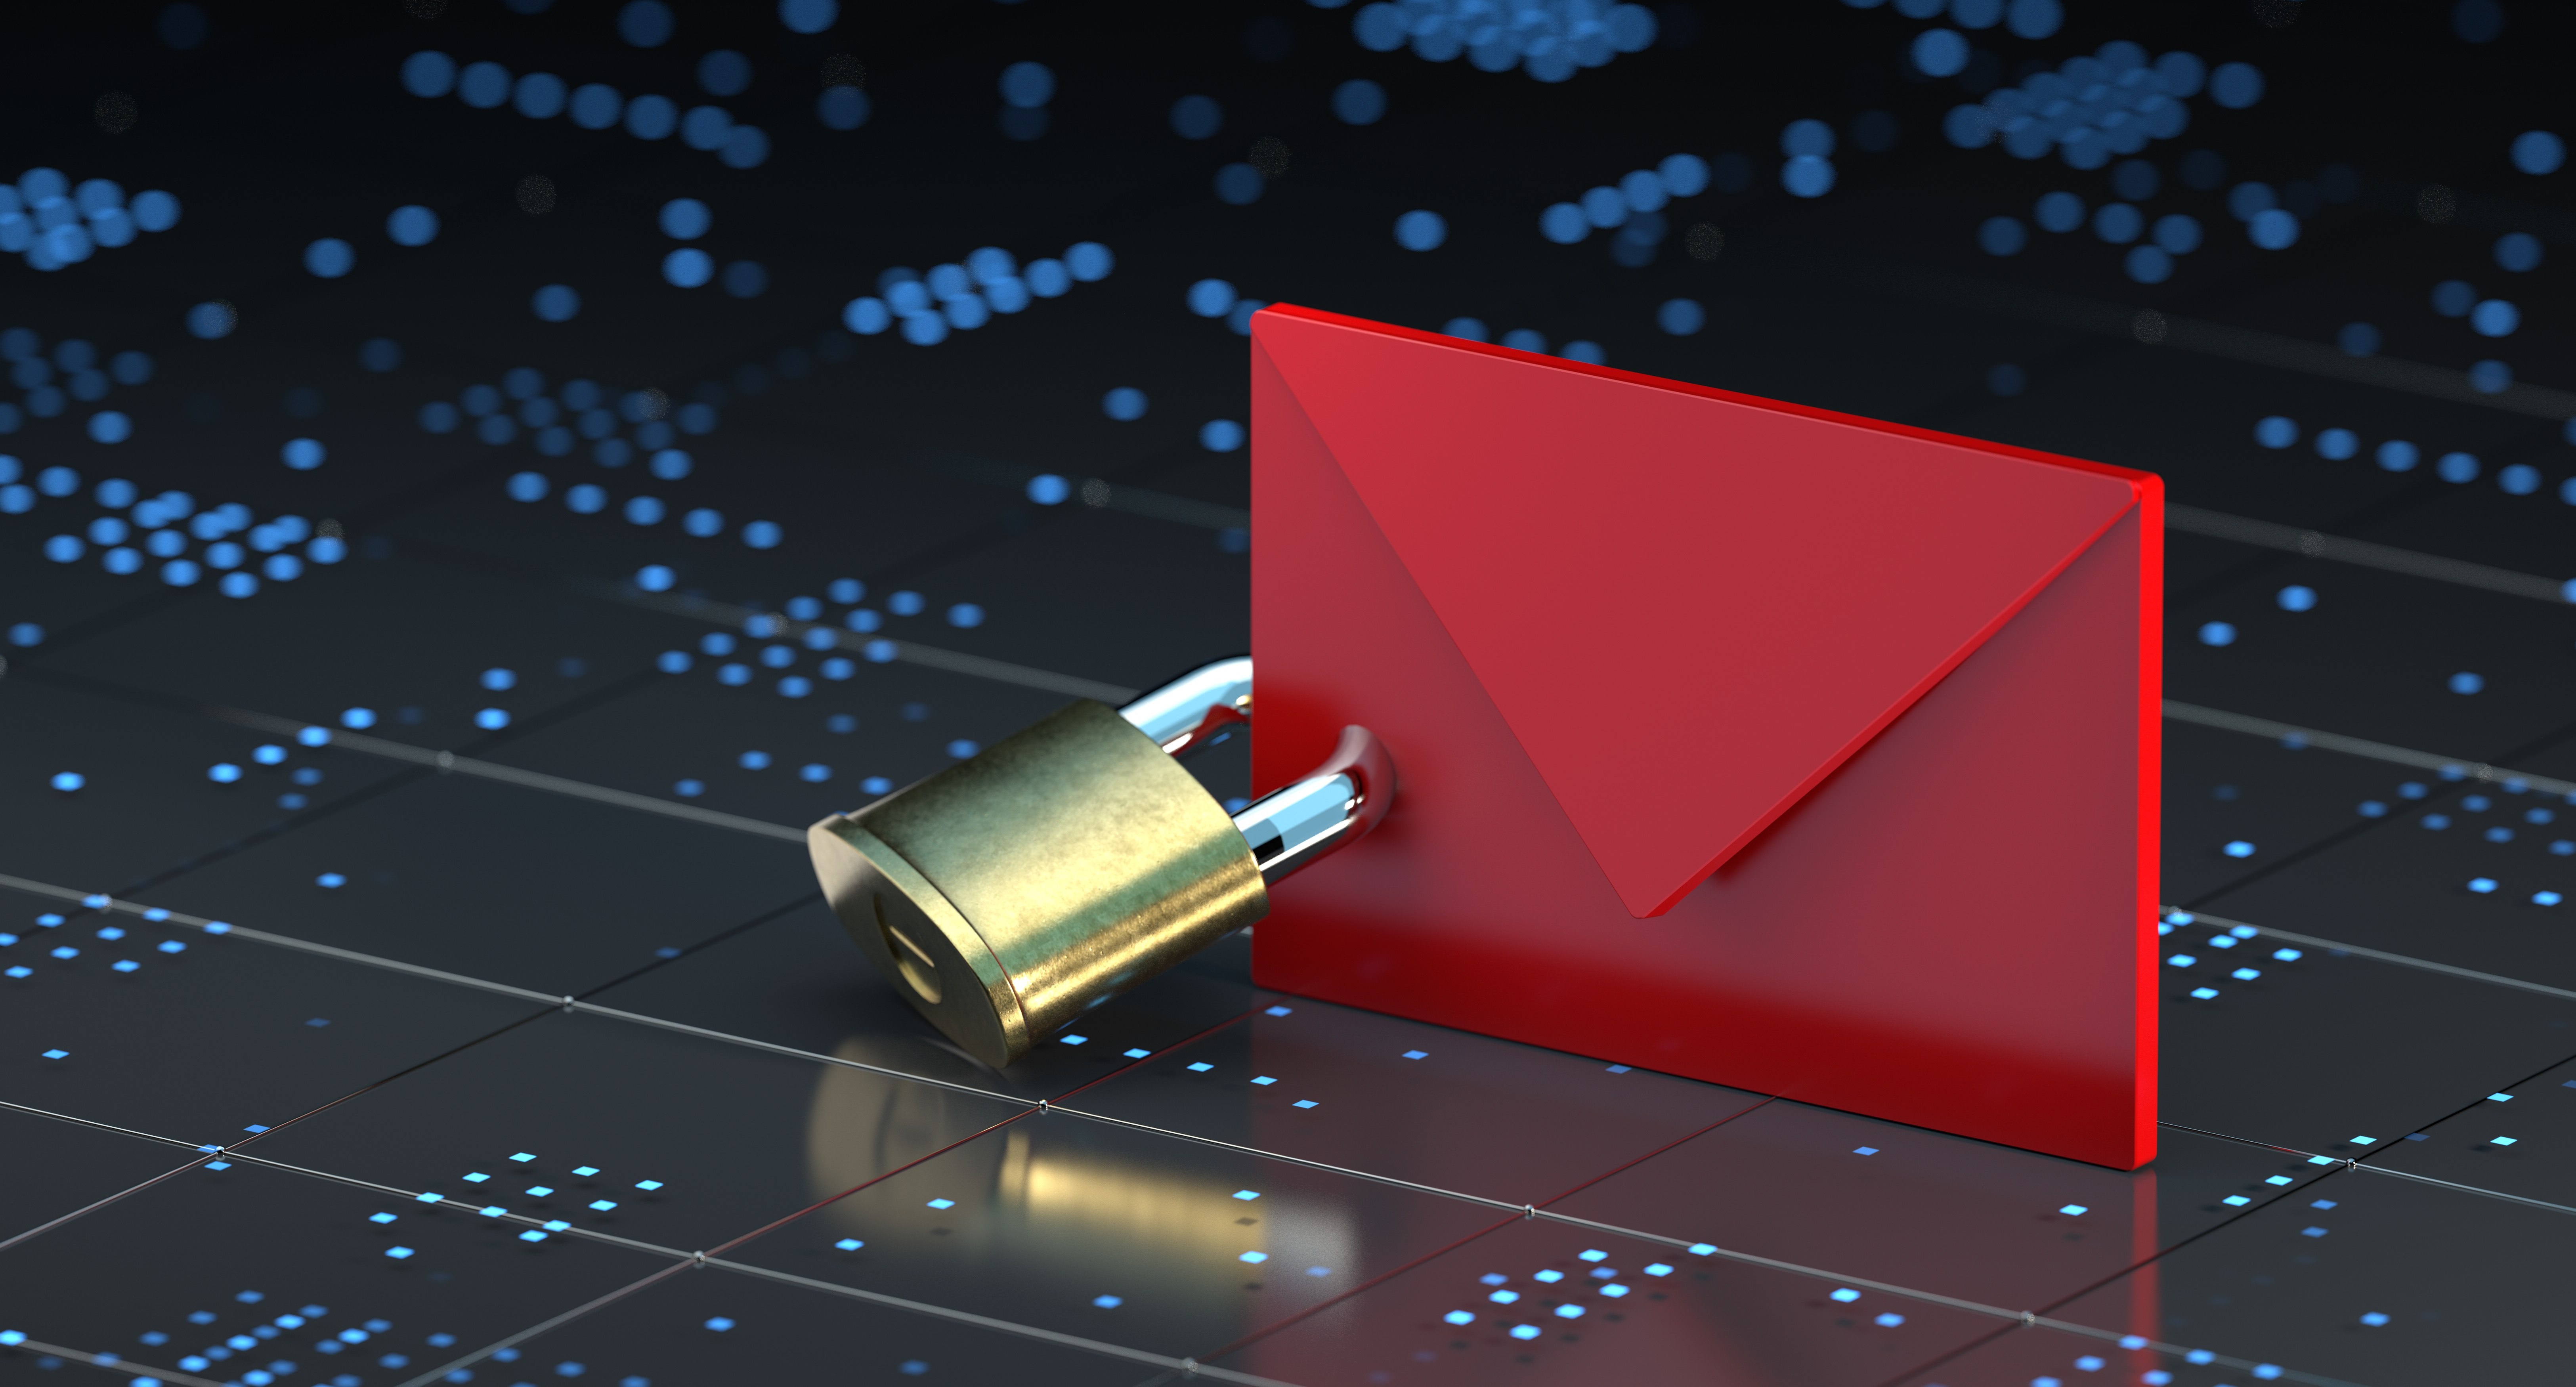
In an age where data breaches and privacy concerns are increasingly common, securing email communication is more critical than ever. Migrating from a less secure email service to a more secure one can seem daunting, but the transition can be smooth and efficient with a step-by-step approach. Below is a comprehensive guide on migrating your existing email account to a secure email platform.
1. Choose a Secure Email Provider
Before you can migrate to a new email service, selecting a secure and reliable email provider is important. Look for services that offer end-to-end encryption, which ensures that only you and the intended recipient can read the contents of your emails. This adds a crucial layer of security, especially if you often share sensitive information.
Additionally, review the provider’s privacy policy carefully. A strong privacy policy should clearly outline how your data is managed, what information is collected, and whether it is shared with third parties. Opt for providers that minimize data collection and prioritize user privacy.
When considering jurisdictions, it’s beneficial to choose email providers that operate under laws that protect user data, such as the General Data Protection Regulation (GDPR) in the European Union or the Federal Trade Commission (FTC) regulations in the U.S. These laws establish strict guidelines on data handling and user privacy.
Some of the best secure email services that align with these criteria include:
ProtonMail: Based in Switzerland, ProtonMail offers robust end-to-end encryption and has a strong privacy framework, as Swiss laws provide significant protection for personal data.
Tutanota: Based in Germany, Tutanota features end-to-end encryption for emails and the entire mailbox and address book. It complies with GDPR, making user privacy a priority.
By evaluating these aspects, you can ensure that your transition to a new email service protects your privacy and enhances your security.
Features to consider
When choosing a secure messaging app, prioritize features that protect your communications. Look for end-to-end encryption, which ensures that only the intended recipient can decrypt your messages, minimizing interception risks.
Two-factor authentication (2FA) is also crucial, as it adds an extra security layer by requiring both your password and a secondary verification method, like a code sent to your phone. This reduces the chances of unauthorized access.
Consider the app's server location concerning data privacy laws. Apps operating under strong regulations, like the EU's GDPR, often provide better data protection.
Using open-source technology enhances trust, allowing independent experts to audit the code for vulnerabilities and ensuring transparency.
Lastly, apps with zero-knowledge architecture ensure that the service provider cannot access or decrypt your messages, protecting user privacy even in a data breach.
By considering these factors, you can select a messaging app that prioritizes your security and privacy.
2. Setting up a new account
Creating your new account is a breeze once you've chosen your secure email provider. Here's a quick walkthrough:
Head to the provider's website and locate the signup page. Most providers offer free email accounts, so you shouldn't worry about upfront costs.
Choose a username and password. Your username will be your email address, so select something memorable and professional. For your password, choose a strong combination of letters, numbers, and symbols you won't use for other online accounts.
Set up two-factor authentication. This extra layer of security helps protect your account from unauthorized access. When enabled, you'll receive a code via text message or authenticator app whenever you try to log in from a new device.
Configure your recovery options. If you ever forget your password, you'll need a way to recover your account. Choose a recovery email address or phone number that you can access.
Start using your new secure email account! Knowing your communications are protected, you can now send and receive emails with peace of mind.
3. Export old emails
If you want to keep your old emails, you'll need to export them from your current service. Most email services offer a way to download your data. This process will vary depending on your provider, but generally, you can follow these steps:
For Gmail:
1. Go to Google Takeout.
2. Select only "Mail" or choose specific labels.
3. Choose the file format and delivery method, then click “Create export”.
For Outlook:
1. Open Outlook and go to File -> Open & Export.
2. Select “Import/Export” to open the wizard.
3. Choose “Export to a file” and select “Outlook Data File (.pst)”.
4. Import emails to your new secure email account
After exporting your emails, it’s time to transfer them to your new secure email account. Many providers offer import tools or support resources, so check the documentation of your new service for specific procedures.
For complex migrations involving multiple accounts or extensive archives, consider using tools like MailStore or Thunderbird. MailStore helps create backups and restore emails easily, while Thunderbird provides powerful import options that maintain folder structures and metadata.
Before starting the migration, organize your emails by deleting unnecessary messages and categorizing important ones. This will streamline the import process.
Ensure you have a stable internet connection during the transfer, and be prepared for it to take some time, especially with large amounts of data. Monitor the progress and address any errors that arise.
With proper tools and some preparation, you can successfully transfer your emails to your new service. Don’t forget to explore the new features and security options available to enhance your email experience.
5. Update your email address across services

Switching to a new email address requires some digital housekeeping to ensure a smooth transition. It's essential to approach this process methodically to avoid any disruption in communication or access to important services.
Start by listing all the services, subscriptions, and contacts associated with your old email address. This includes vital accounts like online banking, e-commerce sites, and subscription-based services like streaming platforms, newsletters, and software applications. Take note of any promotional or loyalty accounts requiring email verification for updates or rewards.
Additionally, don't forget your social media profiles. Updating your email on platforms like Facebook, Twitter, LinkedIn, and Instagram is crucial, as these platforms often use your email for notifications, security alerts, and important updates. Check any associated apps that may require your new email for notifications or account recovery.
Professional contacts are equally important. Inform colleagues, clients, and networking connections about your new email address to ensure you remain reachable. It may be helpful to send a blanket email from your old account explaining the change and requesting them to update their records.
Moreover, consider updating your email address in any personal or work-related documents containing your old address. This might include resumes, cover letters, or any documentation for ongoing projects.
Taking the time to update these records methodically prevents missed notifications, ensures you receive important information and maintains seamless communication with the people and services that matter most. Remember to monitor your old email account for a while after the transition, just in case any messages slip through the cracks, allowing you to redirect important communications to your new address.
6. Set up email forwarding
To set up forwarding on your old email account, start by logging in to your account. Once you're in, navigate to the settings menu, which is usually represented by a gear icon or found in the account dropdown. Look for an option labeled "Forwarding" or "Mail Forwarding."
After selecting that option, enter your new secure email address in the designated field. Make sure to check any boxes that may allow you to keep a copy of the forwarded emails in your old account, which can be helpful for backup purposes.
Some email providers may ask you to verify this new forwarding address. If prompted, follow the verification steps, which might include clicking a link sent to your new email.
Once the setup is complete, try sending a test email to your old address to ensure that it is being forwarded correctly. Monitor both accounts for a few weeks to confirm that all incoming messages are being redirected properly. This will help you catch any important emails during the transition period and ensure that you don't miss out on critical communications.
Additionally, consider updating any contacts or services that use your old email address to avoid future confusion.
7. Secure your new email account
Congratulations on setting up your secure email account! To keep it secure, regularly update your password with a strong combination of at least 12 characters, mixing uppercase and lowercase letters, numbers, and special characters. A memorable passphrase made up of random words can help with this.
Check your account settings for enhanced security features like two-factor authentication (2FA) or multifactor authentication (MFA). Enable additional protections like advanced spam filters and anti-phishing measures. Familiarize yourself with options to report suspicious messages or block unwanted senders.
Stay vigilant by reviewing your login activity regularly. Many email providers have a security log to help you monitor recent logins. If you spot any unfamiliar activity, take immediate action, such as changing your password.
By following these steps, you can help ensure your account remains secure and your communications private. Stay informed about the latest security threats and best practices to maintain your email security.
8. Educate yourself about phishing and scams
Moving to a secure email provider is a significant step towards better security, but it’s also essential to remain vigilant about phishing attacks and scams. Phishing attacks often come in the form of unsolicited emails that appear to be from legitimate sources, such as banks, online services, or even colleagues. These emails may urge you to click on links or provide personal information, such as passwords or credit card details.
To protect yourself, take the time to educate yourself about the common signs of phishing attempts. Look for discrepancies in email addresses, poor grammar or spelling, and generic greetings that don’t use your name. Additionally, always verify the legitimacy of any requests by contacting the institution directly through official channels rather than relying on the contact information provided in the email.
Utilizing additional security measures, such as enabling two-factor authentication, can further safeguard your accounts. Being cautious and skeptical about unsolicited emails will help you maintain better control over your personal information and enhance your overall online security. Stay informed and proactive in recognizing potential threats to ensure a safer digital experience.
9. Regularly backup your emails

Set up a schedule to regularly back up your emails either using built-in options provided by your secure email provider or using third-party software. Most email services offer automatic backup features that can be configured to run daily, weekly, or monthly. If your provider does not offer this, consider using third-party software like MailStore or Backupify, which can efficiently archive and back up your emails to local or cloud storage.
When setting up your backup schedule, ensure that you also consider the retention period for your backups. It’s a good practice to keep multiple versions of backups for a certain period to safeguard against corruption or unexpected issues. Additionally, routinely check the integrity of your backups by attempting to restore a few emails or folders to confirm that the process is functioning correctly.
Make sure to use secure methods to store your backups, such as encryption or secure cloud storage options, to protect sensitive information. Regularly reviewing and updating your backup plan based on your evolving needs is also recommended, as this helps ensure that you are always well-protected against potential data loss due to accidental deletions or malicious attacks.
Conclusion
Migrating to a secure email service is an important step toward protecting your personal information and enhancing your online security. By following these detailed steps, you can ensure a smooth transition to your new secure email provider, and enjoy greater peace of mind knowing your communications are better protected.
For any issues during migration, don’t hesitate to reach out to the customer support of your new secure email provider. They can provide guidance specific to their service, ensuring a seamless transition.


