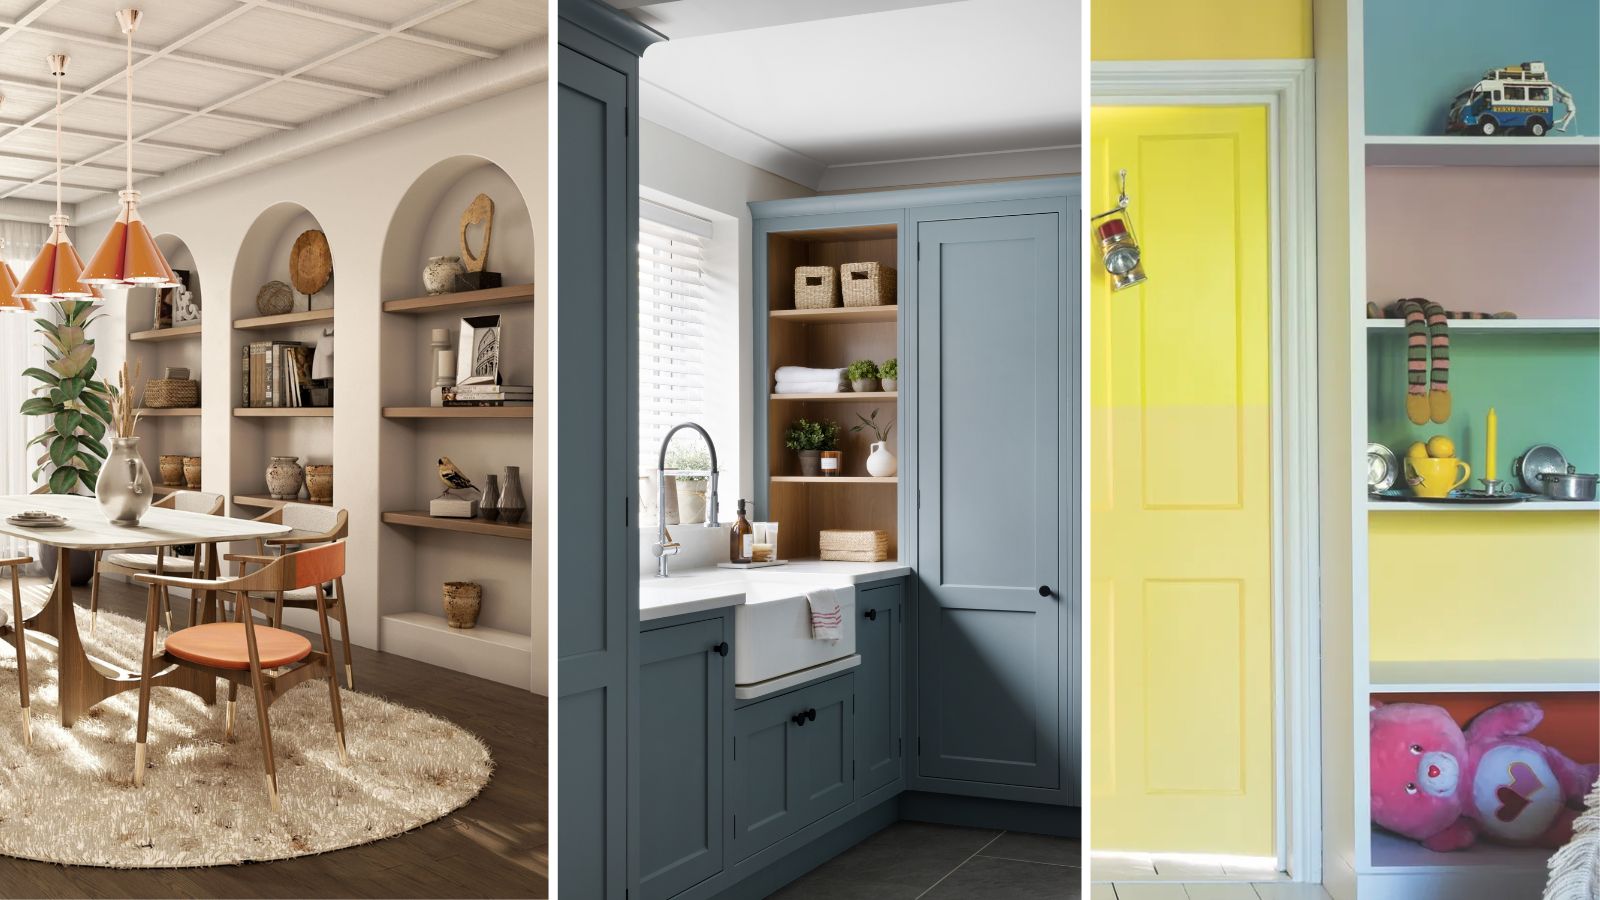
Shelves are a simple but smart addition to any home, delivering decor and functionality in an aesthetically pleasing package.
While you may think it's straightforward to install them, there are some common mistakes our construction and DIY pros say to avoid. you need to avoid. Get the installation wrong and your shelves could be wonky, start to sag and even fall off the wall.
Basic straight shelves follow some simple rules, but if you have some clever alcove shelf ideas you need to dig a little deeper to get these right. These involve a little more know-how which our pros reveal in this guide.
Common DIY shelving installation mistakes
1. Ignoring wall studs
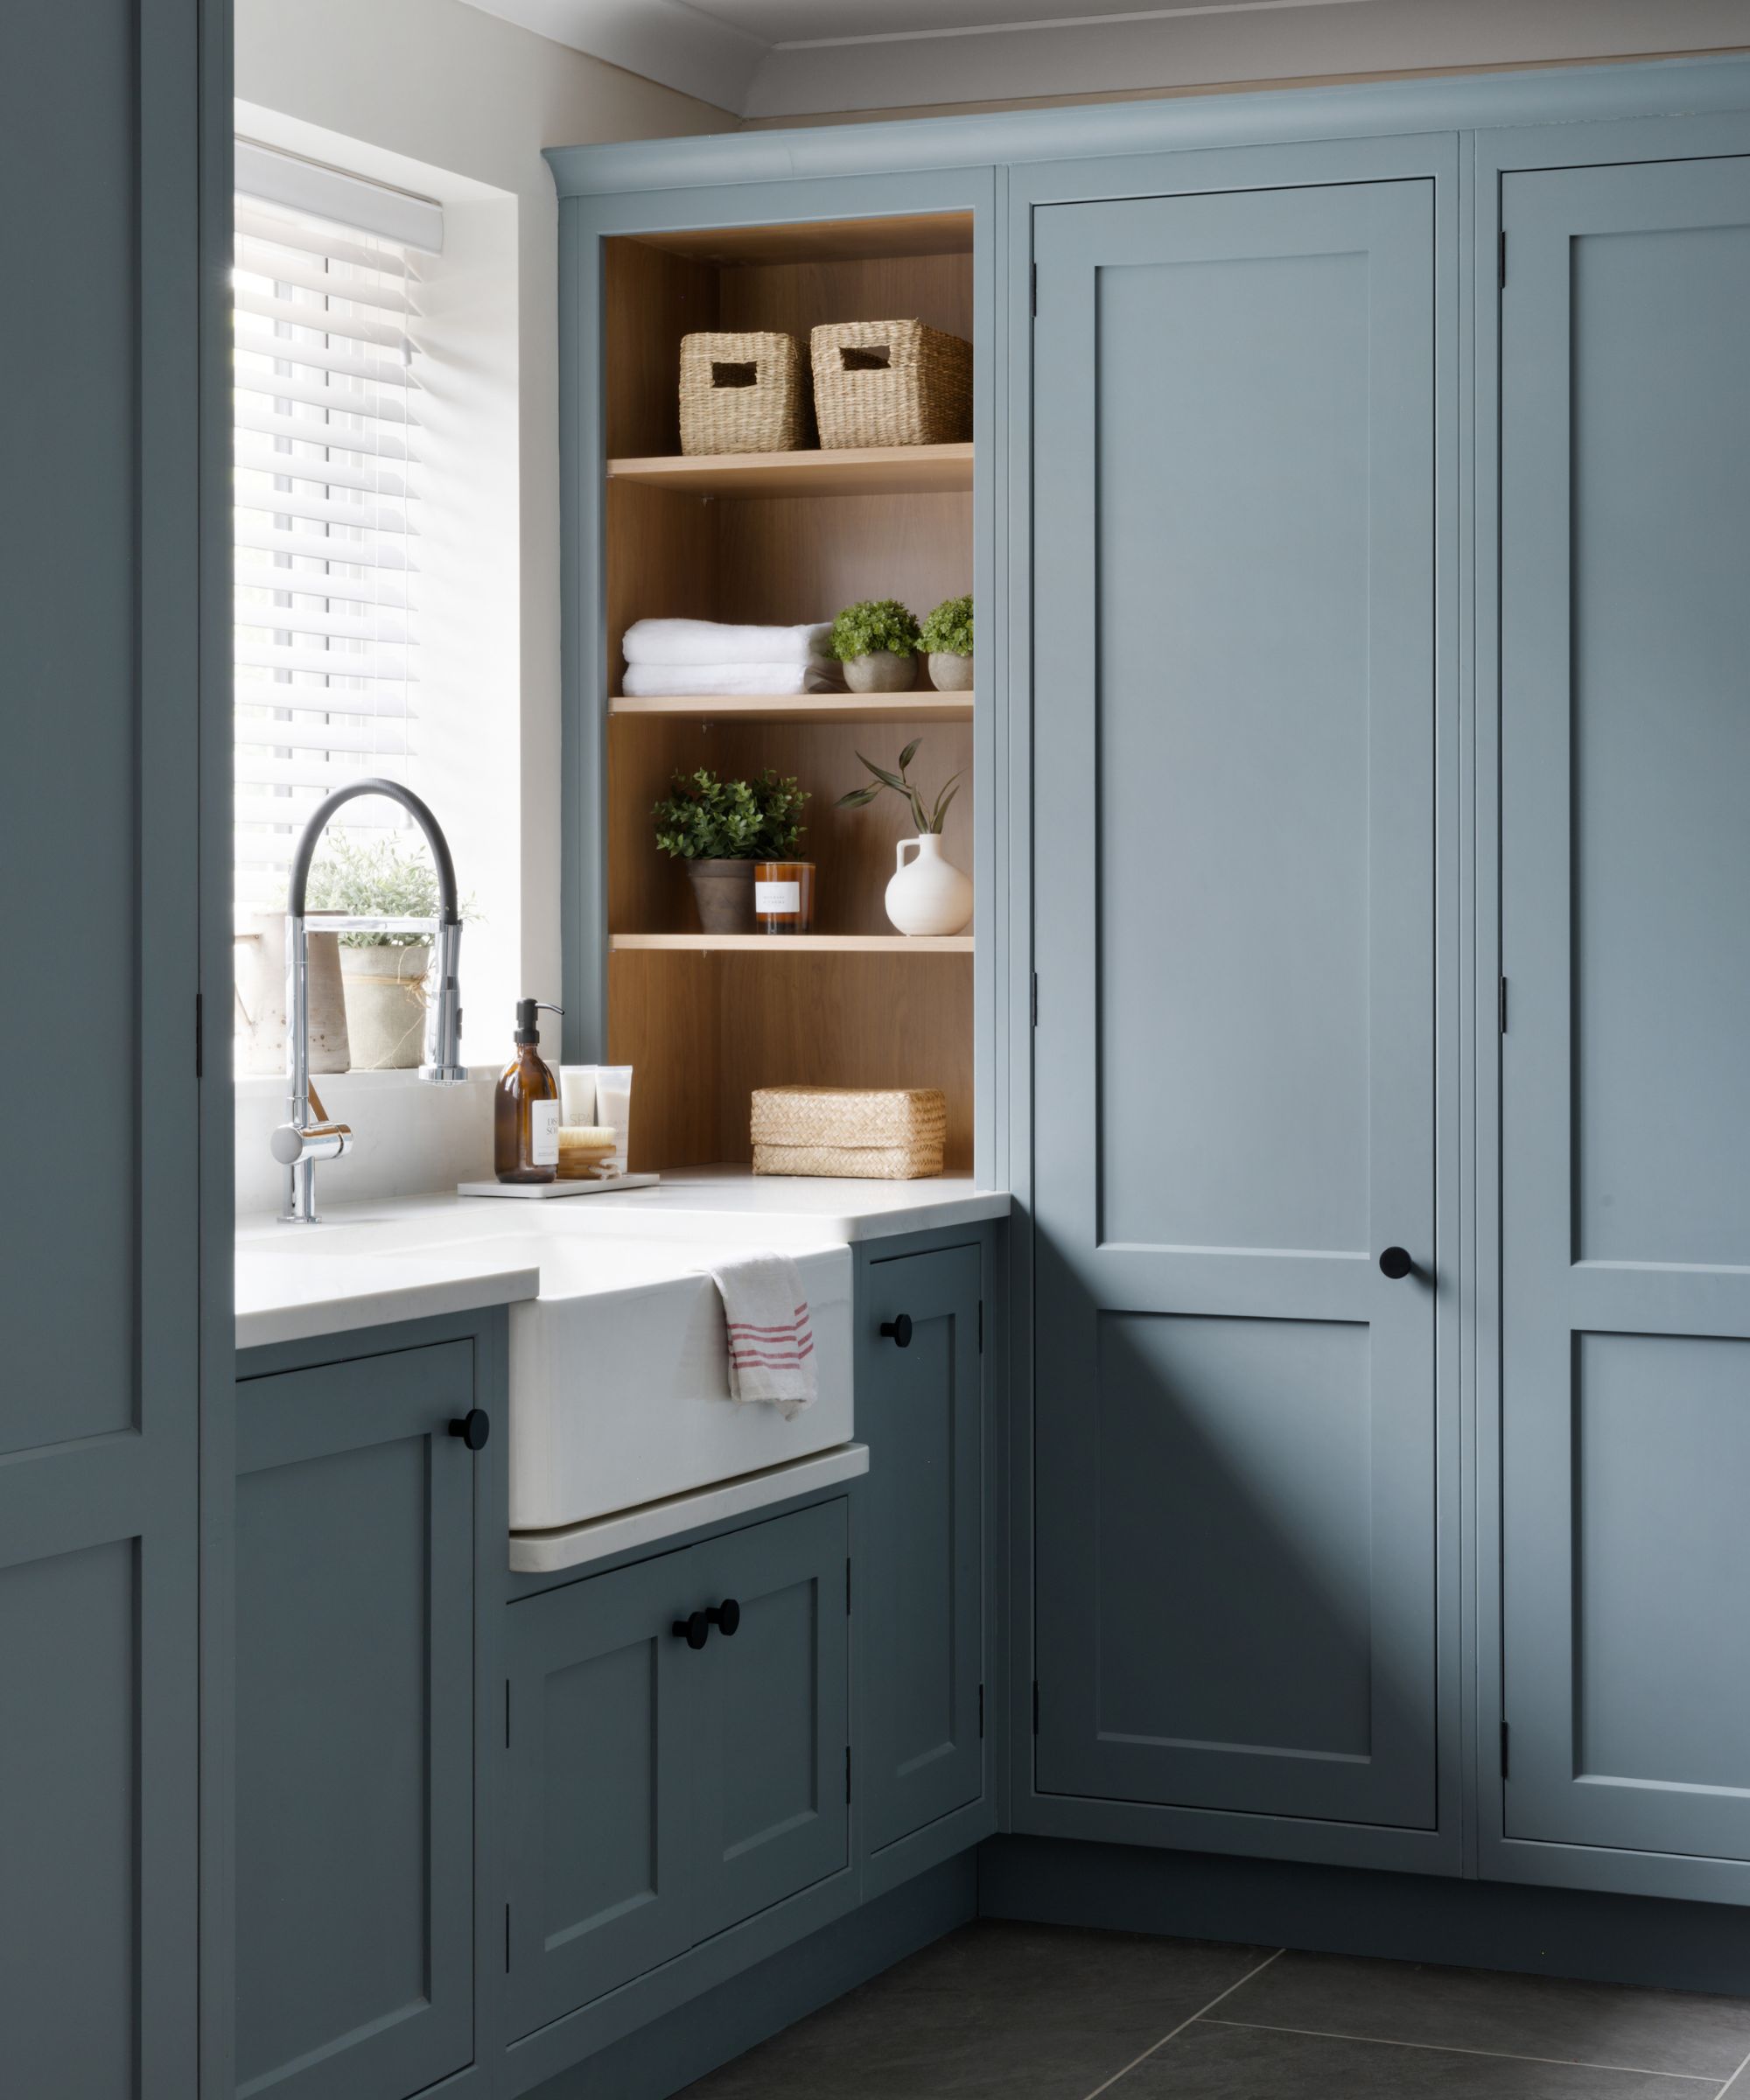
If you’re putting up shelves on drywall, locating the stud work to fix is the sensible option. Alexey Beliy, owner of HEX General Contractors explains, ‘Fixing directly to drywall might seem convenient, but it won’t hold much weight. Shelves attached only to drywall are likely to pull away, leaving you with cracked walls or fallen shelves.’
Beliy says, ‘The best way to find studs is by using a stud finder. I recommend the Franklin Sensors ProSensor 710, available from Amazon. This one is easy to use and shows the width of the stud, which is super helpful.'
The better option is to use the wall studs themselves to anchor your shelves. Beliy shares, ‘Wall studs are the structural support behind your walls, providing a solid foundation. Attaching shelves directly to studs gives you much stronger and long-lasting support than just into the drywall.'
Kat Christie, DIY Expert and Licensed Contractor at She Fixed That adds, ‘Honestly just use a really strong magnet and look for the screw head that attaches the drywall to the stud.’
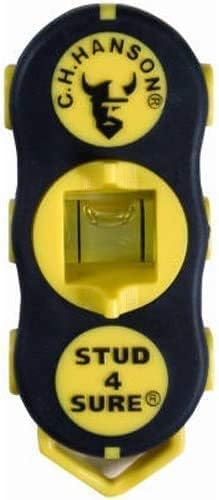
Christie recommends a magnetic stud finder like this model from Hanson. It's compact and easy to carry and has two strong magnets embedded into its body to detect nails and screws.
2. Not using a level

Using a level helps make sure that a shelf will be level. If you skip this step and eyeball it, you will likely end up paying the price later. Beliy explains, ‘If you skip out on using a level, your shelf will probably end up crooked and you’ll notice it every time you walk by. That would drive me crazy.’
Wonky shelves can not only end up making them look cheap, but also practically, leave items on your shelf prone to sliding or falling off. This one is definitely a DIY tip to heed.
A spirit level, such as Amazon's Choice, offers consistency when installing shelving across your home, Christie says, ‘If you're off level by a 16th of an inch, chances are you won't really notice. The only times that it really affects safety is if something is so off level that something may slide off of a surface.’
And you need to think about how to work with shelves in smaller spaces like alcoves. Christie says, ‘If you have a nice straight piece of wood, you can just put a bubble level on that.’ Beliy suggests, ‘Use a shorter level to avoid any wonky measurements.’
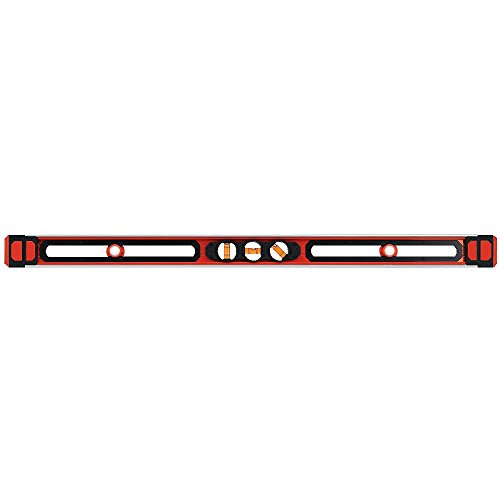
A quality level recommended by Beliy, 'It’s compact and works well for small areas but is long enough to give a good reading for a shelf.'
3. Not double checking measurements
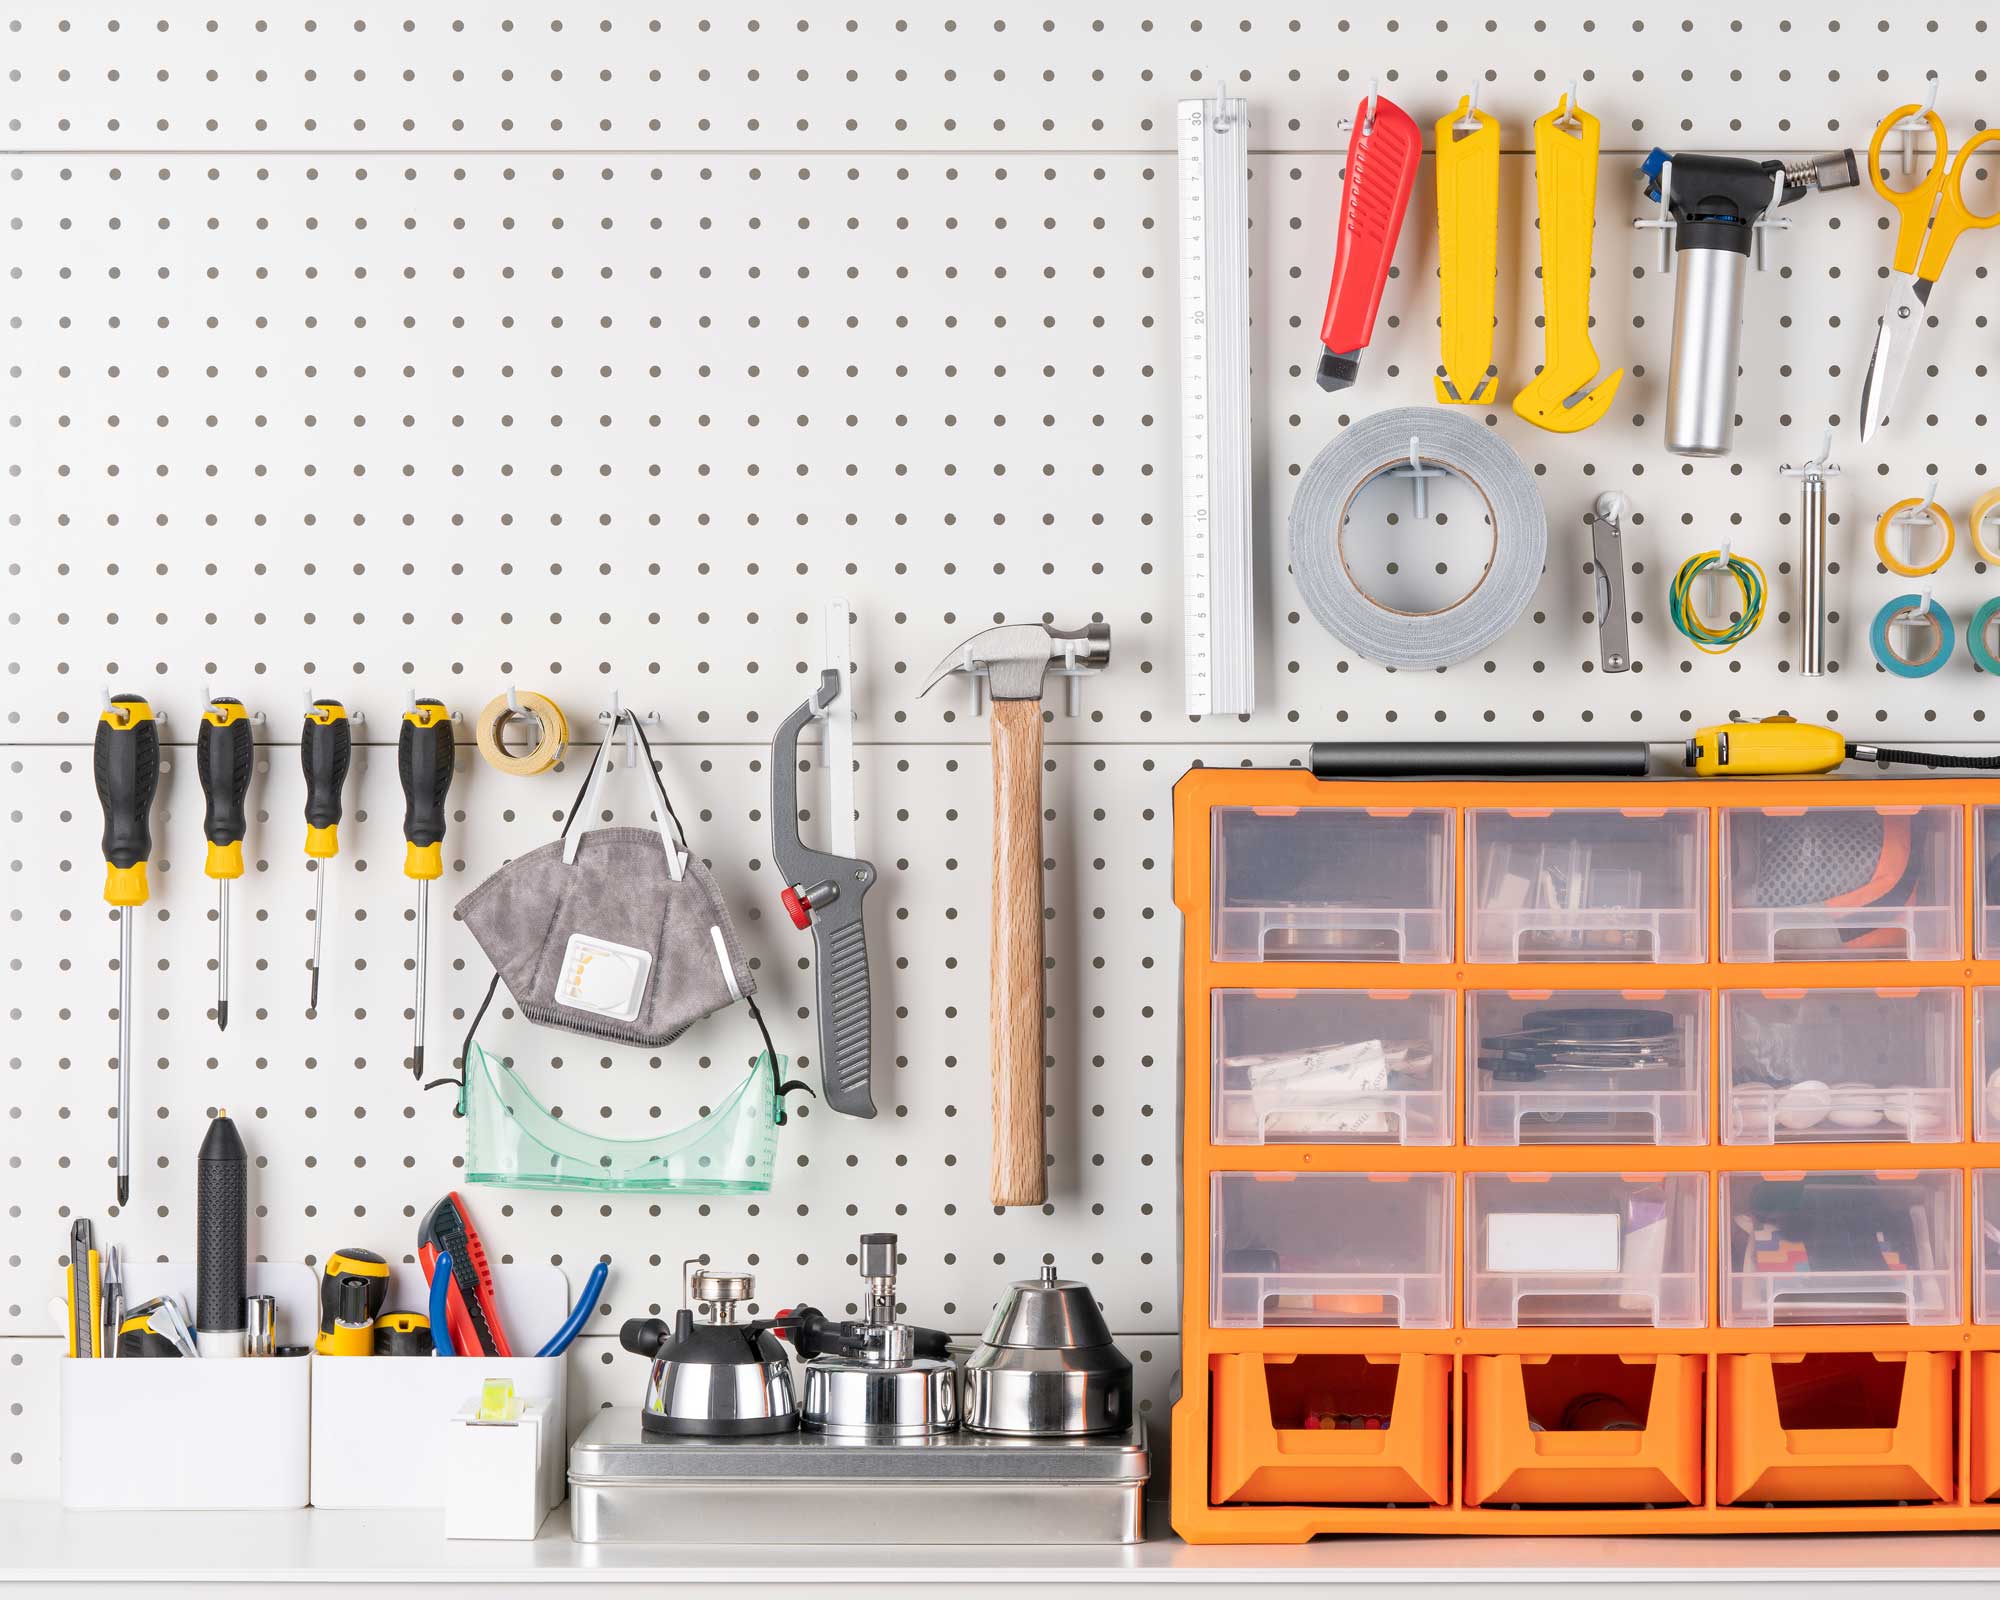
Not measuring accurately or misreading a measurement is a classic mistake that a lot of DIYers make but should be an essential DIY skill to know. Beliy reveals what you need to do, ‘Eyeballing measurements or forgetting to double-check can lead to costly mistakes. Mis-measuring means shelves don’t fit, look uneven, or don’t line up. The old adage stays true: measure twice, cut (or drill) once!’
To help make sure your measurements are true Beliy advises using painters tape on the wall or shelf to mark where you’ll be installing. This helps you visualize the space and make sure it’s accurate.
Christie adds, ‘Use a tape measure that has millimeters on one side and standard on the other. Because it’s far easier to divide 200 by 2 than it is to divide 3 5/16 by 2.’
But it's not just simplicity that makes the humble tape measure useful. Christie adds, ‘What's great about this type of tape measure is that a lot of hardware or other items you may order from other countries come in metric measurements rather than standard, this makes your life far easier when installing if the directions are in metric.
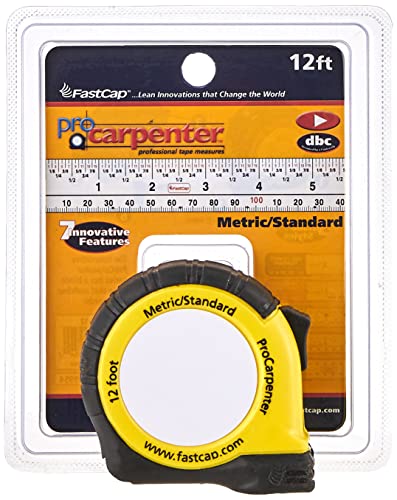
Christie highly recommends this tape measure from FastCap. 'It has millimeters on one side and standard on the other.' Perfect for all DIY jobs.
4. Using wrong shelf fixings
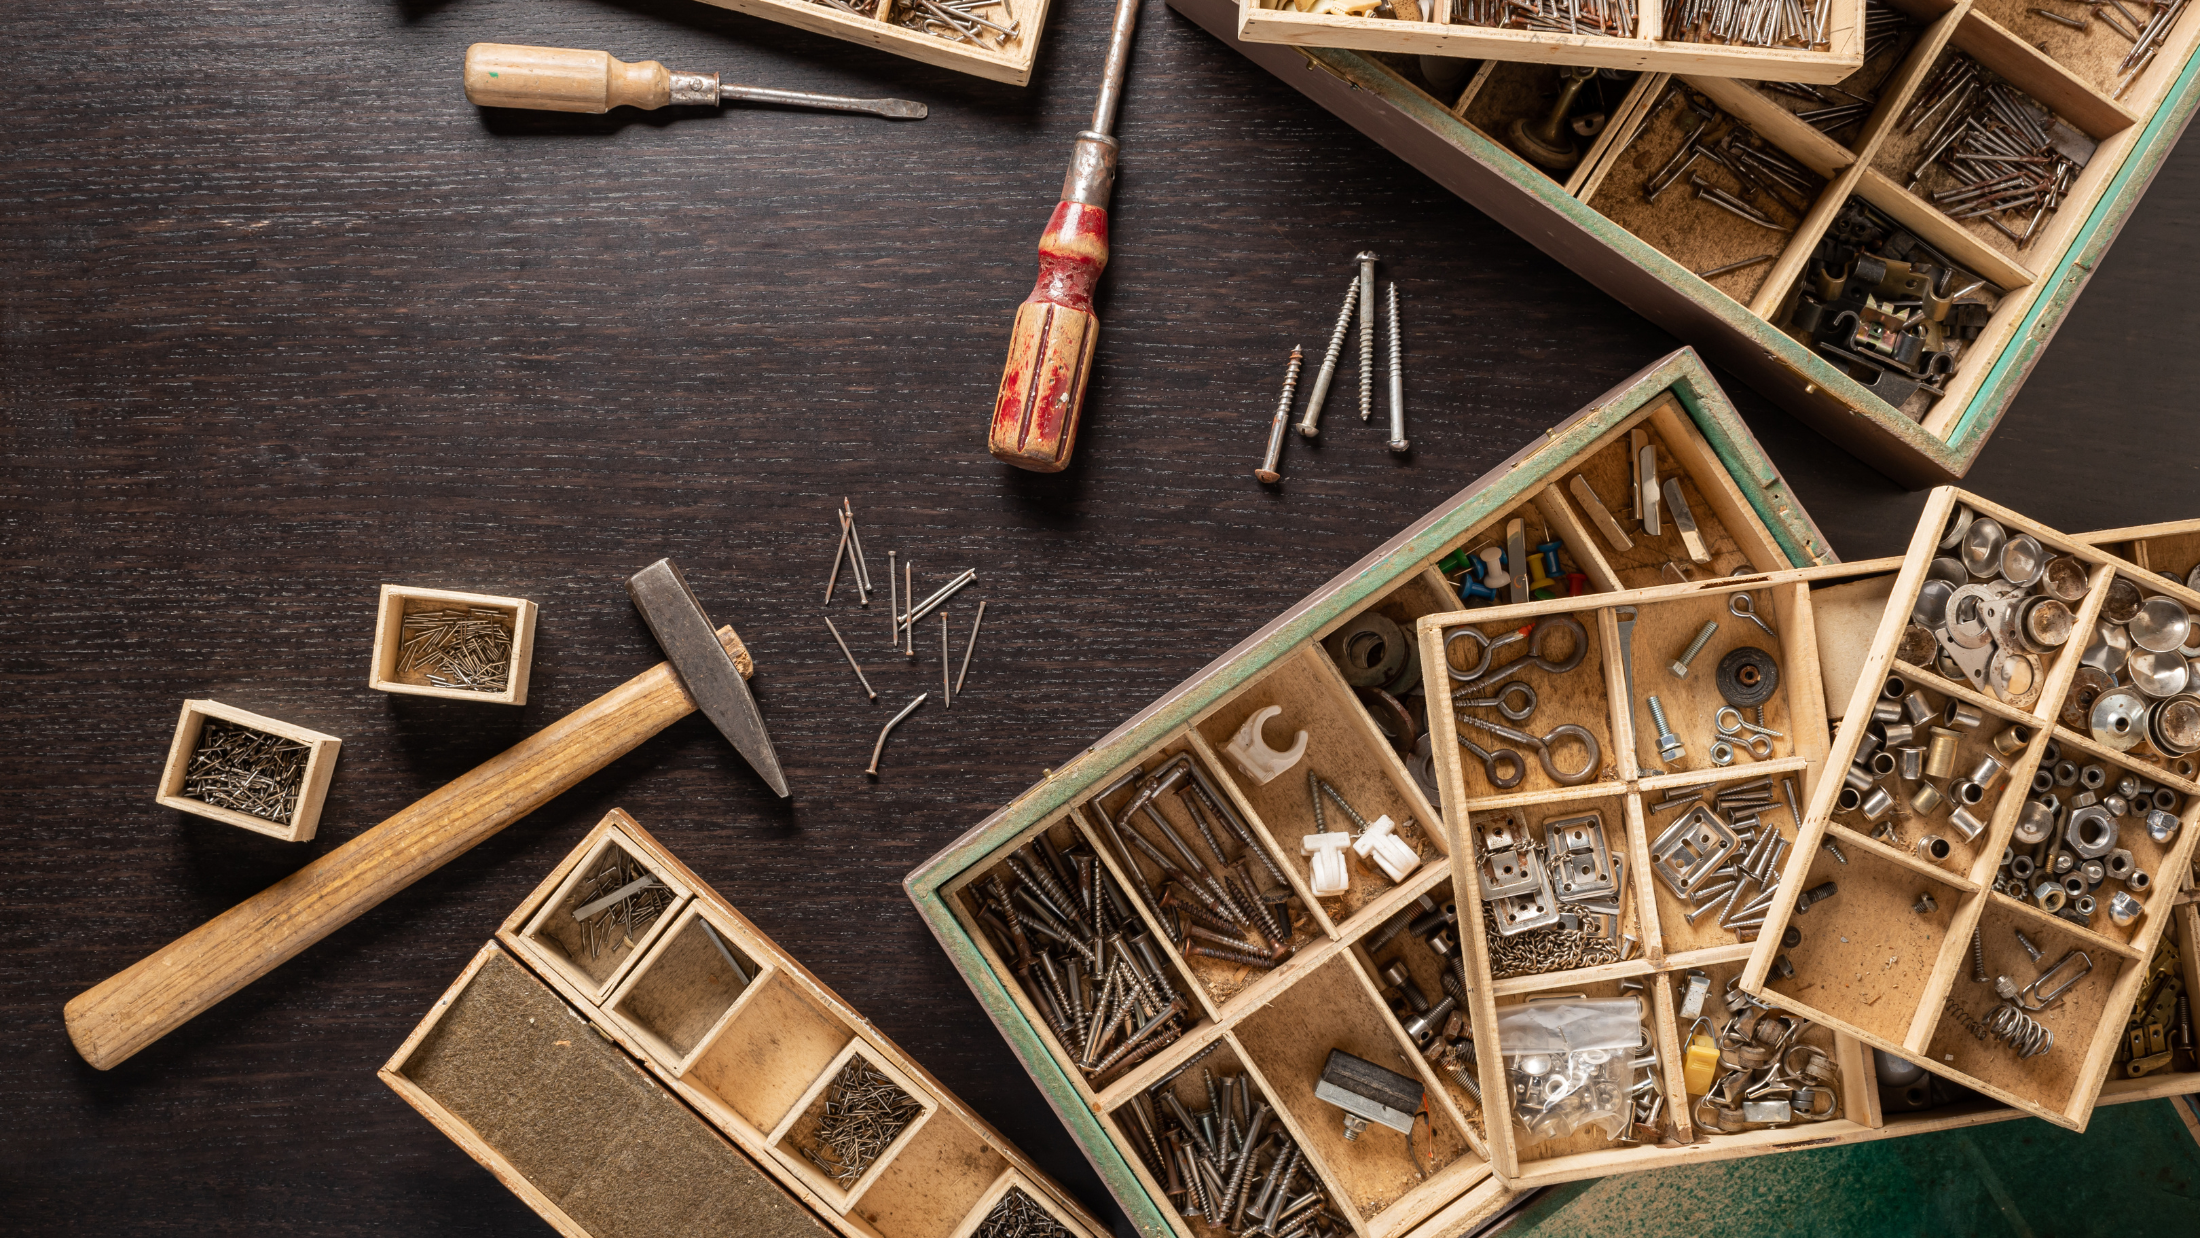
When putting up shelves, you need to make sure that you are choosing the right fixing for the wall material you are working with. Beliy explains, ‘Different wall materials need different fixings. Using the wrong one means your shelf might sag, pull away from the wall, or even collapse.’
He adds, ‘For drywall, use toggle bolts or heavy-duty anchors. For brick and concrete, masonry anchors are best.’ An alternative option is to use Rawl plugs like these Uno Universal Contract Wallplug from Amazon.
Using the correct fixings ensures stability and longevity of your shelf and can prevent a shelf from coming crashing down when you least expect it allowing you to confidently using it as a smart way to use vertical storage solution to save space.
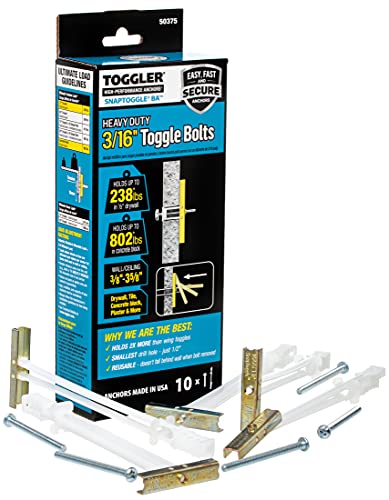
Beliy recommends Toggler SnapToggle Drywall Anchors as 'they’re high-quality and are excellent for heavy-duty drywall mounting, providing secure, reliable support.'
5. Using the wrong tools
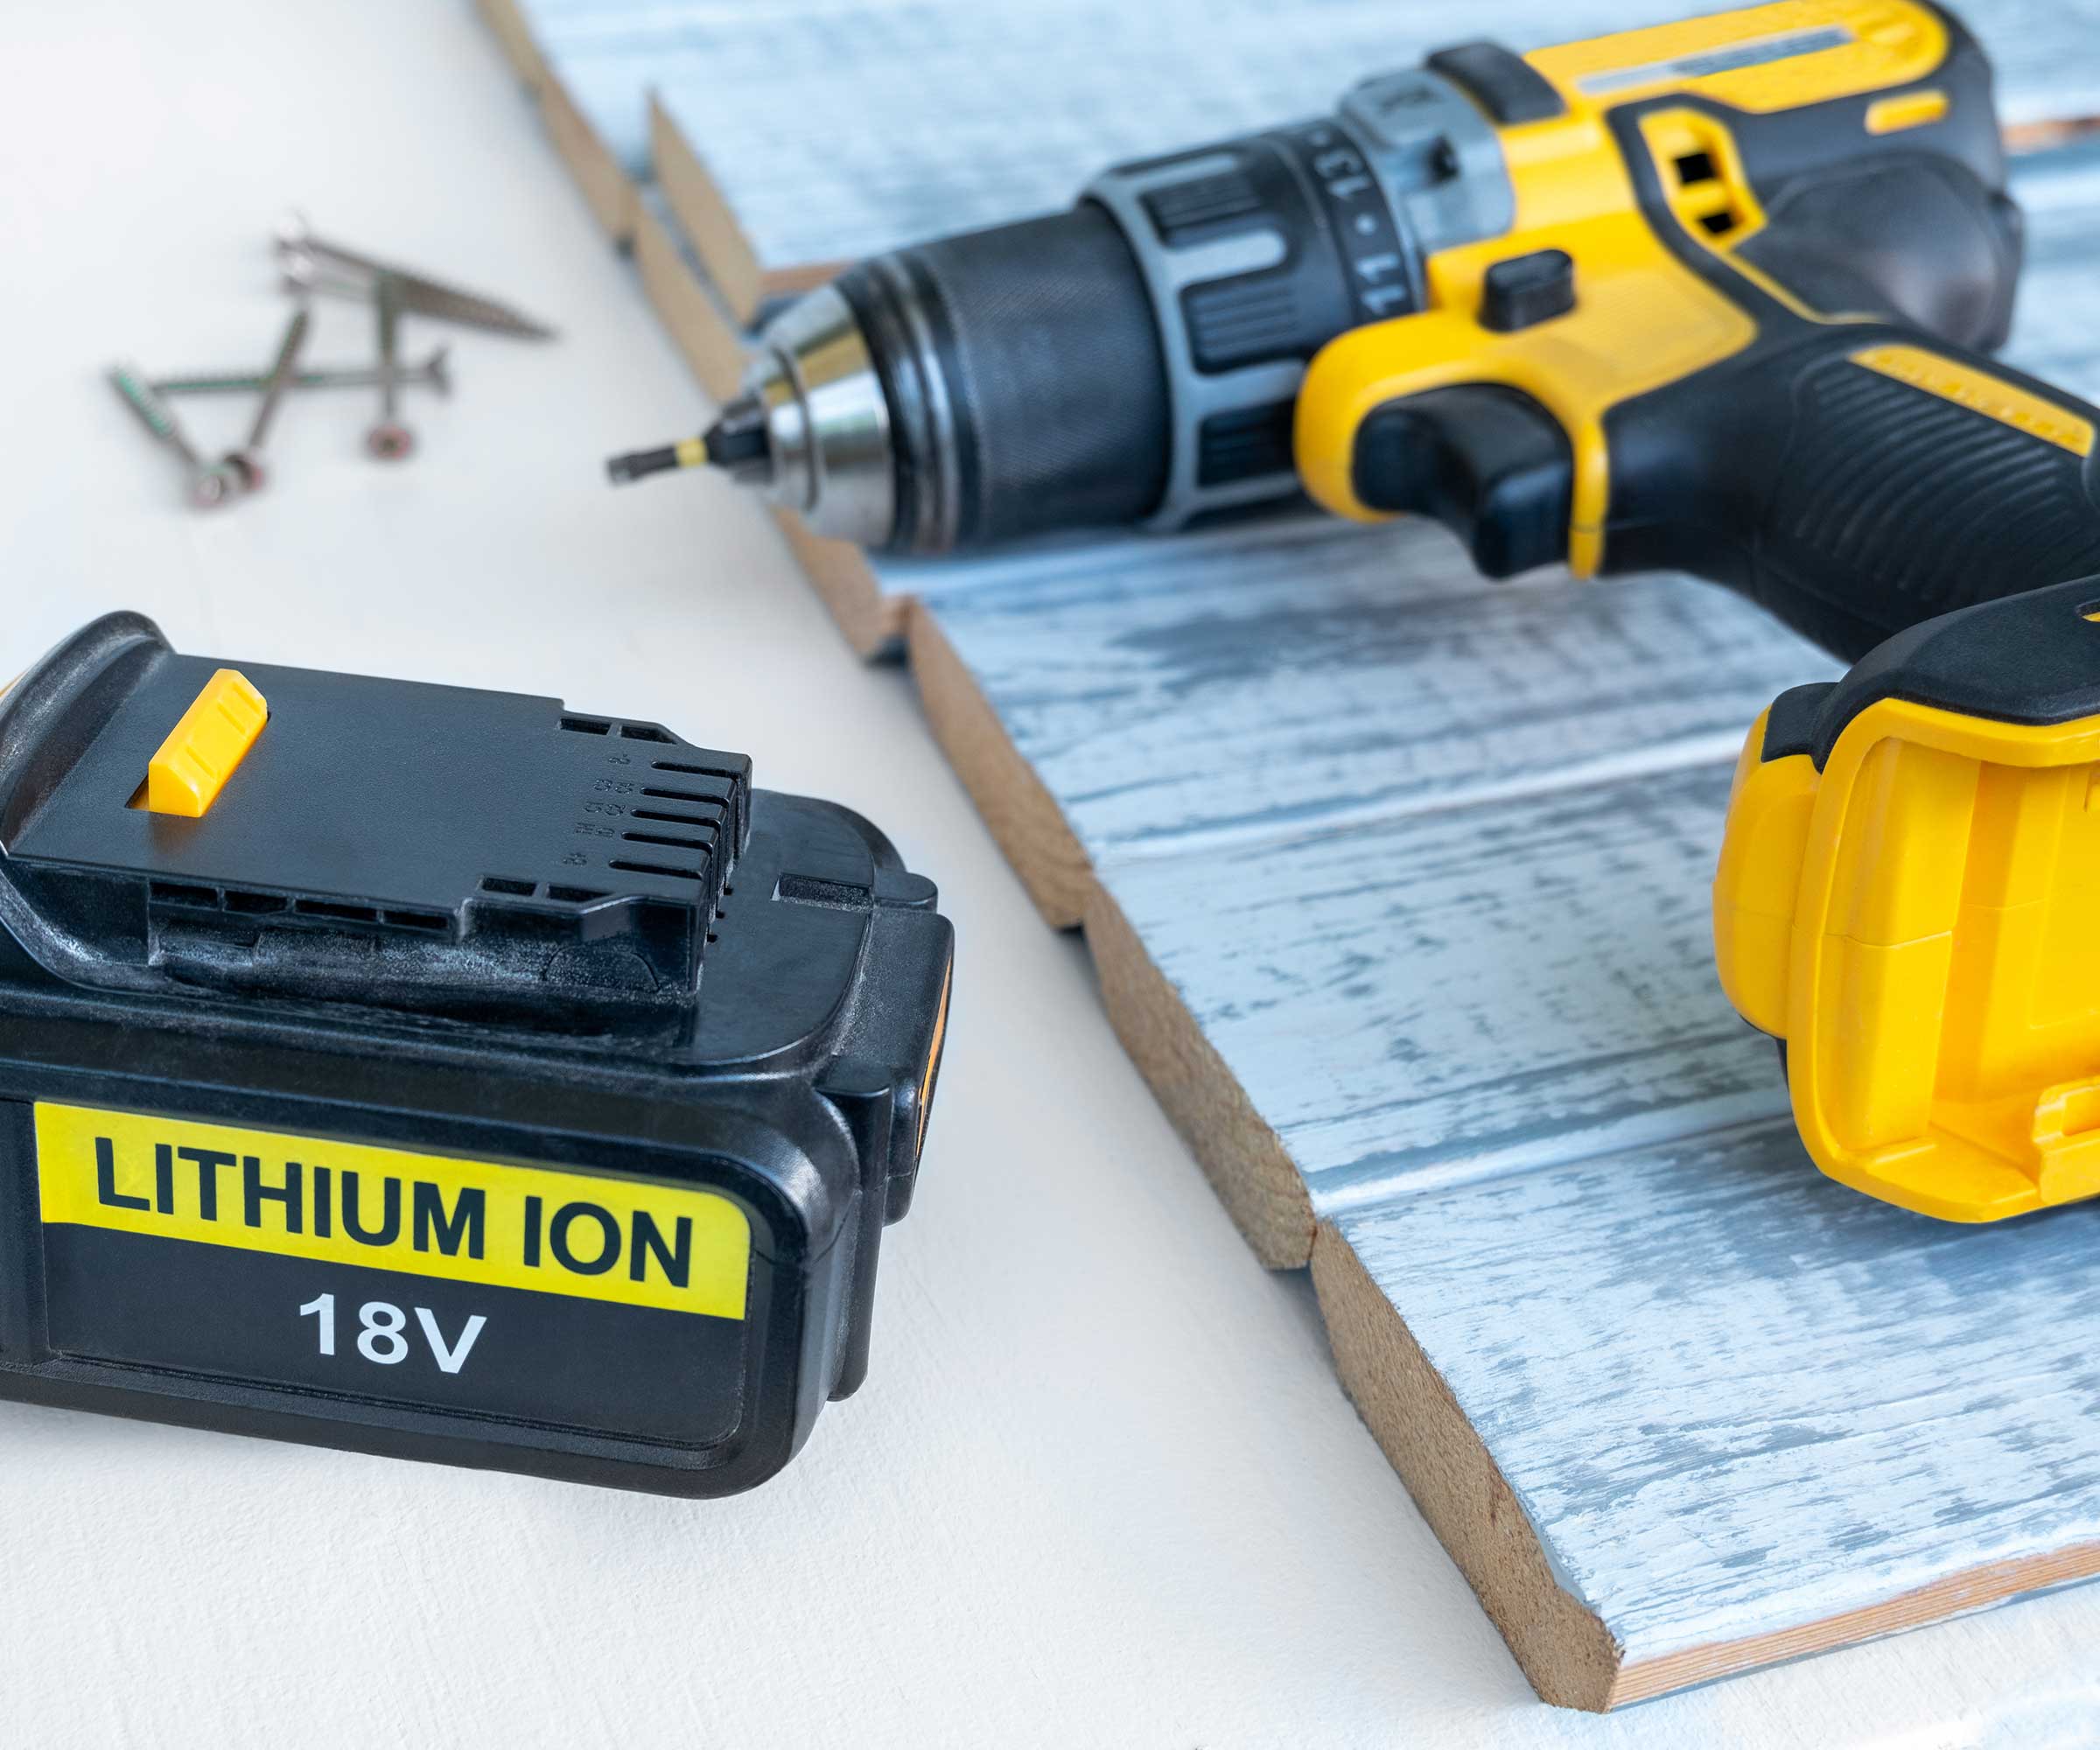
It's a common shelving mistake DIYers make, especially if you don't have the right DIY tools. If you don’t have the right tools it is wise to invest in new ones.
Christie says, ‘If you're drilling into wood or masonry make sure to use the right drill bit. I highly recommend using a masonry drill bit to drill into drywall. One reason is because if you accidentally hit a water pipe, it won't drill through the metal.
‘A standard drill is good for wood. An impact driver (such as the Milwaukee Lithium Ion Hex Impact Driver from Amazon) will help you drive long screws into wood. And for masonry, you want to use a hammer drill.’
For a clean cut on shelves, use a fine-toothed saw blade designed for the material.
But to get an even cleaner cut Christie adds, ‘Put a piece of painters tape around both sides of the surface where you will be cutting. This will minimize any tear out.’
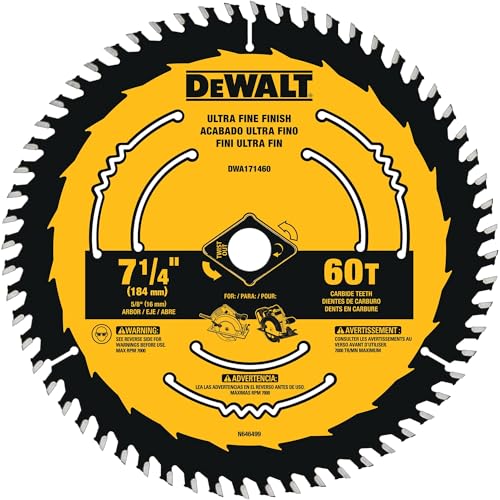
Made from high-density tungsten Carbide for toughness, wear-resistance, and long life, Beliy recommend this DEWALT Circular Saw Blade. He says, ‘It’s fantastic for clean, precise cuts on wood shelves.’
6. Not noting weight limit
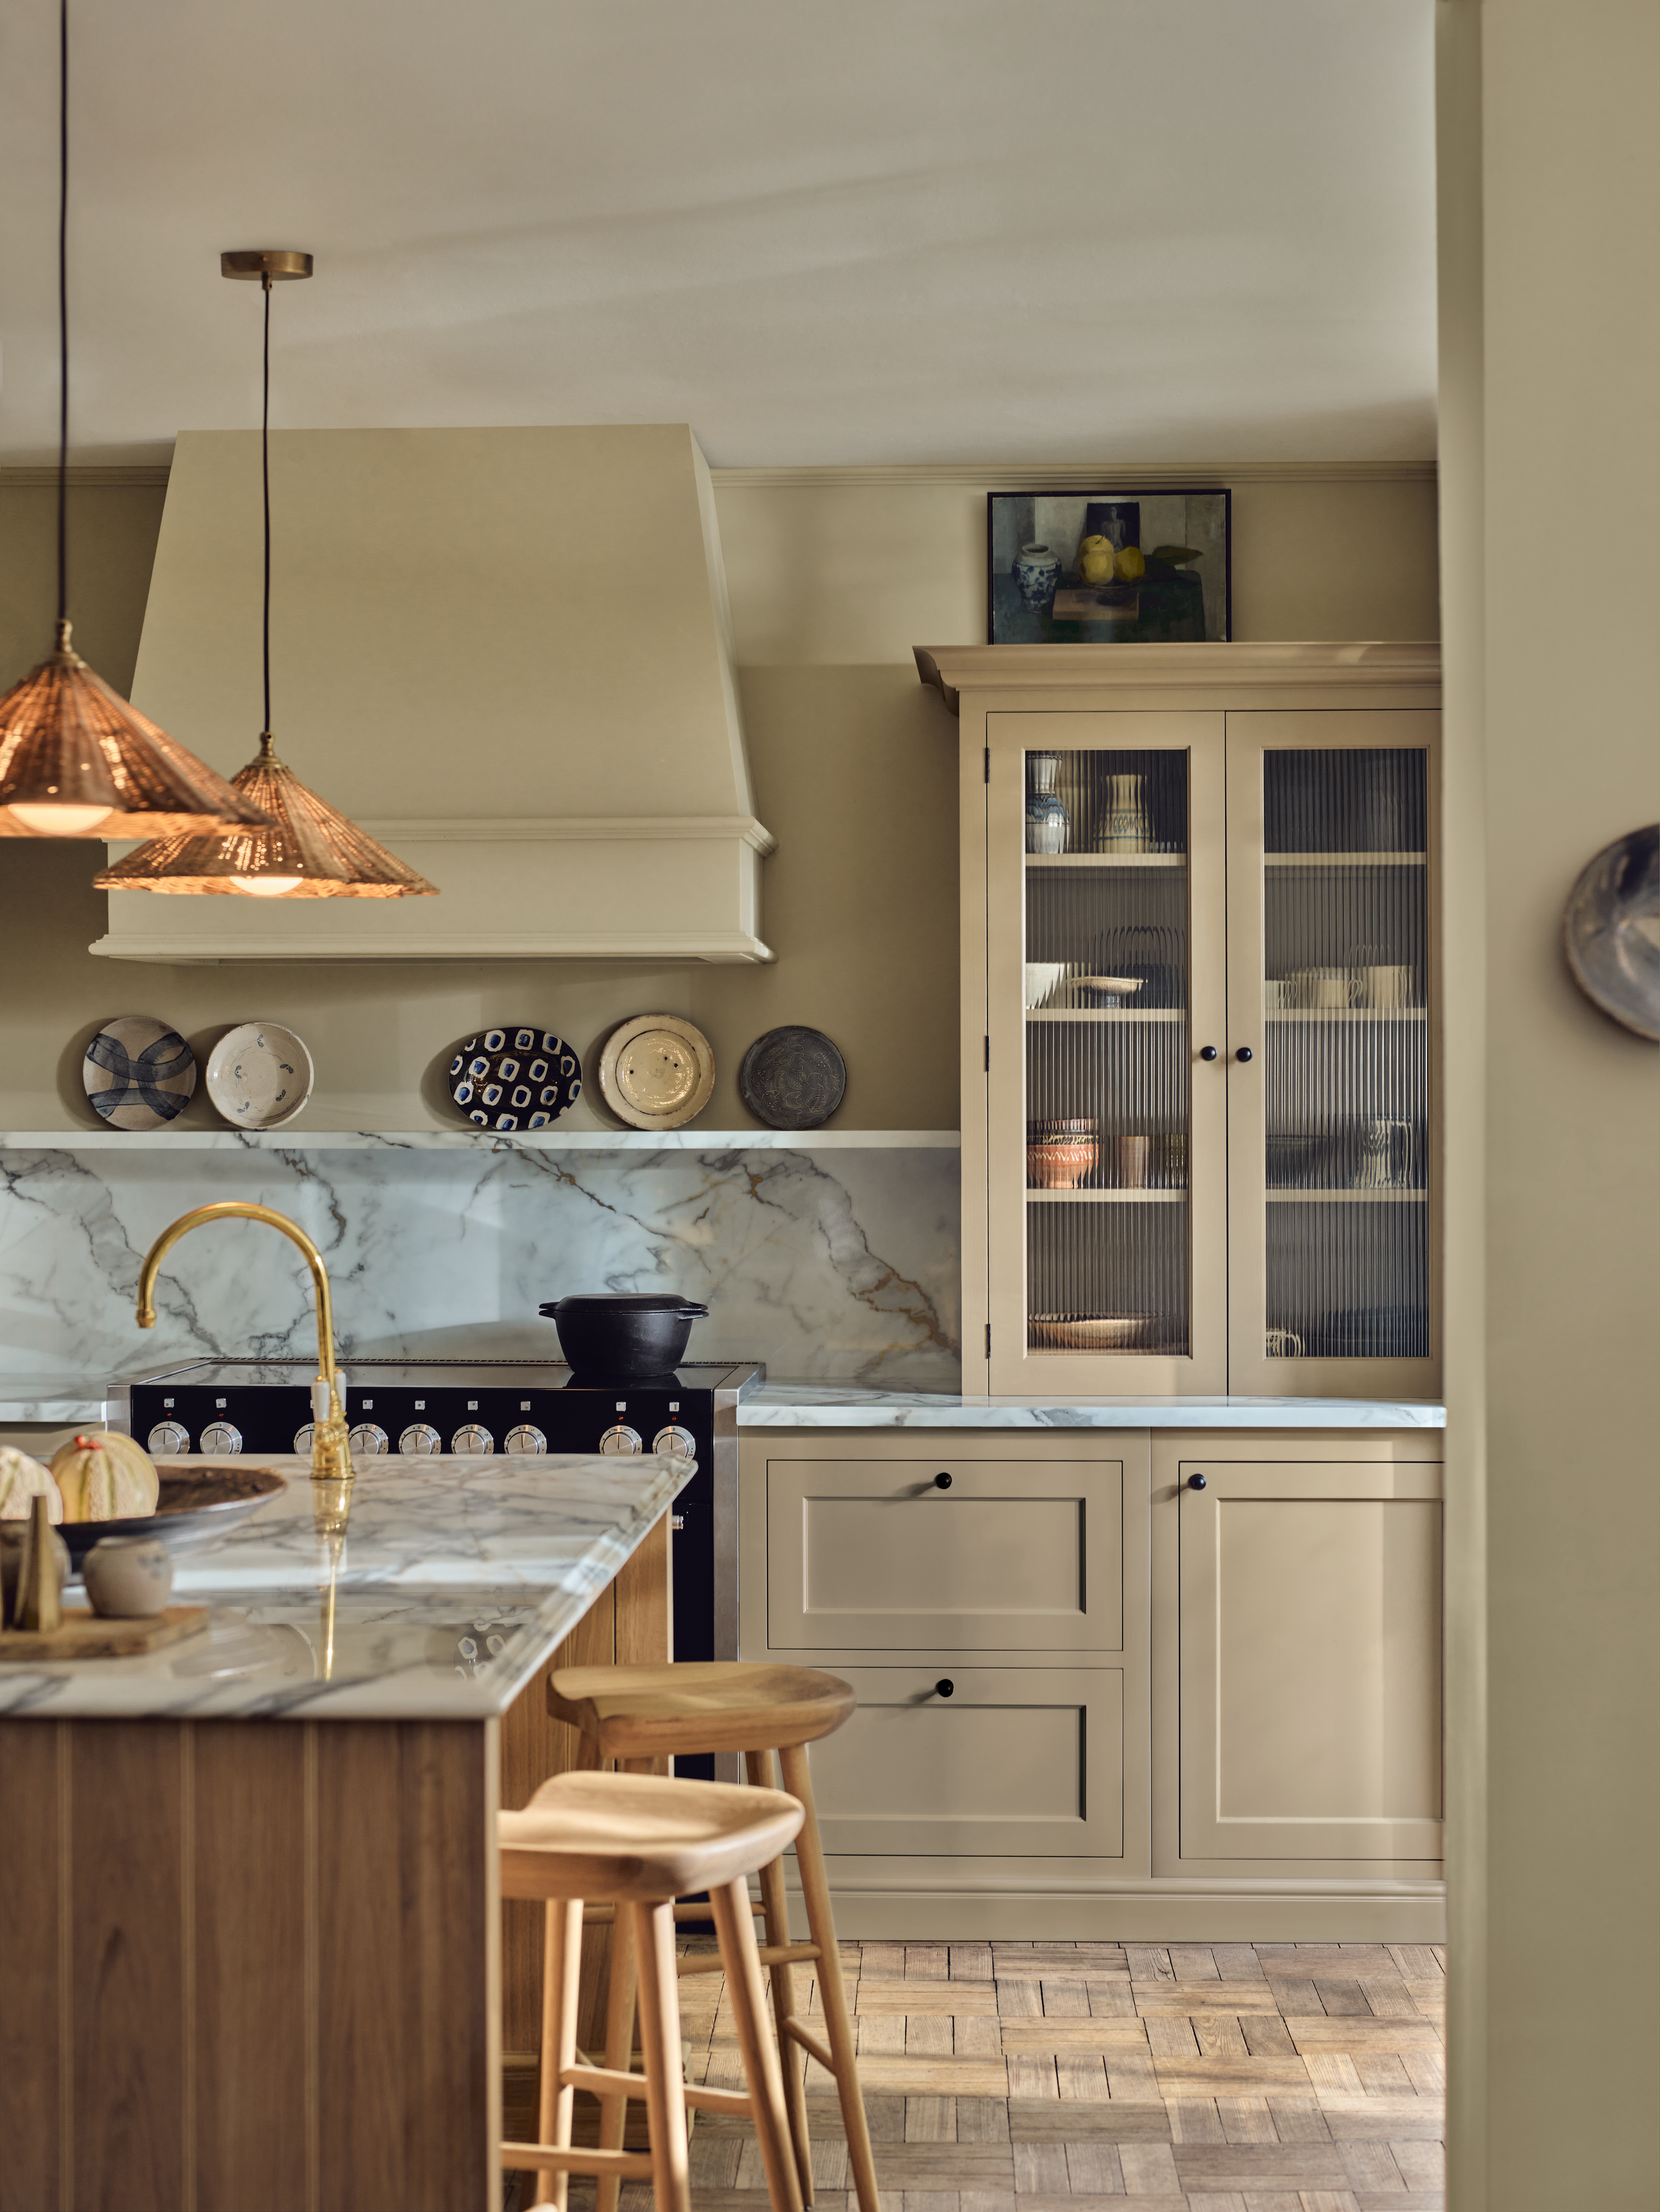
When installing fixing for a shelf, you need to note the weight limit as determined by the manufacturer. Beliy explains, ‘If you overload a shelf, it could sag or fall. That risks damage to your items, wall, and even people if they’re sitting under it at that time.’
He adds, ‘Follow manufacturer recommendations, but consider going up a notch. For example, if it says max 20 lbs, choose a fixing that can hold 30-40 lbs just to be safe.’ This is especially important if you are looking at how to hang floating shelves, as they have no supports underneath the shelf.
Christie reveals another problem that can occur, ‘If you use MDF shelving, your brackets are too far apart, and you put something heavy on it, your shelf will blow overtime. Also the thinner the shelf, the higher the chance of it blowing.’
For most shelves, ¾ inch thick is the standard recommended thickness.
7. Adding square shelves in an uneven alcove
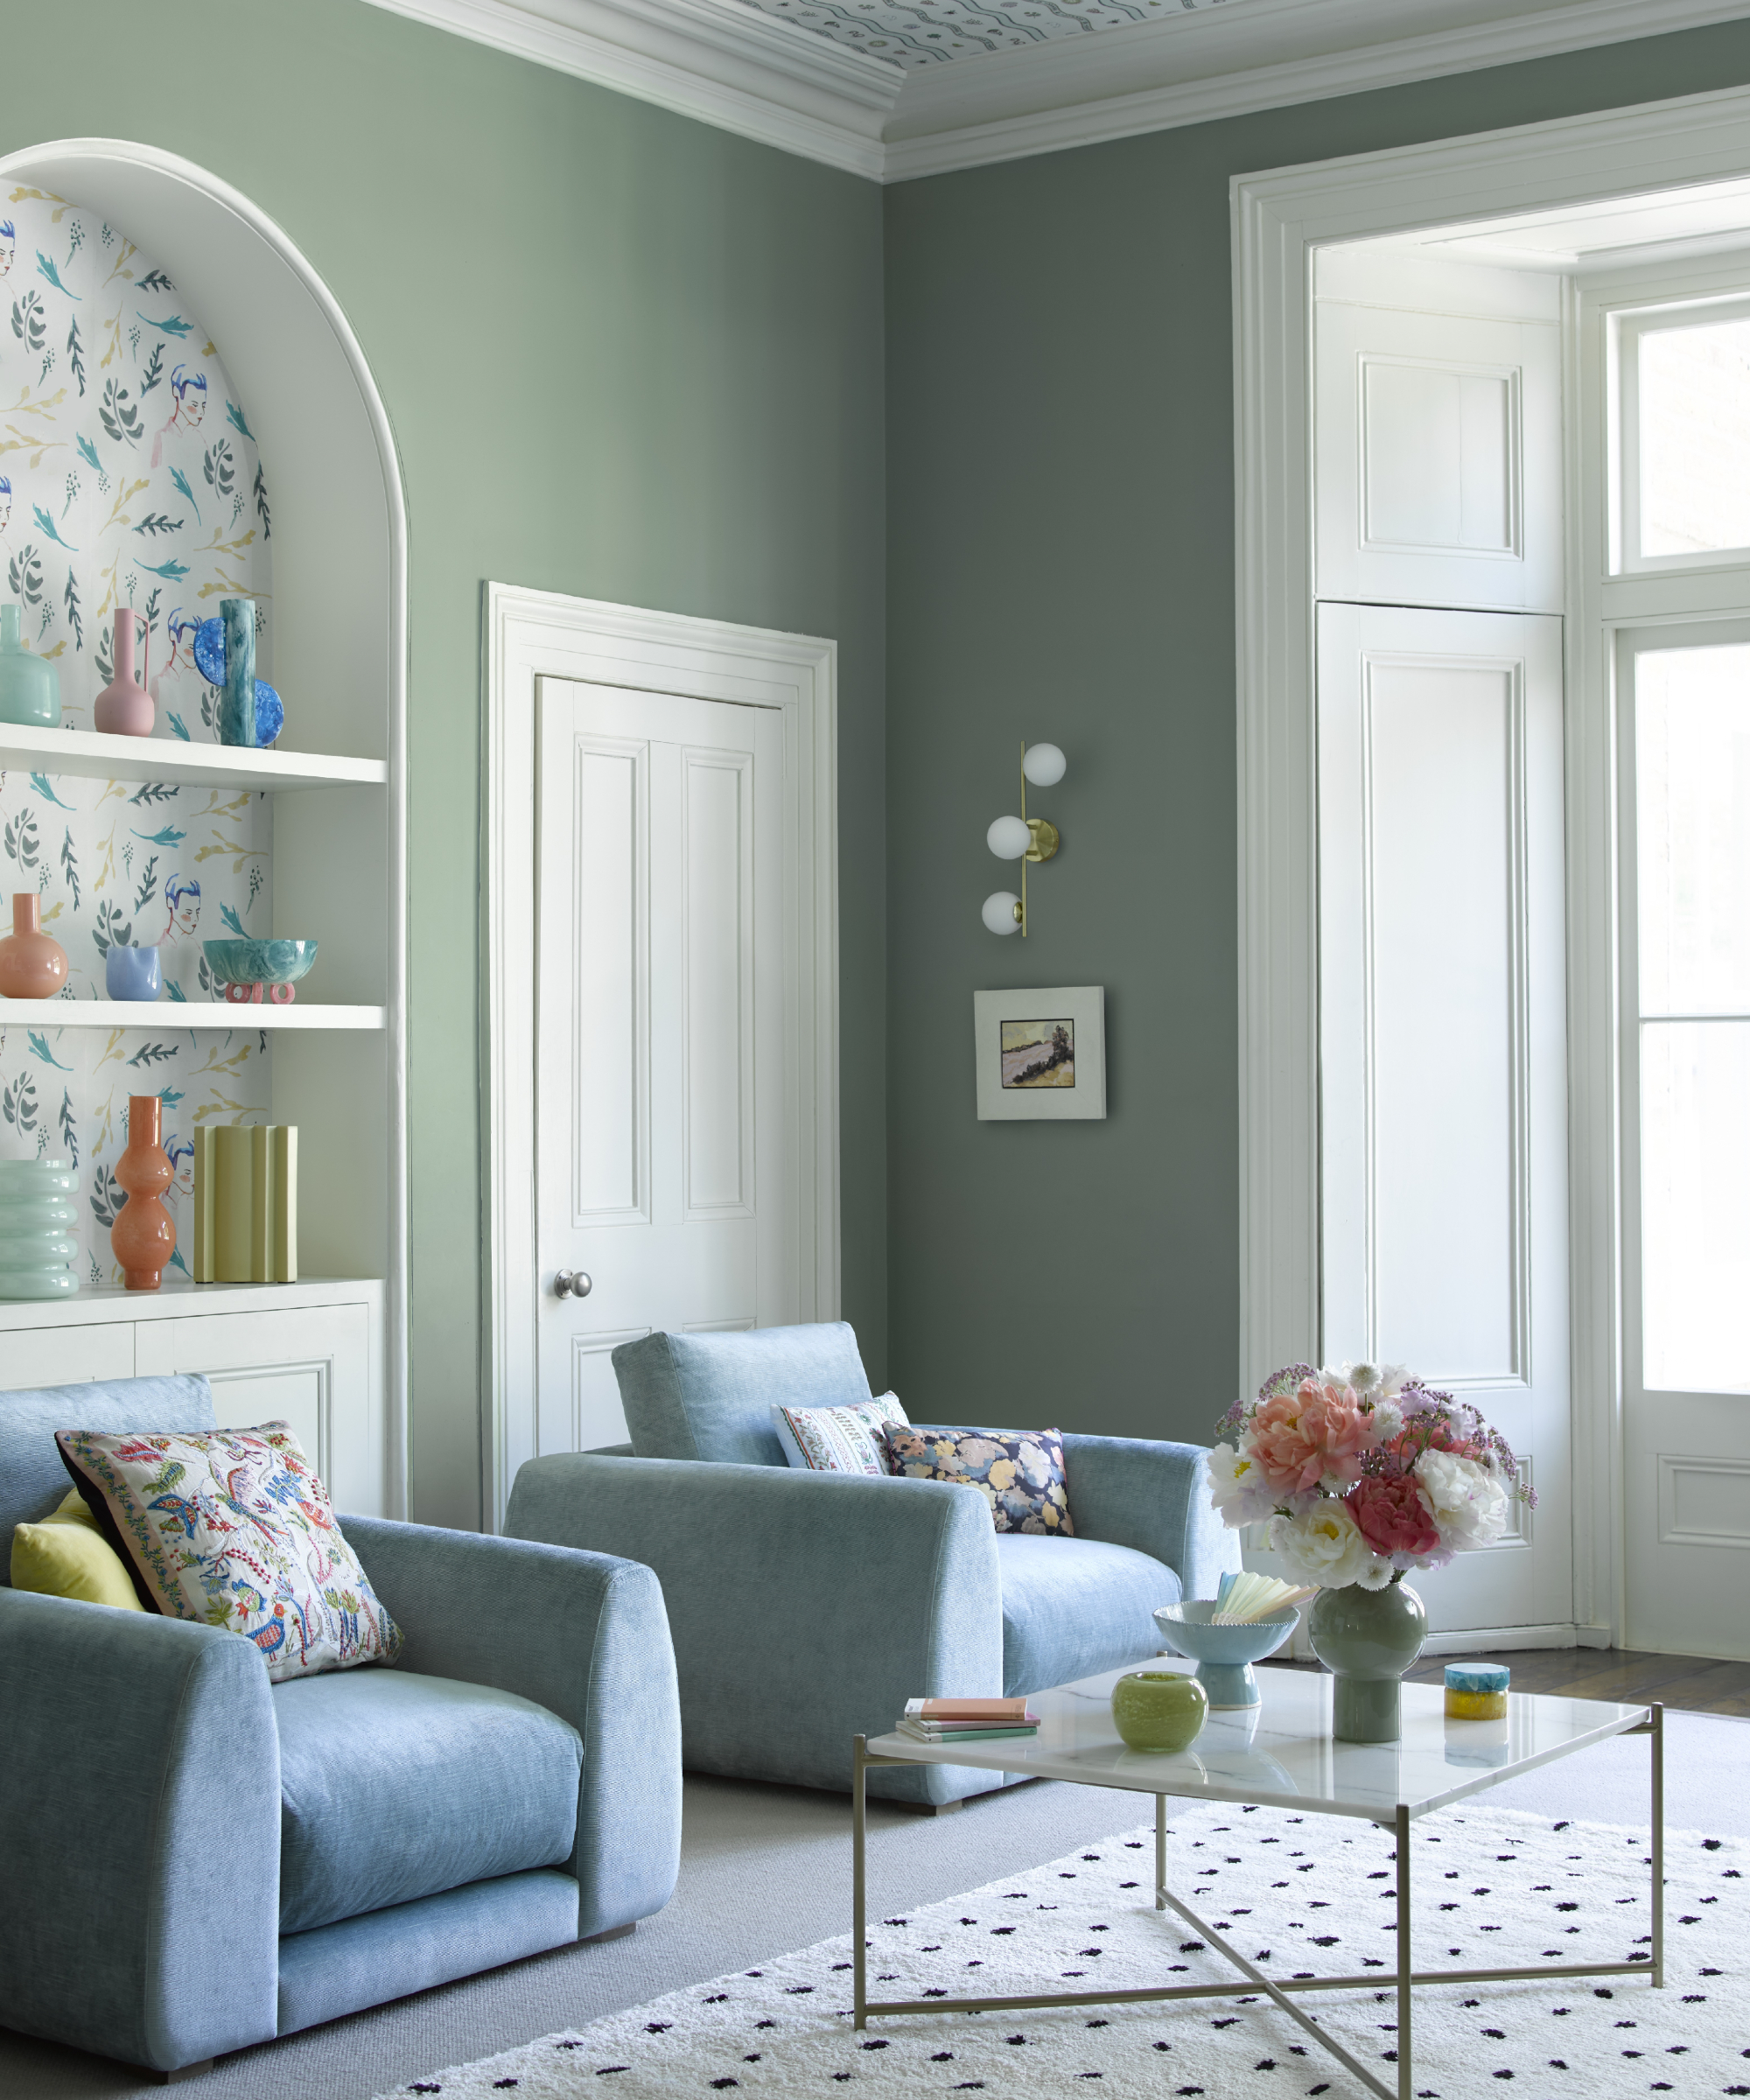
Alcoves are rarely square. Beliy points out the consequences, ‘If you install a shelf without accounting for this, it won’t fit properly.’
To make it fit he suggests the following, ‘To create a perfect fit for an uneven alcove, first cut a piece of cardboard or thin wood roughly the size of the shelf. Place it in the alcove, trimming the edges until it fits snugly, then trace this template onto your actual shelf material.’
For more insight delve into our dedicated guide on how to install shelves in an alcove.
8. Not enough brackets
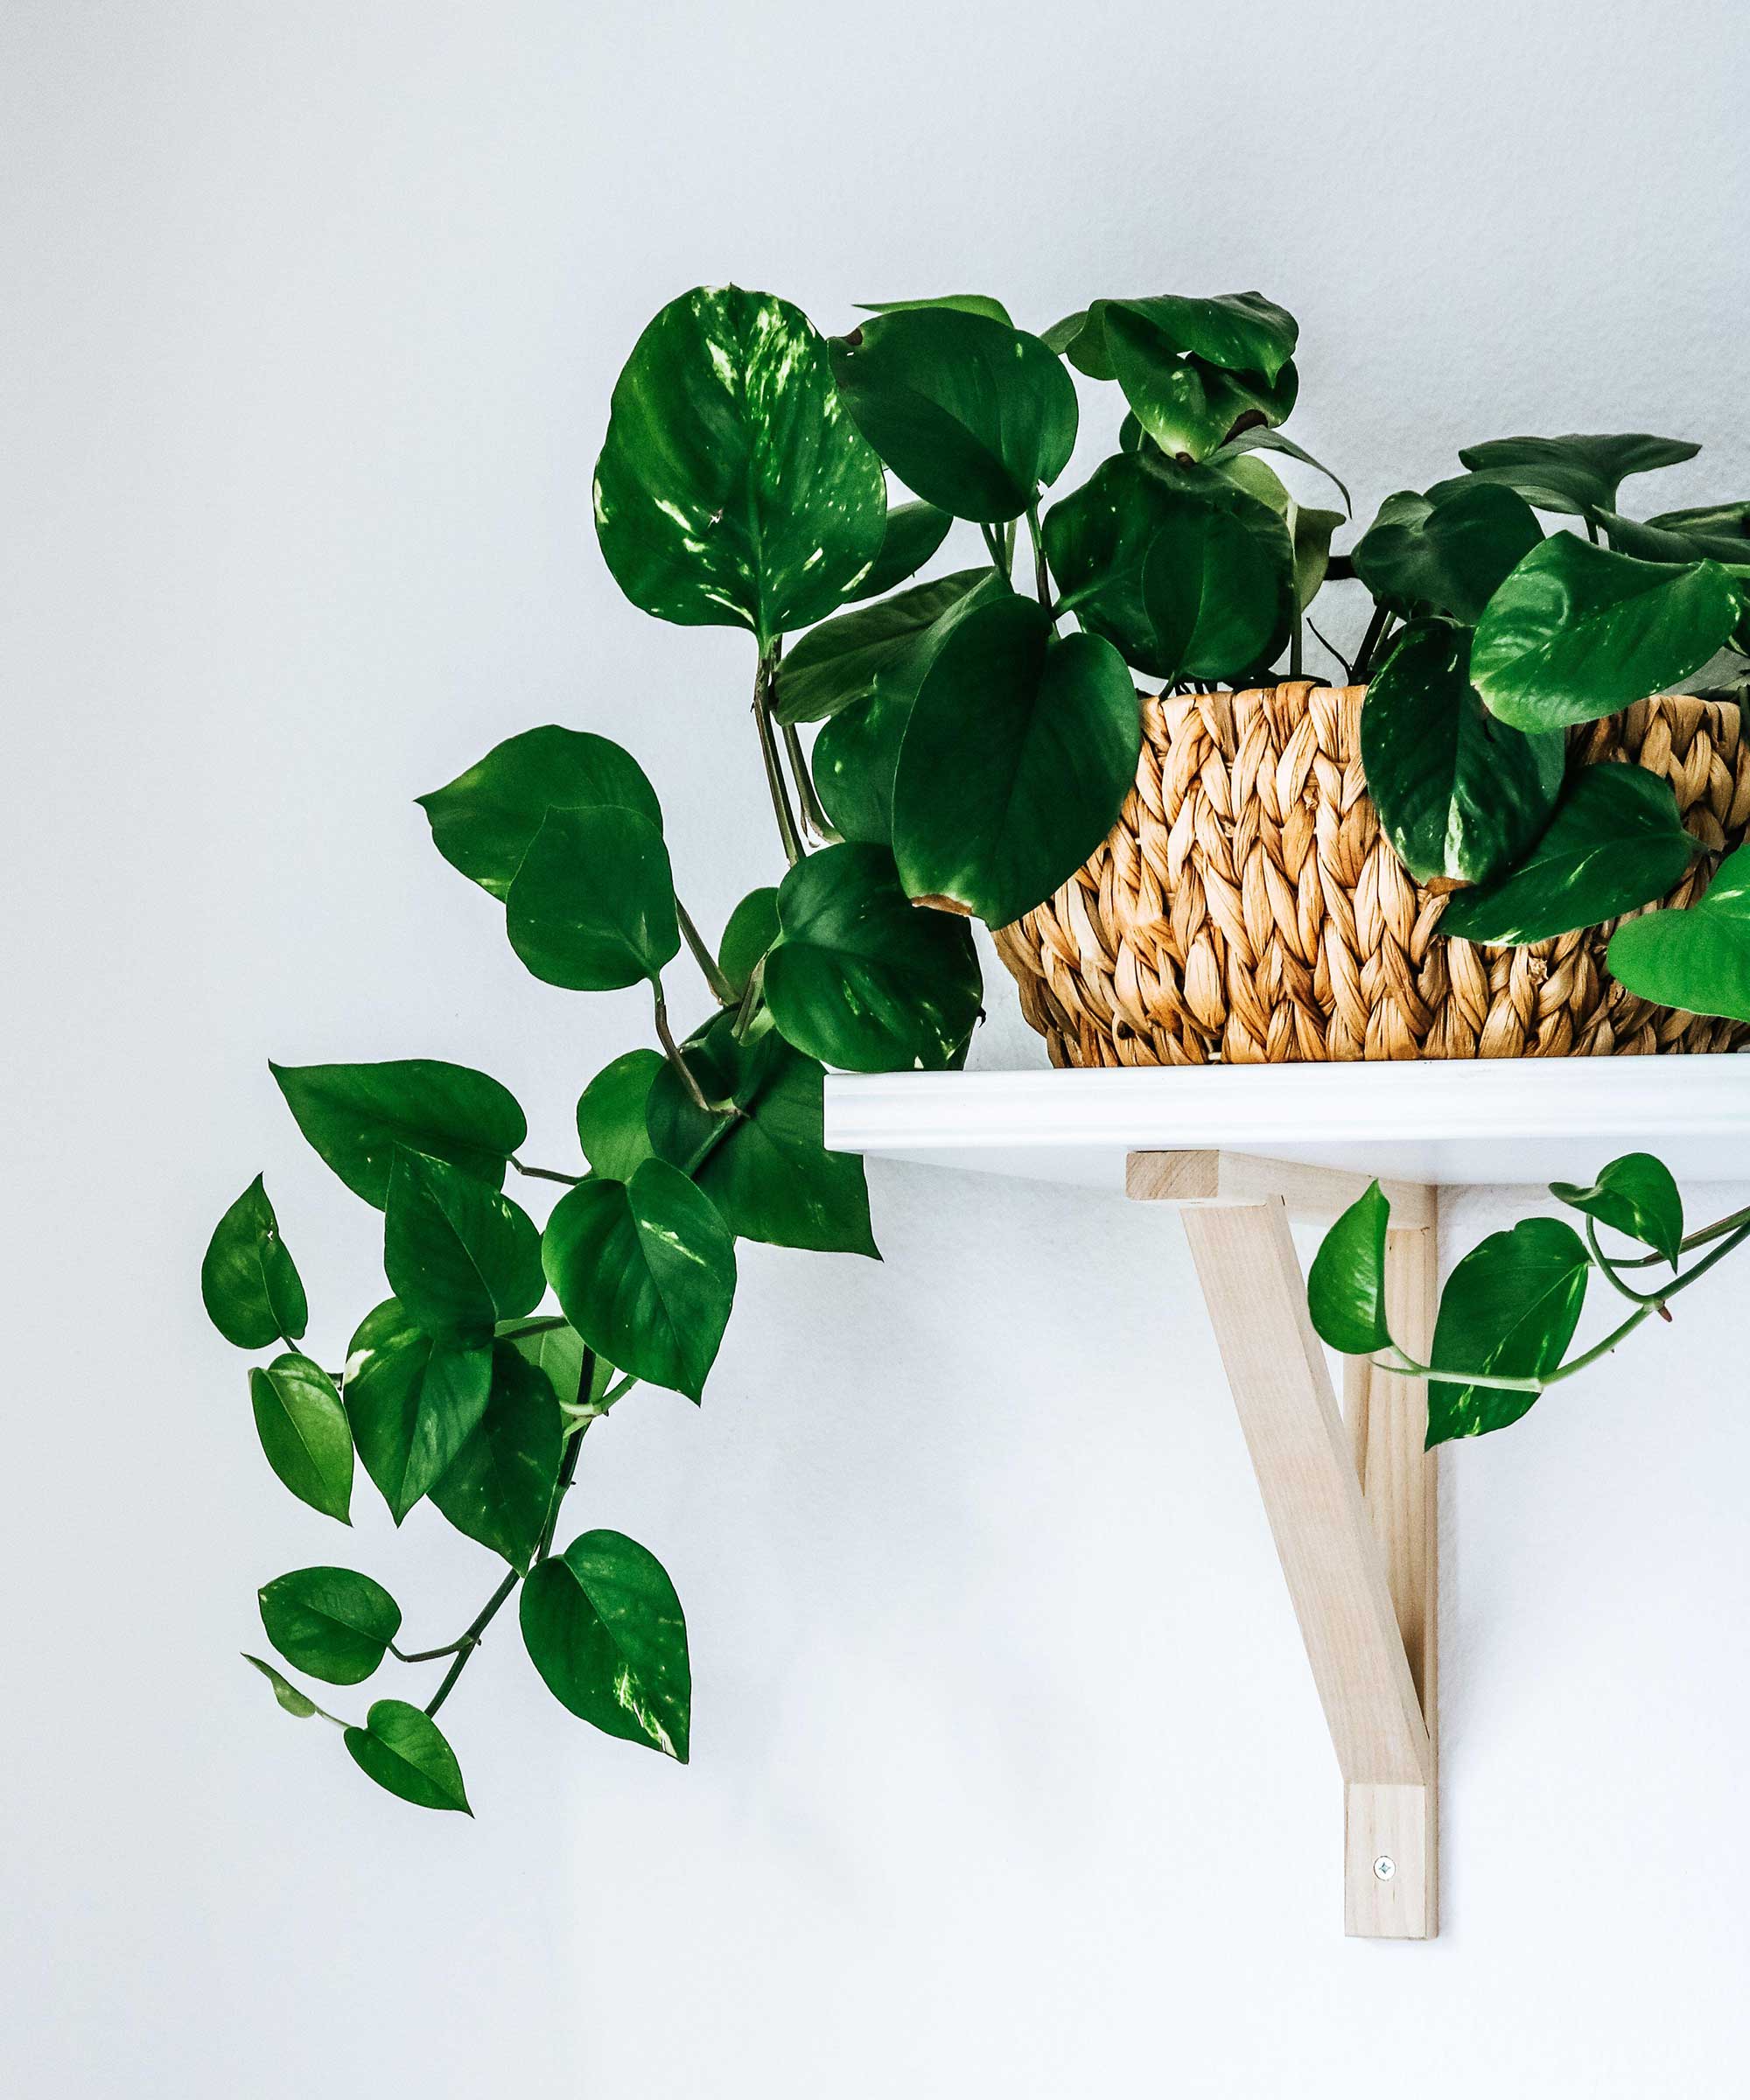
A shelf needs support. The longer the shelf, the more support it needs. Seth Joyce, owner and founder Cascade Iron Co reveals a common shelf installation mistake he sees. ‘One of the biggest oversights I see in shelf installation is the idea that every shelf only needs two supports. This is far from accurate. No matter how much the bracket itself can hold, it's important to distribute support down the length of the board.’
For longer shelves over 36 inches, Joyce recommends more than two brackets that are evenly spaced no more than 32 inches apart.
9. Not planning your shelf placement
You can put your shelves wherever you want, but there are some sensible steps to follow. Beliy says, ‘Avoid placing shelves too low where they’ll be bumped, or too high and making it hard to reach.’
Then you need to think about aesthetics. Take a full look at the height of your wall and factor in the height of the items that you’ll place on it to ensure that your shelf placement won’t look awkward, Beily advises.
If you’re stacking multiple shelves in the same space, Beily adds, ‘Keep shelves evenly spaced as this creates a clean, balanced look.’
Christie also suggests a sensible step in your plan. ‘Avoid putting a shelf anywhere where your head could run into it,' she adds. ‘So I wouldn't put a shelf at 5 feet, or too close to a doorway or somebody may walk into it unless it's a very shallow picture ledge.’
To get it right, make sure not to make these open shelving mistakes.
FAQs
How to install a short shelf
Studs are typically spaced 16 inches apart, so you need to know how to deal with a shelf length that won’t span the space between the studs. Beliy offers his solution, ‘If your shelf is shorter than 16 inches, it won’t reach both studs. Mount one side to a stud and use a heavy-duty drywall anchor for the other side.’ Simple but effective.
Christie says you can also use a toggle bolt, as long as you have at least a half inch drywall to work with. She adds a word of caution, ‘But this depends on the hardware as well, because a toggle bolt can require a large hole.’
Now you've swerved these shelf installing errors, delve into how to get the best out of your handy storage and decor solution. Learn how to make living room shelves look less cluttered, the items to never store on kitchen shelves and tips to make living room shelves look expensive for insight and inspiration.


