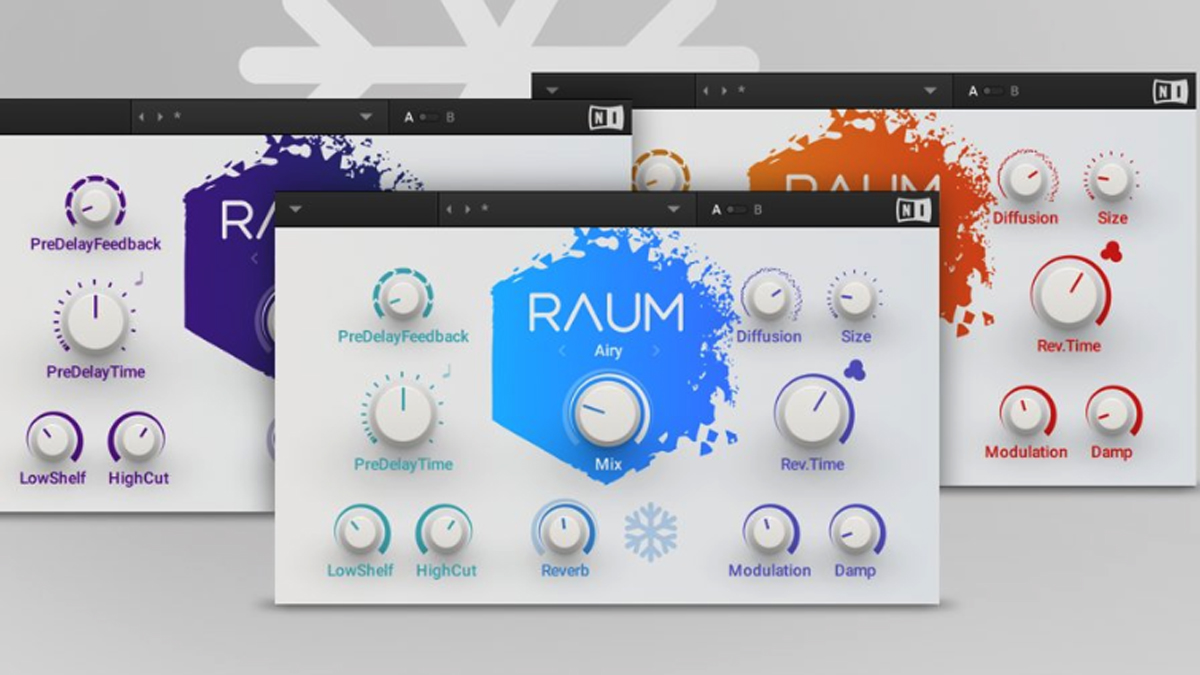
Reverb is a hugely versatile tool that can be used to create all sorts of effects and transitions. Here, we're going to show you how to use reverb to create filters, reverses, risers and pads...
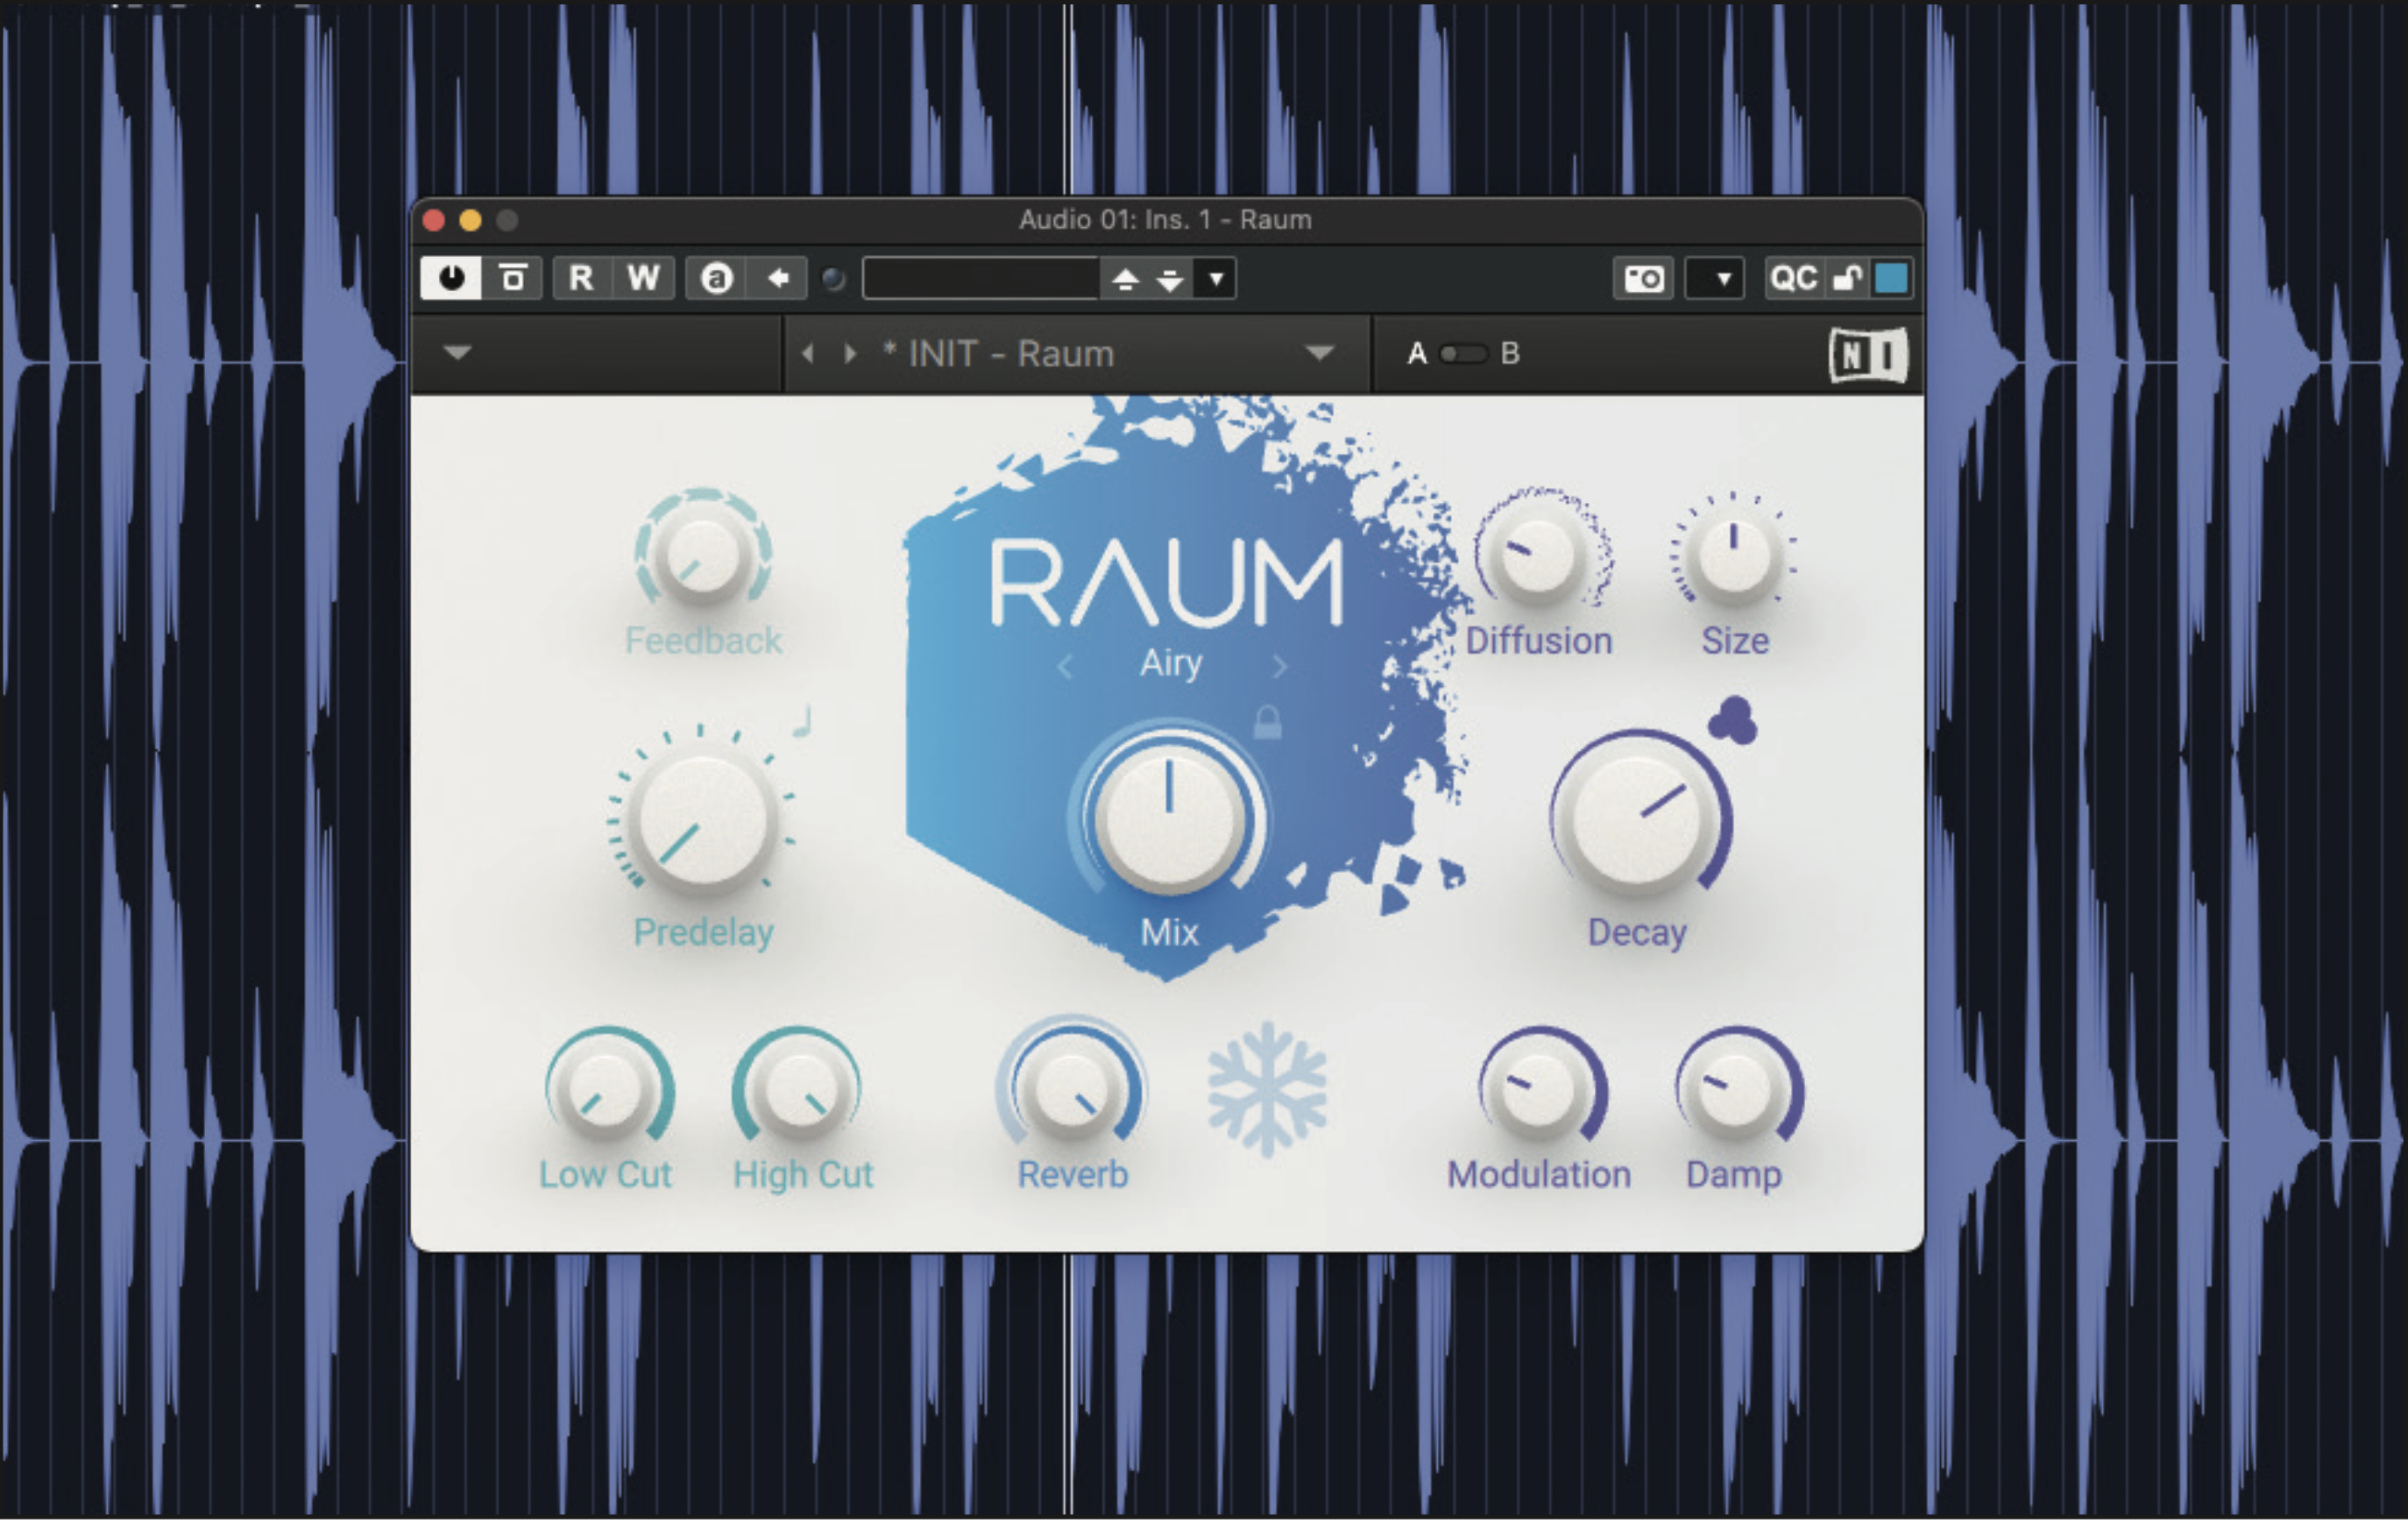
Let’s start by creating some interesting filter effects. Import a drum loop or other sound source into a new DAW project, insert an algorithmic reverb, and set its wet/dry balance to 50%. Choice of reverb has a big impact on both the method and results here, so you may need to experiment to get the effect to work.
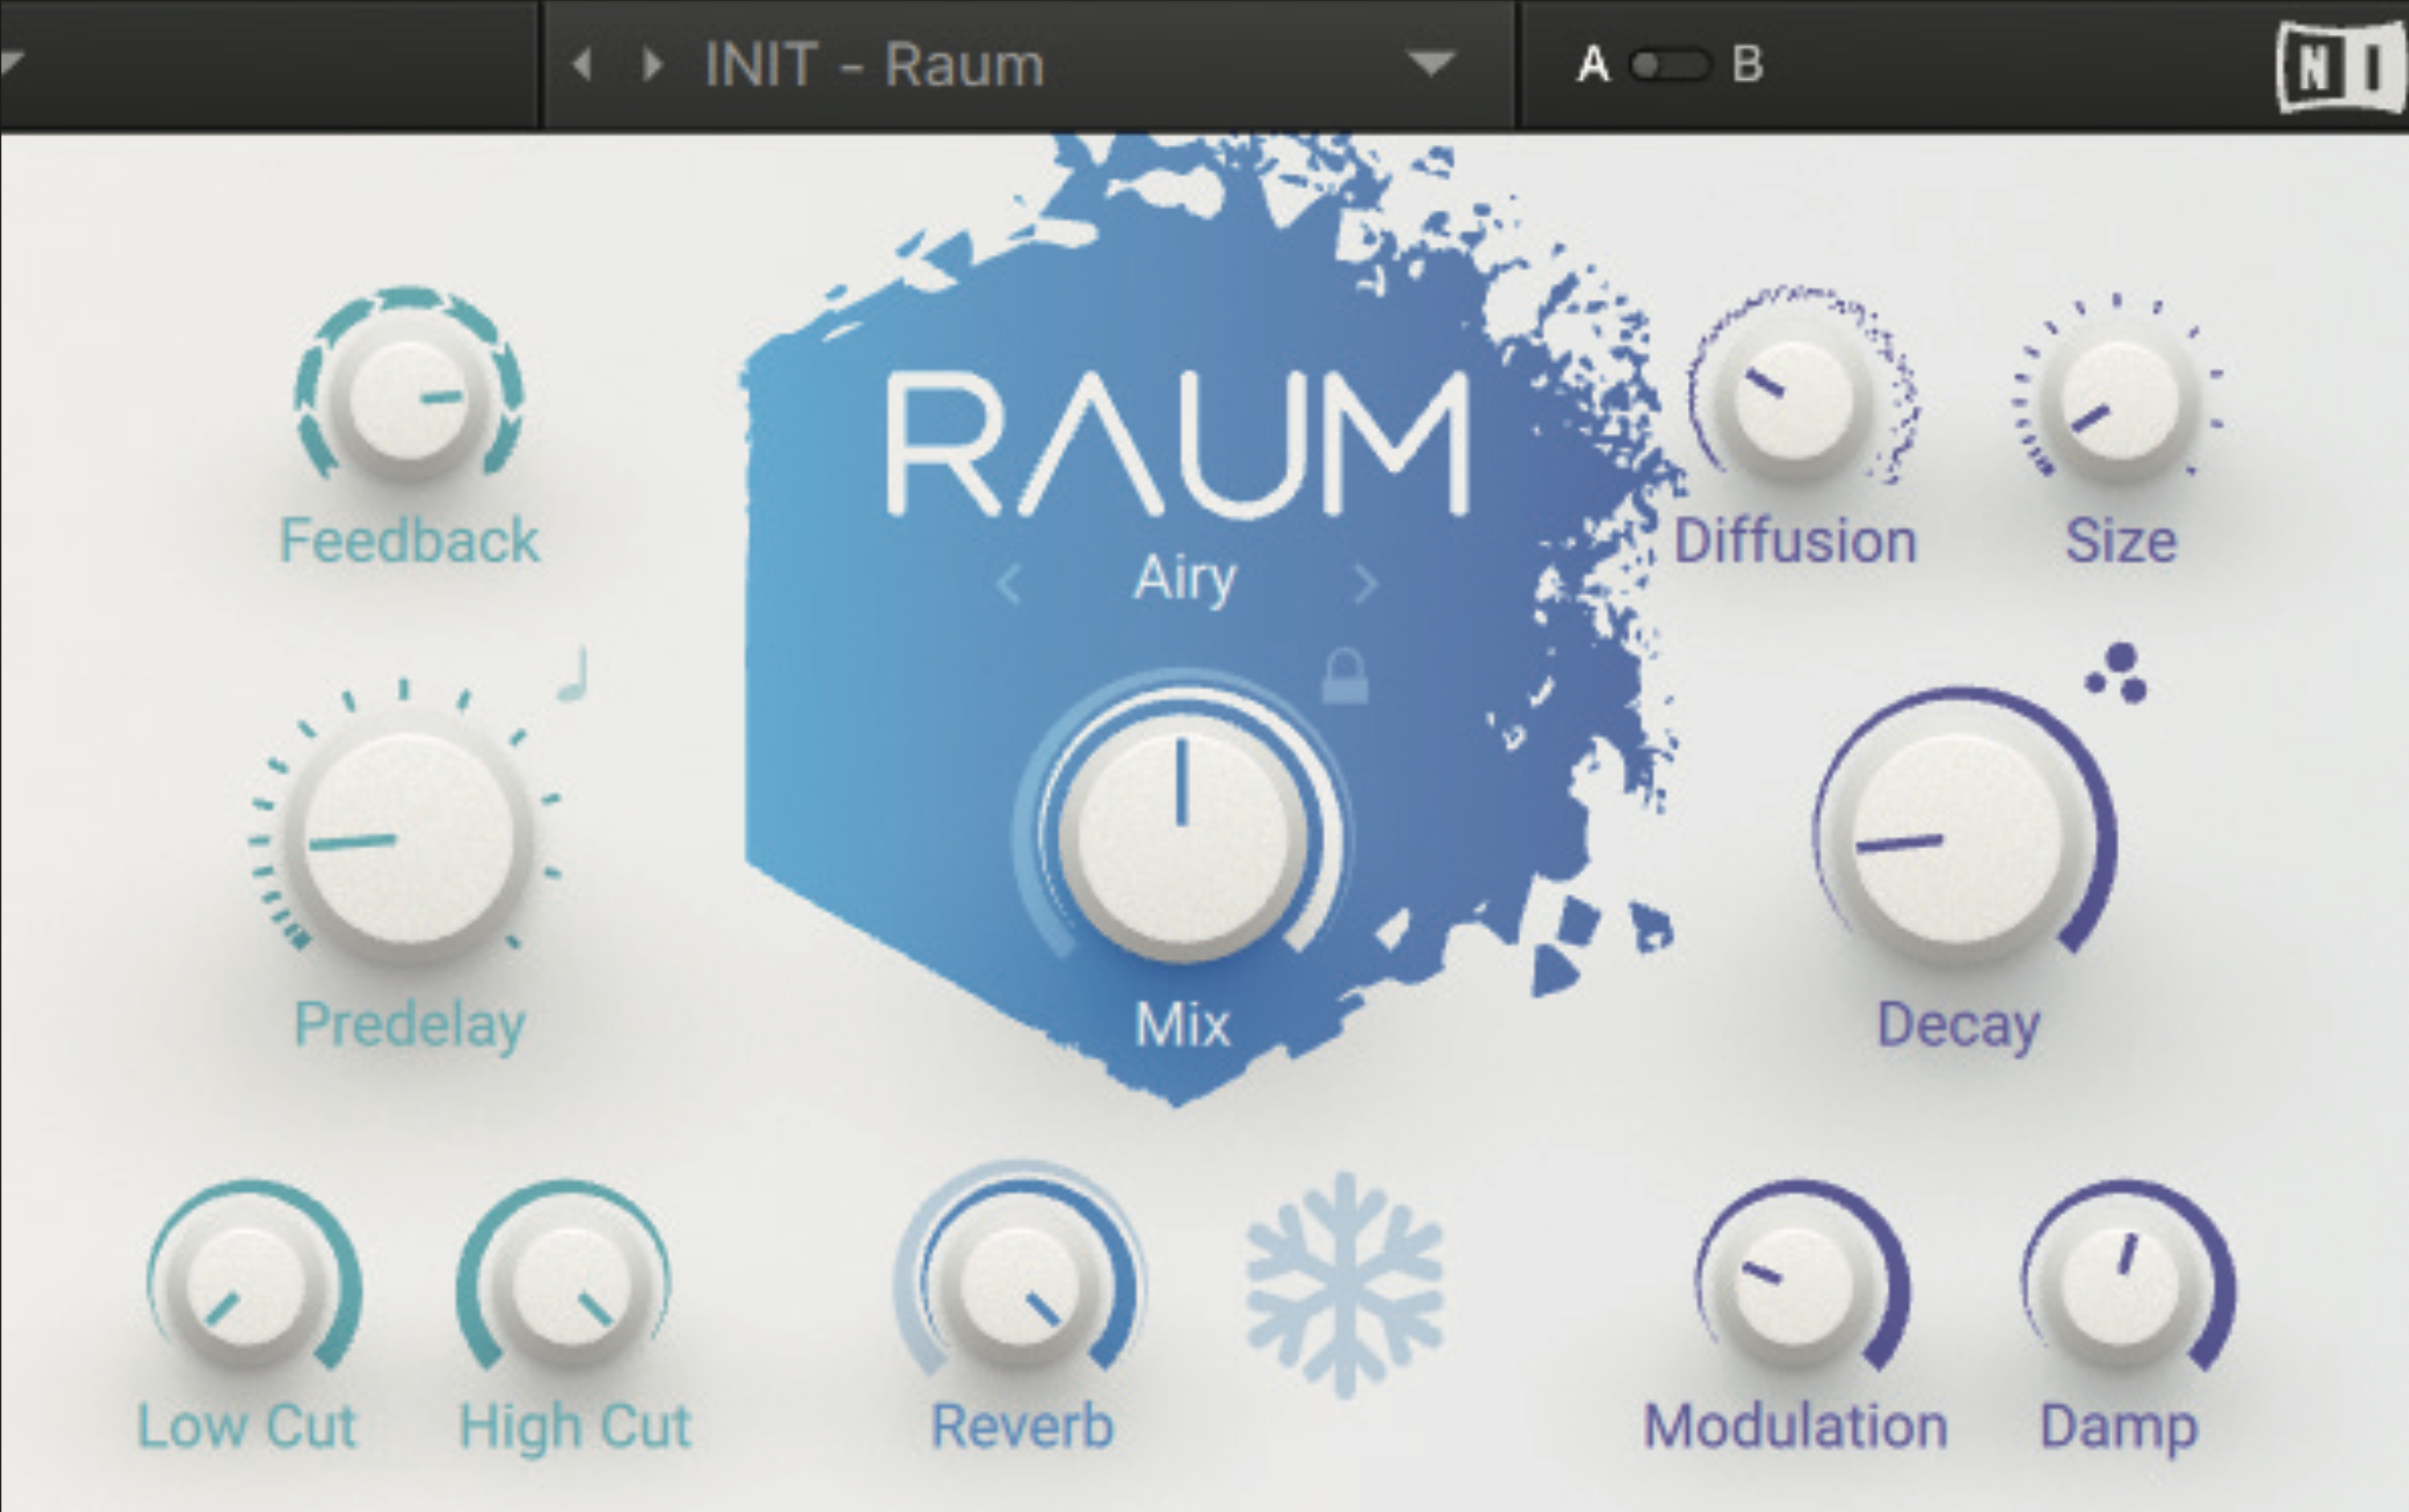
What we are essentially trying to do is create a controlled feedback situation. A small room/reverb size combined with longer decay times tends to do it, and some processors also have a feedback setting which does the trick nicely! Pre-delay can have an influence here, too. In short, experiment with parameters and plugins, and you’ll find a whole bunch of interesting filter effects.
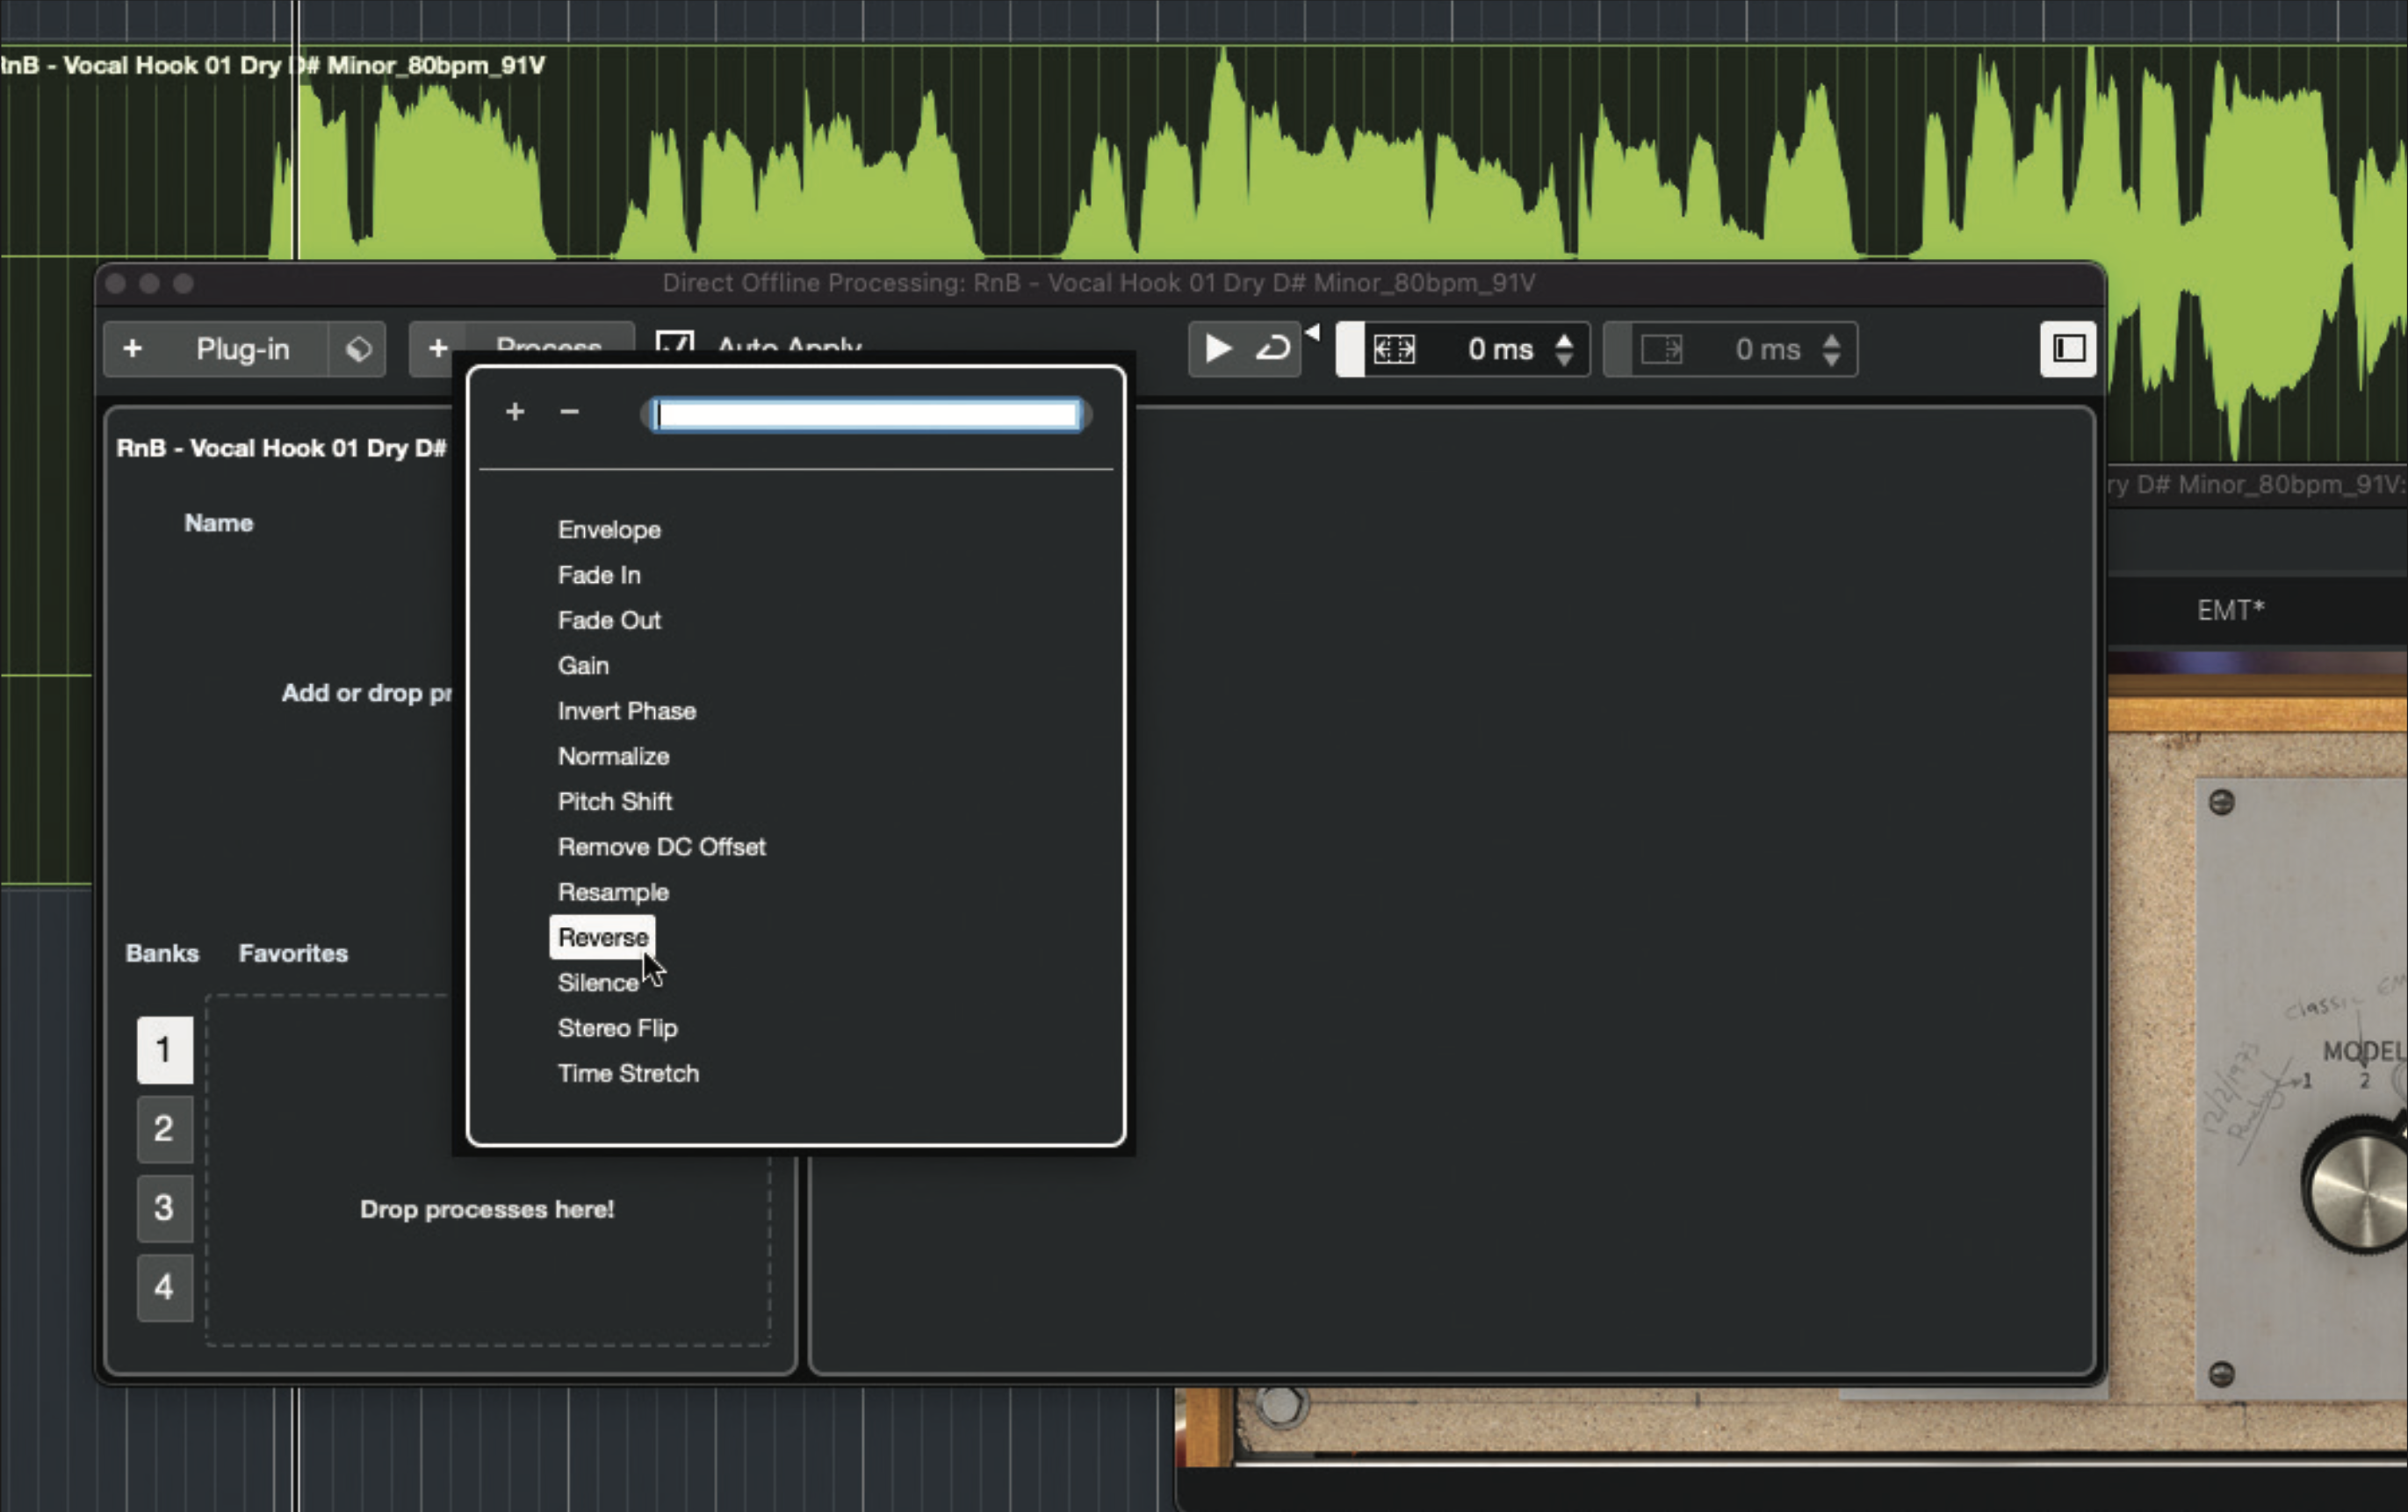
Let’s make a real reverse reverb now. Create a new project and import a vocal or other lead part. Insert a reverb on the vocal and set up a pleasing, medium-to-long effect. When happy, use your DAW’s audio processing tools to reverse the reverb part – not all DAWs can do this, so use a free audio editor such as Audacity if needs be.
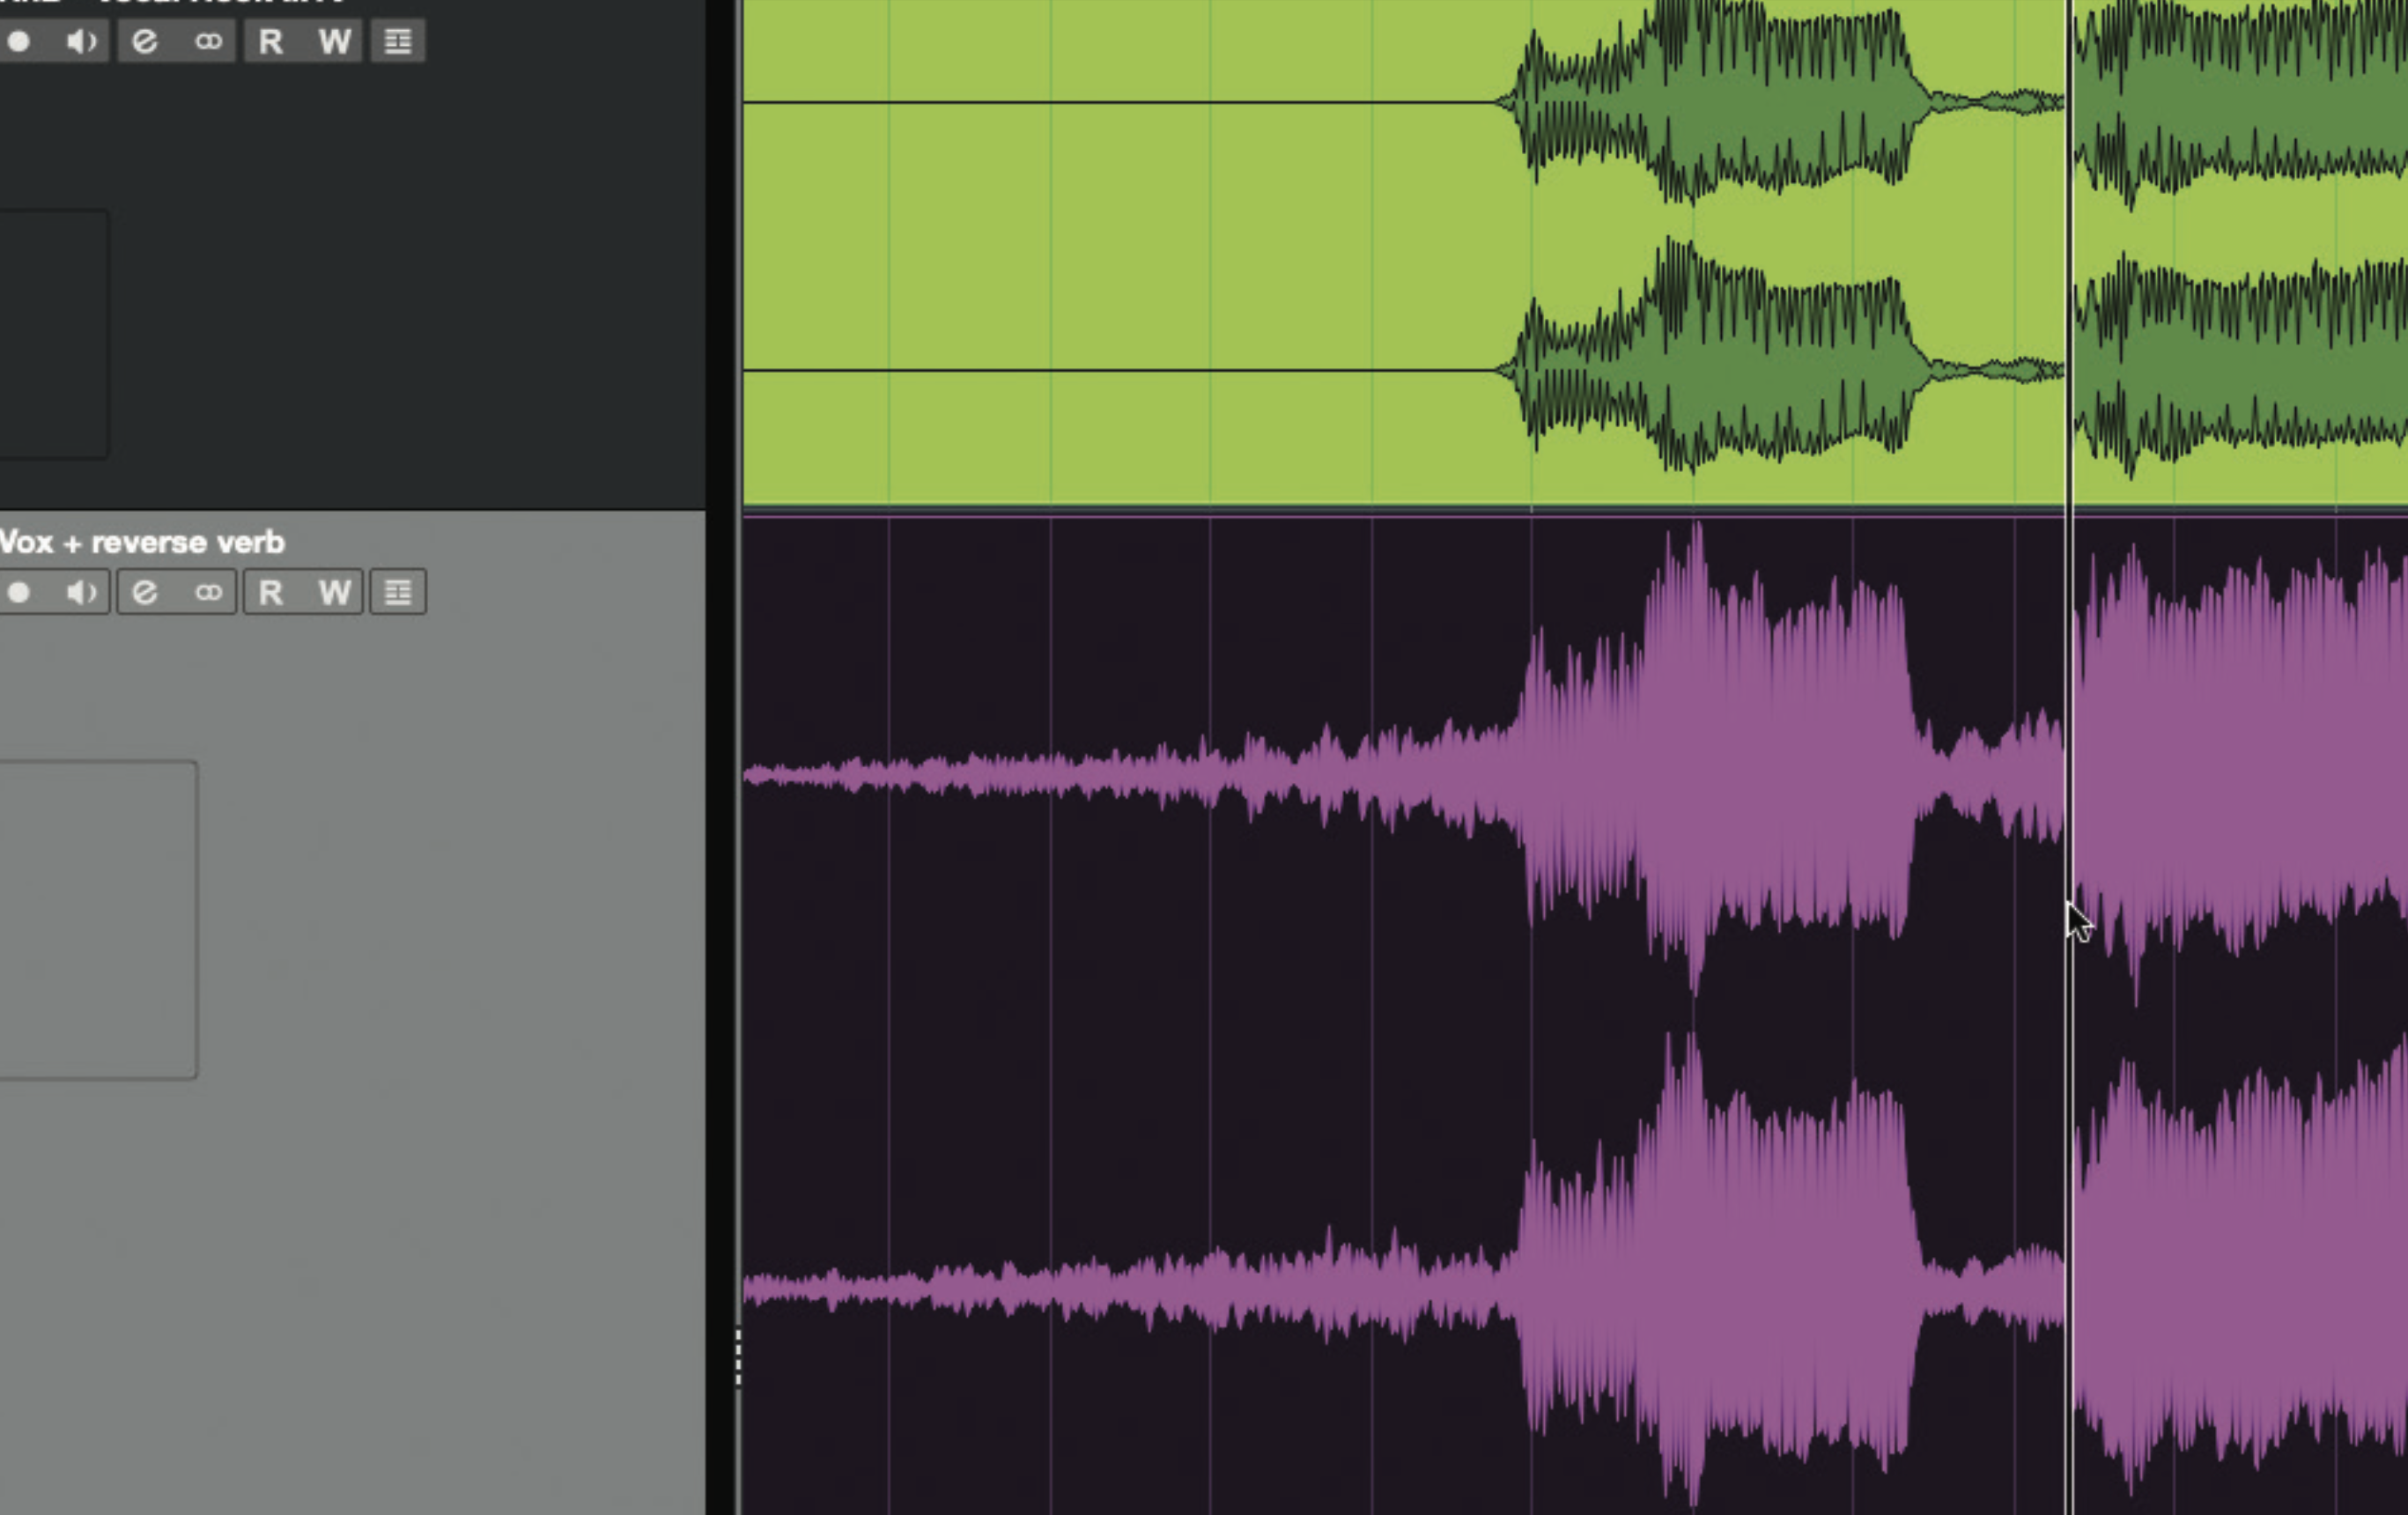
Import the bounced audio to a new track if your DAW didn’t do this automatically, then reverse it once again (or, if using Audacity for processing, reverse and then import to your DAW). Carefully position the reversed bounced part so that it lines up properly with the unreversed original part, then mute that dry vocal’s track. You now have true reverse reverb!
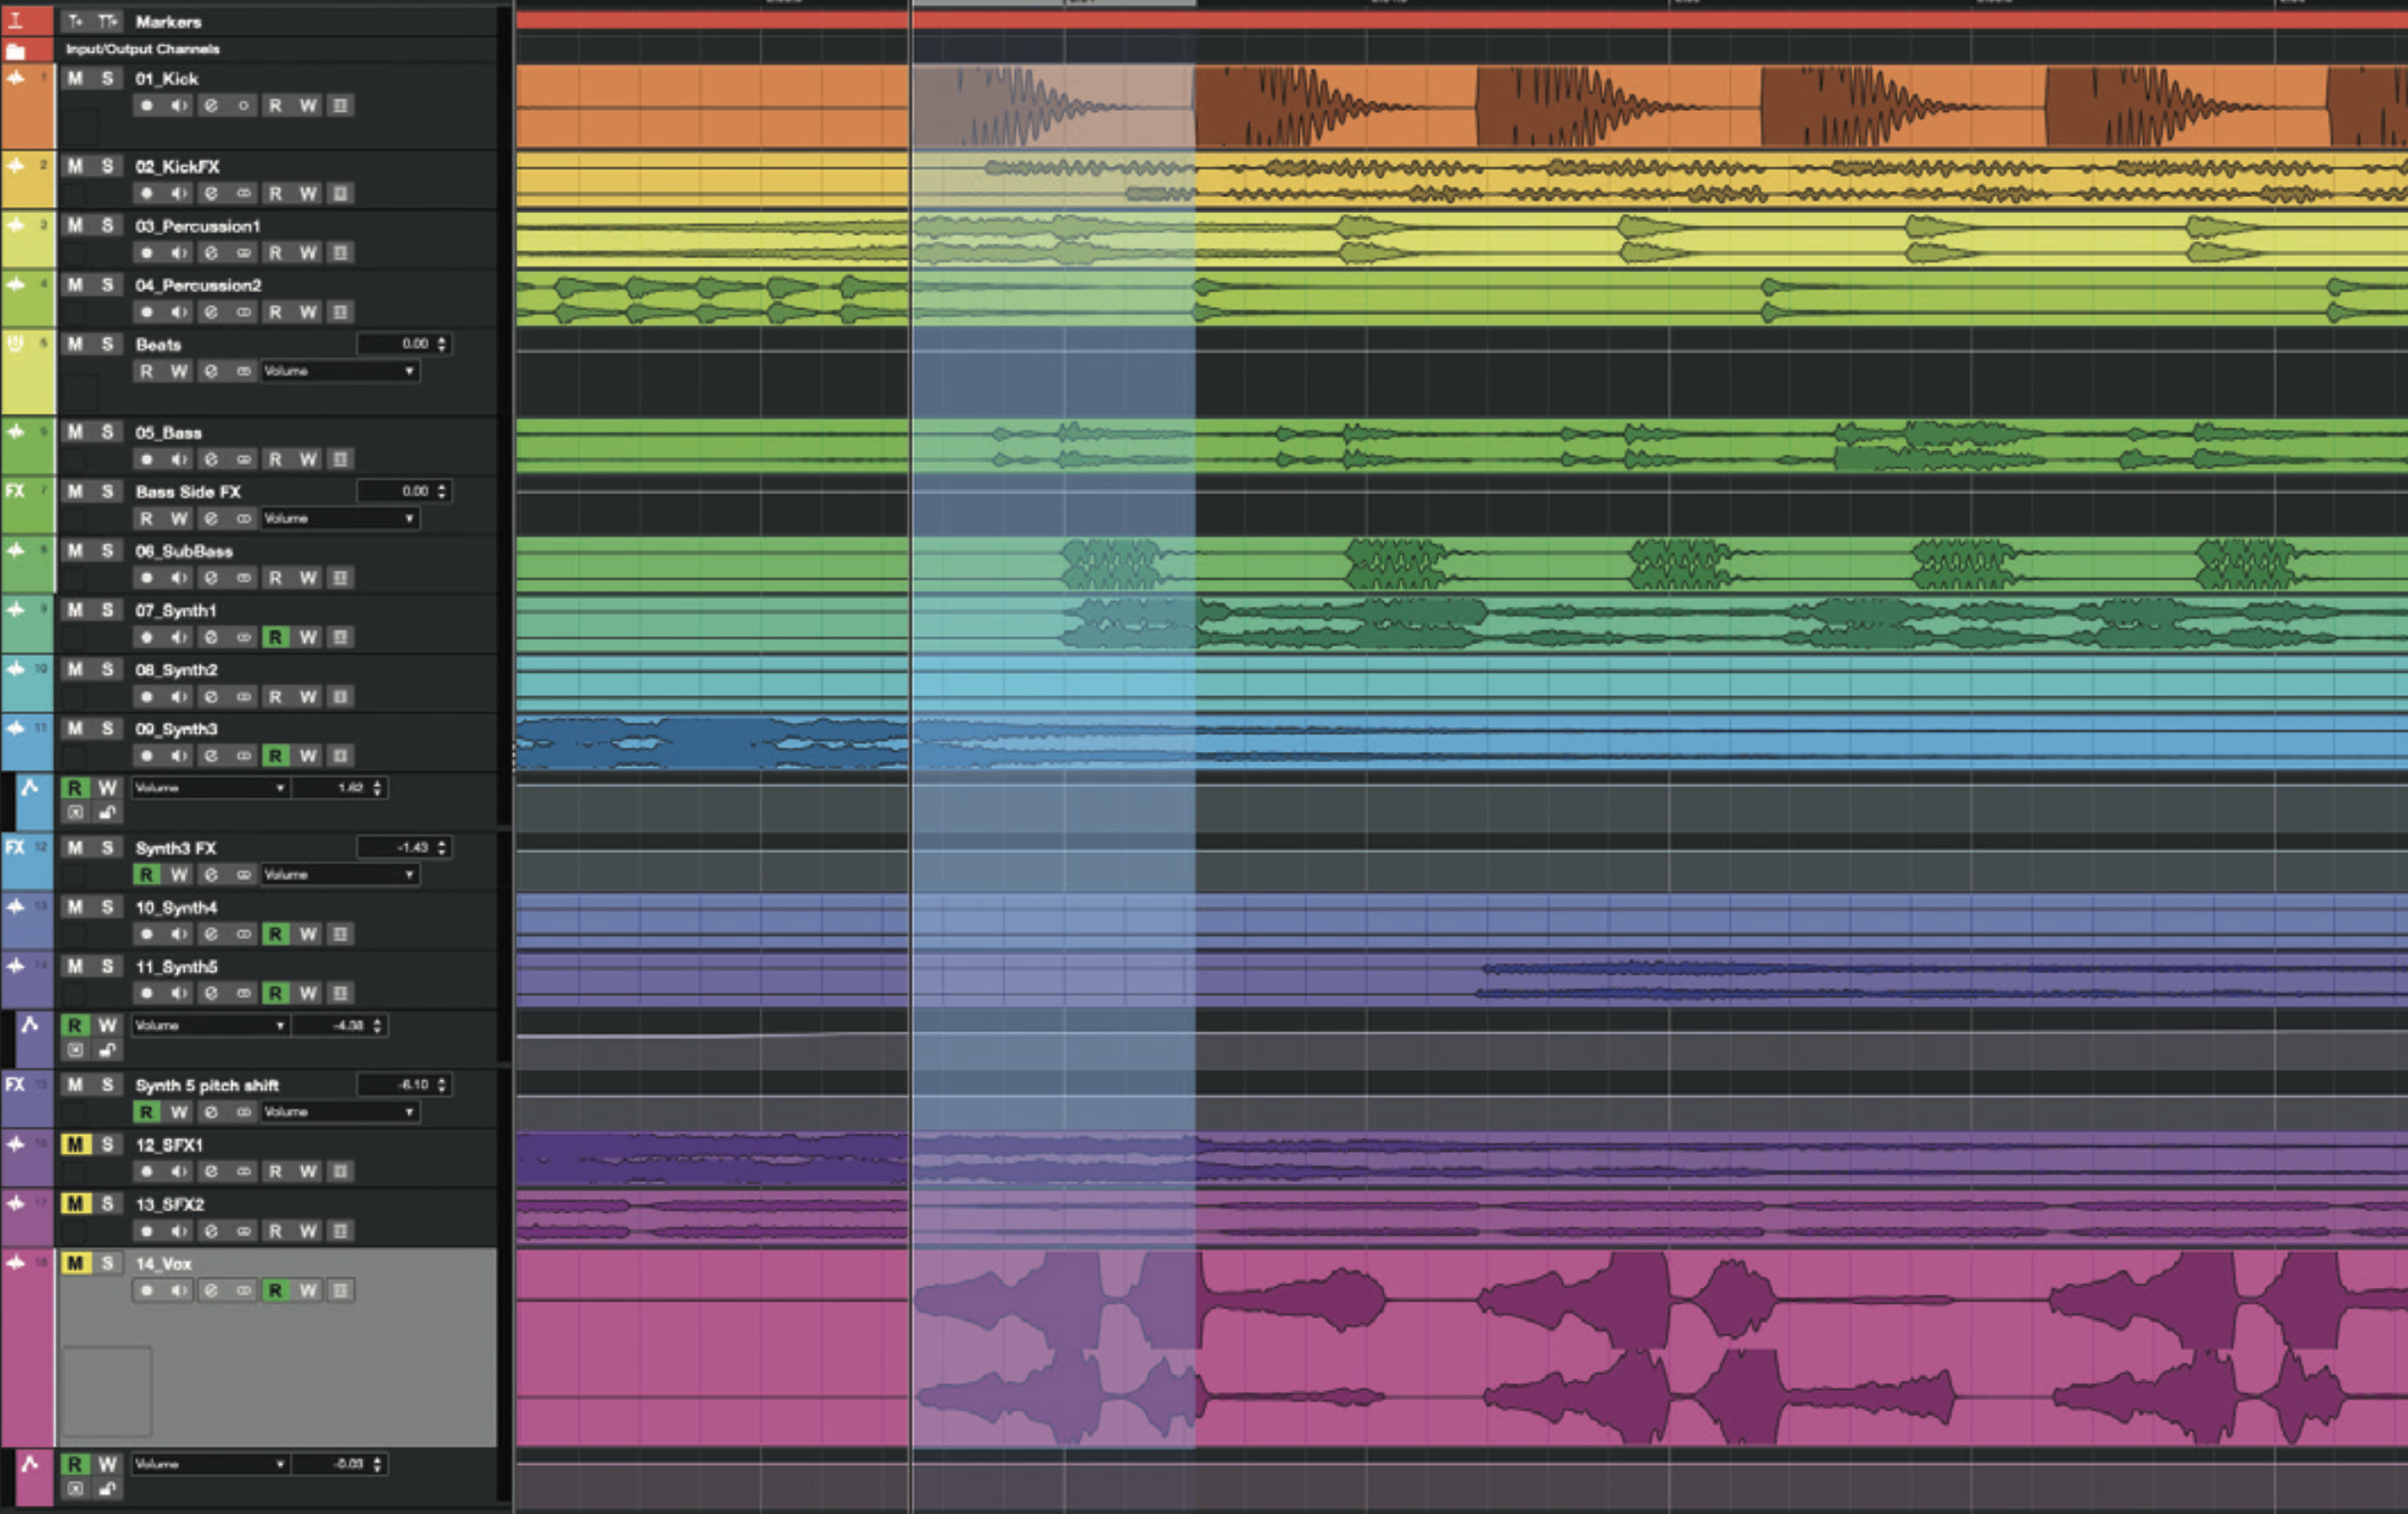
Risers use similar techniques to reverse reverb, but tend to be less of a faff. Open a project and find a point in the song that would benefit from being preceded by a riser. Export a short segment of audio from this point – sufficient to seed the reverb, and including any tracks that you want to include in the riser sound.
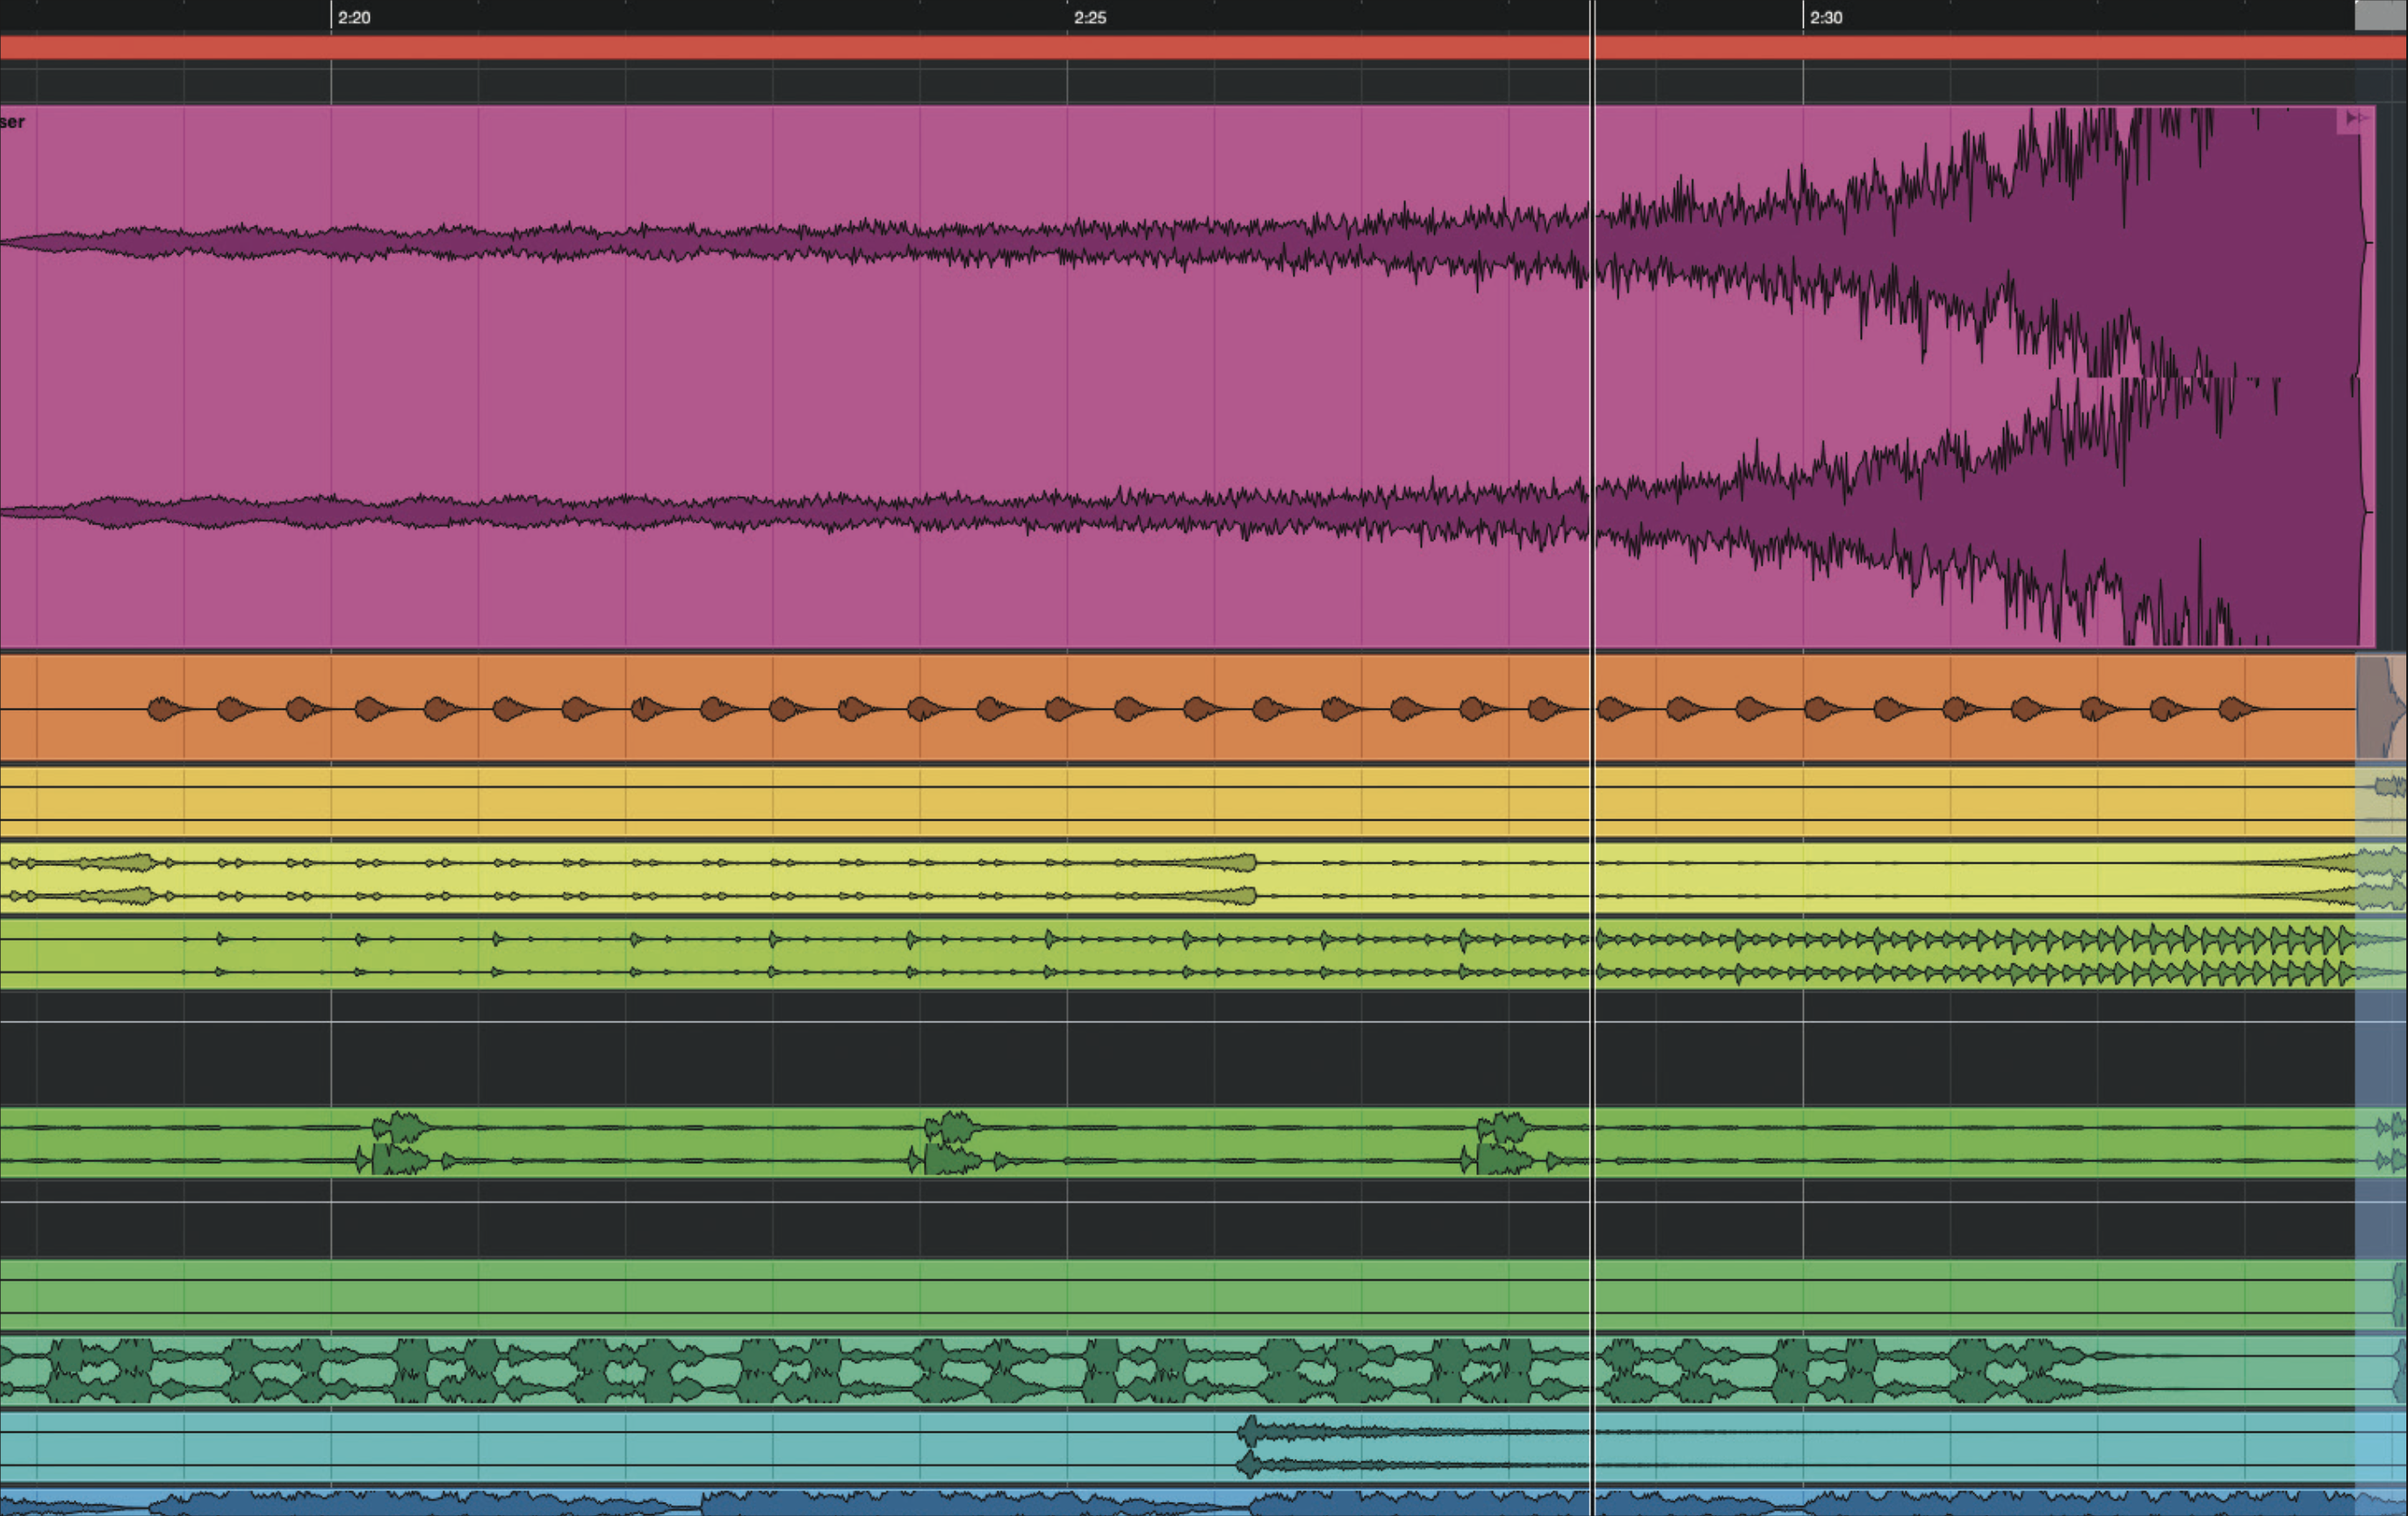
Create a new project and import the snippet you just exported. Insert a reverb, set it to 100% wet, and create a sound with a long tail and plenty of character. Add other plugins for more sonic interest if needed. When done, export the results, import this new file back to the original project, reverse it and position it.
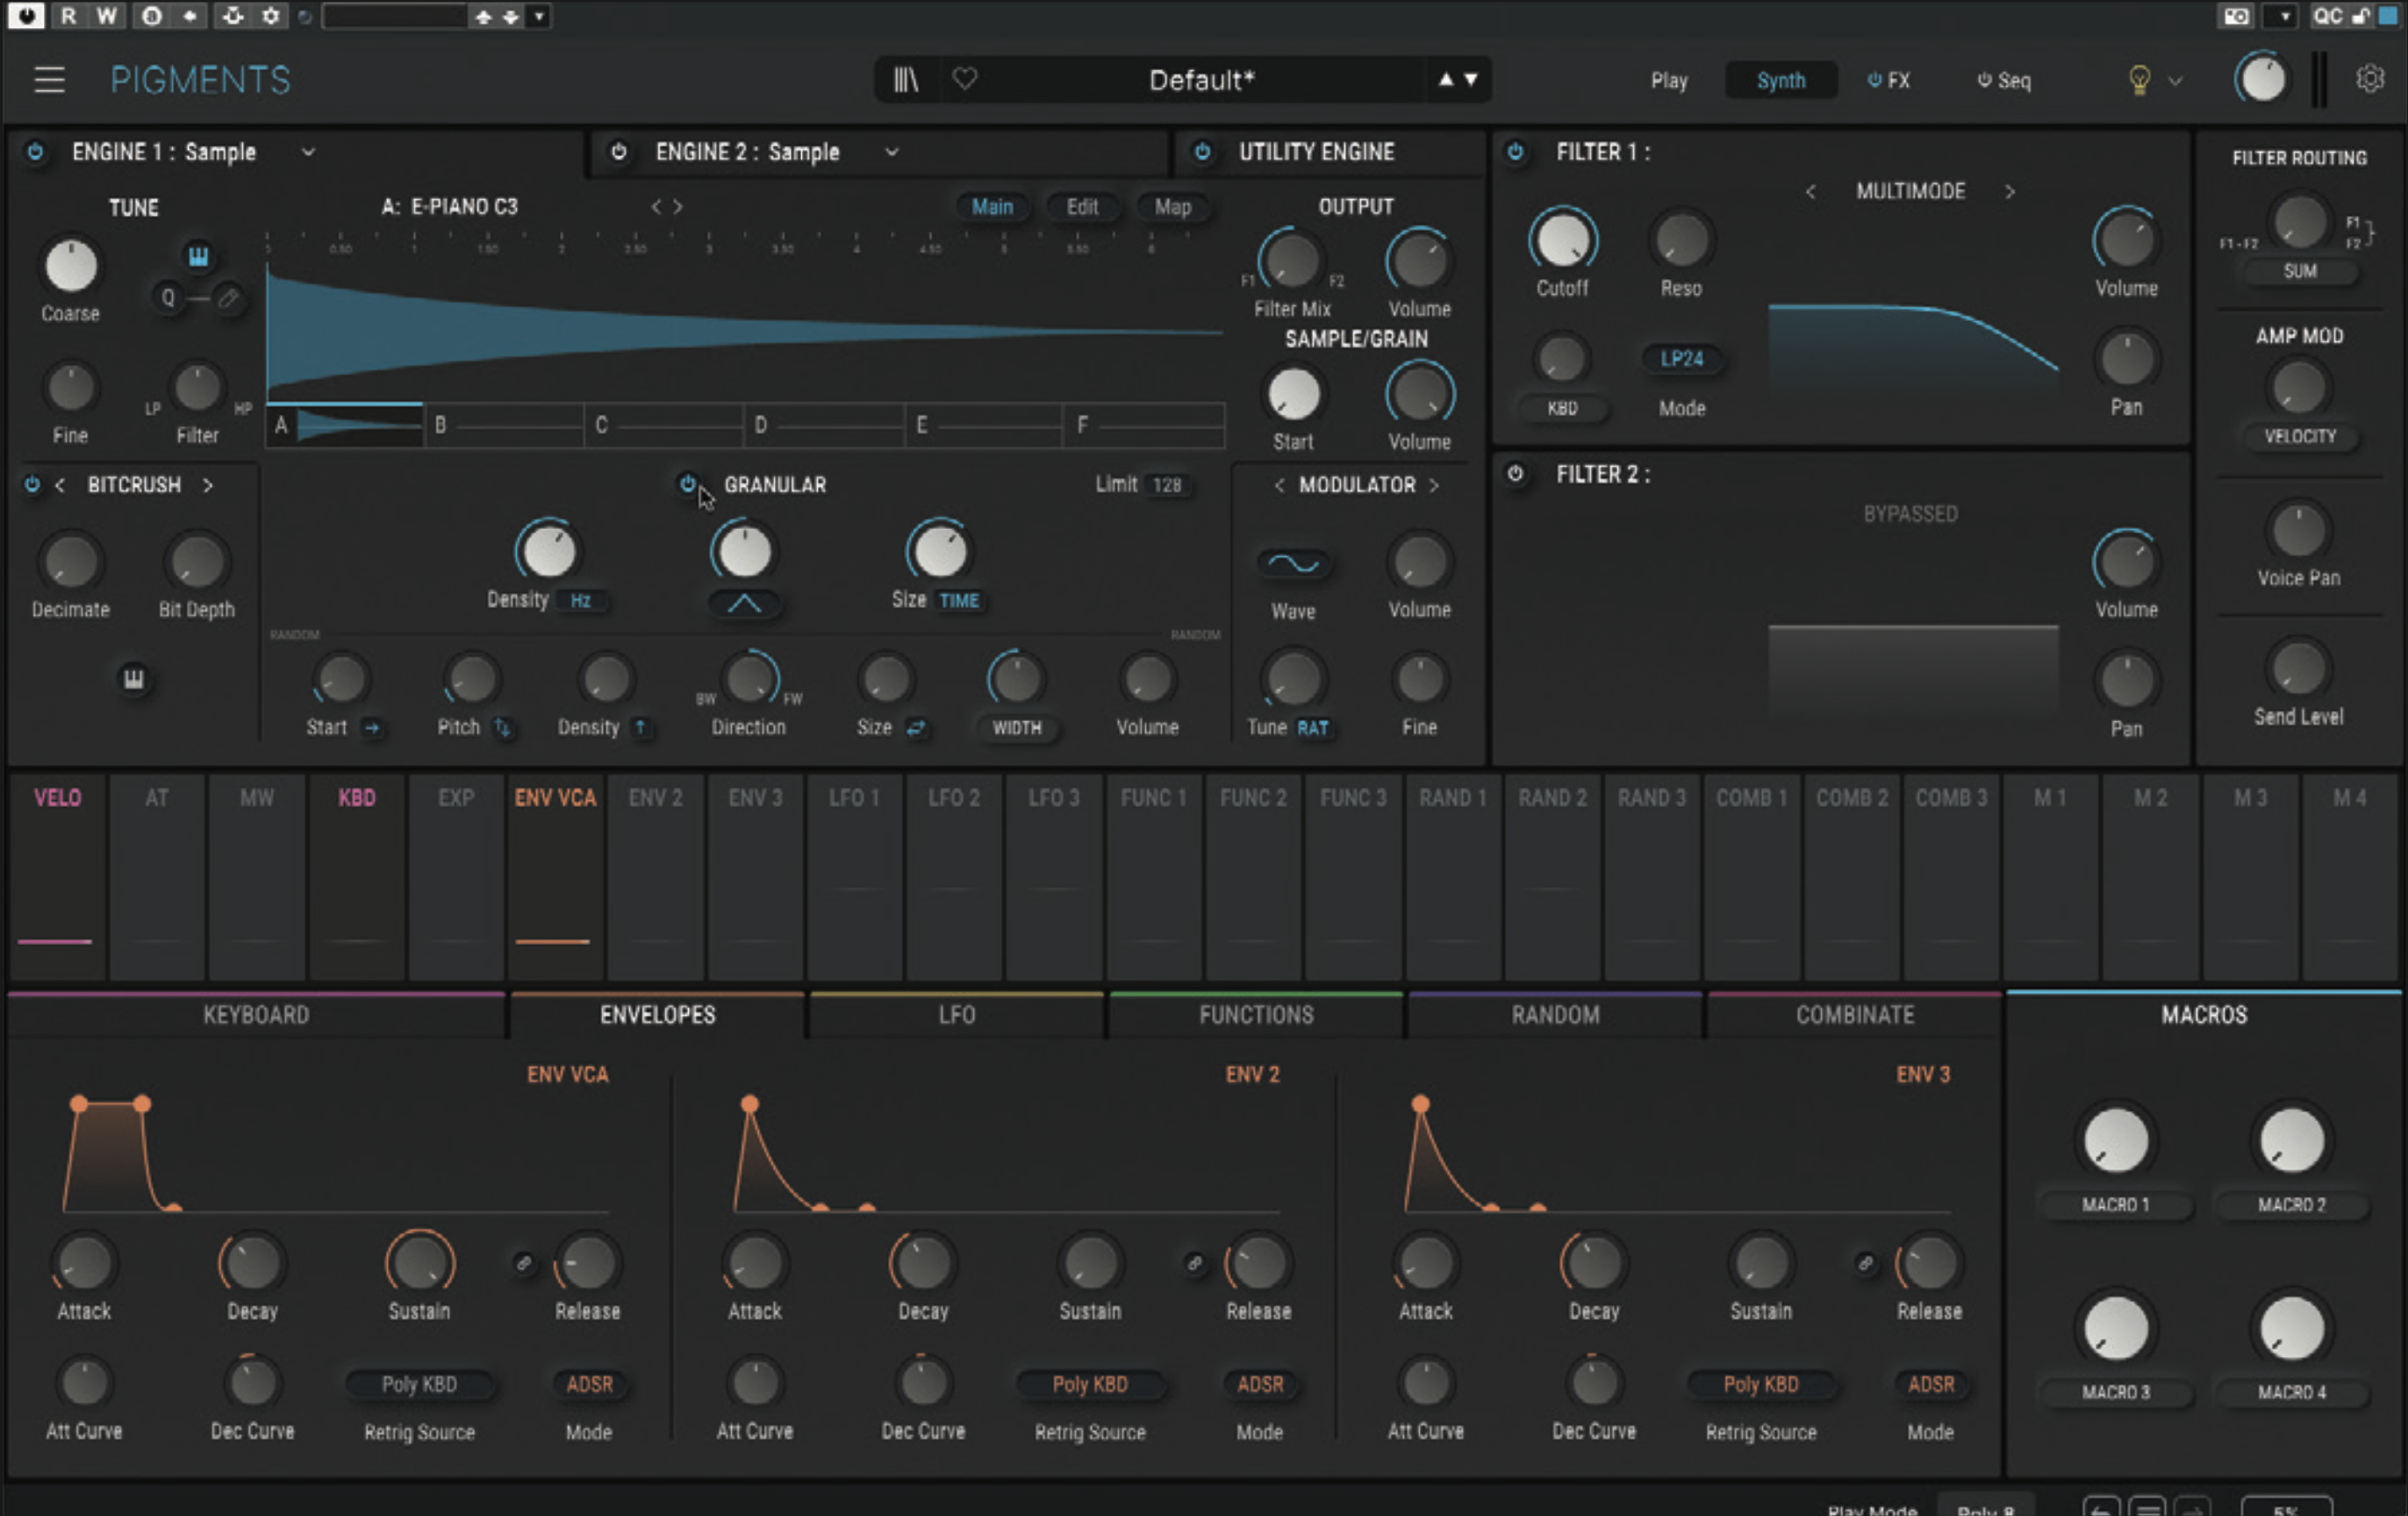
Let’s now create a synth pad. Open a new project and create a new instrument track using a synth or sampler that supports granular playback. We’re going to use Arturia Pigments, but you could use NI Kontakt, Steinberg Padshop, BLEASS SampleWiz 2, or any one of numerous premium and free granular synths should you not already have something suitable.
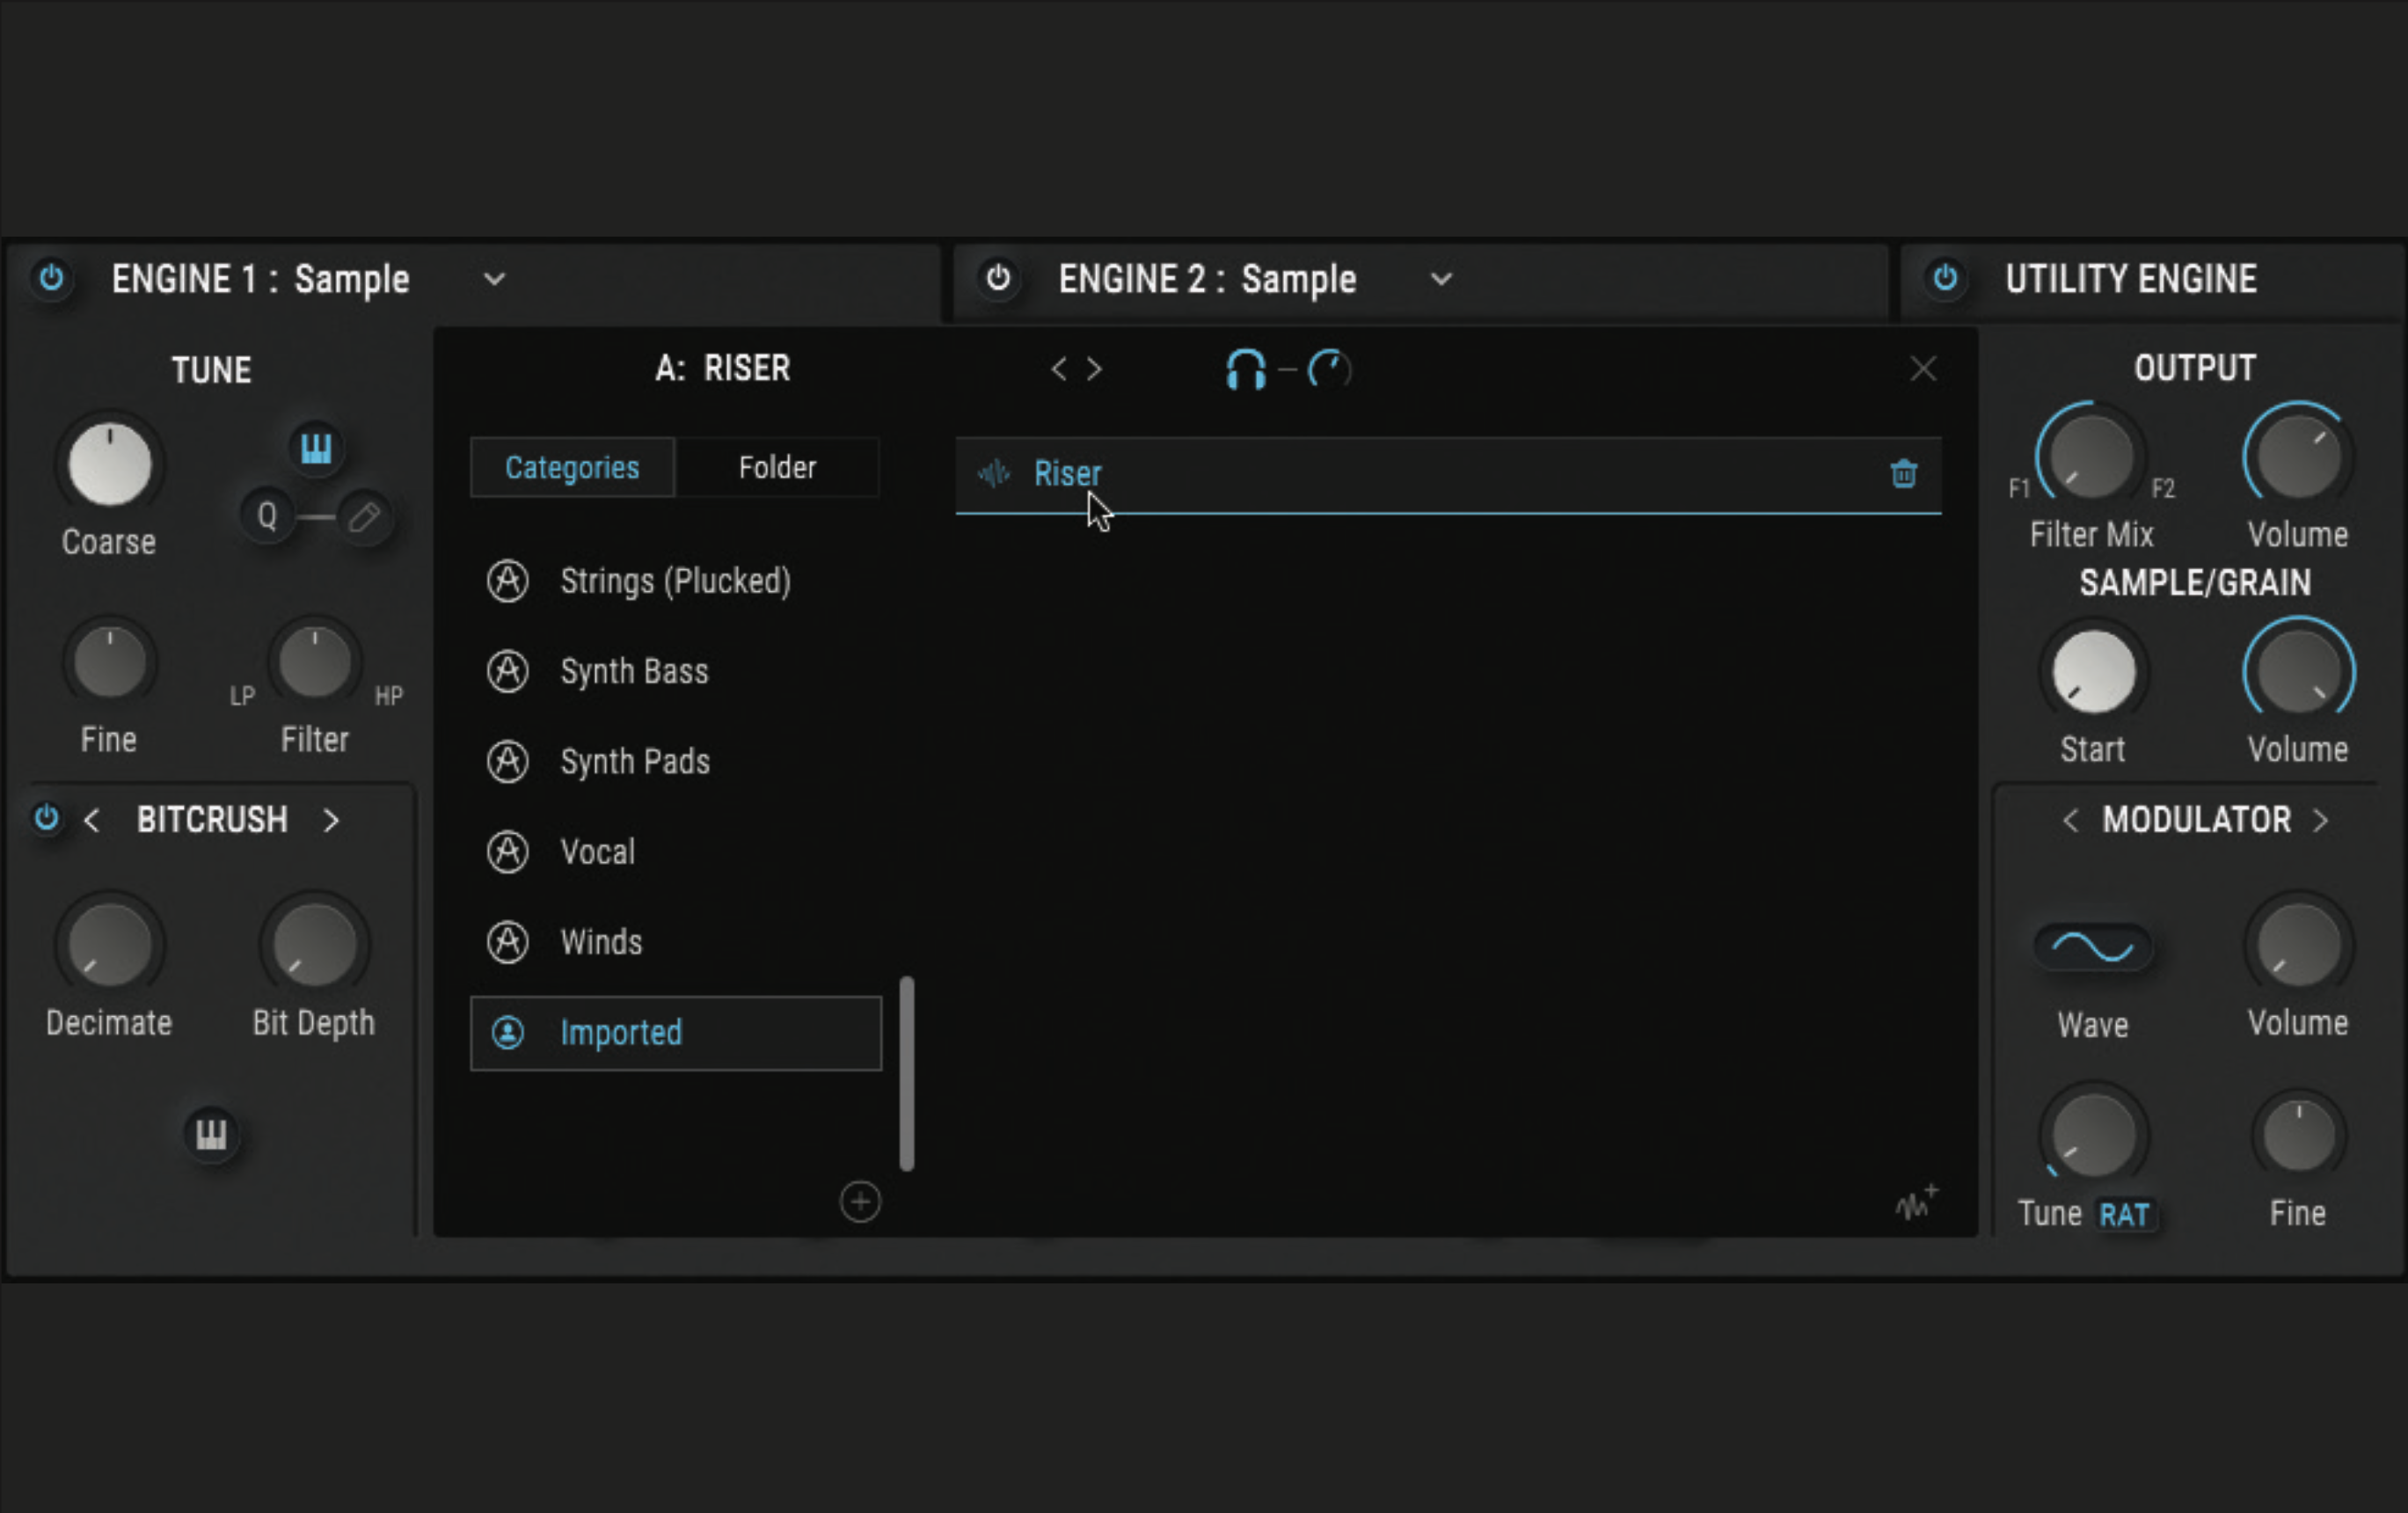
Import into your instrument into the unreversed riser sound you created in step 5. Use the synth’s sample and granular editing controls to hone in on a pleasing portion of the source sound. Build up a patch for the sound by adding a pad-like amp envelope, and modulating the granular position time to create timbre shifts.
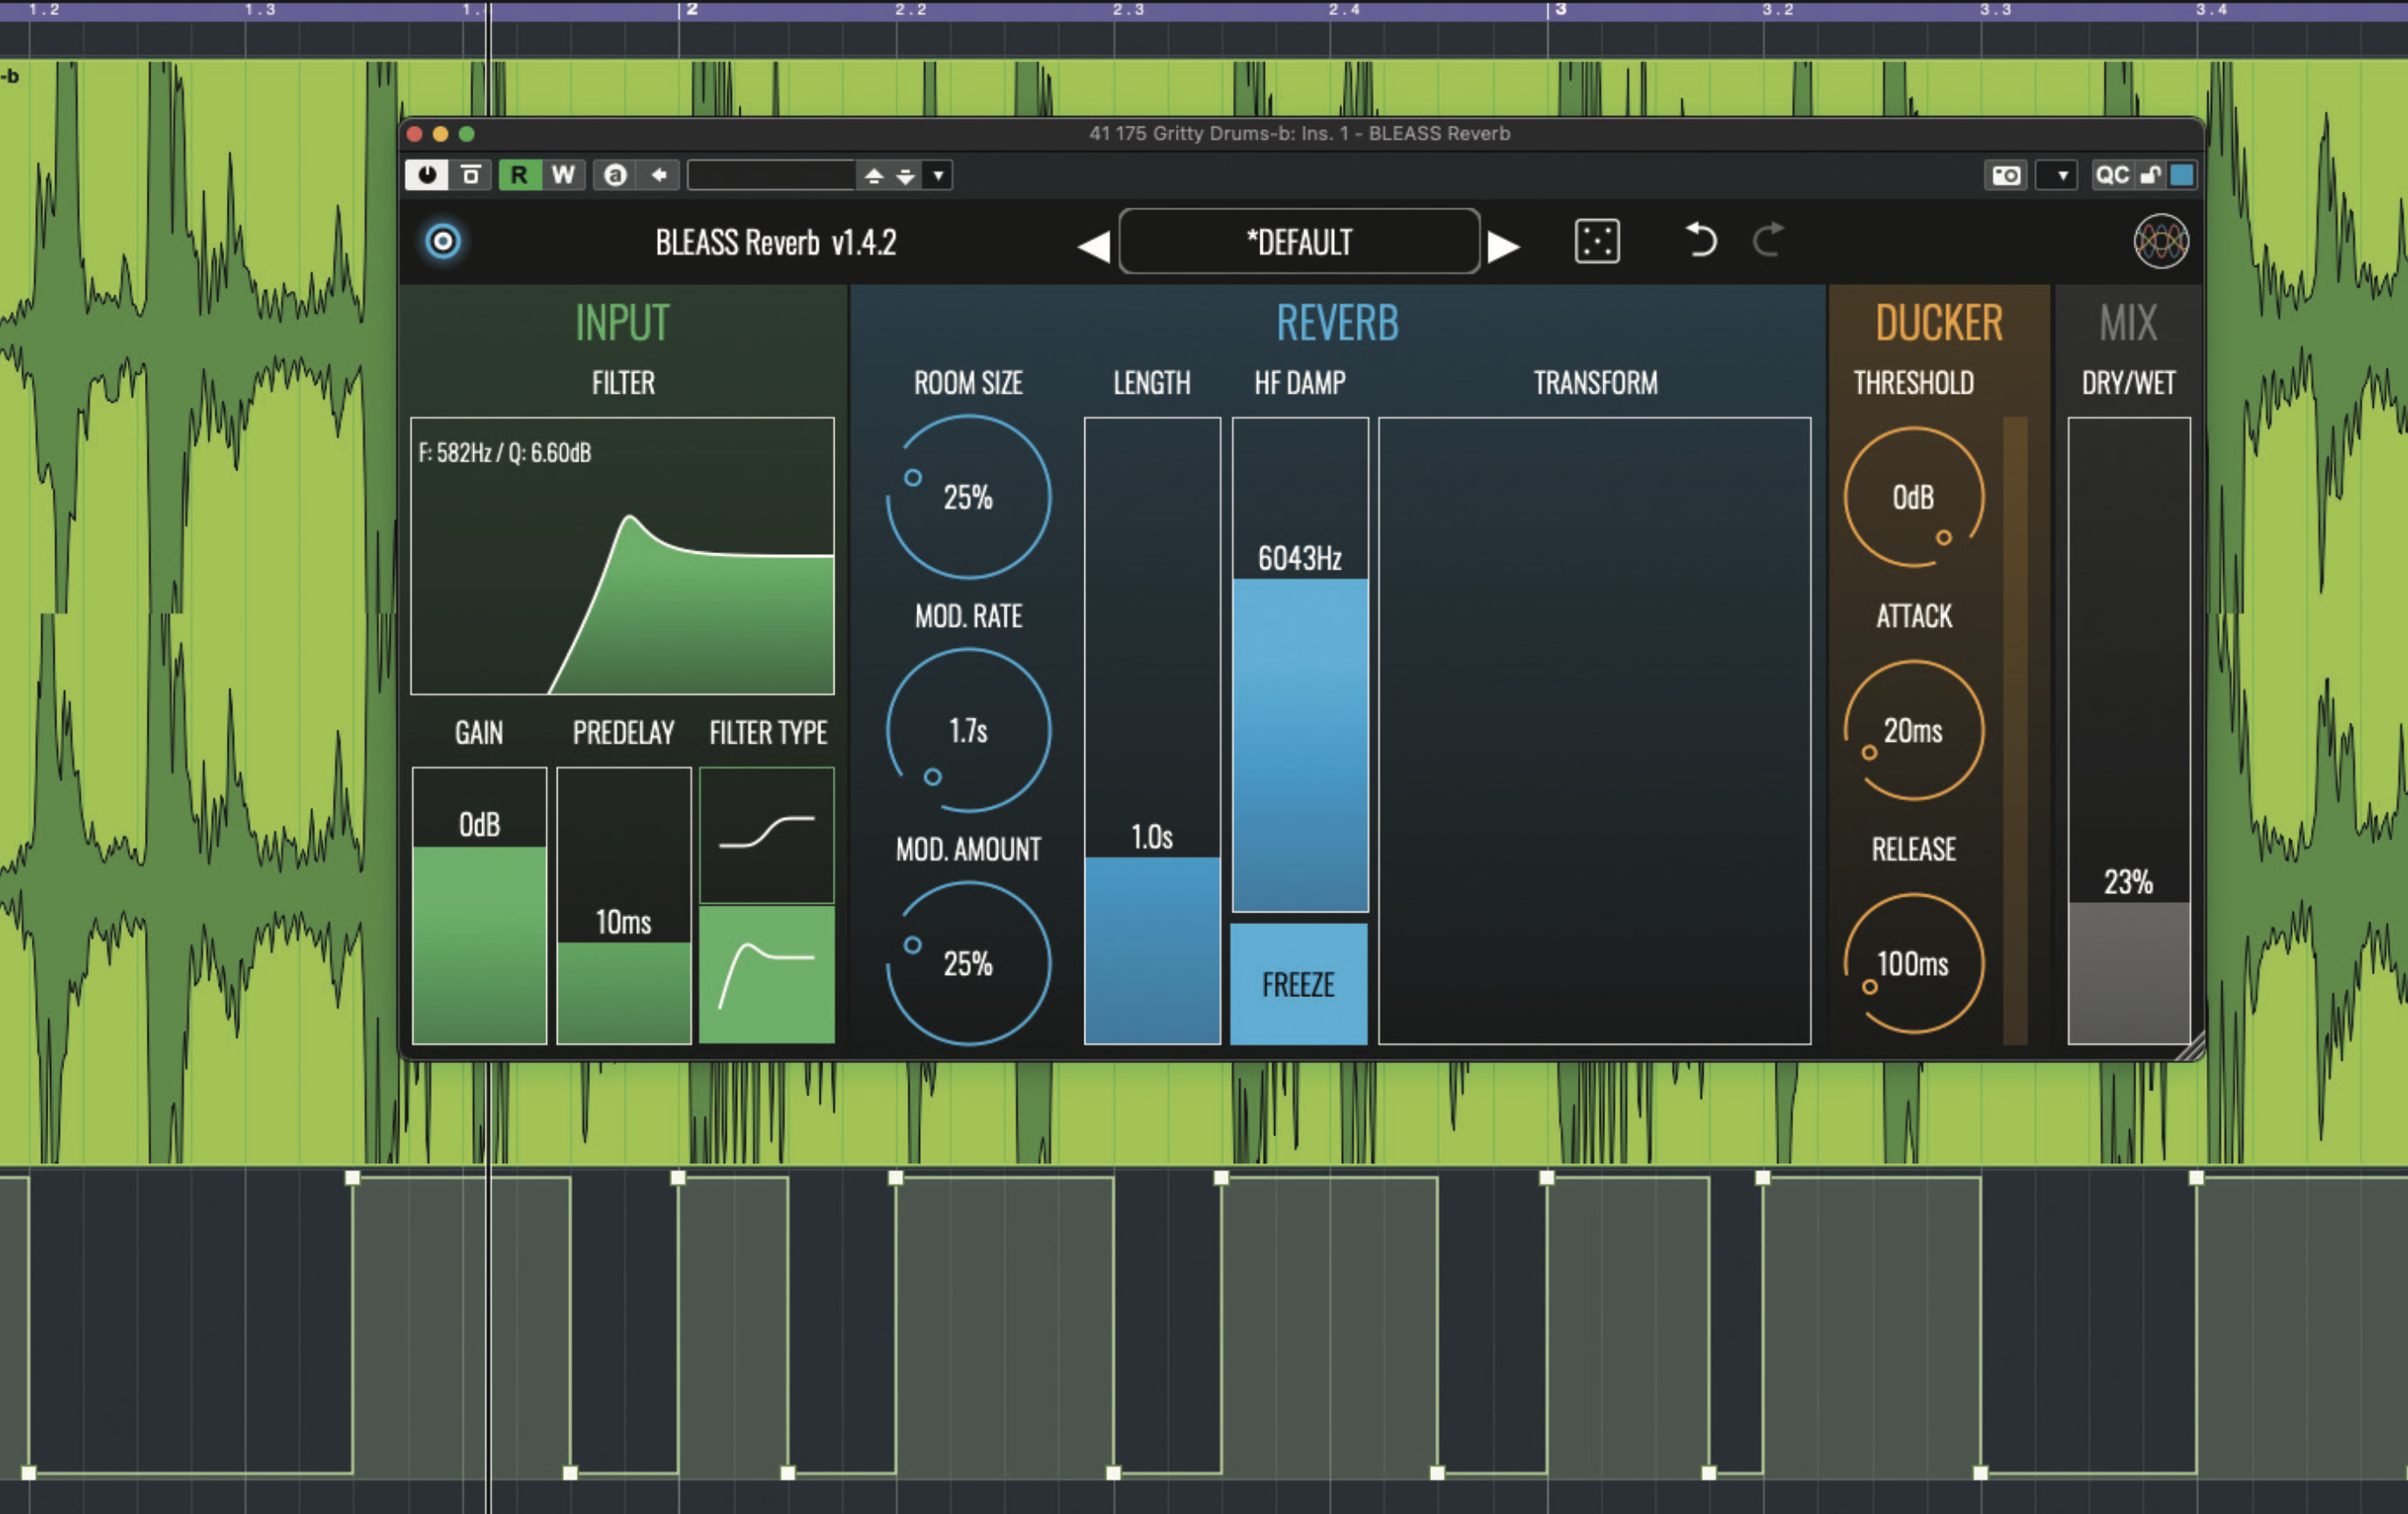
Finally, let’s play with some freezing. Import a drum loop into a new project and insert a reverb that has a freeze function – we’re going to use BLEASS Reverb. Set up a nice ’verb, add an automation track for the freeze button, and create a rhythmic automation pattern. You could then enhance the effect by automating other parameters.


