Spring is in the air and the days are getting warmer and longer. This can only mean one thing - it's time to take the outdoor furniture out of storage (or remove the protective covers), ready for alfresco entertaining.
Even if you invest in the best outdoor furniture brands, it may still be looking a little less than ideal when you pull it out after winter. If that's the case, our experts have 5 ways to refresh outdoor furniture for a new season of use.
Maintained well, outdoor furniture should provide many years of enjoyment. Of course, there are different methods of rejuvenation, depending on the age, material and condition of your furniture, so our experts have several suggestions to consider.
1. Start with a good clean
Ideally you will have prepared outdoor furniture for fall and winter, and it will have been cleaned before it was put away at the end of last summer. However, depending how it was covered or stored, damp, mold, algae, dust or rust may have appeared.
Whether it's made of wood, metal, plastic or rattan, or whatever its age, your outdoor furniture will benefit from a clean. Although it may seem like an easy option, most manufacturers advise against jet-washing outdoor furniture.
'For outdoor metal furniture, we recommend simply wiping it down with a wet cloth and letting it completely dry before covering it,' says Gifty Walker, furniture expert, Joybird. 'For a deeper clean, use a mild detergent with warm water.
'Whenever there’s inclement weather coming your way or you’re not using outdoor furniture for an extended period of time, we recommend storing it in a covered area or using a waterproof furniture cover. This helps protect it from the elements and reduces the risk of corrosion or rot.'
'If rust spots develop on metal pieces, gently sand the affected area with fine grit sandpaper. Then clean it using soap and water,' adds Milos Vranes, co-founder, GreenEcoDream. 'Applying metal paint or sealant can help prevent rusting.'
'To clean timber outdoor furniture, combine soap with water and use a brush or sponge to scrub the surface and get rid of any dirt or grime,' continues Milos. 'Avoid using brushes that could harm the wood's exterior. Once cleaned, allow the furniture to air dry completely.
'With rattan, begin by vacuuming the furniture to eliminate dust and debris. Next create a solution of detergent mixed with water to gently wipe down the surfaces using a soft cloth or sponge. Avoid saturating the material.
'Ensure drying of furniture to prevent mold and mildew growth. Placing it in a ventilated space or utilizing a fan can aid in speeding up the drying process.
'On plastic furniture, a mixture of mild detergent and warm water will usually do the trick. Use a sponge or a cloth to scrub the furniture gently. For stubborn stains, baking soda mixed with water can be an effective paste.
'If algae have developed, a vinegar and water solution can be effective. Apply it to the affected areas and let it sit for a few minutes before scrubbing gently with a soft brush.'
'Leaving outdoor furniture to dry in the sun after cleaning can be quick and effective, but it's not the best choice for every material. While metal and plastic furniture can generally withstand sun drying without much issue, timber and rattan pieces might suffer from warping, cracking, or fading due to prolonged sun exposure.
'To err on the side of caution, we advise to wipe them down with a dry towel after cleaning and then allow them to finish drying in a shaded, well-ventilated area.'
2. Oil timber surfaces
If you want to prolong the life of a wooden outdoor furniture or timber-framed seating, seal it with oil, such as quick-drying boiled linseed oil, like this one from Amazon, or similar.
This method applies to untreated or previously oiled surfaces (not those that have been painted or varnished – or to timber such as oak, where you want it to develop a silvery patina over time).
Sealing timber furniture with oil is a relatively simple task, requiring a cool, dry day.
'Outdoor furniture is constantly exposed to the elements like sunlight, rain, snow, and humidity,' says Gifty Walker at Joybird. 'Over time, this exposure can cause the wood to deteriorate, warp, crack, and even rot.
'Oil helps form a protective layer on the surface of the wood, helping to repel moisture and prevent damage from the sun. Since oil seals the wood, you create a barrier that inhibits moisture penetration, reducing the likelihood of rot and decay.
'Regularly oiling outdoor timber furniture is part of its maintenance routine and is recommended at least once a year depending on your climate. Most people prefer to do this at the start of the outdoor season when their furniture will get the most use.
'We recommend selecting an oil based on the specific wood type. Teak oil is the most common and is formulated for hardwoods such as teak, eucalyptus, and other dense timber used in outdoor furniture. It penetrates deeply into the wood, nourishing and protecting it from moisture, UV rays, and other environmental damage. It also enhances the natural color and grain of the wood while providing an attractive finish.
'Tung oil is another popular choice. It’s known for its water resistance and durability, and for forming a tough, protective barrier that withstands exposure to the elements.'
3. Invigorate it with color
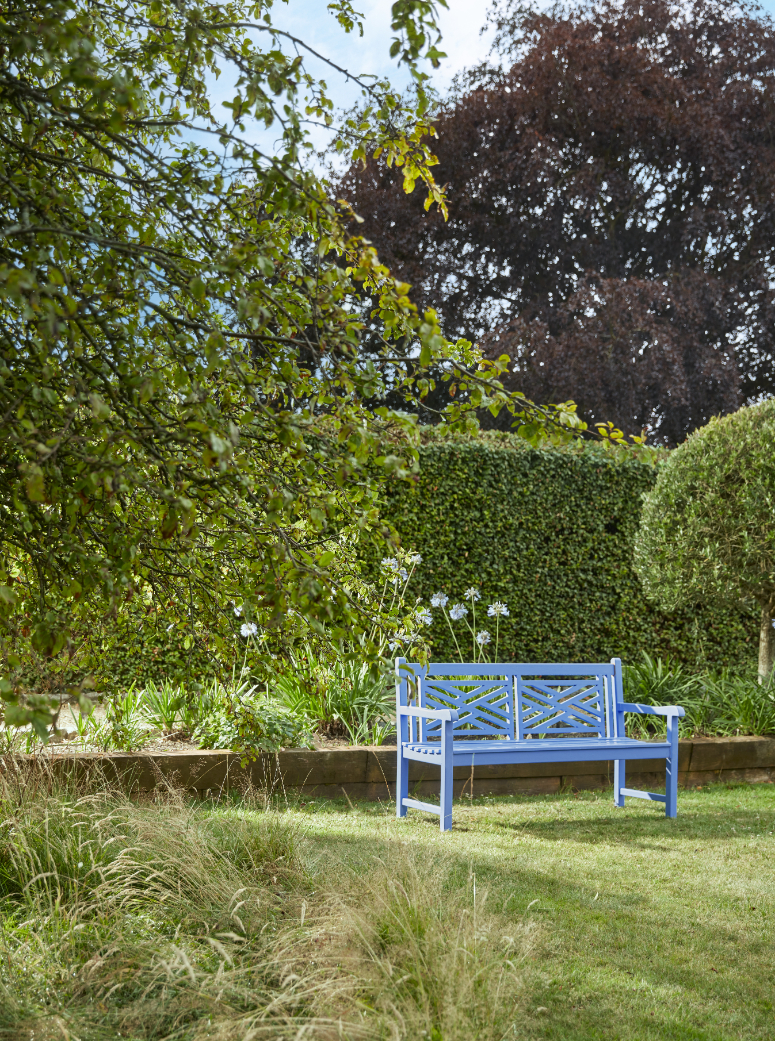
A colorful coat of the best exterior paint can invigorate your yard, especially when color is applied to timber or metal outdoor furniture.
'Garden furniture such as benches or stools can be freshened up with your favourite hue to achieve a personalised look,' says Helen Shaw, color expert at Benjamin Moore. 'Painting smaller accessories, such as plant pots, in the same shade will tie everything together.
'Like any surface, metal furniture may contain contaminates, including existing paint, rust and oil - these impurities can inhibit adhesion, therefore must be removed before painting metal.
'Similarly, you need to make sure timber furniture is dry and free of mould and mildew. Wood will then need to be sanded; working from a coarse-grade sandpaper to a finer one until the surface is smooth.
From this, you can then determine whether you need to prime the wood ahead of painting. if an old painted surface is still intact after sanding, the first coat of paint will act as your primer.
'All metal surfaces will need to be primed to ensure rust inhibition and effective adhesion of your topcoat.' Try this interior/exterior Zinsser primer from Amazon.
4. Create a bleached coastal effect with a whitewash
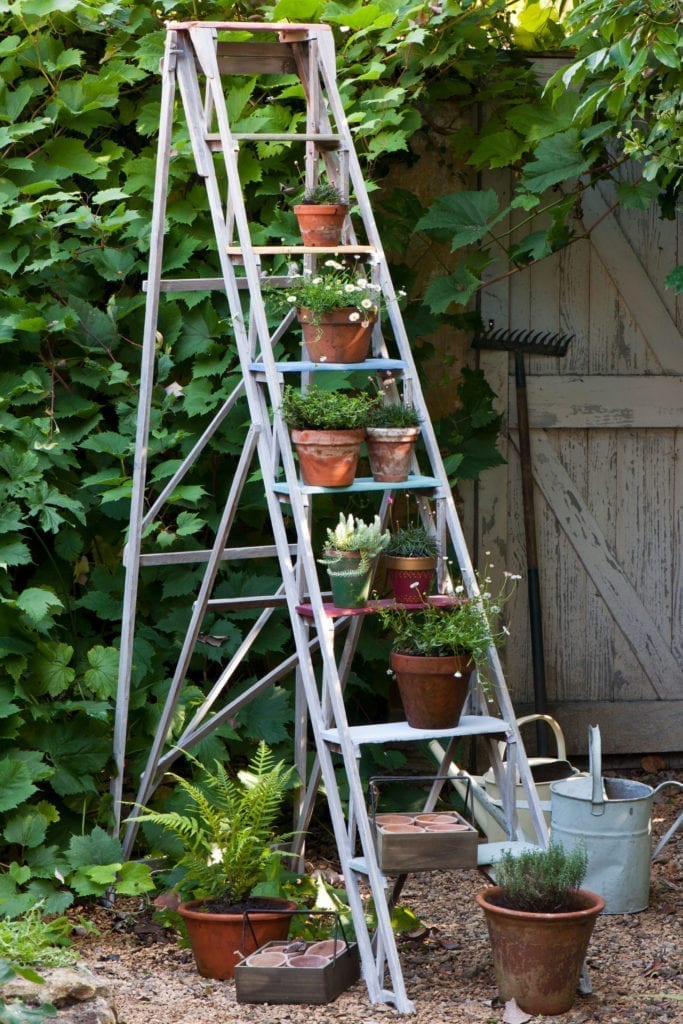
Whitewashed outdoor furniture has an elegant coastal look that evokes vacation vibes. Give your yard this rustic style by painting timber or rattan furniture with a couple of coats of whitewash for a sun-bleached effect.
'The beauty of whitewashed outdoor furniture intensifies as it weathers, influenced by the type of wood. It presents a lovely and soft aesthetic,' says paint and color expert, Annie Sloan.
'When painting outdoor furniture, start by using a stiff bristled brush to clean off any cobwebs, dirt, or dust that may have settled on the surface. The second crucial factor to ensure optimal performance of Chalk Paint on your outdoor furniture is to make sure that the furniture is completely dry before you start the painting process.
'Check the type of wood you're working with. If the furniture has a varnish finish, direct whitewashing won't adhere to it. In such cases, begin with a layer of Chalk Paint, then achieve a distressed look by rubbing the surface before sealing it.
'If the wood is unvarnished, to get a whitewashed look, dilute your Chalk Paint with 1/3 water before applying it. The best technique for whitewashing is to make sure your brush or sponge is slightly damp before dipping it into the paint. Then lightly wipe it over the furniture to allow the paint to sink into the wood.
'See if this gives you the desired effect and add water or paint to the mix until you are happy with the whitewash effect.
'Allow your furniture to dry (at least 2-3 hours) before applying Chalk Paint Lacquer. Two coats, with plenty of drying time between them, will protect your outdoor furniture from UV rays, water damage, and general wear and tear.
'I advise storing outdoor furniture in garages, sheds, or under covers during winter months to protect the finish for a longer time.'
5. Spruce up pillows and seat pads
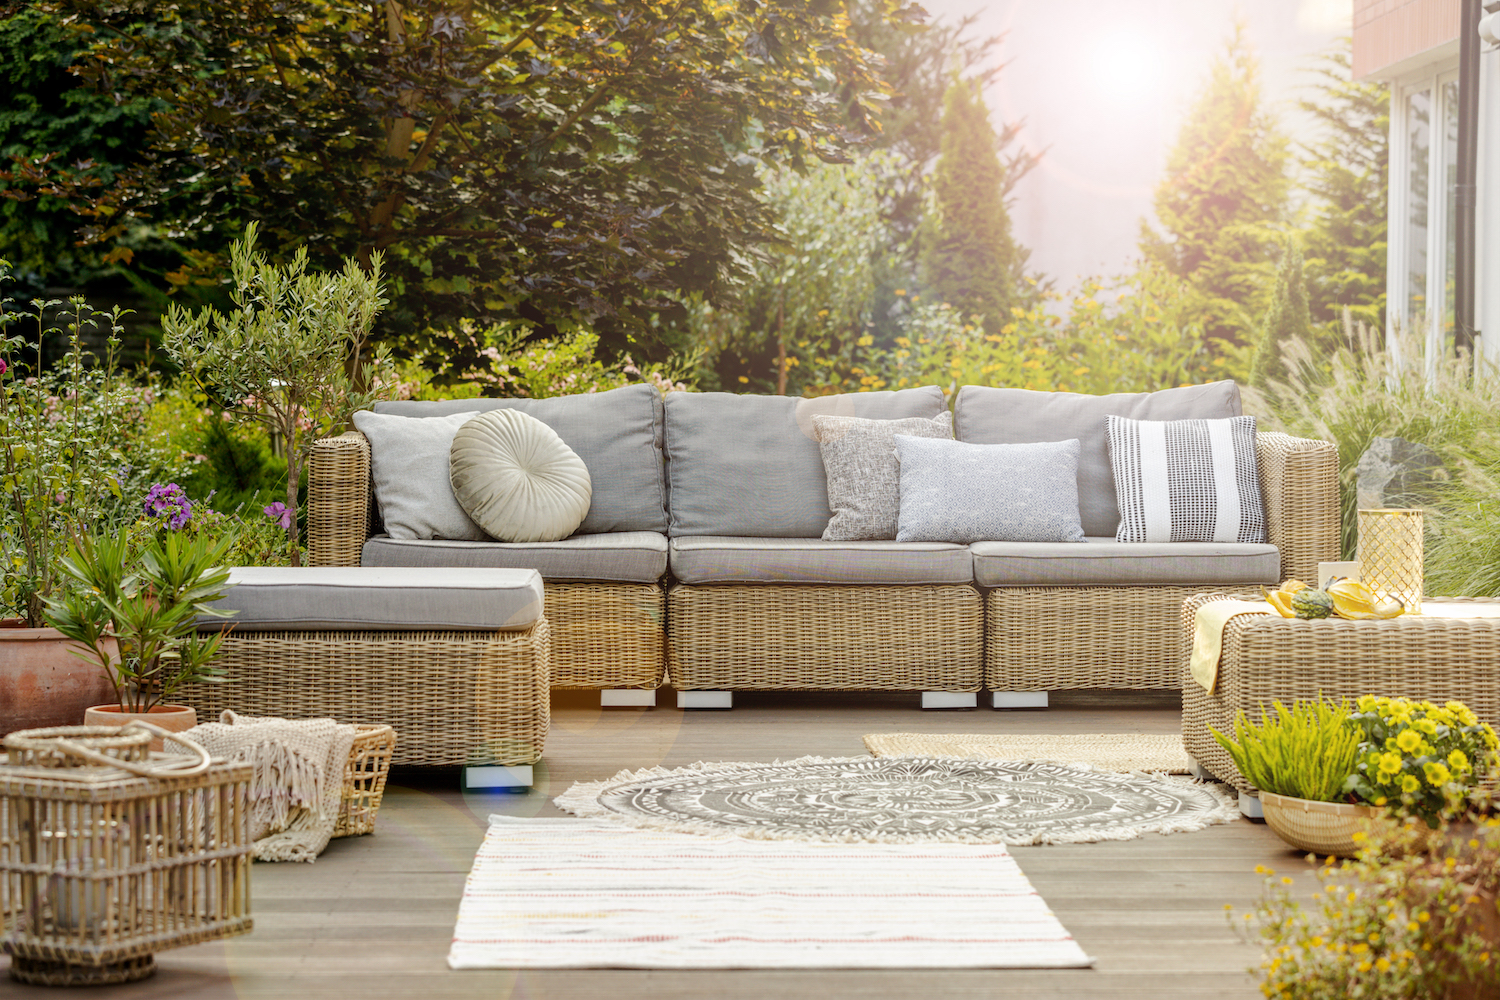
Once the frame of your outdoor sofa and seating is cleaned, sealed or painted, it's ready for the seat pads and pillows. Wash and press the covers of your existing kit so it looks, feels and smells fresh.
'To remove stains or mildew spots from cushions or upholstery first remove any debris by brushing,' says Milos at GreenEcoDream. 'Next create a mixture of soap and warm water and gently scrub the area using a soft brush or cloth.
'For mildew stains you can enhance the solution by adding an amount of white vinegar. Once you've cleaned the area make sure to rinse it with water and let the cushion or fabric dry naturally in a well ventilated area away from direct sunlight to prevent future mildew growth and preserve the materials quality.'
To refresh the look, keep a spare set of outdoor cushion covers and swap them around each year. Add in a new pillow or two, or bring out coordinating interior pillows for extra comfort and style, when entertaining for the day.
Colors don't need to be bright or vivid. Faded tones and muted hues will give outside spaces a relaxed, sun-kissed vibe.


