This tear-and-share traybake makes a great and always welcome addition to an informal dinner buffet, a picnic or a kids’ birthday party,” says Giuseppe Dell’Anno, winner of The Great British Bake Off 2021.
“Common fillings include the usual tomato sauce, mozzarella and often ham; however, this recipe uses one of my favourite combinations based on ripe red sweet peppers and onions.”
Rotoli di pizza ai peperoni
Serves: 20
Ingredients:
For the dough:
450g strong bread flour
3 tsp dry yeast
2 tsp caster or granulated sugar
250g lukewarm water
3 tbsp extra virgin olive oil
2 tsp salt
For the filling:
350g red sweet peppers (about 3 medium peppers)
100g red onion (about 1 small onion)
2 tbsp extra virgin olive oil, plus extra for greasing
⅛ tsp salt
2 tbsp concentrated tomato purée
100g green olives, pitted and sliced
Ground black pepper, for seasoning
50g grated parmesan
A few fresh basil leaves, roughly chopped
Method:
1. Add the flour, yeast and sugar to the bowl of a stand mixer fitted with the dough hook and mix them with a spoon until fully combined. Start the mixer on a medium-high speed and slowly trickle the water into the mixing bowl. Immediately after the water, add the oil and continue mixing until the dough comes together evenly. It should take a couple of minutes. Sprinkle in the salt and let the mixer knead the dough for a further eight to 10 minutes, or until it becomes smooth, wraps around the hook and comes off the sides of the mixing bowl cleanly.
2. Scoop the dough out of the bowl and, while holding it in your hands, stretch it and fold it over itself a few times and shape it into a ball. Drop it back into the mixing bowl, cut a deep cross on the surface with a sharp knife, cover the bowl with clingfilm and leave the dough to prove until it has doubled in volume; it should take about one hour 10 minutes at 20C. A very practical solution to prove the dough is to leave the bowl in the closed oven, with the heating off but the internal light switched on. This will generate an optimal draught-free and slightly warm environment to facilitate the action of the yeast. Proving the dough in these conditions may shorten the proving time.
3. Meanwhile, prepare the filling: wash the peppers, remove the stems, cores, white pith and seeds, and roughly chop the skin into two to three centimetre pieces. There is no need to be accurate as they will be blended once cooked. Peel and chop the onion, then place it in a medium frying pan with the oil and the chopped peppers. Add the salt and shallow-fry over a medium heat, uncovered, for about five minutes, stirring often until the onion has become translucent. Add the tomato purée and about 125g water, cover the pan with a lid, reduce the heat and simmer for about 15 minutes until most of the liquid has evaporated. Keep checking that the pan does not dry out to avoid burning the sauce.
4. Remove the pan from the heat and cream the contents in a heatproof blender or with a stick blender. Set aside to cool.
5. Grease the baking tin, spreading a thin layer of olive oil over the bottom and sides. Line the bottom with a sheet of baking paper.
6. Drop the proved dough over a well-floured surface, roughly shape it into a square with your fingers, then roll it out to a thickness of five millimetres, shaping it into a 30 x 50 centimetre rectangle. With the longest side facing you, pour the pepper filling over the dough, and spread it with the back of a spoon or a small offset spatula, leaving two to three centimetres of dough at the top of the rectangle sauce-free. Distribute the sliced olives evenly over the dough. Grind a generous dusting of black pepper over the sauce, sprinkle over the grated Parmesan and add the basil leaves. Roll the sheet of dough, starting from the side facing you, all the way to the top.
7. Using a sharp knife, slice the sausage of filled dough into 20 equal rolls, about two-and-a-half centimetres thick, and arrange them sideways in the prepared baking tray. There might be space left between the rolls at this stage; however, this will be filled by the dough during the second prove and baking. Leave the rolls to prove again, uncovered, for a further 30 minutes.
8. Meanwhile, set the shelf in the lowest position in the oven and preheat it to 200C (400F/gas mark 6). Once the second prove is completed, bake the rolls for 27-29 minutes, or until the tops just start to brown. Store, wrapped in paper, for up to a day.
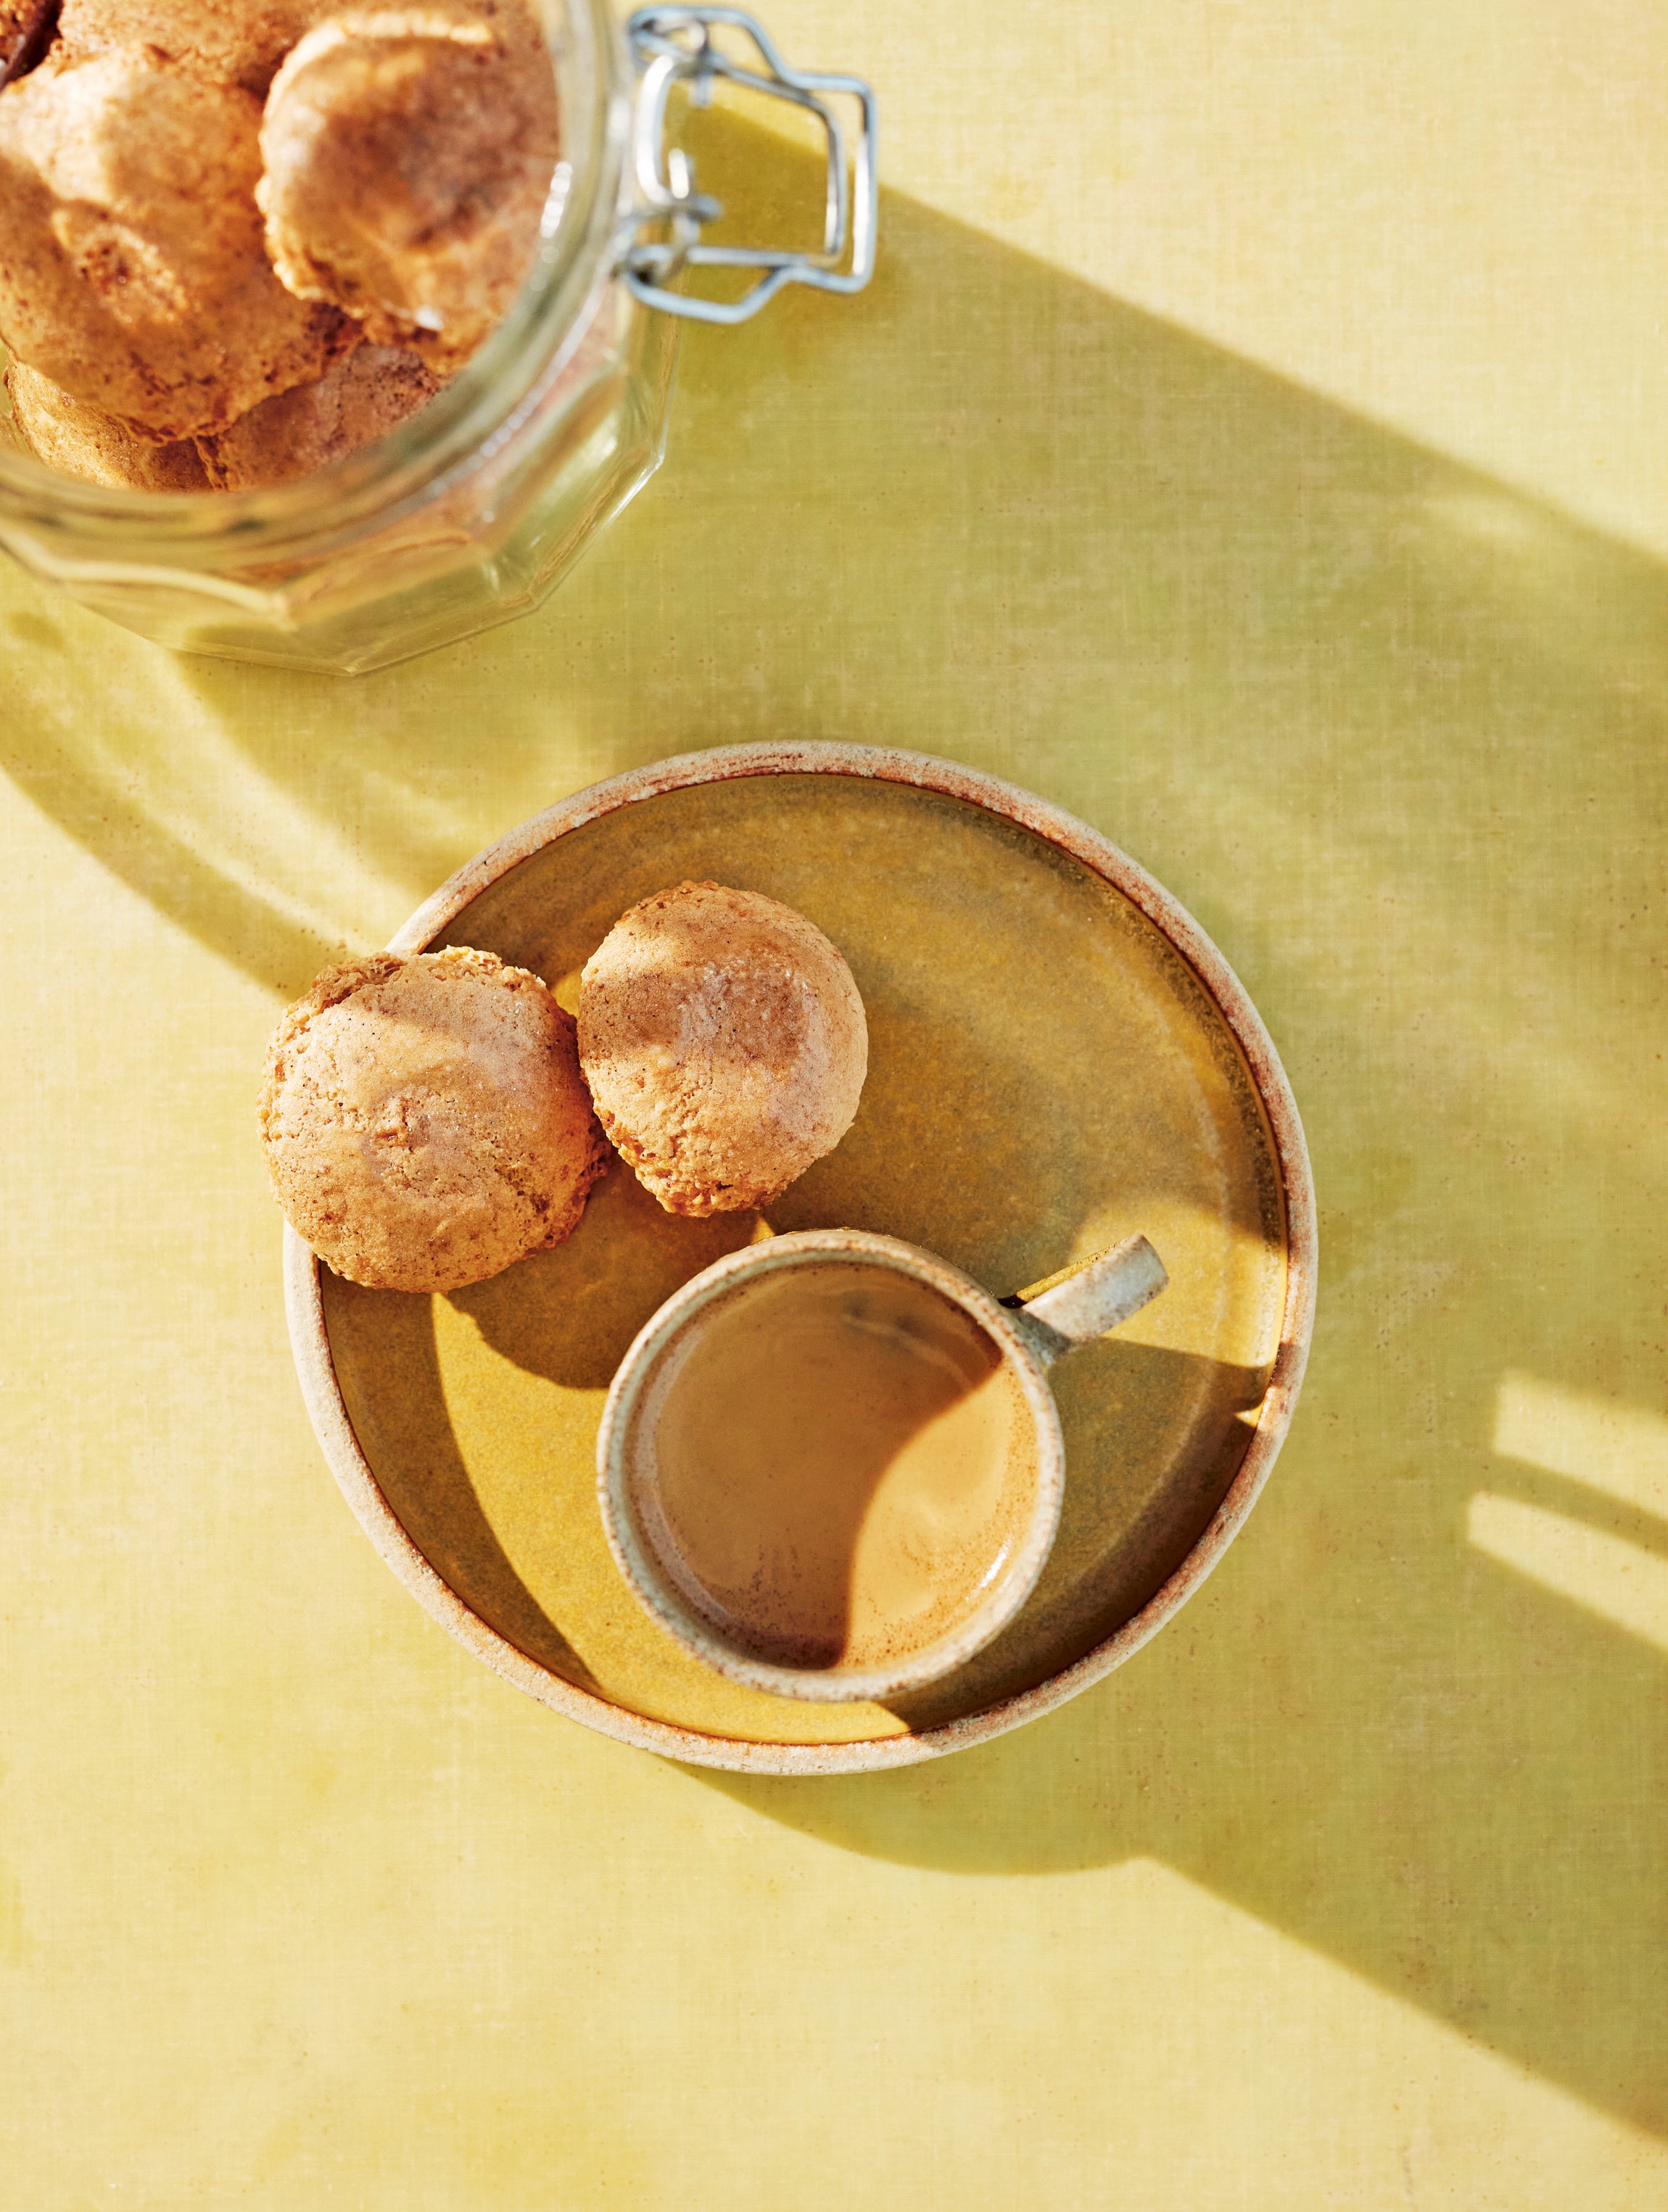
Amaretti

“The name amaretti comes from amaro, literally ‘bitter’ in Italian, after their unmistakable bittersweet taste. This is due to the addition of small amounts of bitter almonds or apricot kernels to the basic nut and sugar mix,” explains Dell’Anno.
“The recipe below will produce a crispy, partially hollow biscuit, probably the variety most often found in shops and bakeries around the country. Preparation is exceptionally simple: all you need is a food processor and a clean spray bottle. However, these biscuits are deceptively temperamental: you must follow the steps in the recipe religiously if you want a nicely formed biscuit.”
Makes: 50
Ingredients:
250g icing sugar, plus extra for dusting
90g unblanched whole almonds
10g bitter apricot kernels
⅛ tsp salt
35g egg white (about 1 medium egg white)
1 tsp vanilla bean paste
¼ tsp natural almond extract
Method:
1. Place 150g of the icing sugar in the bowl of a food processor, add the almonds and apricot kernels, then blitz at high speed for about 40 seconds until the mixture is very fine and floury. Add the remaining 100g icing sugar and the salt, then blitz again for a further 40 seconds. Add the egg white, vanilla and almond extract, then blitz one final time until the mixture comes together in a smooth, doughy mass. Turn the dough on to a clean and dry worktop, press it down and fold it in half a few times with the help of a scraper. The dough will be quite sticky, so the scraper is essential to help handle it. Wrap the dough in clingfilm and leave it to rest in the fridge overnight.
2. The following day, place the shelf in the middle of the oven and preheat it to 160C (325F/gas mark 3). Line a baking sheet with baking paper.
3. Take the dough out of the fridge, unwrap it (keep the clingfilm) and work it with the pressing and folding action again for a few times. The dough should feel much firmer than the previous day, but the scraper will still be helpful. Divide the dough into small chunks, about seven grams each. Keeping the size as consistent as possible across the biscuits will ensure an even bake, but if you do not want to weigh the individual biscuits one by one, you can use a teaspoon to make the small portions: seven grams is a bit more than half a teaspoon.
4. Roll each lump of dough between the palms of your hands to shape it into a small ball, then arrange them on the lined baking sheet, leaving at least five centiemtres between them. Form only enough biscuits to fill one baking sheet (about 15), wrap the rest of the dough back in its clingfilm and store it in the fridge until you are ready to prepare another batch.
5. Slightly flatten the top of each ball with your thumb. Use a spray bottle filled with water to spray water on to the biscuits until their surface is completely wet: some droplets will drip down the biscuits and possibly pool on the baking paper. This is perfectly acceptable, and it will not be a problem. Quickly dust the top of the wet biscuits with a thin layer of icing sugar (you will see the sugar disappear when it lands on the wet biscuits) and immediately place the baking sheet in the oven. Bake for 17-18 minutes until the biscuits are a light caramel colour.
6. Remove the biscuits from the oven, slide the baking paper on to a cooling rack and leave the baking tray to cool while you shape the following batch. Take the biscuits off the baking paper only when they are at room temperature. Store in an airtight container for up to two weeks.
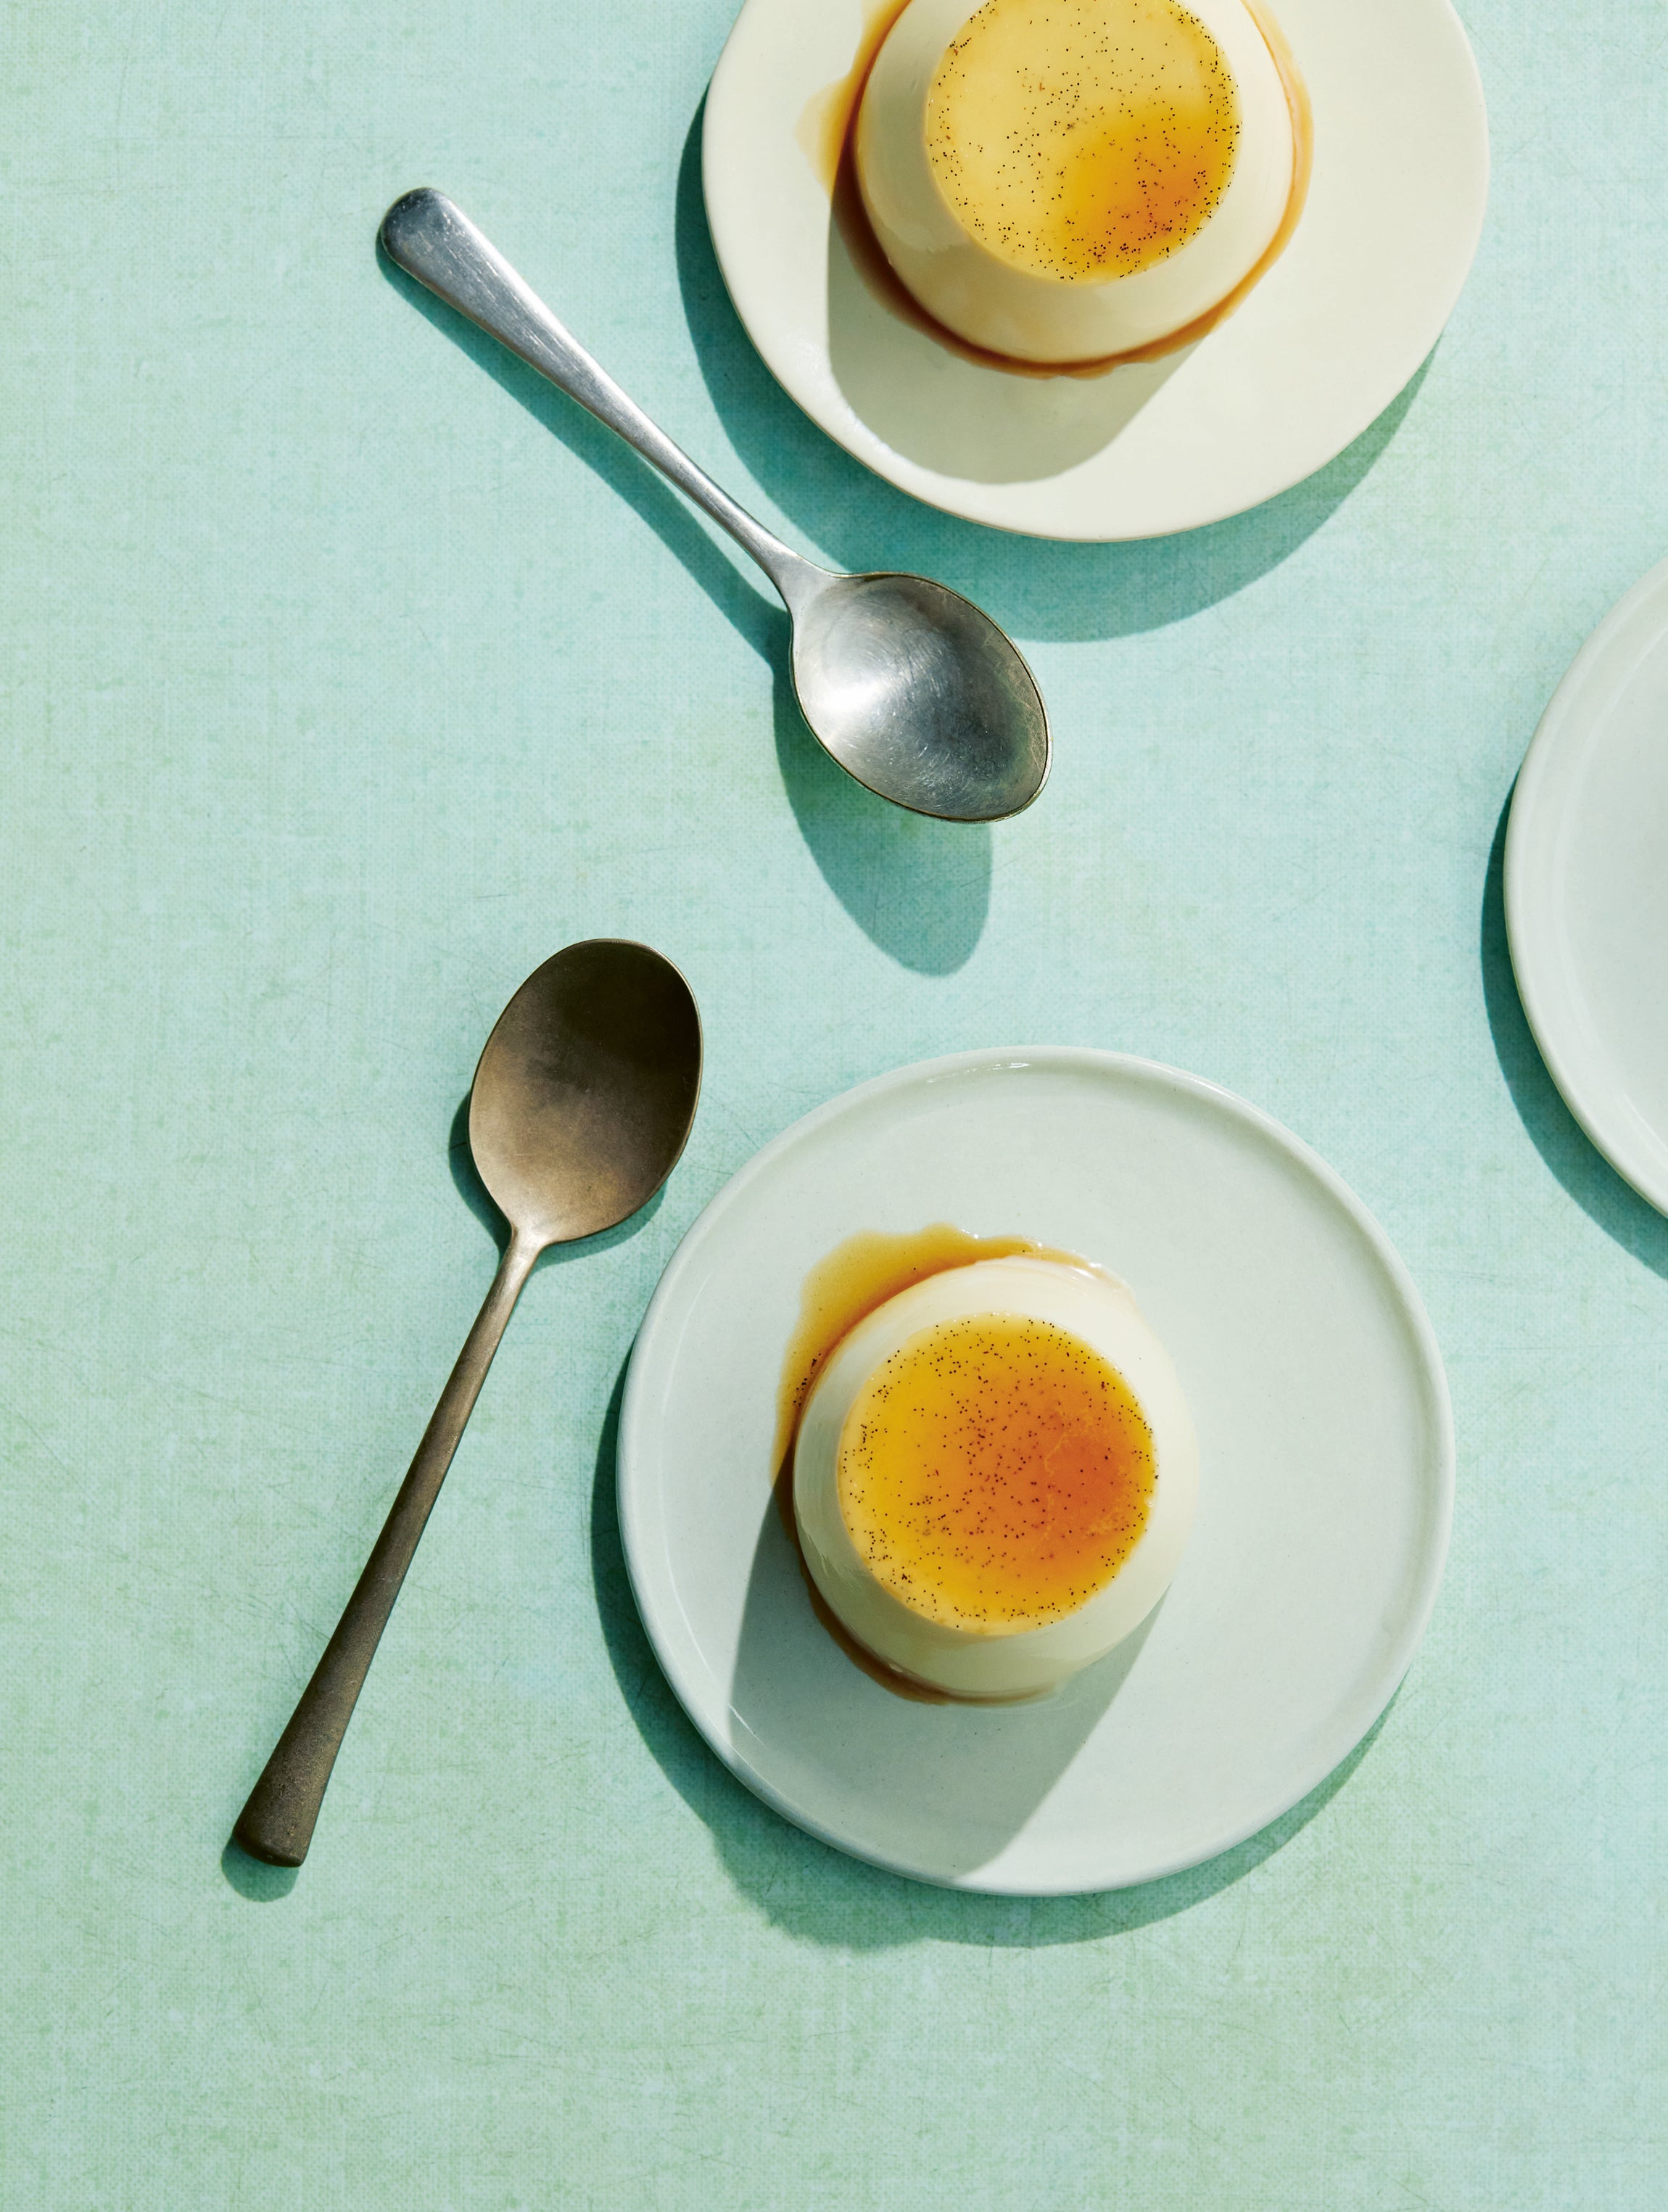
Panna cotta al Marsala

“While panna cotta are not technically bakes as they are not cooked in the oven, I could not possibly leave them out of a collection of Italian classics,” says Dell’Anno.
“The name literally means ‘cooked cream’ as the cream is brought to a simmer with sugar and flavourings before dissolving the soaked gelatine leaves.”
Makes: 8 pots
Ingredients:
200g caster sugar
7g platinum grade gelatine leaves (about 4 leaves)
600g whipping cream (30–35% fat)
1 tsp vanilla bean paste
2 tbsp white rum
2 tbsp dry Marsala wine
Method:
1. Prepare eight aluminium pots on a flat, heat-resistant surface (a wooden chopping board is ideal).
2. To make the caramel, melt 100g of the sugar in a small metal saucepan over the lowest heat on your hob. When the edges start melting, tilt and shake the pan to melt all the sugar. At no point in the process should you stir the caramel. The caramel is ready as soon as all the sugar is liquid and deep amber in colour.
3. Carefully pour just enough caramel in each pot to coat the bottom, dividing it evenly. Be very careful at this stage as the caramel is around 200C and can cause serious burns if it gets in contact with the skin. The aluminium pots will get very hot too once the caramel is poured (use of protective gloves is recommended).

4. Soak the gelatine leaves in a bowl of cold water for 10 minutes.
5. Meanwhile, add 300g of the cream, the remaining 100g sugar and the vanilla paste to a small pan and bring to a simmer. By warming up only half of the cream, the cooling/setting time will be shorter, and less alcohol will be lost through evaporation. Remove from the heat, squeeze out the excess water from the gelatine leaves and dissolve them in the hot cream, stirring vigorously with a spoon or, even better, a whisk.
6. Very slowly pour the remaining 300g cold cream into the hot cream mixture, stirring constantly. Always add the cold cream into the hot, never the other way around: this will avoid premature setting of the gelatine and the formation of rubbery lumps in the cream.
7. Finally, add the rum and Marsala wine and combine. Divide the mixture equally between the pots; they should be filled up to about one centimetre from the rims. Leave to set in the fridge for at least three hours or, better, overnight.
8. Once the mixture is set, demould each pot on to a small plate or saucer. The best way to do this is to fill a bowl big enough to fit one pot with boiling water. Dip each pot in the hot water for no longer than two to three seconds, then turn it on to the serving plate. Shake the pot and plate sideways and tap it over a folded dish towel until the panna cotta has dropped. Store in the fridge for up to two to three days.
‘Giuseppe’s Italian Bakes’ by Giuseppe Dell’Anno (published by Quadrille, £20; photography by Matt Russell), available now.


