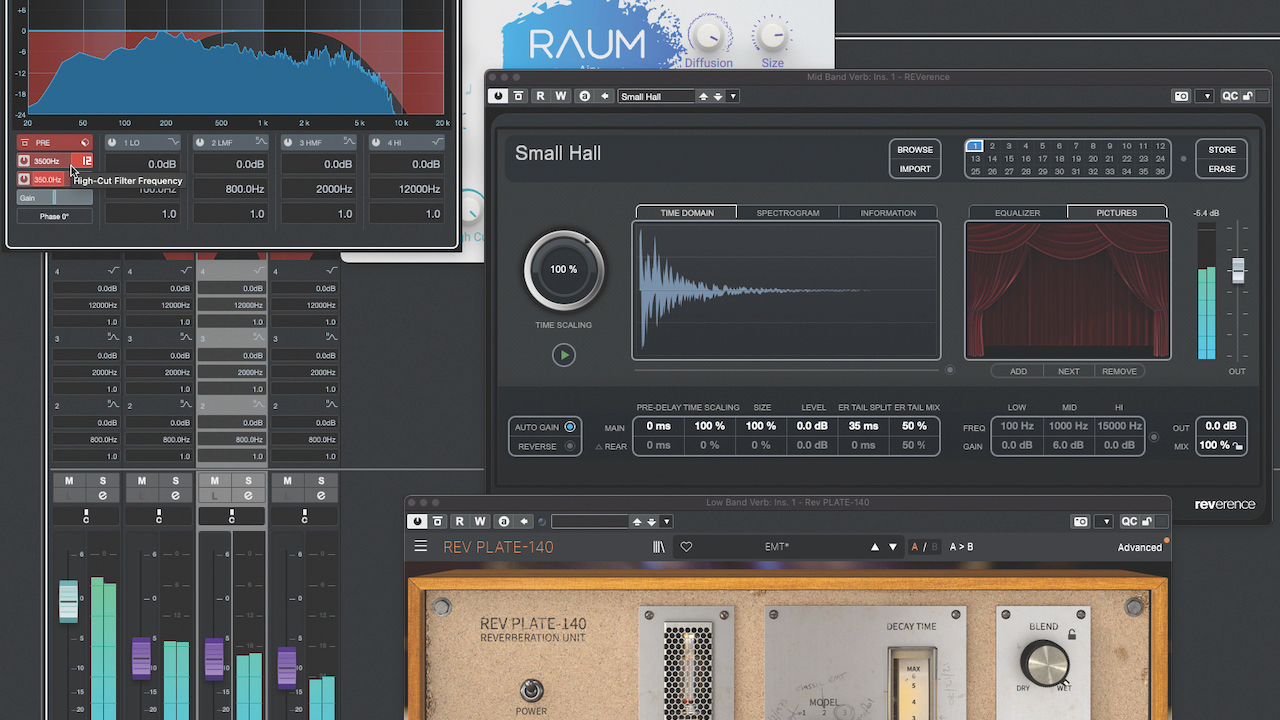
One of the most commonly used effects in music production, reverb can be heard on almost every song we listen to. But there's far more to reverb than just sticking a decent plugin on your channel strip and picking the right preset.
Shaping, sculpting and fine-tuning your reverb can dramatically transform the character of a sound, making it a hugely creative and powerful tool across production, mixing and sound design. With that in mind, we've racked our brains for 14 essential tips to help you do more with reverb.
1. Always EQ
EQing the tracks and parts of a mix is second nature, but far too often people will assume that because a dry part is EQ’d, there is no need to EQ any reverb we’ve attached to it. Wrong! Adding EQ to reverb is vital, letting us remove low-end muddiness, bring out the top end sparkle and sheen, and create spectral space for the dry signal to poke through, thus aiding with overall clarity.
2. Use pre- and post-fade sends
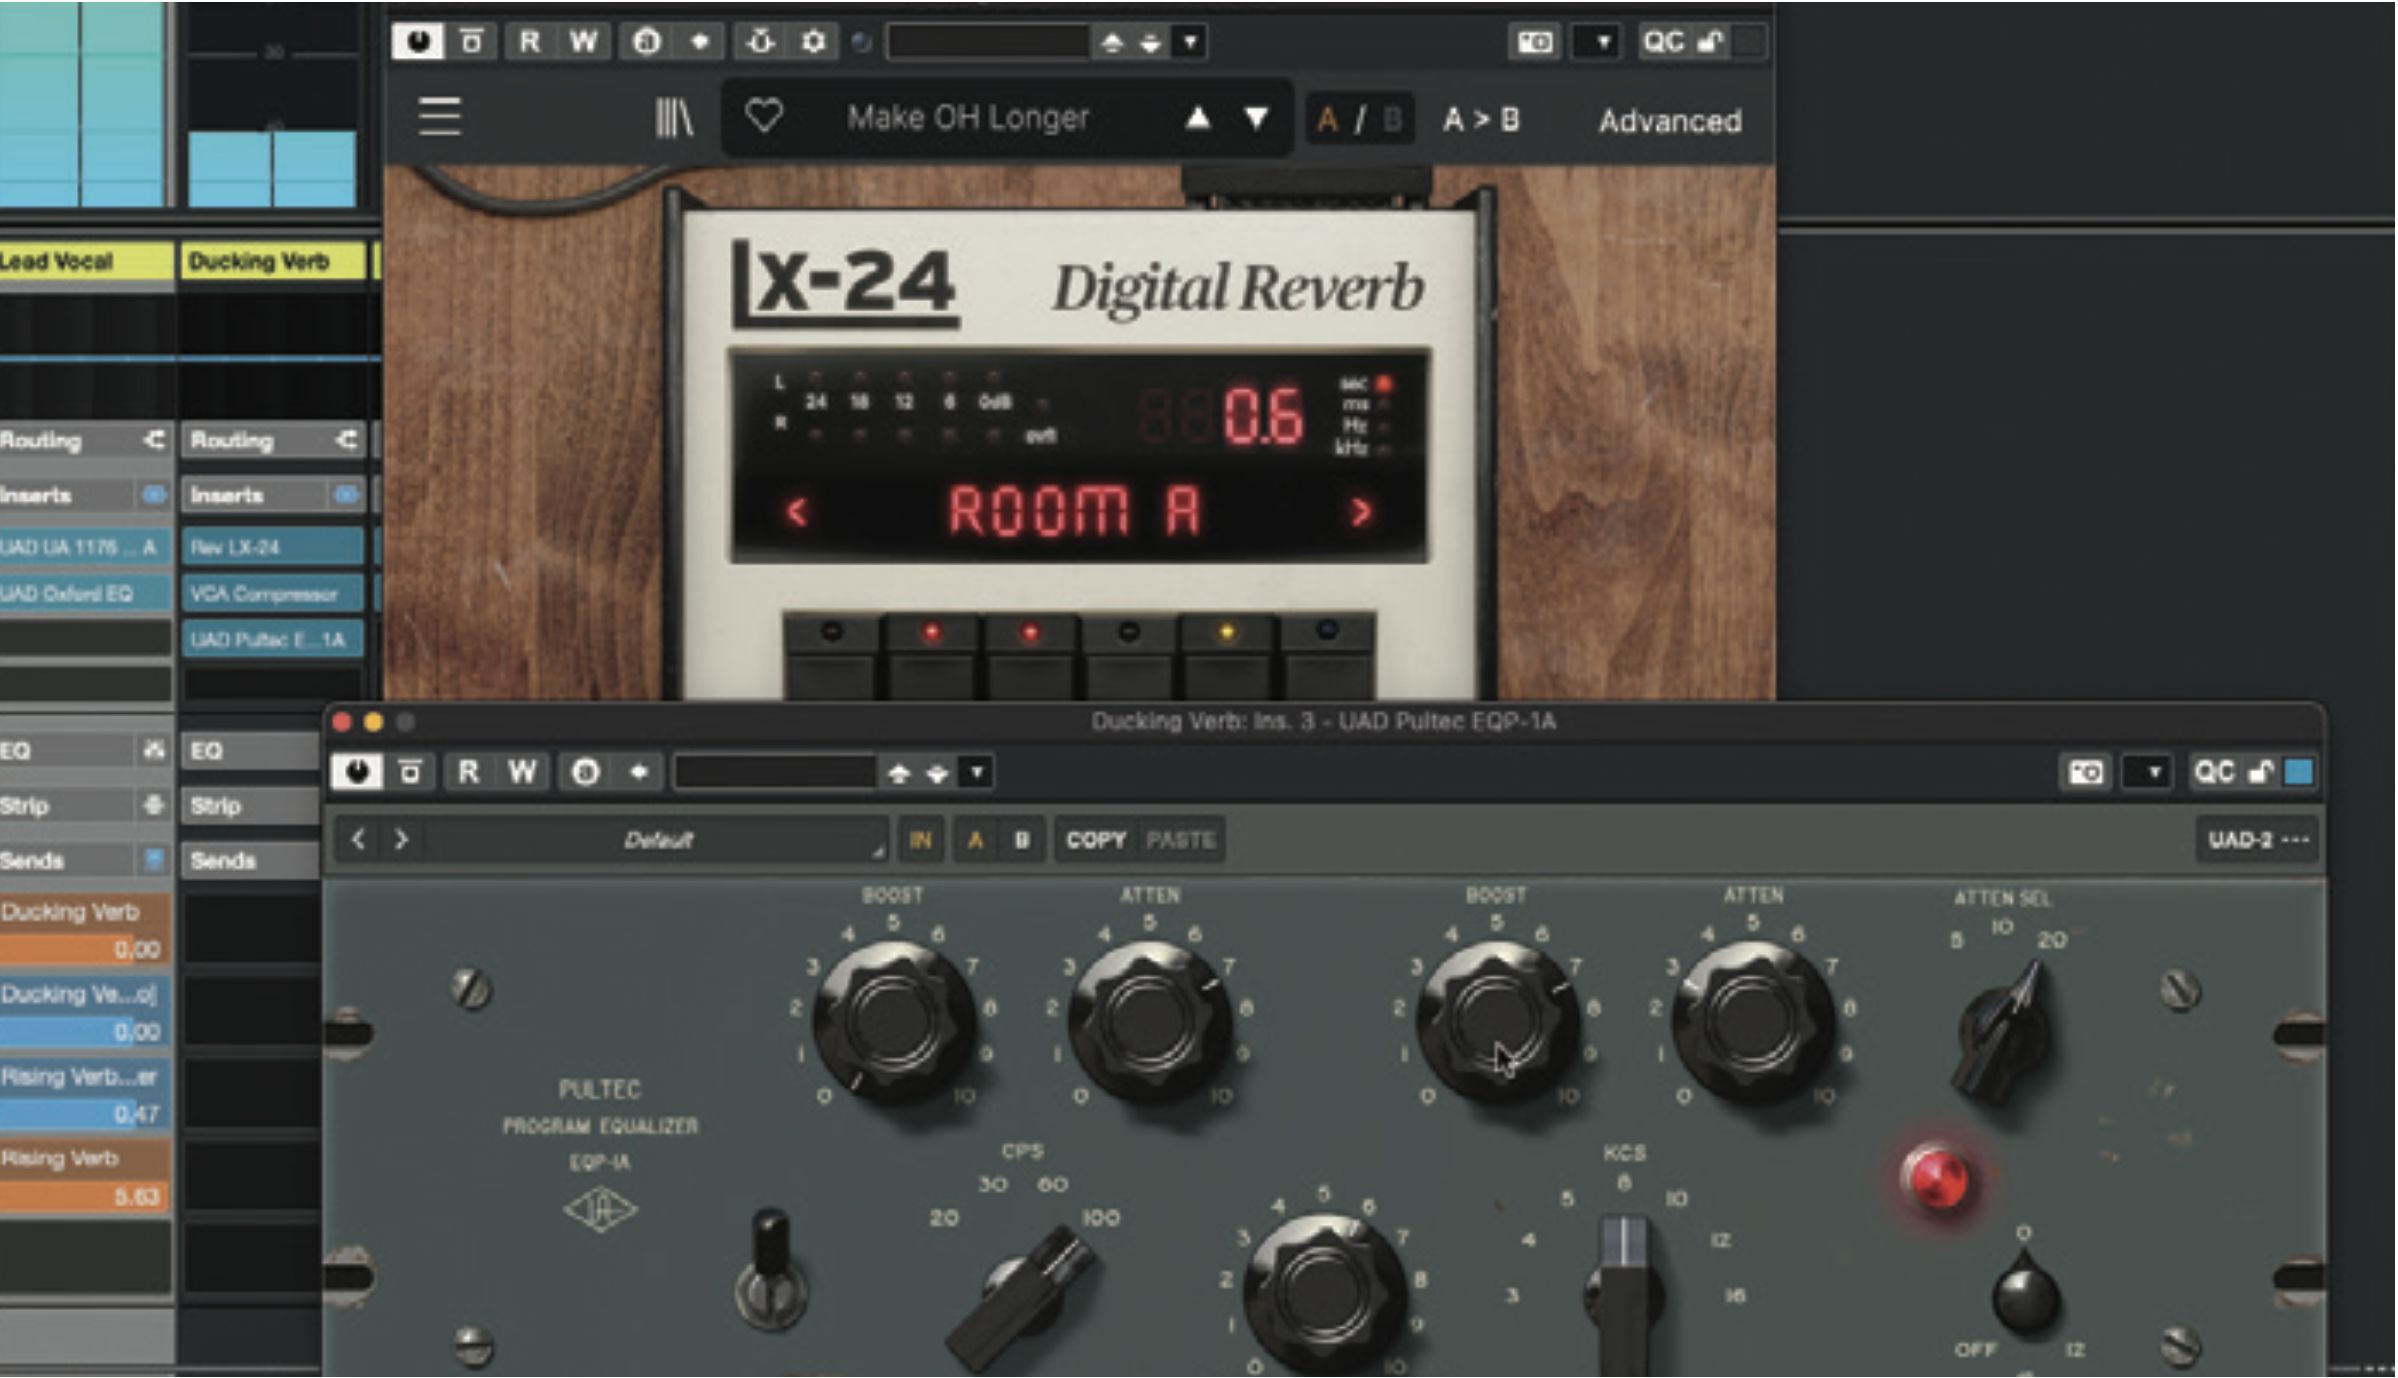
The channel sends we use to feed signals to a reverb plugin inserted on another track can be either pre-fade or post-fade. Typically we use the latter, because this maintains the send level’s relationship to the main channel level. Sometimes, however, it is preferable for the send level to remain constant no matter what, such as when using it to trigger a ducking compressor. Using pre-fade sends also makes it easier to manipulate the balance between send and channel levels when creating front-to-back depth effects.
3. Flipping stereo
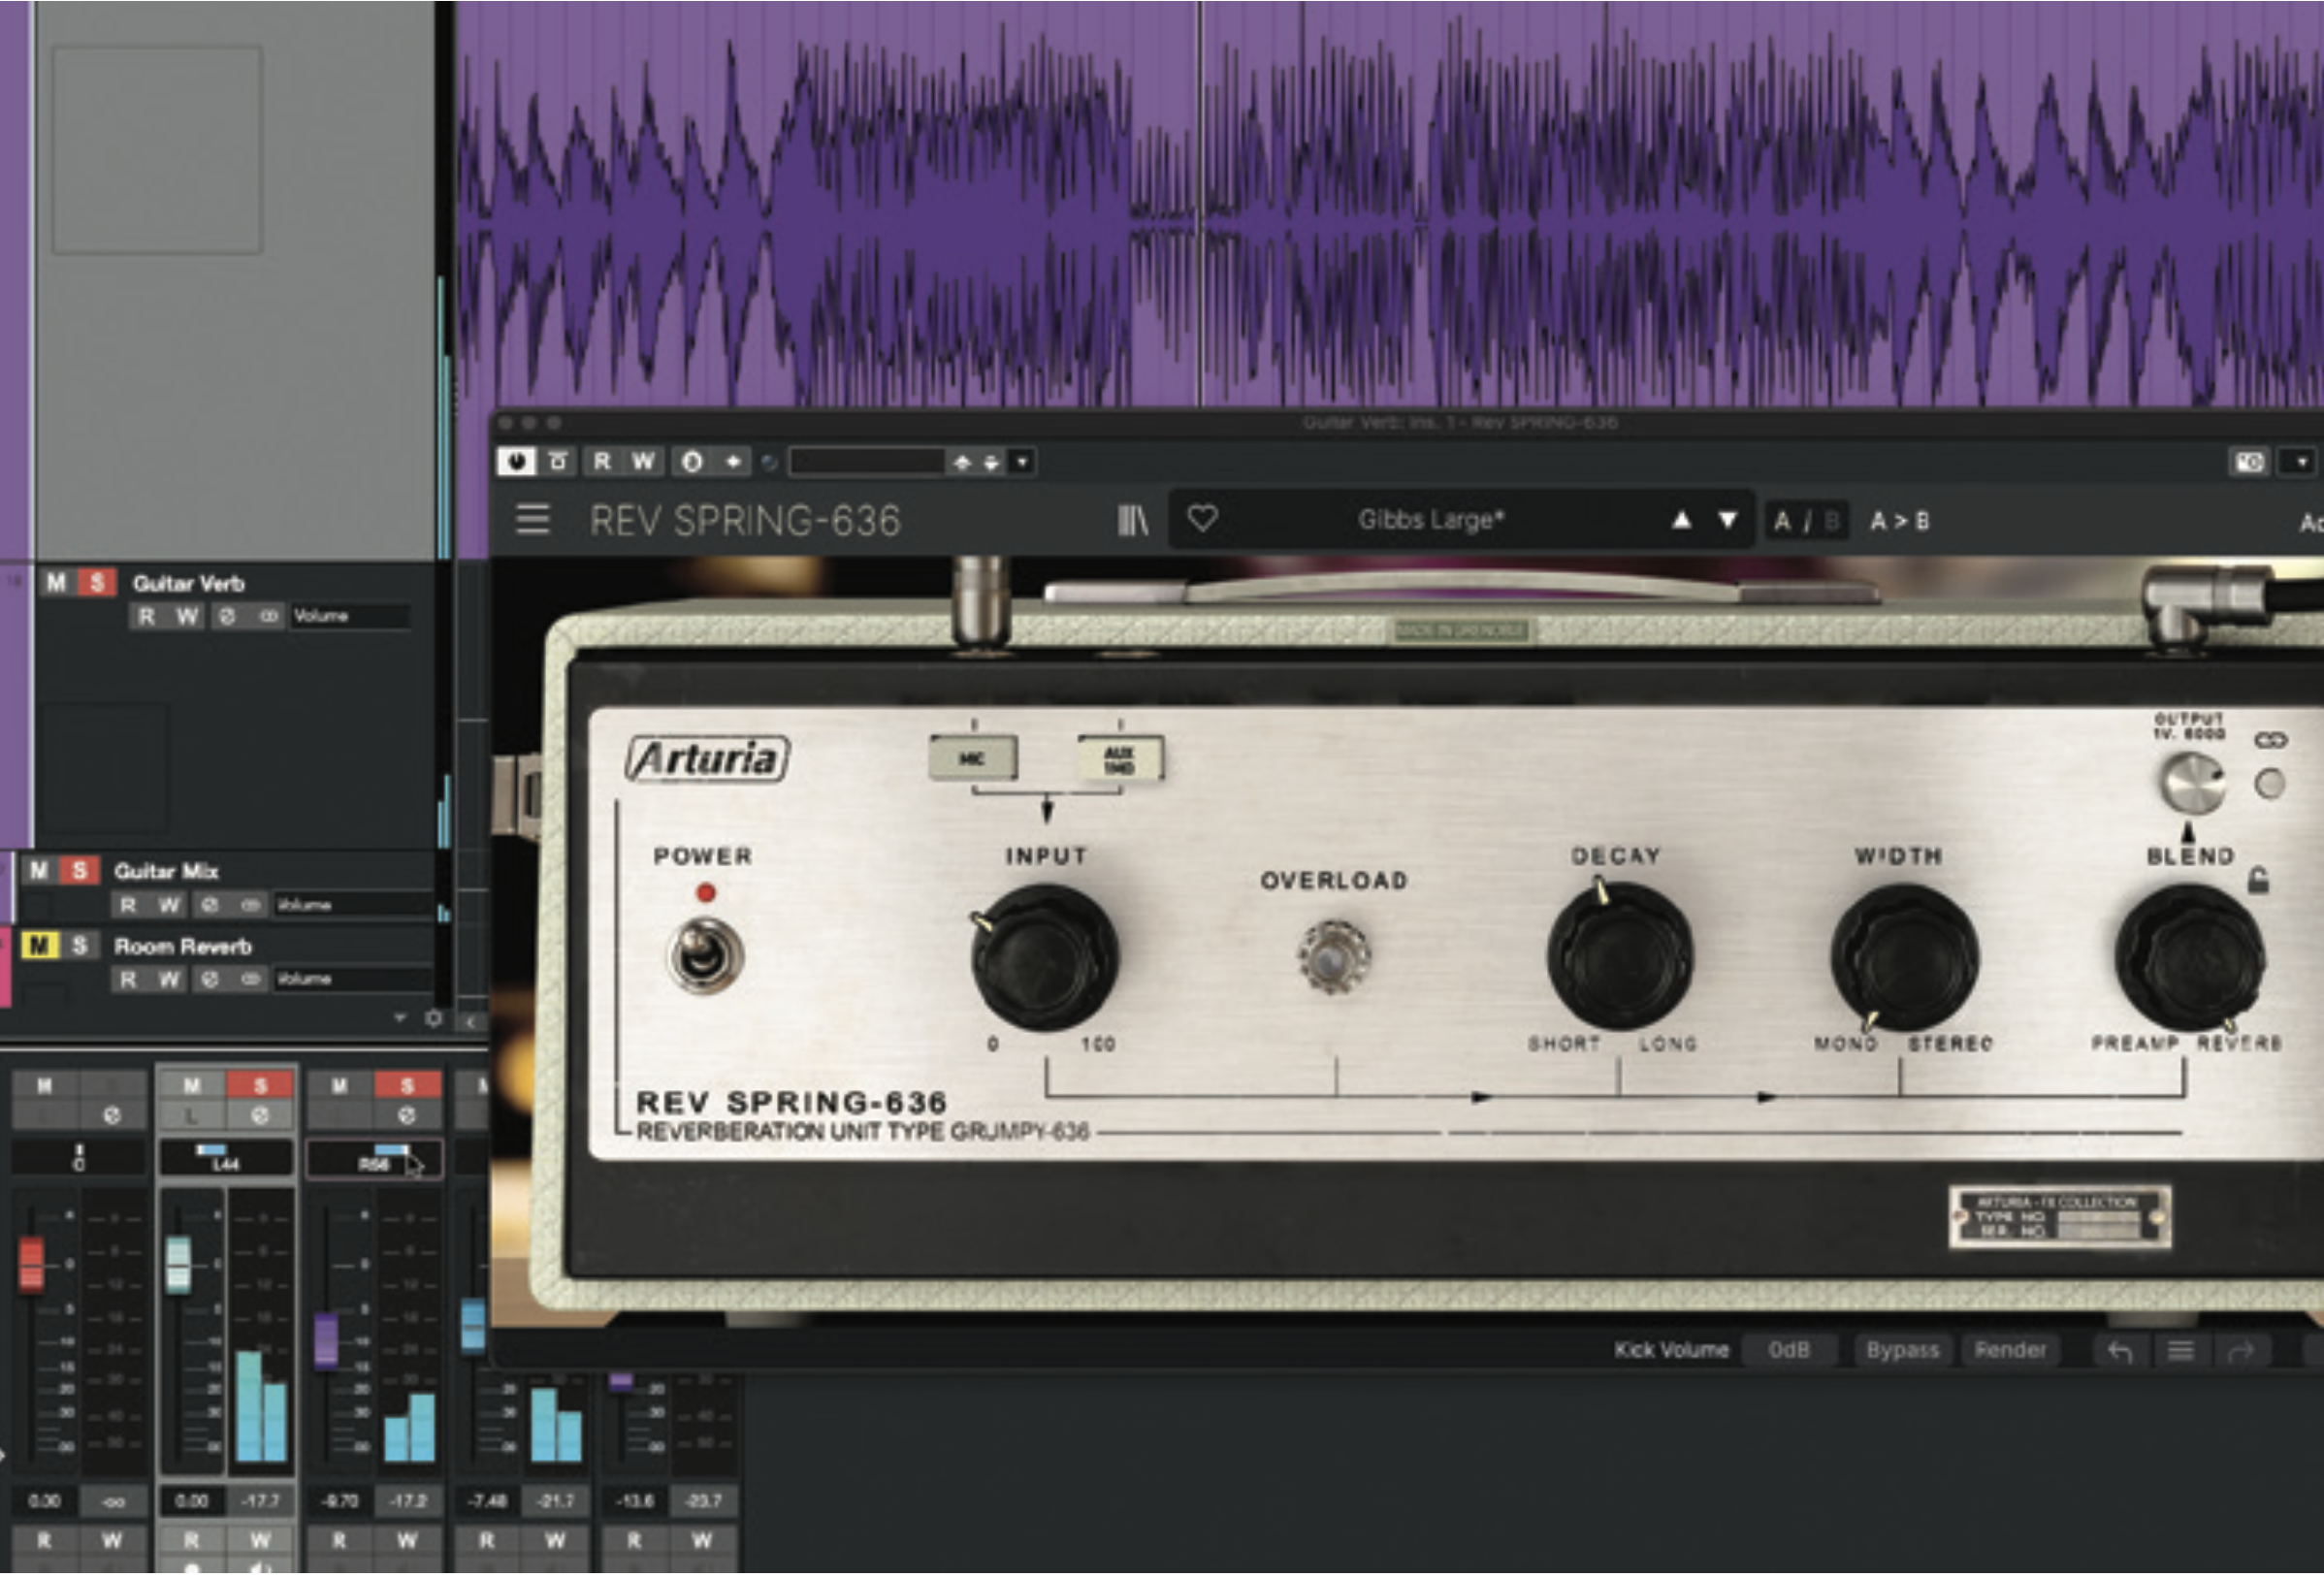
We may often want a particularly spacious reverb on a part, but this can then interfere with the part itself, making it less distinct and prominent. A simple solution is to use panning to separate the dry and wet signals, shifting one leftwards and the other rightwards. This isn’t a realistic or natural effect, but it can sound good, especially on guitars, keys and synth-comp parts.
4. Vintage ’Verb
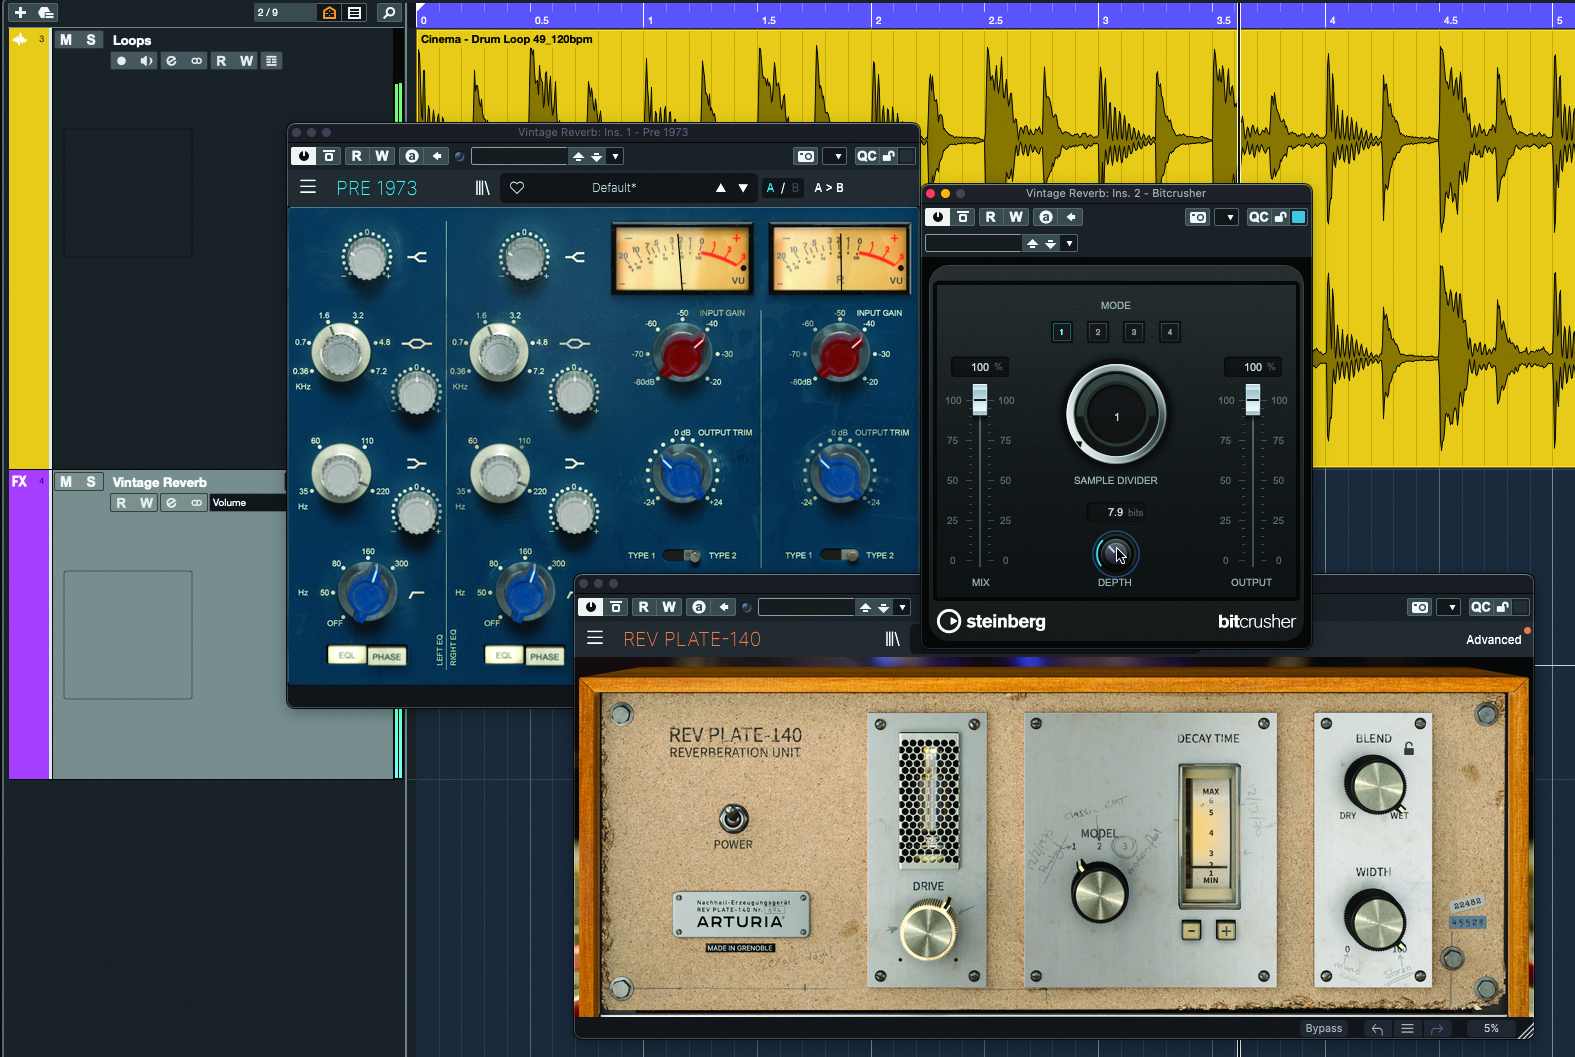
Some plugins are designed to give a vintage sound. As for the rest – well, we can make them sound vintage ourselves. Configure the reverb as a send effect, and add some tube- or tape-style saturation and an EQ before the reverb plugin itself. Use these to create a gritty sound with rolled-off bass and treble. You could also add a bit-crush distortion to bring the signal driving the EQ down to 8- or 12-bit quality.
5. Mid-side reverb #1
Applying and mixing reverb in the mid-side domain offers some fascinating possibilities. If working with a stereo source, applying a shorter reverb to the mid channel and a longer one to the side channel helps the central focus of the sound to remain clear and distinct, but the overall stereo width and spaciousness can be enhanced.
6. Mid-side reverb #2
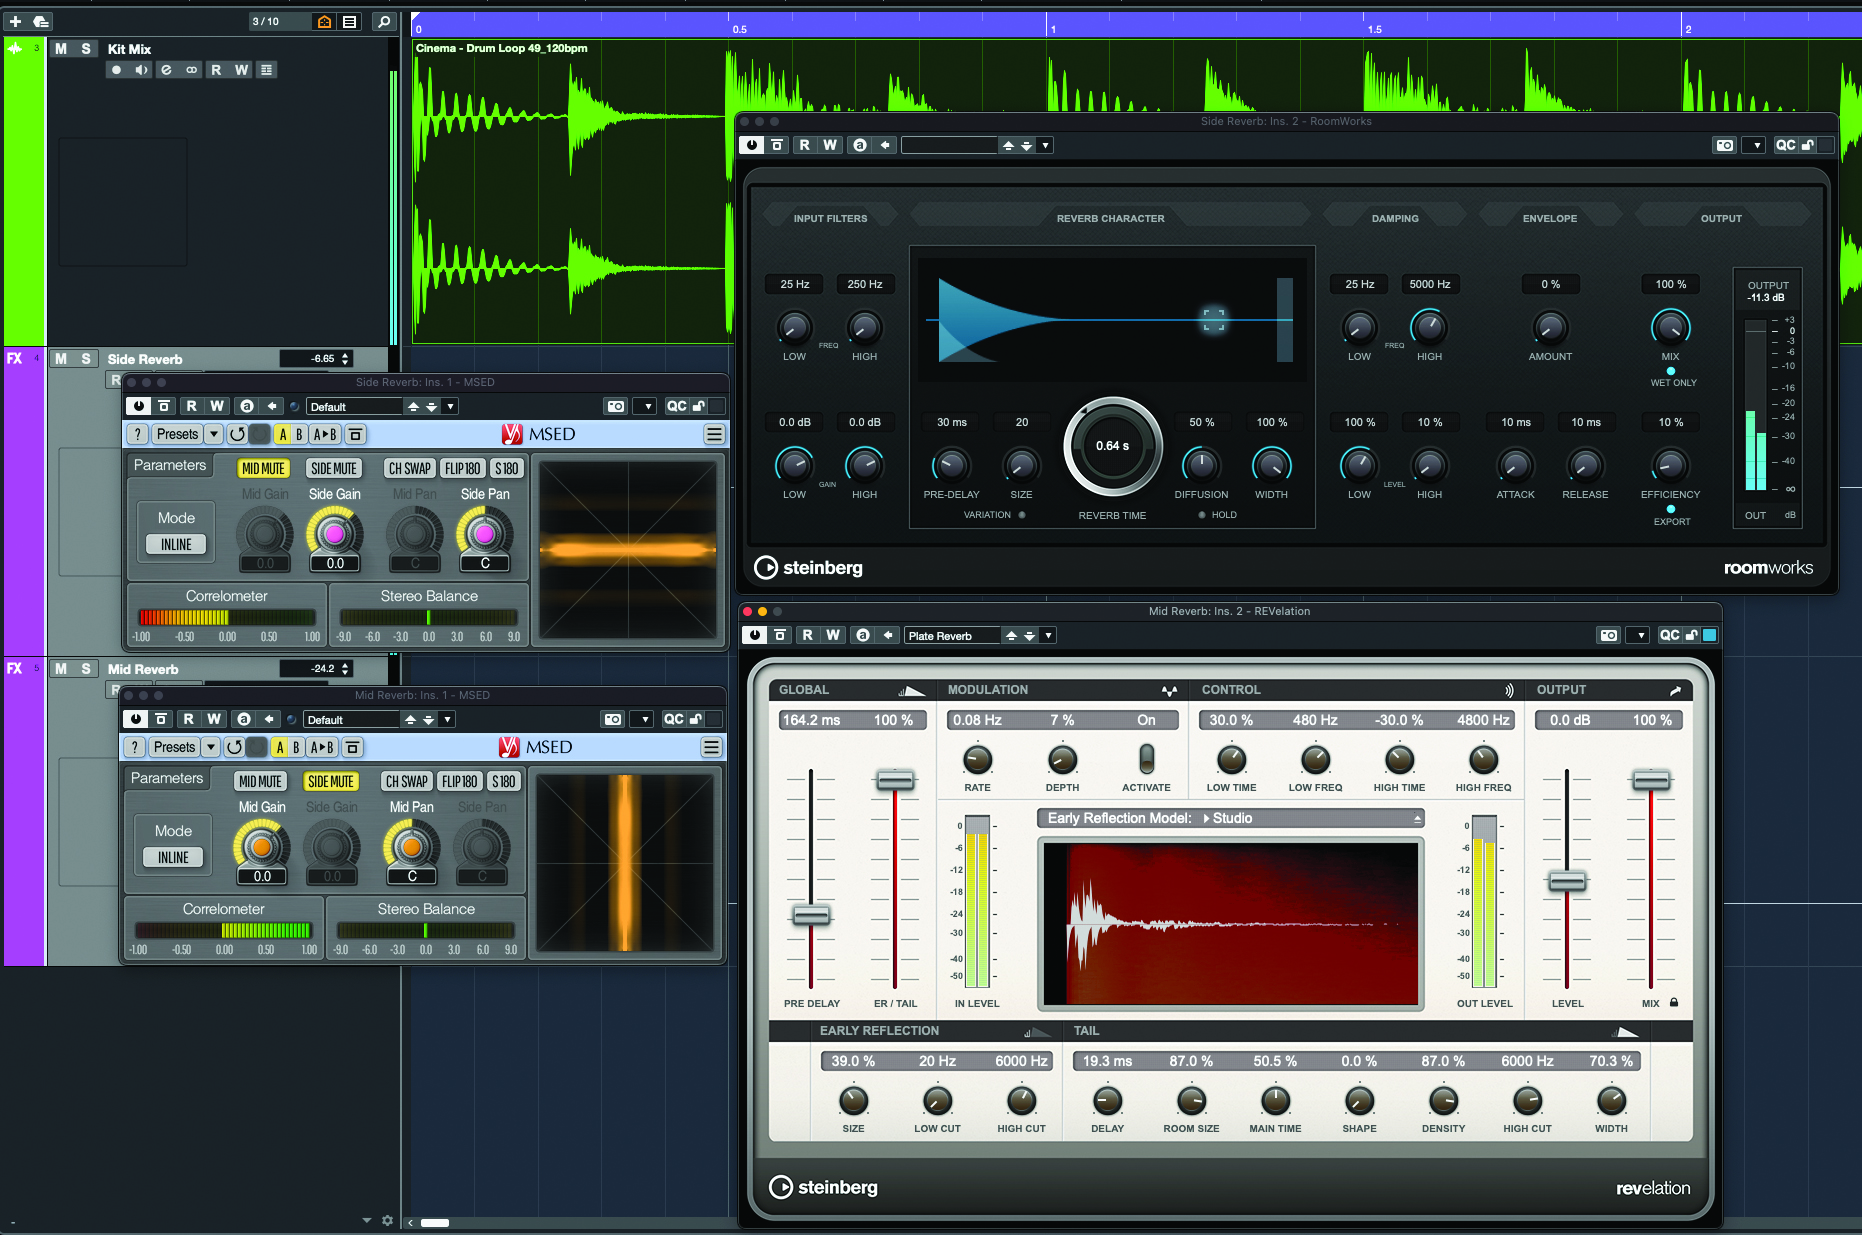
Another option for mid-side reverb, especially useful when working from a mono source, is to route the source track to two FX/Auxiliary tracks with reverb inserted on each. Then, using a plugin such as Voxengo MSED, mute the mid channel from one reverb and the side channel from the other. You can then create different widths and focusses in mid and side channels.
7. Getting your ducks in a row
We have already shown you how to create a ducking reverb, but how about having two running in parallel? When configured just-right, this lets us inject short, snappy ambience between words and transients, and bring in longer reverb tails at the end of passages and phrases.
8. Compressing and expanding
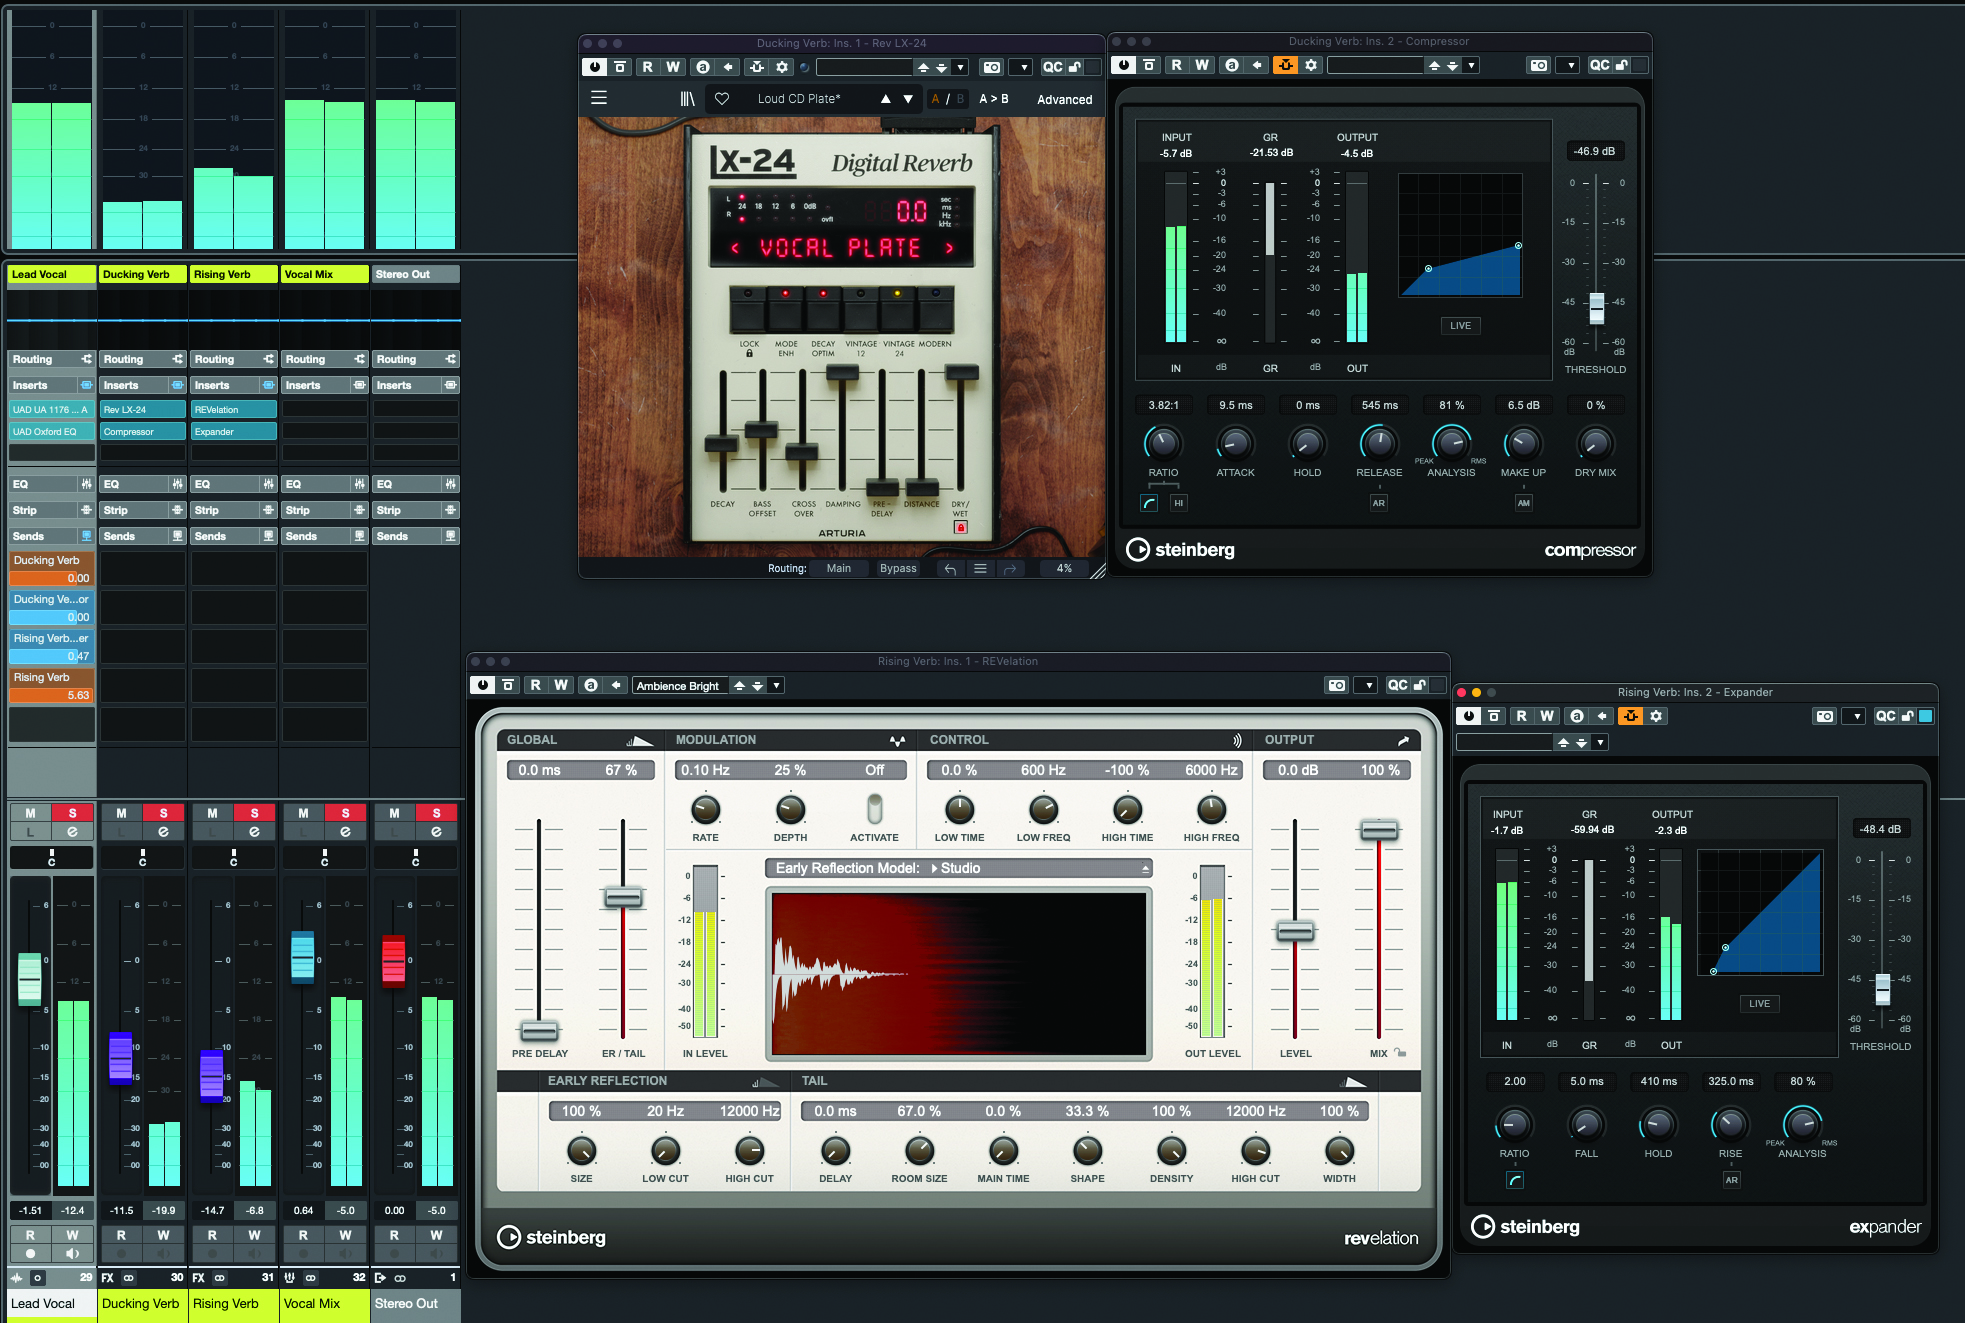
Using a ducking compressor reduces reverb level whilst a source part is sounding, so it follows that an expander does the opposite, making sure the reverb is audible during phrases and is taken away afterwards. Taking it a step further, combining ducking and a ‘rising’ reverbs as a parallel pair lets us morph automatically between two different reverbs based on performance dynamics.
9. FX chain routing
Often, the first step in creating an interesting or creative reverb setup is to think through how we’re going to route the signals to achieve it. This often involves adding sends, multiple FX/Auxiliary tracks for processing those sends, and Group/Submix tracks for recombining signals. Always think this through logically, keeping in mind which signals need processing where, what the correct wet/dry balance of your various plugins needs to be, and how the various elements will be mixed or balanced.
10. Per track pre-delay
When feeding multiple instruments to the same room simulation reverb we can only make limited use of pre‑delay’s depth effects because the pre-delay is being applied within the reverb. We can fix this by setting the reverb’s pre-delay to zero, and then routing each source instrument via its own FX/Auxiliary channel with a short, 100% wet delay inserted on it. That is, the delay processors act as independent pre-delays for each instrument.
11. Gating from other tracks
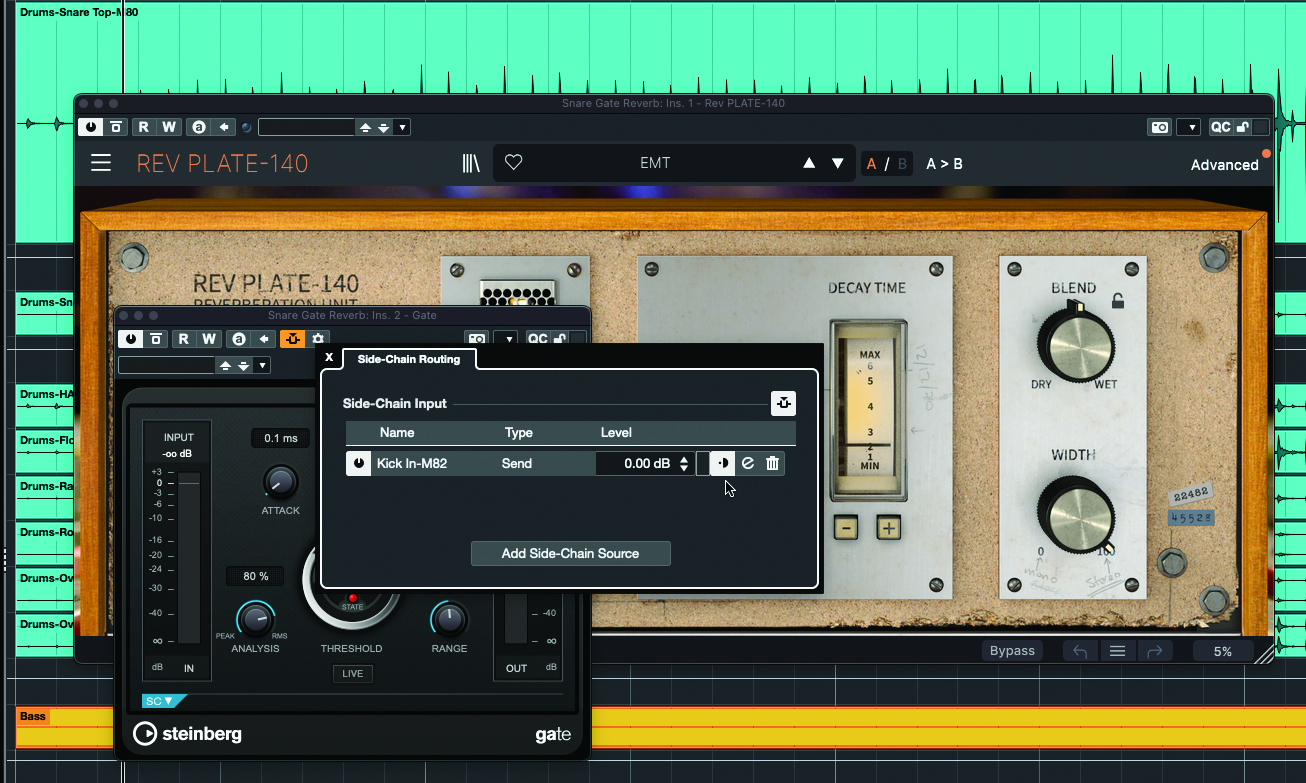
As we’ve seen, the similarity between reverb and a snare drum’s snare allows us to enhance our snare drum sounds in all sorts of different ways. One trick we particularly like is to add a bright, prominent and washy reverb to a snare, and to then gate this reverb using a feed from the kick drum. This gives a sound that is best described as the snare being sucked into the following kick.
12. Multiband reverb
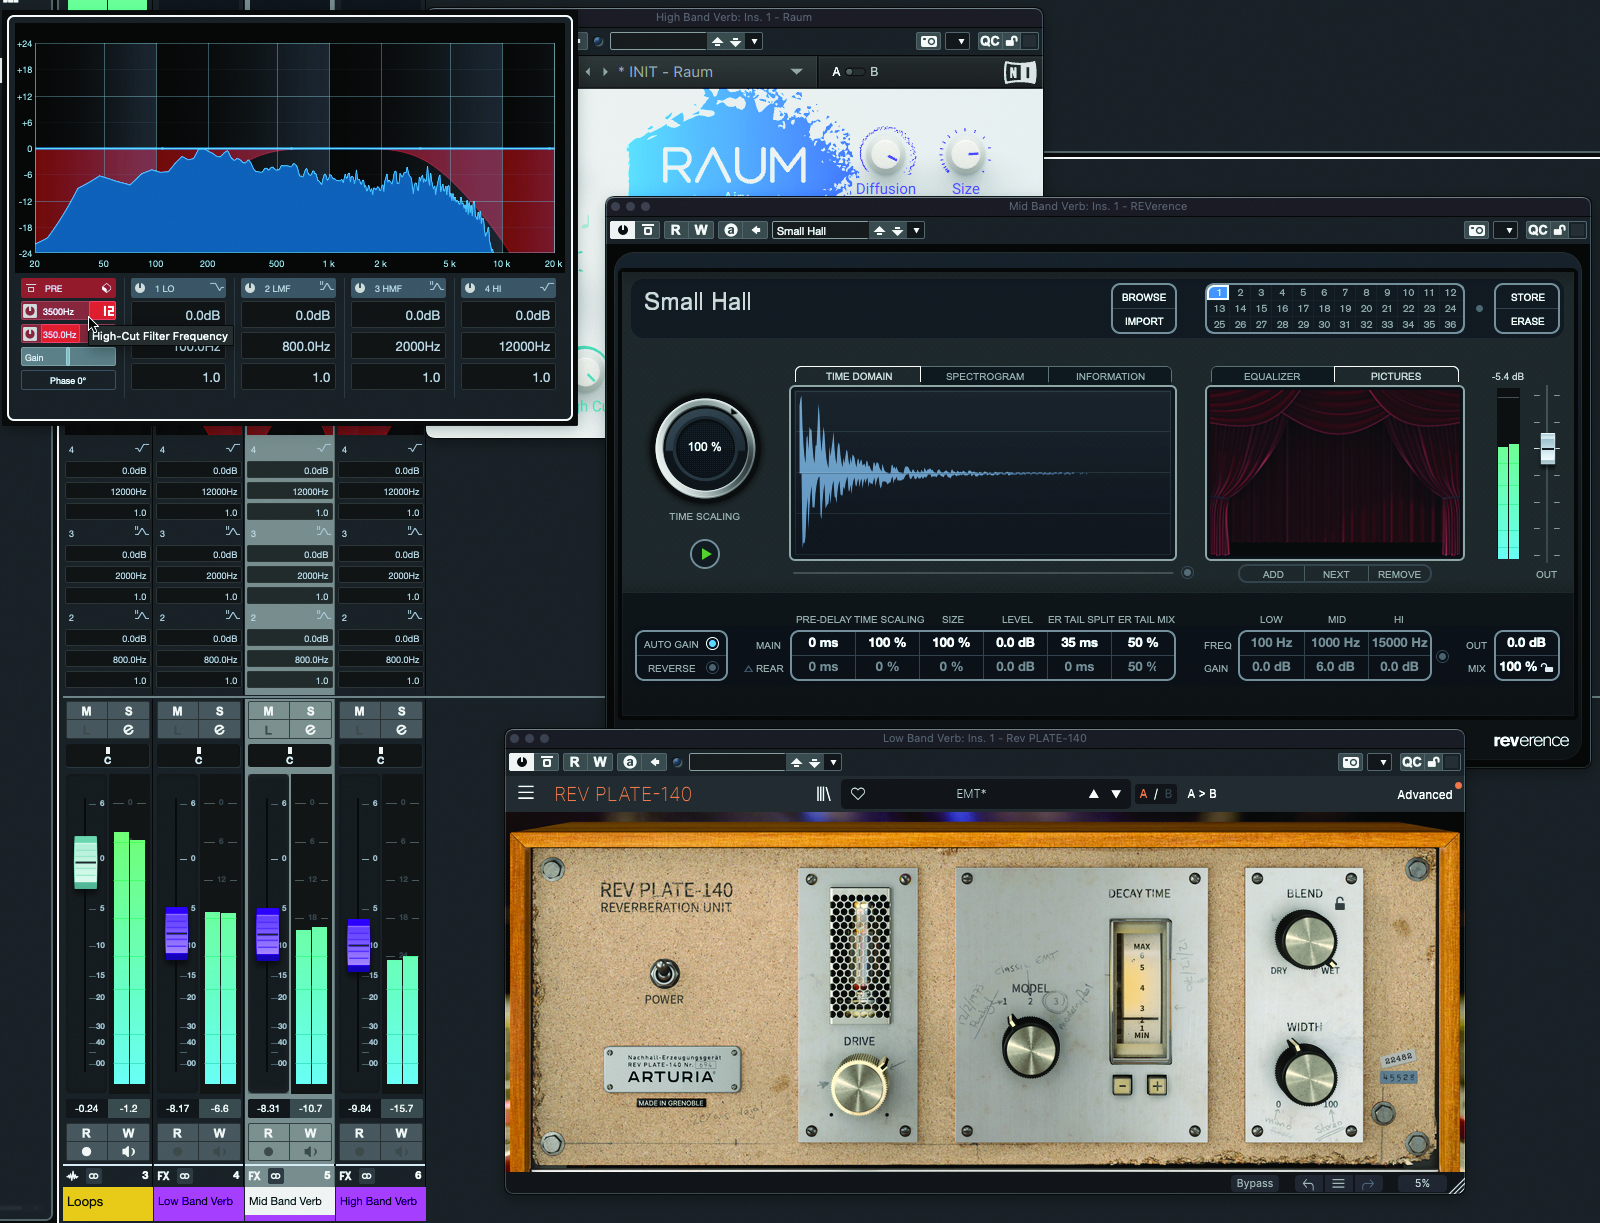
Applying different reverbs to different frequency bands can open up all sorts of intriguing possibilities. To do this, create an FX/Auxiliary track for each frequency band you wish to create, and insert low- and/or high-pass filters onto each track to define the frequency bands. Adding a reverb plugin after each filter then lets us apply a different-sounding ’verb to each band.
13. Varied envelopes
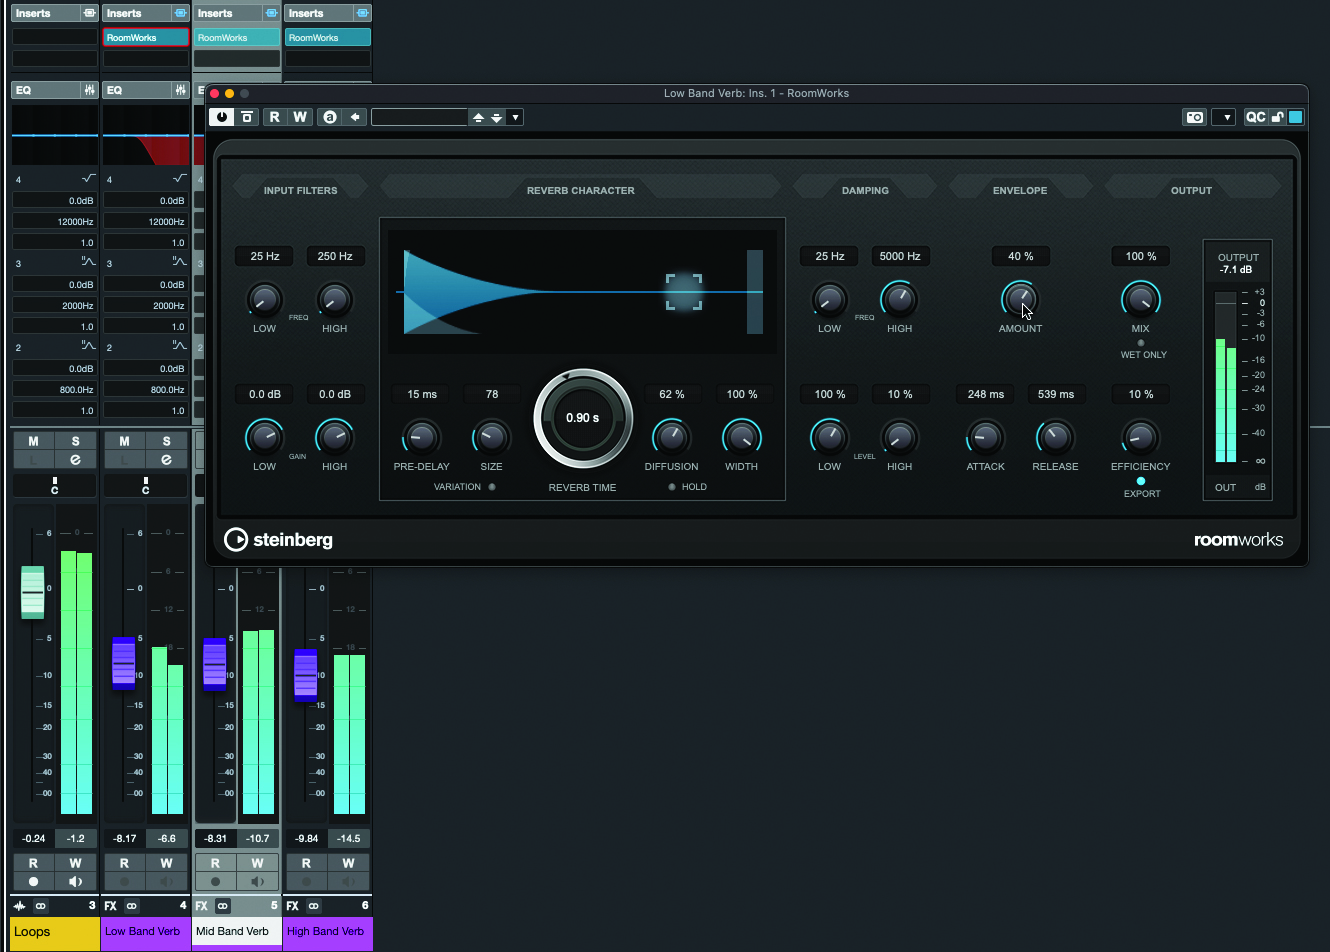
Some reverb plugins feature global envelopes that apply a final layer of amplitude shaping to the sound, and these are particularly good for use in a multiband reverb setup. Dial in the same reverb settings for each band’s ’verb, but give each band different envelope settings. For example, we could configure the low band to have the slowest attack, the mid band a faster attack, and the high band to have the fastest attack.
14. Know when to stay dry
You’ve no doubt heard the musical idiom which goes something like: “The notes you don’t play are as important as notes you do play”. The same can be said of reverb. Some sources love wallowing in a bath of the stuff, but others work better when kept dry. Also keep in mind that a dry part can be hugely up-front and attention-grabbing when it sits in amongst instruments that have been draped in reverb.


