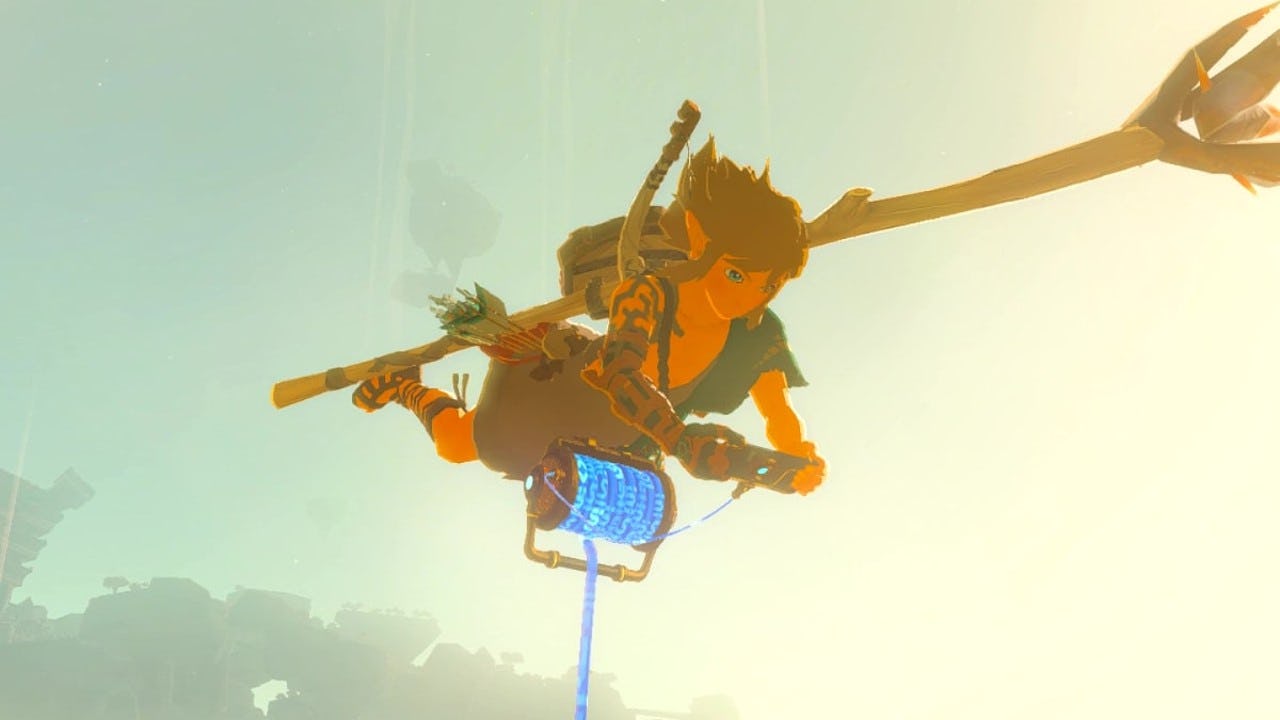
The world of Hyrule is bigger than it’s ever been in The Legend of Zelda: Tears of the Kingdom, with not only the expansive land map but Sky Islands and a massive underground called The Depths as well. Just like in Breath of the Wild, you’ll need to travel to a handful of towers to reveal the full world map, but this time, they shoot Link straight into the air, giving you a beautiful view of everything — and a chance to drift in whatever direction you’d like.
There are 15 towers scattered across the world in Tears of the Kingdom, and some require a little puzzle before you can unlock and use them. We’ll help walk you through finding and unlocking every single tower. Just as a note, there’s no specific order you need to visit the towers, but considering you should complete Rito Village and the Wind Temple first, for our purposes we start in NorthWest Hyrule and go clockwise.
15. Lookout Landing Skyview Tower
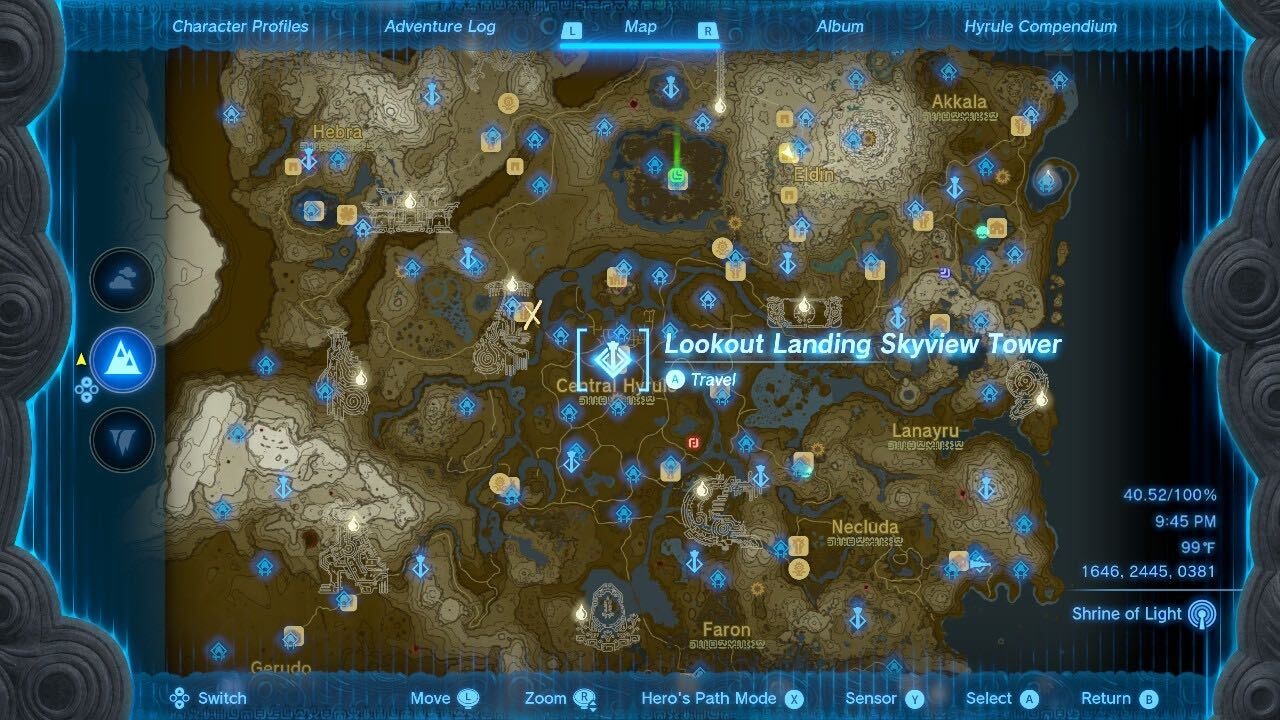
Lookout Landing should be the very first tower you visit, as it’s looped in as part of the story. Simply keep following “The Crisis at Hyrule Castle” quest, and you’ll eventually have the opportunity to head up the tower. Just make sure to do this one before you start exploring the world at large, as you’ll need to travel back to Lookout Landing quite often.
14. Lindor’s Brow Skyview Tower
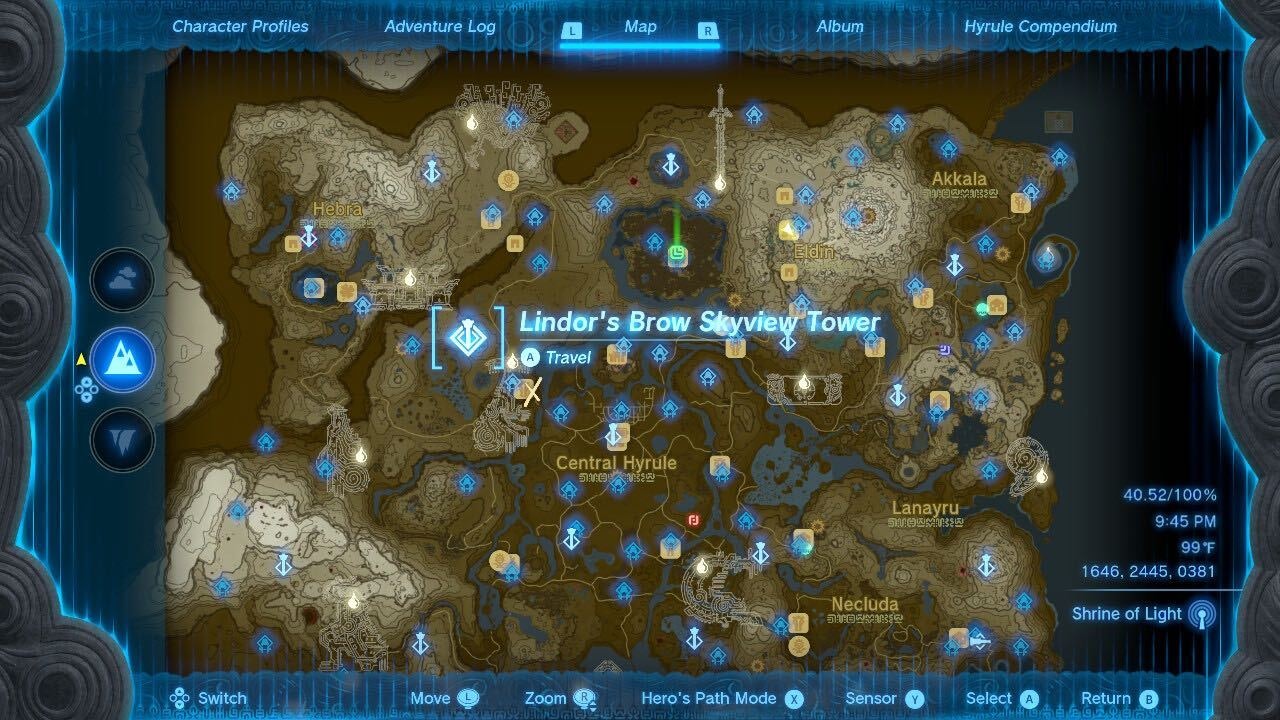
The only trick with Lindor’s Brow is that the tower sits atop a rock in the middle of a small lake, which means you’ll likely run out of stamina before you reach the top. Your best bet is to use the construction materials nearby to make a small bridge that goes under an outcropping on the rock, so you can use Ascend to get to the top.
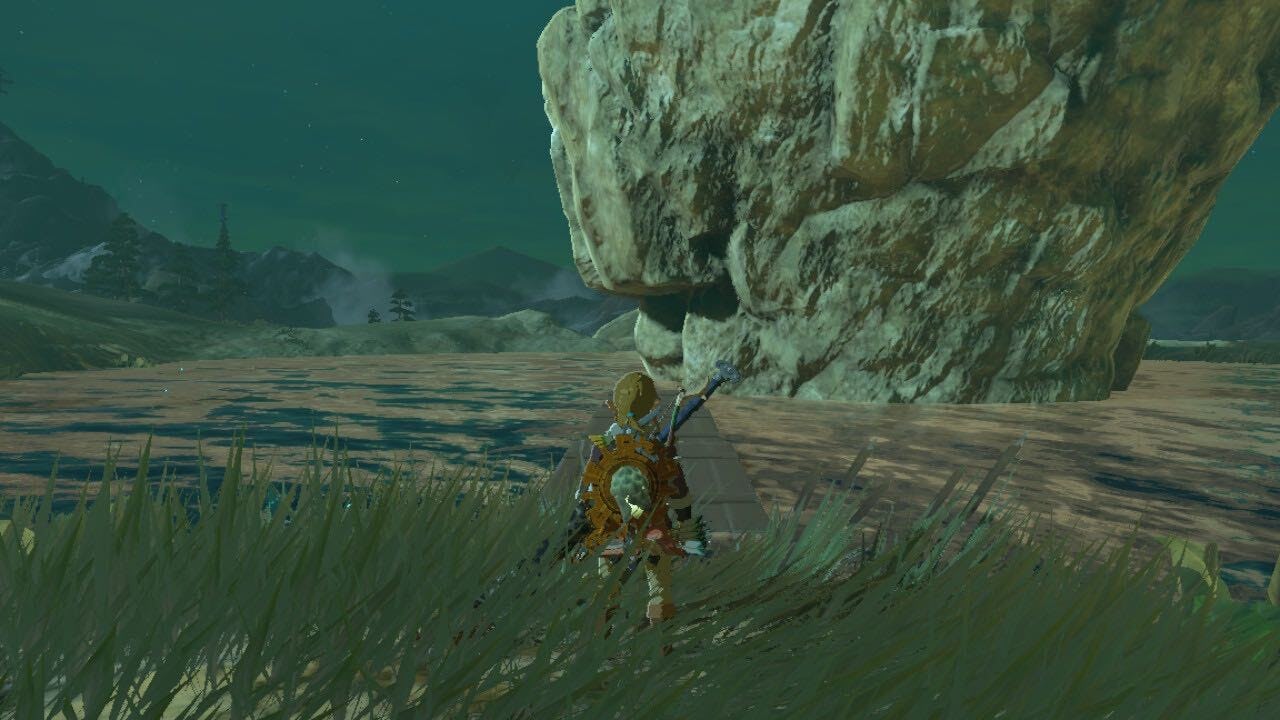
After that, it’s just a simple matter of using the tower.
13. Pikida Stonegrove Skyview Tower
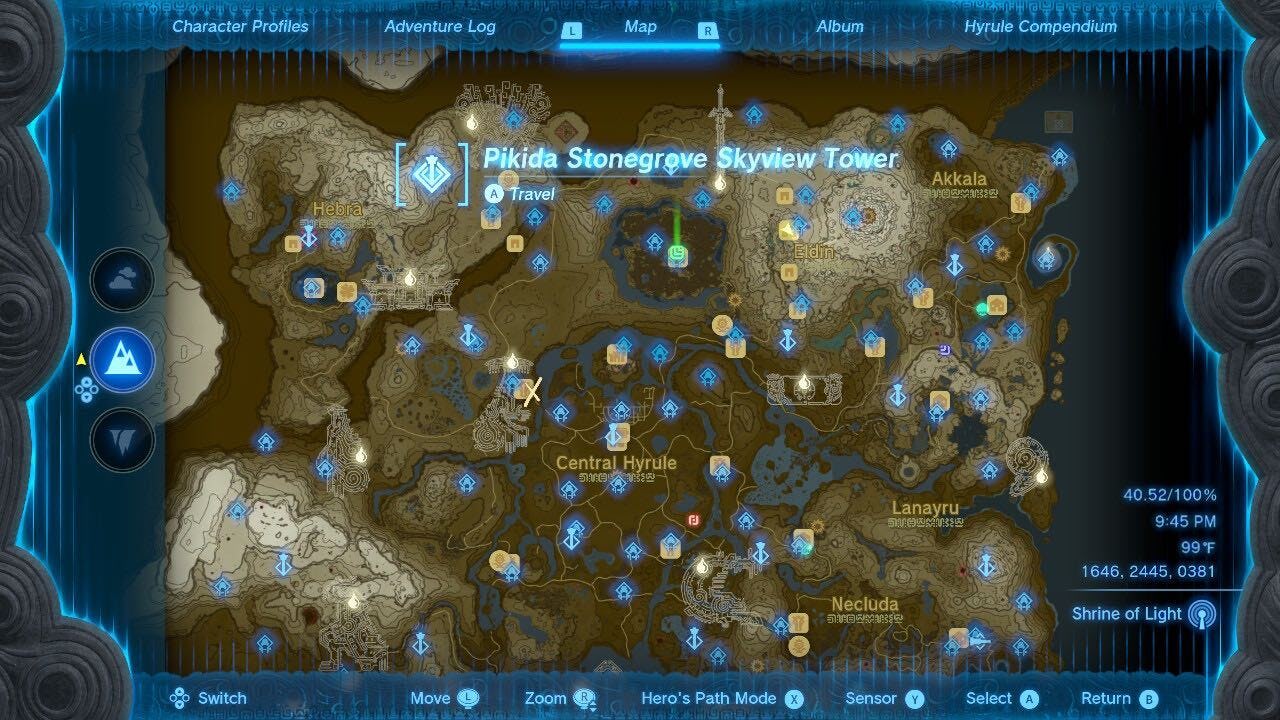
As a quick note, you’ll want to make sure to have some cold protection gear or food before heading to Pikida Stonegrove, as it’s in a frigid environment. Again, this tower sits atop a massive cliff that can be a bit hard to reach. However, you have a few options.
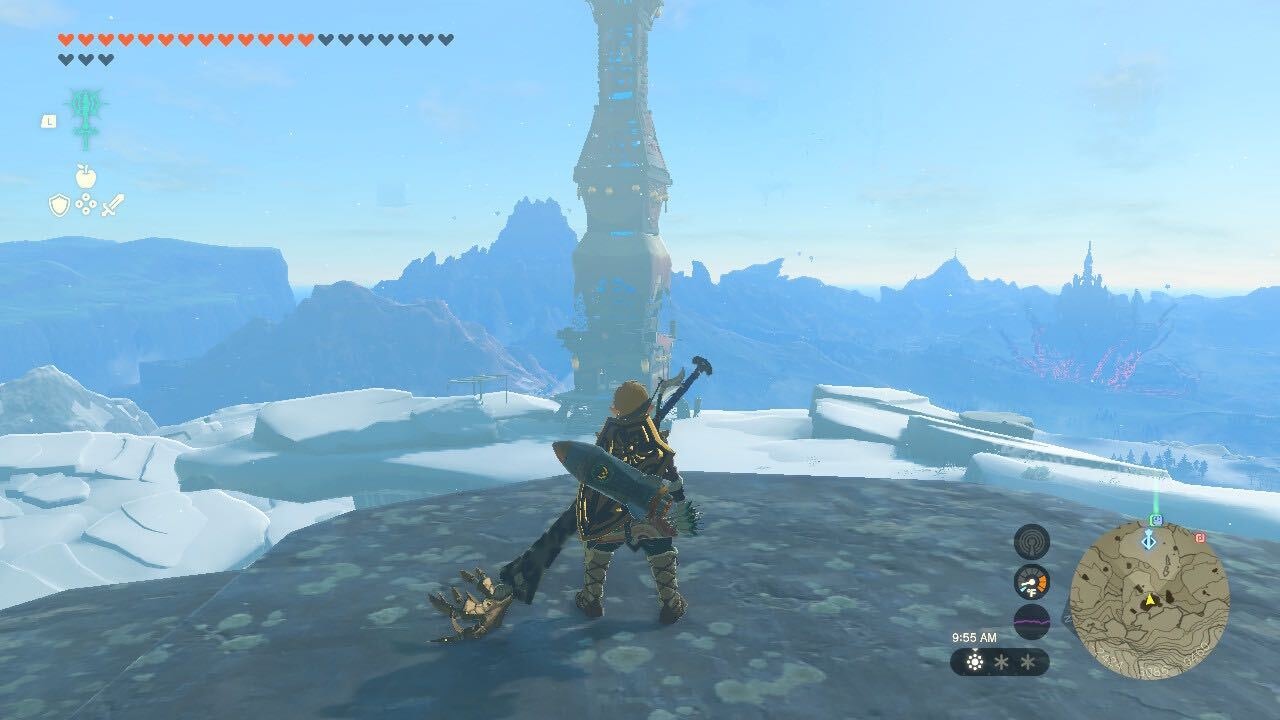
First, you can fashion a bridge like you did a Lindor’s Brow, or if you have a Zonai Rocket you can simply strap it to a shield and fly up from one of the nearby ridges. Alternatively, there’s a rock pillar just to the West of the tower, which you can climb to the top of, and then glide down onto the tower.
12. Rospro Pass Skyview Tower
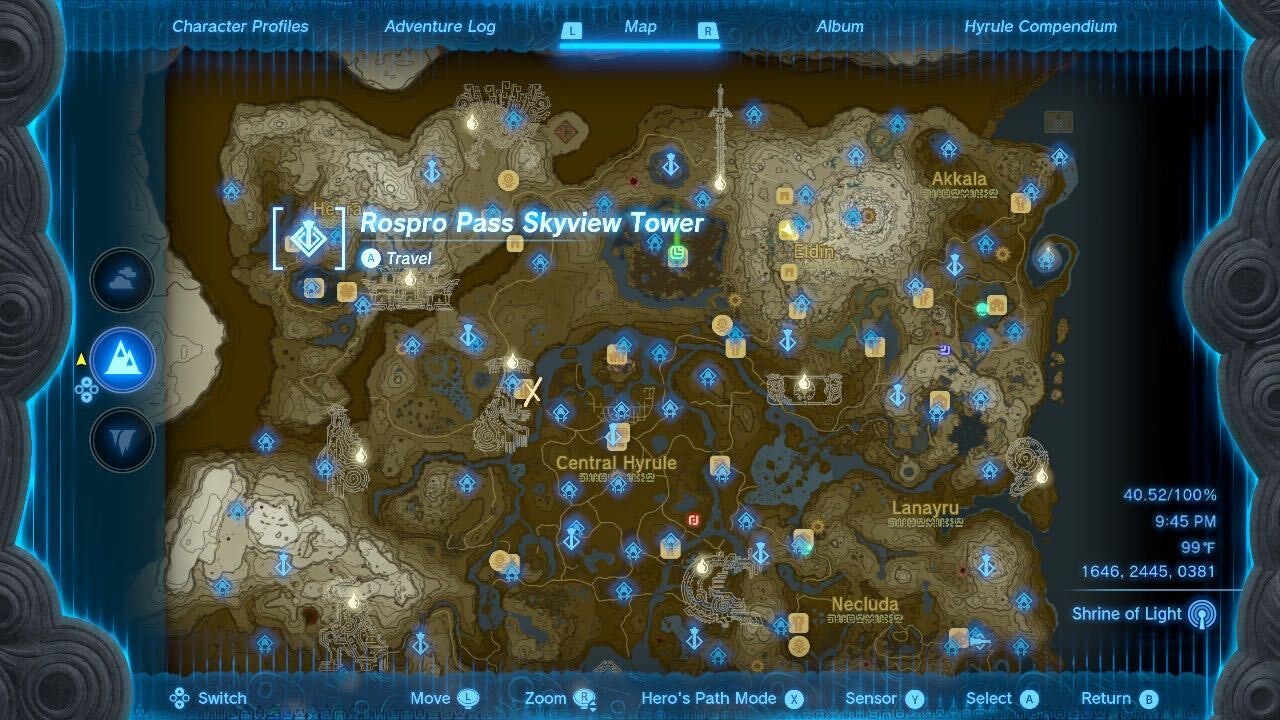
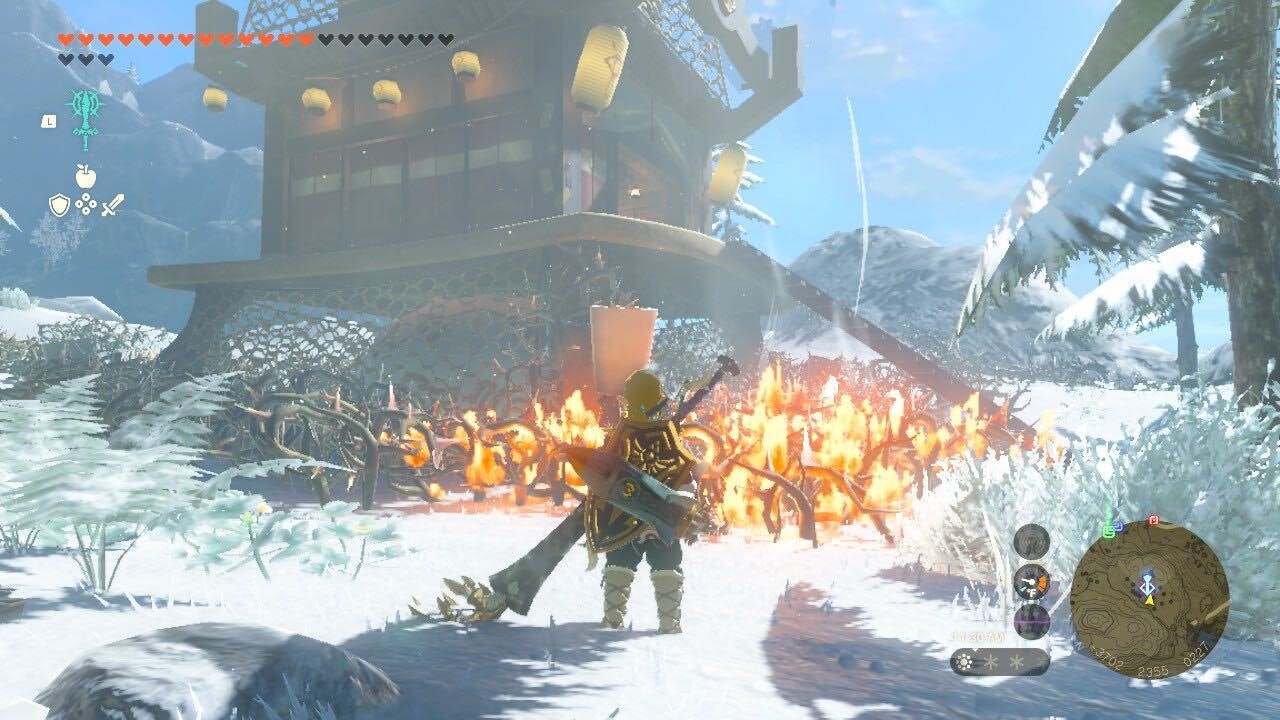
Rospro Pass tower is right near Rito Village, and luckily it’s pretty simple to reach. The only catch here is that the tower is surrounded by spiky vines, but those can be cleared away with fire. Bring some Fire Fruit, Flame Emitters, or anything else, and you’ll have no trouble clearing the way.
11. Thyphlo Ruins Skyview Tower
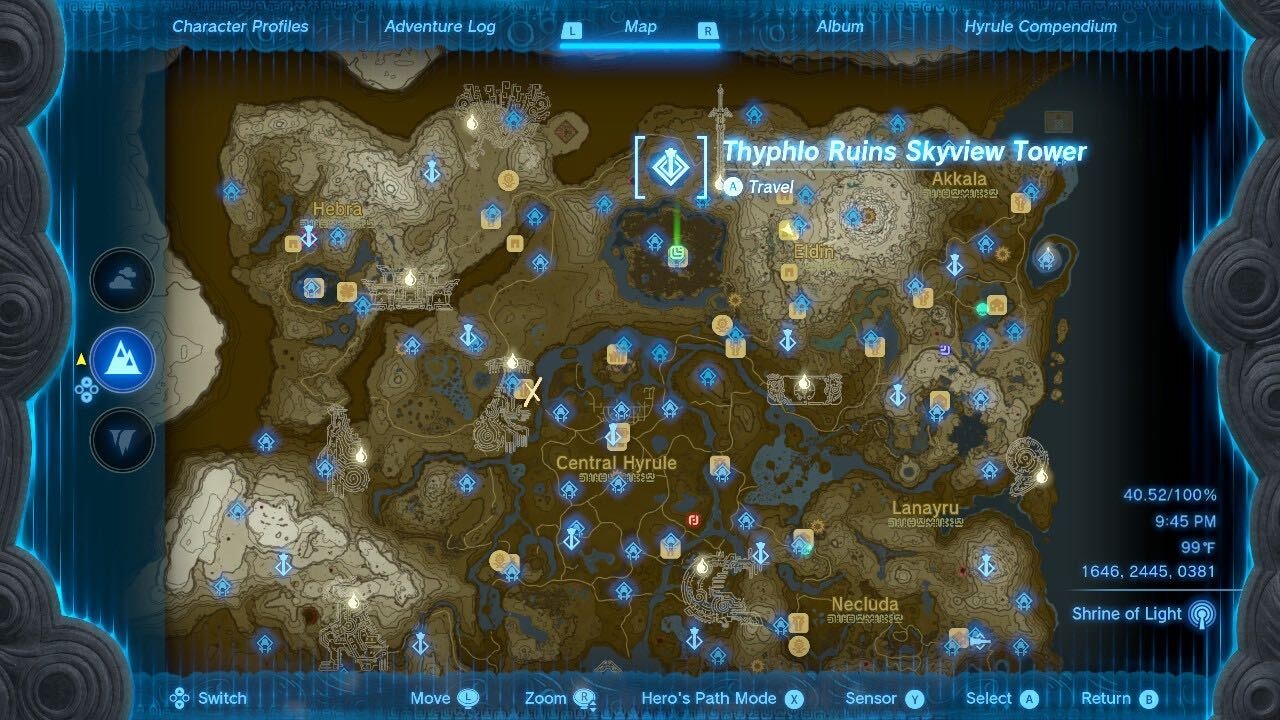
The Thyphlo Ruins tower is easy enough to reach, but once you get there you’ll find an NPC that tells you something is wrong with the mechanism. You’ll need to reach the top of the tower and use Ultrahand to unblock the hole at the top. While you can use some nearby floating platforms and Zonai devices, your best bet is to simply climb the tower itself.

If you have a Zonai Rocket, strap it on your shield and use it to fly up near the tomb and climb the rest. If you don’t have a rocket, you can use Ascend to get as far as possible and then climb whatever is left. The tower has a stopping point near the top where you can stop and restore stamina, so even if you haven’t upgraded much, you shouldn’t have any problems.
10. Eldin Canyon Skyview Tower
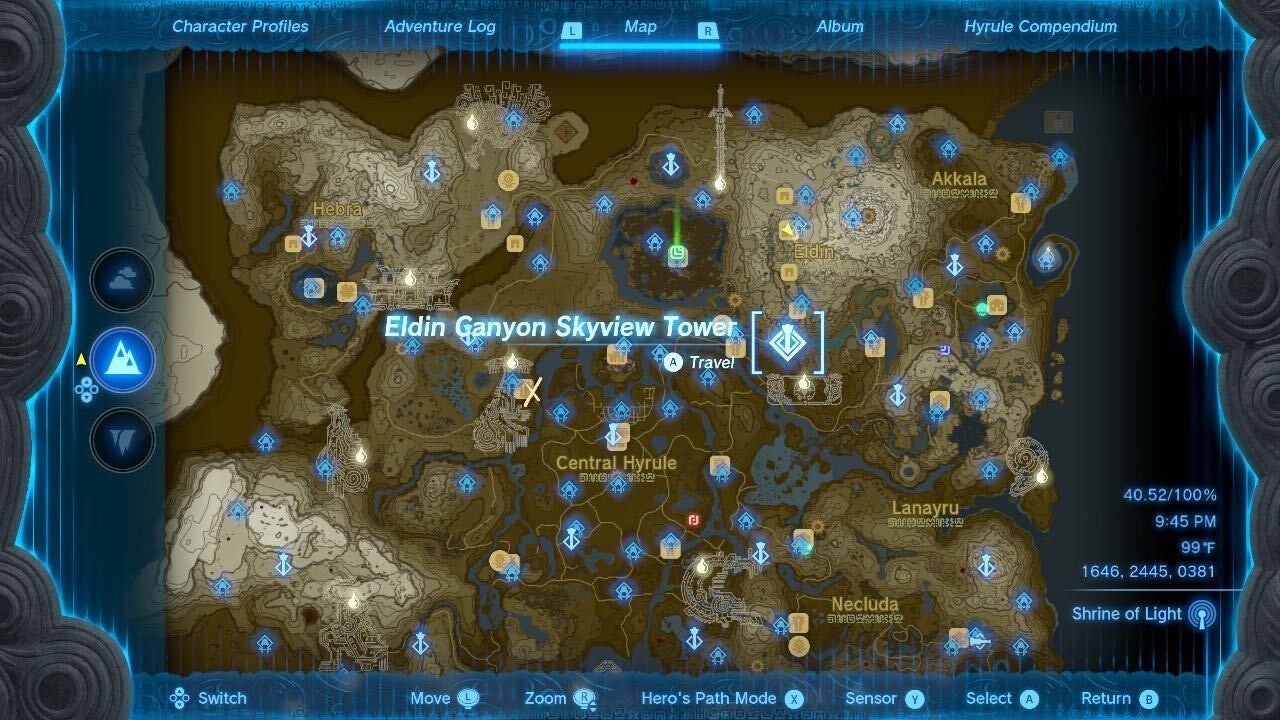
Much like the last tower, getting into the Elding Canyon tower hinges upon you reaching the top, as this time you’ll have to dive down into the tower to unlock it.
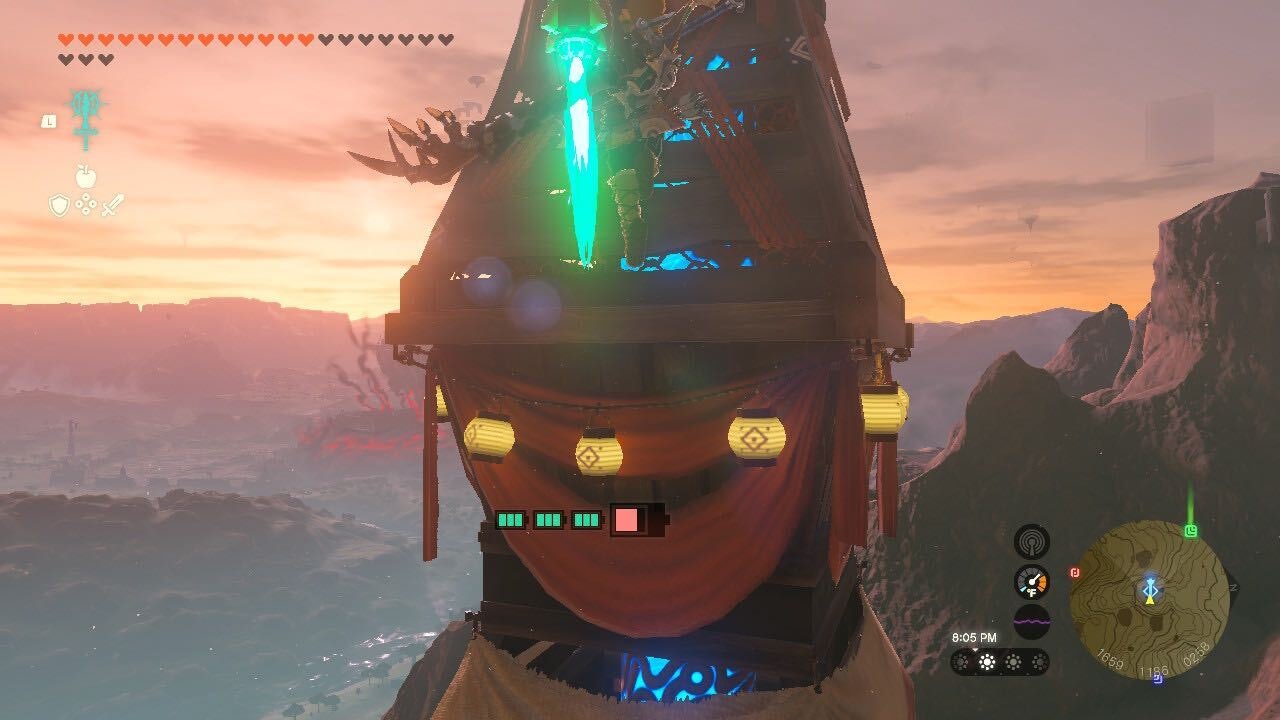
The same strategy applies here, you can either use Zonai devices like Rockets or Fans to fly to the top, or you can use Ascend and good old climbing to get to the top.
9. Ulri Mountain Skyview Tower
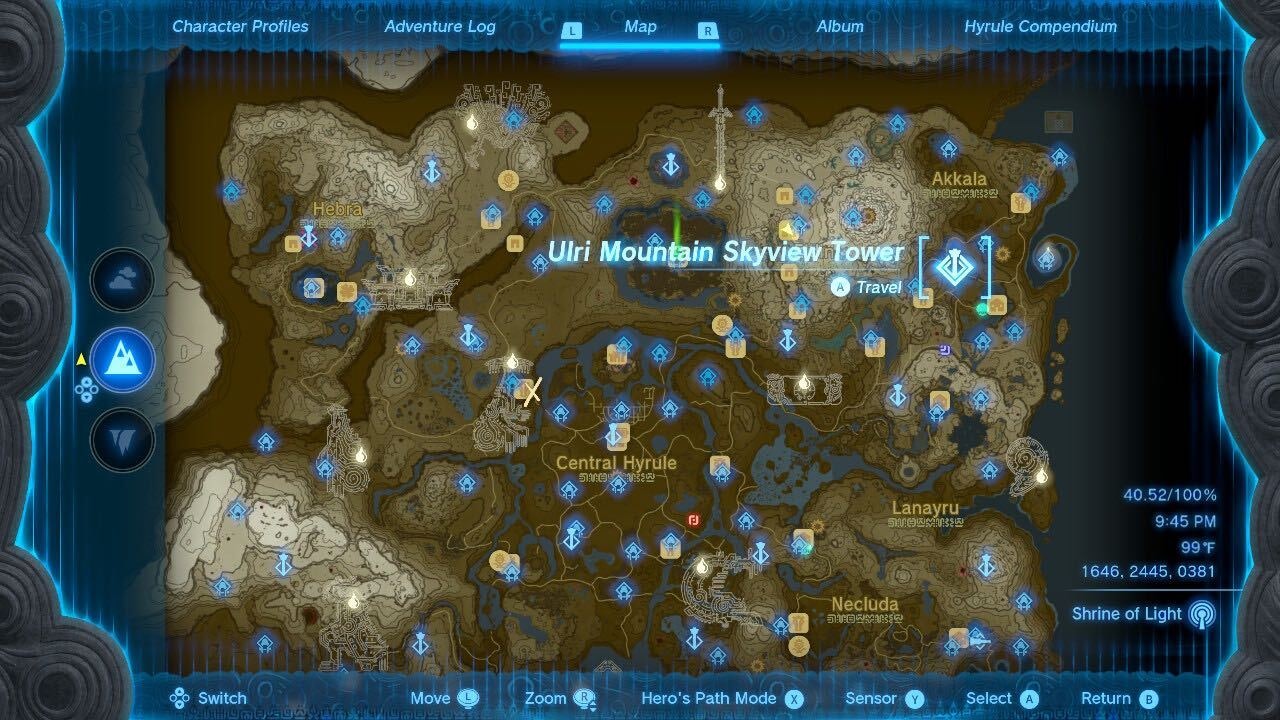
This is another tower that’s easy to reach but poses a unique problem, the terminal has been stolen by a flying monster. You’ll need to take out the monster to get the terminal back and use the tower.
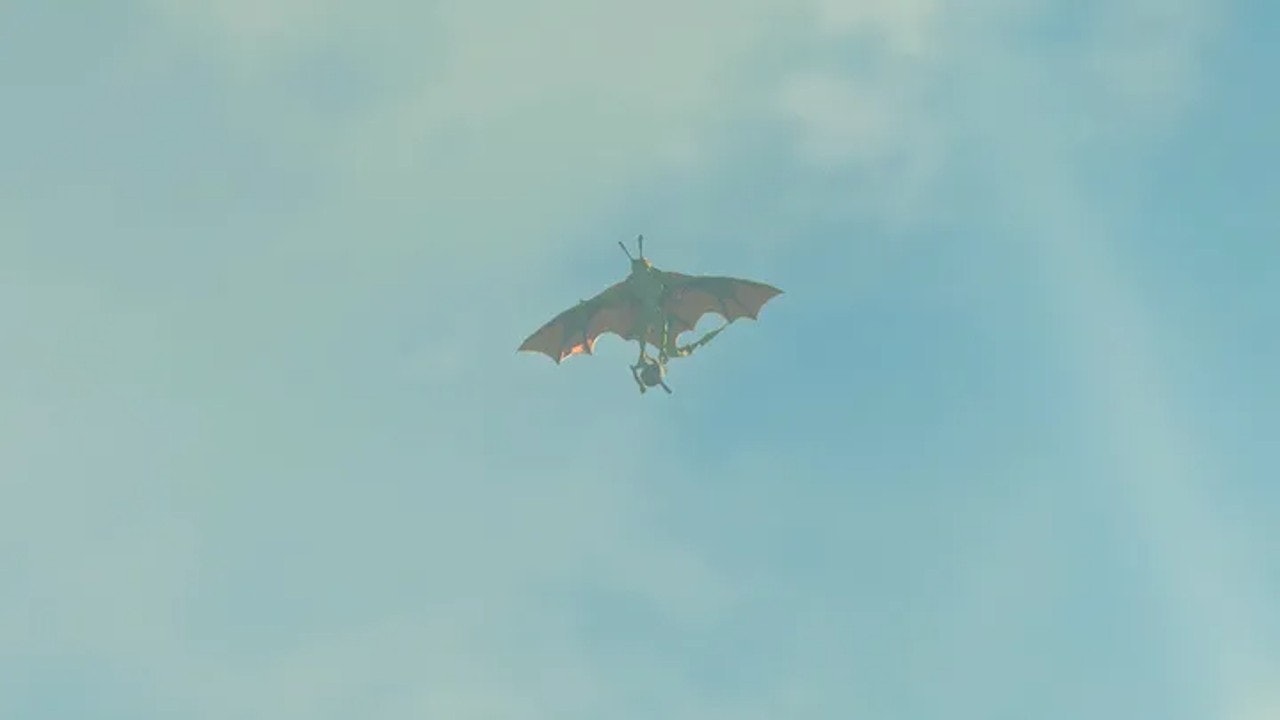
This is generally easy to do, but the monster is pretty high up so you might need to use a device like a Rocket or Balloon to get closer before you can hit it with an arrow. Also keep in mind you can use a Keese Eyeball to give your arrow homing abilities, making the monster much easier to hit.
8. Upland Zorana Skyview Tower
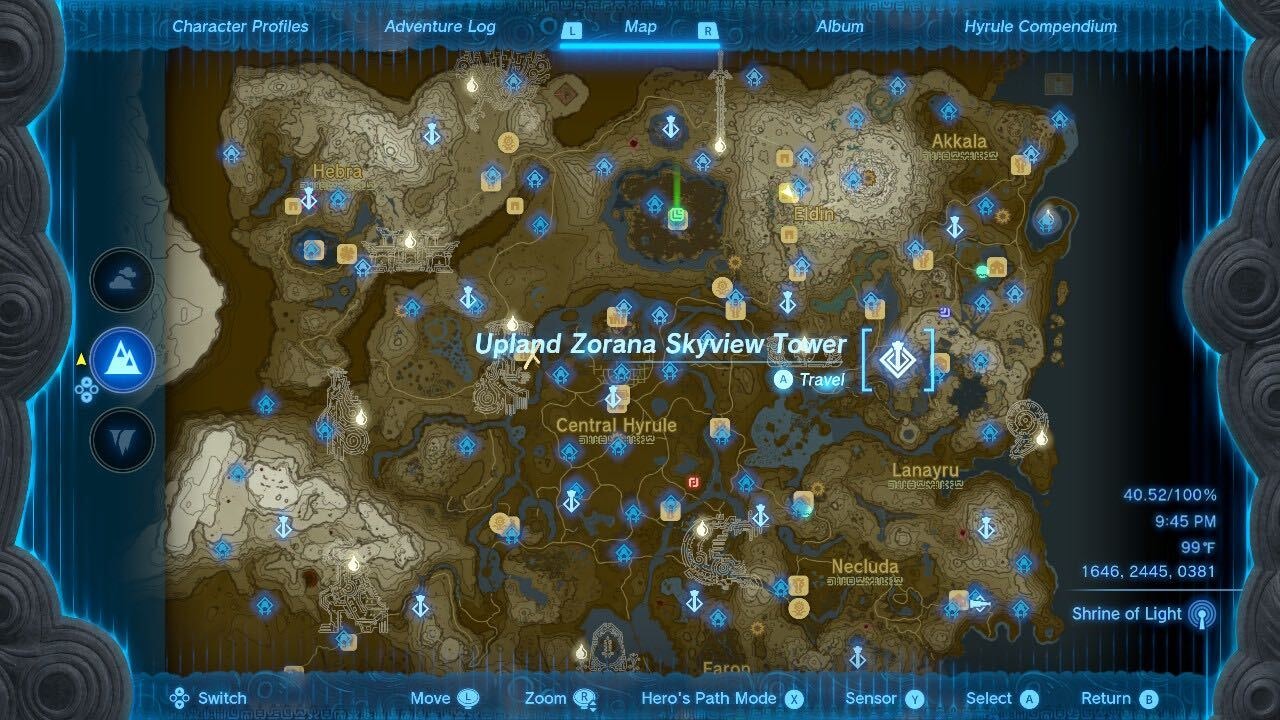
You might consider getting the Zora Armor through the main story before you hit this tower, as being able to travel up waterfalls will make it easier to get to. If you really want to, however, you can reach it through a combination of climbing and gliding.
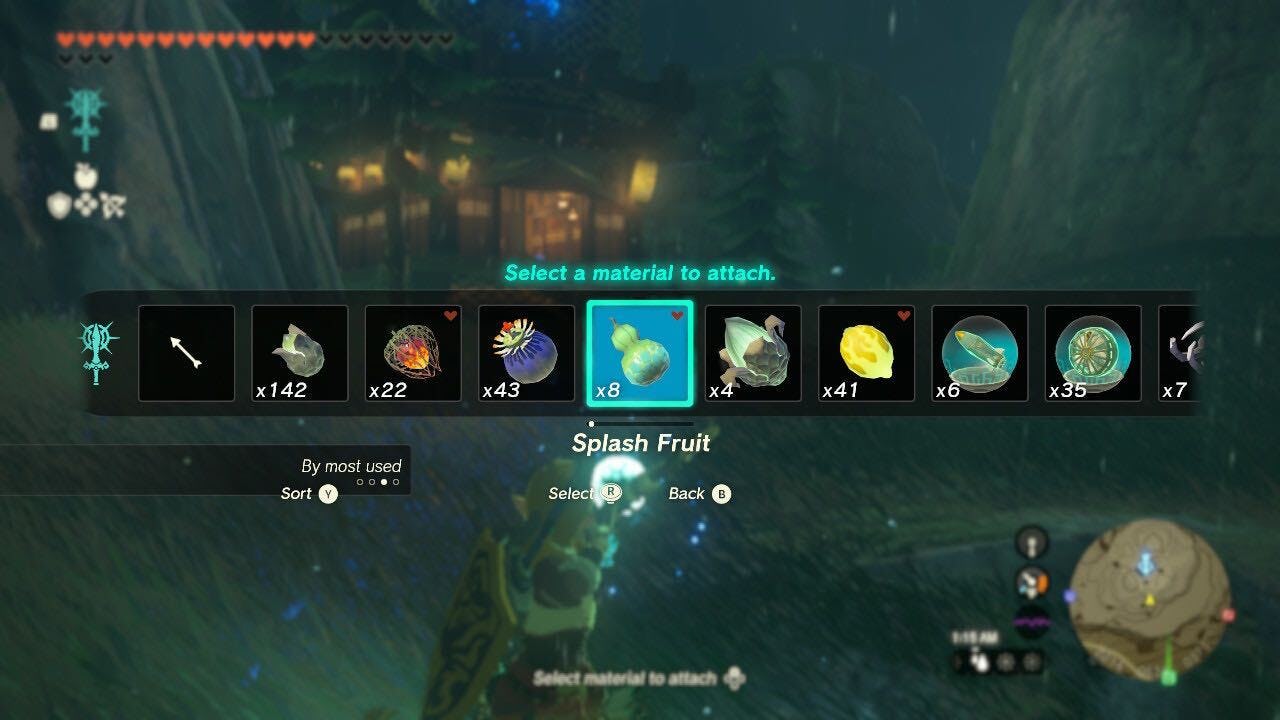
Once you get to the tower you’ll see its entrance is covered in the same muck that’s all over Zora’s Domain. All you need, in order to clear it out, is something with water so you can Fuse Splash Fruits to your arrows or use the Hydrant Zonai Device.
7. Mount Lanaryu Skyview Tower
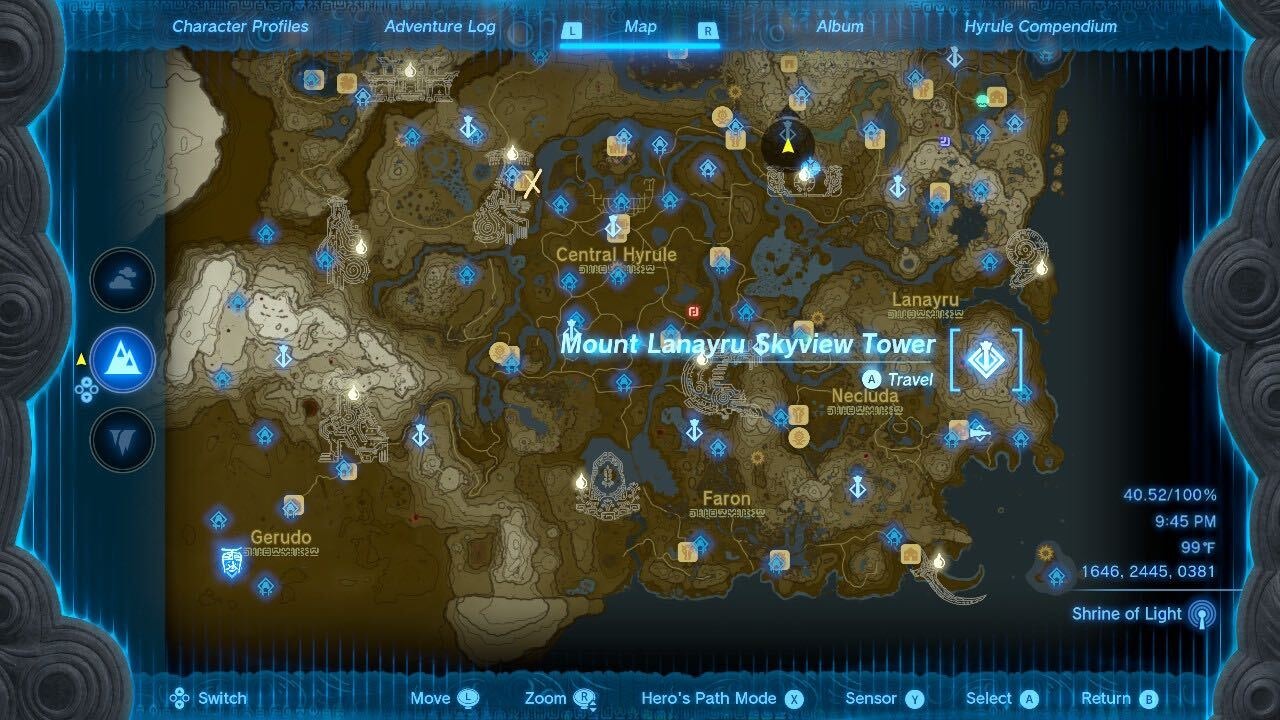
Once again you’ll need some Cold Resistant clothes or food to reach this tower, as it’s a lengthy journey that Link can easily freeze during. Luckily, there’s no trick or puzzle to the Mount Lanaryu tower, you’ll simply need to trudge up the fields and towers as there aren’t any great fast travel points nearby.
One trick to consider is to use the Upland Zorana tower to fly to the nearby sky islands, then traverse those and use your paraglider to get in as close as possible.
6. Rabella Wetlands Skyview Tower
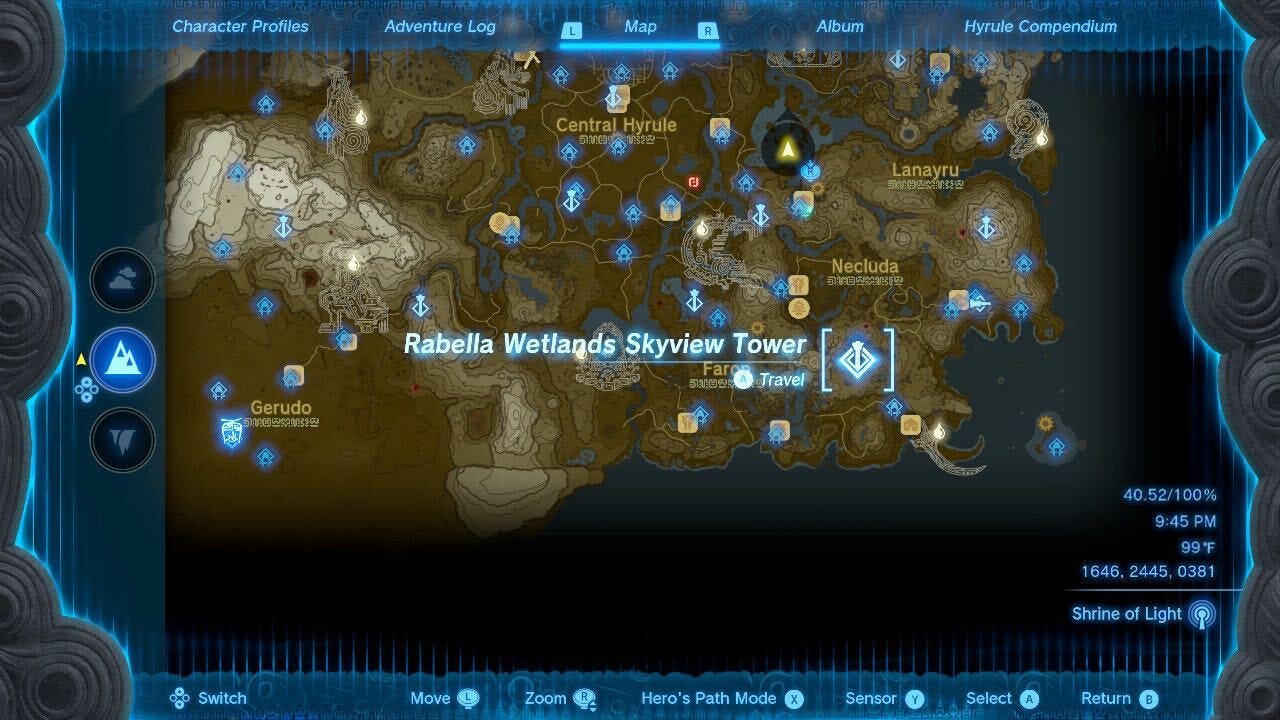
Rabells Wetlands is another tower that’s surrounded by thorns, but the real hard part is that the region never stops raining, making it hard to use fire. Climb any of the nearby stone pillars, then jump and glide down into the small area in front of the tower.
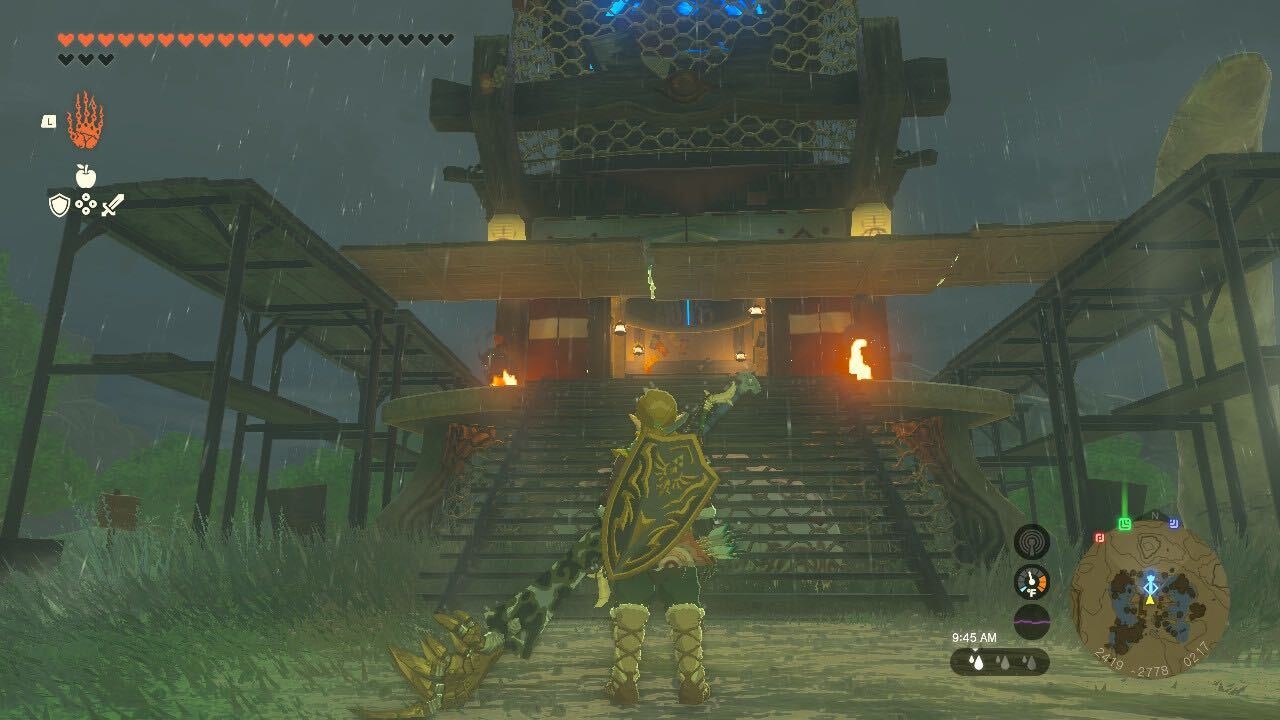
The trick here is that you’ll need to use construction materials to build a makeshift roof. Combine the two long boards from the materials as well as the smaller third one. Then use Ultrahand to move it above the thorns in front of the tower’s door. If it's long enough you’ll be able to prop it up on the scaffolding. This will cover the thorns which you can now light on fire using whatever means you want.
5. Sahasra Slope Skyview Tower
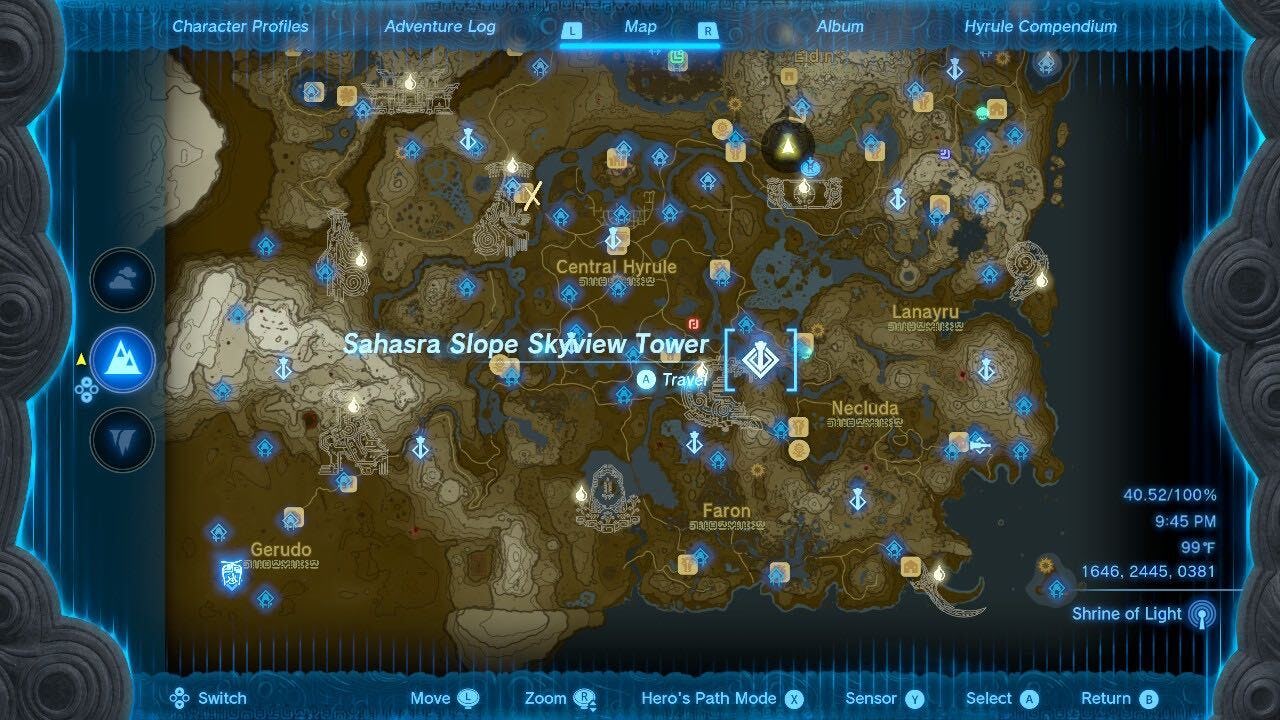
Another easy tower to reach, but another locked door. This time an NPC named Billson will be standing outside, and he’ll mention he wants some of the “tasty mushrooms” from the cave nearby. Luckily, the cave has two entrances at the bottom of the plateau you’re currently on, both on the North and South side.
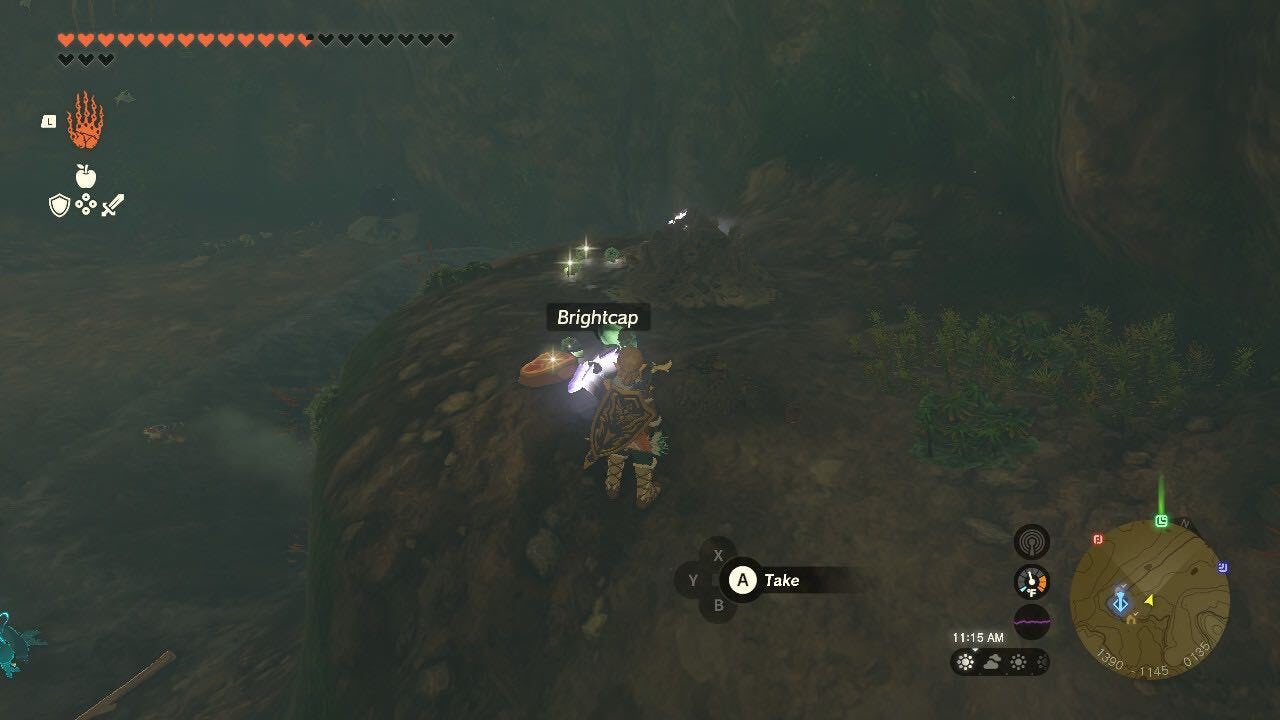
Glide down and find the cave entrance, break through the rocks blocking the way, then head inside and find the mushrooms you need. Now just head back to Billson and he’ll get you in.
4. Popla Foothills Skyview Tower
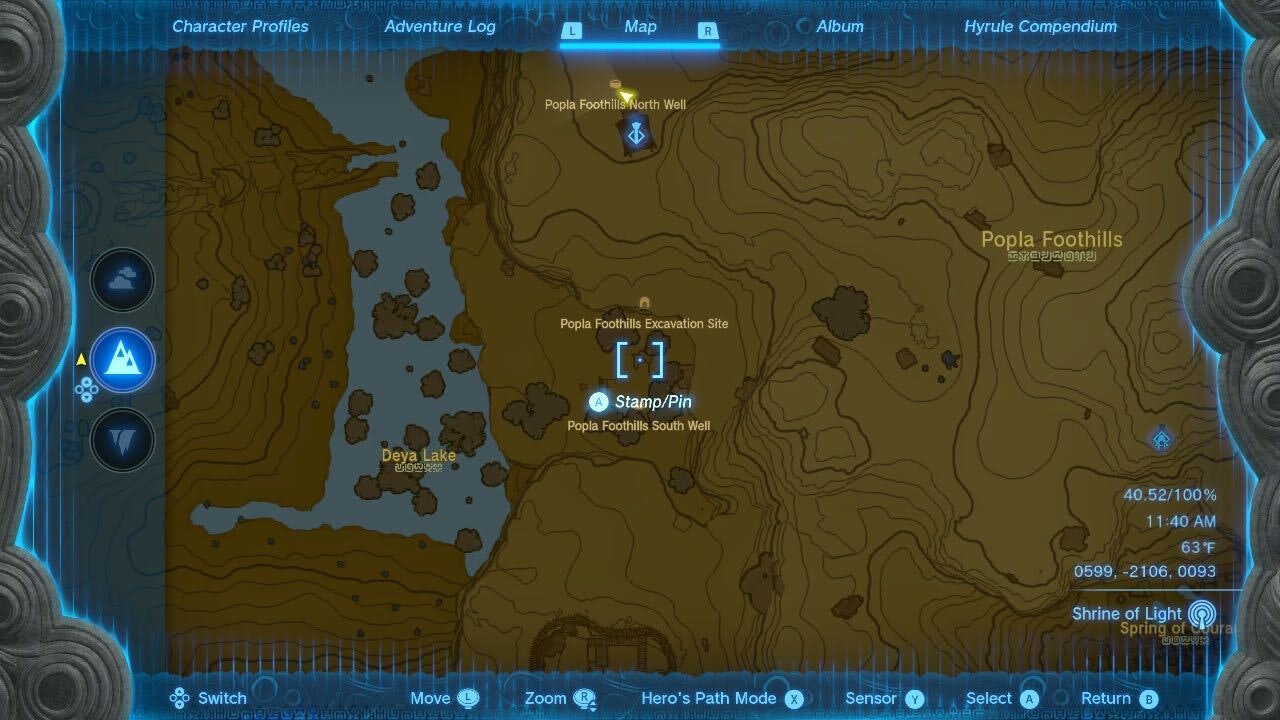
Popla Foothills tower will open immediately, but you’ll find the terminal is unresponsive. If you get close to the well nearby you’ll hear a voice asking for help, and it turns out someone named Emerson is trapped below in a cage.
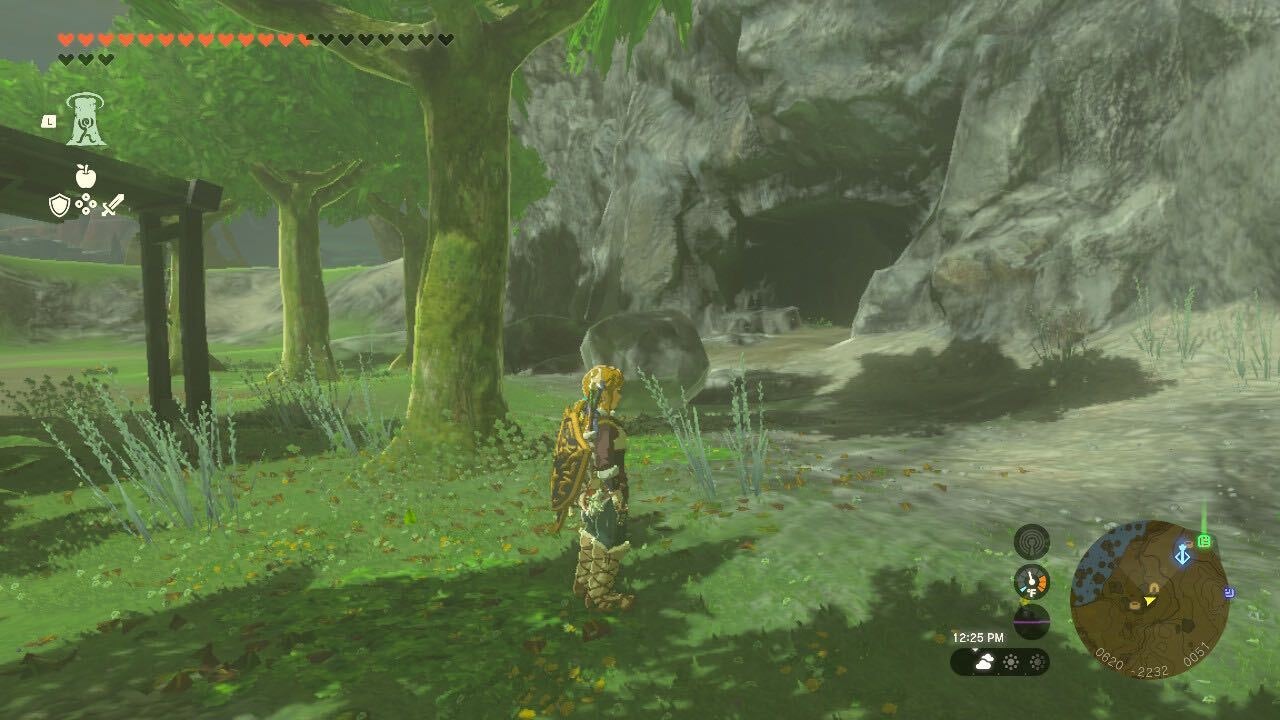
In order to free him you’ll need to head to the cave straight to the South of the tower, titled Popla Foothills Excavation Site. You’ll find the cave at the bottom of a slope tucked into a wall, so just head inside and hop on the switch to open Emerson’s cage. After that, he’ll fix the terminal.
3. Hyrule Field Skyview Tower
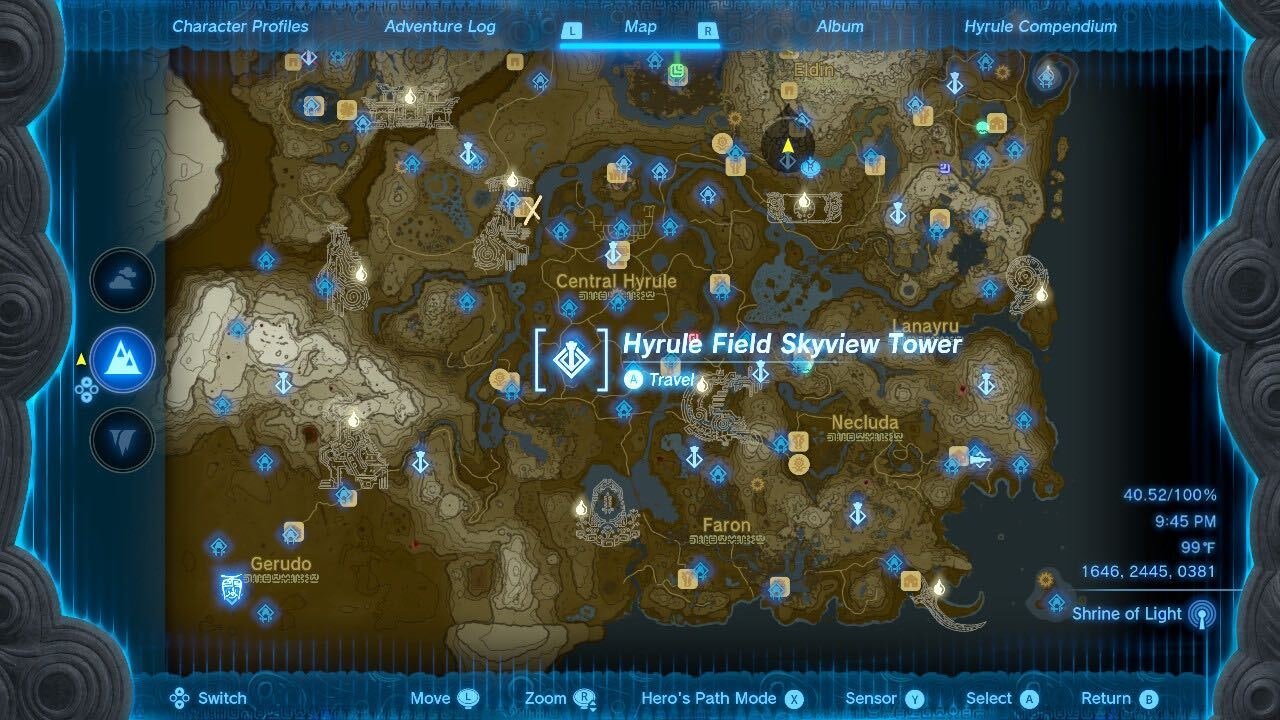
Hyrule Field tower is the closest to Lookout Landing and there’s no puzzle here, but there is a tough group of Bokoblins you’ll need to fight. If you have any Sage’s Vows, make sure to summon them for the fight and make liberal use of any Bomb Flowers you might have, along with the explosive barrels nearby.
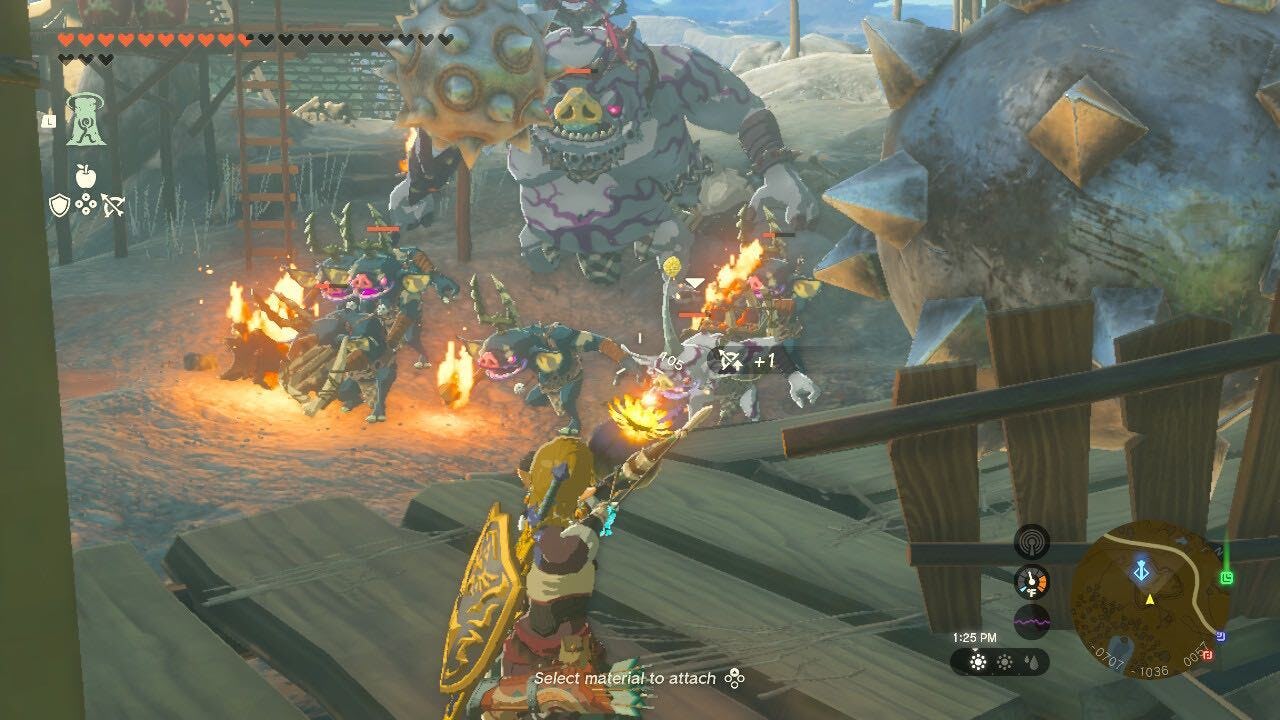
There are plenty of materials nearby that you can Fuse with your weapons, just be careful of the Boss Bokoblin as he can easily take you out in one hit.
2. Gerudo Canyon Skyview Tower
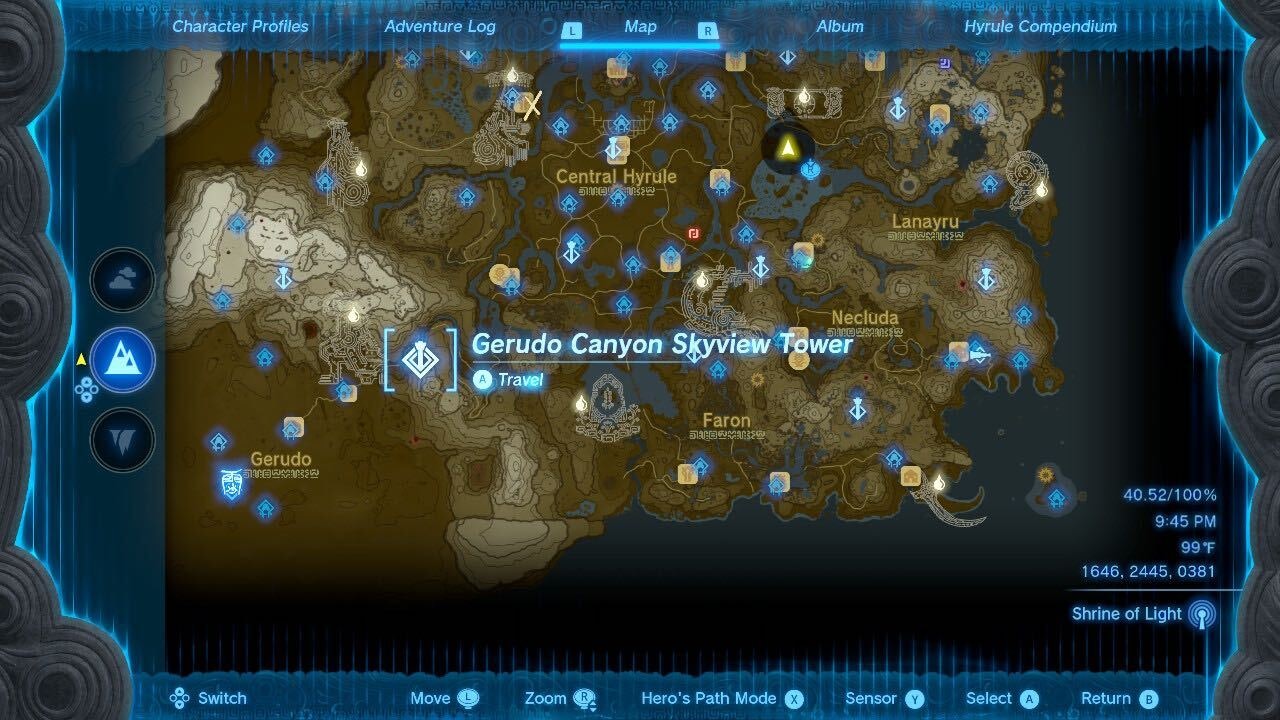
If you’ve still got your cold clothes on make sure you swap those out for some heat resistance before you head into the deserts. It’s a bit of a trek to this one and once you’re there the survey team member will say they need your help fixing the lift up to the tower.
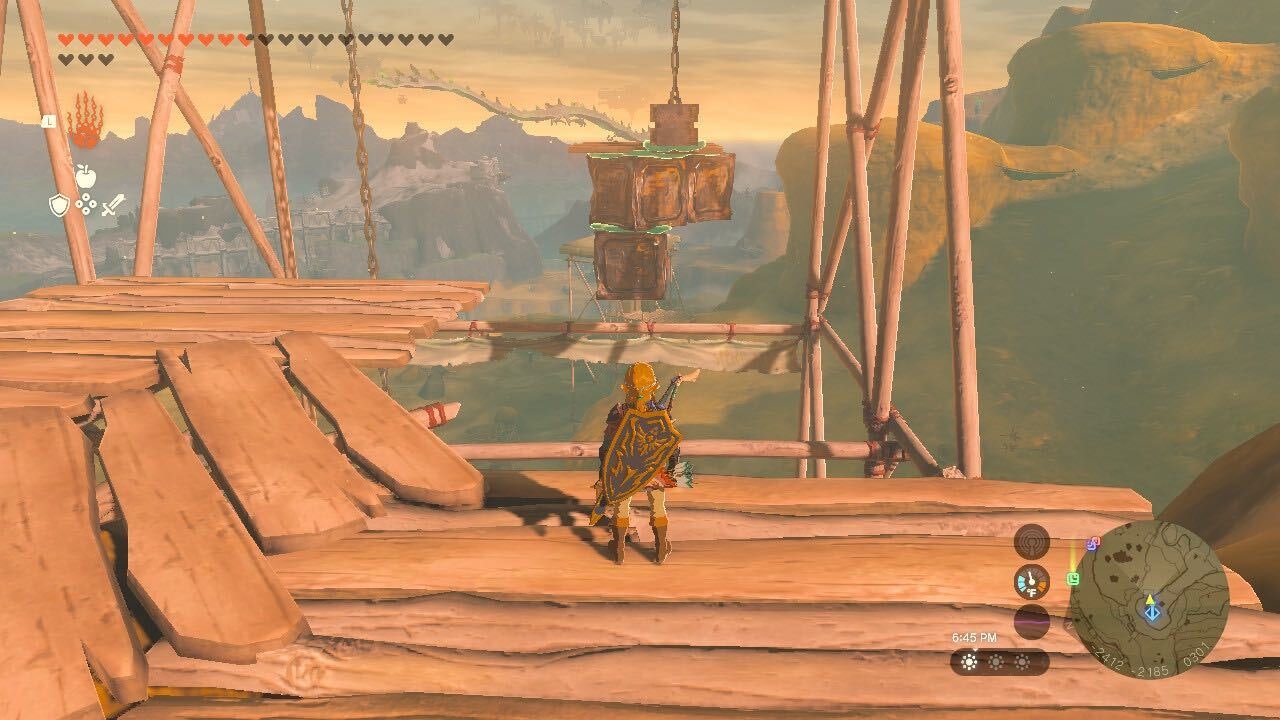
Climb up to the top of the lift and you’ll see some construction materials to the side, while the lift itself has a little small winch on the right. Grab the small board from the construction materials and then attach three of the metal boxes to the bottom. Now grab the whole thing and attach it to the elevator winch. This should give you enough weight to bring your helper zooming up.
1. Gerudo Highlands Skyview Tower
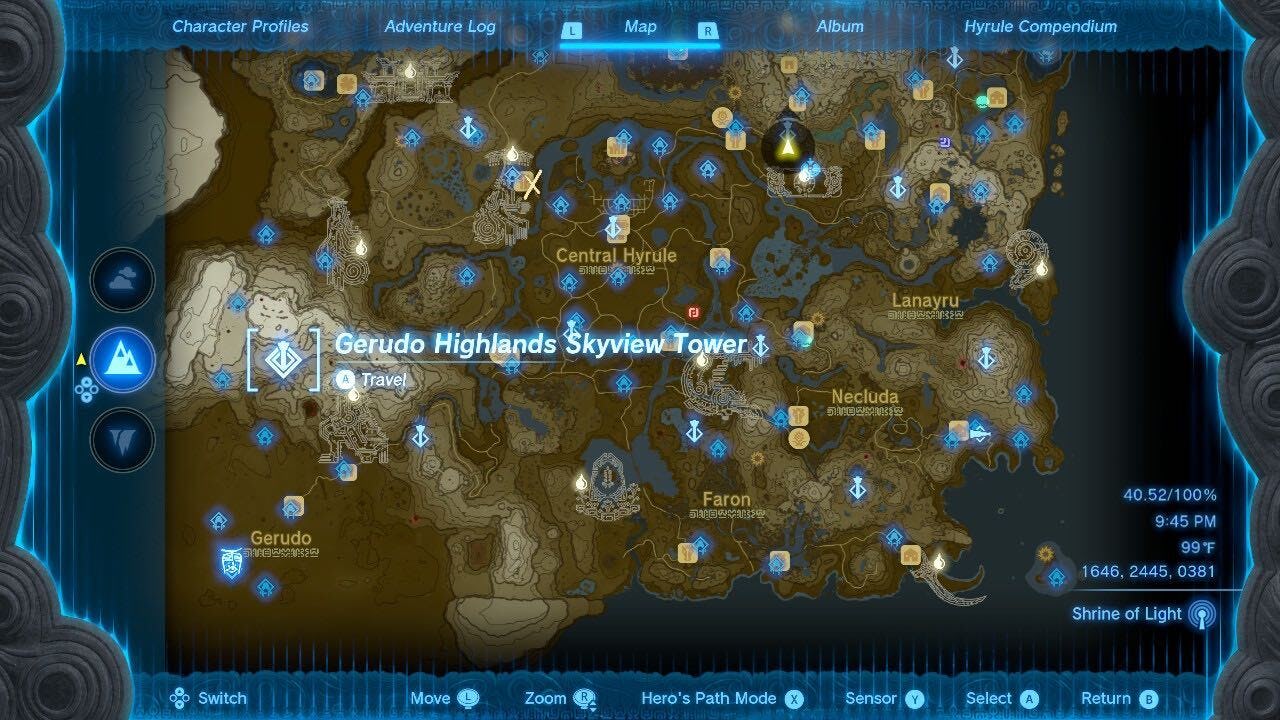
Although Gerudo Highlands is near the desert, you’ll actually need to bring your cold clothes back out again, as its elevation makes the air frigid. After the long trek up the mountain, you’ll find the entrance to this tower covered in snow, meaning you need to find another way in.
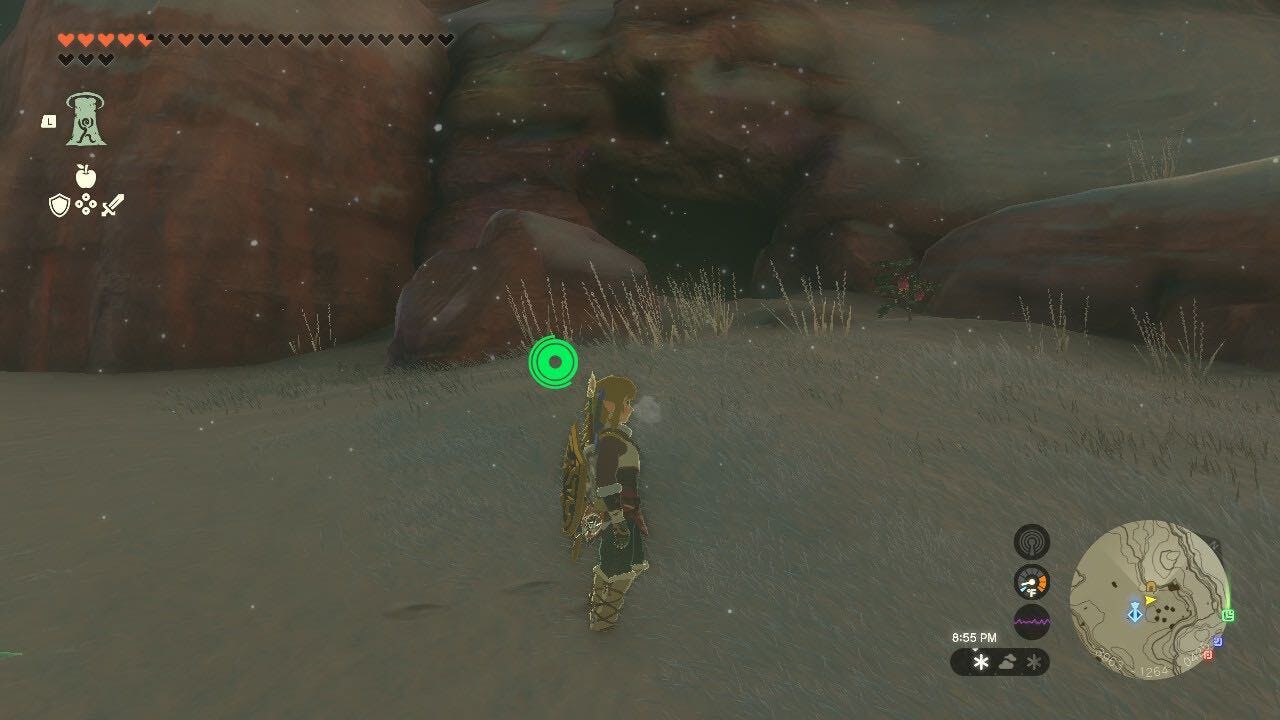
Look for a cave to the North of the tower called Meadela’s Mantle Cave. Follow the path and you’ll come to a river with construction materials next to it. You’ll need to make a little raft, preferably one that you can control. This is as easy as combining a wooden board, Control Stick, and Fan. Jump on and follow the river down a waterfall.
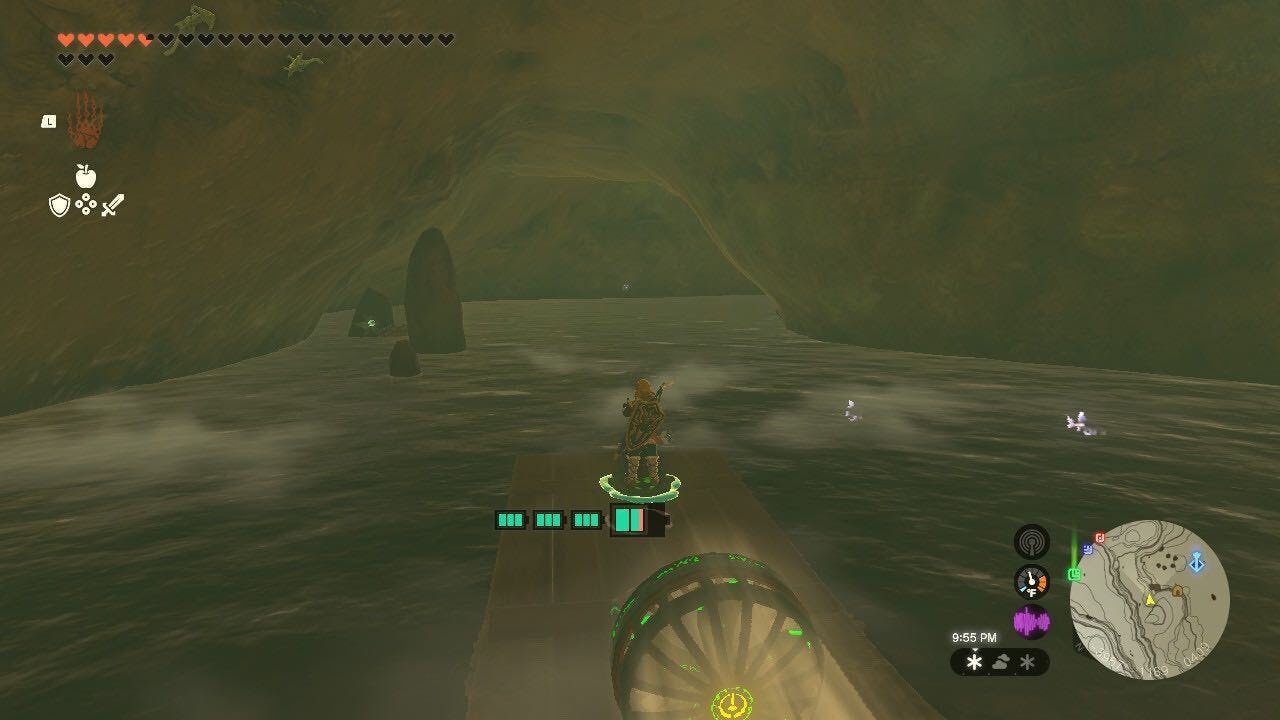
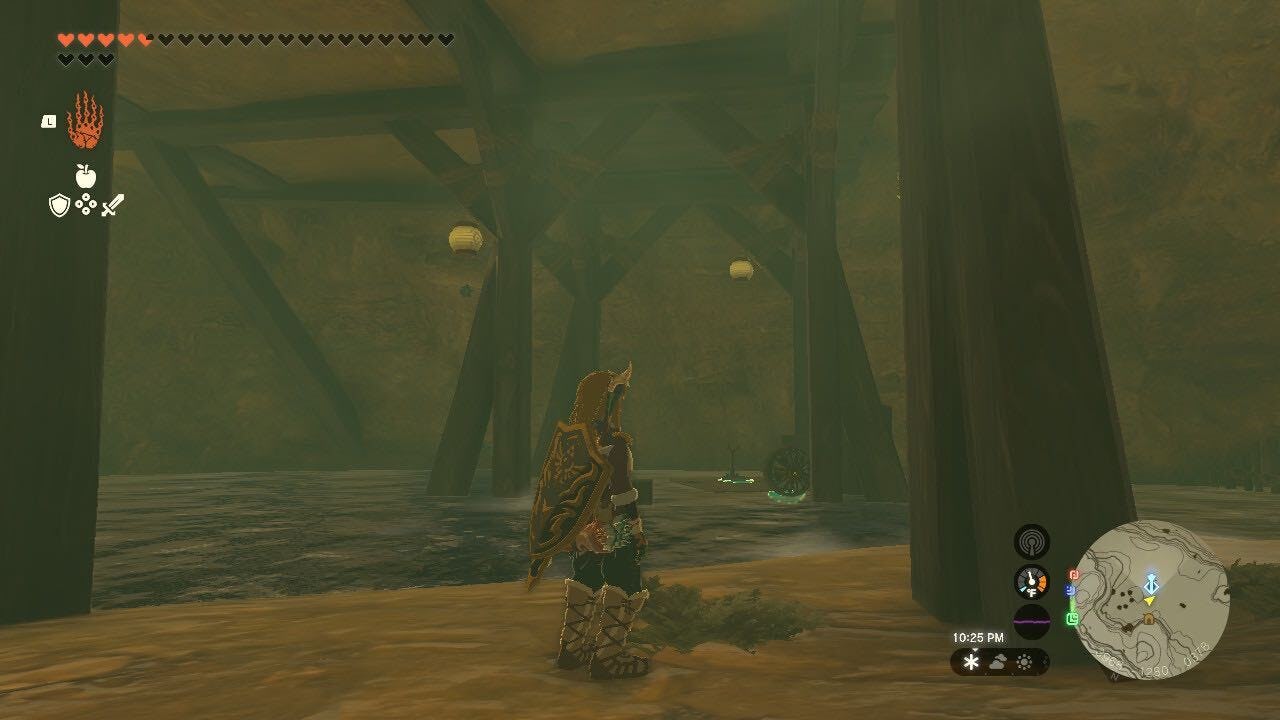
At the bottom, you need to keep following the river until your raft hits some wooden pillars. Loko up and you’ll see a piece of wood on the ceiling that marks the tower as directly above. Pilot your raft under that area and use Ascend to get into the heart of the tower.
“It's dangerous to go alone!” Check out more of Inverse’s Tears of the Kingdom coverage:
- THE INVERSE REVIEW: Tears of the Kingdom Is the Best Nintendo Switch Game Ever Made
- Tears of the Kingdom’s Best New Mechanic Could Change the Series Forever
- Why Zelda Speedrunners Plan to Take It Slow With Tears of the Kingdom
- Tears of the Kingdom Doubles Down on Breath of the Wild’s Best Inspiration


