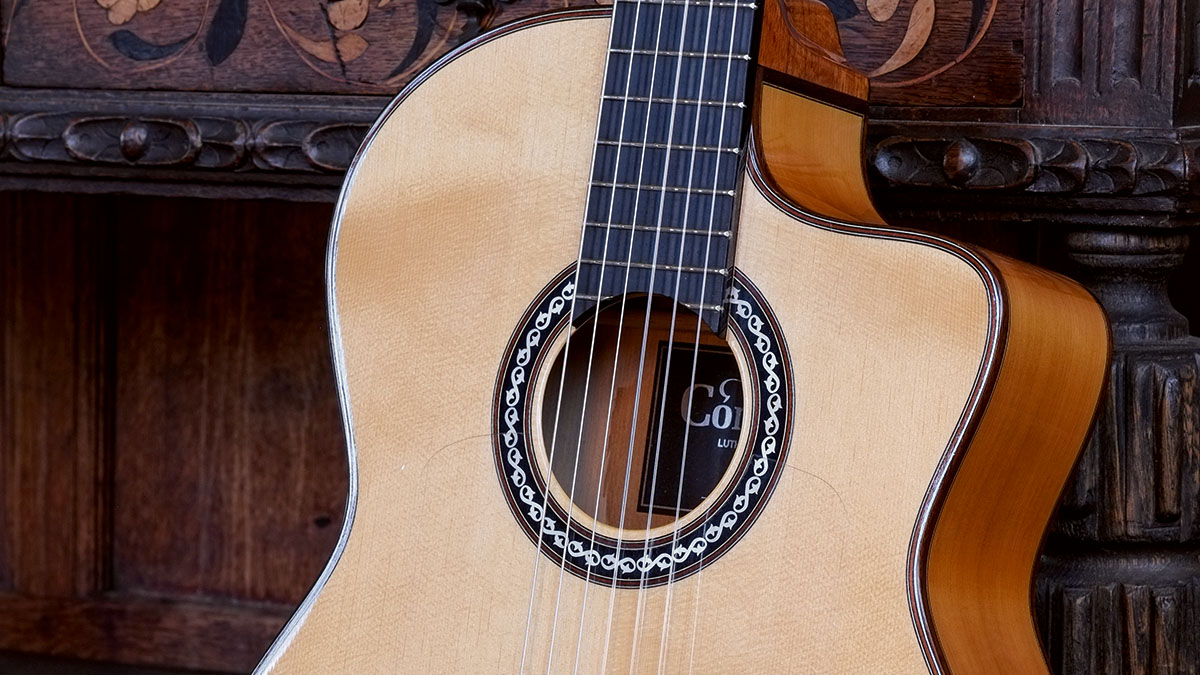
Like many players of a certain age, my first guitar was a nylon-string. I don’t think it had a brand name, but it was definitely a cheapo. I’d caught the rock ’n’ roll bug much earlier, which meant the poor ol’ nylon string guitar was soon put in the back of a wardrobe while I shredded my fingers on a lowly Gibson copy of equally dubious origin.
Some decades later I re-caught the nylon bug and discovered a whole new world. Any of us can use a nylon-string. You might want to dip into the classical/flamenco world, or jazzier bossa nova styles, but, yes, every house should have one.
Some time back I’d loaned a Córdoba GK Pro to a friend who fancied trying some nylon flavour for a recording. On receiving it back some months later with an “Oh, sorry I should have changed the strings…” I was met with a rather neglected guitar.
It made me wonder how many other neglected instruments are out there, unused, missing a string or two and in dire need of some TLC? The thing is, with a bit of spit ’n’ polish you might have a ‘gateway’ guitar on your hands – some nylon style that could take you somewhere different.
Fit for purpose?
Getting any guitar that’s been slightly forgotten about back into its best playing condition starts with a thorough evaluation – exactly the same as you might do if you’re considering buying a used guitar.
Are there any obvious alarm bells going off, like a bridge that might have slightly come away from the top or any obvious cracks in the top, back or sides? If it sort of looks okay and has strings, even if they’re old, tune it up and give it a basic play test.
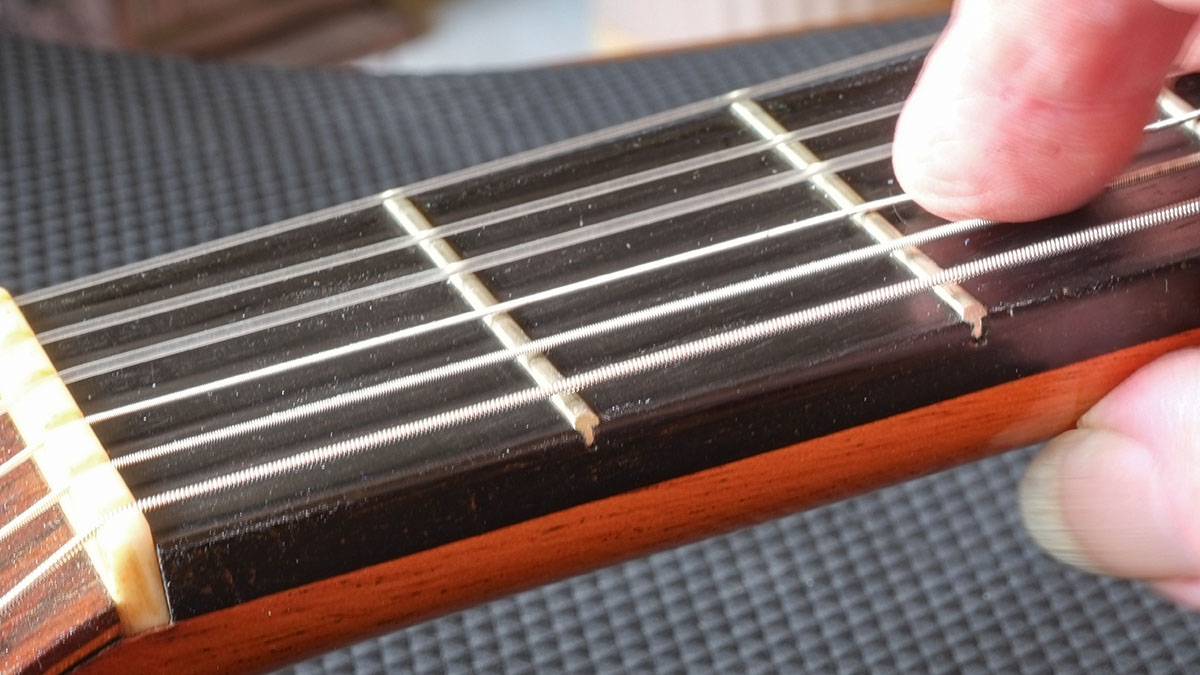
As we’re focusing on nylon-string ‘classical’ guitars here, it’s doubtful they’ll be any (or very little) fretwear, but you should still check how straight the neck is. Simply hold down the G string at the 1st fret and, in this instance, the 12th fret and in the middle of the fingerboard you should see a slight gap – certainly no bigger than half the diameter of the top E string – between the underside of the string and the top of the fret.
Traditionally, the classical guitar doesn’t have a truss rod, but many of the more modern builds do, including ‘crossover’ nylon‑strings. If you’re in the former camp, then a forward-humped neck will require some specialist help, but with the latter, relaxing the truss rod may well fix the problem.
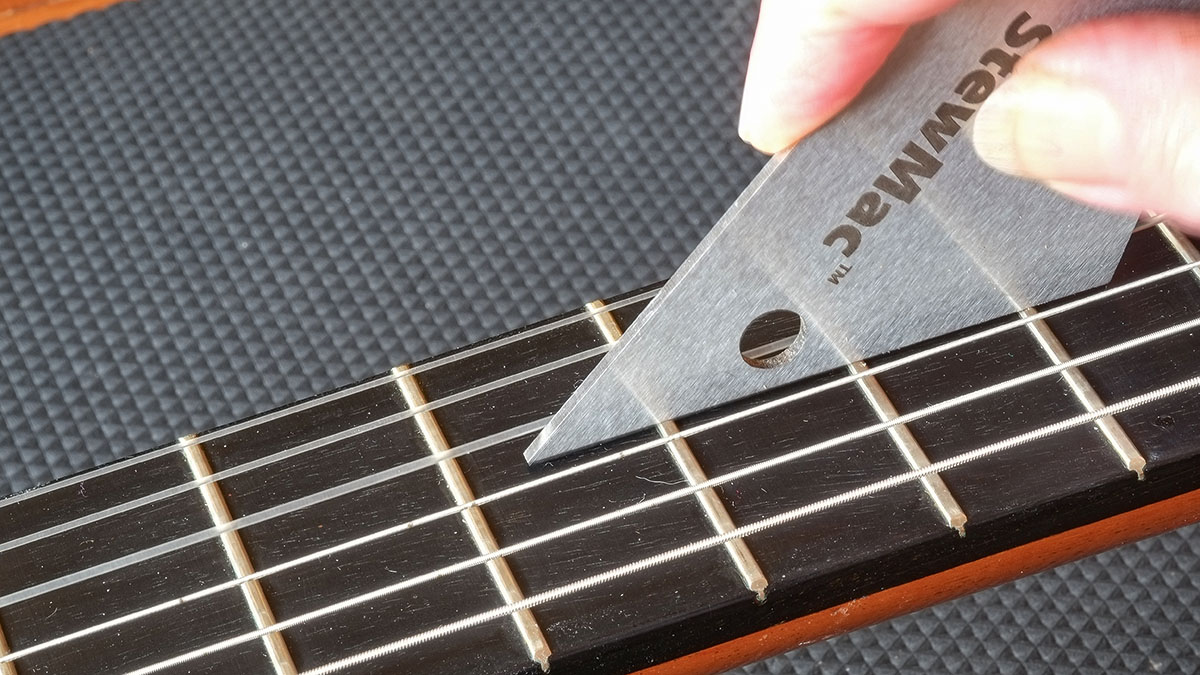
Obviously, if the neck has a concave bow, a slight tightening of the truss rod should get it straight with barely any relief – that’s what we’re aiming for. As ever, play each string at every accessible fret to check whether there are any false notes or buzzes that might be caused by a fret that’s come unseated. If you really want to go to town, check the fingerboard with a Fret Rocker.
If you’re new to the nylon-string guitar, you’ll probably be getting used to a wider fingerboard and string spacing. You might also be a little concerned about the string height, which should be much higher than a steel-string, not least your electric.
So, while we’re still evaluating, check the nut height first: fret each string at the 3rd fret and visually check there’s just a slight gap above the 1st fret. If that’s looking okay, then measure the string height in the usual fashion at the 12th fret between the top of the fret and the underside of the string.
Traditionally, a concert classical will have a higher string height, a flamenco guitar lower, but a good starting point would be no higher than 3mm on the high E and 4mm on the bass side. If you think the nut grooves look too high, simply capo at the 1st fret and measure at the 13th fret. At this stage, you need to see if you’re in the right ballpark.
As with any glued-in neck acoustic guitar, the problem you have is the limited adjustment potential. So long as the neck is virtually straight and the nut is okay, if your 12th/13th fret height is too high you need to see if there’s enough saddle height above the top face of the bridge to reduce it.
If, for example, over time the top has bellied up, the saddle might have already been reduced and you’ll either have to live with what you have or seek some professional advice. Likewise, if the neck has a slightly forward angle and in combination with too much relief (bow, which can’t be straightened), you’re in trouble unless you have a truss rod.
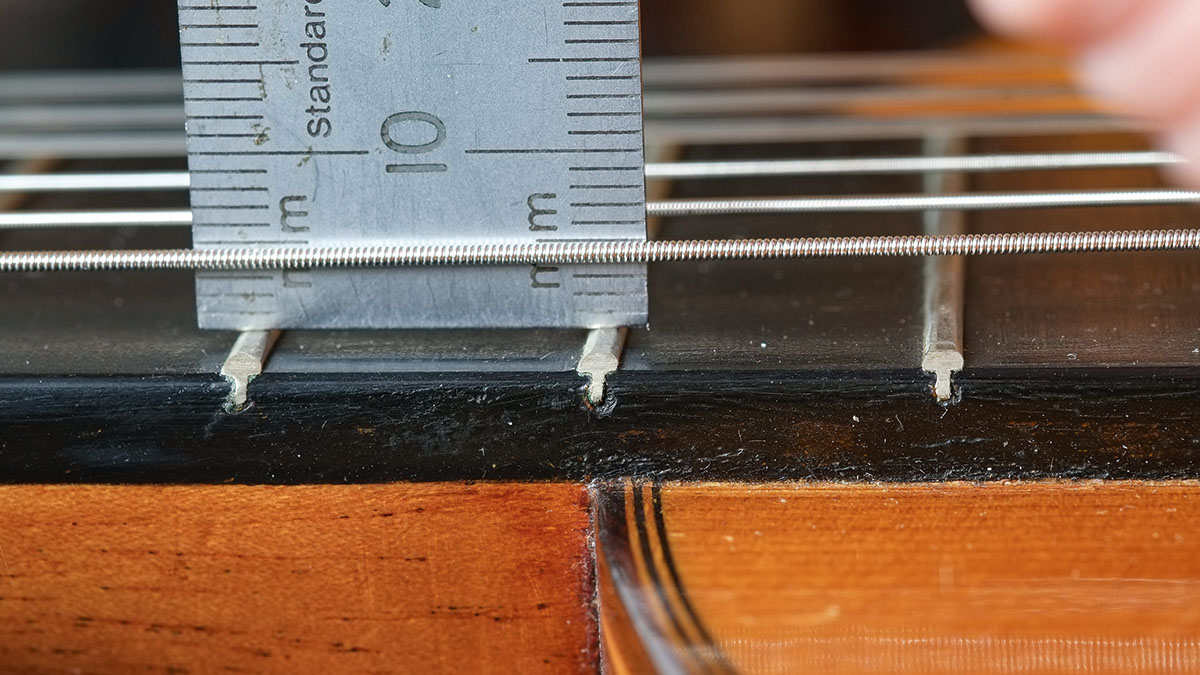
One thing to consider on a classical-style nylon-string is that most (certainly lower-cost) guitars usually have a straight topped saddle that’s not domed or curved. Some makers, however, like a little radius.
“I also curve the saddle a bit,” says US luthier Kenny Hill, “with the arc peaking on the fourth string. The purpose is not to accommodate a curved fingerboard (it’s not usually curved) but to accommodate the different motion of the strings themselves.
The third and fourth strings move more wildly and have more tendency to buzz. By setting them higher, the better-behaved fifth and sixth strings can be kept at a more comfortable height
“The third and fourth strings move more wildly and have more tendency to buzz,” he continues. “By setting them higher, the better-behaved fifth and sixth strings can be kept at a more comfortable height.”
With a standard classic bridge, the saddle sits in an open-ended slot and shouldn’t be glued-in. This means, because of the lower string tension, you can slightly detune then take a piece of dowel – or a block of wood with a radiused edge – that’s slightly thicker/higher than the strings’ height and push it under the strings right in front of the bridge; with some pliers, pull out the saddle from the bass side.
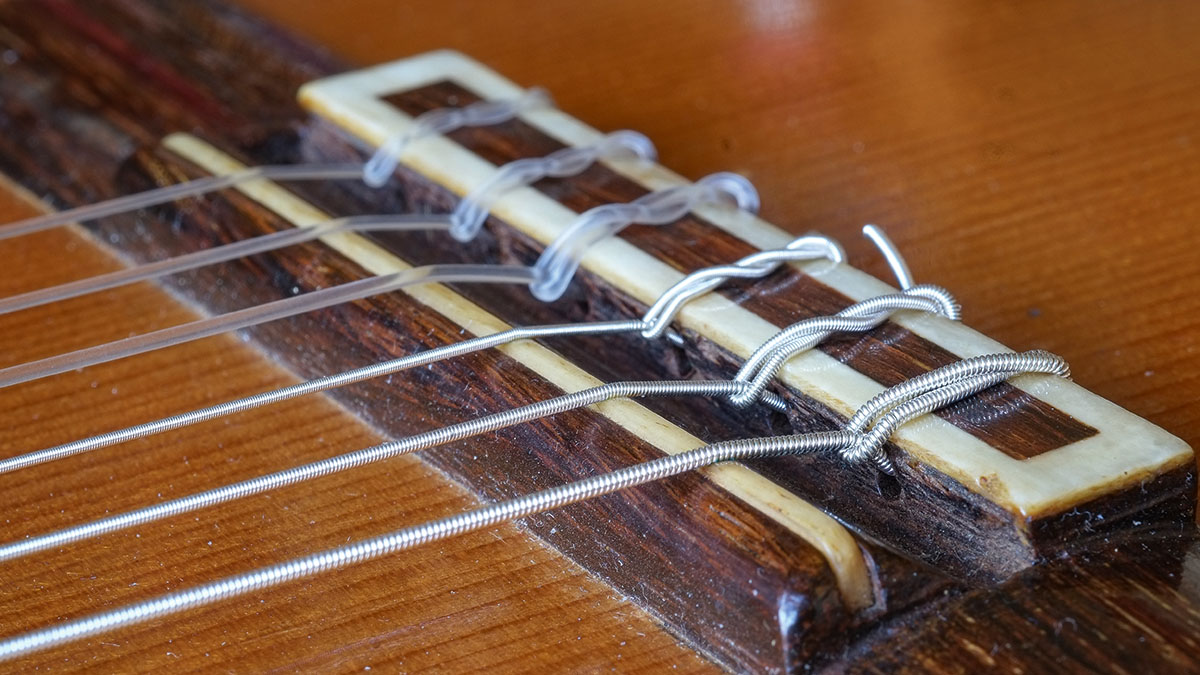
You can then make your adjustments and push it back in. (However, note that you shouldn’t do this if you have an under-saddle piezo – here you will need to slacken the strings much more and pull the saddle out from the top.) With a closed-end modern bridge that’s not possible and you’ll have to slacken off the strings. Again, basic setups like this won’t cost a lot from a good pro.
It’s doubtful your cheapo will have a bone nut or saddle. Is that important? Well, it’s not going to harm anything and would be a sensible upgrade, but only if the neck/string height geometry is looking okay. If you’ve been making notes on any problems you’ve encountered – which I suggest you do – you can make a plan for any DIY fixes or at least pass on your concerns to a pro.
Clean your machine
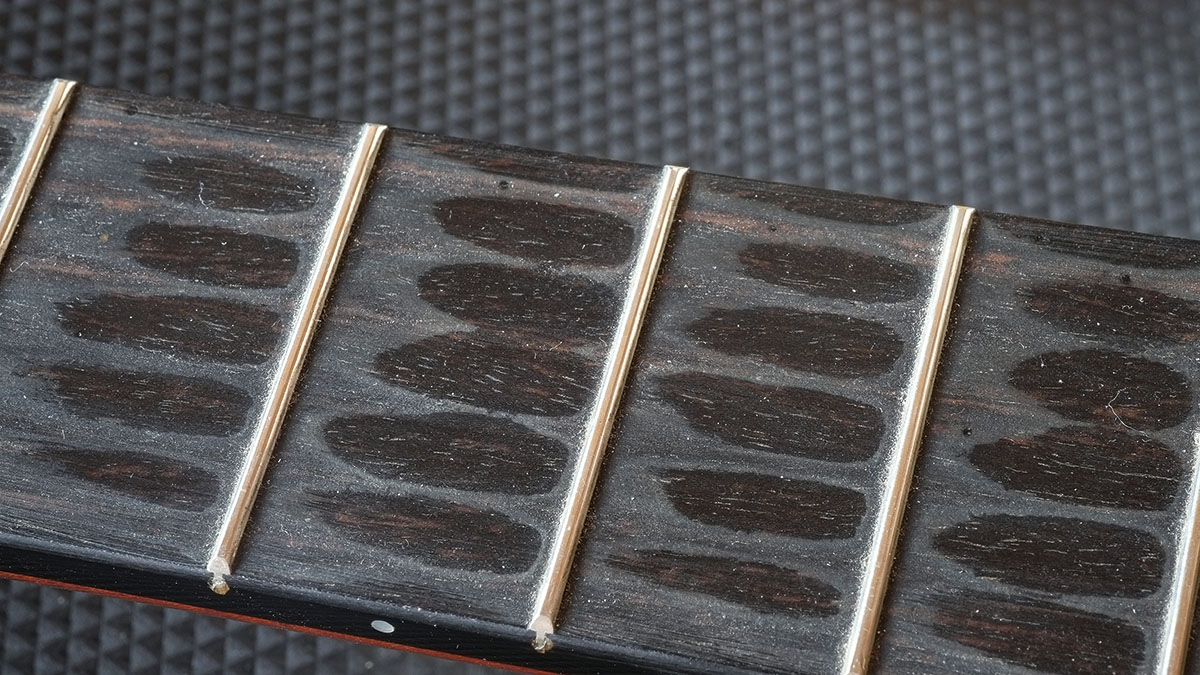
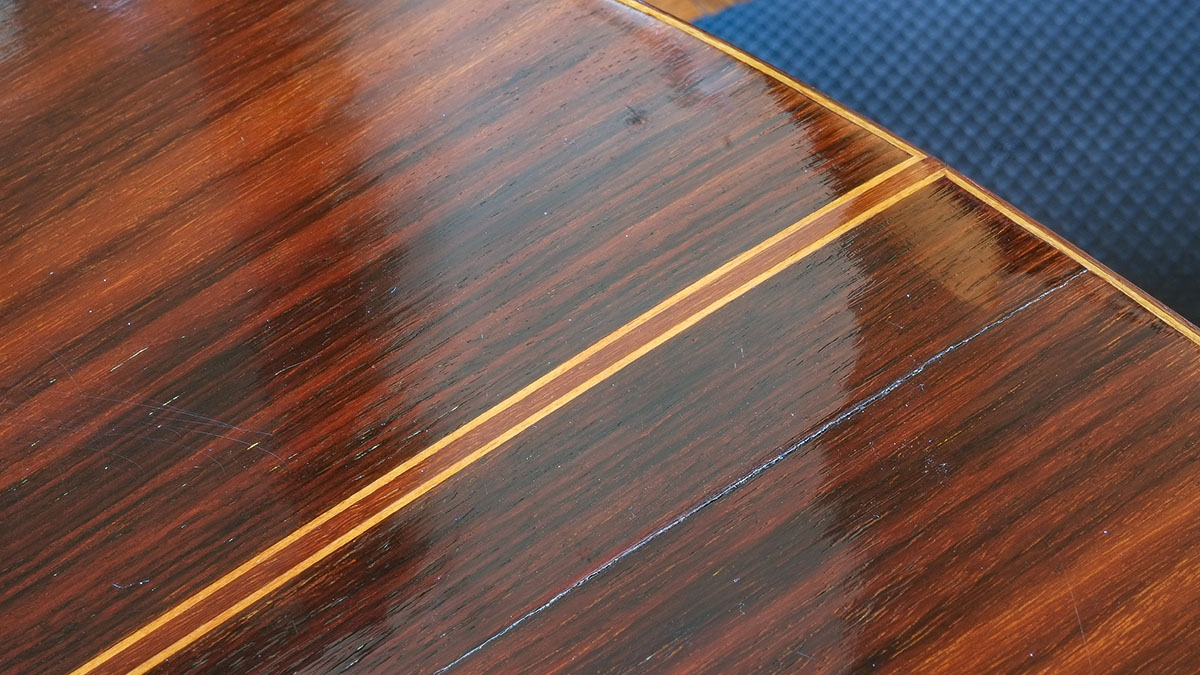
So, strings off and wipe over the guitar with a very lightly damp cloth to remove any dust and gunk. Guitars with older strings might well have a French polish finish, which should clean up perfectly ready for a very light wax polish later; use that lightly damp cloth, then a dry one, with plenty of elbow grease.
More likely your guitar will have a ‘plastic’ coating so there’s no need to worry. Gunky-looking fingerboards can easily be cleaned up with a little white spirit on a piece of kitchen towel and a vigorous rub. Any more stubborn gunk can usually be removed using an old credit card as a ‘knife’, then a re-rub with white spirit.
We’ve covered levelling, recrowning and polishing up frets many times in The Mod Squad, but because you don’t bend strings across the ’board like you would with a steel-string, I’ve often experienced new nylon-string guitars that have quite scratchy fret tops.
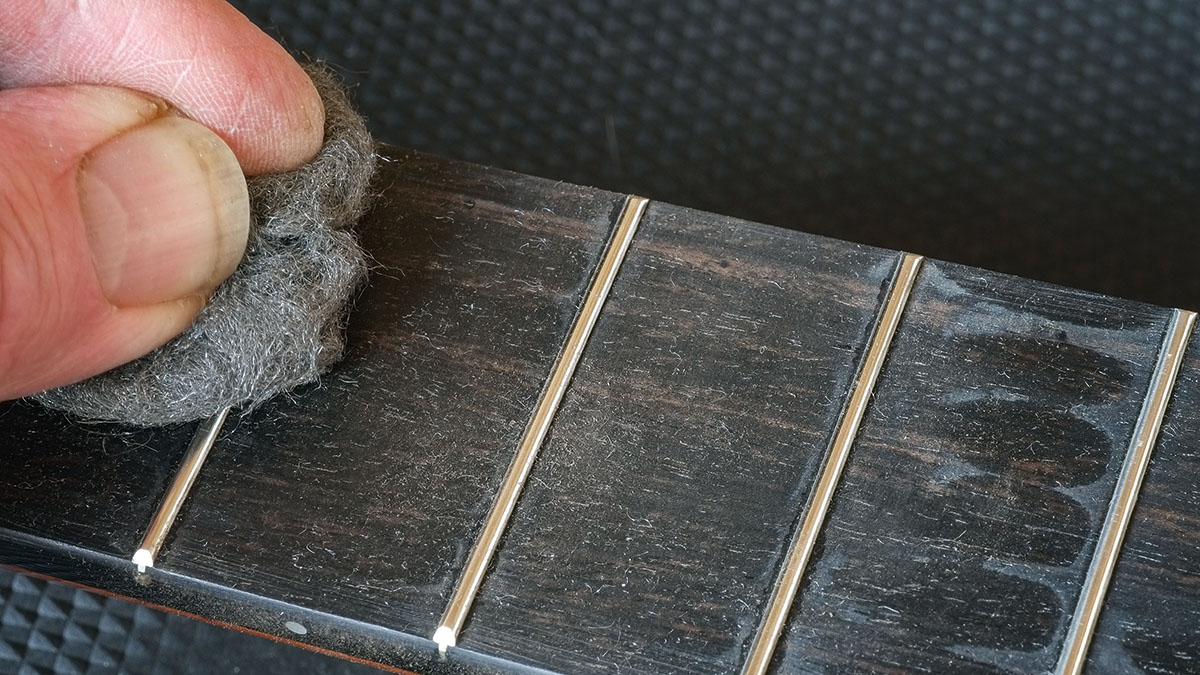
There’s no need for that: a quick rub with 600-grit wet and dry on a flat wooden or hard cork block, moving side to side across the frets, will cure it. If it doesn’t, then you’ll need to very lightly level the fret tops; I use a fine oil-stone. That will mean you’ll need to recrown the frets before the polishing stages.
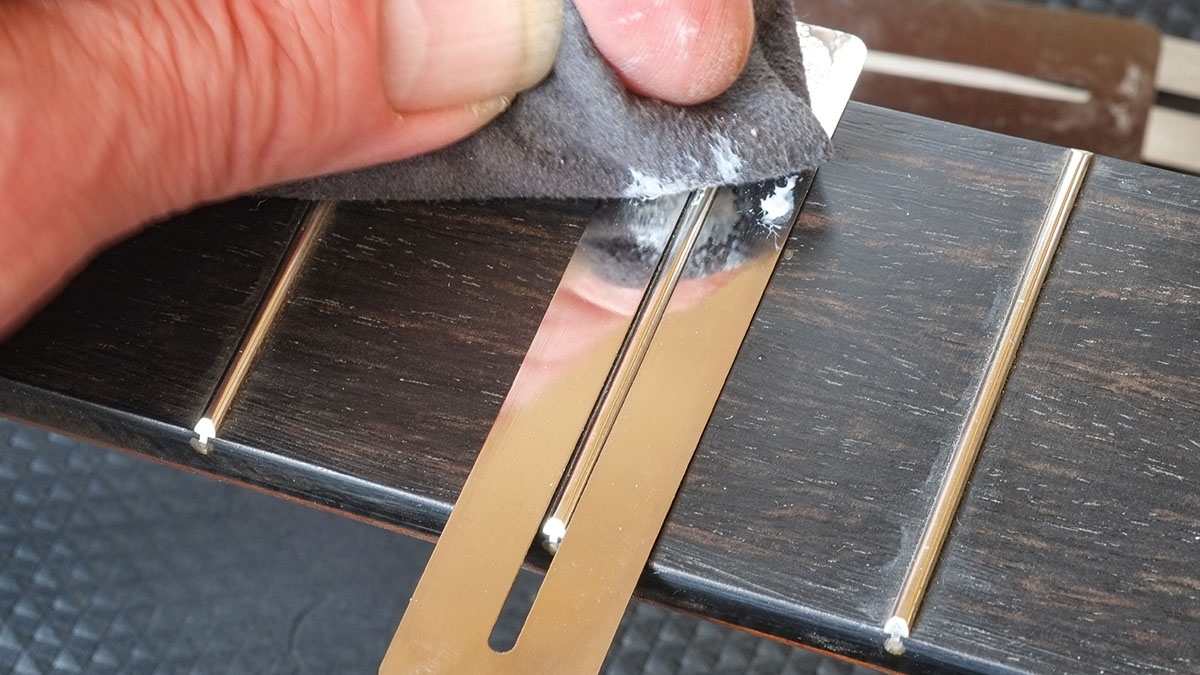
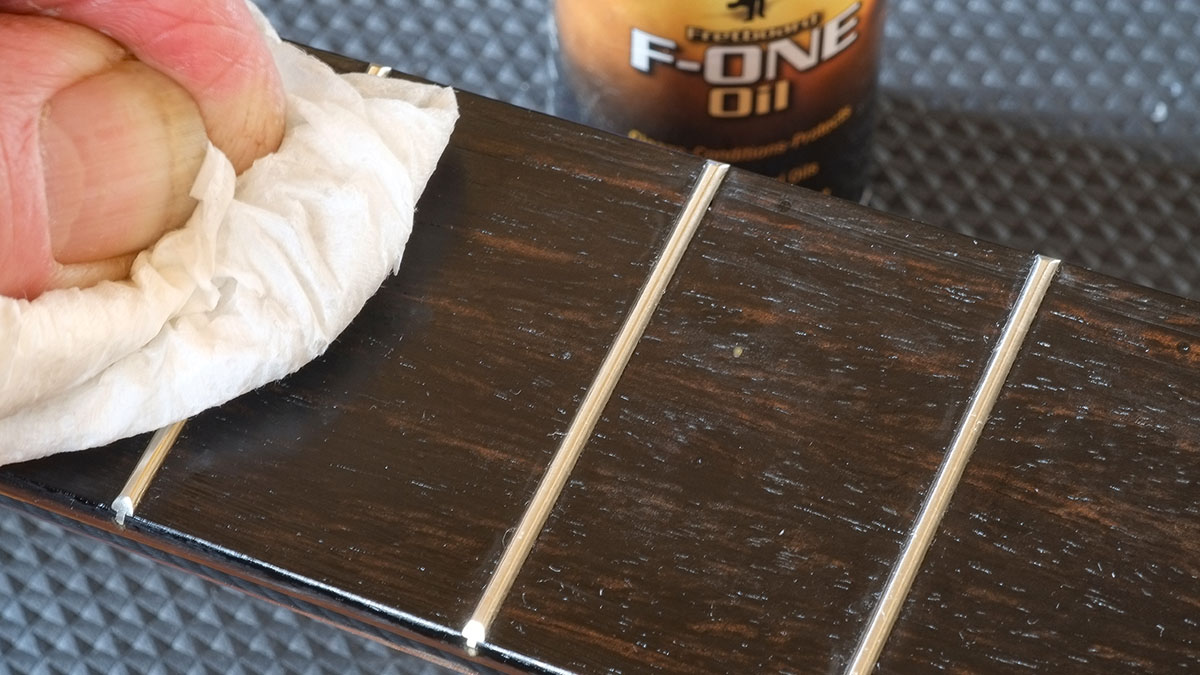
Also check for any fret sprout if the guitar has been in a dry environment: you can easily rub those back with a fine flat file, or a small sharpening block, which is what I use. Then 0000 steel wool will shine things up – or you can use a metal polish, but it’s a little unnecessary. If you have electronics in the guitar, tape up the soundhole and preamp control panel or use a similar-grade abrasive pad. A final dab of light fingerboard oil should finish the job.
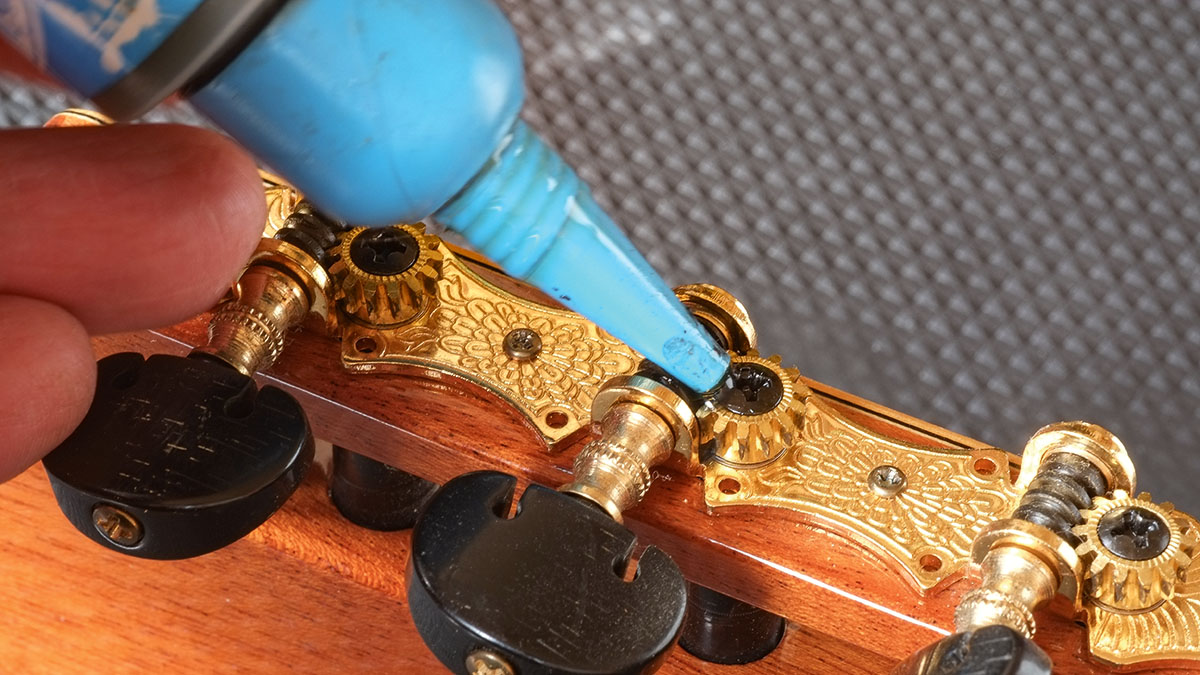
Speaking of a light drop of oil, apply a tiny amount to the open cog wheel of the tuners and rotate them quickly wiping off any residue. And tighten (but don’t over-tighten) any potentially loose screws on the tuners, too.
Strings, strings and more strings
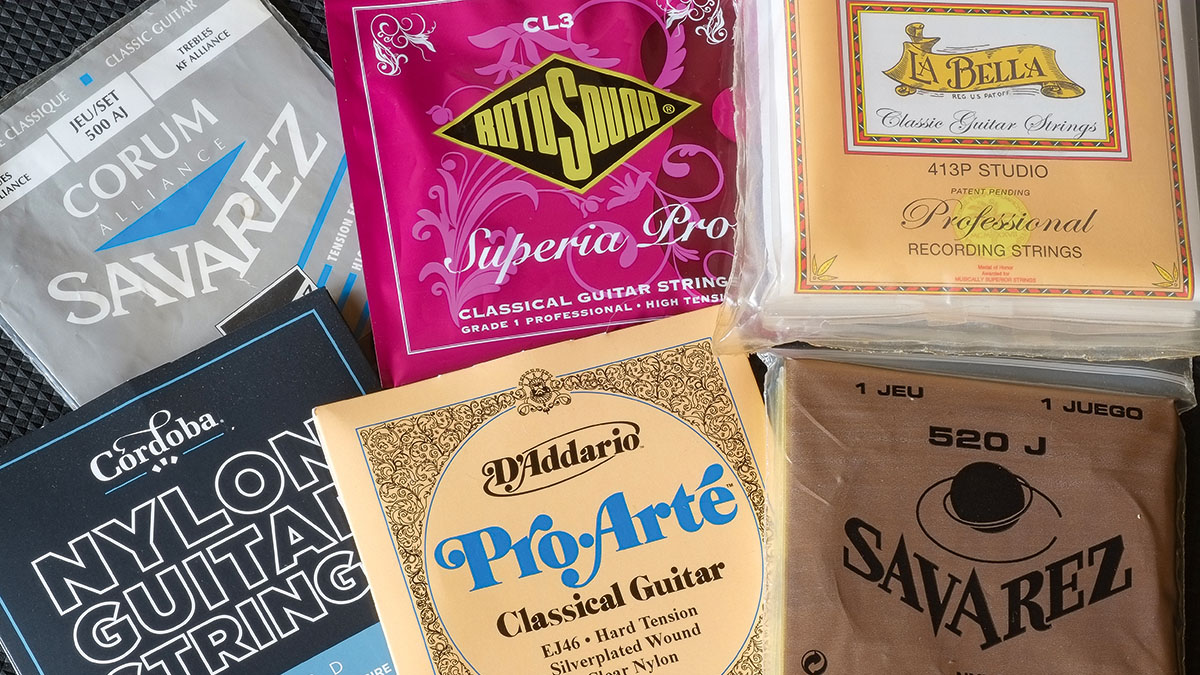
Like steel-strings, there are loads of different types and brands of strings for your nylon guitar. Gauge is less of an issue here, it’s more about tension – high or hard, medium or normal, and low – and/or the wrap on the wound strings. Swapping from high to lower tension strings can also help with a guitar that has an over-high action. All in, it’s really quite a rabbit hole to fall into.
Early in my experiments I settled on Savarez’s High Tension 520J set, quite a classic set I was led to believe and one that really suited my first proper classical guitar (even though I was more of a Latin/jazz fudger). These are quite crisp sounding with a fast response – some way from the clichéd ‘mellow’ nylon-string sound. They’re not cheap, either. For more general use, especially with stage-aimed nylon electros, I’ve found Savarez’s Cristal Corum High Tension 500CJ set really good, too.
Bear in mind that different brands and types will sound different, which could be quite a major consideration if you’re playing acoustically and/or recording. Plenty of players will mix the wound basses from one brand with the treble strings from another. Like I said, it’s a very different world.
One thing to consider, particularly if you’re amplified or recording, is the string noise, which is part of the sound for some and just plain annoying for others. LaBella’s Professional 413P Studio strings use polished golden alloy (80/20 brass) for the wound string wraps, which really helps to remove that ‘squeak’ – again, not cheap, but they do last for ages.
Another recommendation for everyday use is made closer to home: Rotosound’s Superia Pro CL3, which is high tension and less expensive. As you’ll find, nylon-strings seem to take ages before they settle to pitch, even with stretching.
I have no scientific proof for this, but I find that these Rotosounds seem to settle faster than others, which can be quite handy if you need to restring on gig day (which is, frankly, not recommended). Of course, you’ll have to get used to that tie-block bridge, but there are loads of YouTube clips on that subject. Practice makes perfect.
Final thoughts
I’ve often referred to the world of the classical and nylon-string guitar as a parallel universe with its own history, makers and players – old and new.
Yes, brands like Yamaha, Córdoba and Godin (to name but three) have brought the instrument into the rock ’n’ roll retail world with considerable success, and the ‘crossover’ guitar is an obvious place to start, with its aim for the nylon-string sound and more steel-string like playability.
And while, with a little care and attention, you might be able to repurpose that old cheapo, I’d strongly suggest looking at something a little more modern and get practicing and listening. Don’t blame me if you get hooked!


