Have you always wanted to see, let alone photograph the elusive northern lights? This guide will help you at a crucial time as the sun nears its solar maximum.
For many, the northern lights are a bucket list to bear witness to at least once in your lifetime. They are hard to find, dramatic, emotional yet compelling. Most of the time, the phenomena is seen from some of the world's northerly and southerly latitudes. The Northern Lights (the aurora borealis) to the northern hemisphere and The Southern Lights (The aurora australis) to the south.
Because they are elusive, you will need some understanding of the aurora and how it works when taking images of the northern lights. Once you capture those images, you will have experiences and memories that will last a lifetime. In this guide, we will highlight some of the best places to photograph the aurora to understand why the Sun is involved with the northern lights and what it means as we reach the sun’s ‘solar maximum.’
What is causing the northern lights?
This cosmic light show is all the responsibility of our local star, the Sun. It is all to do with nuclear fusion from the sun. The amount of energy which is being dispelled when hydrogen atoms fuse into helium at scorching temperatures of 27-million degrees Fahrenheit. On the sun's surface, electric currents of charged gases alongside its magnetic field push up through its surface and cool, to reveal majestic 'sunspots' on its surface, which can appear bigger than the size of Earth, even, larger.
Electrically charged particles, then known as 'plasma,' form and stretch the magnetic field away from the surface, which, under their own pressure, are released out into space. This is a 'solar storm'. When one of these storms just so happens to be facing towards Earth and reaches our planet's magnetic field, we reach Goldilocks. Those charged gases from the Sun travel across our Earth's magnetic field 'lines' to the north and south magnetic poles. When those gases interact with the atoms in our atmosphere, they get 'excited' and release photons of light. This is what we observe as the elusive aurora.
In an 11-year cycle, the Sun’s activity changes. From what is known as solar 'minimum' to solar 'maximum'. This changes the amount of activity from the Sun, the amount of sunspots and thus, windows of opportunity for solar storms. During solar maximum, our chances of seeing more extreme events becomes more so, allowing viewers to see the northern lights without having to travel to such extreme latitudes.
Just recently in 2024, we have seen examples of these extreme events. Most noticeably on Friday May 10th 2024, the northern lights were seen across the world. A massive G5 storm took place, allowing viewers to witness the aurora borealis in their entirety from much lower latitudes. This included the United Kingdom, India, Northern Africa, Tuscon — Arizona and even the Atacama Desert in Chile. When one of these events happens, a lot of activity from the Sun can be witnessed with pillars and curtains of varying brightness and colors seen dancing much higher than the local horizon.
Most of the time, however, 'normal' activity levels are restricted to such locations at extreme northerly and southerly latitudes, so those keen to see them in previous years have traveled to do so. On an active night, the aurora can appear thousands of miles long, providing greater chances of spotting this natural phenomenon. With areas of dark skies with minimal light pollution, the following are great location contenders with transport links and brilliant accommodation:
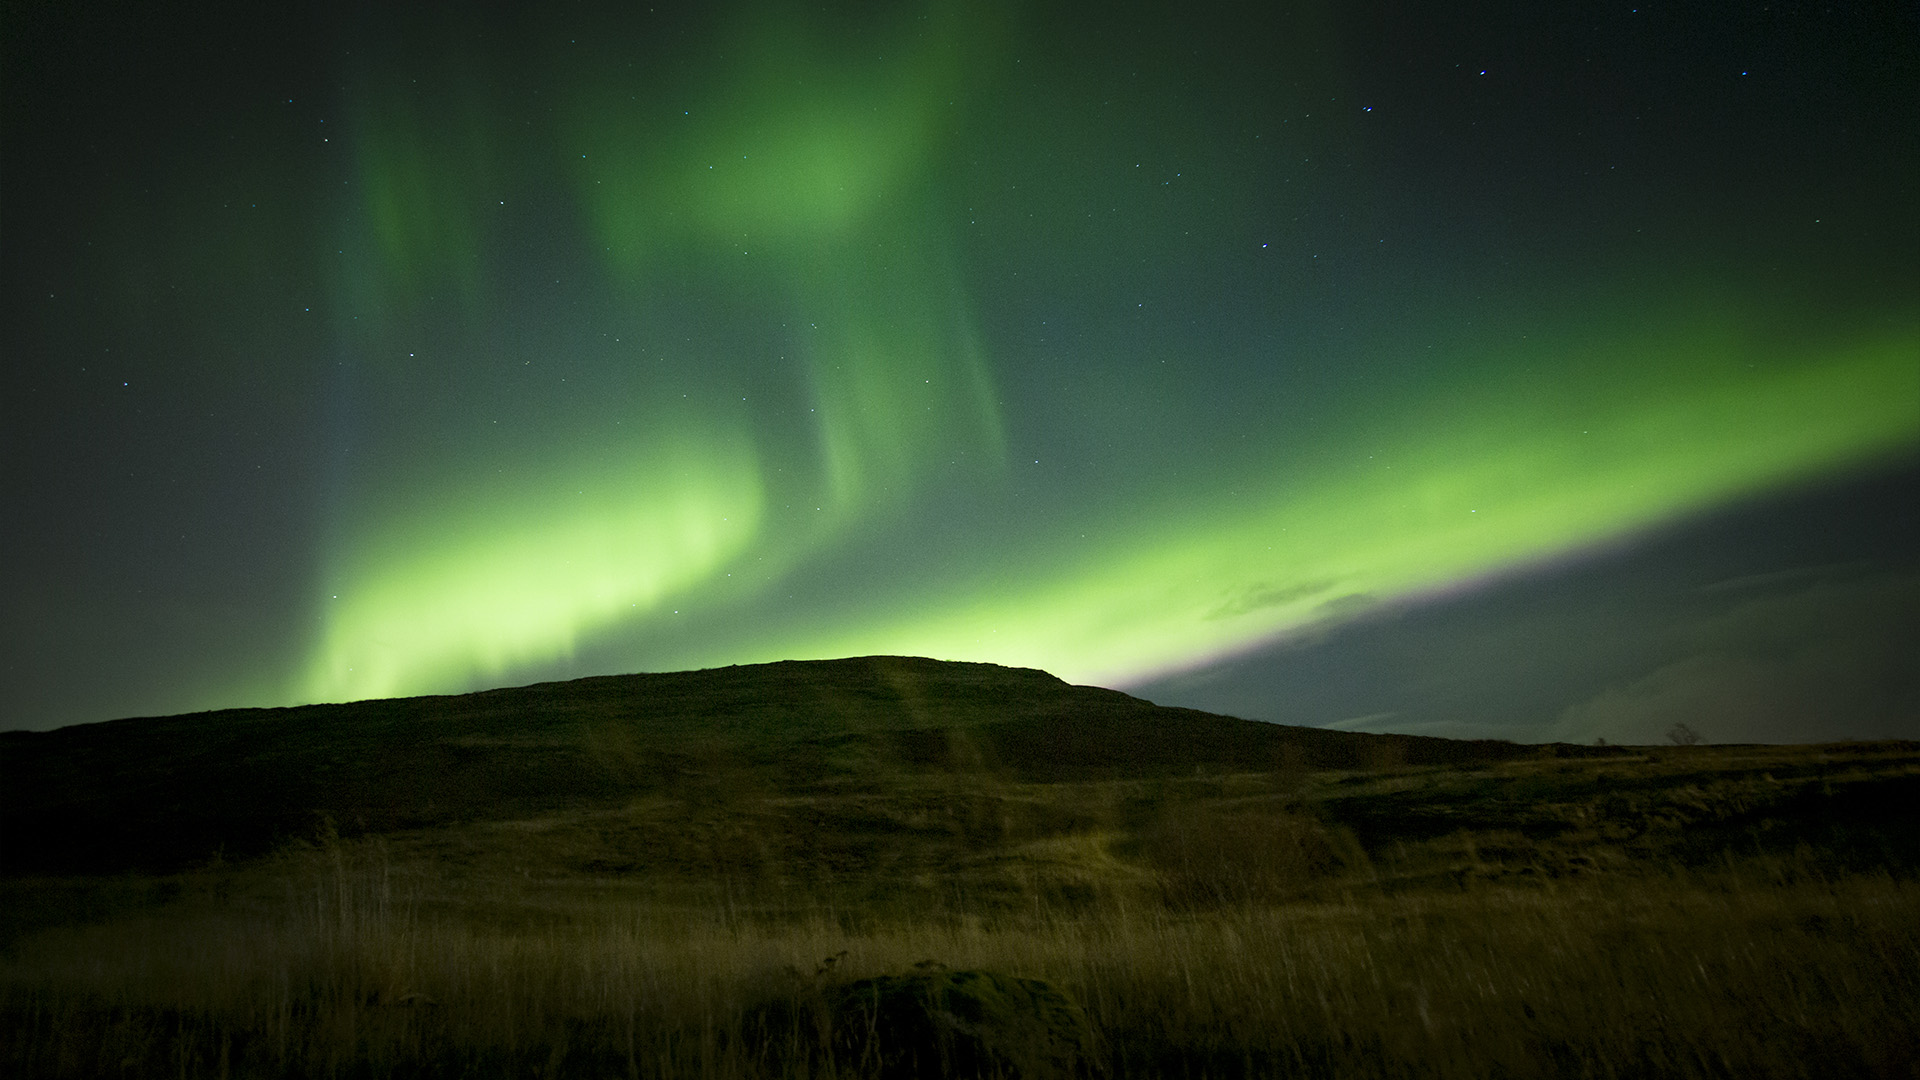
Iceland:
Iceland has become very popular in recent years. It is the land of ice and fire, with a great circular road network across the country, regular flights, and a plethora of awe-inspiring landscapes. No wonder it is such a popular location to glimpse the northern lights. Iceland's menacing but beautiful landscapes make it a great adventure—explore geothermal pools, go husky sledding and enjoy the Icelandic culture before venturing on a night search of the lights.
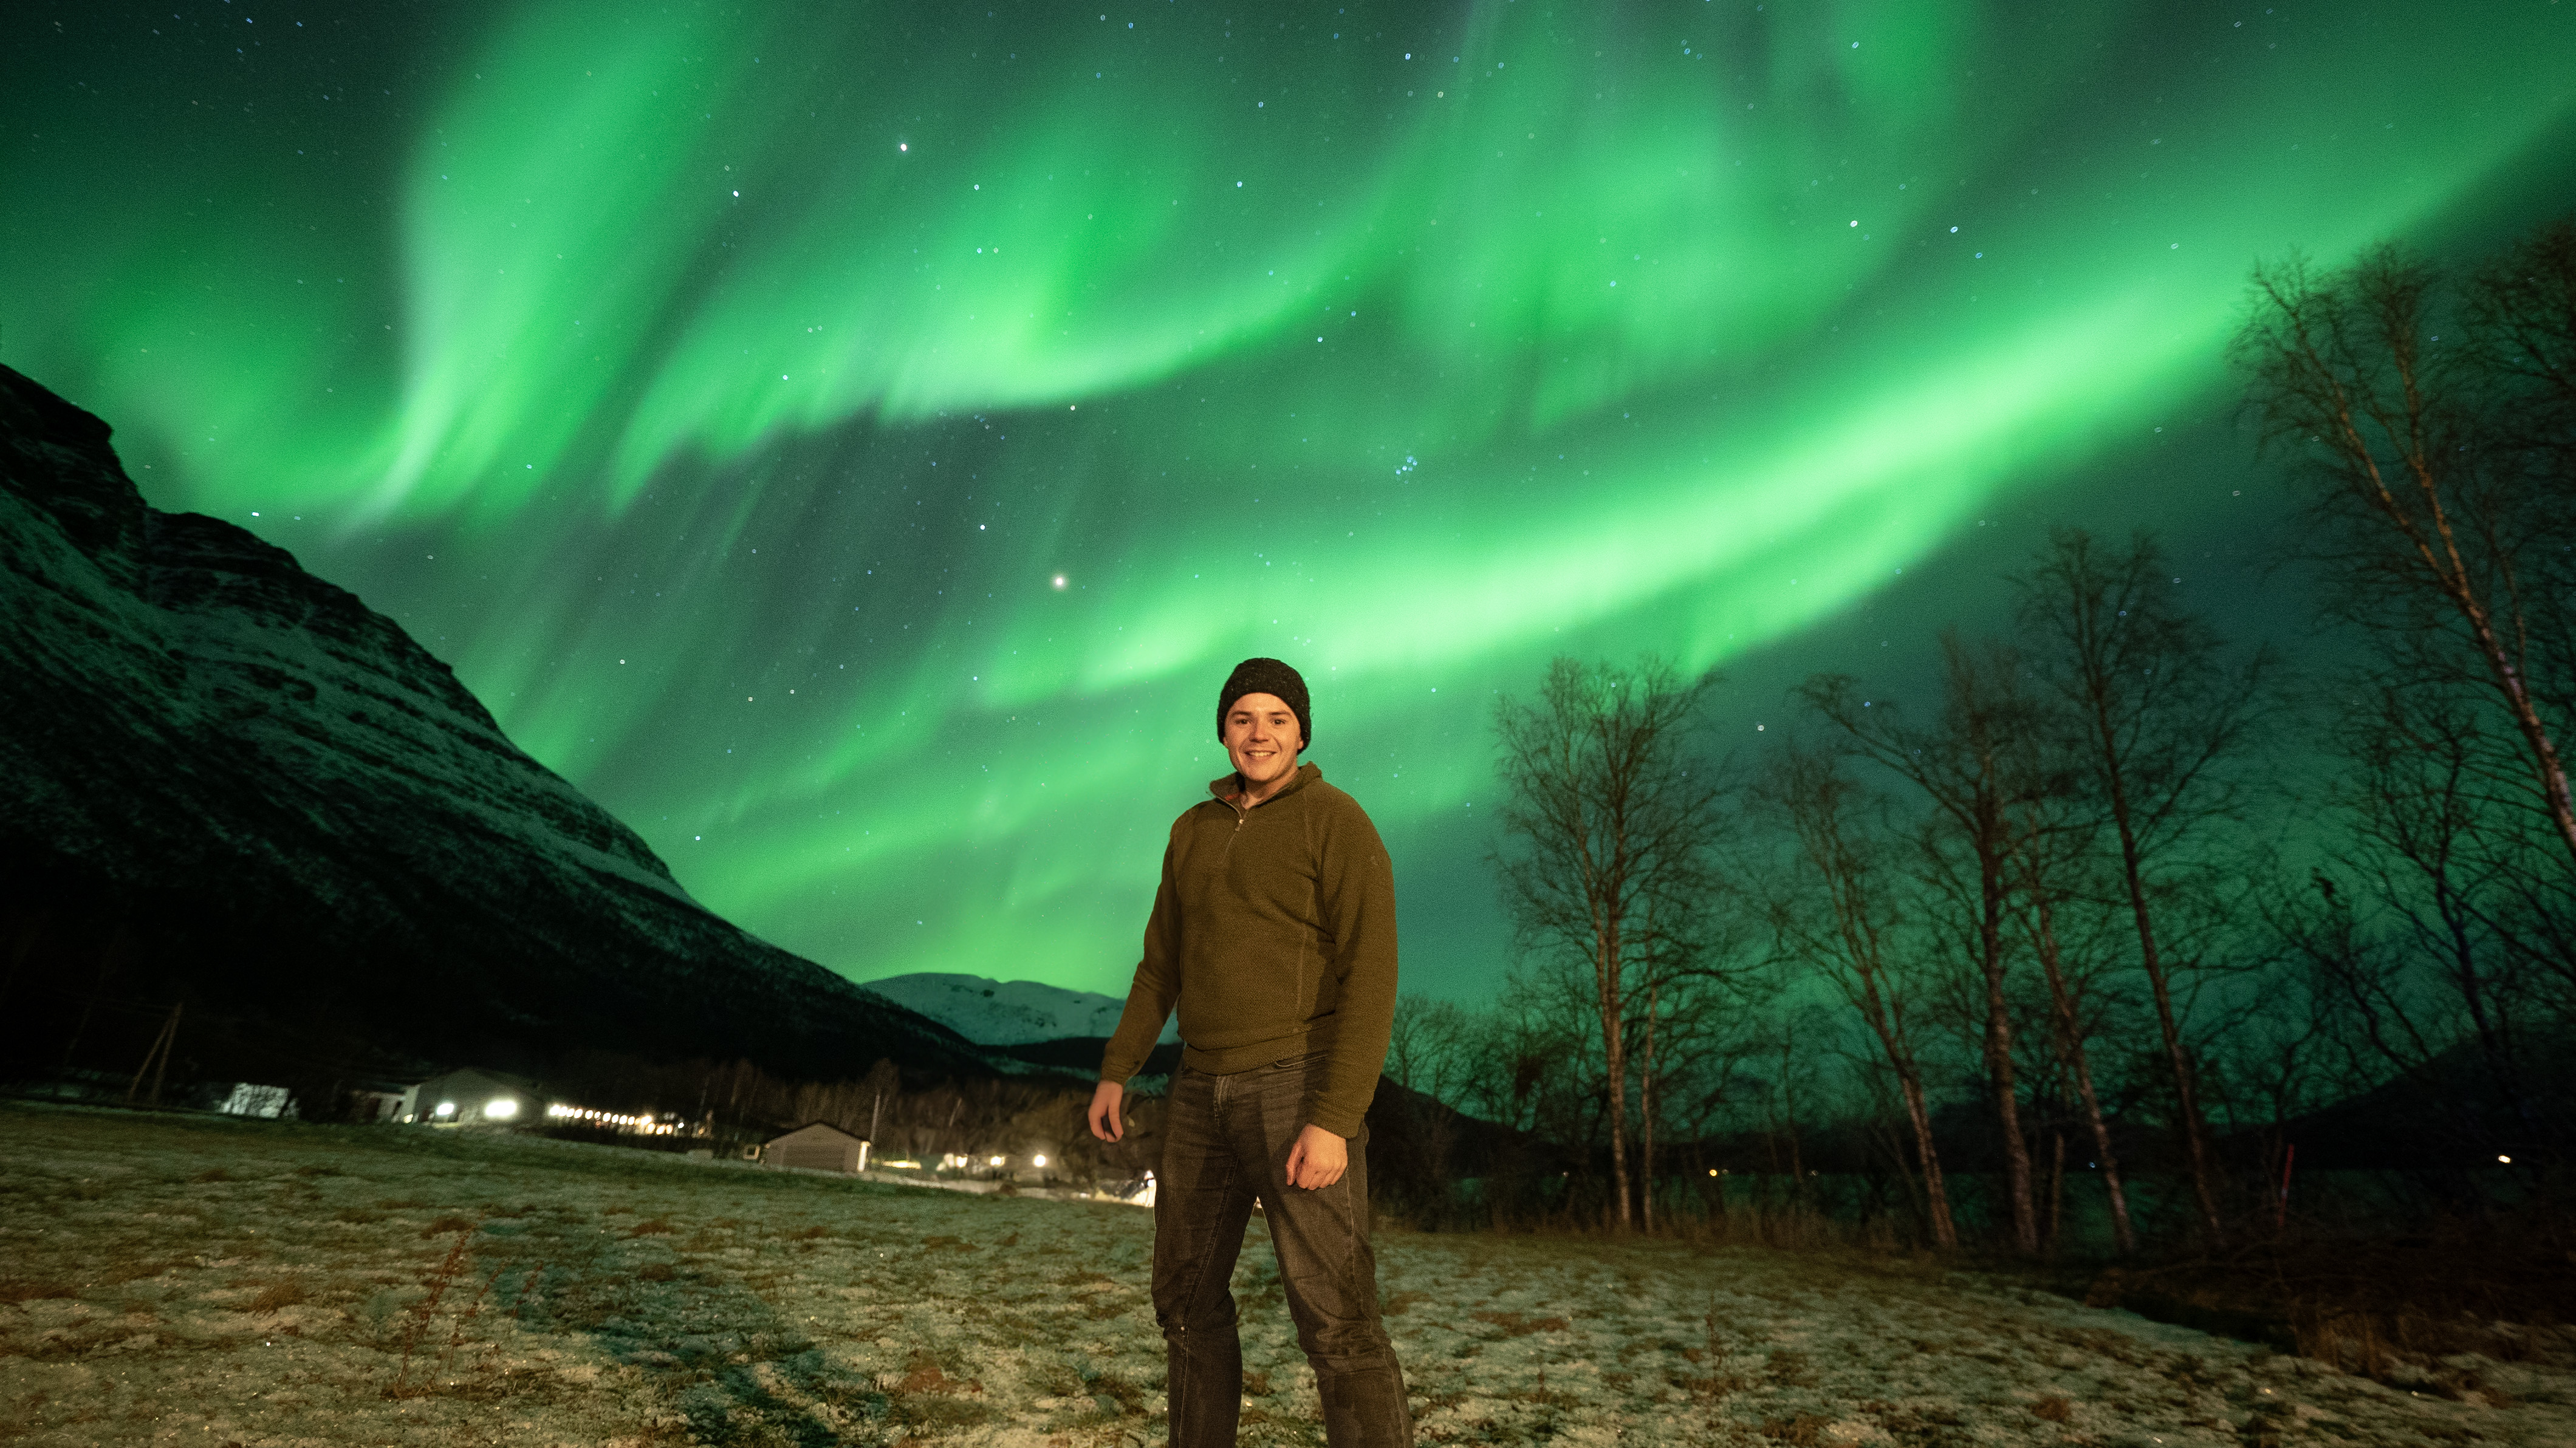
Norway:
Northern Norway, in particular, is unanimously famous for the appearance of the northern lights as it is in the auroral zone. The only consideration here, however, is the weather and the likelihood of clear skies. But when you are lucky enough to get a clear night, the light show is like no other. Streamers overhead, the 'corona' of the northern lights light up the floor. Our author's first-hand accounts speak of an experience that they will never forget. Be prepared to wrap up as temperatures can near -40 degrees Fahrenheit!
Finnish Lapland:
In the north of Finland, you will find the snow-covered town of Rovaniemi, where you cross the Arctic Circle. Because the sun does not rise above the horizon around the time of polar night, the aurora can be visible as early as 3 pm! Those pastel-pink skies turn to icy blue twilight when the twisting swirls and ethereal ribbons of green aurora become visible. If you continue further north, you will reach the town of Inari. Its sparse population by a vast frozen lake makes this a unique location where you will be surrounded by Saami culture. Again, be prepared for those plummeting temperatures of -40 degrees Fahrenheit.
Alberta, Canada:
North Canada is a prime location for the northern lights, and Alberta is home to 8-17 dark sky preserves, which are protected from the effects of light pollution.
Jasper National Park is the second largest dark sky preserve in the world. Offering dark, unspoiled skies, making for a great location to see the aurora. The townsite nestled in the Canadian Rocky Mountains has all the expected amenities, but also an abundance of wildlife, stunning mountain trails, cross-country ski routes and even a planetarium. There is a good range of cabins, hostels and hotels to stay in.
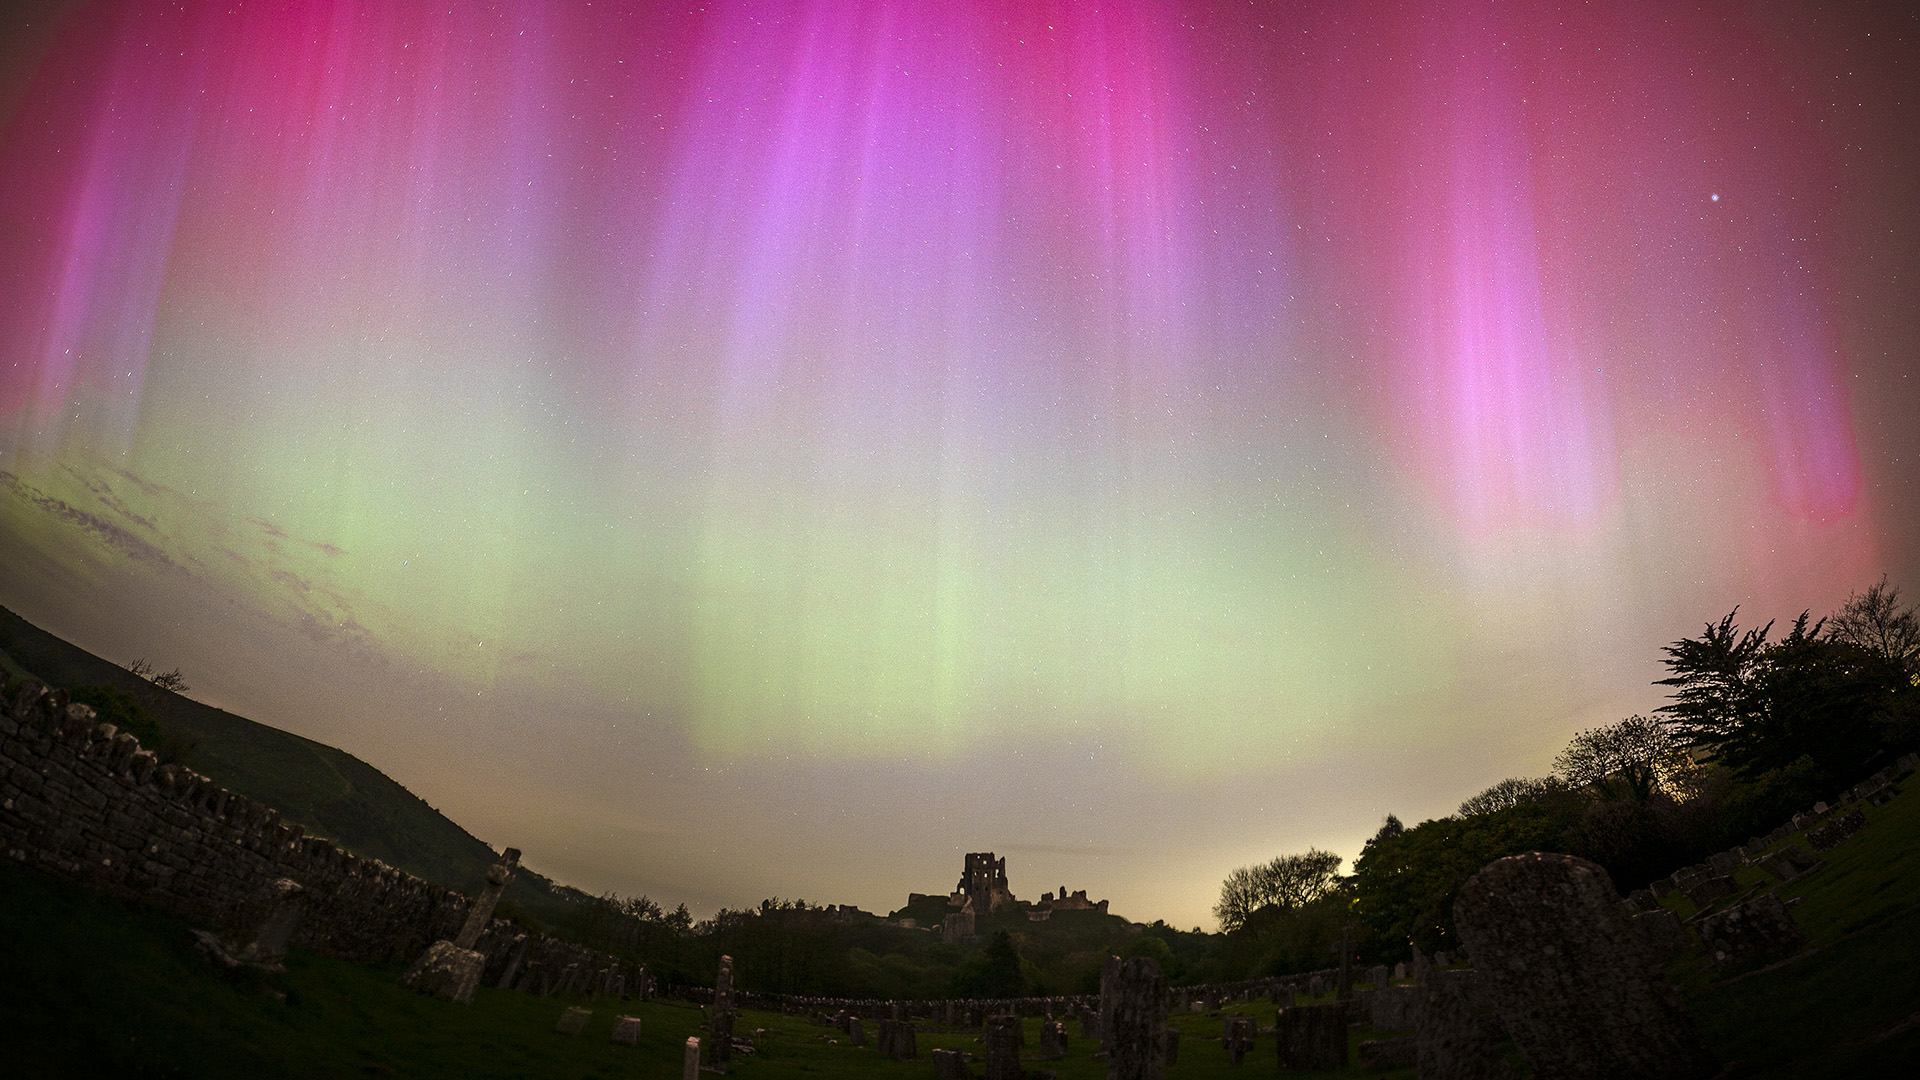
The UK:
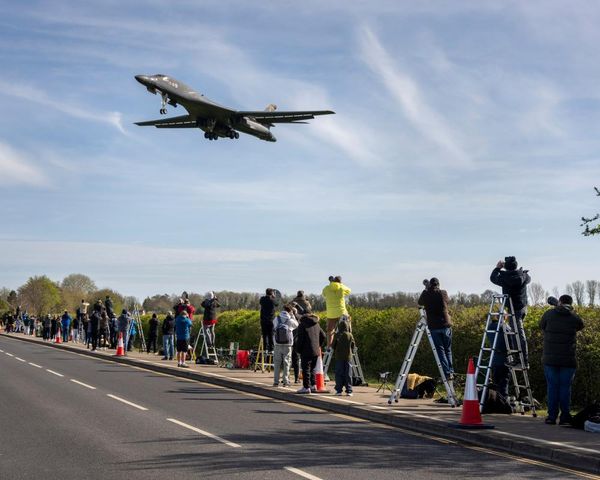
No, this is not a typo — you can see the northern lights from the UK. But you must time it right and wait for a strong geomagnetic storm. With clear skies, look north and wait patiently. First, it is captured on camera as a faint, diffuse aurora. This increases to 'pillars' being visible on the horizon. Before you know it, you begin to make out ghostly visions of those 'pillars' with the unaided eye. Not necessarily detecting color. If the storm intensified, then yes, those colors do appear even stronger, as was the case on May 10th, 2024.
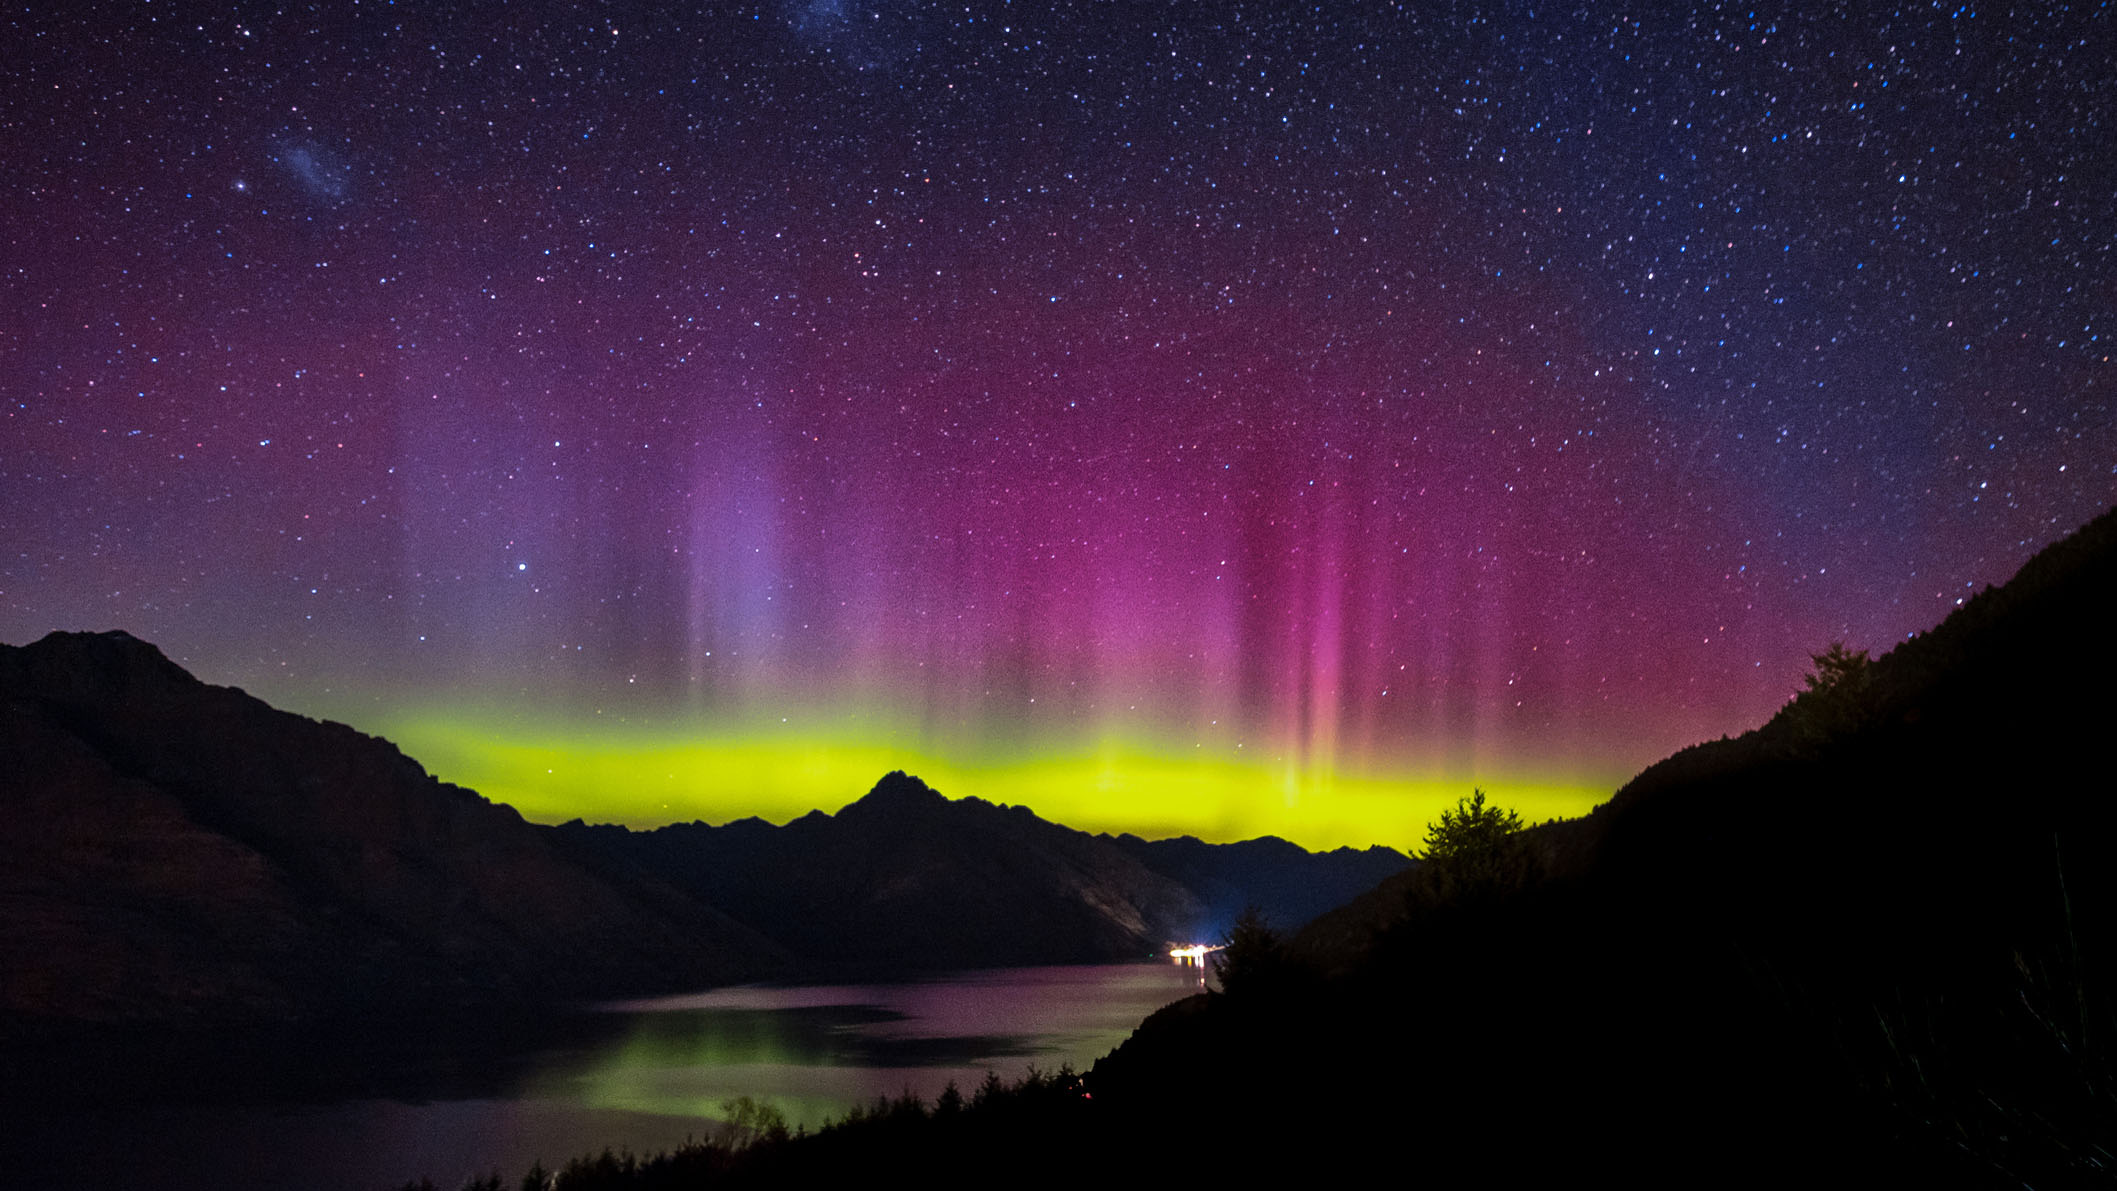
New Zealand and Tasmania
While the Northern Lights are witnessed in the northern hemisphere, they can also be observed in the southern hemisphere. Otherwise known as the Aurora Australis, The Southern Lights. If the geomagnetic activity is strong and you have a clear view to the south from those locations, it may be possible to see them. Understandably, there may not be as many tours to go and see the Aurora Australis as opposed to the Aurora Borealis in the north. It is advised, however, to do your research to find a dark location and be aware of icy conditions. Allow for the extreme cold and keep up to date with the local weather report and aurora forecasts. Through your accommodation, a guiding service may be arranged to explore the area with a guide who knows the area well to boost your chances of seeing the lights.
Equipment Check List
Now we have selected a location to photograph from, we next need to run through the required equipment. You do not need an expensive camera to capture the majesty of the lights.
Camera
When taking images of the aurora, you will be taking longer exposures to allow as much light in as possible. A DSLR/Mirrorless camera is recommended with Manual (M) mode to allow for full control over your camera. Either full-frame crop sensor will work for capturing the northern lights. The Sony A7R IV and Canon EOS R5 make great cameras for this.
Lens
A wide, fast lens is recommended to capture the aurora. If looking for super wide, somewhere in the region of 14 mm is ideal. If looking to capture the structure of the aurora, then a lens somewhere between 20mm and 35mm is suggested. These lenses are also great for capturing the aurora and the foreground in your shots. Ideally, a lens of up to F/2.8 is a good, fast lens for the job that will let lots of light in. Sigma's 'Art' fleet of fast lenses are great for this.
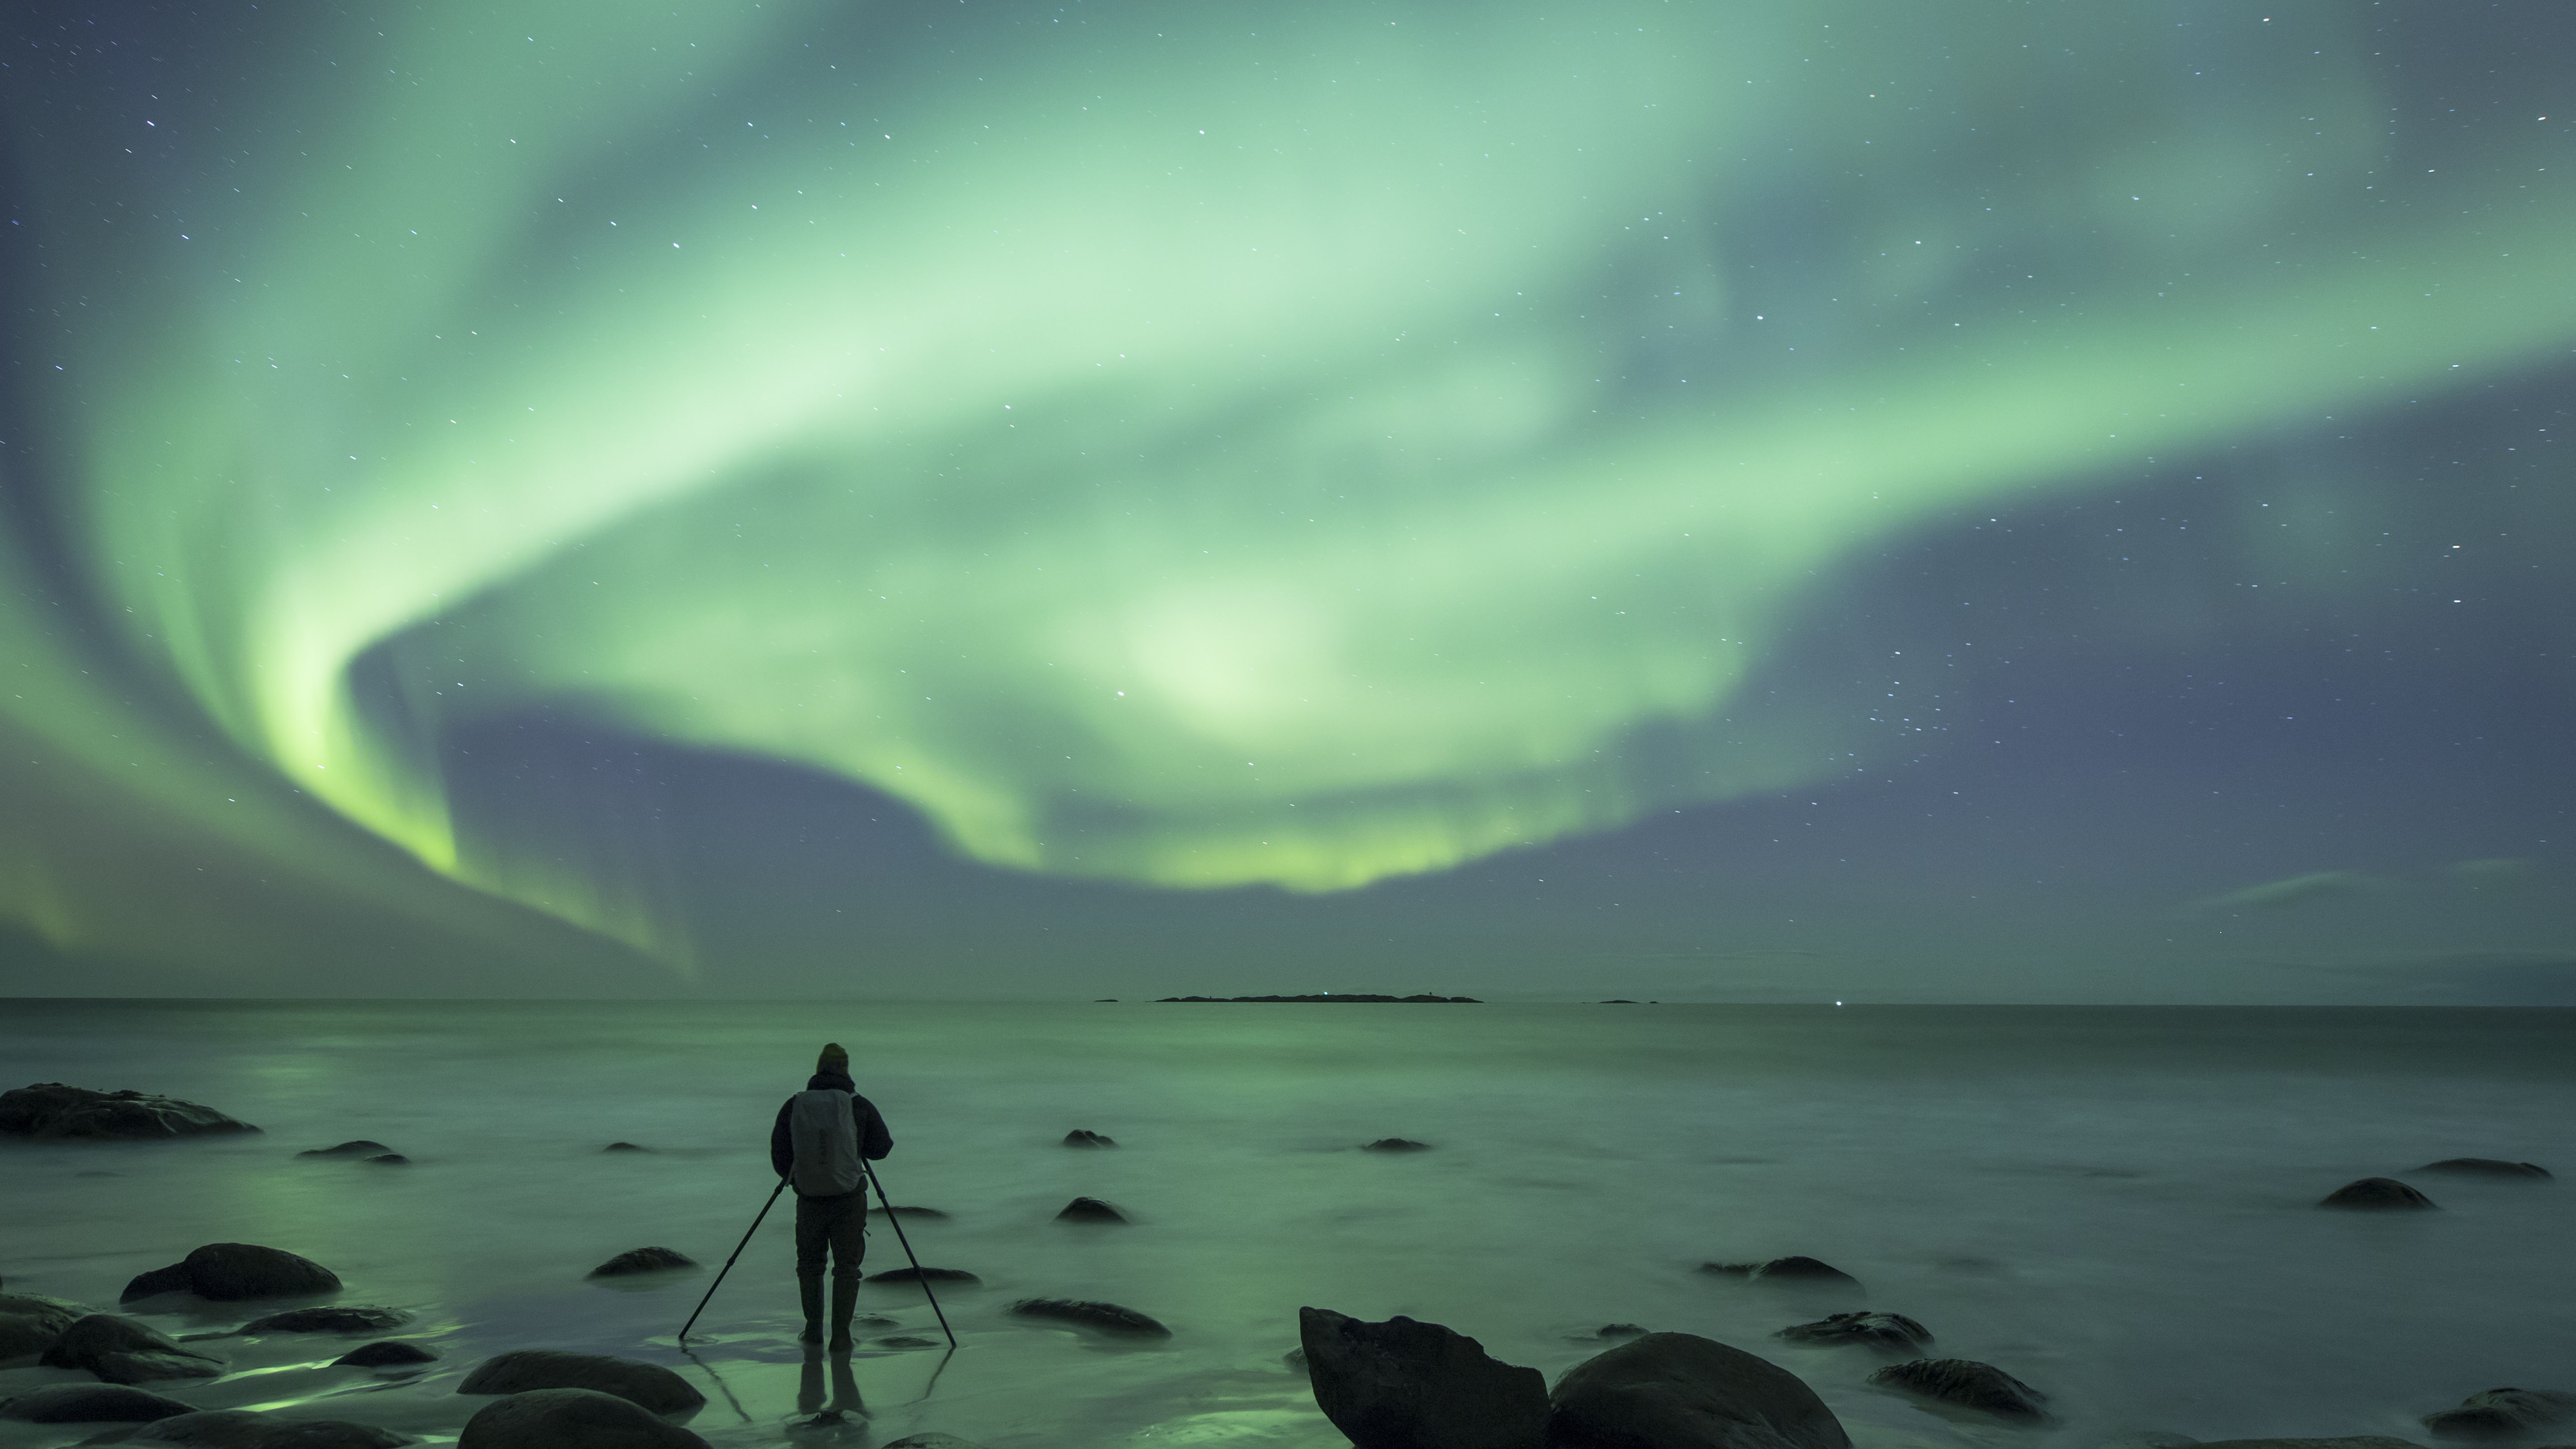
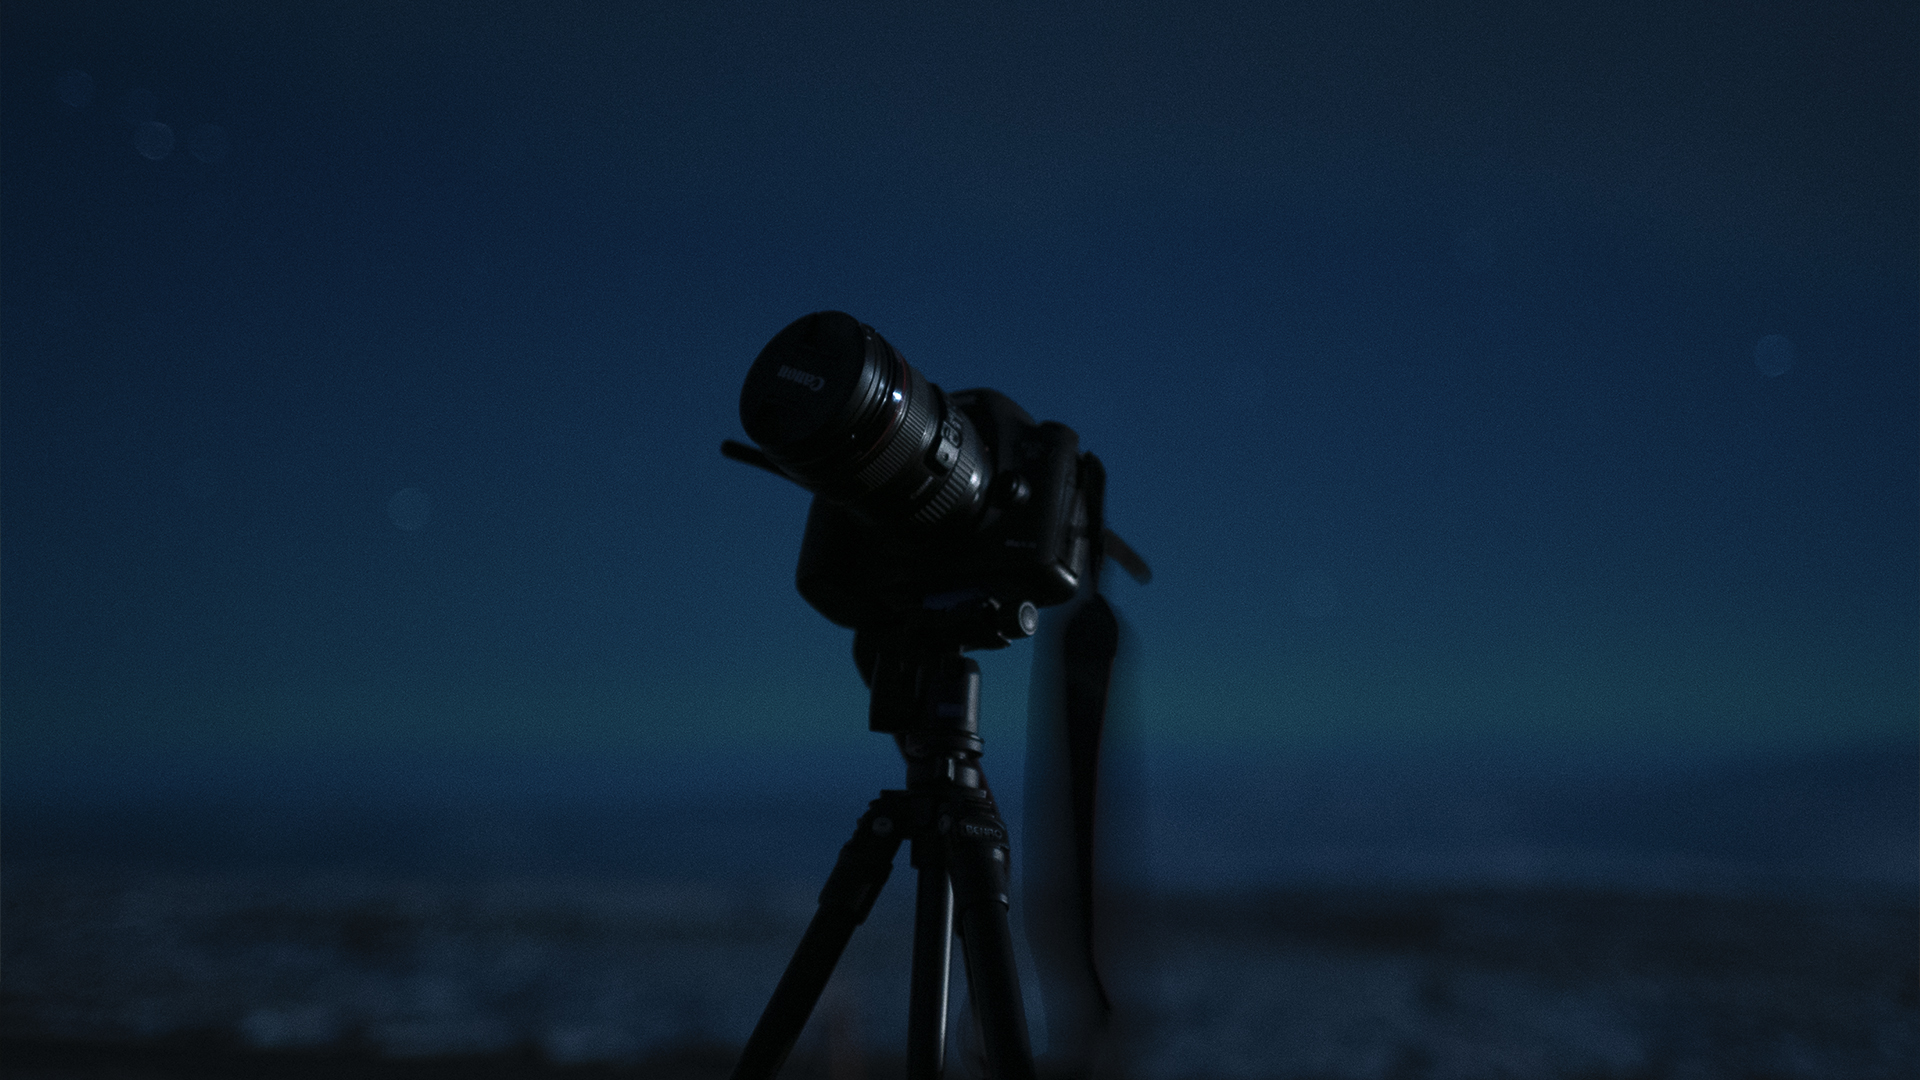
Tripod
As you will be taking longer exposures, you need a tripod that is durable, lightweight and practical. If traveling to see the aurora, especially if you need to fly overseas, you will need to keep weight restrictions to a minimum. Bear that in mind when making your tripod selection. The Benro Tortoise Tripod is a great tripod example — it's made of carbon fibre and gives rock-steady support, but we have listed our other top picks in our best travel tripods guide.
Phone
A phone is an essential piece of kit for aurora hunting. Most importantly, if you need it in an emergency. Next, you can use it to check local weather, stargazing apps, aurora reports and dark-sky maps if needed. You can even use it (depending on your camera) as a wireless shutter release for the camera when taking Aurora selfies.
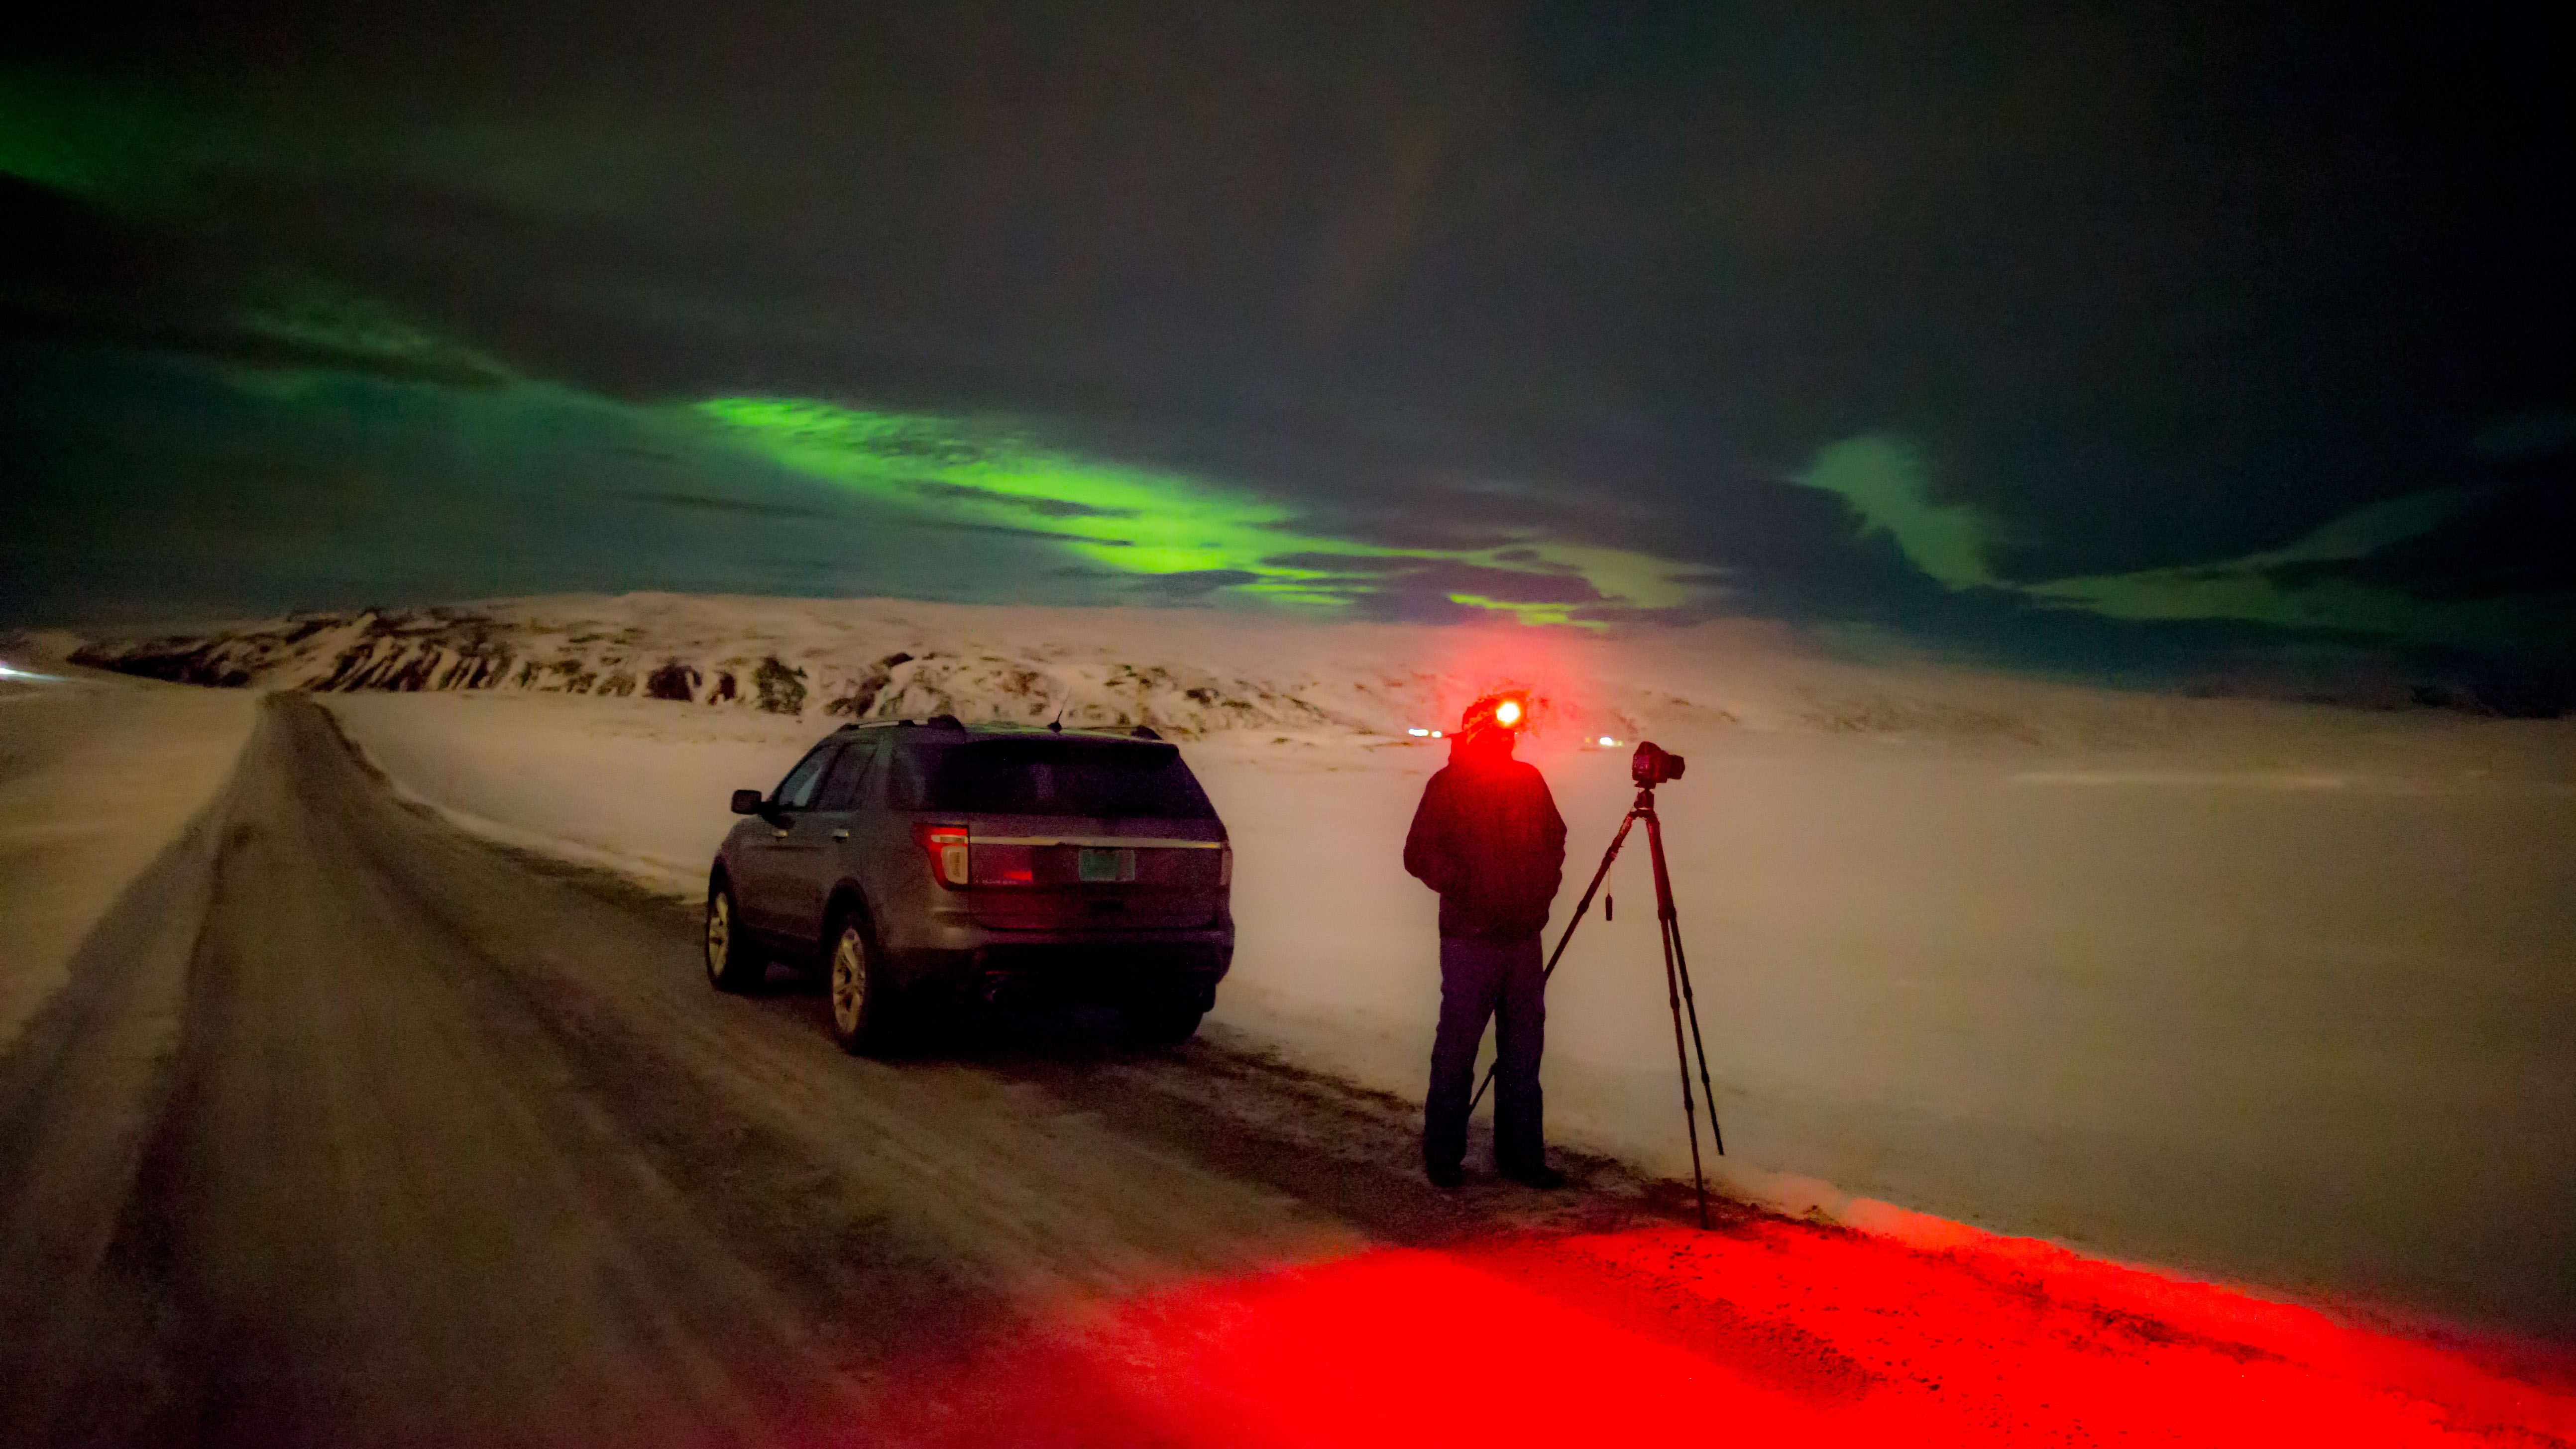
Head torch
Another essential piece of kit for your safety. Make sure you can get one with a red torch LED built in—this will help to preserve your night vision, allowing you to see more detail and structure in the aurora and the stars. We can highly recommend the Biolite HeadLamp 425 or the Knog Bilby 400, though we have included several other options in our best headlamps for astronomy and stargazing guide.
Best camera settings for aurora photography
Bulb or manual
Each situation will pose different challenges and environments for Aurora photography. For example, unexpected light pollution may be in your field of view, or the aurora forecast may be so strong that you blow out the details with longer exposures. It is advised to stay in Manual (M). Use those shorter exposures, keep your aperture nice and wide, and fire some test shots. The lower the f stop, the more light is captured during your exposure.
ISO
A general rule of thumb for Aurora photography is not to go too high on your ISO values, or there is the chance of degrading your image. You want to preserve as many details as possible to reveal the fine structure of the aurora. Start off low and see how your images are doing. You may need to gradually build on your ISO depending on the strength of the aurora, keeping in mind your aperture and shutter speeds (For more tips on this issue, read our guide on how to reduce noise in astrophotography).
White balance
White Balance can be changed in the post-shoot edit. As a rule of thumb, anywhere between 4,000-5,000K is suggested. It is recommended to dial in those settings in the camera rather than selecting a preset to avoid destructive image processing.
Exposure time
You will not want to use too long an exposure, as the aurora develops and moves over time. So, do your best to keep your exposure to a minimum. As a guide, brighter auroras may take between 3 and 8 seconds, whereas fainter auroras can take over 10 seconds.
Shutter speeds are affected by the lens and camera sensor. In your astro-images, you want to avoid any evidence of star-trailing. For this, we can apply the 500 rule.
For full-frame cameras. 500 ÷ by your focal length = ideal shutter speed.
This is slightly different for crop sensors, where you need to multiply the sensor's focal length and crop factor.
500 ÷ (crop factor x focal length). For example, a Canon APS-C camera 80D has a crop sensor factor of 1.6, so if we had a lens focal length of 14 mm it would work out as follows: 500 ÷ (1.6 x 14mm) = 22 seconds.
The more fluid you can become with your camera, the easier it will become. Assess your test shots and practice focusing in the dark ahead of time. You can do this using any of the brighter stars.
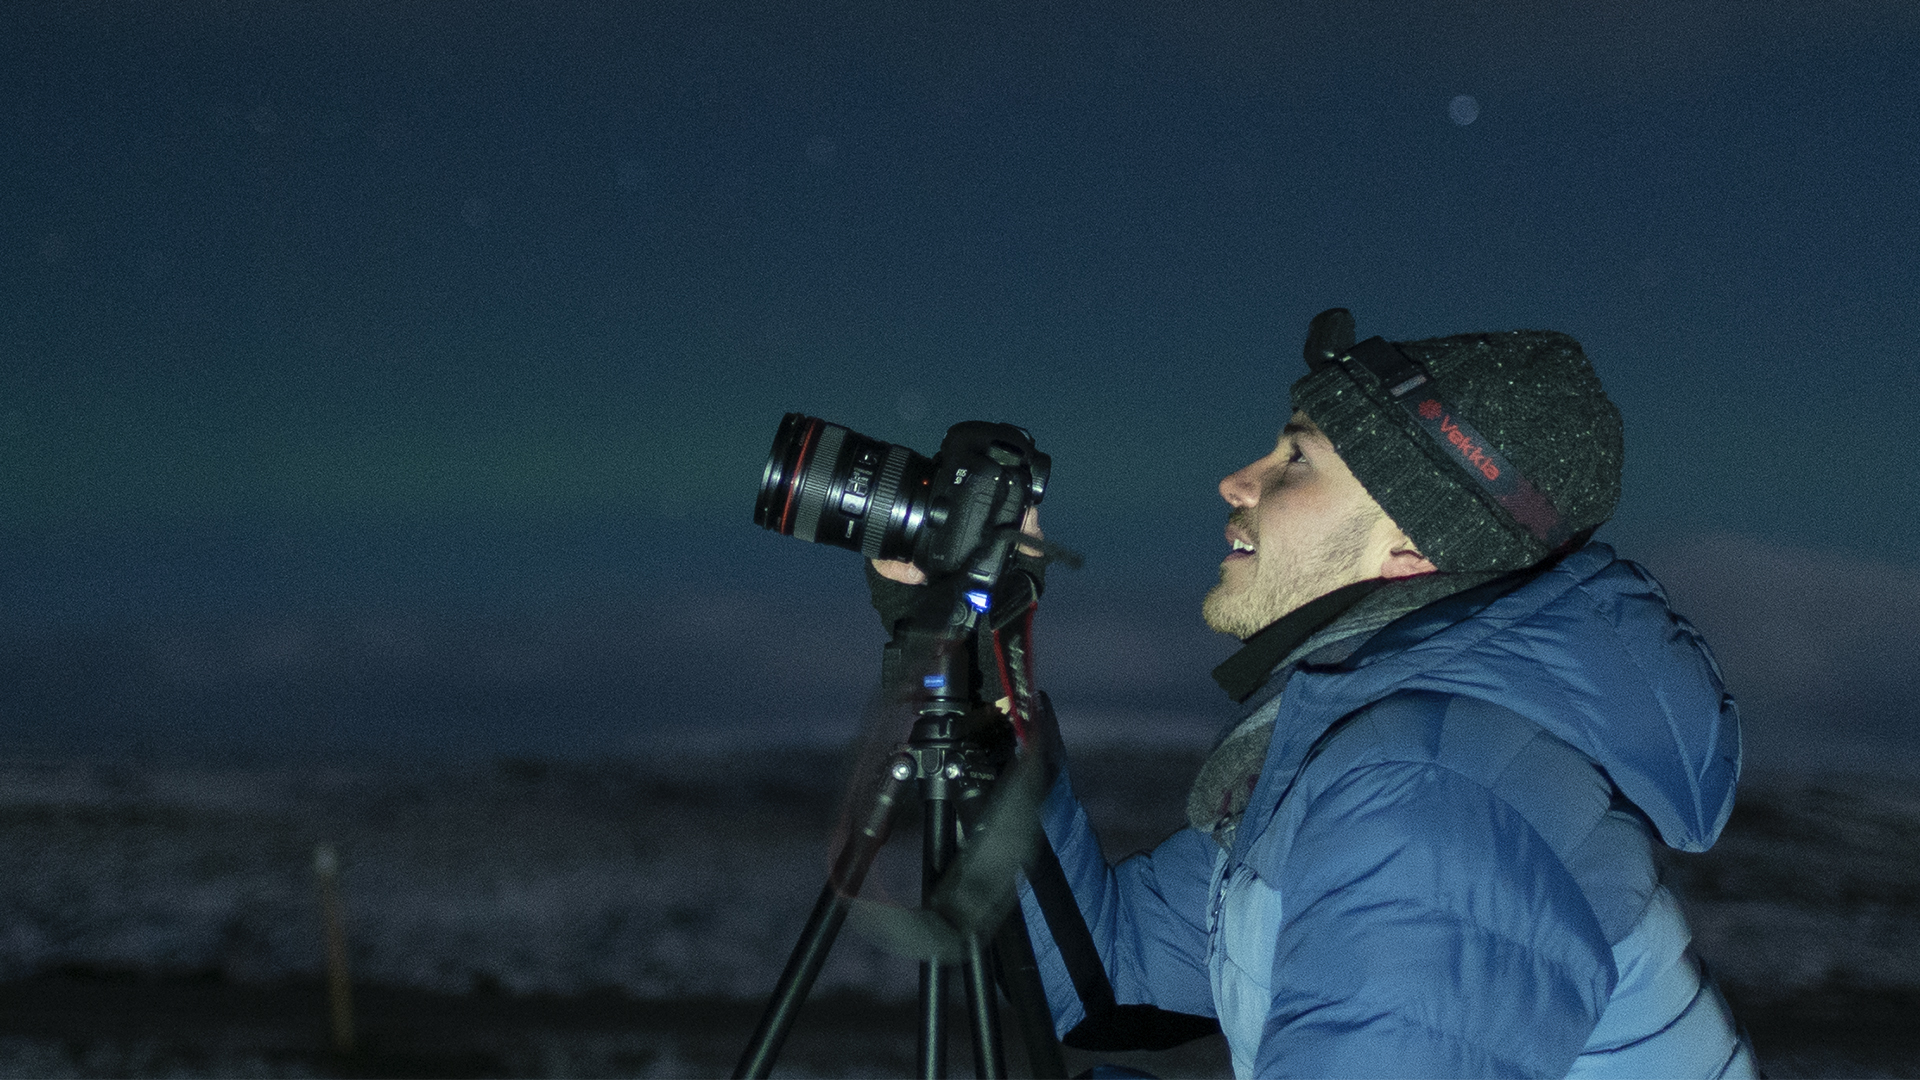
Extra tips for extreme temperatures
Aside from taking as many layers as possible and weatherproof coats, jackets and waterproof trousers, it is always worth packing some silica gel packs, even a lens heater, to prevent your lens from fogging up in colder climes.
Heat packs are a great tool. If you are getting cold, they will provide heat for a period of time. Some photographers use battery-operated thermals, so that could also be considered another option for colder climes and astrophotography in general.
Camera batteries and your phone will need to be shielded from colder environments. Otherwise, the battery longevity will drop. Keep them close to body warmth to protect them from the cold.
Don't touch metal tripods with your bare hands, as your skin will burn. Use gloves when setting up and dismantling your tripod to avoid this. Do not use any water-based moisturizer to avoid frostbite.
Patience is the most crucial aspect of observing the aurora. You cannot rush nature and it will certainly not run to schedule. Take your time, plan to be at your location for some time, and that patience will be well worth the wait.