Recording has come a long way from the days of analogue tape reels. Some artists still prefer to use that, however recording digitally via computers is incredibly commonplace, whether you’re a bedroom creator just starting or a professional producer. Whatever your level, one key piece of equipment you’ll need for recording in this way is an audio interface.
Audio interfaces have made recording at home so much easier, making music production a lot more accessible to so many people. Interfaces come in all different shapes and sizes, from a variety of brands and at different price points, but the idea behind them all is very similar. We’re going to explore everything you need to know about them in this feature.
What is an audio interface?
For starters, what actually is an audio interface? Essentially, it’s a device that sits between your musical equipment - guitars, microphones, keyboards etc - and your computer or tablet. It then acts as the go-between from your computer to your monitor speakers. It links analogue equipment to digital equipment, and vice versa.
There’s a huge range of different models available on the market, all boasting different features, designs, number of inputs and outputs and so on, but, if you’re looking to record digitally at home or even on the go, then an audio interface is pretty much essential.
What does an audio interface do?

You might have seen the term AD/DA conversion when shopping for interfaces. All audio interfaces have some sort of AD/DA converters built into them. It can seem confusing at first, but what’s happening can be broken down pretty simply.
The AD part refers to analogue to digital. That is, the analogue signal that you’re sending to the interface via a microphone, or by plugging in a guitar for example, is being converted into a digital signal that your computer can understand and actually do something with.
As you might have guessed, DA is the reverse of that. The interface then converts the digital signal that has been processed by your computer into an analogue signal that can be sent to your monitors or studio headphones resulting in the sound that you hear.
Not all of these converters are made equal, with some being better (and usually more expensive) than others, which we’ll go into later.
Some interfaces might even allow you to apply effects to the signal on its way in. Universal Audio in particular have different ways of adding effects like compression or EQ to the signal as it’s being tracked, meaning you then don’t have to use as many plugins later on when you’re mixing.
Why do I need an audio interface?
Audio interfaces are great to have for a range of different reasons. Of course, they’re made for recording, but isn’t that what studios are for? Well, yes and no.
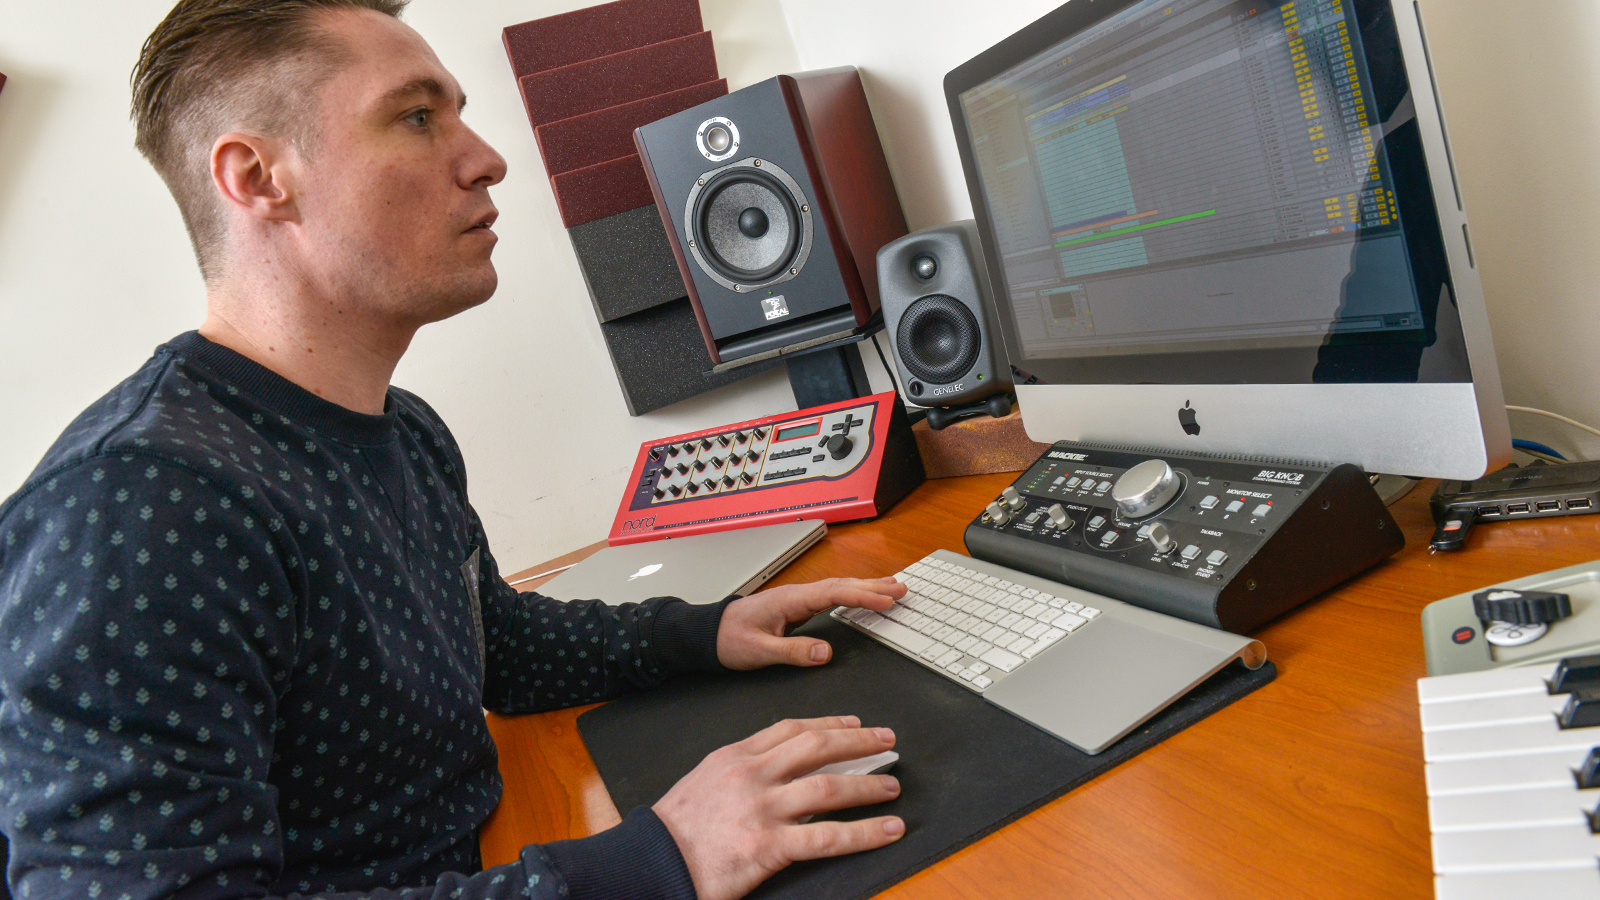
If you’re booking into a studio, then it’s really worth making up some demos of those songs before you go in there. Pre-production demos save time and money. If you’ve got an interface and a basic DAW (Digital Audio Workstation e.g. Ableton, Garageband, Logic, Pro Tools etc.) at home, then you can lay down those songs roughly, just to make sure all your parts work properly. If you’re a band, then it’s useful to hear everyone’s parts together through speakers, away from a noisy rehearsal room. If you’re a solo artist then it’s likely you’ll never get to hear all your layers together.
Doing this means you can finesse your instrumental and vocal parts at home, before you go into a costly studio and potentially waste time.
DAWs now are also easier to use than ever, so it’s very possible to get great results at home, regardless of the style of music you make. Production is like learning a bunch of instruments at once, and it takes time and practice to get good at it, but in the long run, you could save yourself money by getting into it.
Audio interfaces also make remote recording a breeze. It’s now possible for bands to work together from different parts of the country or even the world. Or, perhaps you know a great guitarist that you want to feature on your track. Using an interface, you can record your parts at home, then send them to the producer to mix into the song.
Key interface features

1. Ins & outs
Connectivity is a big part of what makes interfaces different. You’ll see quite a range of inputs and outputs on all the various models that are available. Having more inputs on your interface allows you to plug in and record more sound sources at the same time.
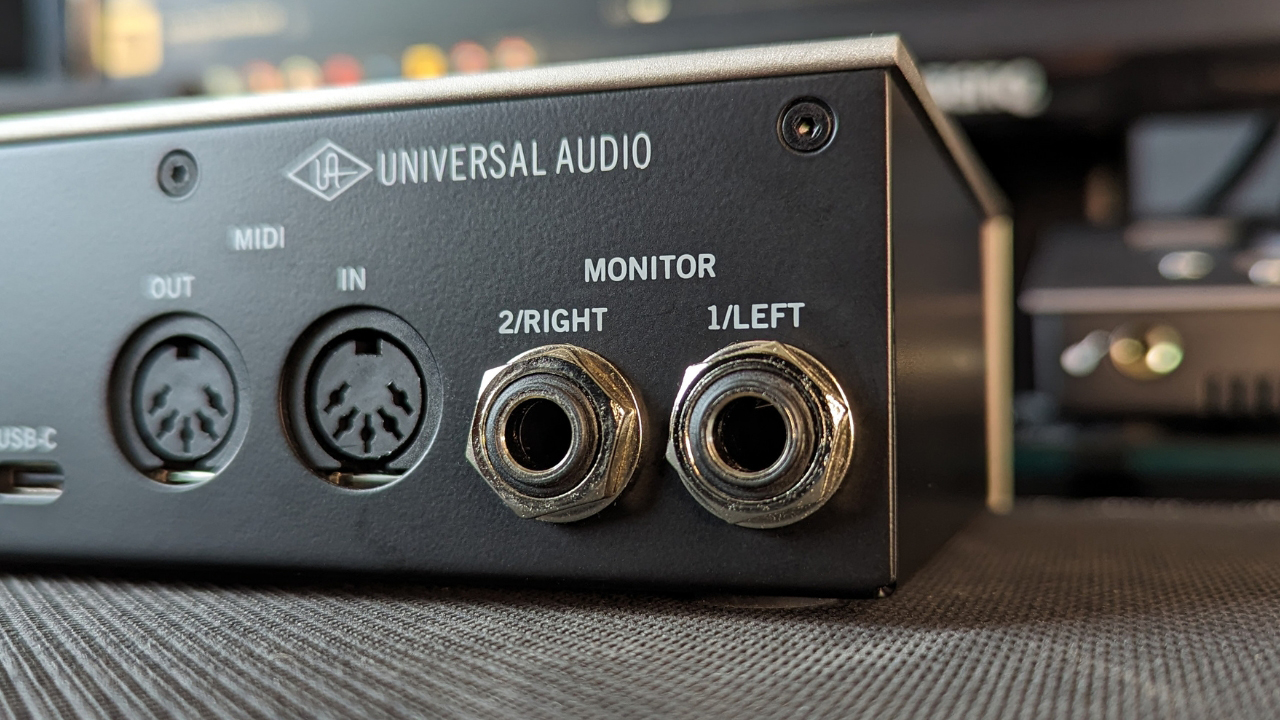
Multiple outputs allow you to send your processed signal to different places - many people may only want to send a left and right signal to their monitor speakers, which is fine.
However, as the models get larger, you might find that the users want to do more with them - having more outputs on your interface means you can use it with external hardware like compressors or EQ units, or maybe you’ve got multiple sets of monitor speakers.
For a singer-songwriter wanting to track a few ideas at home, then a simple, single-channel or 2x2 (two inputs - one jack, one XLR and two outputs - L&R jacks) should be enough. You can either plug in an instrument or microphone and record one or two things at once.
If you’re still at home but you’re aiming for better results, then having more inputs can be useful. For example, if you’re recording an acoustic guitar, you might want to use a couple of different microphones, in which case you’ll need at least two XLR inputs. If you’re tracking a few musicians at once then you’ll need even more.
2. Preamps
Most audio interfaces will come with at least one preamp built in. A preamp is designed to take a low-level sound source, like that from a microphone and bring it up, or amplify it to what’s called line level. Any preamp built-in will do the job, however higher quality interfaces will usually be fitted with better preamps.
Better preamps can improve the quality of the sound going into the interface. They usually offer more gain, so you can boost the signal more (particularly useful if using certain dynamic or ribbon mics), won’t be as noisy as heaper preamps, and just generally offer better sound quality. Good preamps can also colour the sound in a really pleasant, musical way, adding certain harmonics and saturation that can provide more character to a mix.
3. Phantom power
If you’re going to be using condenser microphones with your interface (these are very common within the world of recording, though dynamic mics can also be used), then you’ll need to ensure your interface has Phantom Power, though most models do offer this.
Phantom Power provides 48v of Direct Current to power up the active circuitry in your condenser microphone so that it can work.
4. Connecting to your computer
Interfaces usually connect to a computer via USB or Thunderbolt. Thunderbolt transfers the data faster than USB, which can mean lower latency (the very tiny delay it takes from playing a note to it being processed). This can be especially useful, and more noticeable when tracking multiple sound sources.
How much to spend on an audio interface?
Audio interfaces range massively in price. You can get a great budget audio interface costing under $/£100, but they can stretch into the thousands for a high-end unit. The really cheap ones might not be too reliable, and you could well experience latency issues. The more you pay, the more you’ll get low-latency recording and monitoring, great build quality, plus a ton of additional features.
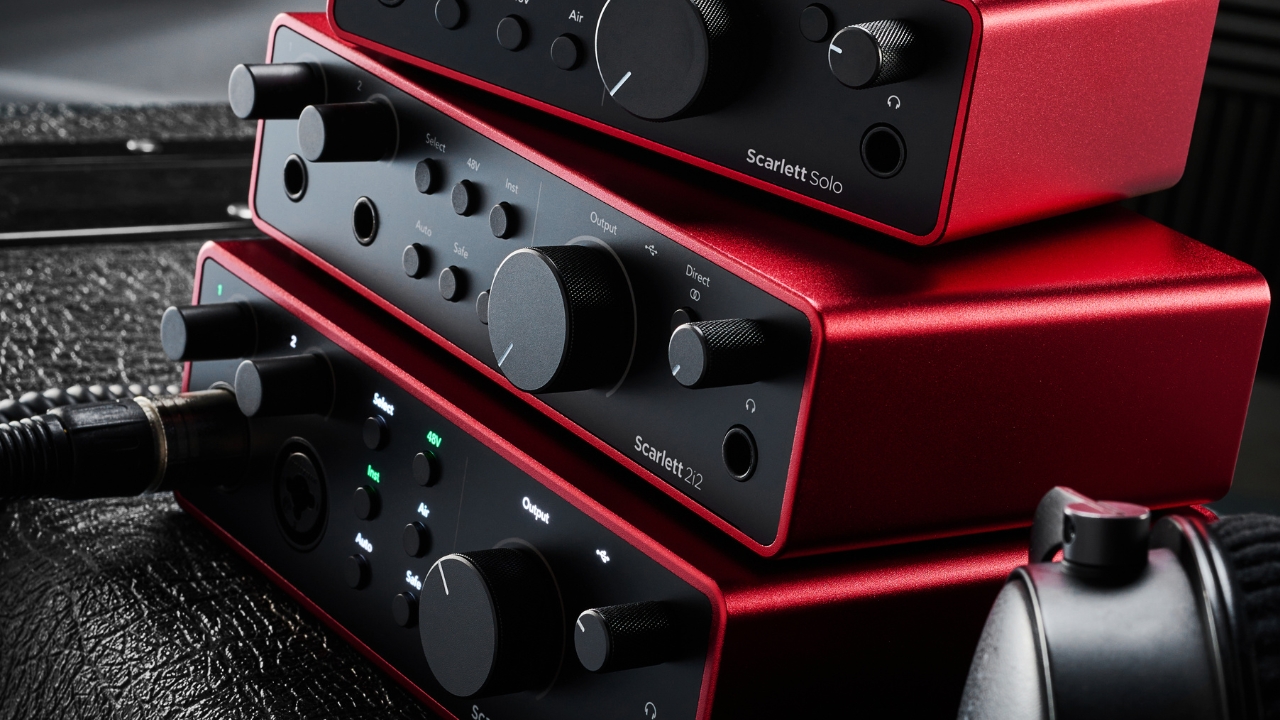
Focusrite do a great range of affordable interfaces (Scarlett) that cater for pretty much any level of recording; from beginner bedroom producers, to pros. They work really well, and they’re durable and high quality.
Universal Audio are seen as some of the best interfaces in the industry. These work incredibly well with their world-renowned, authentic plug-ins and allow you to track in real time, using digital emulations of classic hardware units, giving you incredible, studio-quality sounds straight away.


