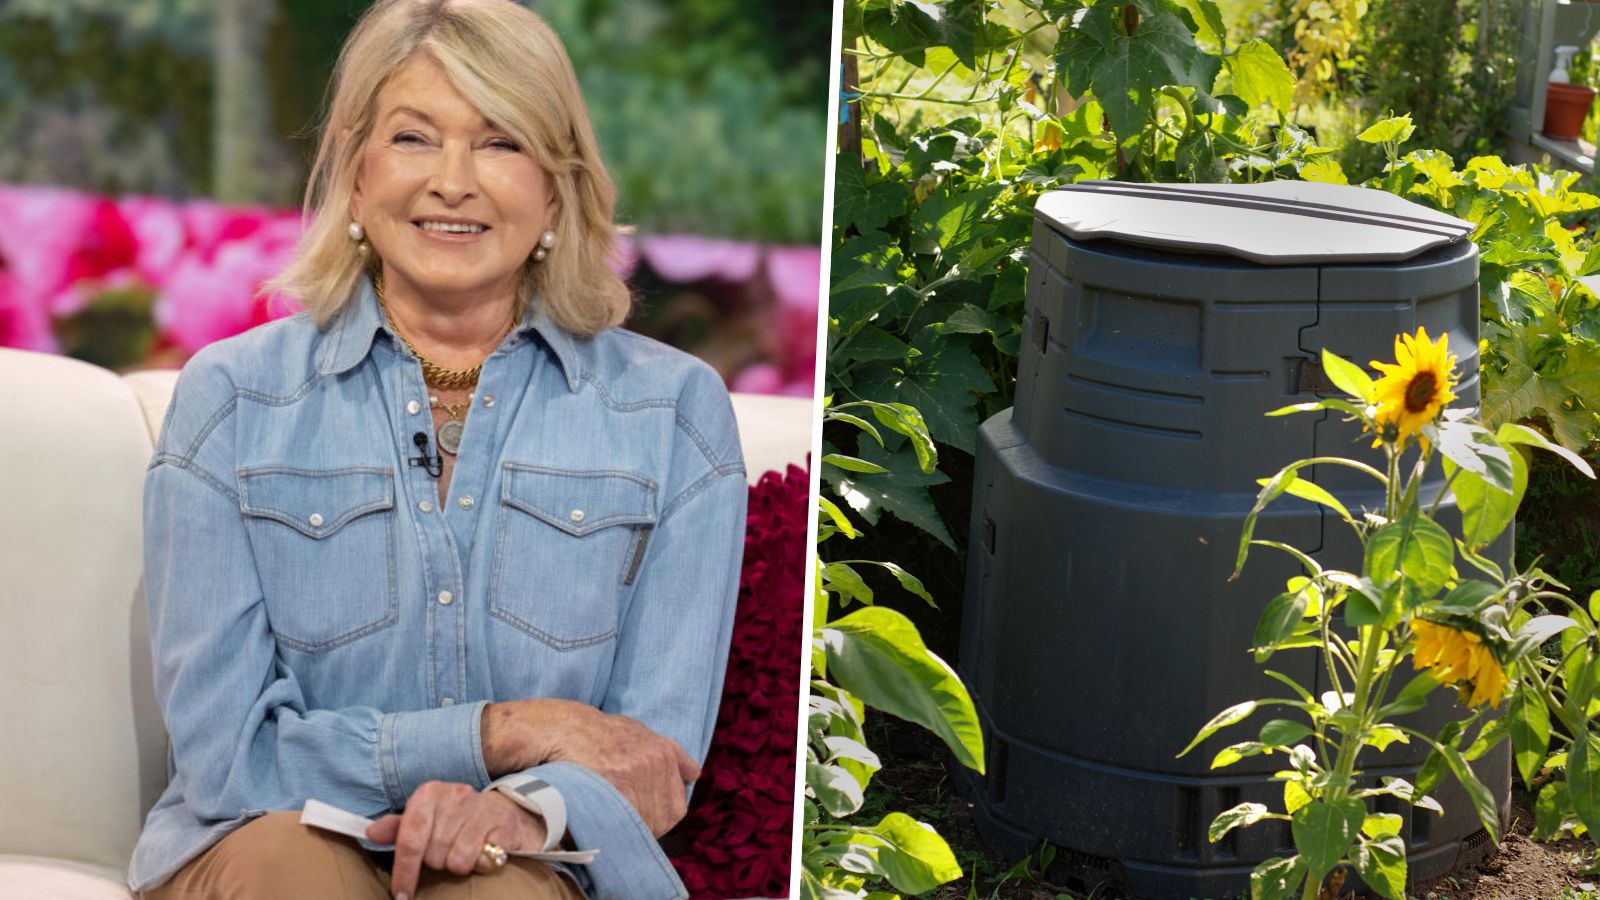
This week, Martha Stewart shared her DIY composting tips, urging gardeners to reduce trash pickups and landfill usage in favor of recycling food waste.
'Composting is a secret weapon for gardeners – it gives food scraps and other natural waste a second life while serving as fuel for healthy plants,' says Martha. 'To make compost, all you need to do is compile organic matter – think food scraps, leaves, grass clippings, and coffee grounds – and let it decompose with the help of water, oxygen, and organisms like worms and fungi.
'This system turns organic waste into something useful, thus decreasing trash pickups and landfill usage. And getting started doesn't necessarily require any special equipment. By following a few simple guidelines and building or buying a compost bin, you can begin your composting journey.'
We asked gardening experts for their top five best practice tips for DIY composting, and composting mistakes to avoid to turn Martha's simple, quick recipe above into reality.
Martha Stewart's DIY composting, step-by-step
Becky Decker from Gardeninghood says, 'Composting is a great way to reduce waste, enrich your garden, and contribute to a sustainable lifestyle. By making your own DIY compost, you can take control of your organic waste and create nutrient-rich soil for your plants.'
Martha's recipe will give you the quickest start and speed up composting; be aware though, composting is never an instant job.
1. Get a composter
Of course, you can make a composter yourself, but if you don't have the time or DIY skills, the Vivosun turning composter at Amazon takes all the effort out of turning the compost and is perfect for small gardens, and the Greenes Fence composter at Walmart is a simple to put together, rustic, bottomless composter, perfect for larger yards.
Choose a location for your compost pile that is well-drained and receives partial shade.
2. Gather the right food scraps
Martha mentions 'food scraps, leaves, grass clippings, and coffee grounds'. Tony O'Neill at Simplify Gardening expands on this for the perfect recipe: 'Combine green waste (like vegetable scraps, coffee grounds, or grass clippings) with brown waste (such as leaves, paper, or small branches). The ratio should be approximately 1:2, green to brown.'
Thomas Villalpando, Co-founder, Author and Editor at I Pet Guides explains why this mix is important: 'Successful composting requires a good mix of green and brown materials. Green materials provide nitrogen. In contrast, brown materials contribute to carbon. Maintaining the right balance is crucial for efficient decomposition and preventing unpleasant odors.'
3. Add oxygen and water
Next, Martha suggests that we 'let it decompose with the help of water, oxygen, and organisms like worms and fungi.'
Let's tackle the oxygen first: Tommy Mello says to 'turn your compost pile every few weeks to ensure that it is aerated and mixed well. This will help to speed up the composting process and prevent the pile from becoming too compact.
'I like to layer the organic materials in a pile, making sure to add a layer of dry leaves or shredded newspaper between each layer of food waste. This will help to create air pockets and promote decomposition,' he says.
Now add water: Becky Decker says: 'Make sure to add water periodically to keep the pile moist (but not soggy). The ideal moisture level is similar to that of a damp sponge.'
Thomas Villalpando of I Pet Guides, adds: 'It's crucial to maintain proper moisture and aeration in your compost pile. If it becomes too dry, the decomposition process slows down, and if it becomes too wet, it may turn anaerobic and produce unpleasant odors. Turning the pile occasionally helps introduce oxygen, promoting the growth of beneficial microorganisms and accelerating decomposition.'
4. Maintain your compost, with worms
Once you've started adding brown and green matter to your compost, 'then it's mainly a matter of time and turning. It can take anywhere from two months to a year, depending on the materials used and how frequently it’s turned,' advises Tony O'Neill at Simplify Gardening.
'This will also prevent unpleasant odors and discourage pests. Monitor the moisture level and add water if necessary, especially during dry periods,' adds Becky Decker.
You can speed up composting by using a wormery; our favorite is the VermiHut Plus at Amazon, which is easy to set up and use, and in dark green can blend into the background.
5. Harvest your compost
'After several months, your compost will transform into dark, crumbly soil-like material. This is a sign that it's ready to be used in your garden. You can either sieve the compost to remove any remaining large particles or use it as it is. Spread a layer of compost around your plants to improve soil fertility, retain moisture, and suppress weeds. Your plants will thank you for the nutrient-rich boost!' advises Becky Decker.
FAQs
Why does my compost smell?
'If your compost pile smells bad, it may be too wet or lacking oxygen,' advises garden expert Becky Decker. 'In this case, add more brown materials and turn the pile more frequently. If your compost isn't breaking down, it may need more nitrogen-rich green materials or a finer shredding of the ingredients. Adjusting the balance of materials and maintaining a proper moisture level can help solve most common issues.'
Martha is right, says, Becky Decker, 'making DIY compost is not only beneficial for your garden but also for the environment. It reduces waste going to landfills and helps close the nutrient cycle.'


