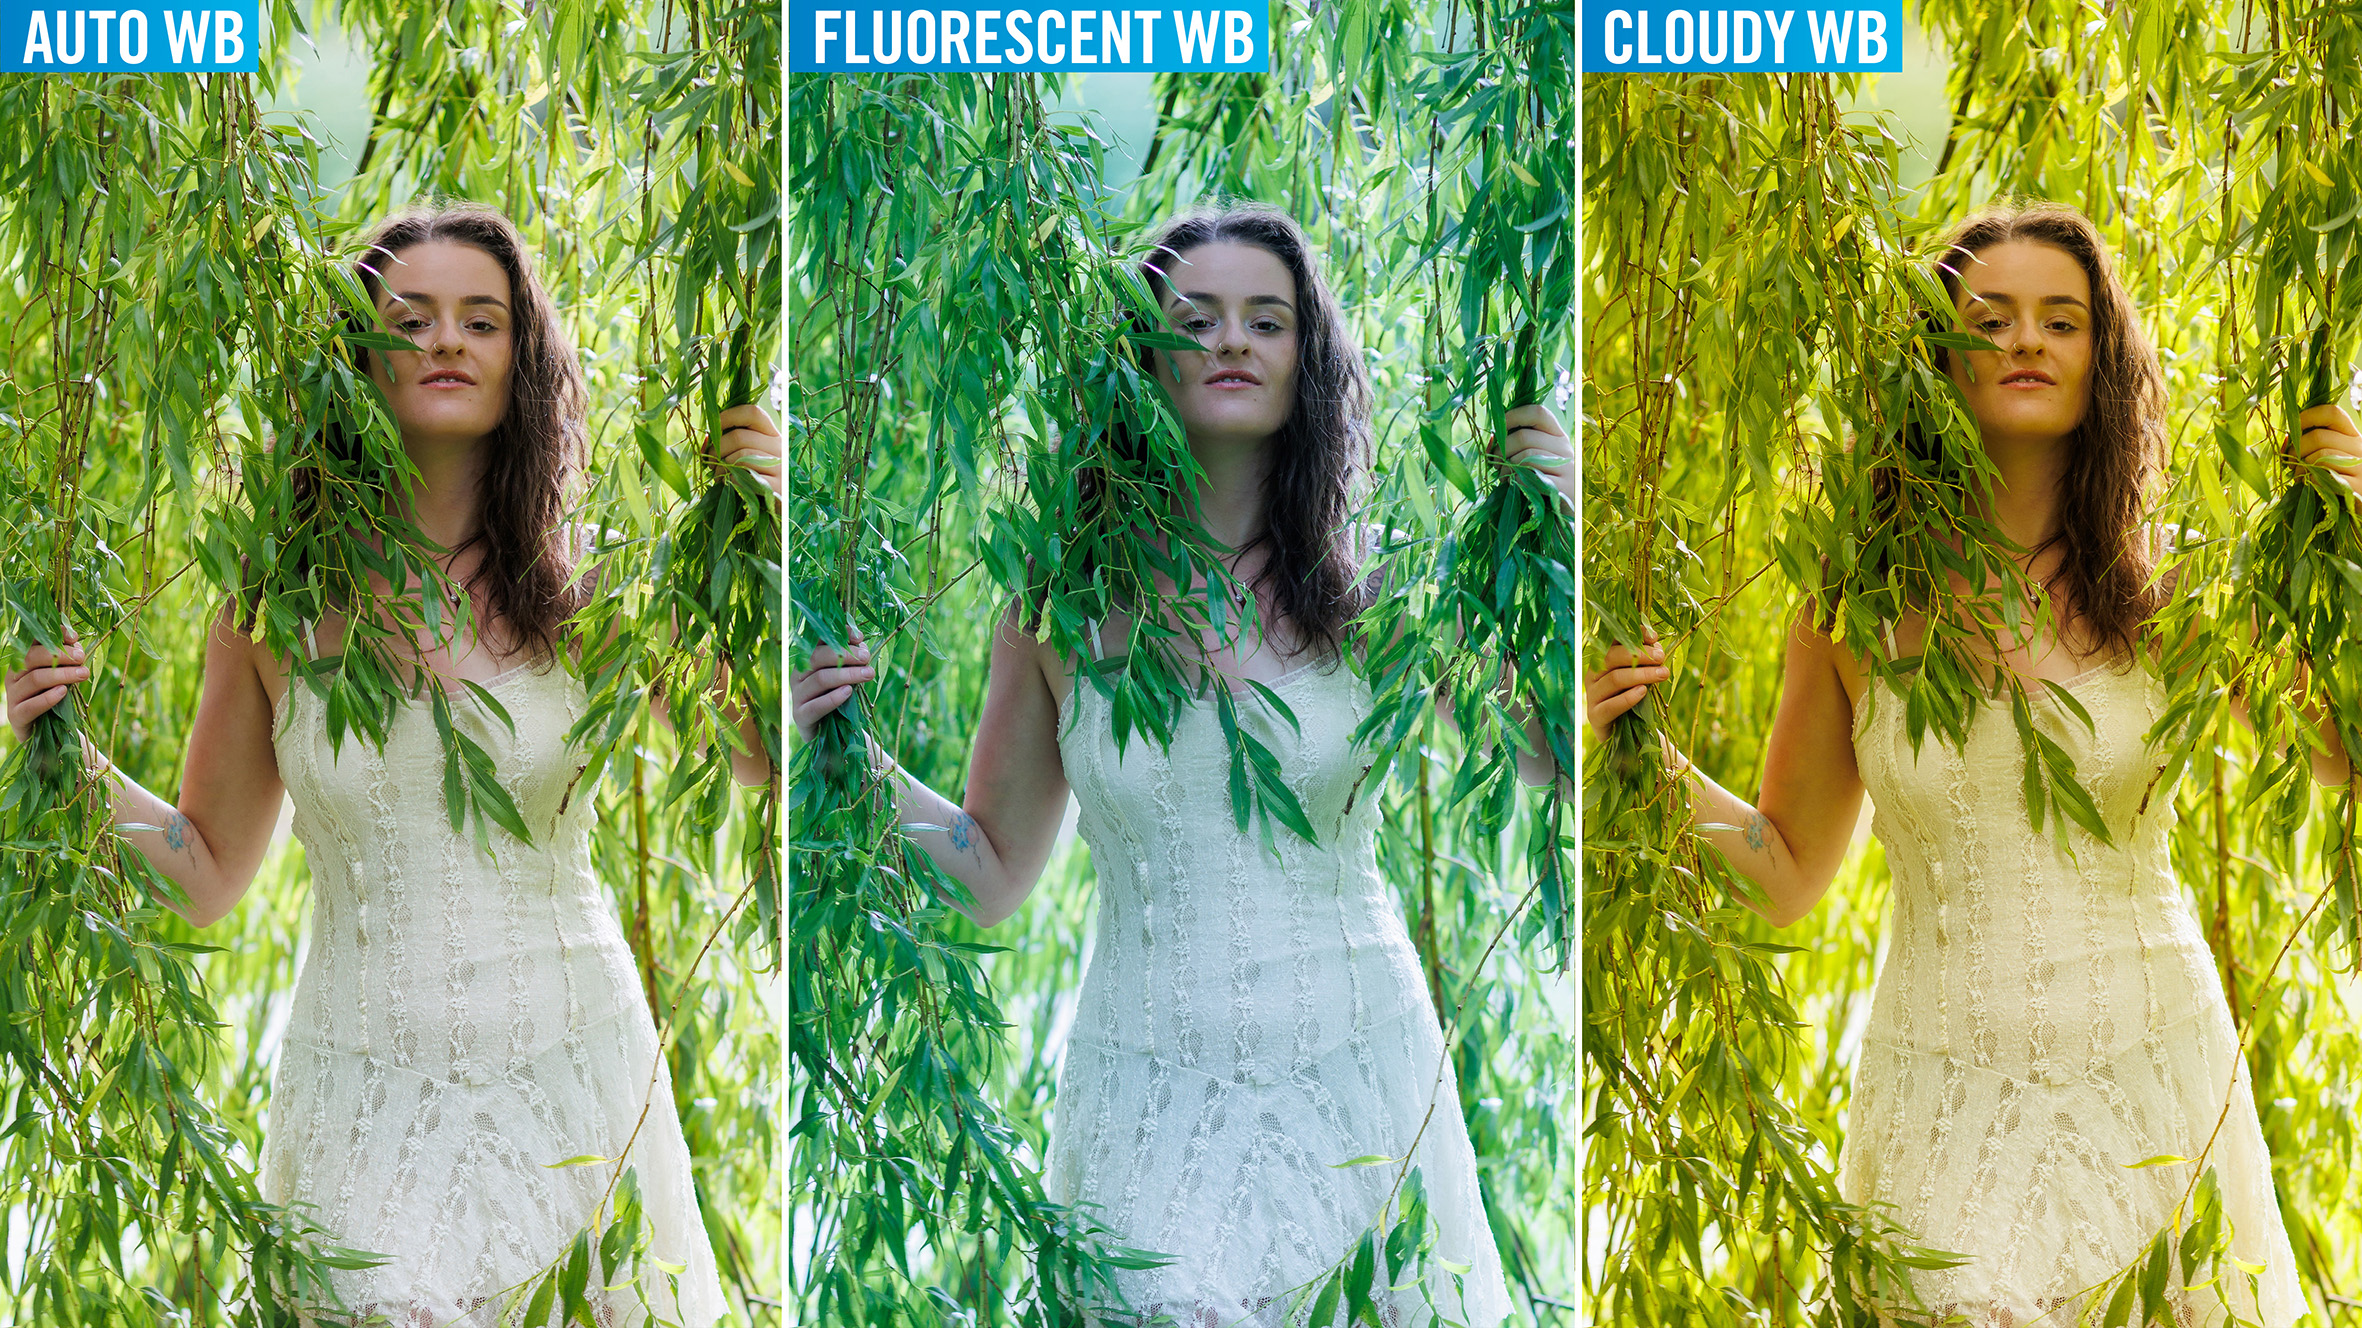
Most of us take white balance for granted. We trust the camera to get the color right for us in almost all our photos. When a subject is illuminated by light, its color is impacted by that of the illuminating light. People see a sheet of paper as white, regardless of whether it is illuminated with daylight, tungsten light or fluorescent.
White balance is the process the camera uses to give a good representation of the subject under a variety of light sources. When there are multiple light sources influencing the frame, the process becomes much more complex. A portrait by a window might have warm tungsten light in the room, daylight from the window and a flash on the camera all illuminating the subject with different colors of light.
Automatic white balance is evaluated after the photo has been taken, yet before it is written to the memory card. Cameras treat the scene as many small areas and determine the white balance for each, before calculating how to render the captured scene in a way that appears natural to the photographer. This may involve using different white balance in various sections of the frame.
If you shoot in RAW, then the white balance may be changed after the shot is taken – but the different algorithms in each software process white balance using their own algorithms, not the one built in to your camera’s processor. This means you may see differences between Adobe, Capture One and other applications when processing the same RAW image.

Brian is a freelance photographer and photo tutor, based in Oxfordshire. He has unrivaled EOS DSLR knowledge, after working for Canon for over 15 years, and is on hand to answer all the EOS and photographic queries in Canon-centric magazine PhotoPlus.
Visit Brian's website
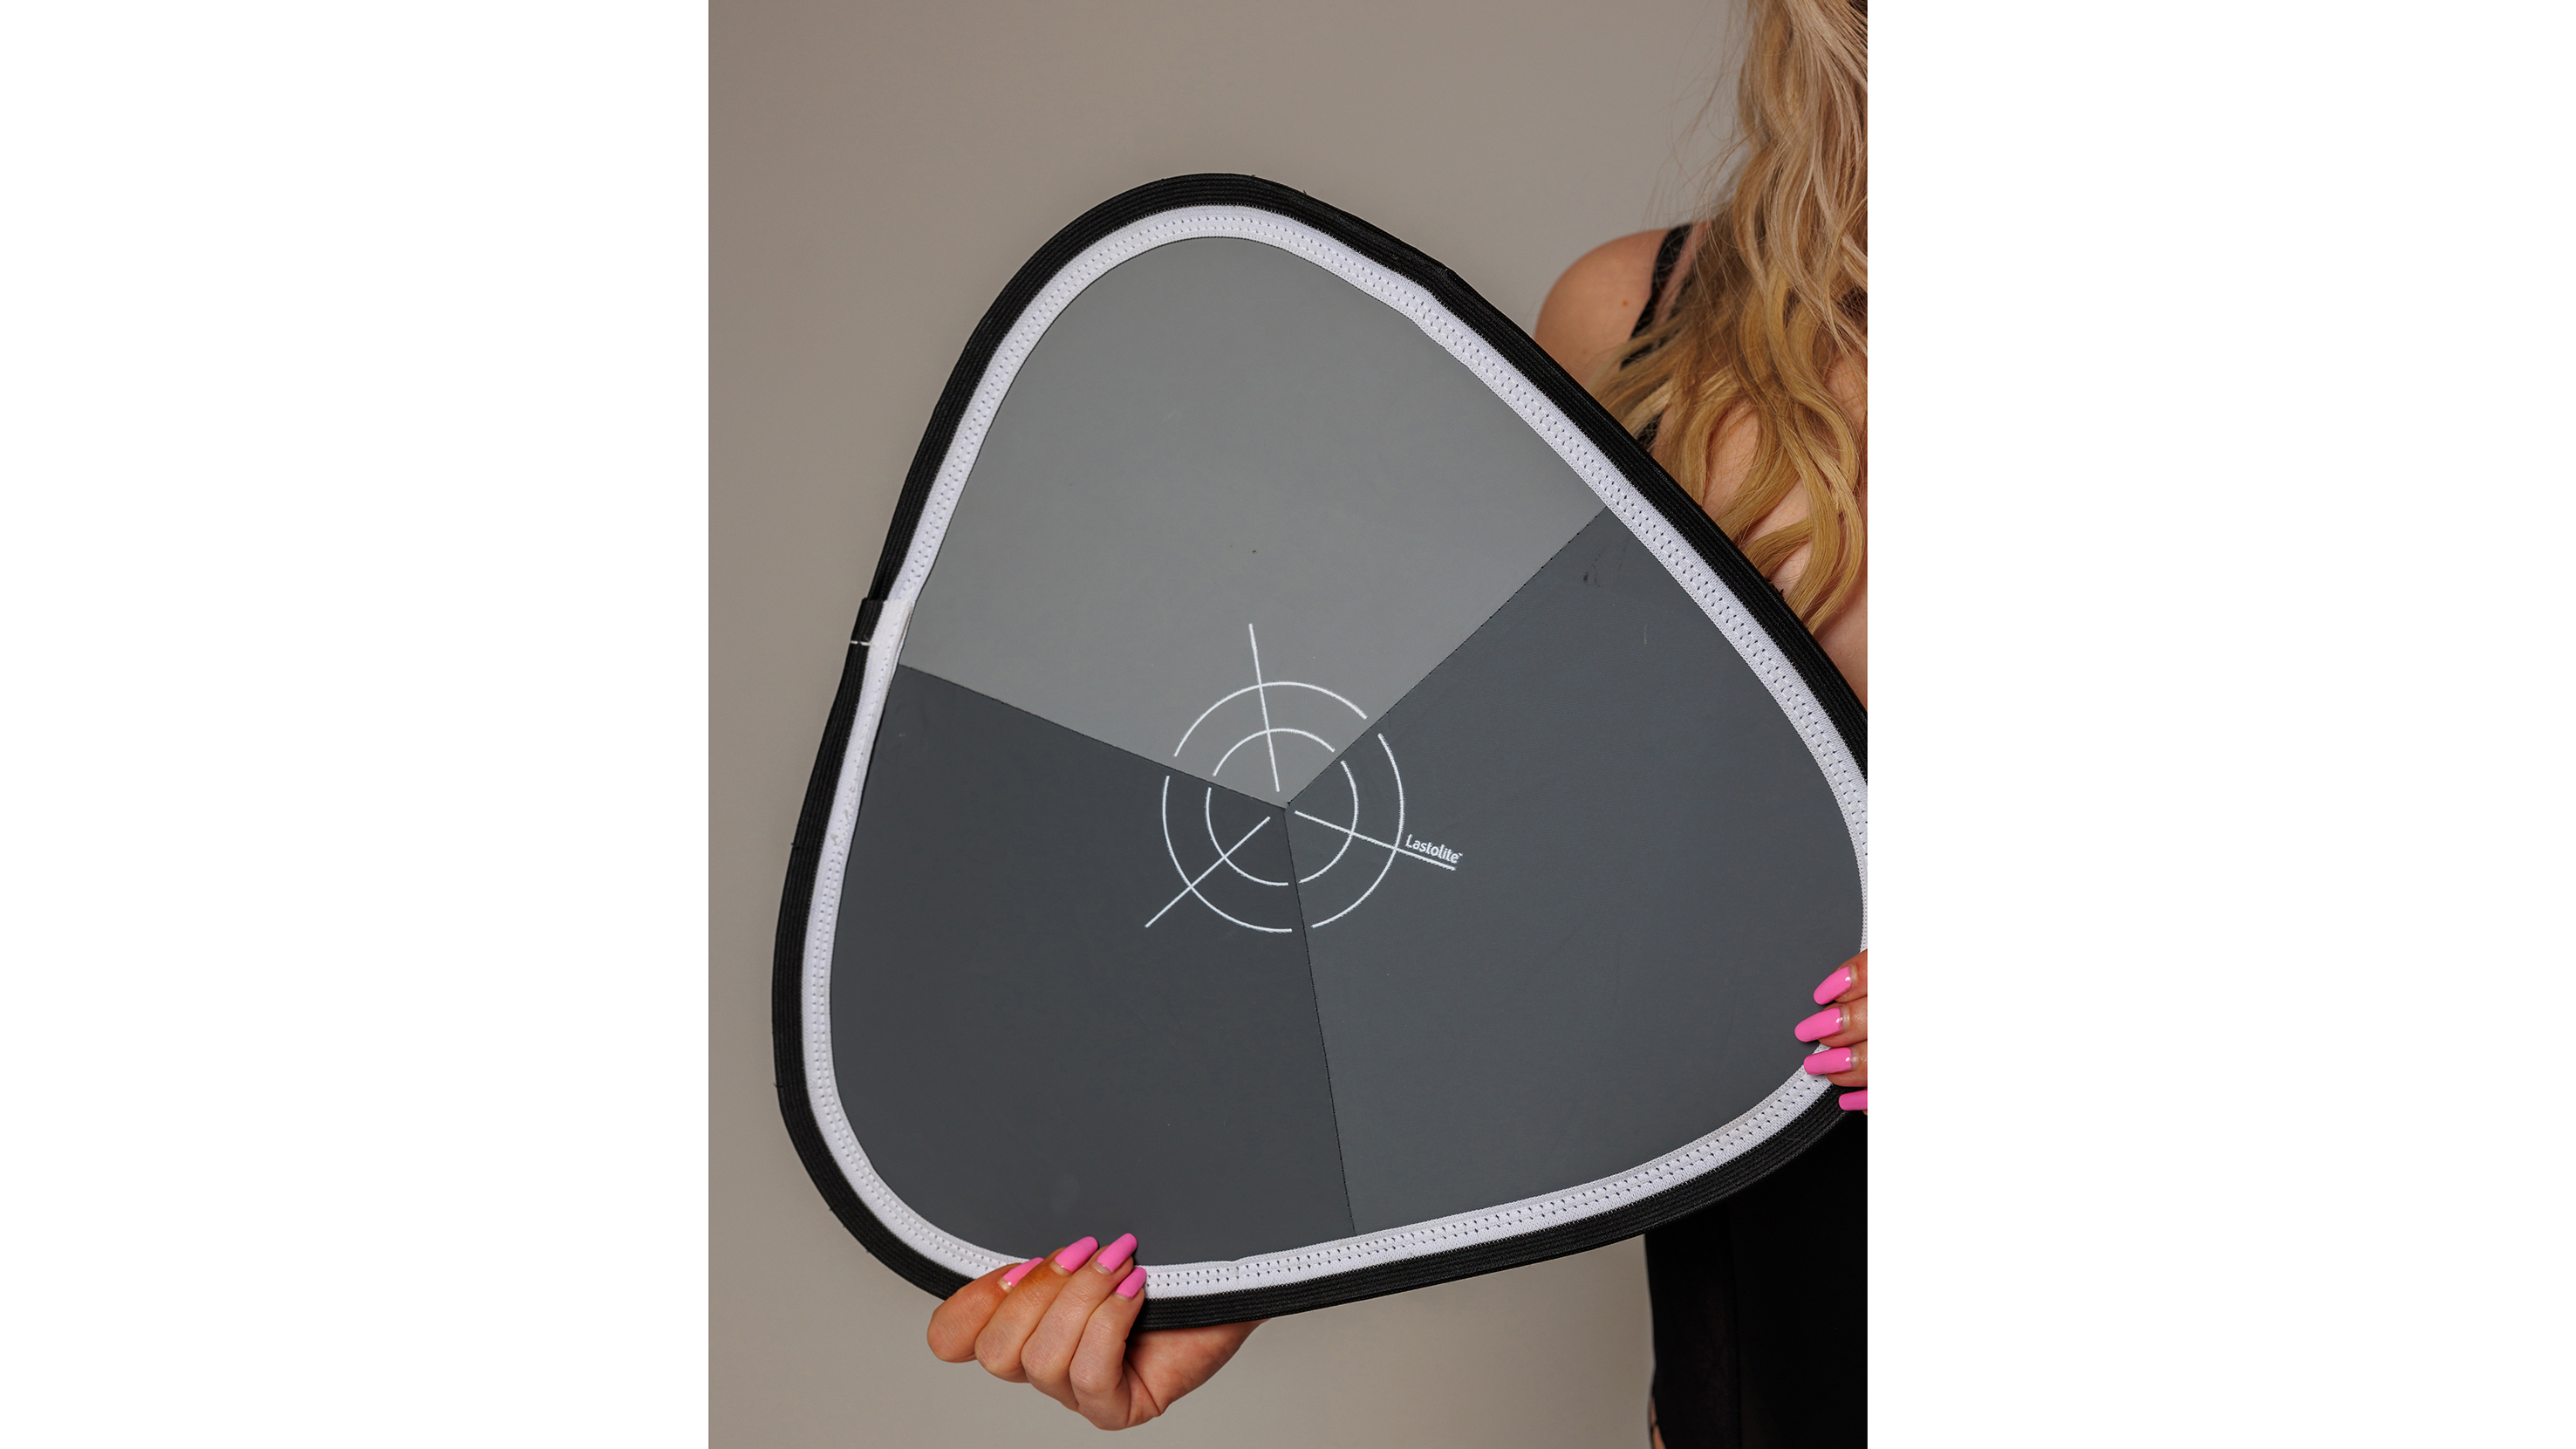
Camera white balance presets guide the camera towards specific light sources, although there’s still some evaluation of the light. If you need a specific white balance for all your shots, you can either use a reference or grey card to set a custom white balance, or if your camera allows you can enter a specific temperature in kelvin. You might also intentionally set the ‘wrong’ white balance for creative effects.
To create a custom white balance, you need to photograph a neutral test subject. A grey card is ideal, but you can use a white sheet of paper if you don’t have a grey card. Take the shot, then use the camera to determine the custom balance from it. Select custom white balance and all subsequent shots will use the same white balance. This is ideal in mixed or challenging light.

If this article was of interest, you might also like to find out more about the best Canon RF lenses, or see our list of the highest-resolution cameras available.


