There’s no doubt that stretching can be beneficial for mobility and flexibility, but when you’re dealing with excessive muscle tension and severely restricted joints, self-myofascial release (SMR) can be a game changer.
SMR is a massage technique that uses the weight of your own body to press your muscles into equipment such as foam rollers and balls. The resulting pressure can alleviate perceived pain from stiff muscles, reduce post-workout soreness, and improve joint range of motion.
One of my favorite SMR tools is the lacrosse ball. It’s small, inexpensive, easy to use, and incredibly effective on common tight spots, like the hips.
“Their biggest advantage is precision,” says Dr Thanos Papavasiliou PT, DPT, SCS, who is a board-certified physical therapist and head of clinical operations at LainaHealth,
“Compared with a foam roller, which has a much larger surface area—and is often better suited for broad muscle groups like the glute max—a lacrosse ball allows for more targeted pressure into smaller or deeper areas such as the tensor fasciae latae (TFL), piriformis, and portions of the gluteal stabilizers.”
I have to agree with him, and when my clients struggle with tight hips, I recommend the following lacrosse ball SMR exercises. If you’ve got tight hips too, give them a try.
How to do the lacrosse ball SMR exercises
Check in with your doctor or physical therapist before attempting these moves, especially if you’re dealing with any chronic or acute injuries. I’d also suggest meeting with a personal trainer so they can help you find appropriate positioning or provide modifications, if necessary.
In addition to a lacrosse ball, you’ll also need a yoga mat for these exercises.
You should spend a total of 15-30 seconds on each move, starting on the lower end of that range and gradually increasing the time over subsequent sessions. Move slowly, and spend a few seconds on places that feel especially tight or tense.
Aim to do these three to four times a week, followed by a workout, a brisk walk, or some dynamic stretches. You can also do them after your workout as part of your cool-down.
“The lacrosse ball should be viewed as one part of a broader maintenance routine, not the whole routine,” Papavasiliou advises. “Research on self-myofascial release suggests the best effects are short term and are most useful when integrated into a warm-up or recovery strategy rather than used in isolation.
“More pressure is not always better. Reviews of self-myofascial release note that excessive discomfort does not necessarily improve outcomes, so the goal should be controlled, tolerable pressure rather than aggressive pain. SMR should feel like a deep massage.”
Here are the SMR moves.
1. TFL release
Time: 15-30sec
- Lie on your back.
- Place the ball slightly below and to the right of your right hip bone.
- Move the ball around until you find a tender or tight spot.
- Slowly roll onto your side and onto the ball.
- Cross your top leg over your bottom leg, placing your foot on the floor.
- Shift your body up and down along the ball, to find the tender spots.
- Hold for 15-30 seconds on any tight spots, then repeat on the other side.
Trainer tips: This move targets the tensor fascia latae (TFL), which stabilizes the hips and knees during movement. If lying on the ball feels too painful, stay on your back and press the ball into the muscle with your hand. You can also use a softer tool, like a tennis ball or soft foam roller. If mobility concerns prevent you from getting onto the floor, try this release technique while standing.
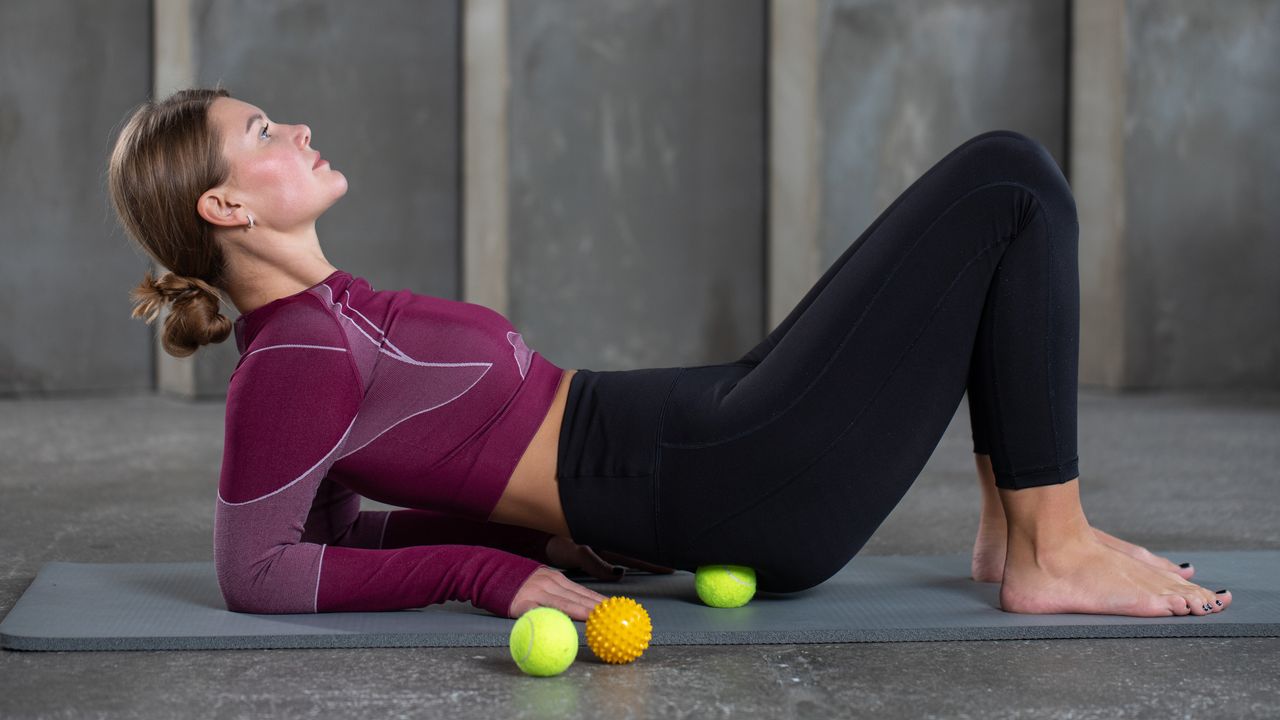
2. Glute/piriformis release
Time: 15-30sec
- Sit upright on your mat with your knees bent and feet flat on the floor.
- Place the ball underneath your left glute muscle.
- Cross your left ankle over your right knee.
- Place your hands on the floor behind you.
- Slowly move back and forth over the ball, pausing briefly on any tender spots.
- Continue for 15-30 seconds, then repeat on the other side.
Trainer tips: This move targets the piriformis, a muscle that sits behind the glutes and is responsible for hip rotation and stabilization. You can control the intensity of this move by placing more or less bodyweight into the ball. If the movement feels too intense, push your hands and foot into the floor and lift yourself off of the ball. You can also use a softer tool, like a tennis ball or soft foam roller. If you’re unable to get onto the floor, try this move while standing.
3. Hip flexor release
Time: 15-30sec
- Lie on your front.
- Place the ball underneath your right hip—slightly below and to the left of your hip bone.
- Roll onto the ball.
- Shift your hips back and forth along the ball until you find tension.
- Hold and take deep breaths for 15-30 seconds, then repeat on the other side.
Trainer tips: This move targets the psoas, which lifts the knee. If lying on the ball is too painful, or if mobility concerns prevent you from getting down onto the floor, lie on your bed or couch and use your hand to press the ball into your hip. You can also use a softer tool, like a tennis ball or soft foam roller.