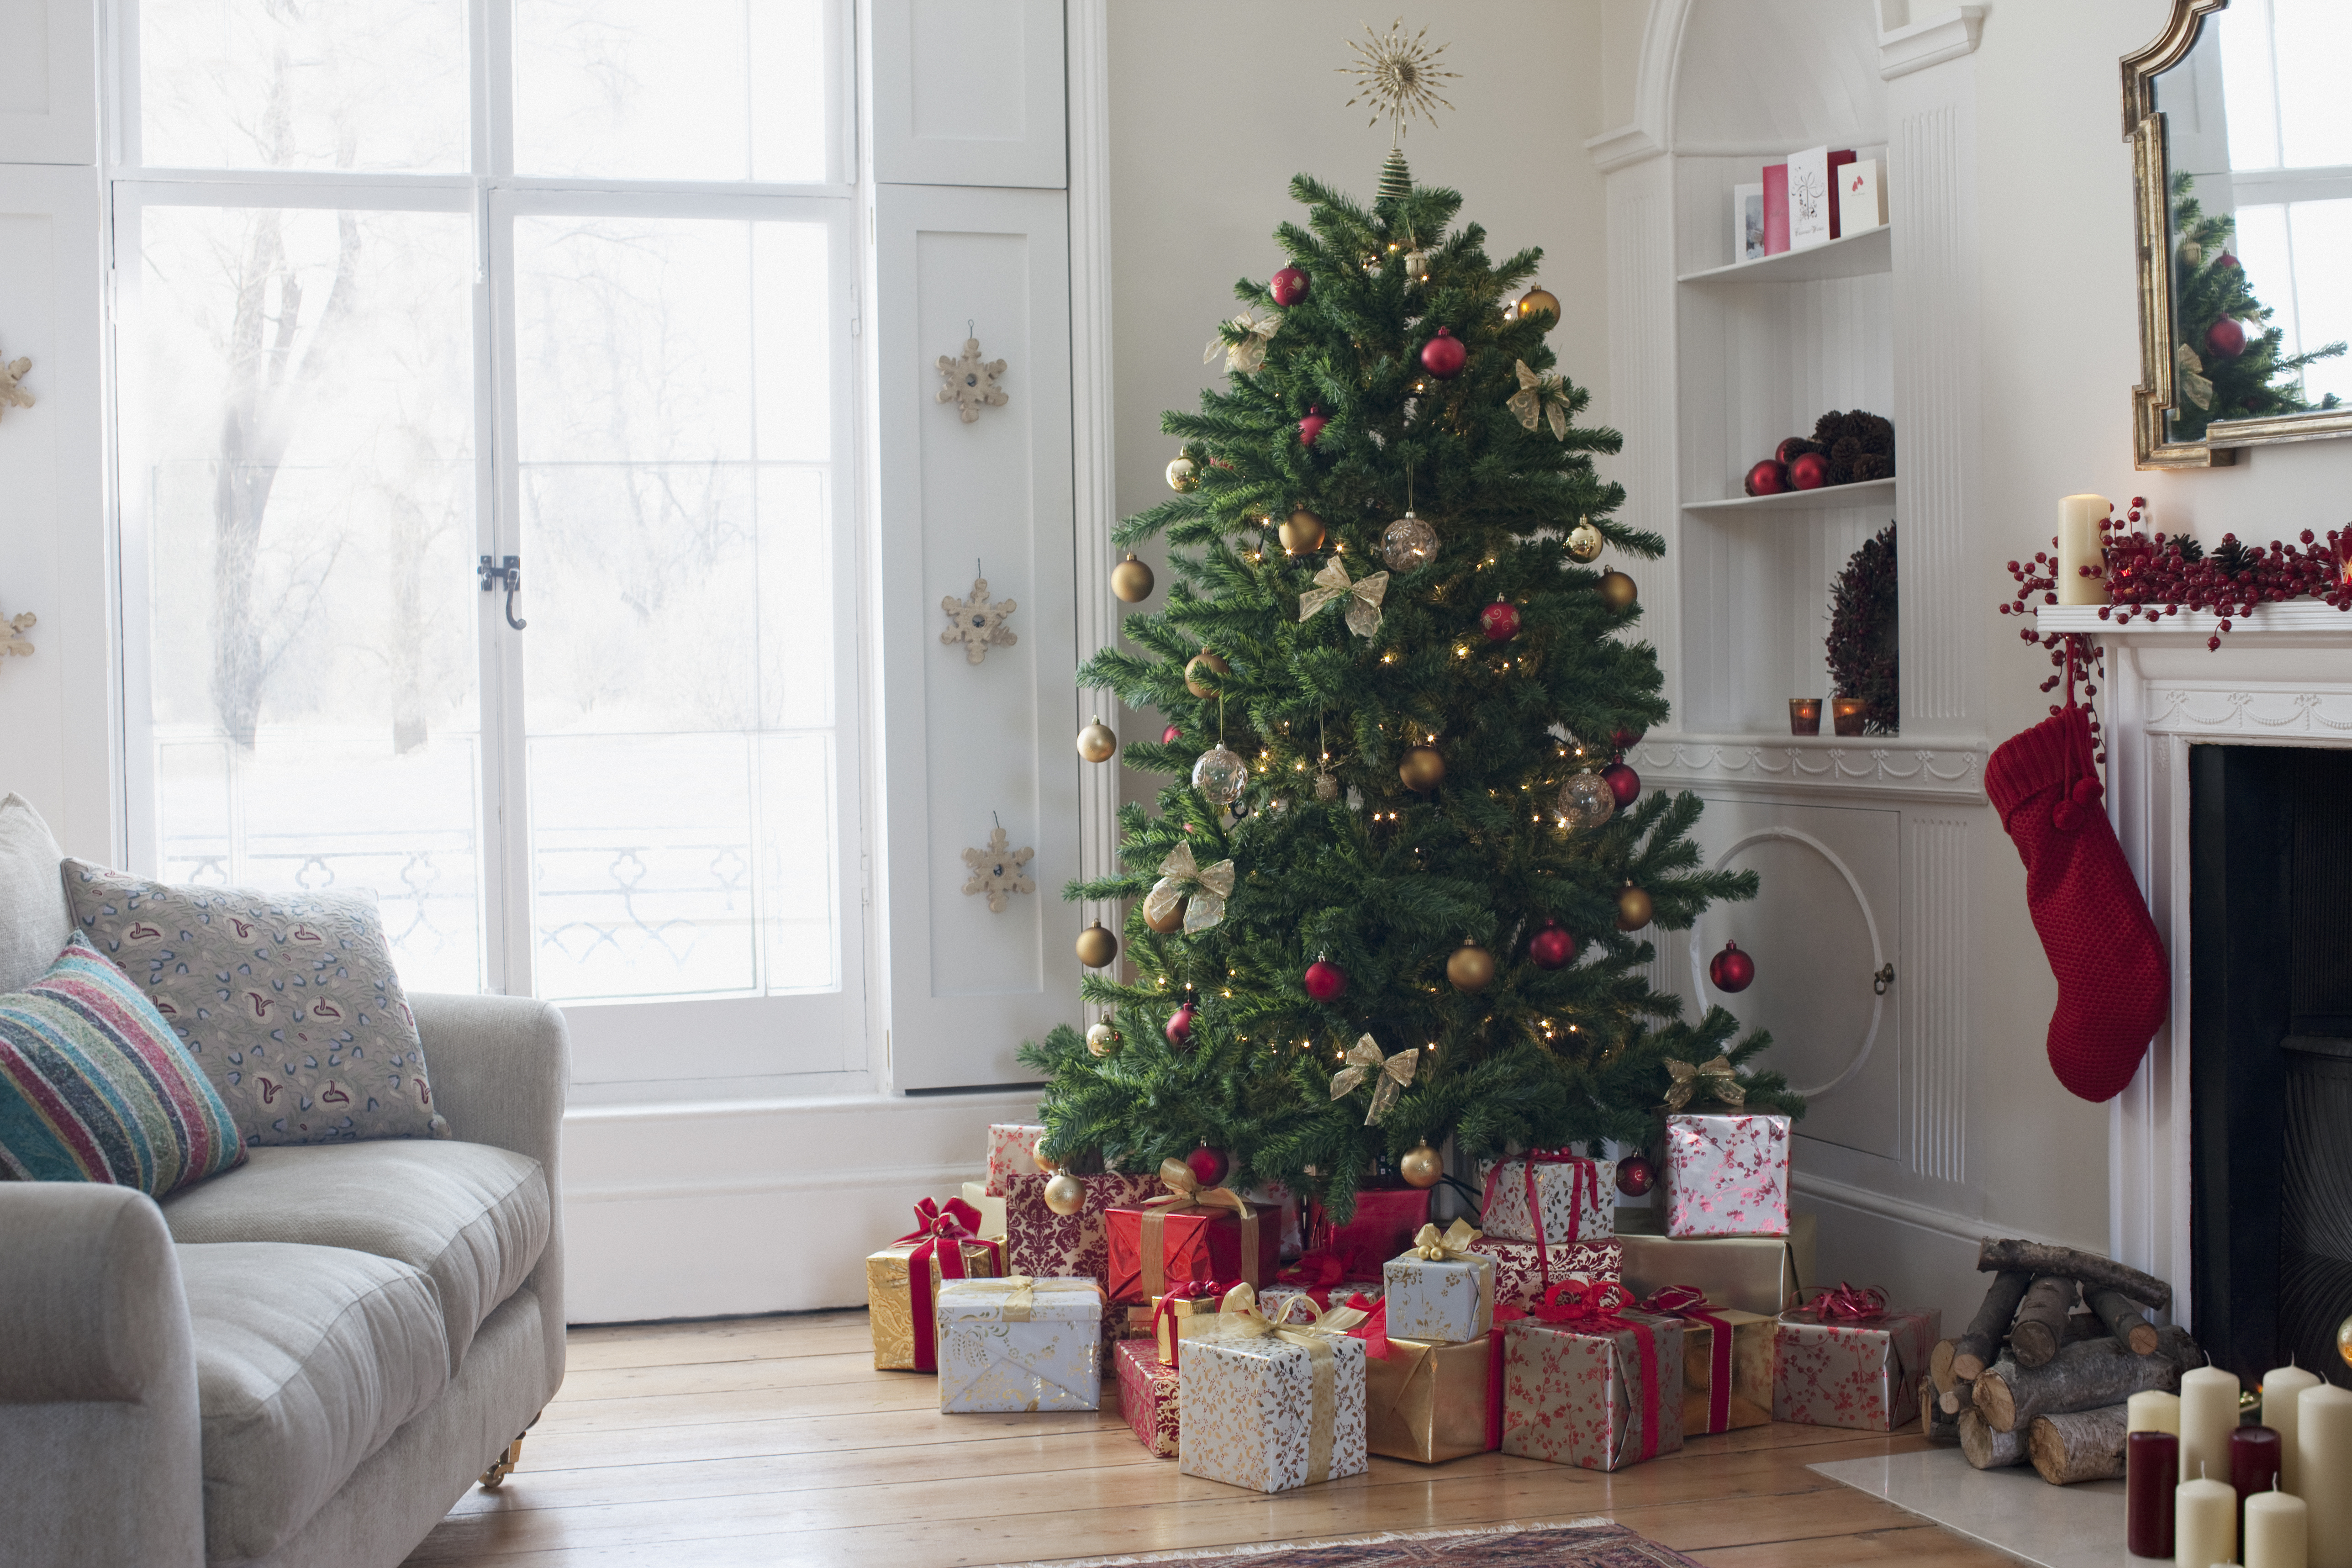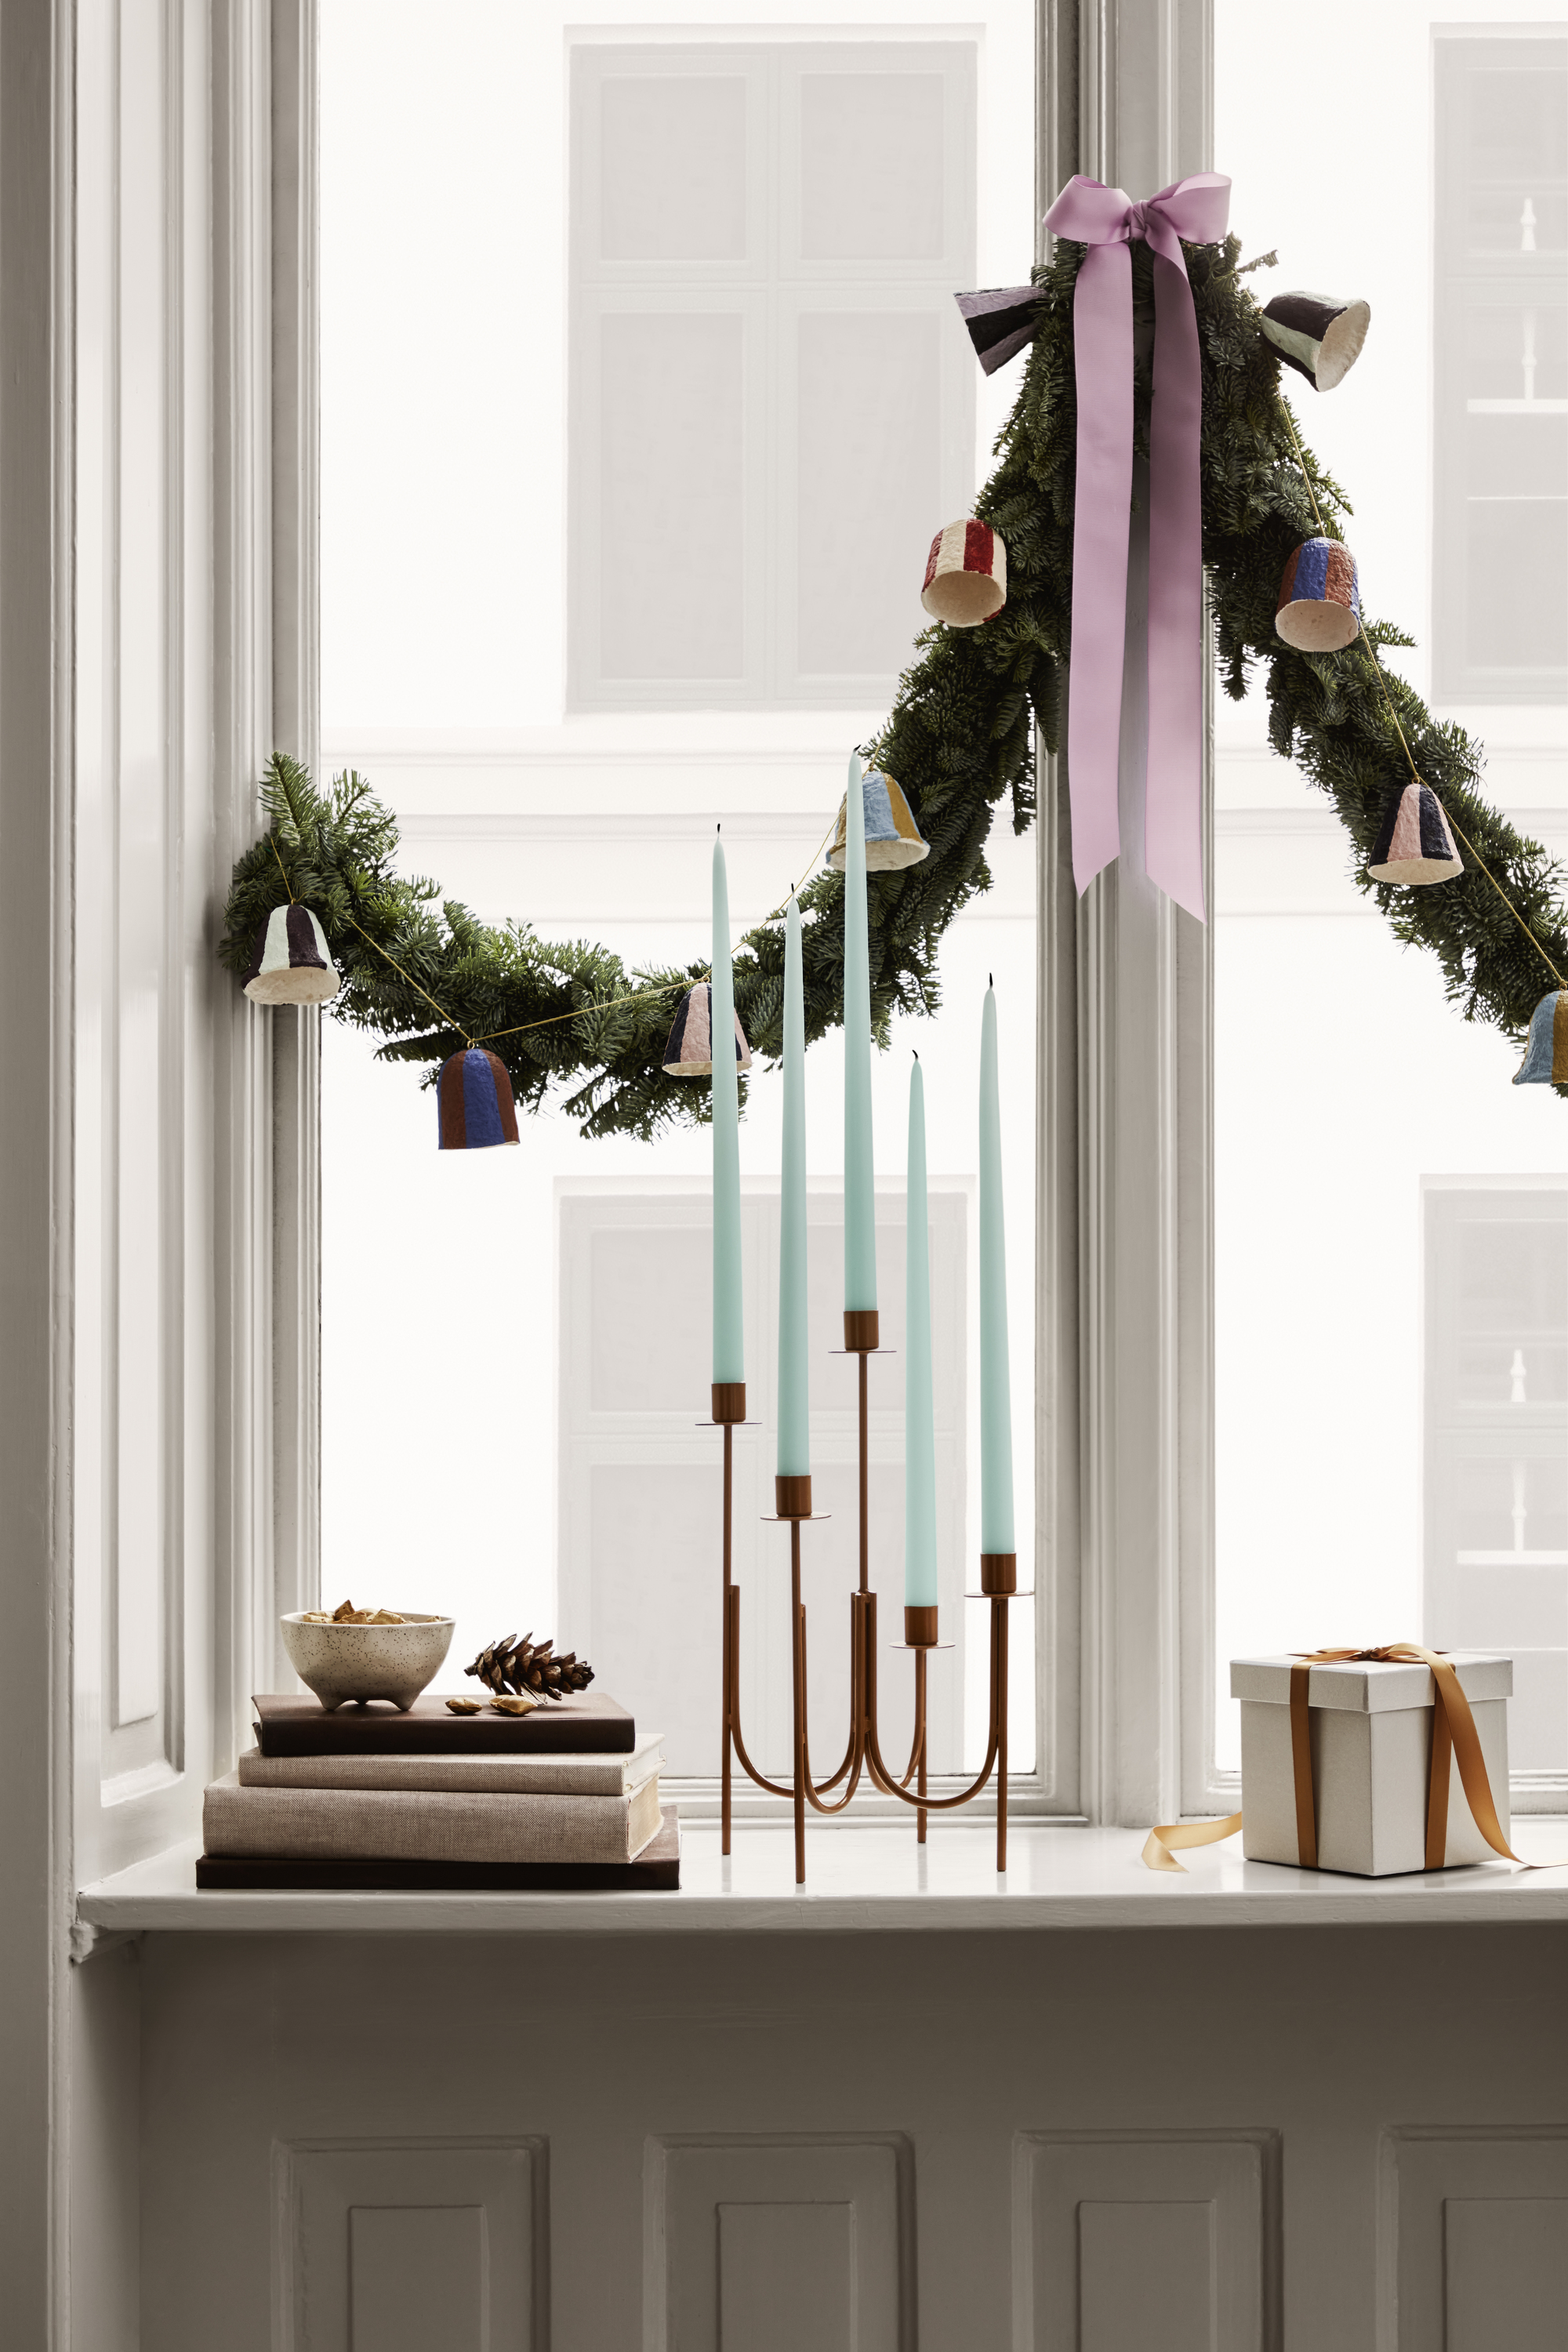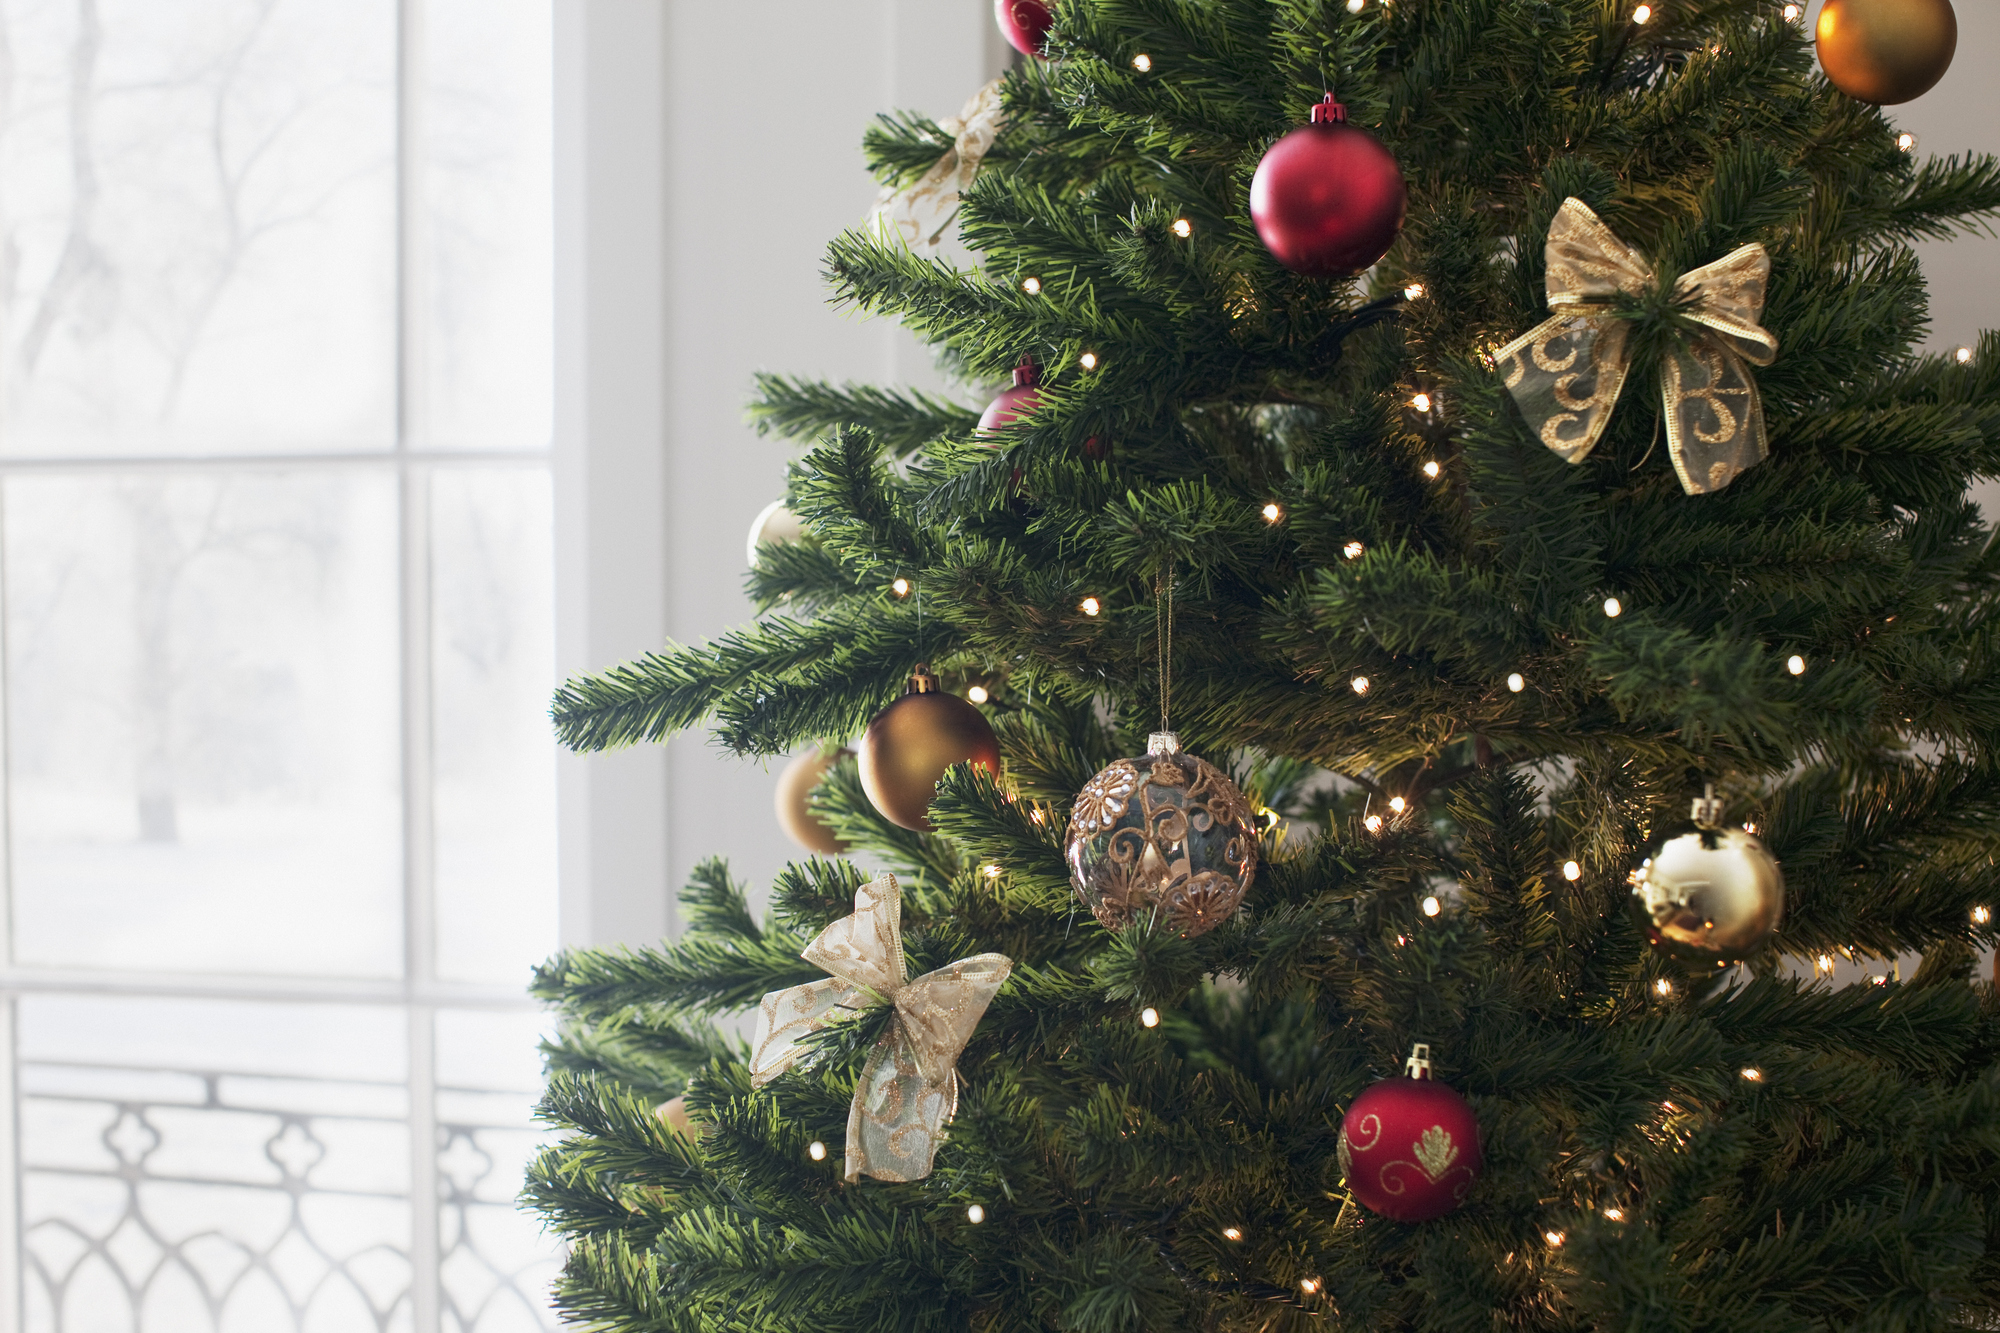
As much as we love a contemporary take on Christmas decor, there's always time for tradition this time of year. Evergreen fir foliage? Check. Warm twinkly lights? Check. Beautiful big bows? Not quite as easy...
Ribbons are a classic feature to incorporate into your Christmas decorating, whether that's pretty bright bows on the tree, the finishing touch to wrap your gifts, or extravagant ribbons to dress your front door.
The only issue is, no matter how hard you try to achieve a full-looking bow for that professional-worthy finish, they always end up looking too small, too droopy, or too uneven. If you're looking to perfect the art of tying ribbons this festive season, we've found the perfect method, and it's actually much simpler than you'd think.

To get started on tying your perfect Christmas bow, you'll first need to choose a color and material to suit your festive style. Whether you're using your bows as Christmas tree ornaments or as a creative way to festoon your Christmas living room with color, be sure to choose a type that will suit the design style and color scheme you're aiming for.
For example, if you're going for a traditional feel, look for greens, reds, and golds with a hint of sparkle. For a more neutral, Scandinavian-influenced scheme, go for a more natural finish like this hessian ribbon from Amazon. We think this more subtle take is the perfect way to decorate for a more minimalist Christmas.
You'll then need to cut your ribbon to your desired length. This will depend on how big you want your bow to be, and whether you want a long or short 'tail'. For the likes of Christmas wreaths we recommend a longer tail, while shorter bows with thicker ribbons are better suited for garlands and Christmas tree decor. Wired ribbon can also help your bow to hold its shape, especially if you're using a wide ribbon for a thick bow.
Now for the tricky part - tying your bow. You might think trying a bow is child's play - after all, you probably do it almost daily when securing your shoelaces - but this trick actually uses a special technique to ensure a tidy bow that's perfect for decorating.

The professional method comes courtesy of Melissa Lissack (@melanielissackinteriors), a home renovator who shares her nifty DIYs over on her Instagram. In her recent reel, she instructs us to perfect the art of ribbon tying. First, fold two loops into the center of your length of ribbon, crossing them over in the middle. Next, take the bottom right ribbon and loop it over the center cross, threading it through the back loop from right to left. Once you've pulled it through, gently tug the two loops of the bow to secure the knot, wiggling it around to make it even and central.
Once you're happy with your bow, Melissa then uses a piece of floristry wire to make a pin, threading it through the back of the bow so she can fix it to her tree. You can use this same technique to attach your bow anywhere, just ensure the length of the wire is long enough to wrap around whatever you plan to fix it to.
And there you have it - a full, professional-worthy bow to adorn your home this holiday season and make your home look extra Christmassy. It's the perfect finishing touch for some traditional festive charm.


