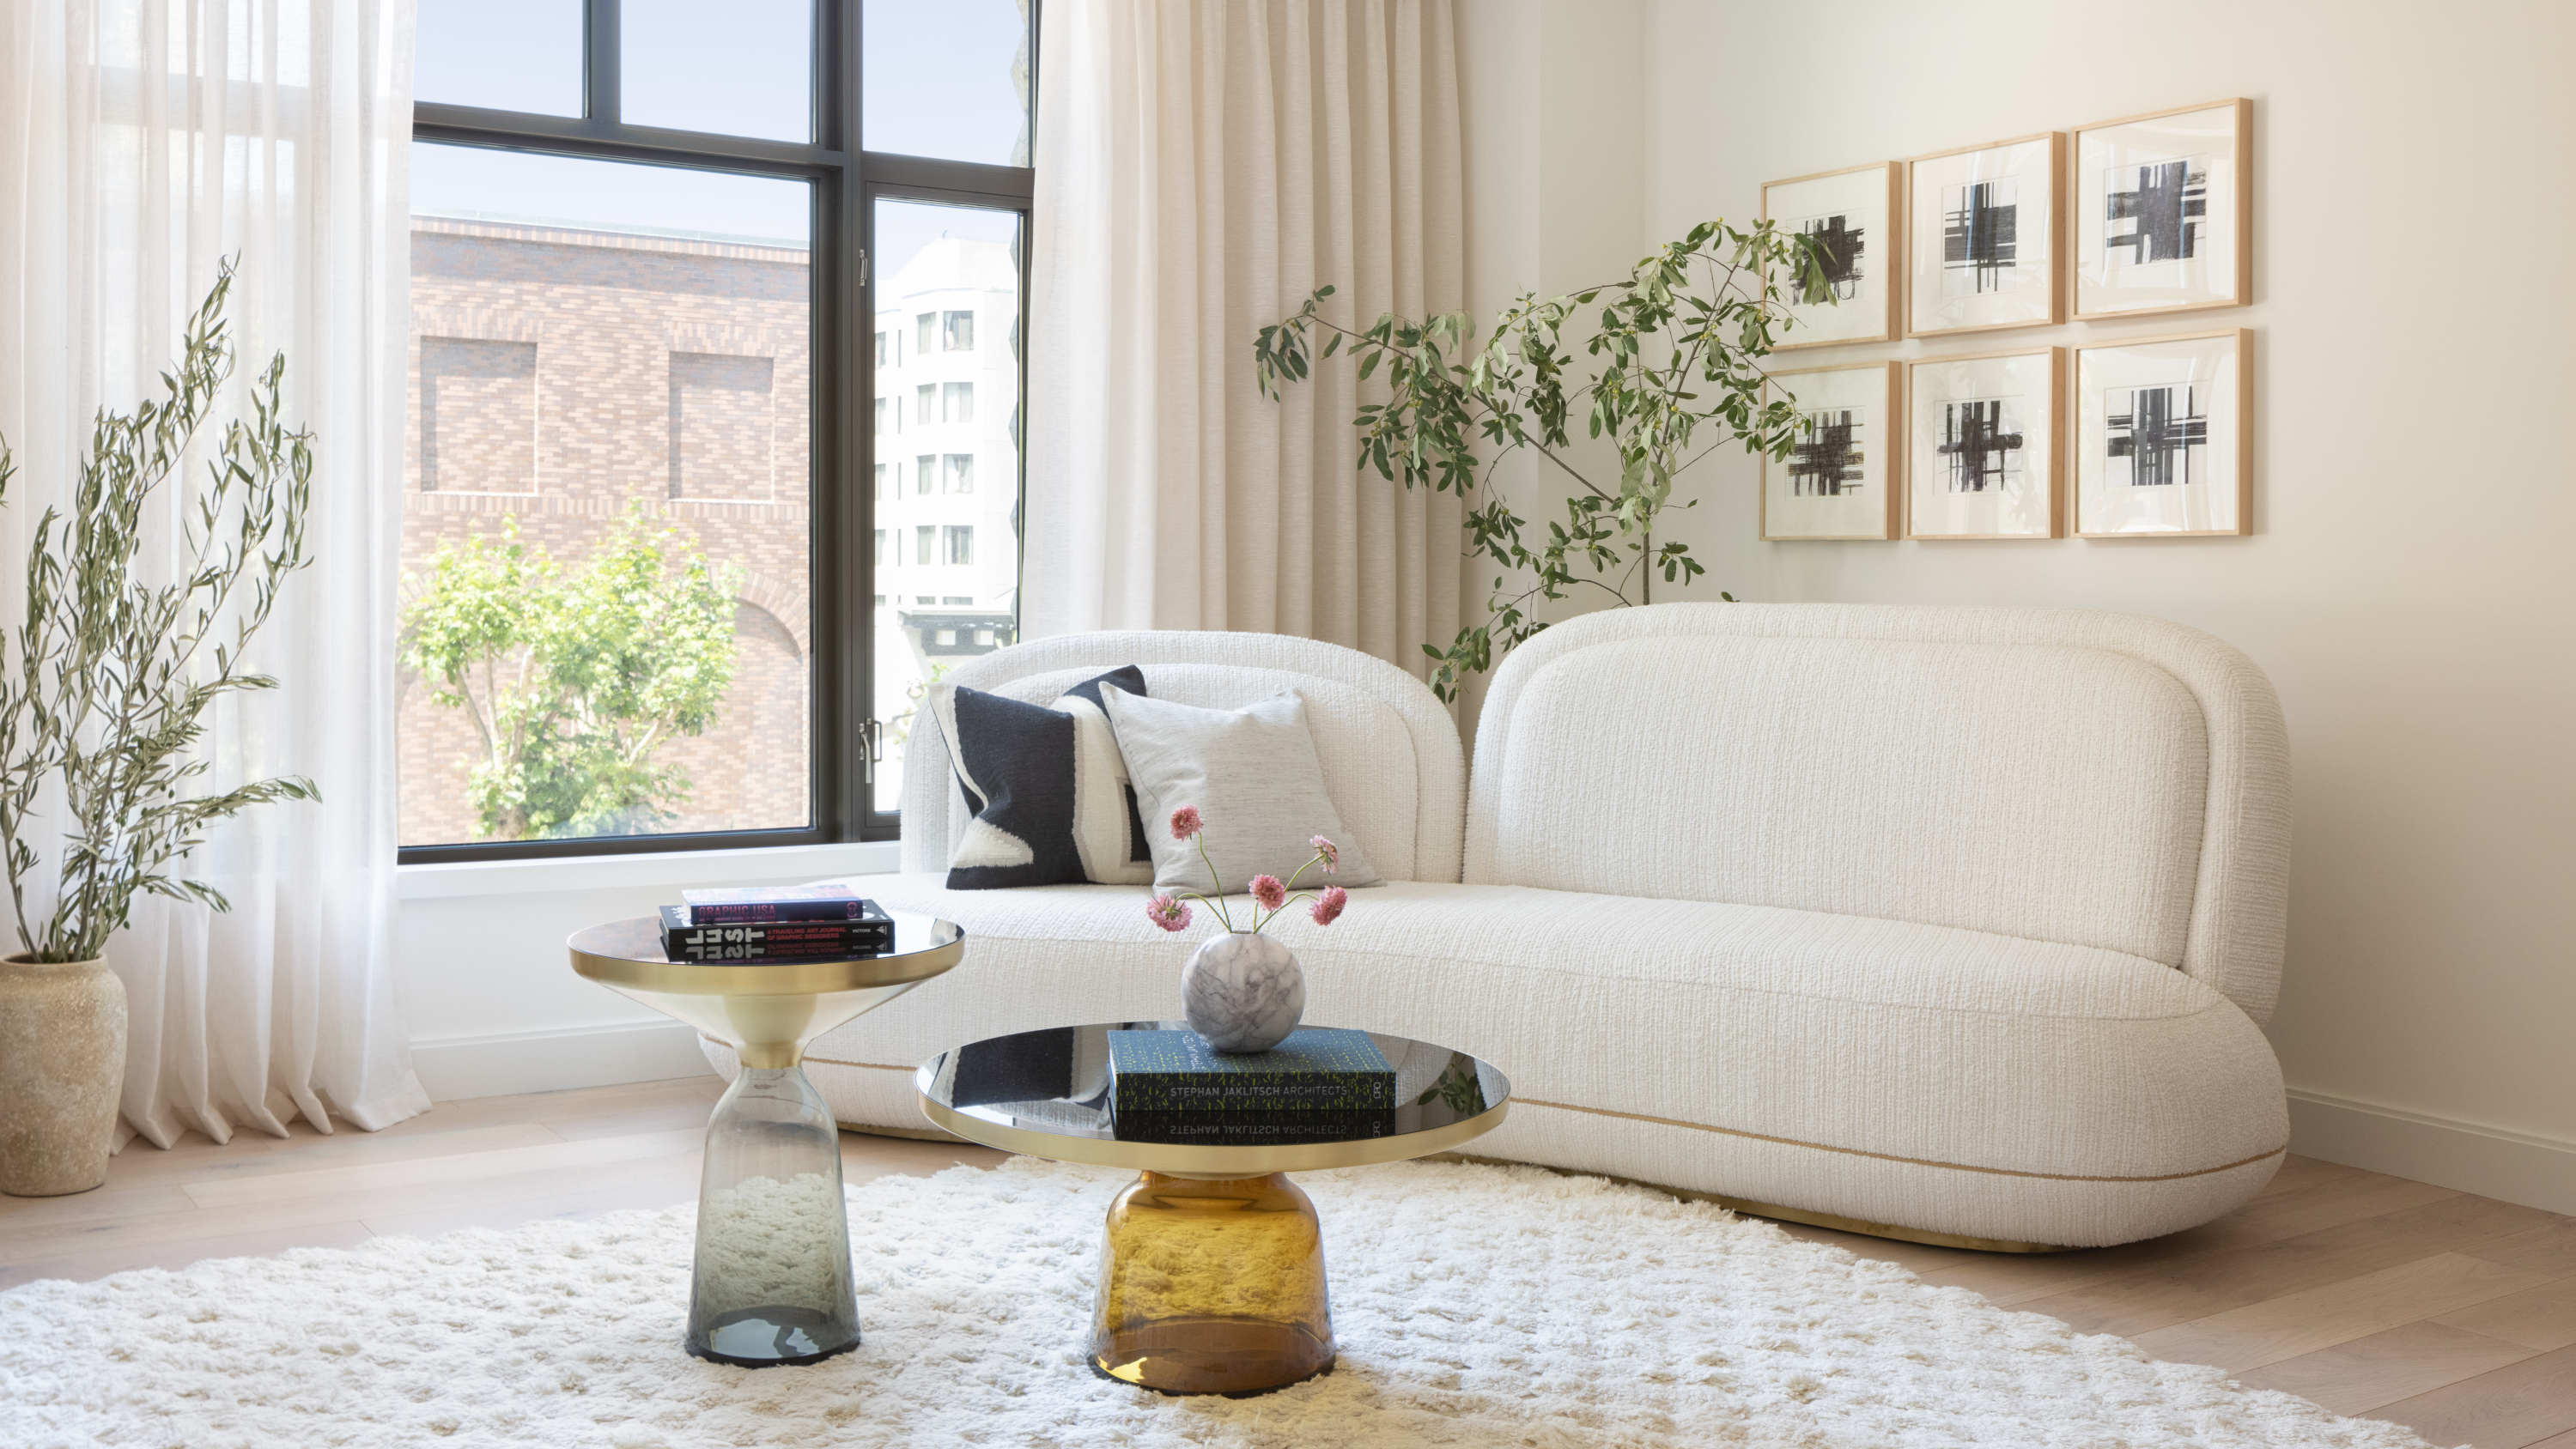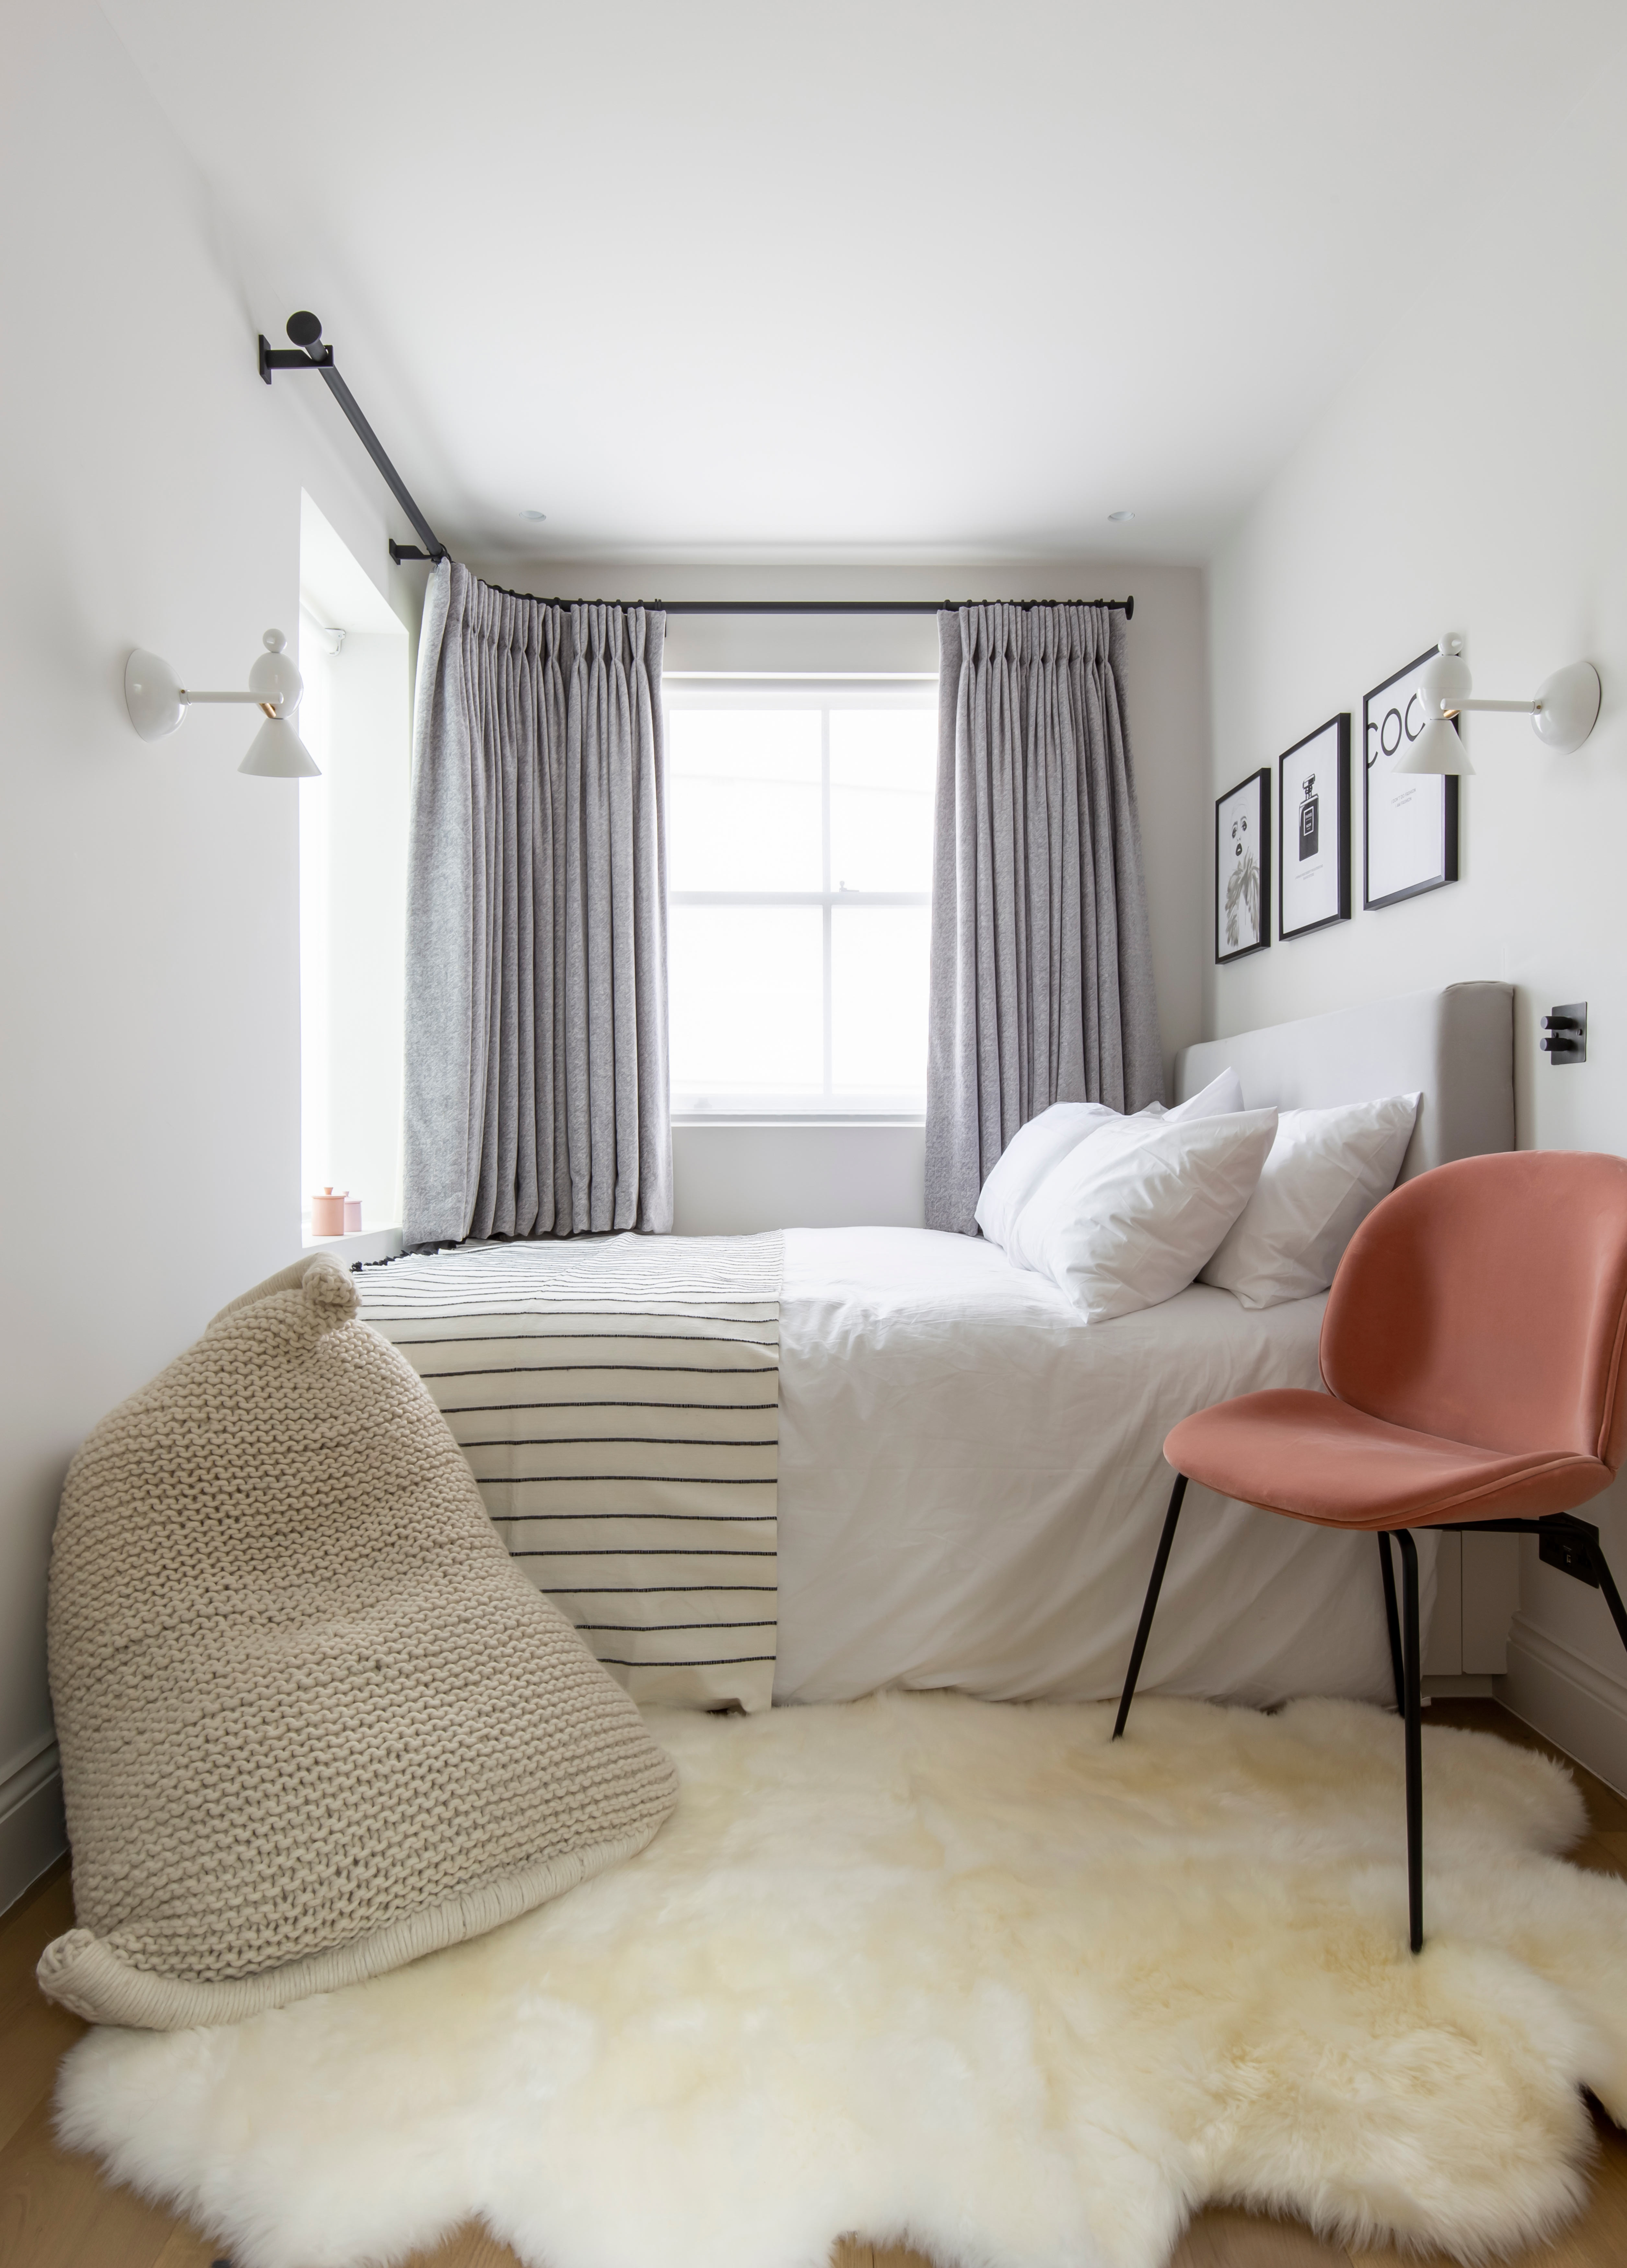
Your curtains are an element of design that's oft-overlooked, but they can make a bigger contribution to your space than you might imagine. The other thing you may not have realized (unless, of course, you learned the hard way) is that they also cost a pretty penny, but you don't have to sacrifice style when opting for a more budget-friendly pair.
When it comes to affordable homeware, IKEA is our go-to. They have an array of beautiful curtains and drapes to suit every style and space, and while they are on the more basic end of the scale when it comes to quality, there's an easy hack that will instantly elevate their look and it's by far the cheapest way to make your windows look expensively dressed. The answer? Pinch pleats.
'Pleated curtains give a more tailored look,' explains Lotta Lundaas, designer and founder of Norse Interiors, a company offering customizable services of IKEA furniture. 'The pleats help the curtains fall uniformly, which enhances their drape and creates a more polished and high-quality appearance.' Want to know how to get the look yourself? Here's how it works.

For this simple trick to make your curtains look more expensive, all you need is some curtain rings, some pleat hooks, and a bit of patience. You can add them to any IKEA curtains that come with pleating tape attached and the good news is, that's pretty much all of them. (You can always add the tape yourself otherwise but it would involve a sewing machine.)
We like these sheer curtains from IKEA for an elegantly simple design but you could buy a patterned pait, or a textured material if you want a heavier weight to them. 'If you have a little bit more to spend, it's worth investing in high-quality fabrics such as silk, velvet, linen, or cotton blends,' adds Lotta of Norse Interiors. This will help create that custom drapery feel.
Start by inserting your first pleating hook. Treat the space between the string tabs as different sections, ignoring the smaller sections at each end of the curtain for now. Beginning at the second section, take your first pleating hook and insert the first prong into the fourth pocket from the start of the section. Leave the next two pockets empty and insert the second prong of the hook into the third pocket (the seventh pocket from the start of the section).
Next, leave the following two pockets empty and insert the third prong into the third pocket, continuing the same spacing with the fourth. You'll then be left with three empty pockets in this section.
You'll find that the pleating tape has three rows of pockets so for each hook it’s easier to insert all four prongs into the first row of pockets, then all four into the middle pocket, and finally all four into the top pocket. It's a fiddly process, but doing it this way should make it easier to fit them into the smaller, trickier gaps.
Continue this same pattern until you have a pleating hook in each section. Once finished, insert one pleating hook in both the small end sections on either side of the curtain to prevent the material from drooping at the edges. There’s no need for pleating here so none of the pockets will be empty - just insert the four prongs into the first four pockets.
Finally, hang your curtains. It’s best to do this once you already have your rod up with curtain rings attached. All you need to do is slip each pleat hook into the corresponding eyelet of the curtain ring (it's a good idea to count how many curtain rings you'll need before threading them onto the rod).
When it comes to styling them, there are a few tips to keep in mind, too. 'To make the curtains look even more expensive, hang them from the ceiling to the floor, even if your windows are smaller,' says Lotta. 'This creates an illusion of higher ceilings and a more sophisticated look.' She also suggests layering curtains by using sheer ones underneath heavier drapes. 'This adds depth and dimension, making the curtains look more elegant,' she adds.
If you're looking for a quick and easy (if, perhaps, a little fiddly) way of elevating your curtains, adding pinch pleats will do wonders for your windows. Why not switch up your window hardware while you're at it? It's the perfect excuse for a bit of interior design shopping...


