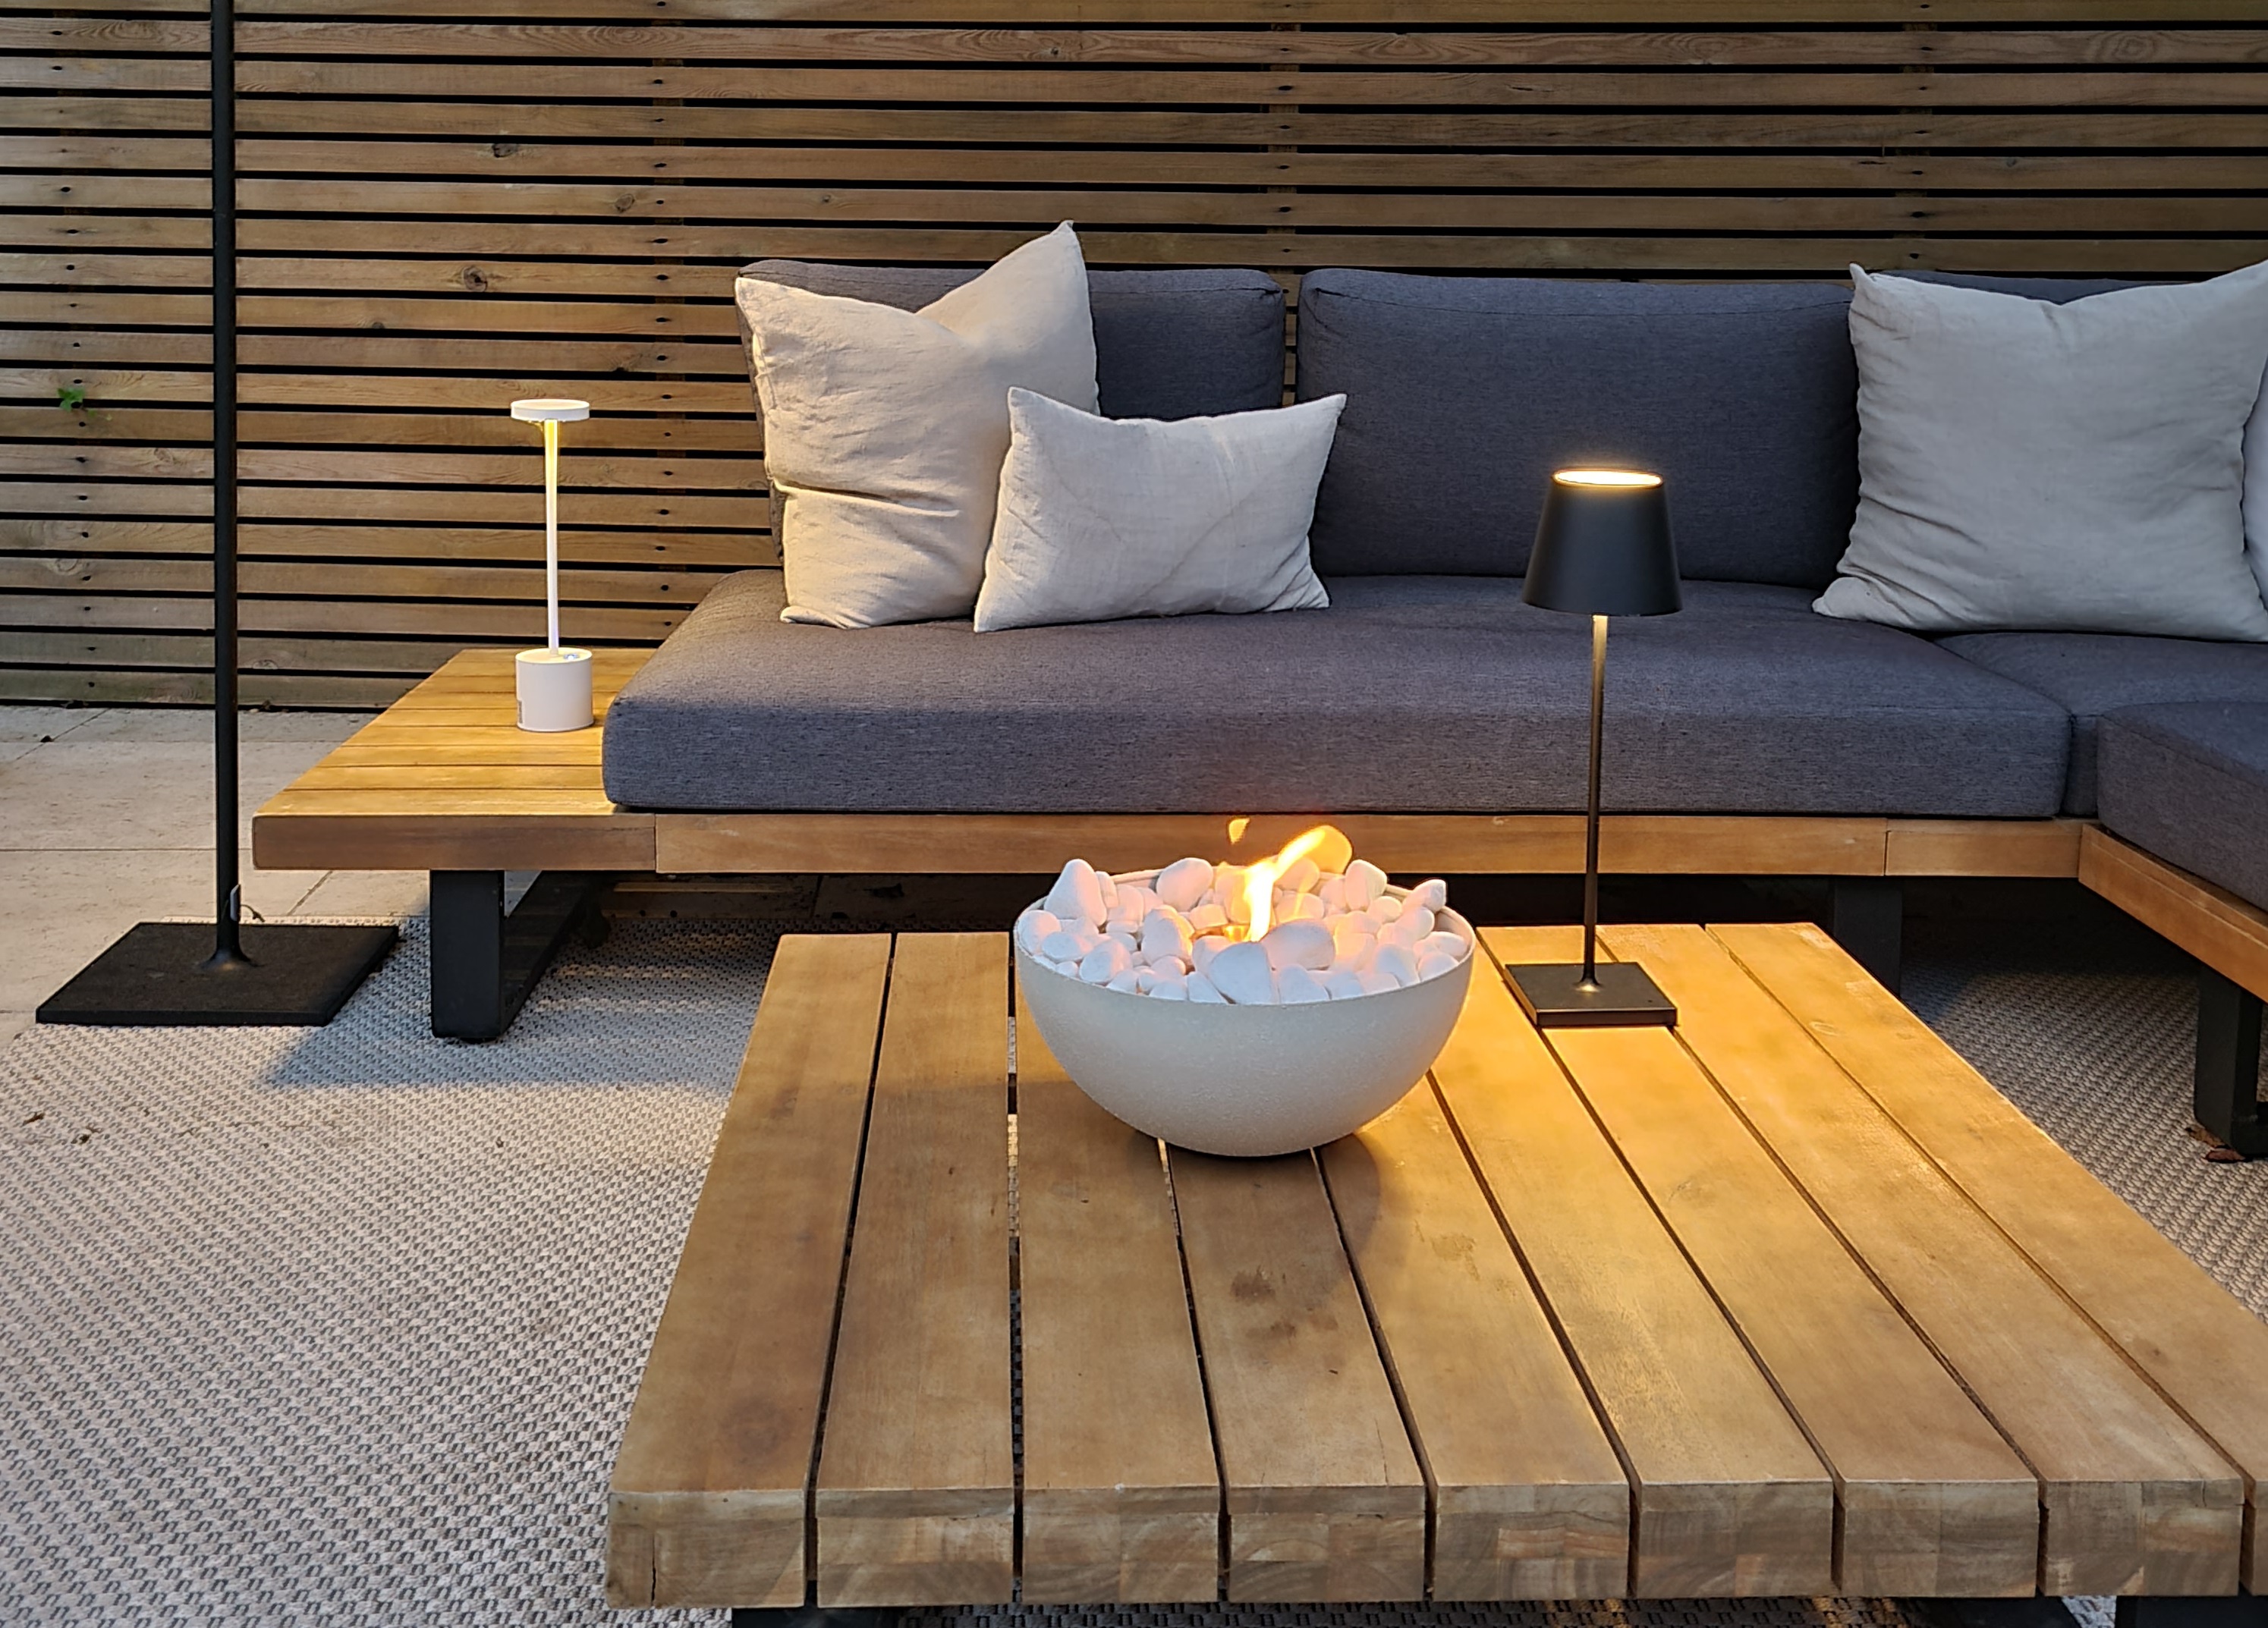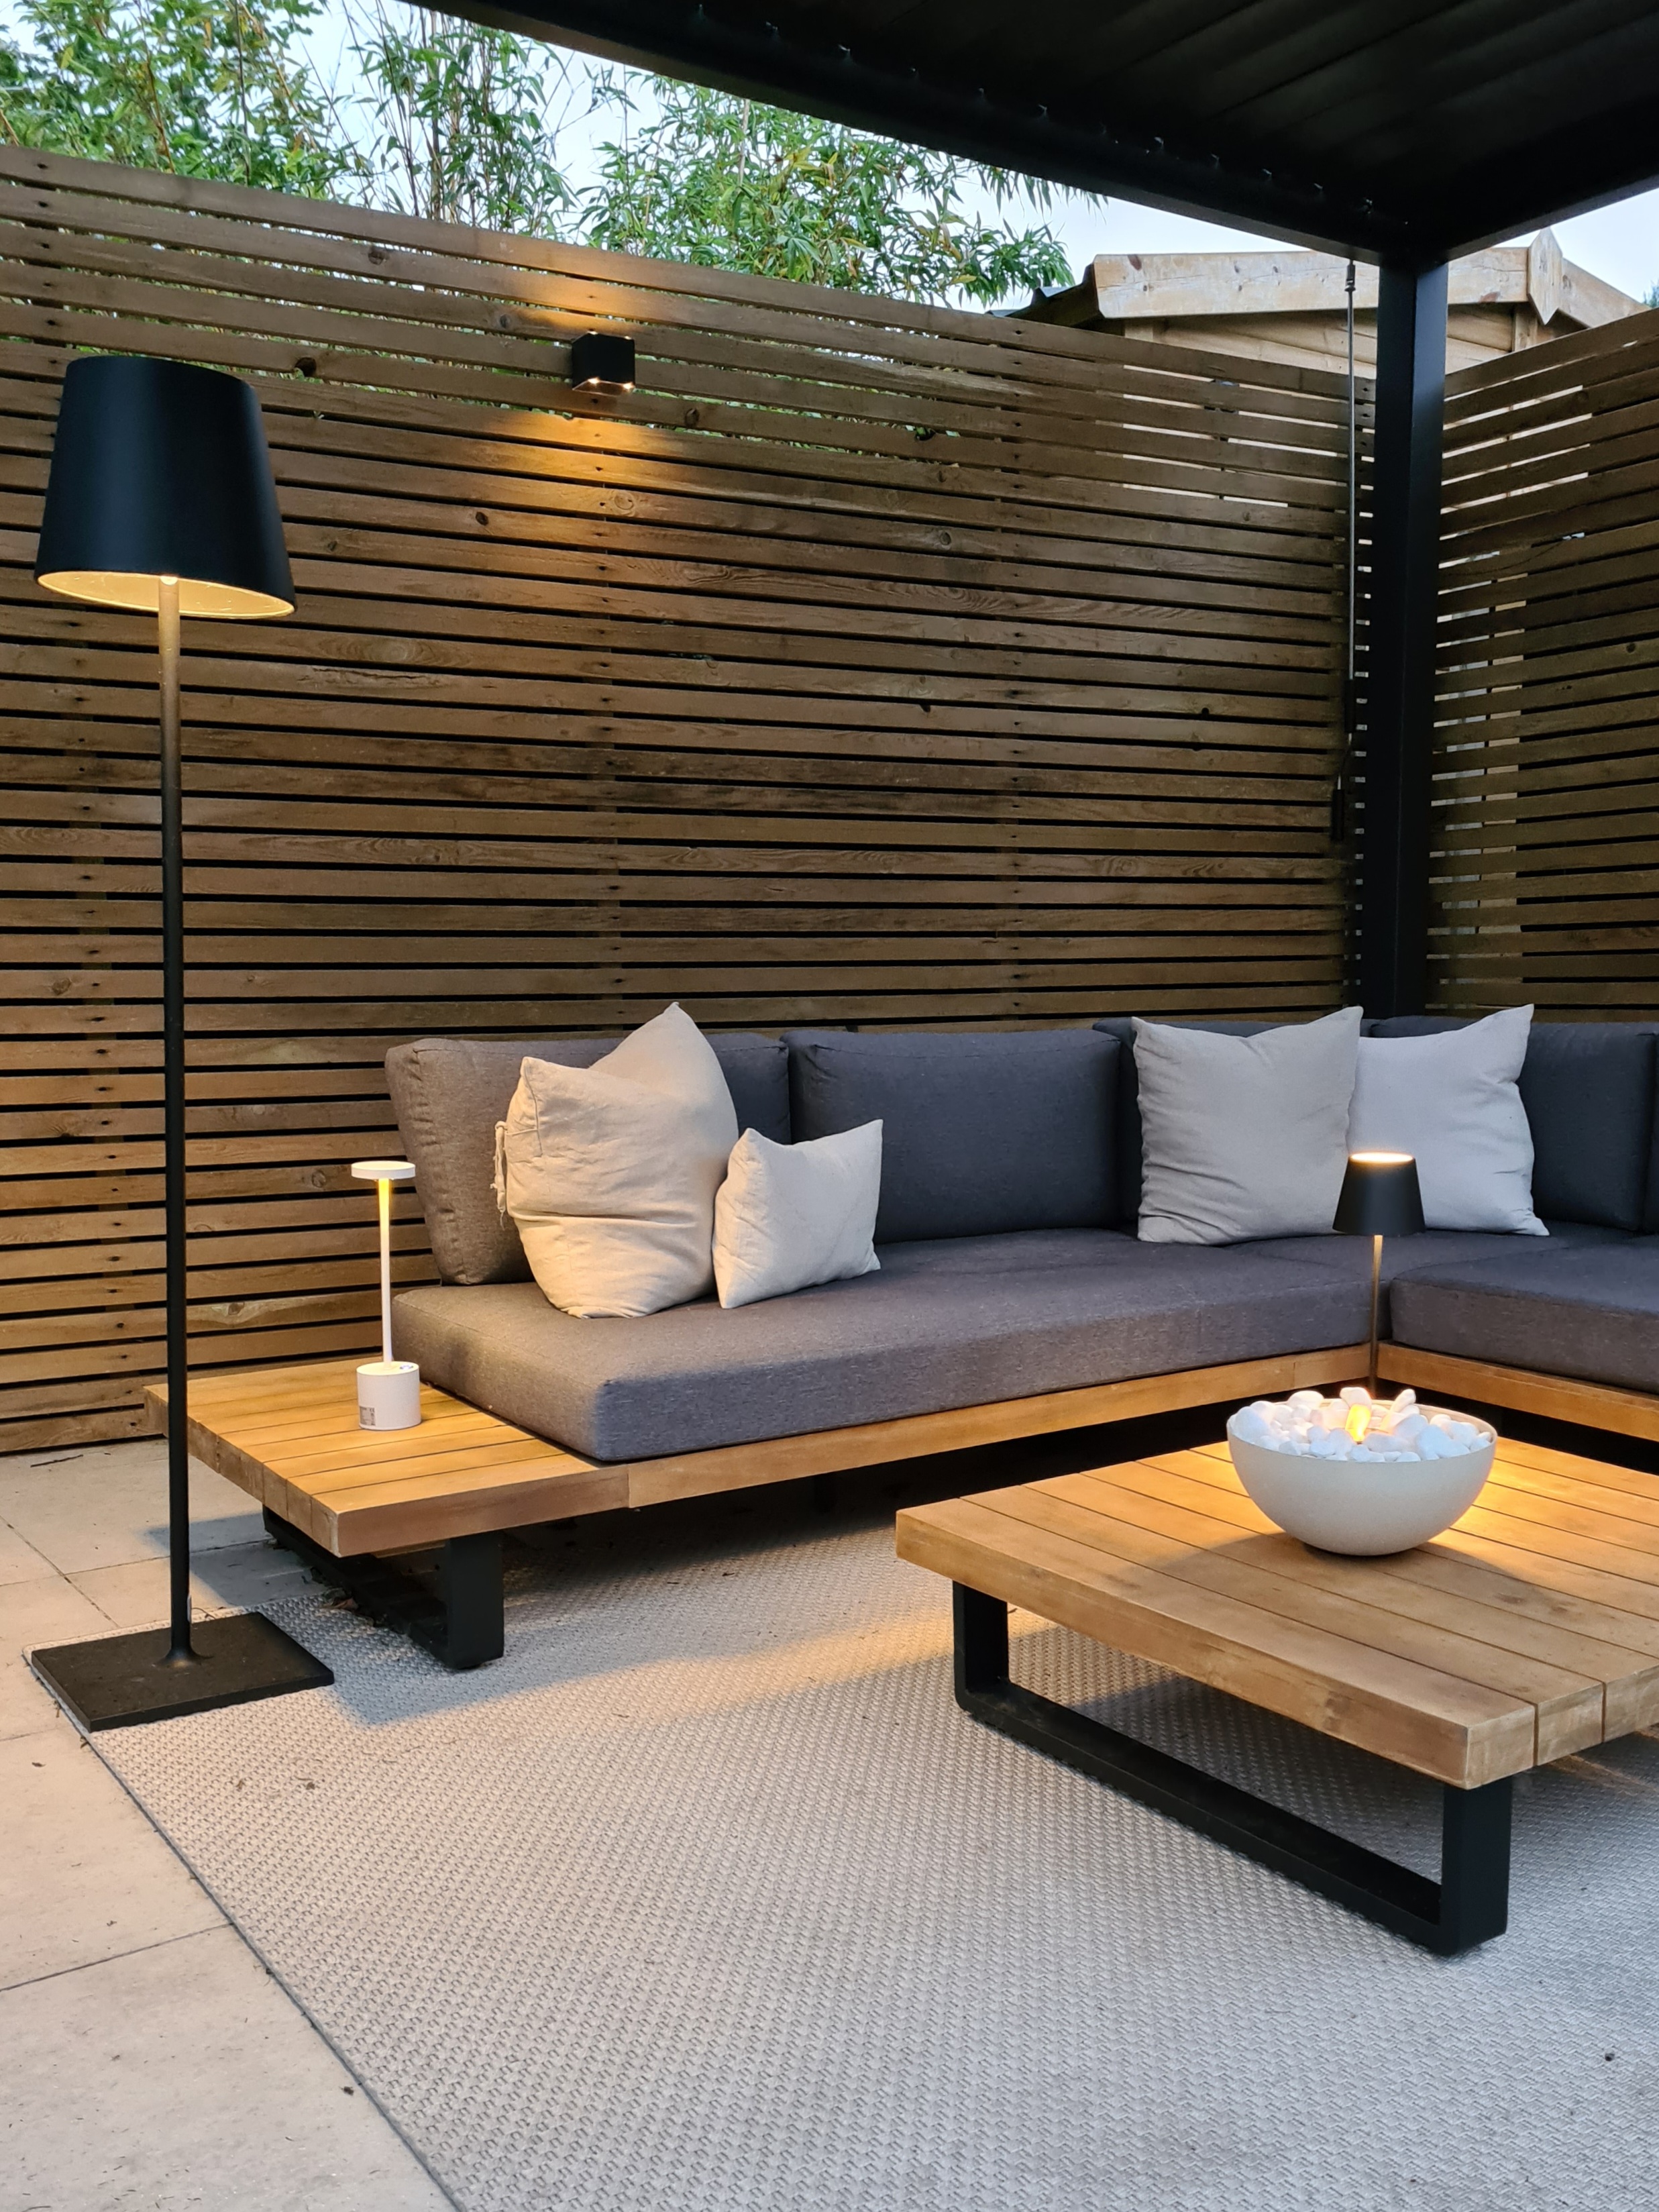
We'll always love an IKEA hack, but by now we've seen virtually every KALLAX, BILLY, and BESTA furniture flip under the sun. If you're looking for one that's smaller, simpler, and seriously cool (or should we say 'hot'), then this trick is for you.
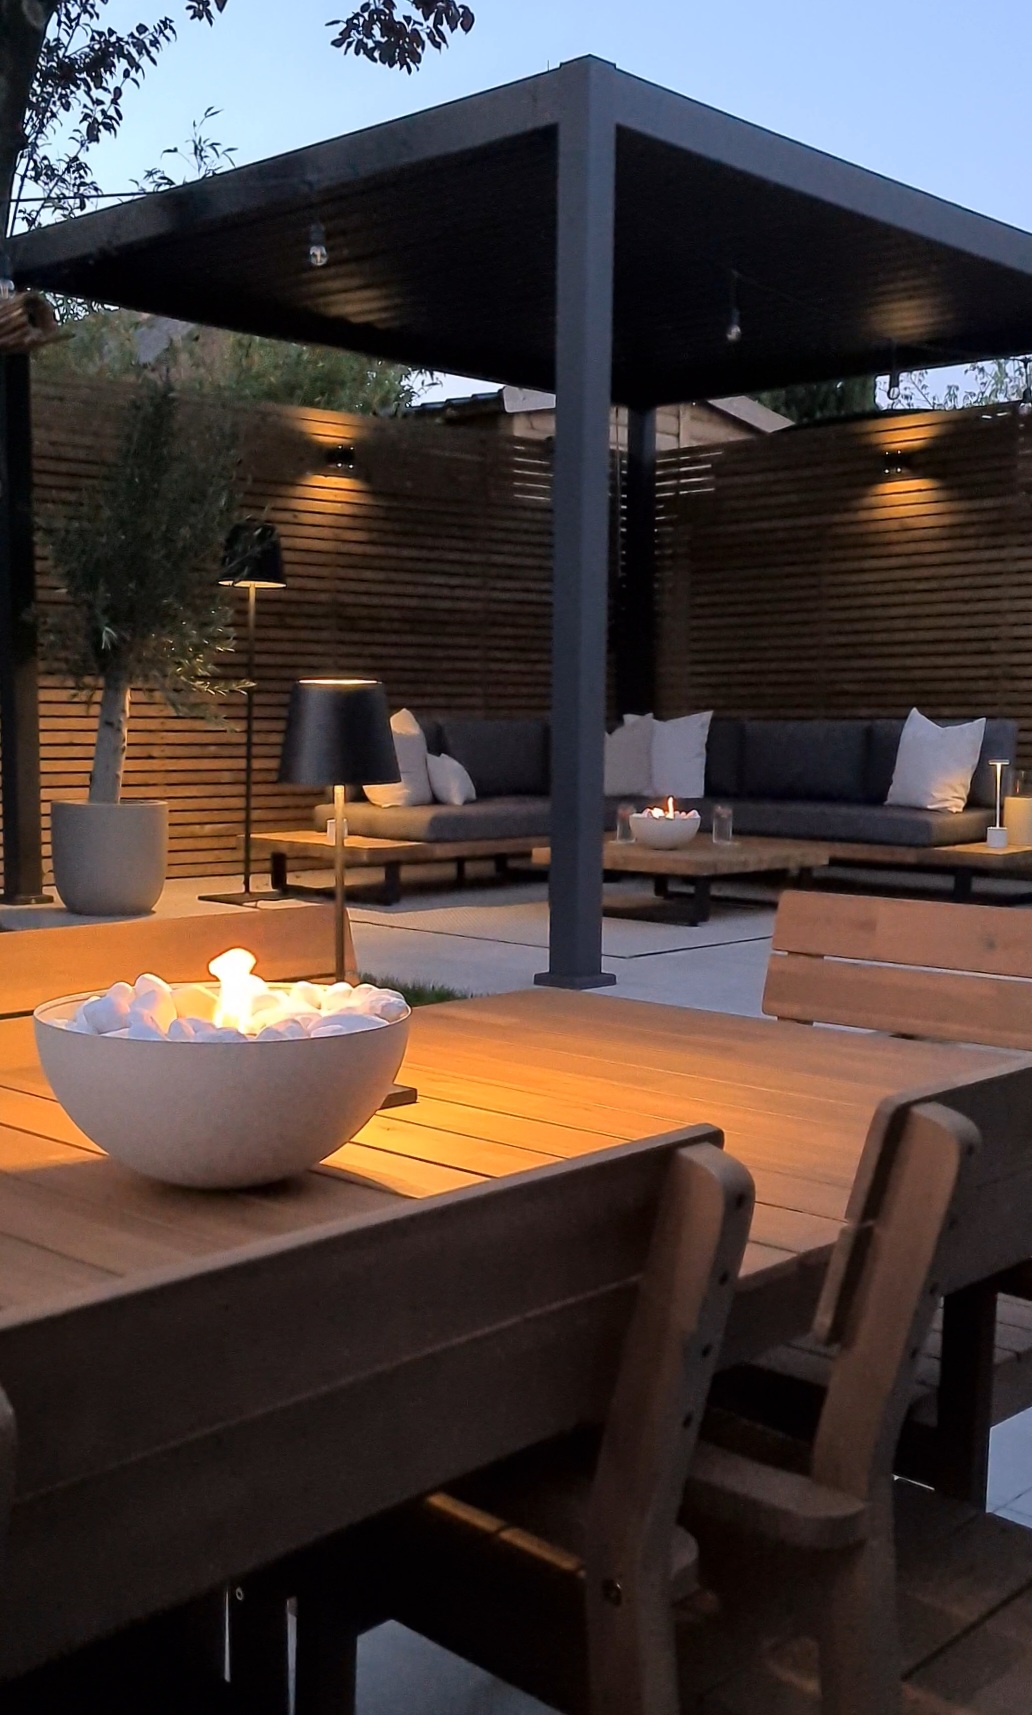
That's right, DIY firepits are a thing now, and they take just 20 minutes to make (minus paint drying time). This clever idea is a courtesy of home renovator Emma Griffiths who shares nifty hacks and home inspiration over on her Instagram (@foreverhome_no1). With a serving bowl, a ramakin, some decorative pebbles, and a coat of paint, she's created a professional-looking tabletop firepit to cozy-up her outdoor space, and we're totally obsessed with the result.
Here, Emma talks us through the steps involved in making her fire bowl IKEA hack so that you can make your own (just in time for late summer evenings spent outside!)

We'd all love a firepit in our backyard, but not all of us have the space (or budget) for a full-sized one. Eager to add a hint of luxury to her outdoor seating area, Emma turned to this IKEA hack, and it's super cheap and easy to make.
'I love a good DIY project and this simple fire bowl, taking 20 minutes to make, is a perfect way to modernize your outdoor seating or dining area,' she says. All you need are four items︎: a BLANDA BLANK serving bowl from IKEA,︎ a GRILLTIDER sauce bowl (also IKEA)︎, some decorative stones, and some textured stone-effect spray paint. 'I used an ivory as the base coat and a bleached stone paint from Rustoleum,' Emma adds. 'Using any leftover paint is a great way to keep costs down.'

To create this mini firepit, Emma started by spray painting the larger bowl with an ivory shade on the inside and out. 'I then sprayed a coat of the bleached stone, just on the outside,' she says. You can use any color you like, and you can skip the textured effect if you want to make the job even easier.
'Once dry, I filled the bowl with the stones, leaving a small well in the middle for the metal oil bowl,' Emma explains. 'The only thing remaining was to add some bioethanol oil and light.' These cleaning burning fuels are odorless, smokeless, and sustainable, and it's totally safe when used correctly. Once you've filled the smaller ramakin with the oil, simply use a safety gas lighter to ignite. The vessel will keep your small flame contained for an alluring glow.
'I chose a relatively small oil holder for this project, so it does need refilling every 30 minutes, but a larger metal bowl could be used to hold a greater quantity of oil for that longer burn time,' notes Emma. 'I think what is great about this, is that you can scale this project to your needs.'
If you want to go bigger for a longer-lasting flame, we found this larger ramakin at IKEA which would do the trick. 'If you have a bigger table or seating space, you could use a larger metal bowl, or you could even make a version for the floor,' Emma adds.

That really is all there is to it, and we're so mesmerized by the finished result. It adds a convivial feel to your outdoor space and makes the perfect centerpiece when placed on an outside dining table, perfect for these end-of-summer evenings as the nights draw in. 'I love how it adds that cozy feel to my modern outdoor space,' says Emma. 'Adding some ambient lighting makes it the perfect set-up!'
Looking for a quick and simple weekend project? Give this idea a try and make the most of your garden before summer comes to an end!


