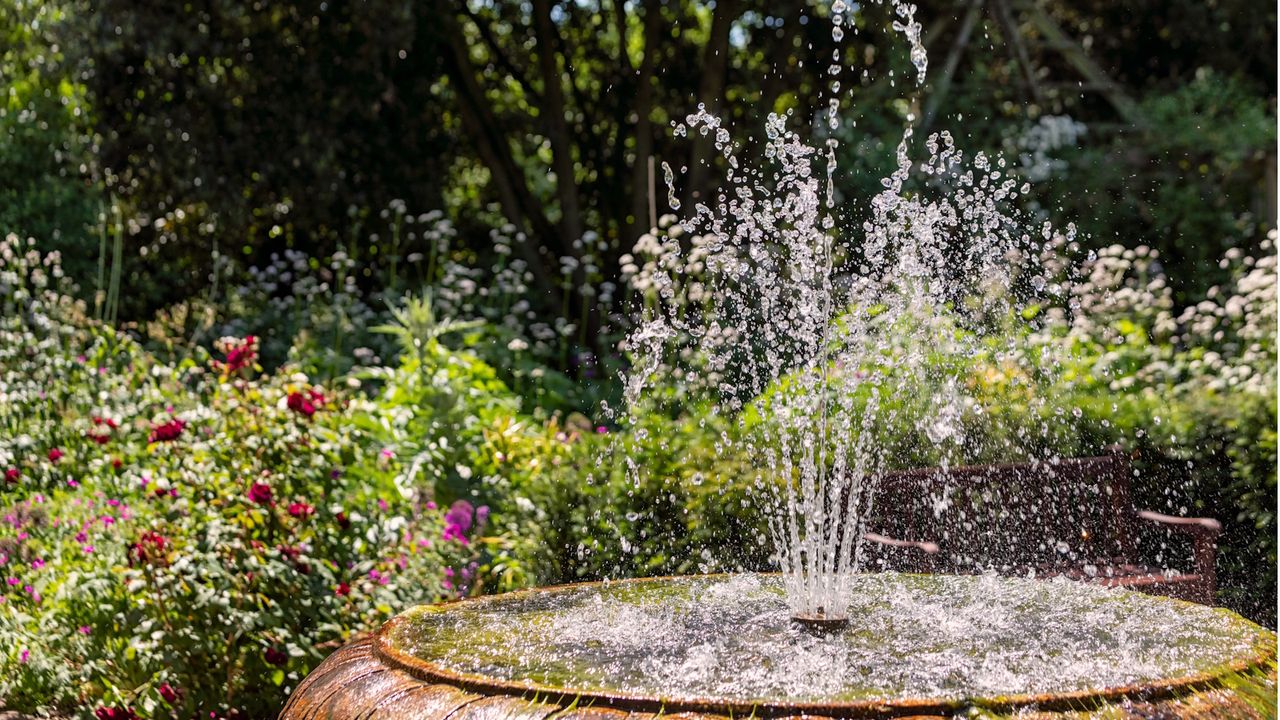
There are so many reasons to incorporate a fountain in your yard. Not only is it soothing to listen to and watch, it also provides a vital resource for wildlife. But you don't need to spend hundreds of dollars on a fancy one, you can actually make a DIY solar fountain planter with just a few materials.
It's a garden fountain idea that places a solar fountain pump (like this from Amazon) in a planter alongside colorful, nectar-rich blooms to create a botanical spectacle for your patio. It's super quick and easy to make and you can personalize it to effortlessly slot into your garden's landscape.
You can repurpose items you already have to put this DIY together and it only takes 5 steps – here's how to do it.
How to Make a DIY Solar Fountain Planter
To make this DIY water feature you need a few things to hand:
- Large planter (I personally love how earthy tones look in a container garden, so this large terracotta planter from Wayfair is my pick)
- Basin or bowl, not too shallow so it can hold a fair volume of water (this bowl planter on Amazon works well)
- Solar fountain (this floating one from Walmart is a good choice)
- Up to 3 of your favorite bedding or container garden plants
1. Fill Your Planter
The first step in creating this DIY solar fountain planter is filling the planter up with growing medium for your plants.
Of course, having to purchase lots of potting mix can be both expensive and wasteful, as you can rather fill the bottom of a large planter with things like twigs, cardboard, and rocks – this will also improve drainage in your planter.
You can then fill the top two thirds with a nutrient rich potting mix (like this Miracle Gro one from Lowe's) to provide ample growing space for your plants.
Make sure to leave some space at the top for your plants and the basin.
2. Place the Basin
It's easiest to put the basin in place before the plants to avoid accidentally damaging them.
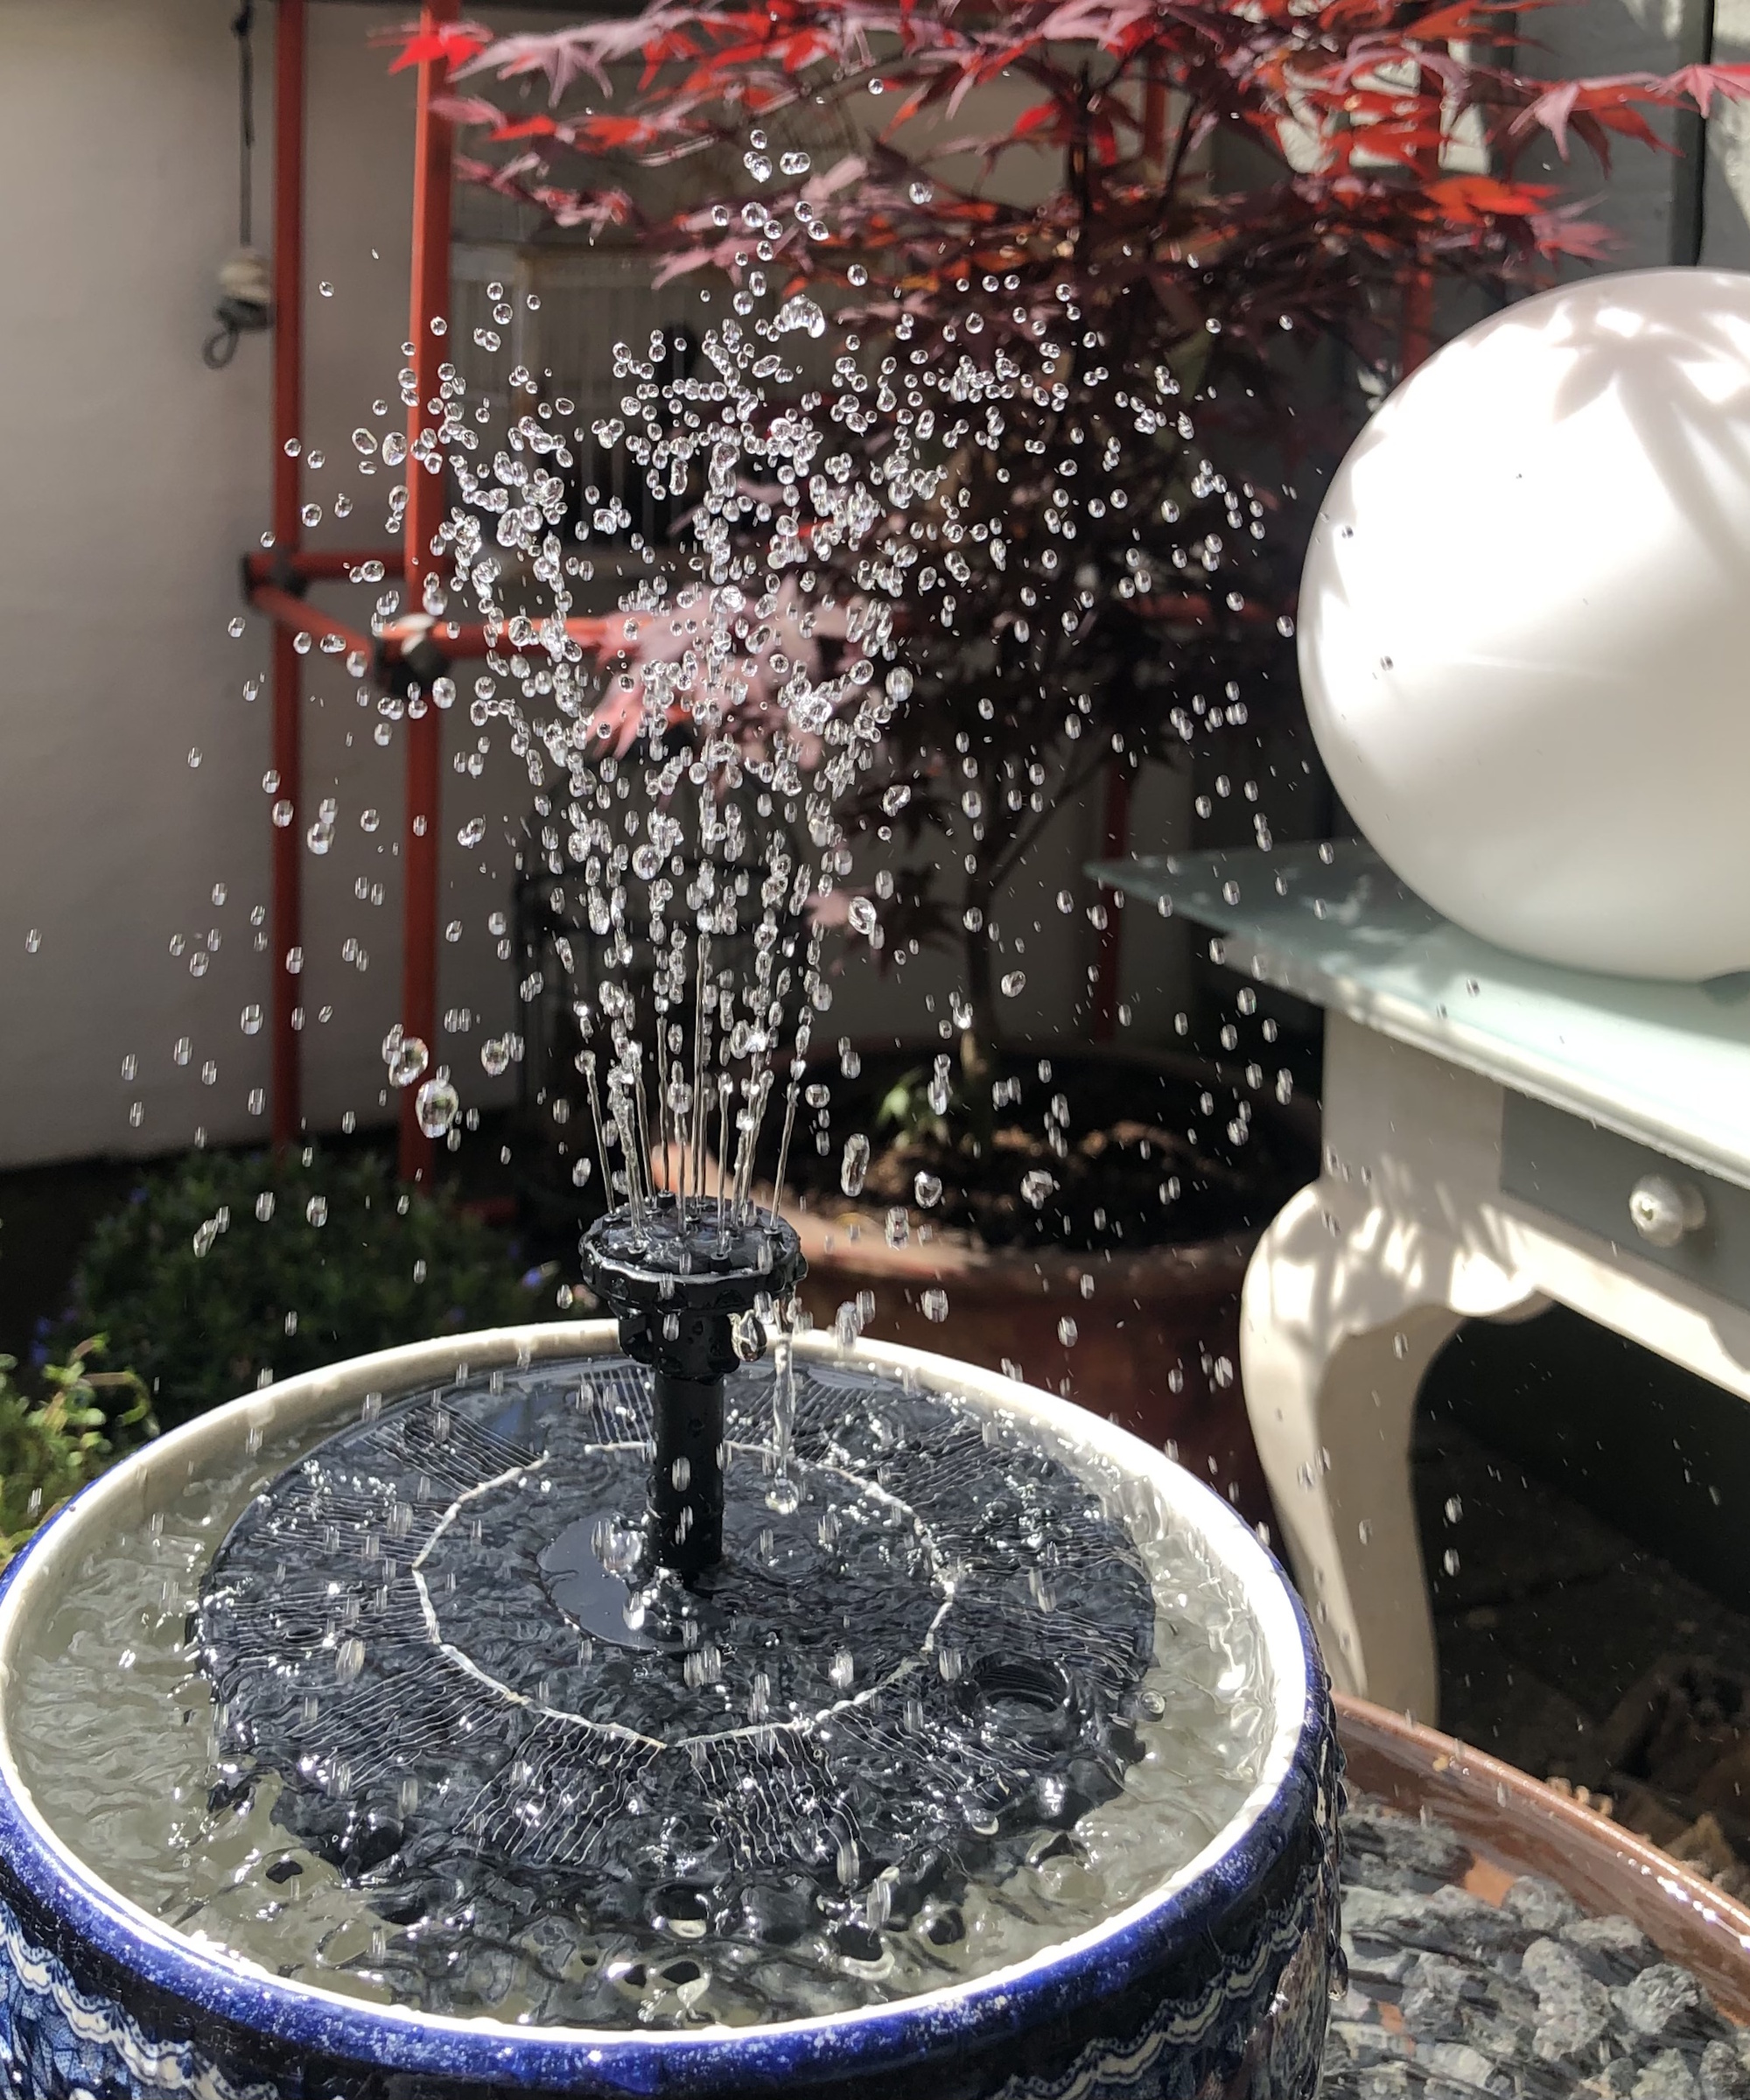
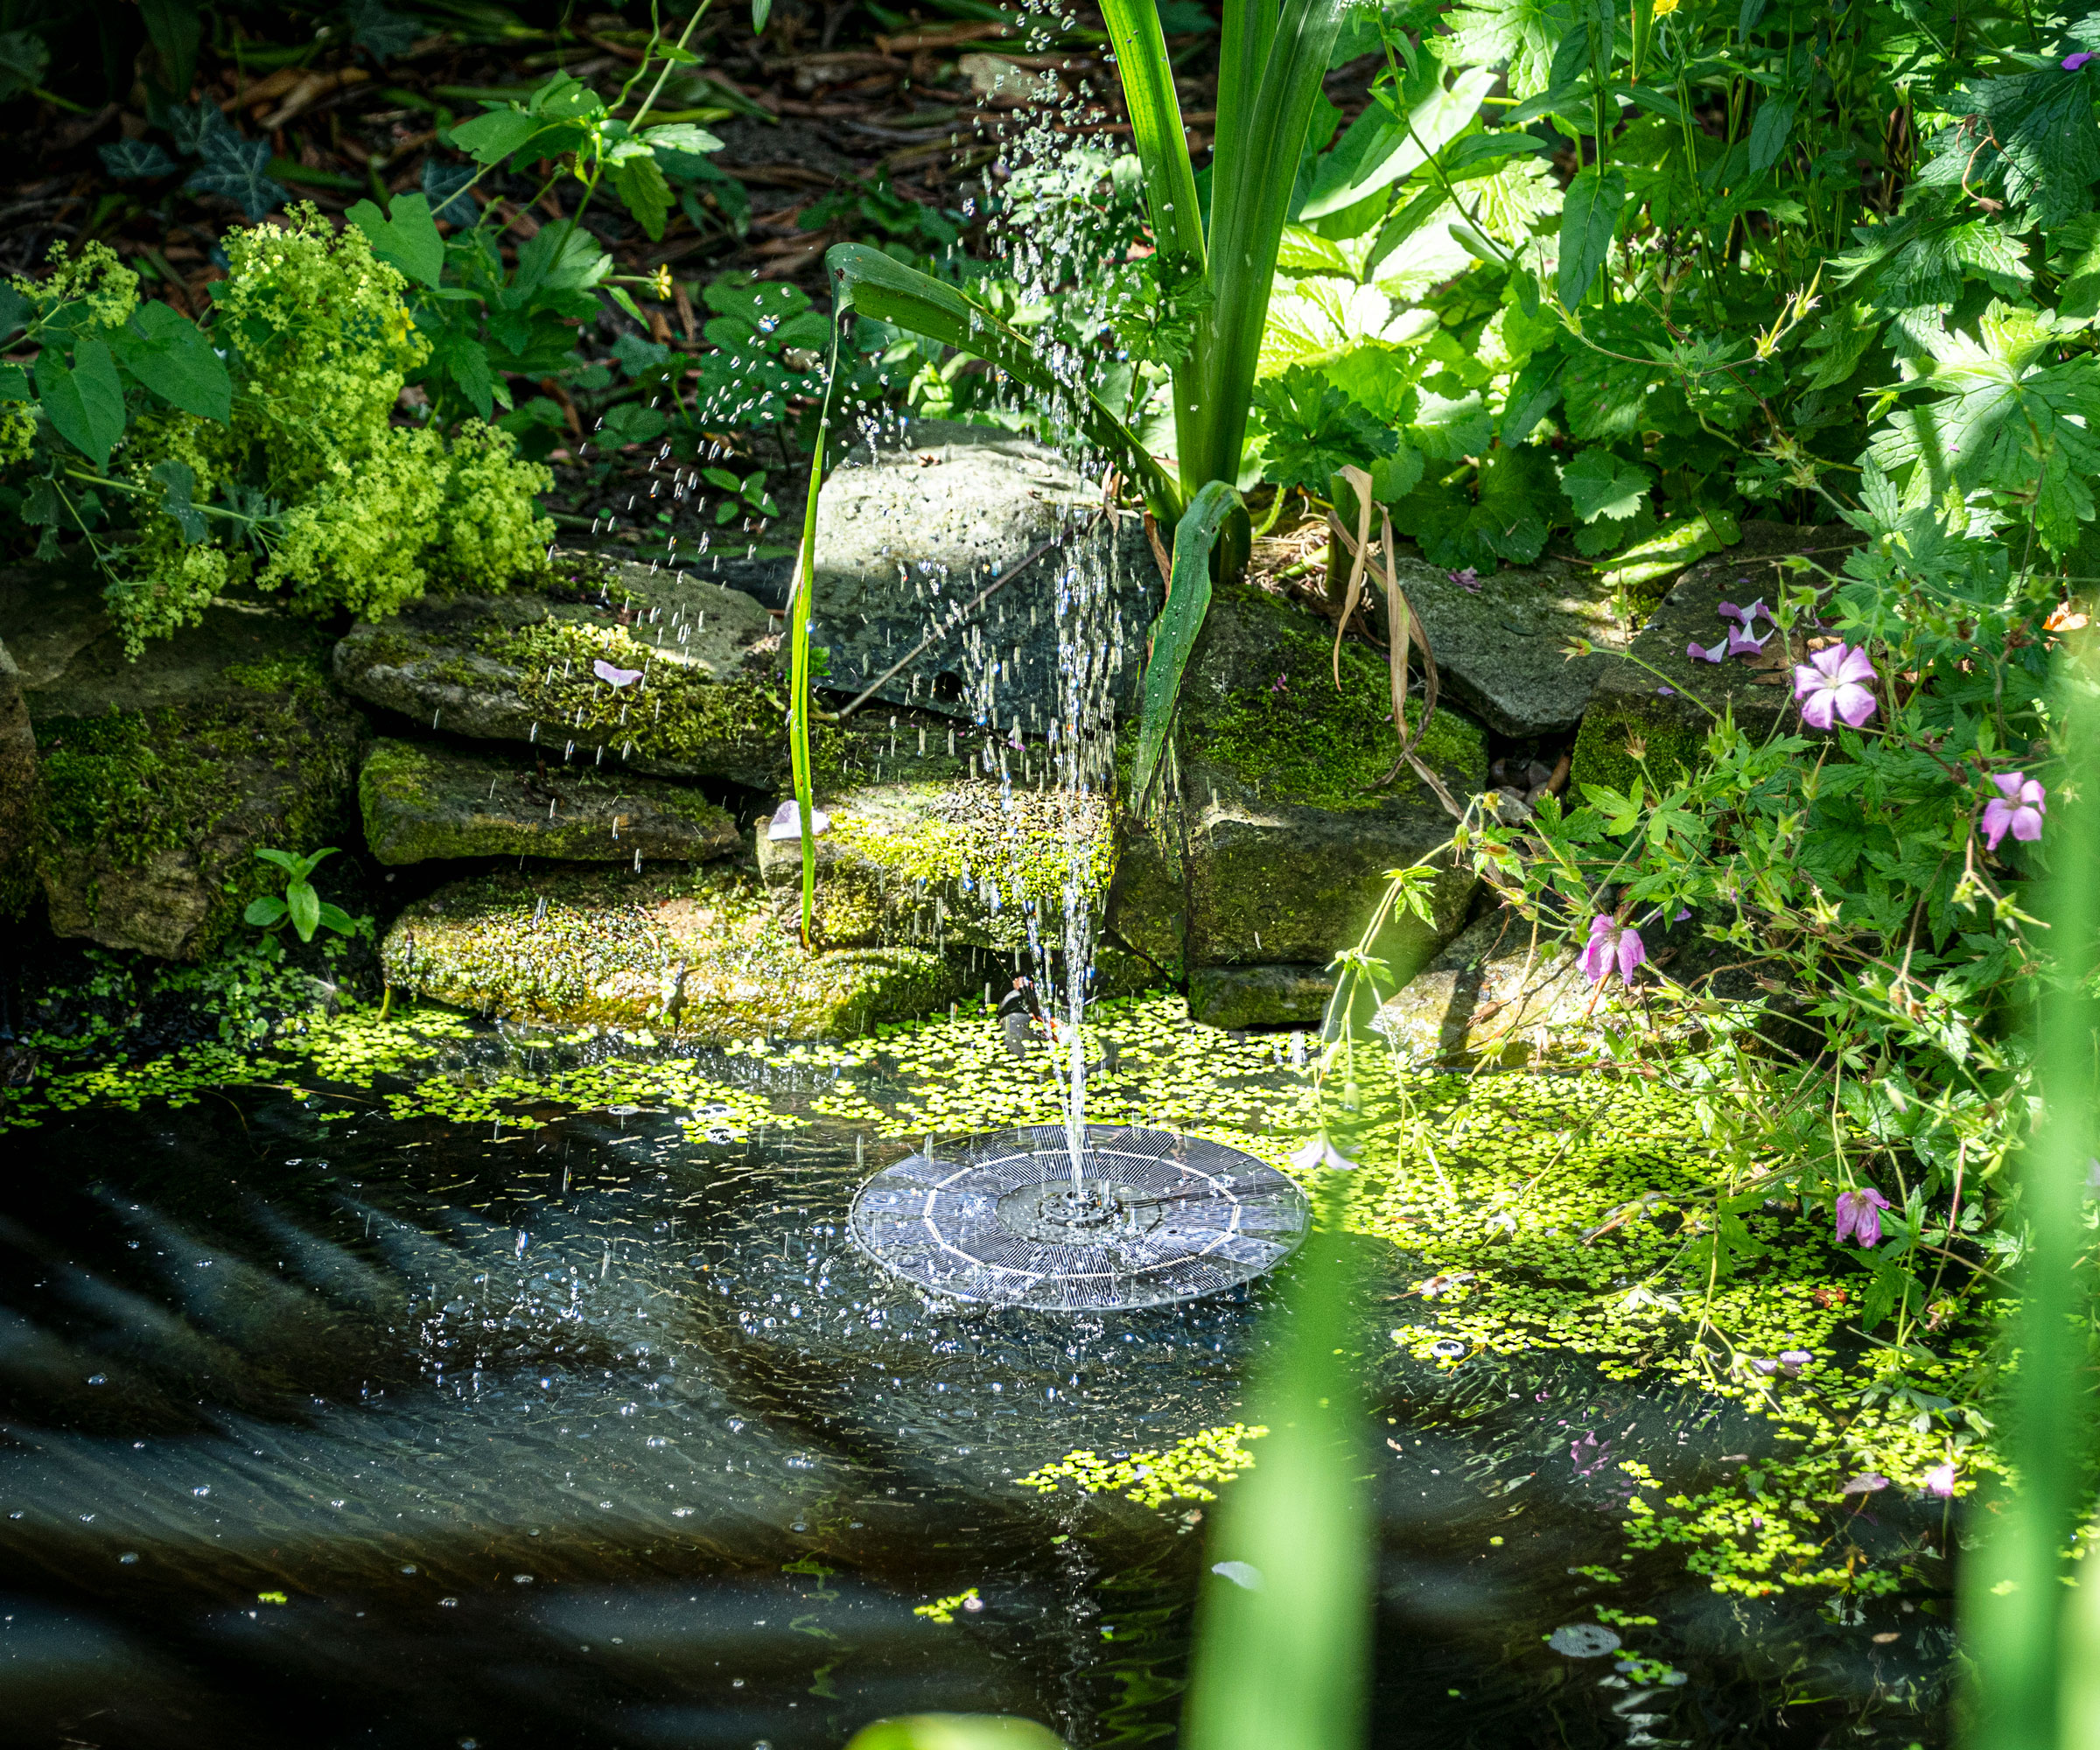
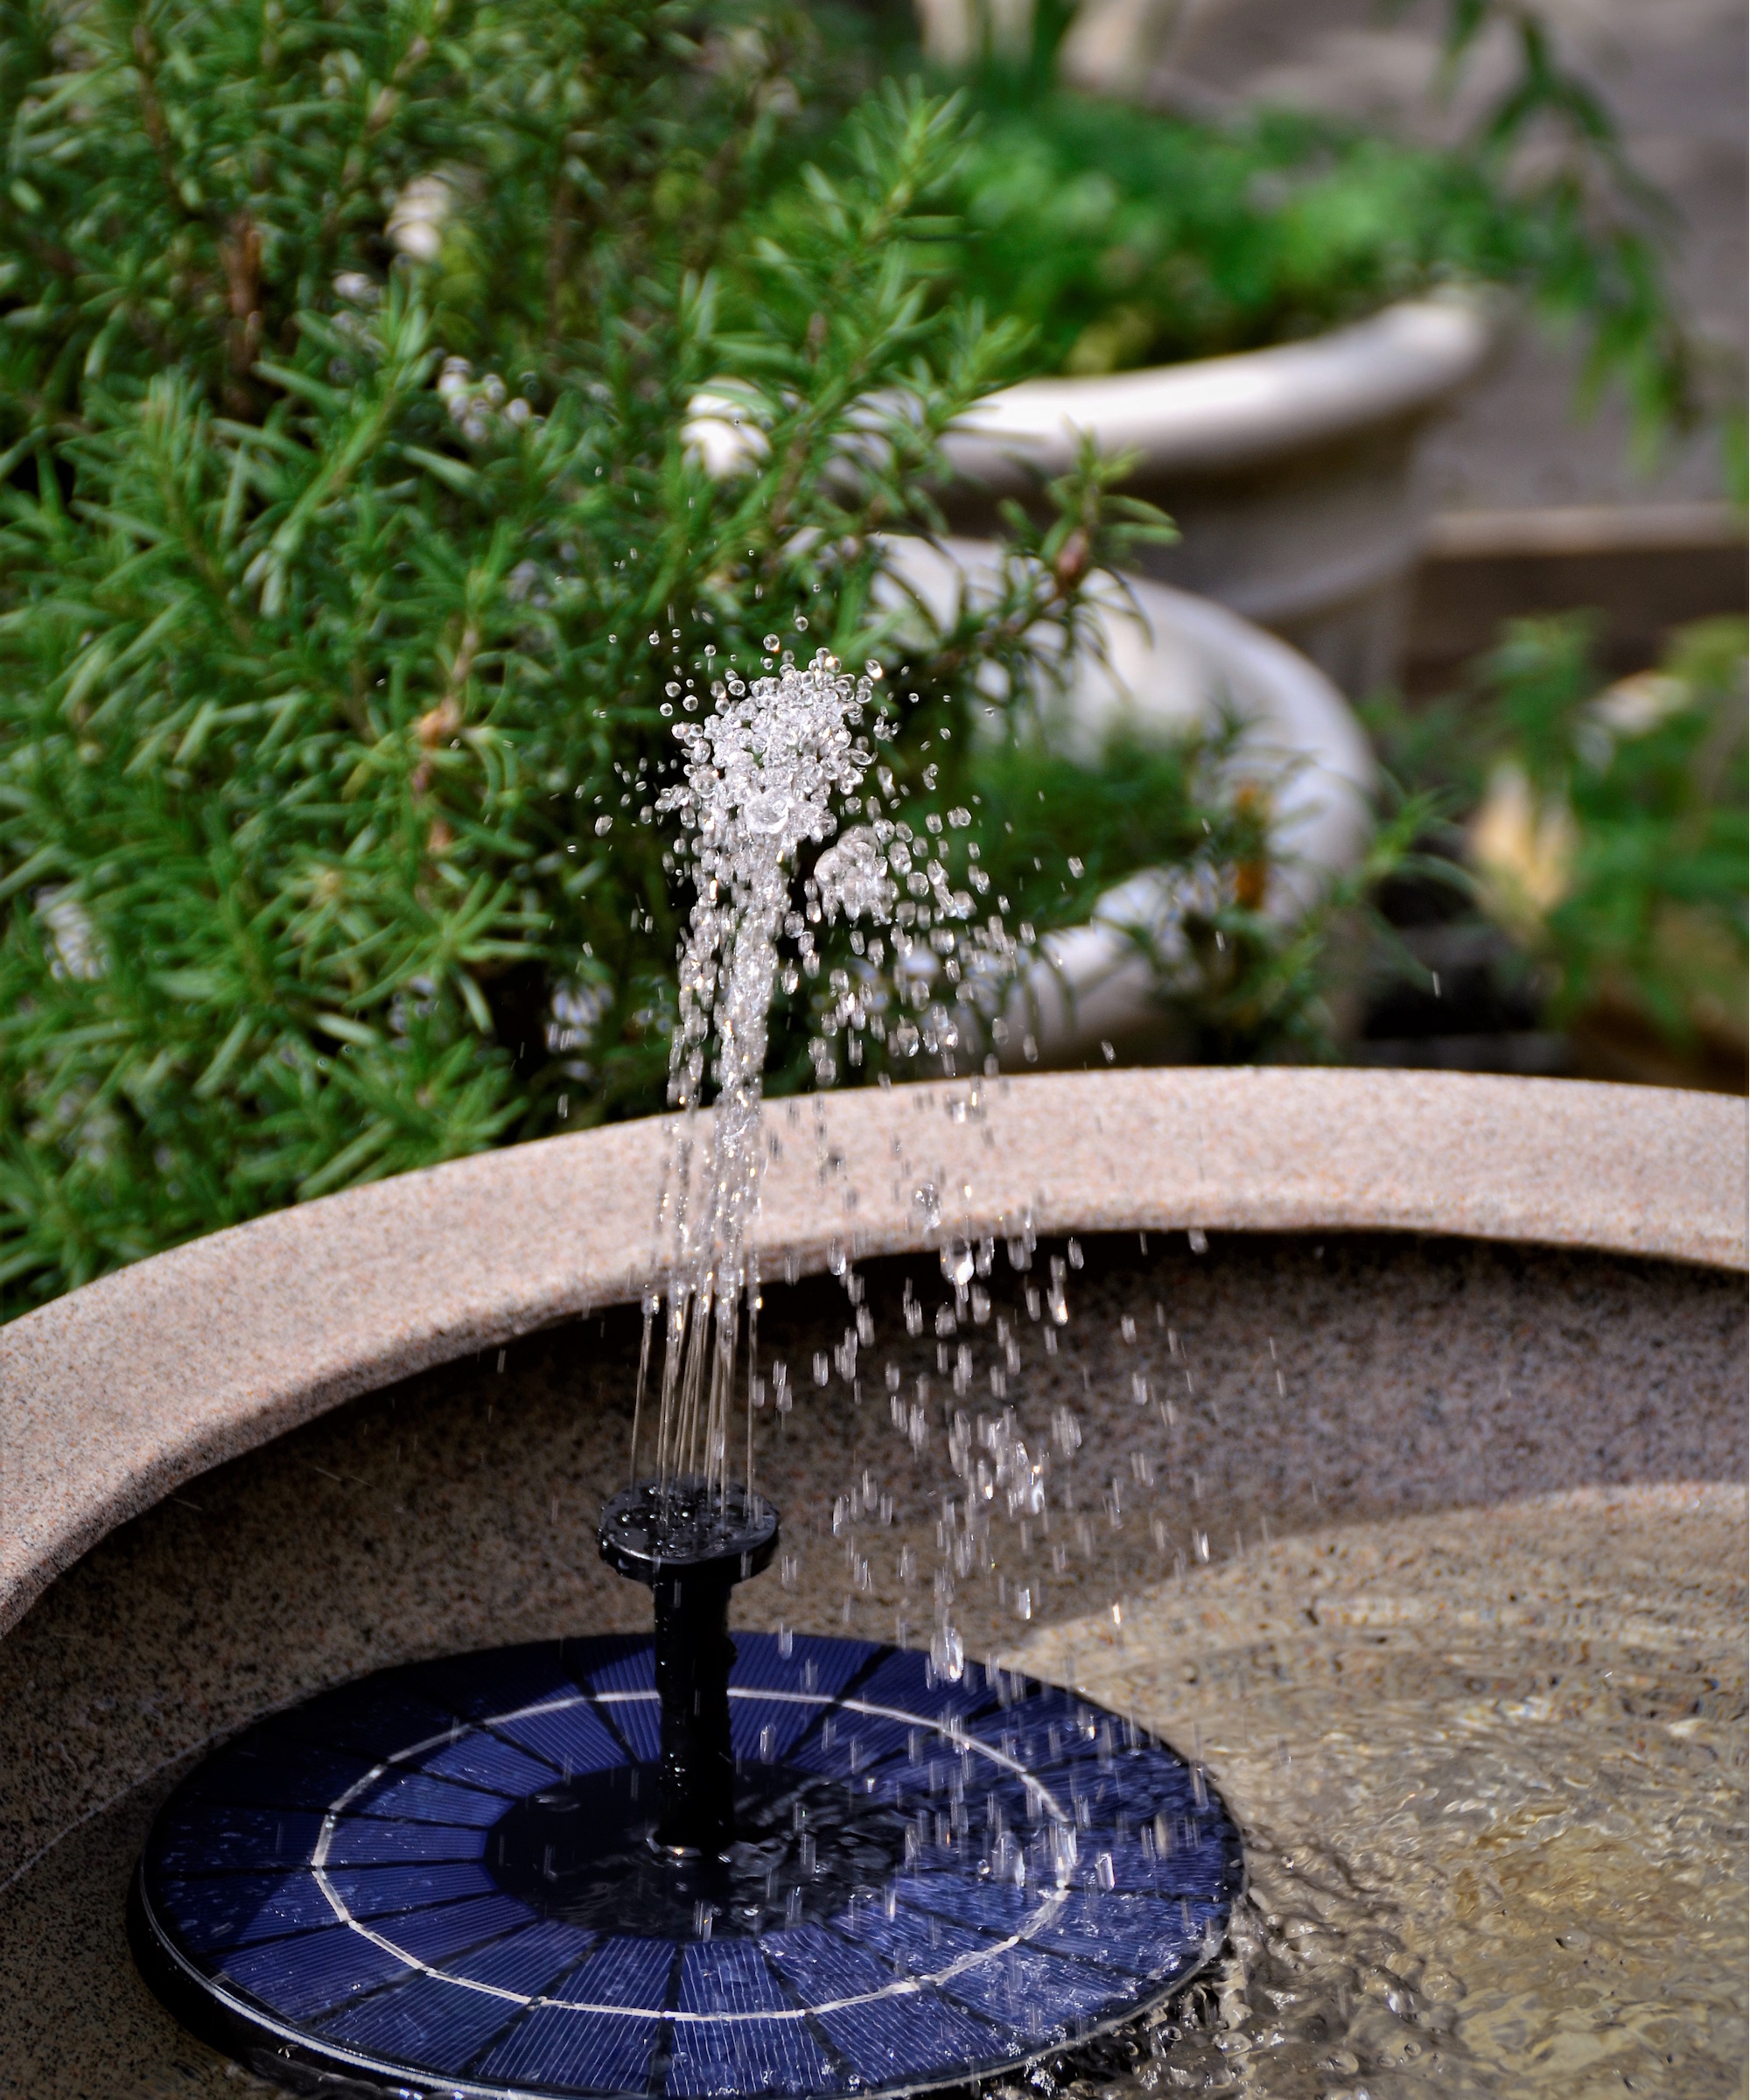
Your basin needs to be deep enough for the solar fountain to operate, so it's worth checking on the manufacturer's instructions. Generally speaking, a floating solar fountain (like this from Amazon) requires a vessel at least 3-4" in depth.
This bowl planter from Amazon makes a good basin for this DIY.
You can place your basin however you like, but I find it most effective to have it in the foreground and slightly off-center. The planting will then create a pretty floral background for your water feature.
Ideally, you want the basin to sit flush to soil surface, so add in potting mix to secure it into place. Or, you can choose to have it sitting on surface level to make it more prominent, which you may wish to do if you have a particularly decorative basin (like this copper bowl from Wayfair).
3. Add Your Plants
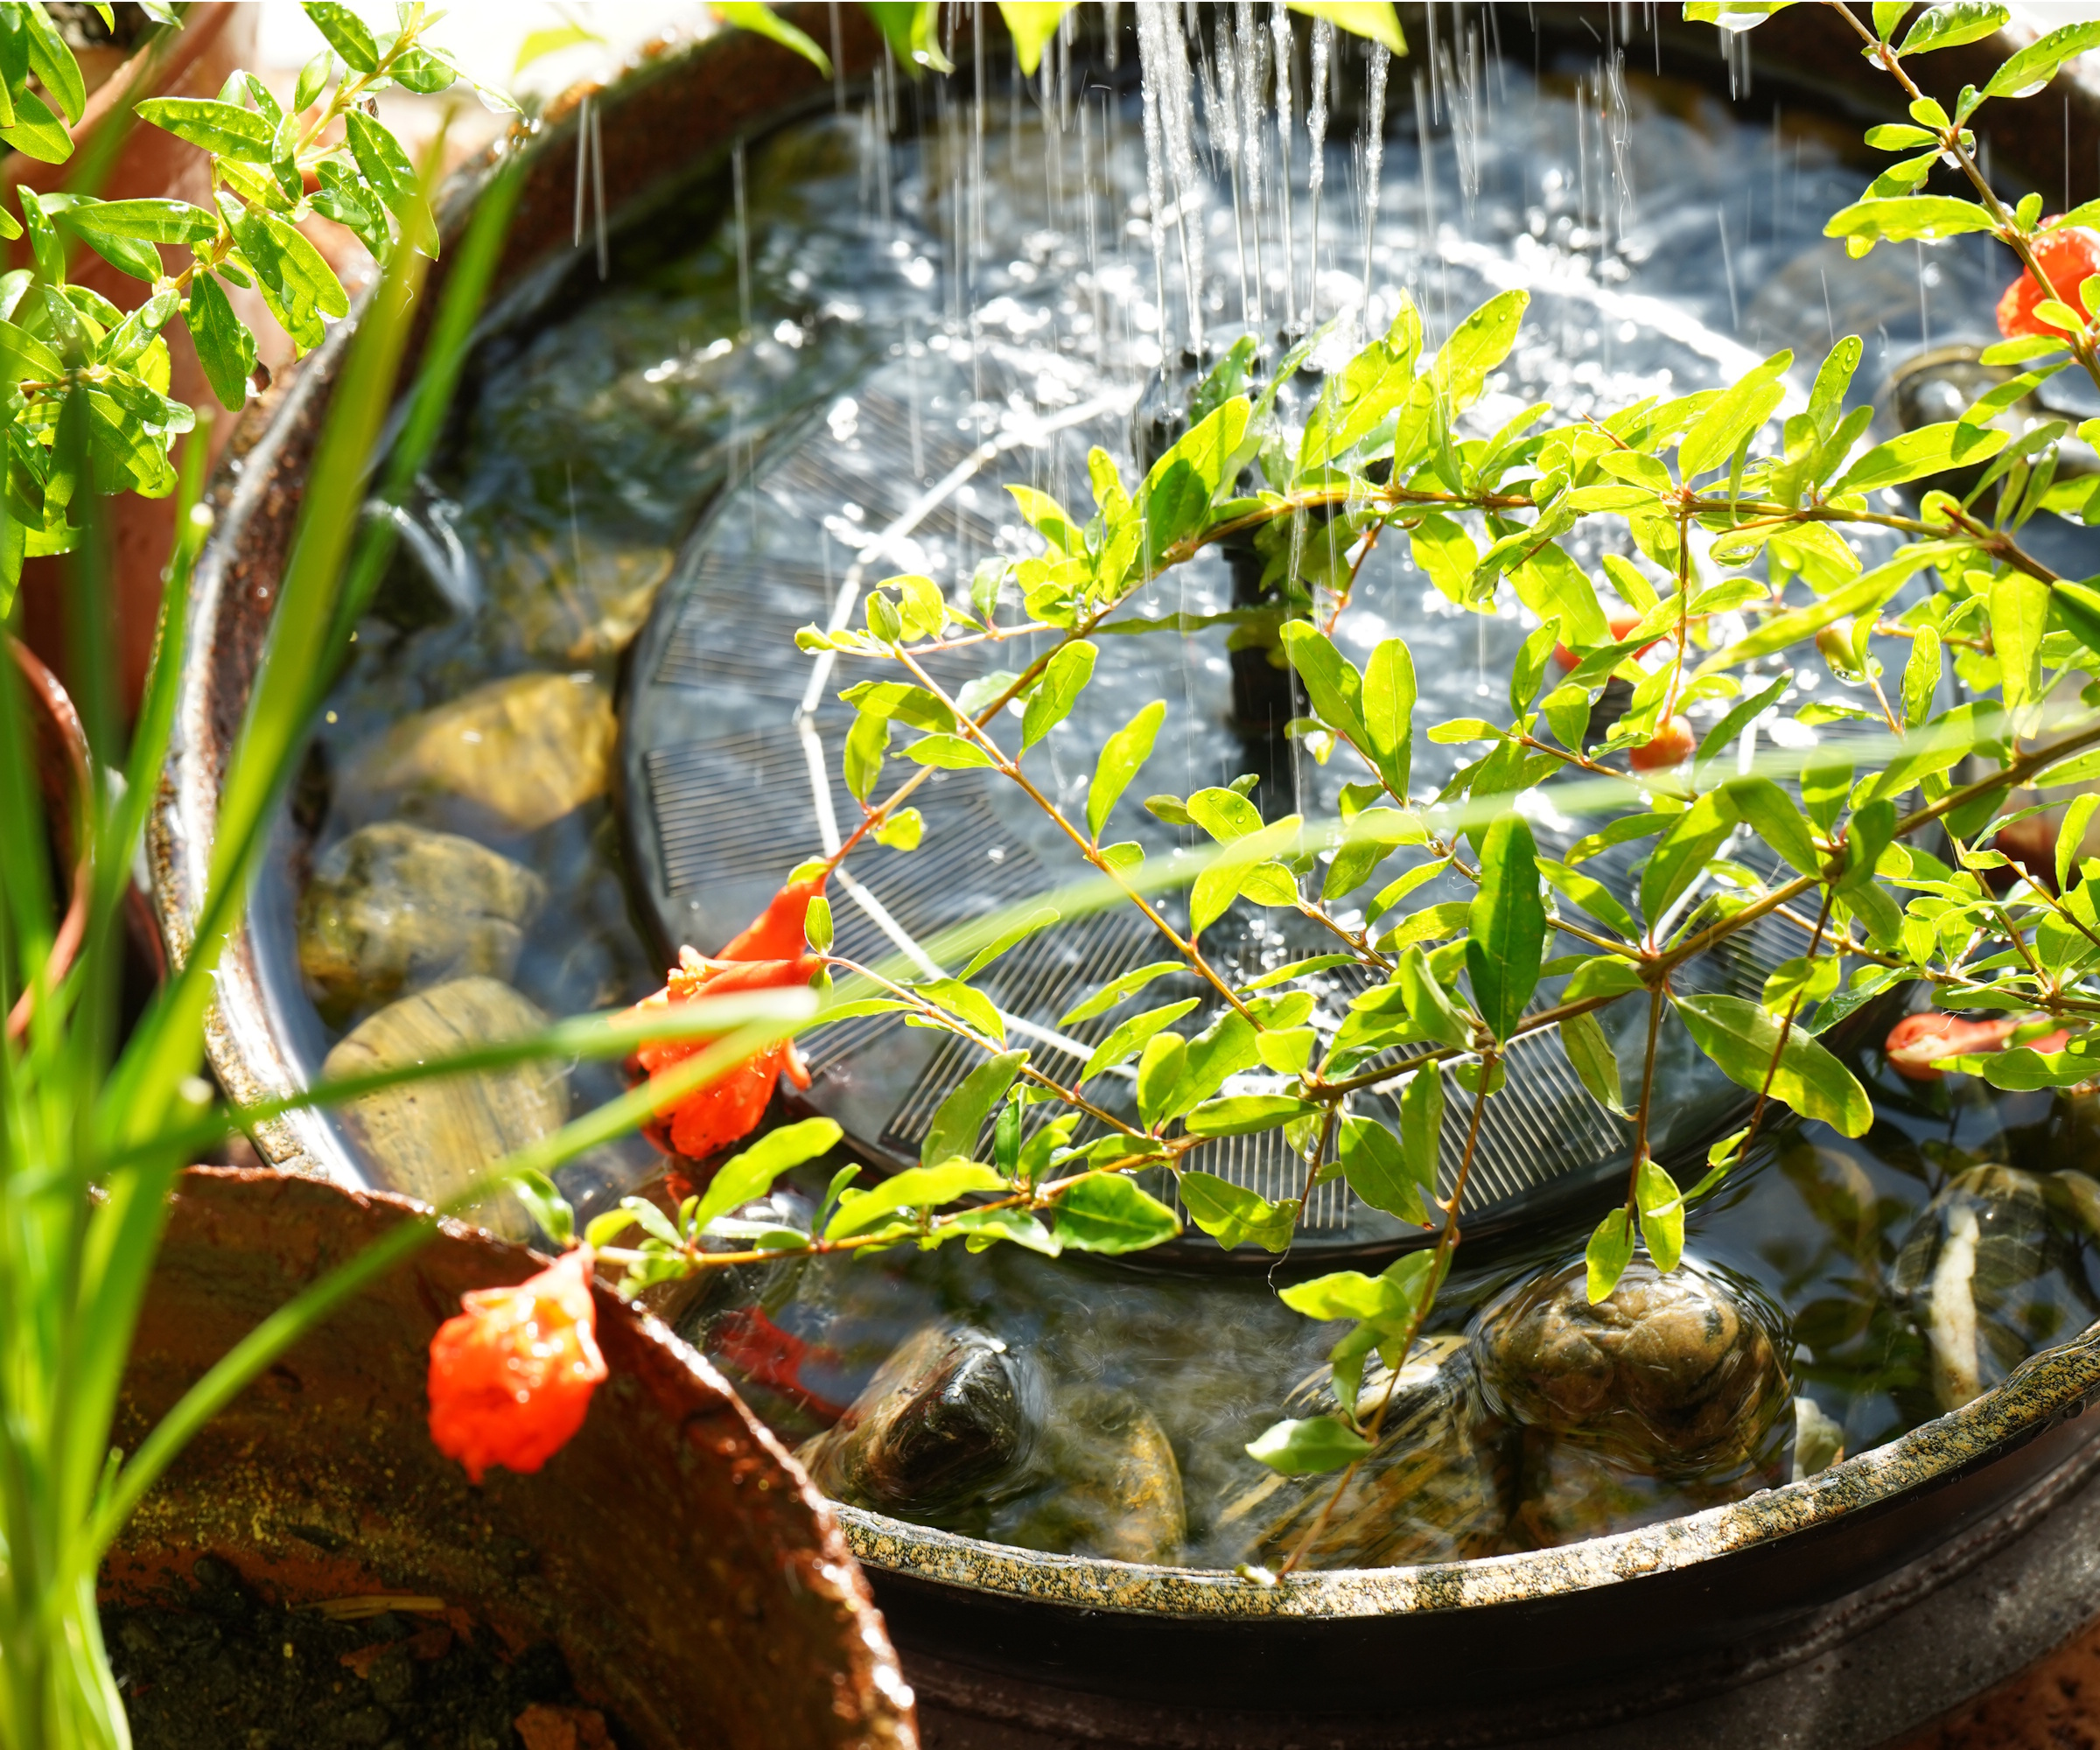
With the basin in place, you can now add in your planting.
Arrange it in a way that creates a soft background and immerses the fountain for best results.
I personally like to follow thriller, spiller, filler container rules with three plants that add visual interest at three heights.
By having a trailing plant near the front of the arrangement, you can create a beautiful cascading effect, spilling over the side of the pot. I find this makes the container look more lived-in and naturalistic.
One of the best container plant pairings that thrive on neglect and will grow well in the sunny position required for the solar fountain to operate is lavender and thyme (you can find lavender plants at Walmart and thyme seeds at Burpee). This will bring fragrance to your planter, too.
Make sure not to overcrowd your container, as you don't want to hinder your plants' ability to grow. Three is a good number for a large planter, so long as you can provide the required spacing for each of them.
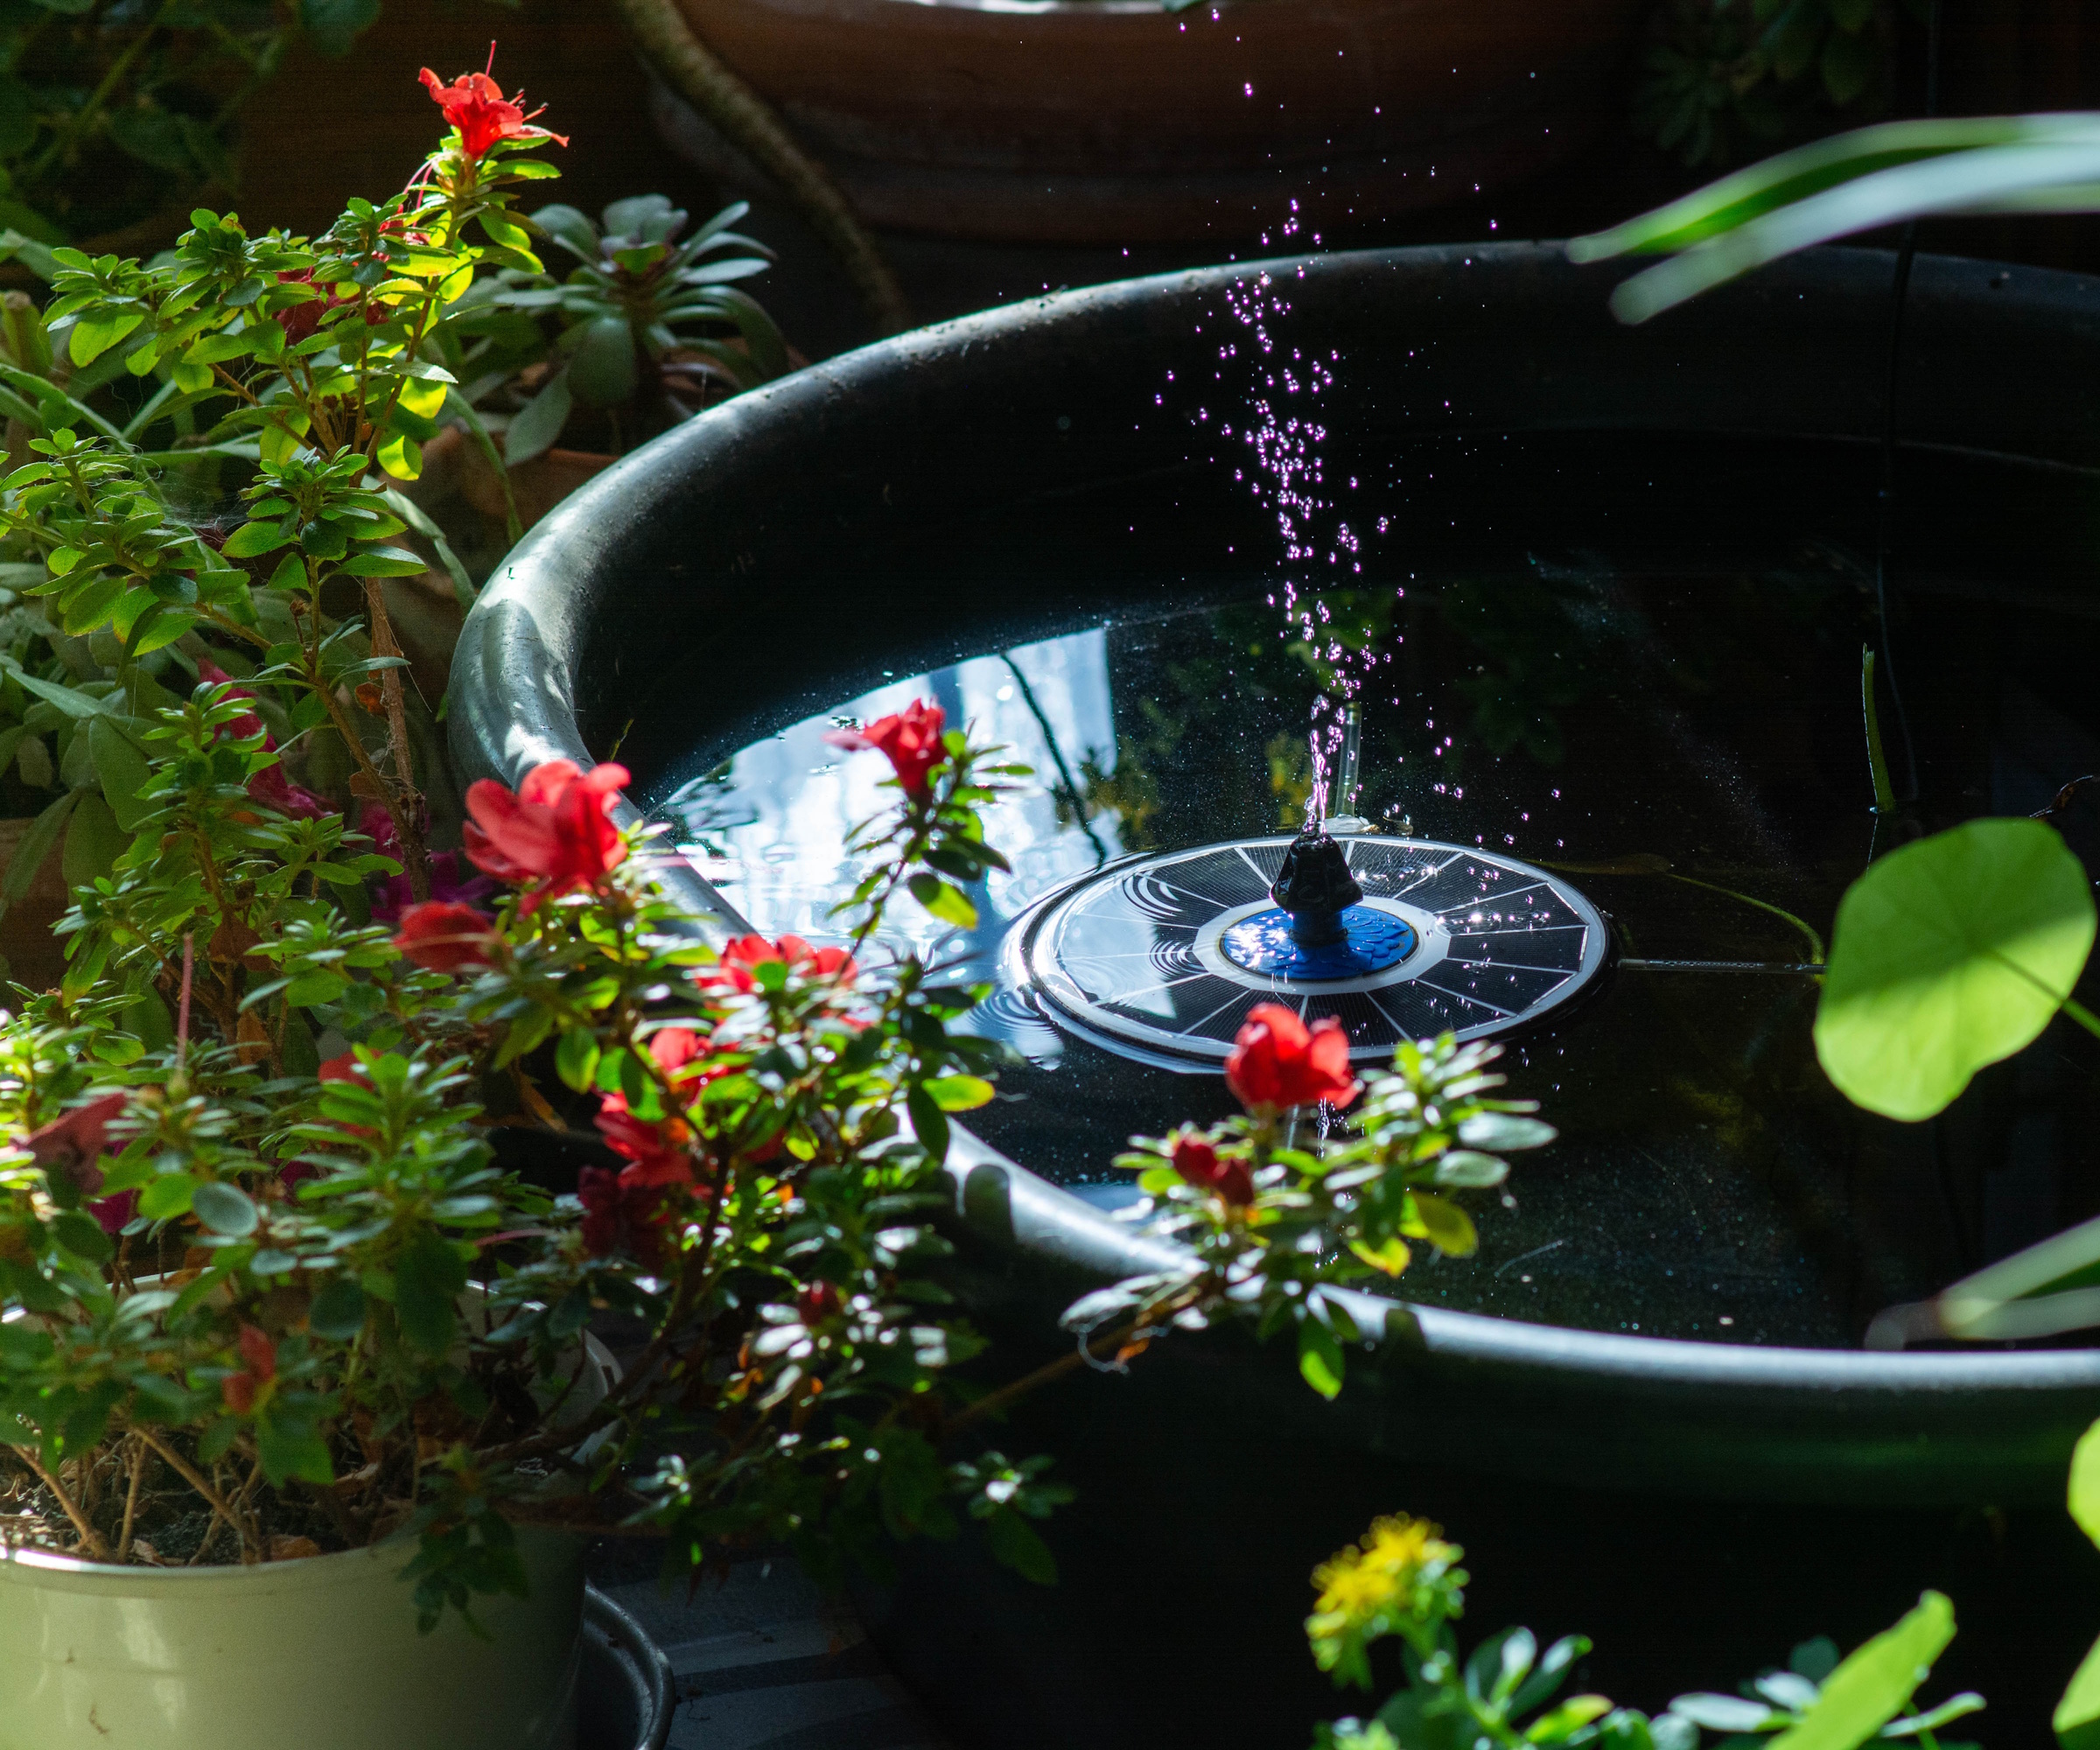
4. Install the Solar Fountain
Now that your DIY solar fountain planter is all arranged, it's time for the fun part – adding in the water feature.
Use a watering can to fill the basin up and then simply place the floating solar fountain in it. It should then start to pump water once charged in the sun.
Optionally, you can add in pollinator water islands (like these from Walmart) to make it accessible to bees and butterflies to drink from.
The spray of the fountain may also attract hummingbirds who prefer a mist over a bird bath.
5. Position Your Planter Somewhere Sunny
Just like other solar garden features, your solar fountain will need sunlight to operate.
Place your container somewhere exposed to sun for several hours of the day for best results. Of course, don't forget to have it nearby your seating area so you can enjoy the calming sound of the water.
Other maintenance includes topping up water levels as they deplete, though the water gets cycled through the fountain, so you shouldn't need to refill it too often.
Likewise, the movement should help keep it clean, but you can also use non-toxic bird bath cleaning products (like this from Amazon) that will ensure no harmful chemicals infiltrate your planting or put wildlife at risk.
What to Shop
Insert these pollinator watering stations in your border. Keep them topped up with water to provide an invaluable resource.
This set of 2 terracotta planters are handcrafted, naturally porous, and have a rustic texture.
This solar fountain bird bath can be hung from a tree branch or bird feeding pole.
If you want to add more water to your yard, our water garden ideas have lots of inspiration. For example, you can add a garden pond or a natural swimming pool to your outdoor space.
If you love inspiring garden ideas, outdoor advice, and the latest news, why not sign up for our newsletter and get the latest features delivered straight to your inbox?