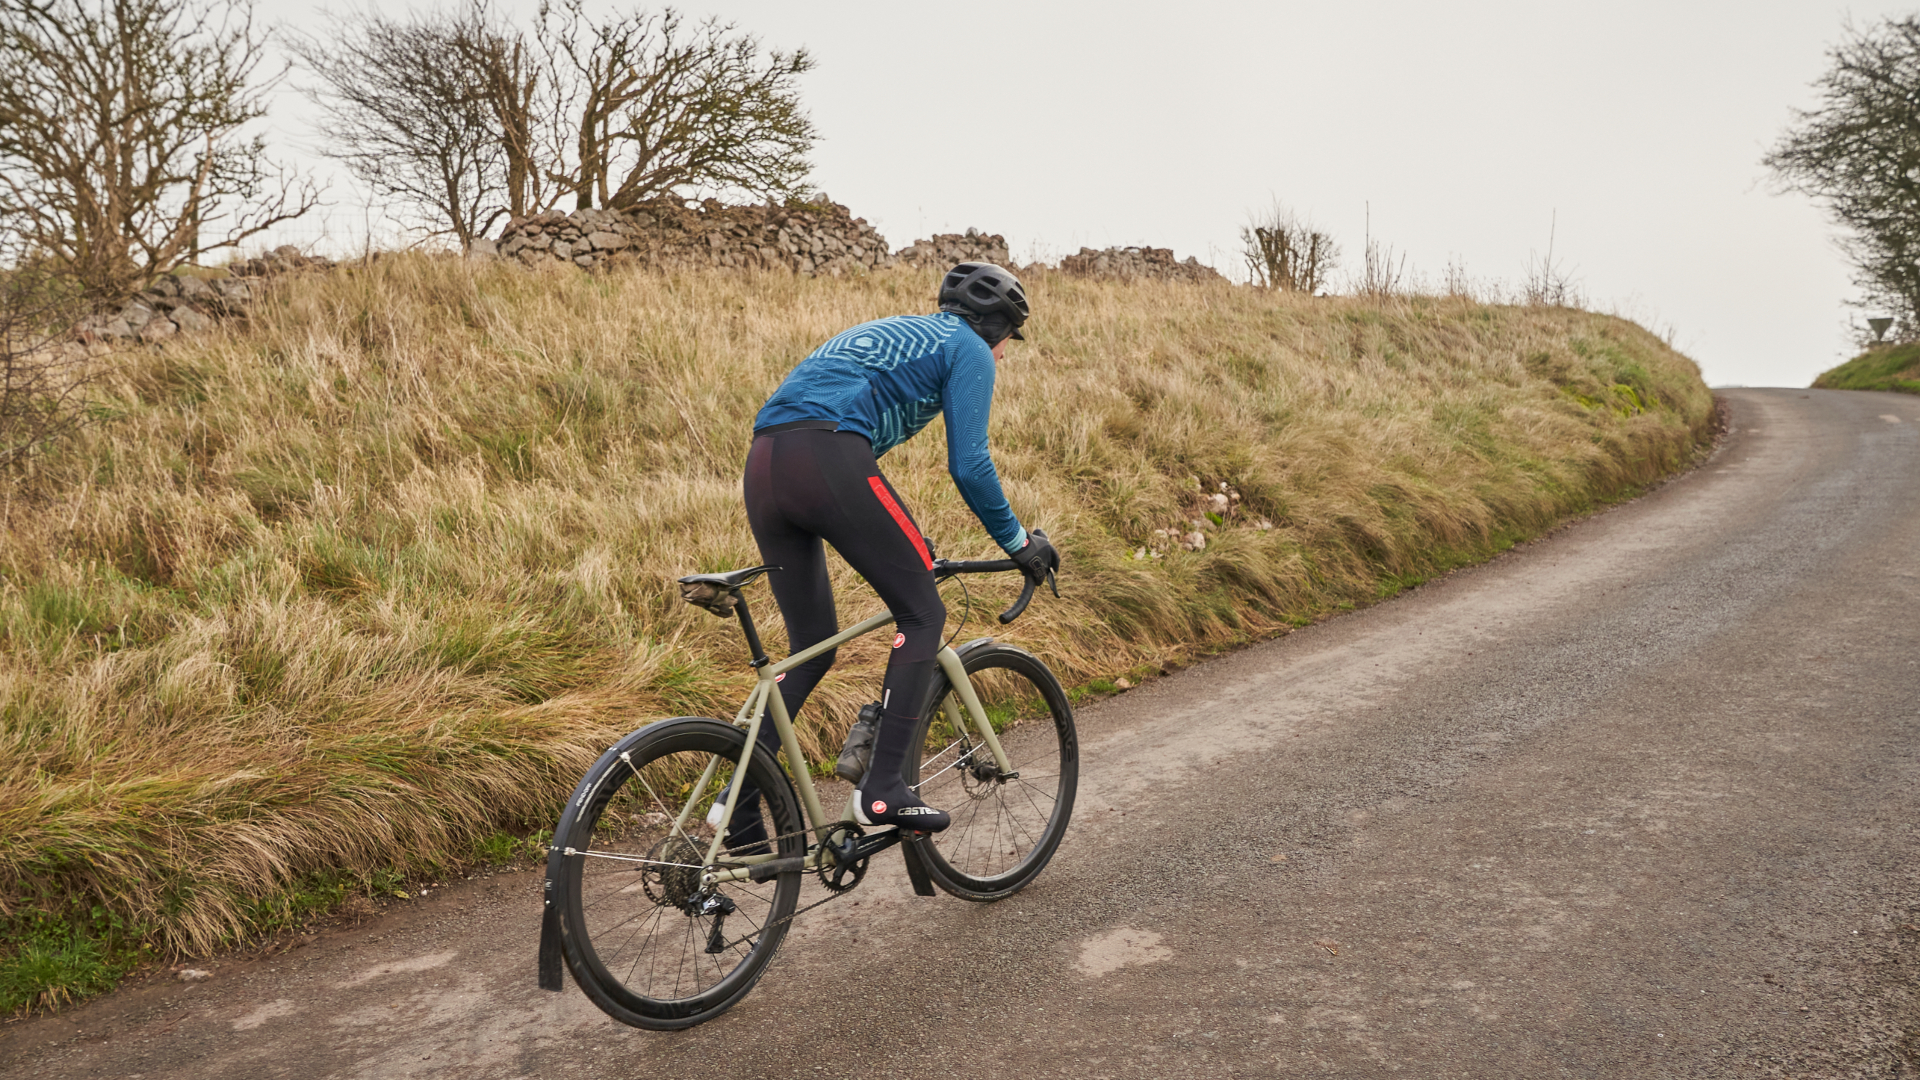
Much like cold weather outerwear, fenders or mudguards are a regional requirement: critical in some places, laughable in others. If you live in a place with regular seasonal precipitation, fenders are a necessity. As someone who grew up in New England and has spent the last decade in the PNW, I’ve tried nearly every type of fender there is, and I have learned a few things along the way. For those of you in an arid or semiarid climate, you can skip this one: go ahead and enjoy your dry roads, cloudless skies and the knowledge that while you may live in a riding paradise, you are soft. (Only joking.)
I live in Seattle, Wash., which sees roughly 150 rainy days a year. For the vast majority of those days, it’s just kind of a drizzle. Staying in when roads are wet would mean never getting to ride your bike. And while it’s not much fun to get caught in a downpour, riding in the rain can be pleasant if you have the right gear. A breathable, water-shedding jacket, warm gloves, and shoe coverings are helpful, but the most important piece of equipment is a pair of fenders/mudguards. Here’s why: when it’s raining, most of the water is on the ground. Well-fitted fenders keep it that way.
Types of fenders / mudguards
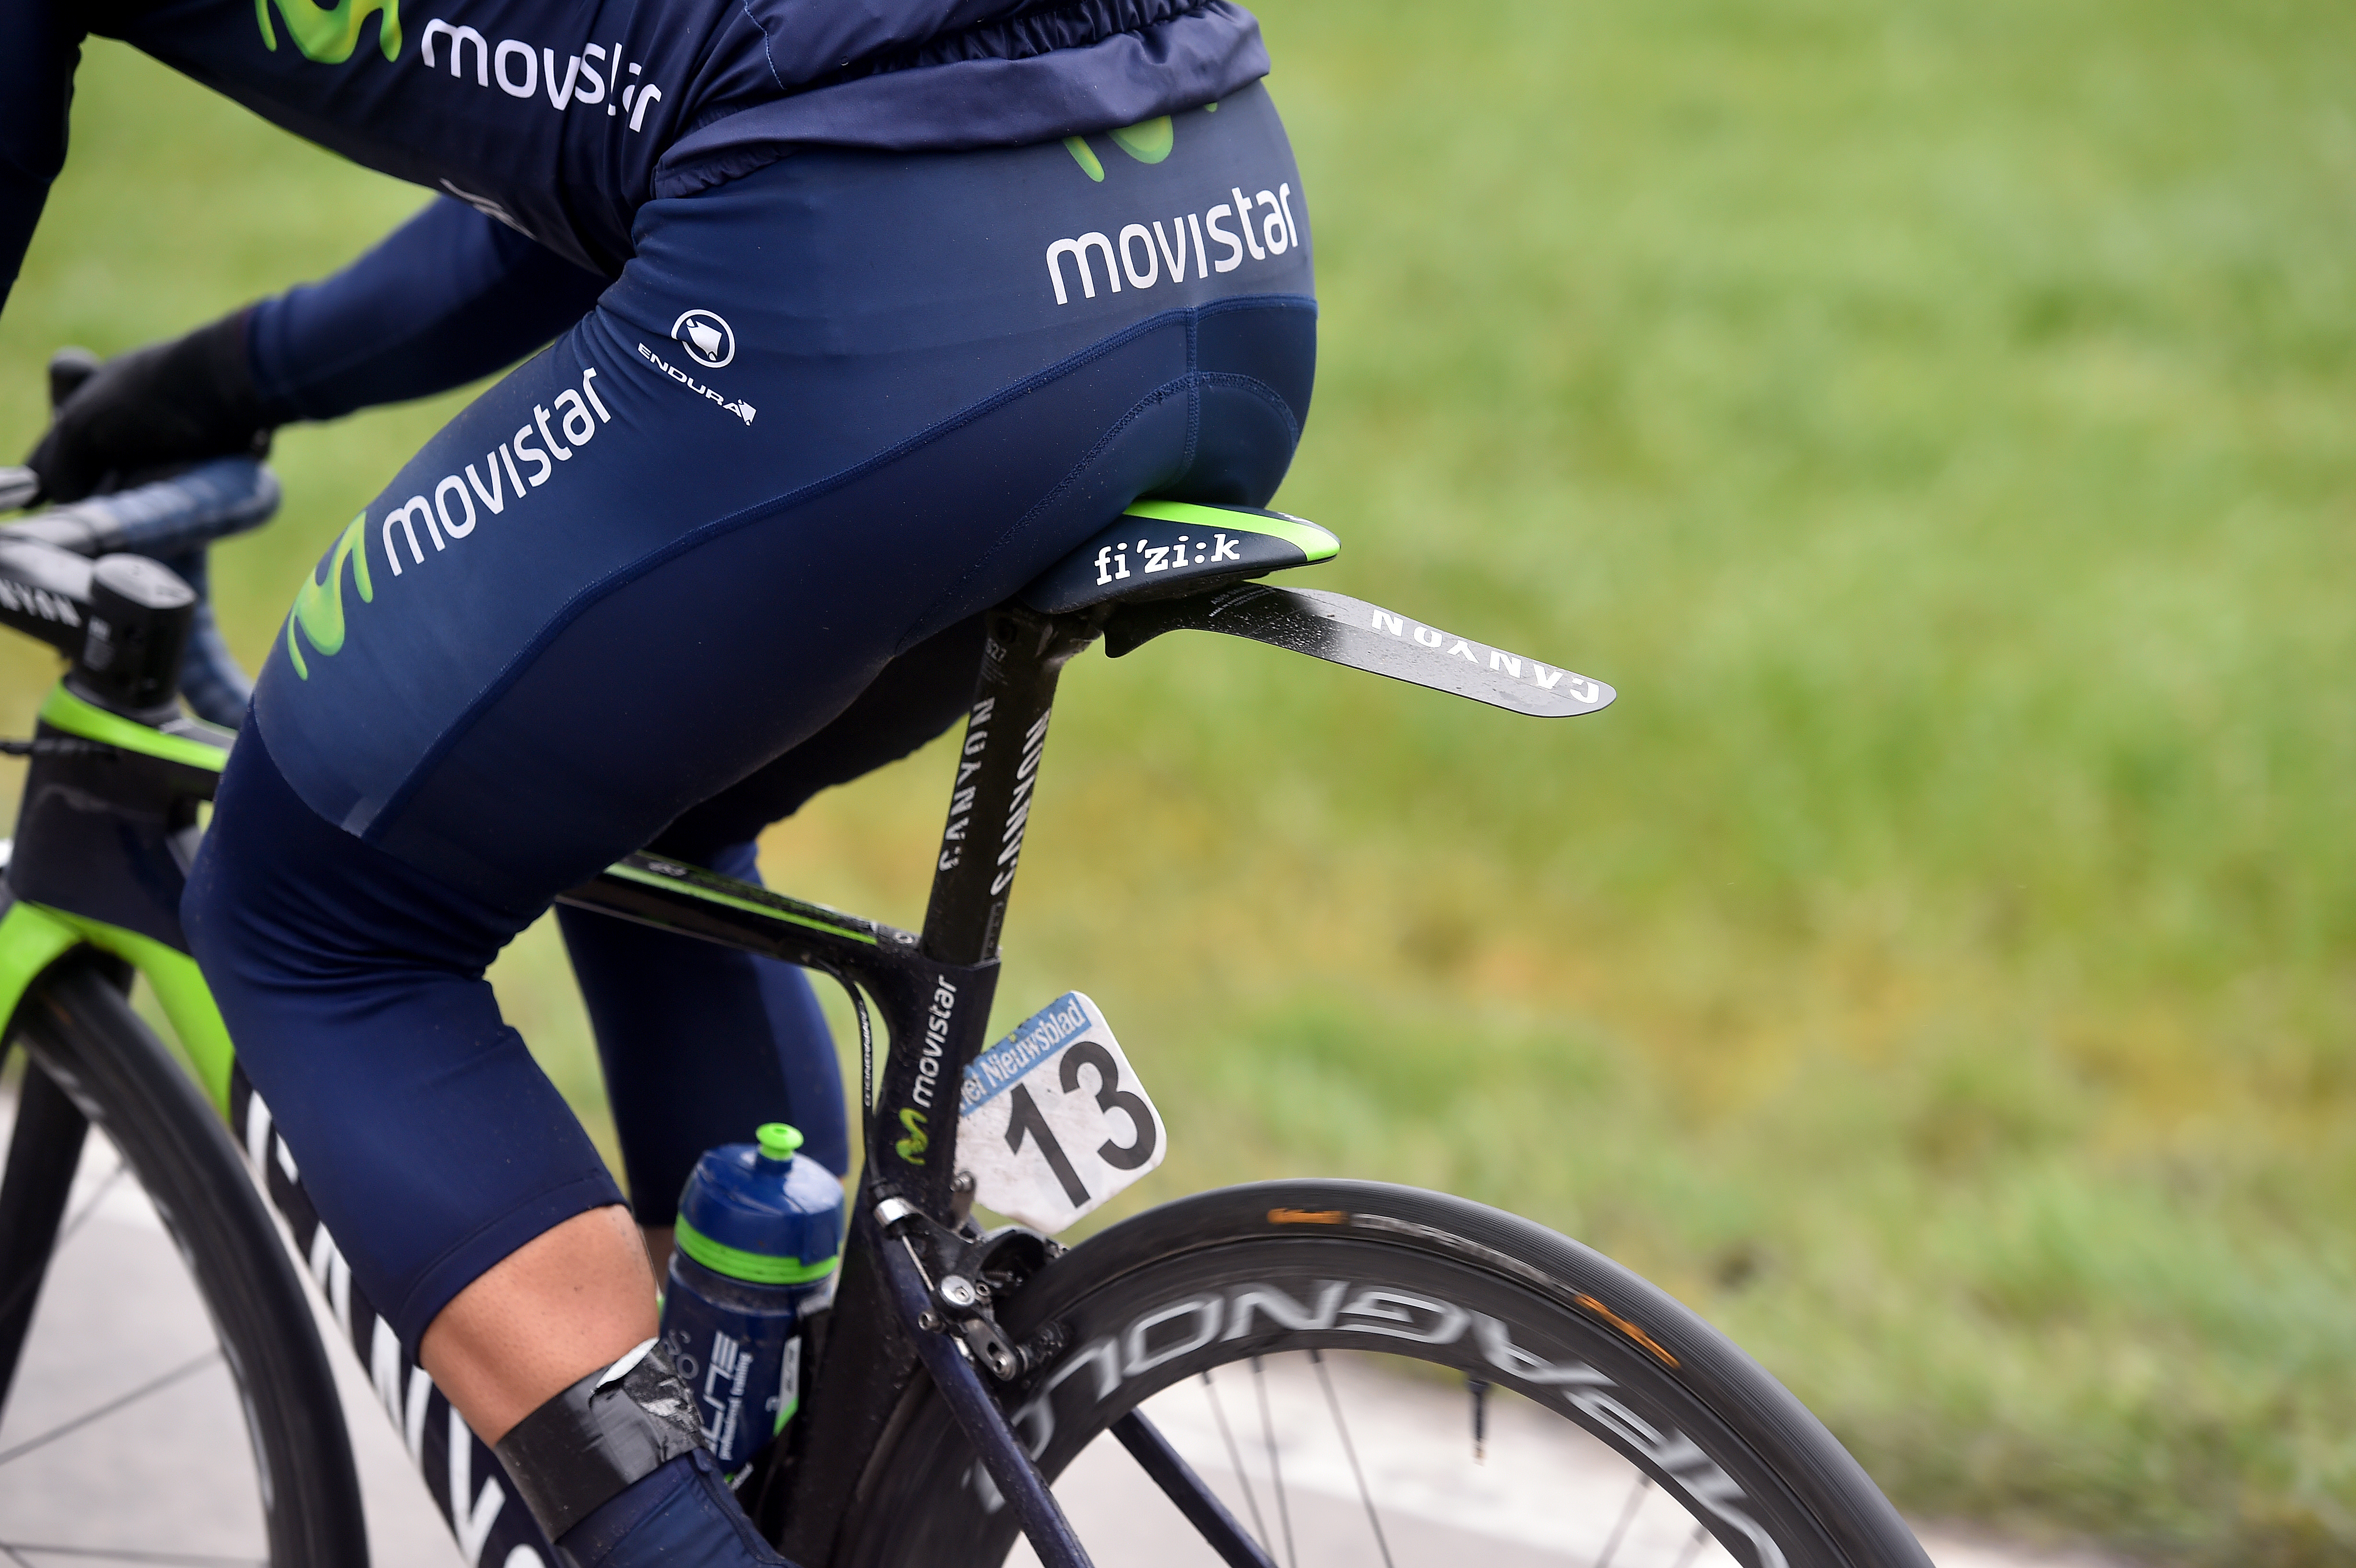
Fenders/mudguards come in a few types. First is the small clip-on variety, such as the appropriately named Ass Saver. This nifty piece of polypropylene takes just seconds to install and will help prevent road spray from befouling your chamois. It won’t do much for you if it’s actually raining, but for damp roads, it works great to keep the back half of you dry.
Next up are larger, partial coverage clip-on fenders like the SKS Race Blade, which mount to your frame and fork with rubber-band type fitments and will help keep you dry but do not fully protect your bike from rain and road grime. These work well enough on a bike without mounting points but are not as robust as full-coverage fenders. Even if installed carefully, they can shift around while riding and can also mar paint or scratch up a bike.
The last, and best, fender option is full-coverage fenders, such as those made by Velo Orange or Portland Design Works, which attach via the dedicated mounted points on your frame and fork (— typically two locations on the front and three on the rear). These will not rattle around or move while riding and fully protect a bike, rider and drivetrain from the elements. High-end metal fenders will seamlessly blend in, too, closely matching the lines of the tyres to appear visually cohesive.
Installation Tips and Tricks
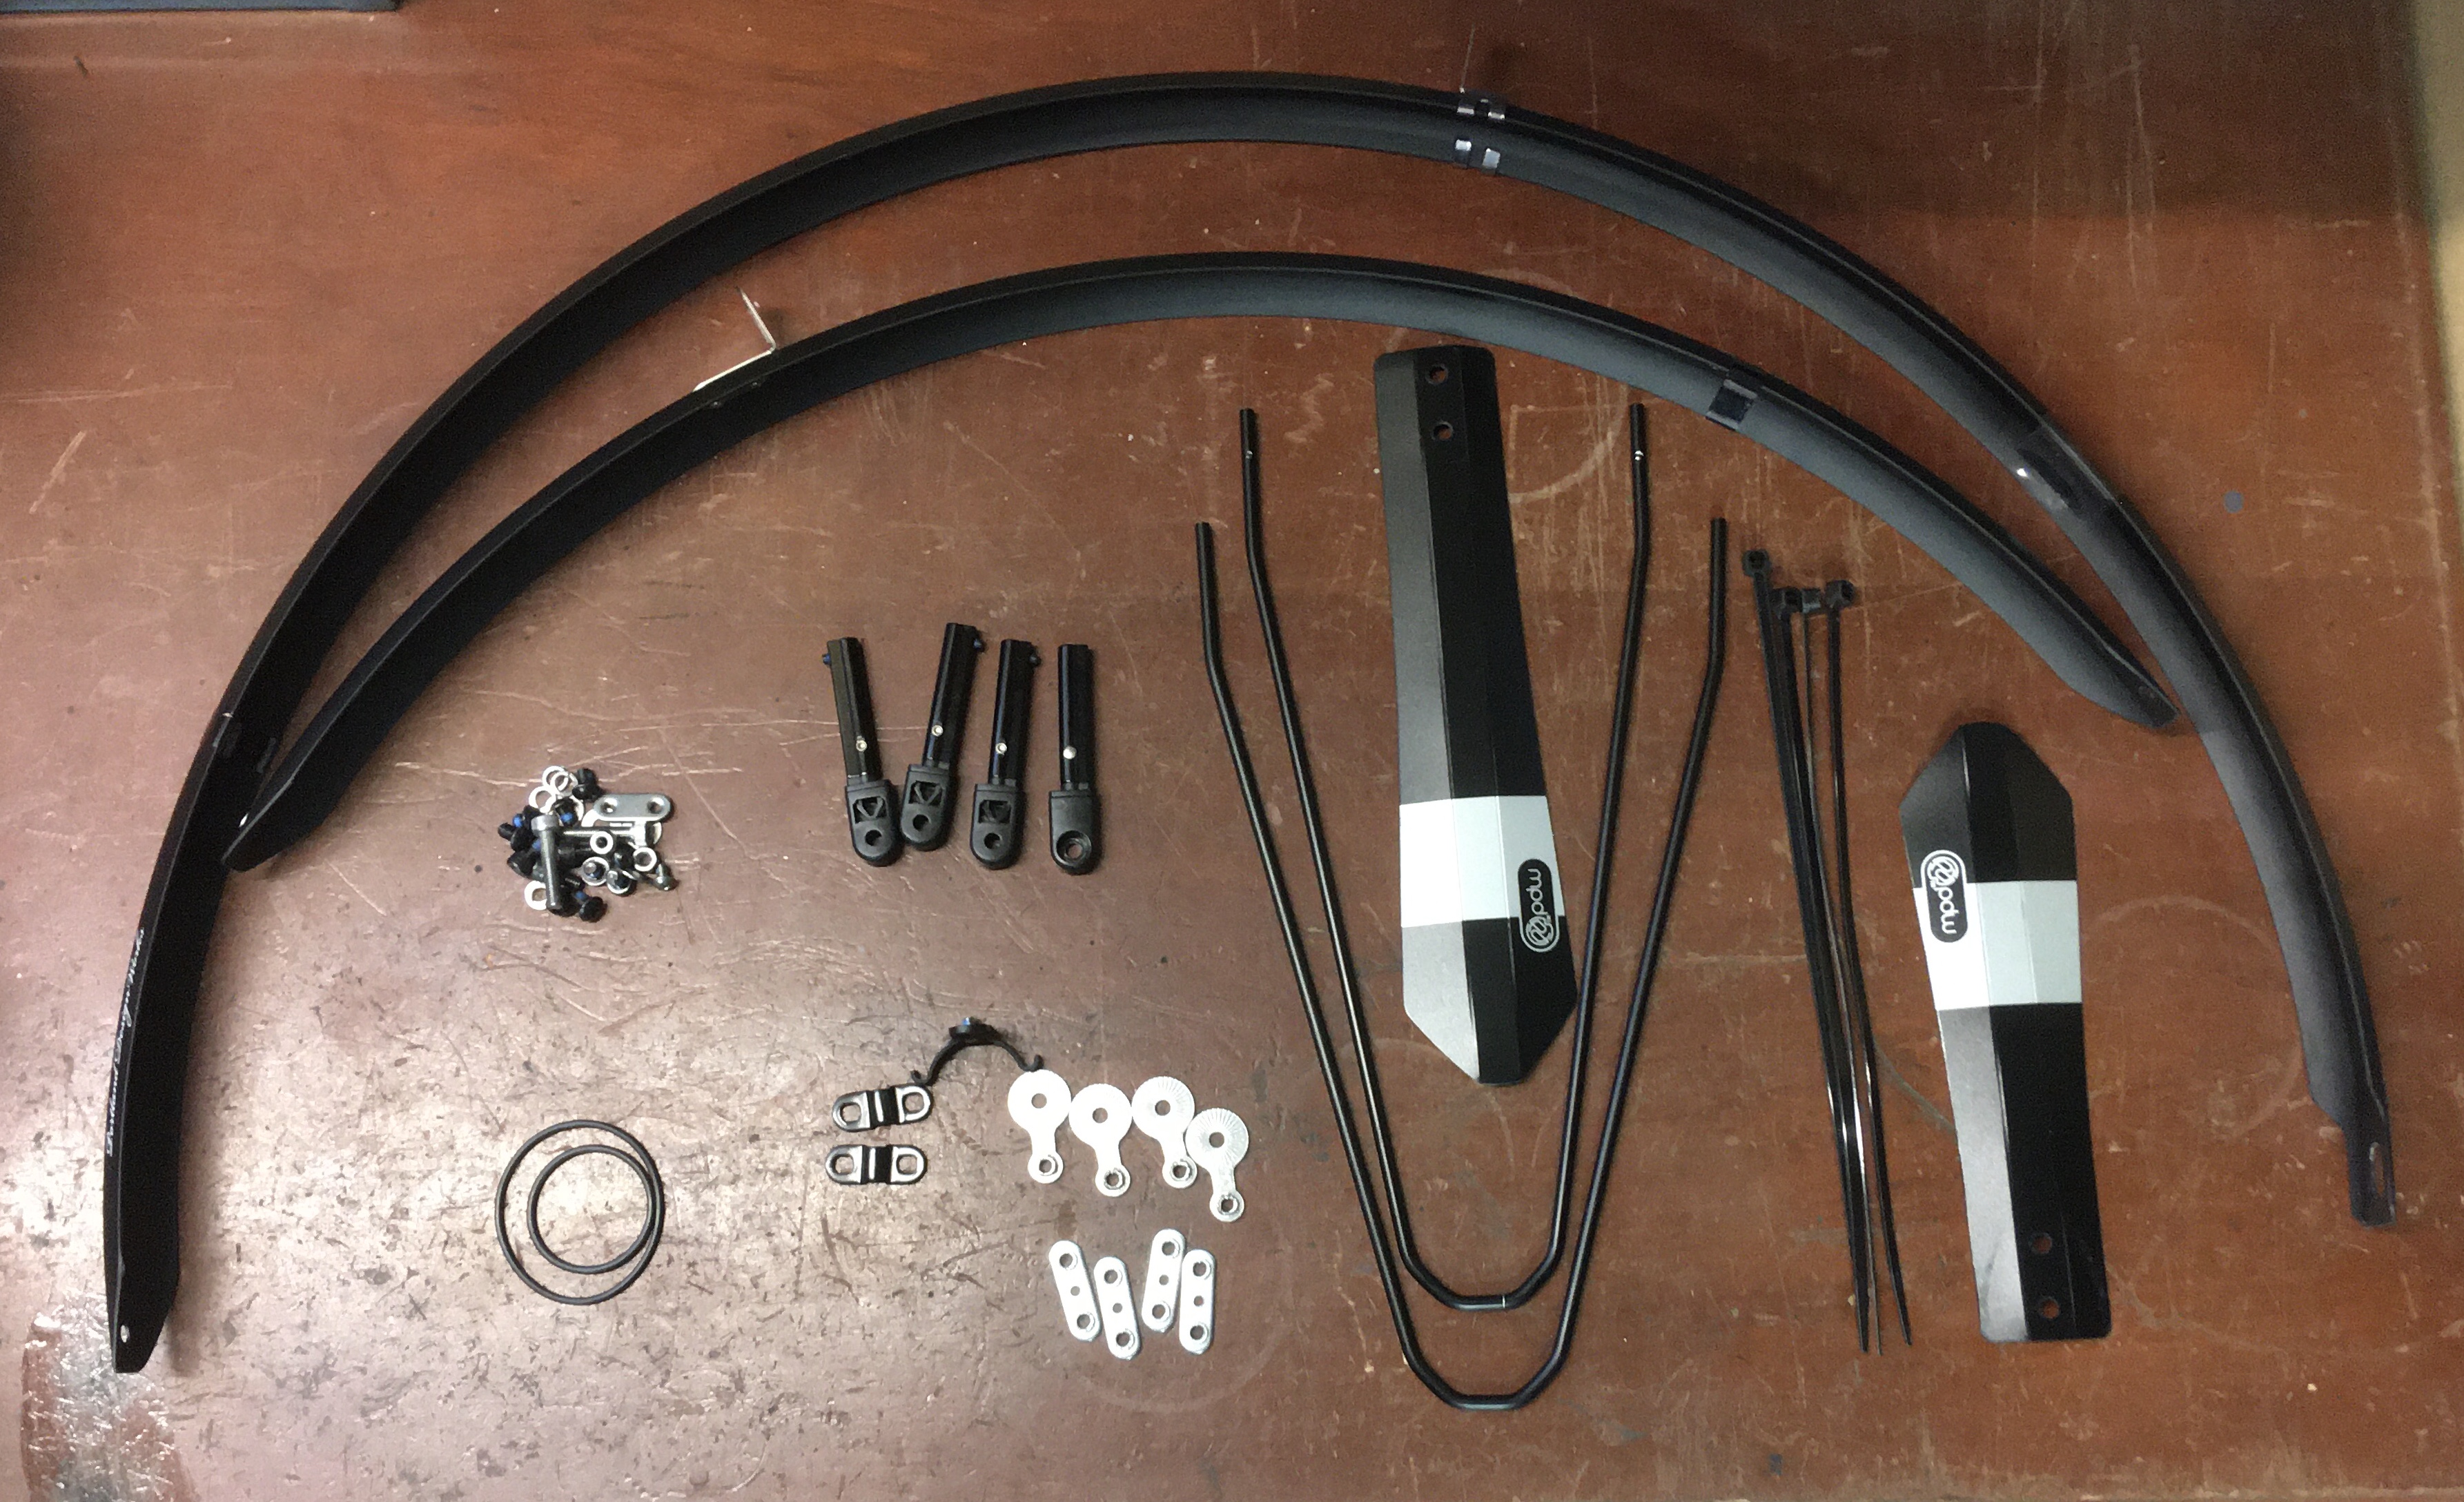
Over the years I’ve had lots of practice installing fenders on bikes. Our household has multiple bikes that have fenders on them seasonally; they get installed in the fall and removed in the spring.
The first install is always the trickiest as you puzzle out the appropriate number of spacers and fasteners at each mounting location. Expect to budget thirty minutes to an hour for an installation. If you get easily frustrated by fiddly things, then bring your bike to a local shop and have fenders installed by a professional.
If you’re persisting with your own installation, here are some tips:
- Always start with the front fender—it’s easier
- Attach the stays before the bridges, but do not fully tighten fasteners until the end
- Be prepared to take the wheels on and off a few times to dial everything in
- Take the time to get the fender lines right—this may take a while, but it’s worth it
- Make sure the fenders aren’t holding tension
- Once the radius matches the tyre’s circumference perfectly, the final stem should be to centre the fenders over each wheel
It’s important to check all the bolts regularly, as even Loctited fasteners can work themselves loose. Having a fender break off unexpectedly will cause catastrophic failure and very likely put you on the ground. You do not want this to happen.
When it comes time to remove them, do not just quickly and carelessly strip things off without paying attention. To save yourself the same angst next time you need to install them, label which bolts went where and put the whole lot of bolts, nuts and spacers into a plastic bag so they’re ready to go again next time. This will make future installs much smoother.
Fenderly Asked Questions
What’s the difference between fenders and mudguards?
These are simply region-specific terms. They mean the same thing.
How wide should my fenders be?
Wider than your tyres. Ideally, 5 mm wider on either side. So, if you’re running 35 mm tyres, you should look for 45 mm wide fenders.
Which is better, plastic or metal fenders?
I prefer metal fenders, as they usually are stiffer and lighter, and they look better. They’re usually more expensive than plastic, however.
How much space do I leave between tyre and fender?
There’s a little bit of personal preference here, depending on where you ride. For road riding applications where debris is minimal, 5 millimetres is usually adequate. This gives the tyre a little bit of wiggle room, but keeps fenders tucked out of the way (minimizing toe overlap on the front). For gravel or other off-road ventures, you’ll want to leave additional space—at least 1 centimetre—to make room for mud, pebbles and the like to pass through without getting stuck or causing punctures.
What is a “buddy flap”?
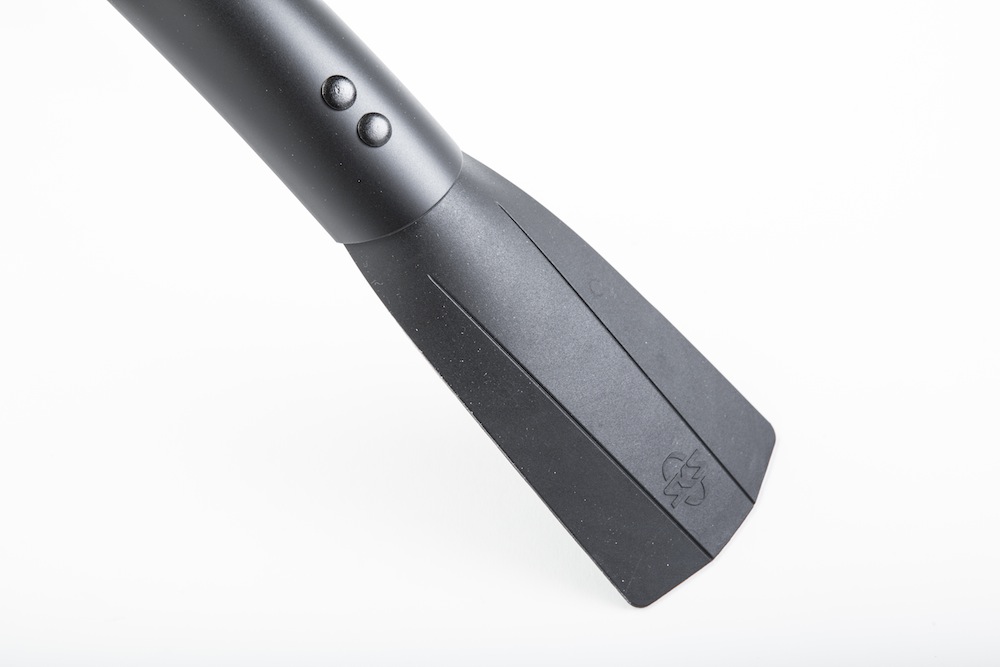
A buddy flap is an extra-long mud flap that attaches to the rear of the back fender. An appropriately sized one will almost reach the ground, thus preventing any spray from hitting a person riding behind you. Typically made of rubber or leather. Necessary if you like your friends.
Final Thoughts
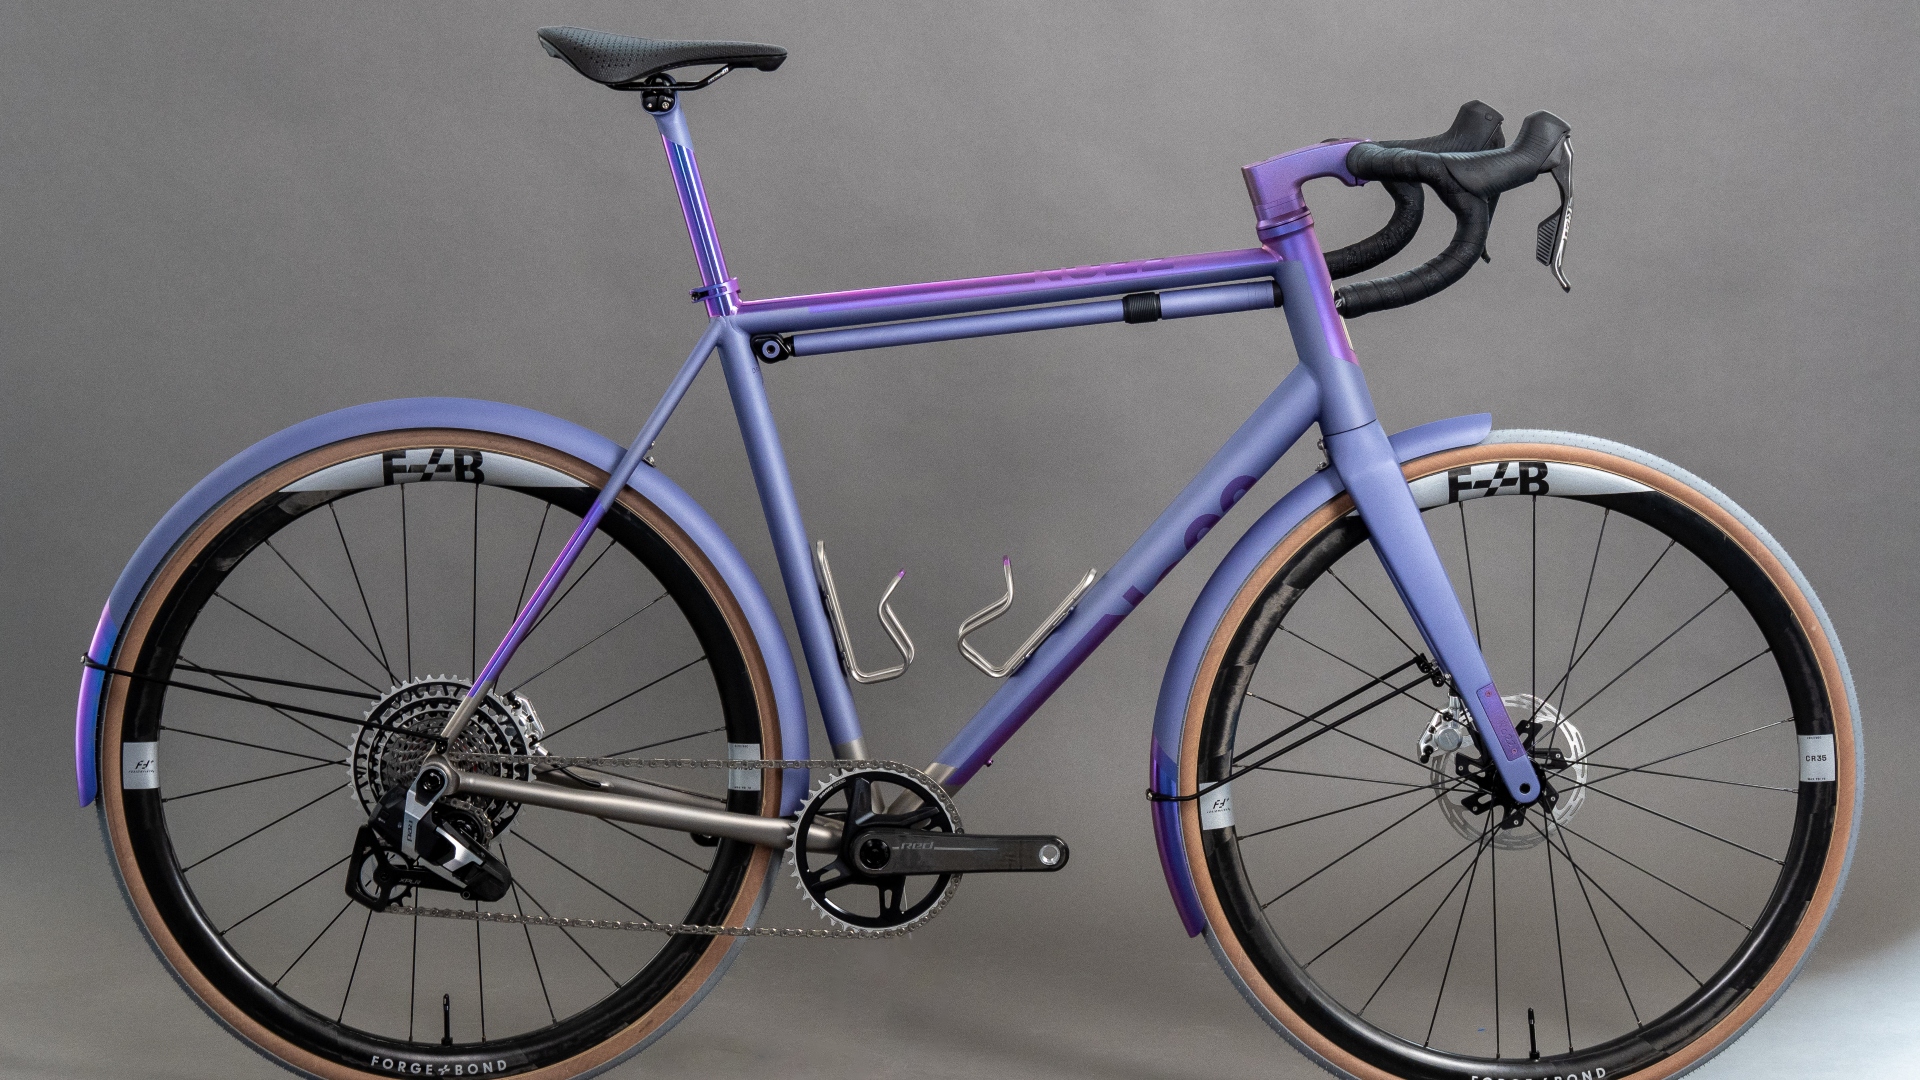
If you live in a wet climate, then I recommend owning a bike with fender mounts and purchasing some high-quality metal fenders. Take your time installing them, so that the fender lines match with the tyres and are evenly centred over each wheel—there’s nothing worse than looking down at a crooked fender over your front wheel.
Once they're installed, make sure to check your fasteners every few rides to ensure that nothing gets loose.
Some riders will leave fenders on a bike all year round, while others will take them off seasonally; either way is fine, just make sure you have a buddy flap when you’re riding with friends.


