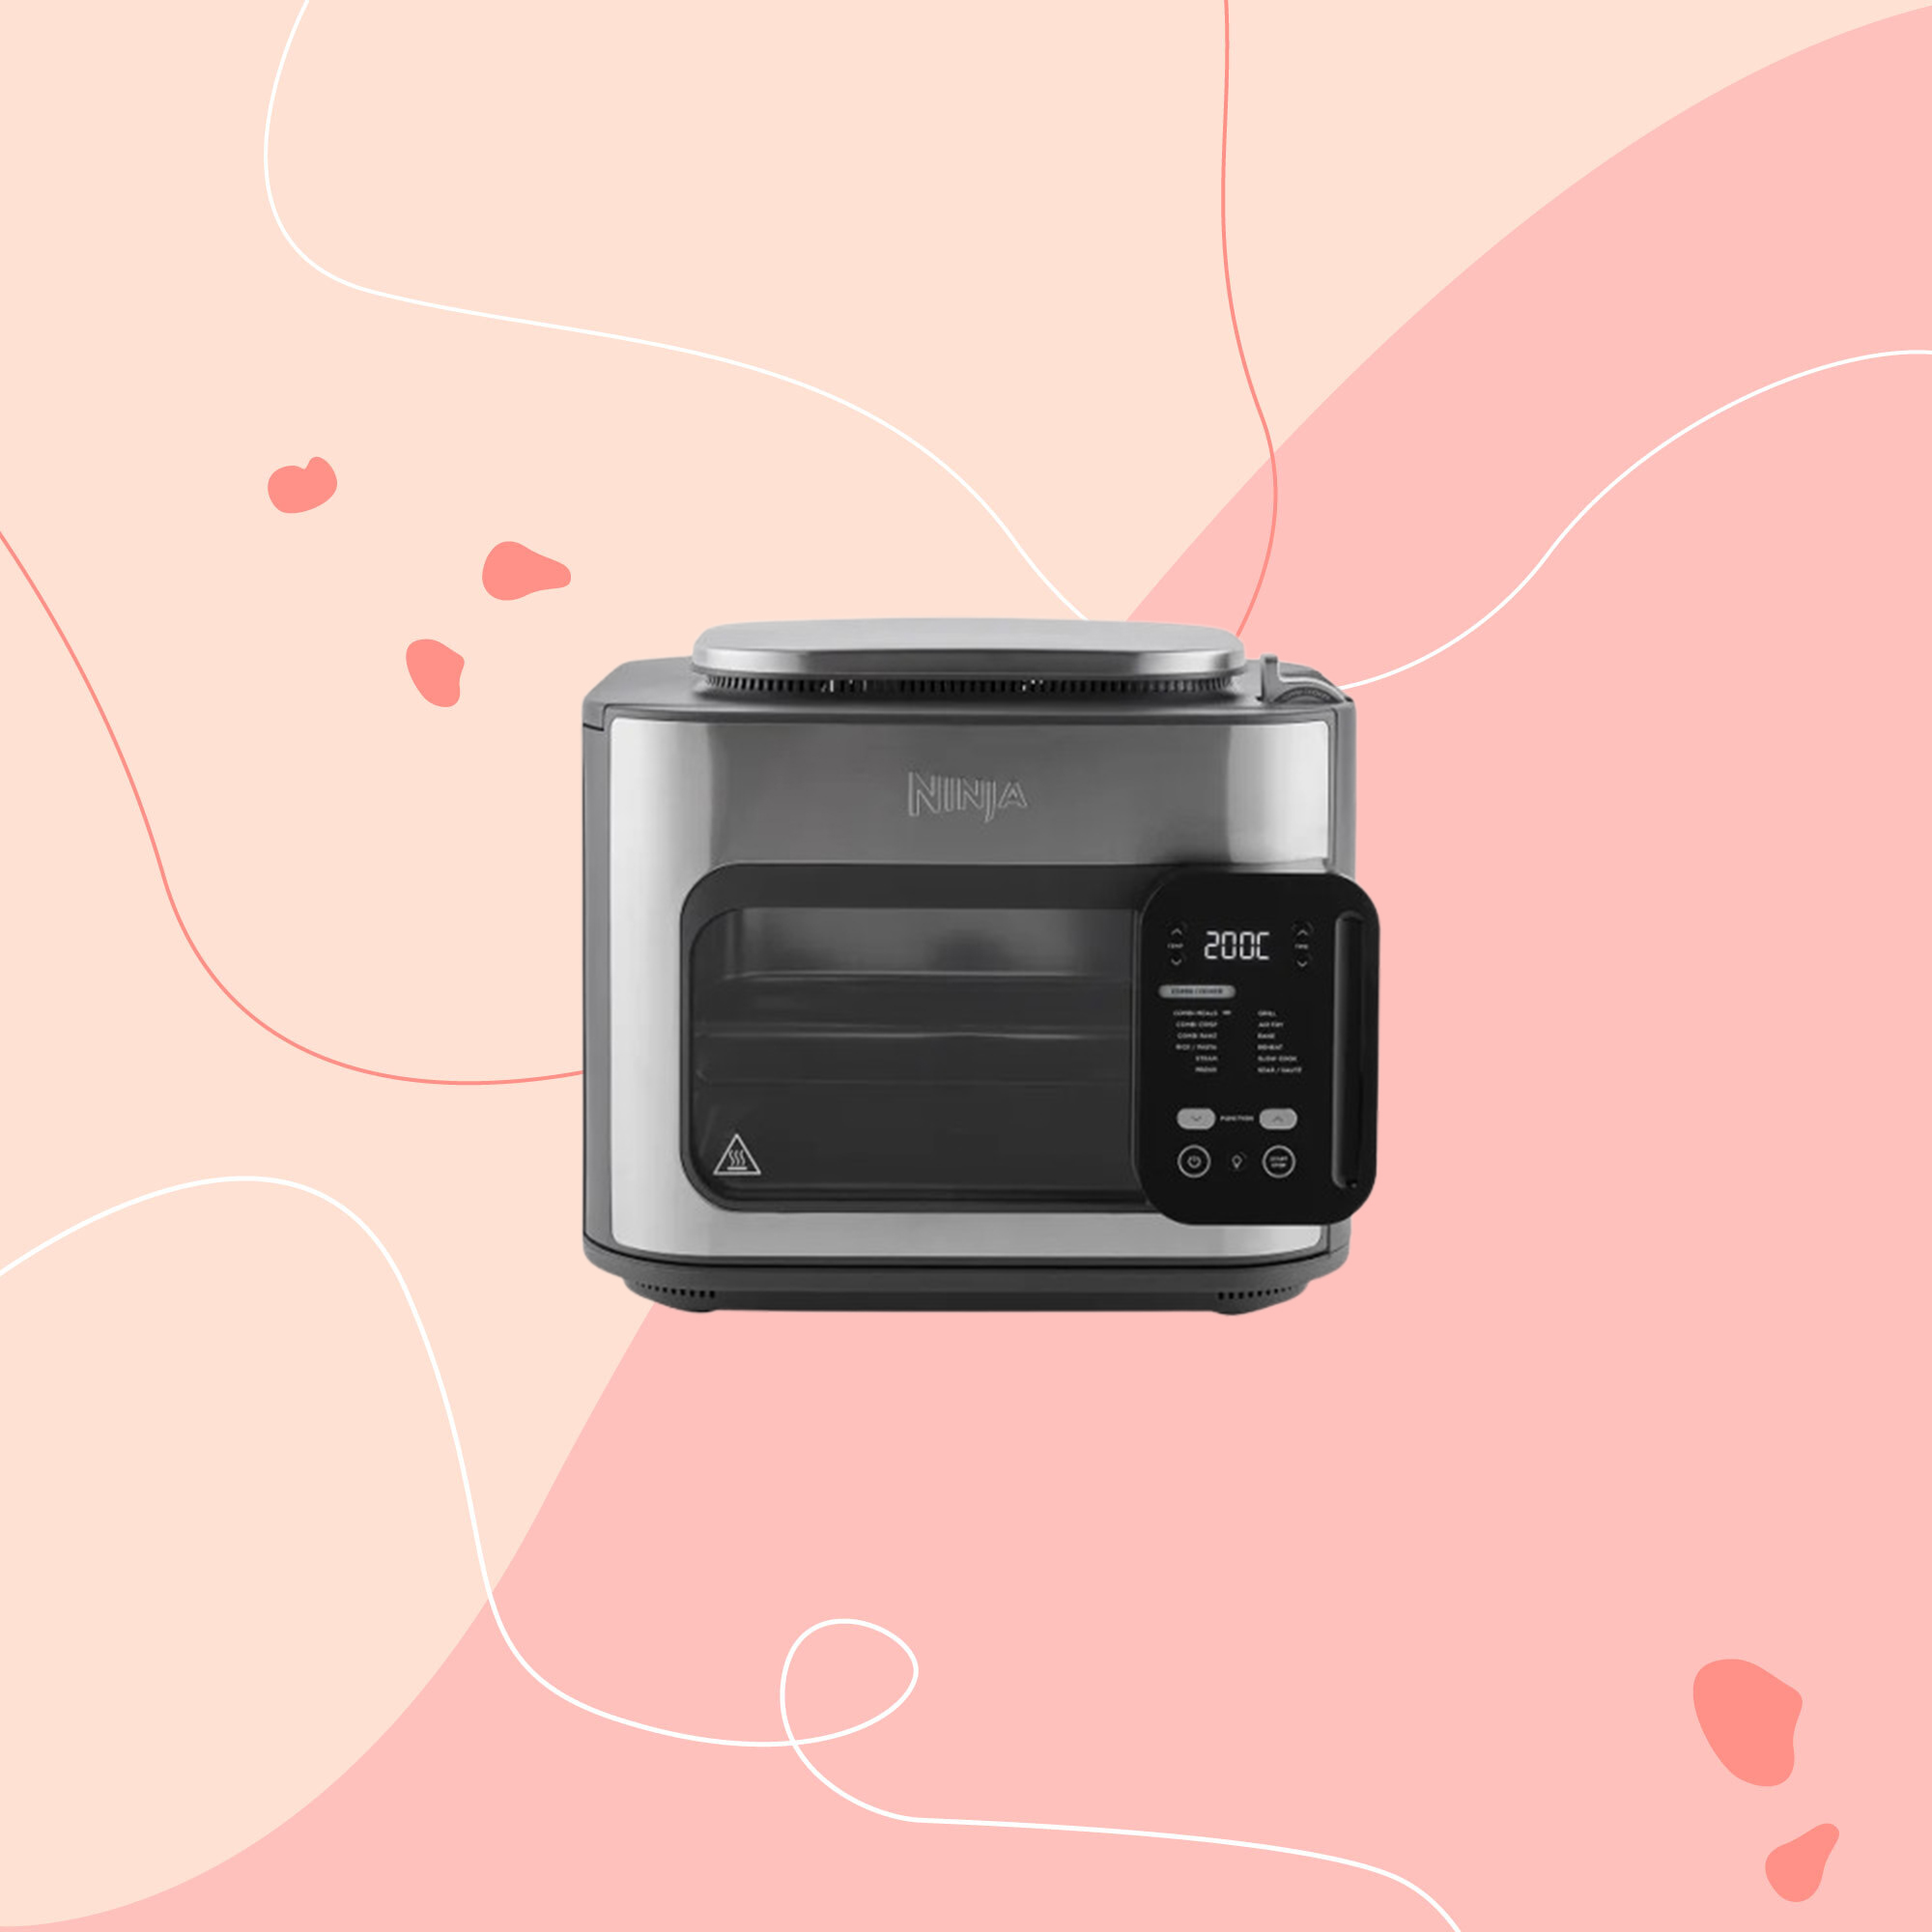
Despite having reviewed a lot of Ninja appliances, the brand's ability to develop ever more versatile and multi-functional products continues to amaze me. As if making some of the best air fryers and best multi-cookers wasn't enough, the Ninja Combi fuses elements of both, into a new 12-in-1 cooking appliance.
It’s an air fryer, but also a steamer, slow cooker, and an oven, it can even cook pasta and rice. There’s a lot to get your head around, like how can you sear, saute, and slow cook in what looks like a mini oven with a side-hinged door and oven trays?
If it were any other brand, reading all the blurb about what this appliance is capable of, would leave me somewhat daunted. But as it’s Ninja, I know it’ll come with a straightforward and intuitive control panel. So the settings will be simple, like the best Ninja air fryers are, but do I really need all these functions? Read on to see what I cooked and whether it’ll be staying on my worktop for good.
Ninja Combi product specs
- Capacity: 12.5 litre
- Modes: combi meals, combi crisp, combi bake, steam, rice/pasta, prove, grill, air fry, bake, sear/saute, slow cook
- Weight: 10.5kg
- Size: (H)33 x (W)39 x (D)38cm
- RRP: £279.99
Unboxing and first impressions of the Ninja Combi
The Ninja Combi comes in fully recyclable cardboard packaging. And thankfully, there’s quite a comprehensive quick start and inspiration guide that also includes recipes and cooking charts.
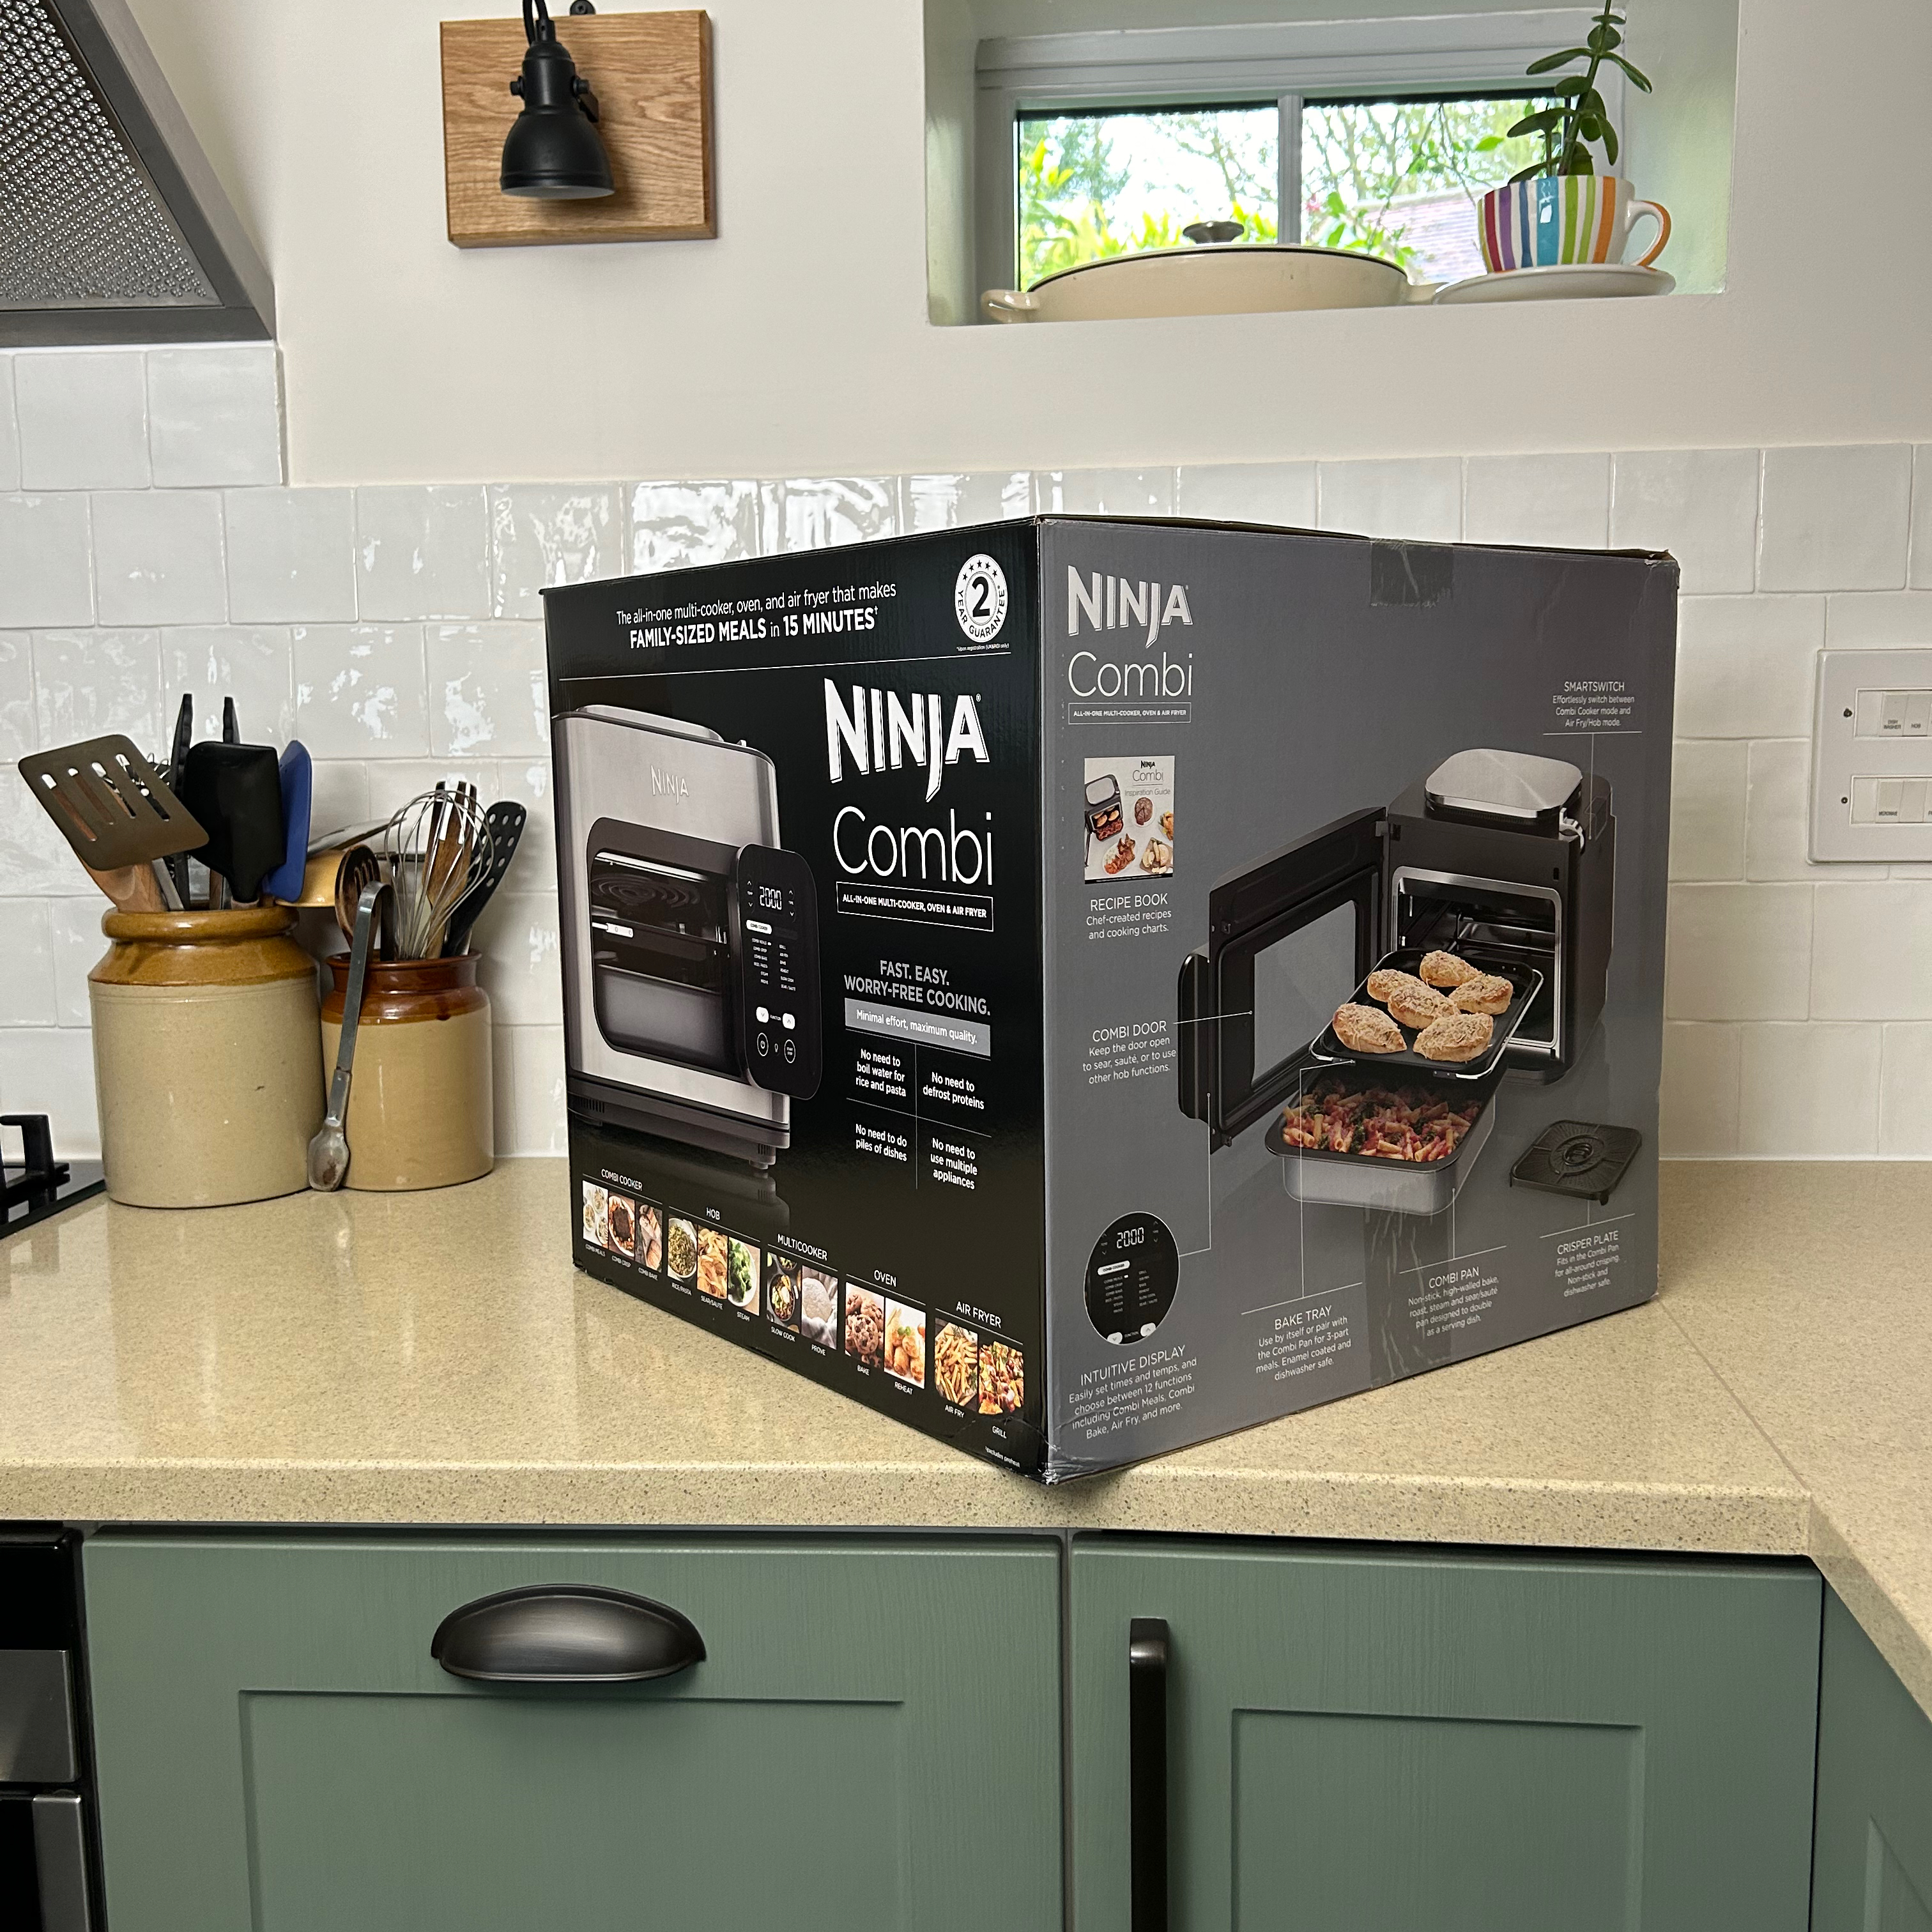
It’s not as big as the Ninja Foodi 10-in-1 Multi Function oven that I recently reviewed, and I’ve had bigger air fryers on my worktop. But the Ninja Combi sticks out like a sore thumb in my cottage kitchen, because it has an industrial appearance that, I think, looks like it belongs in a commercial kitchen.
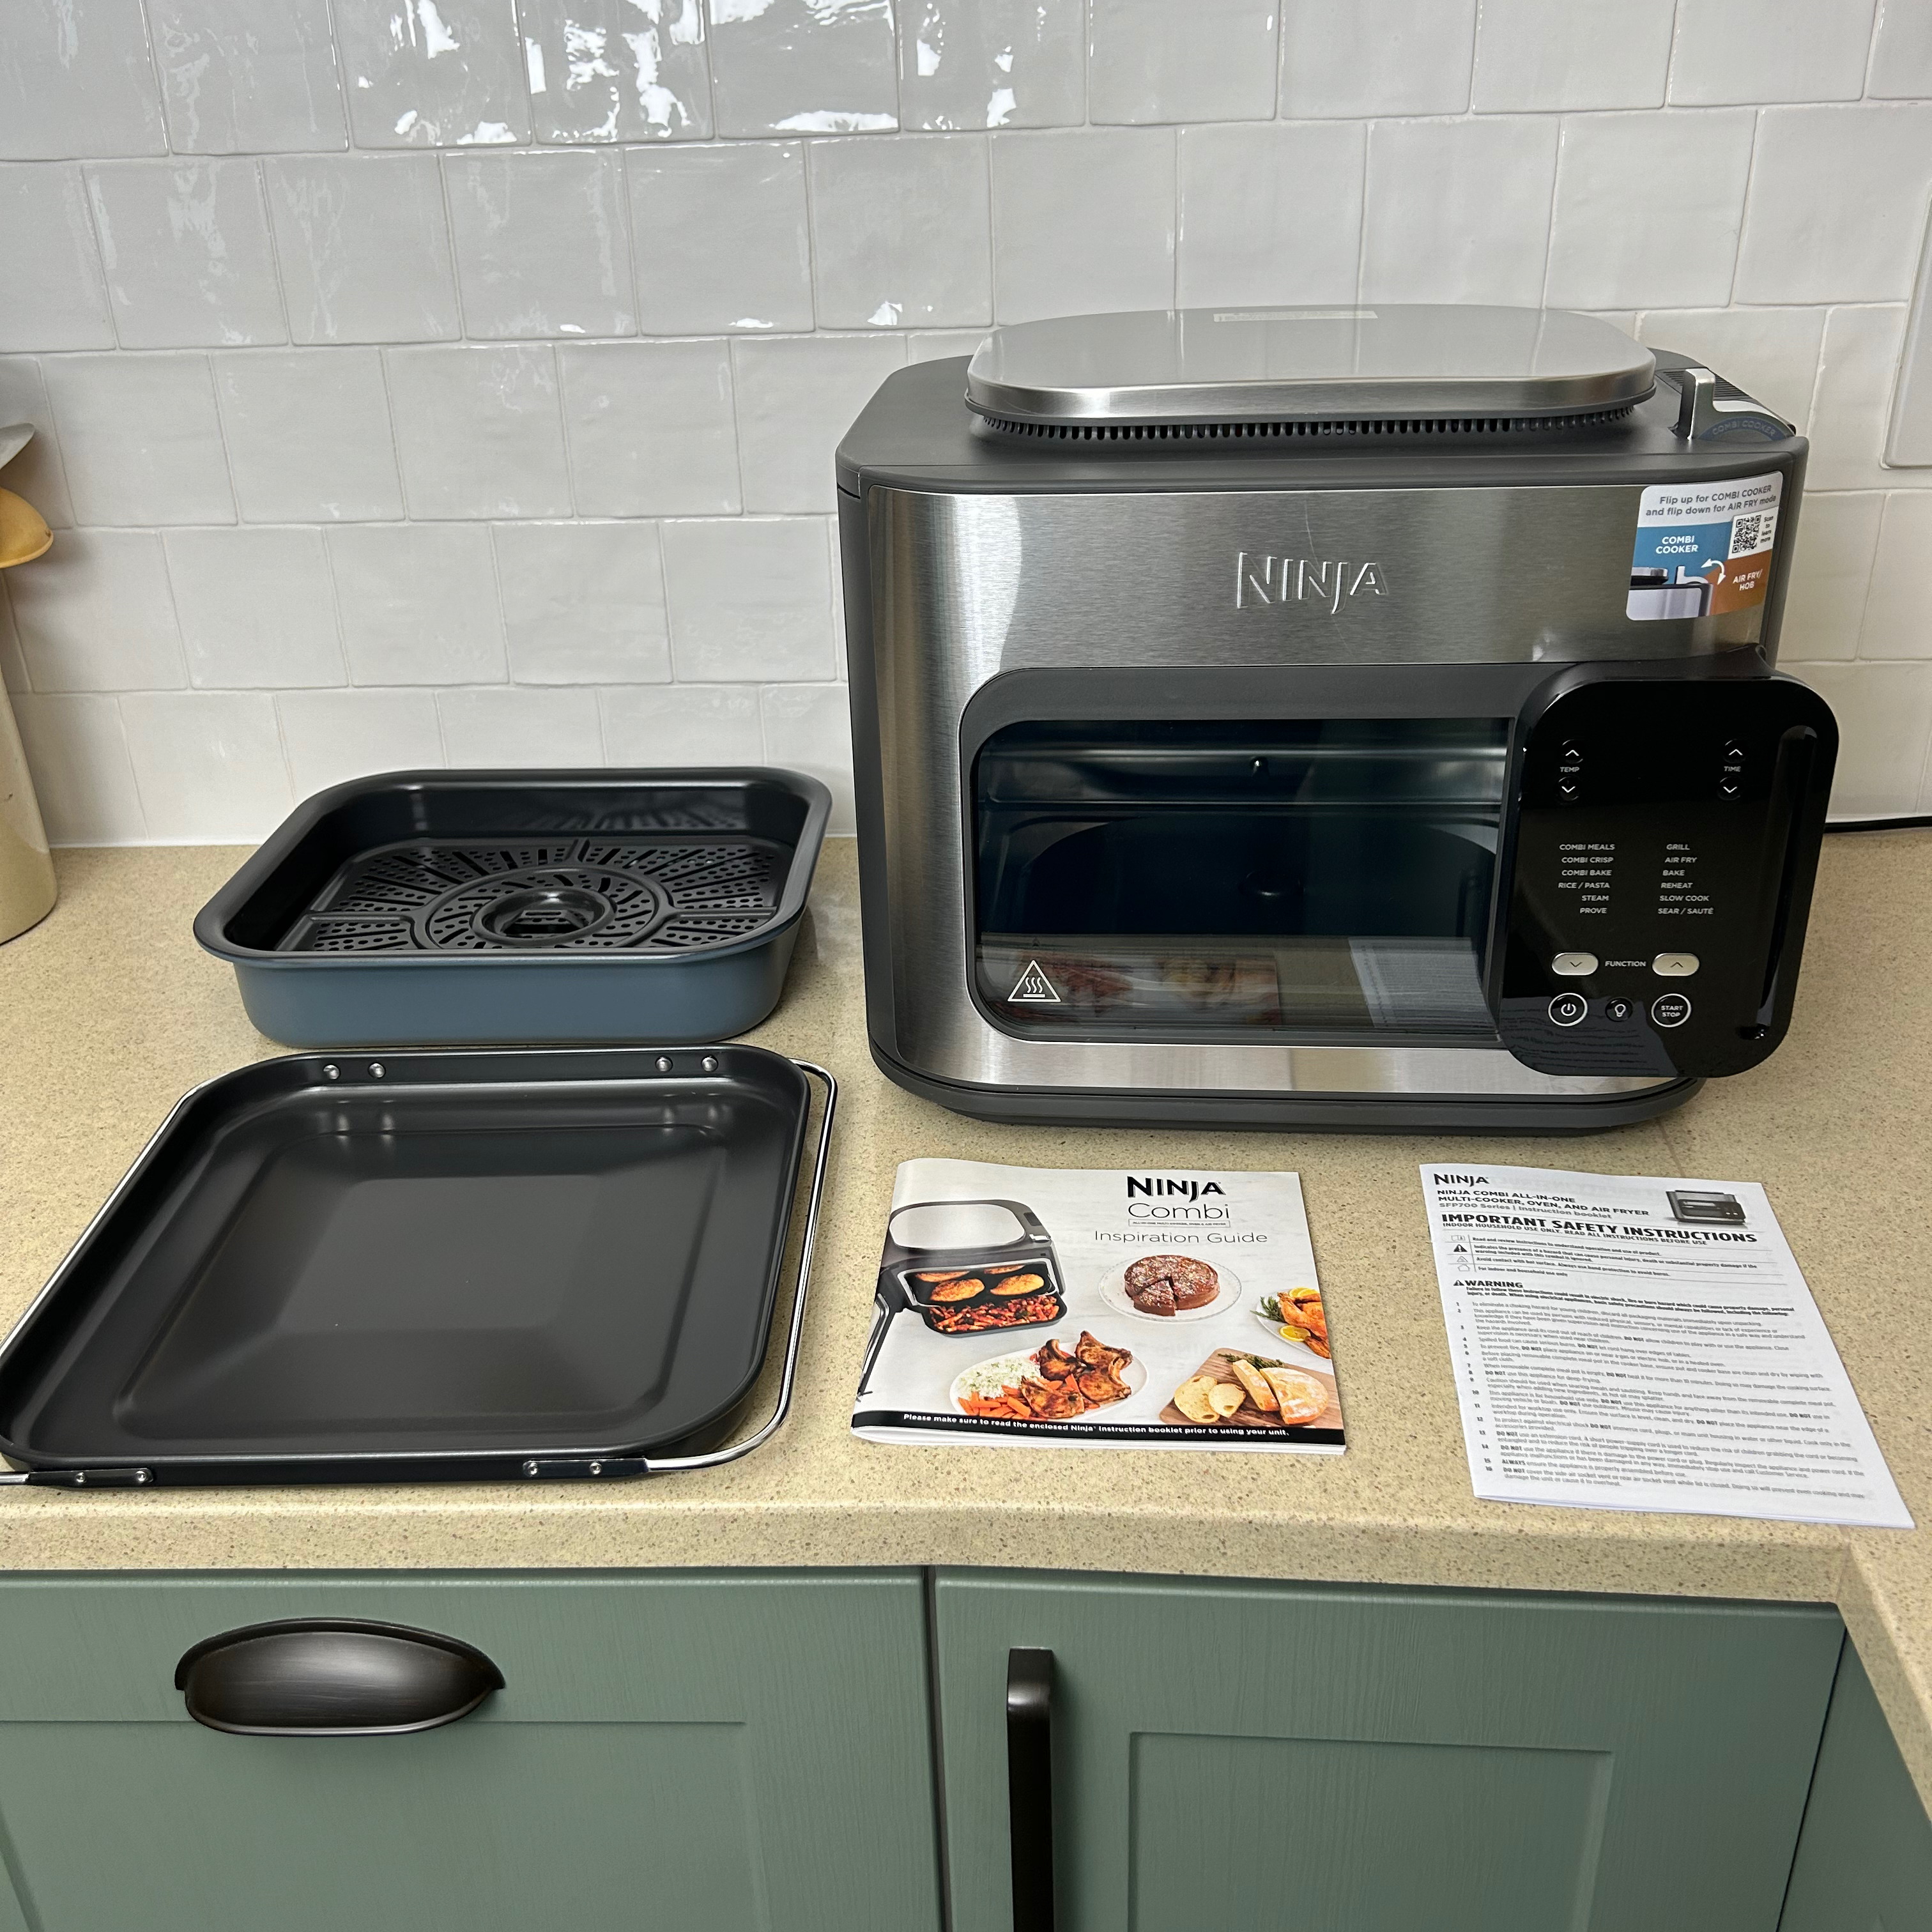
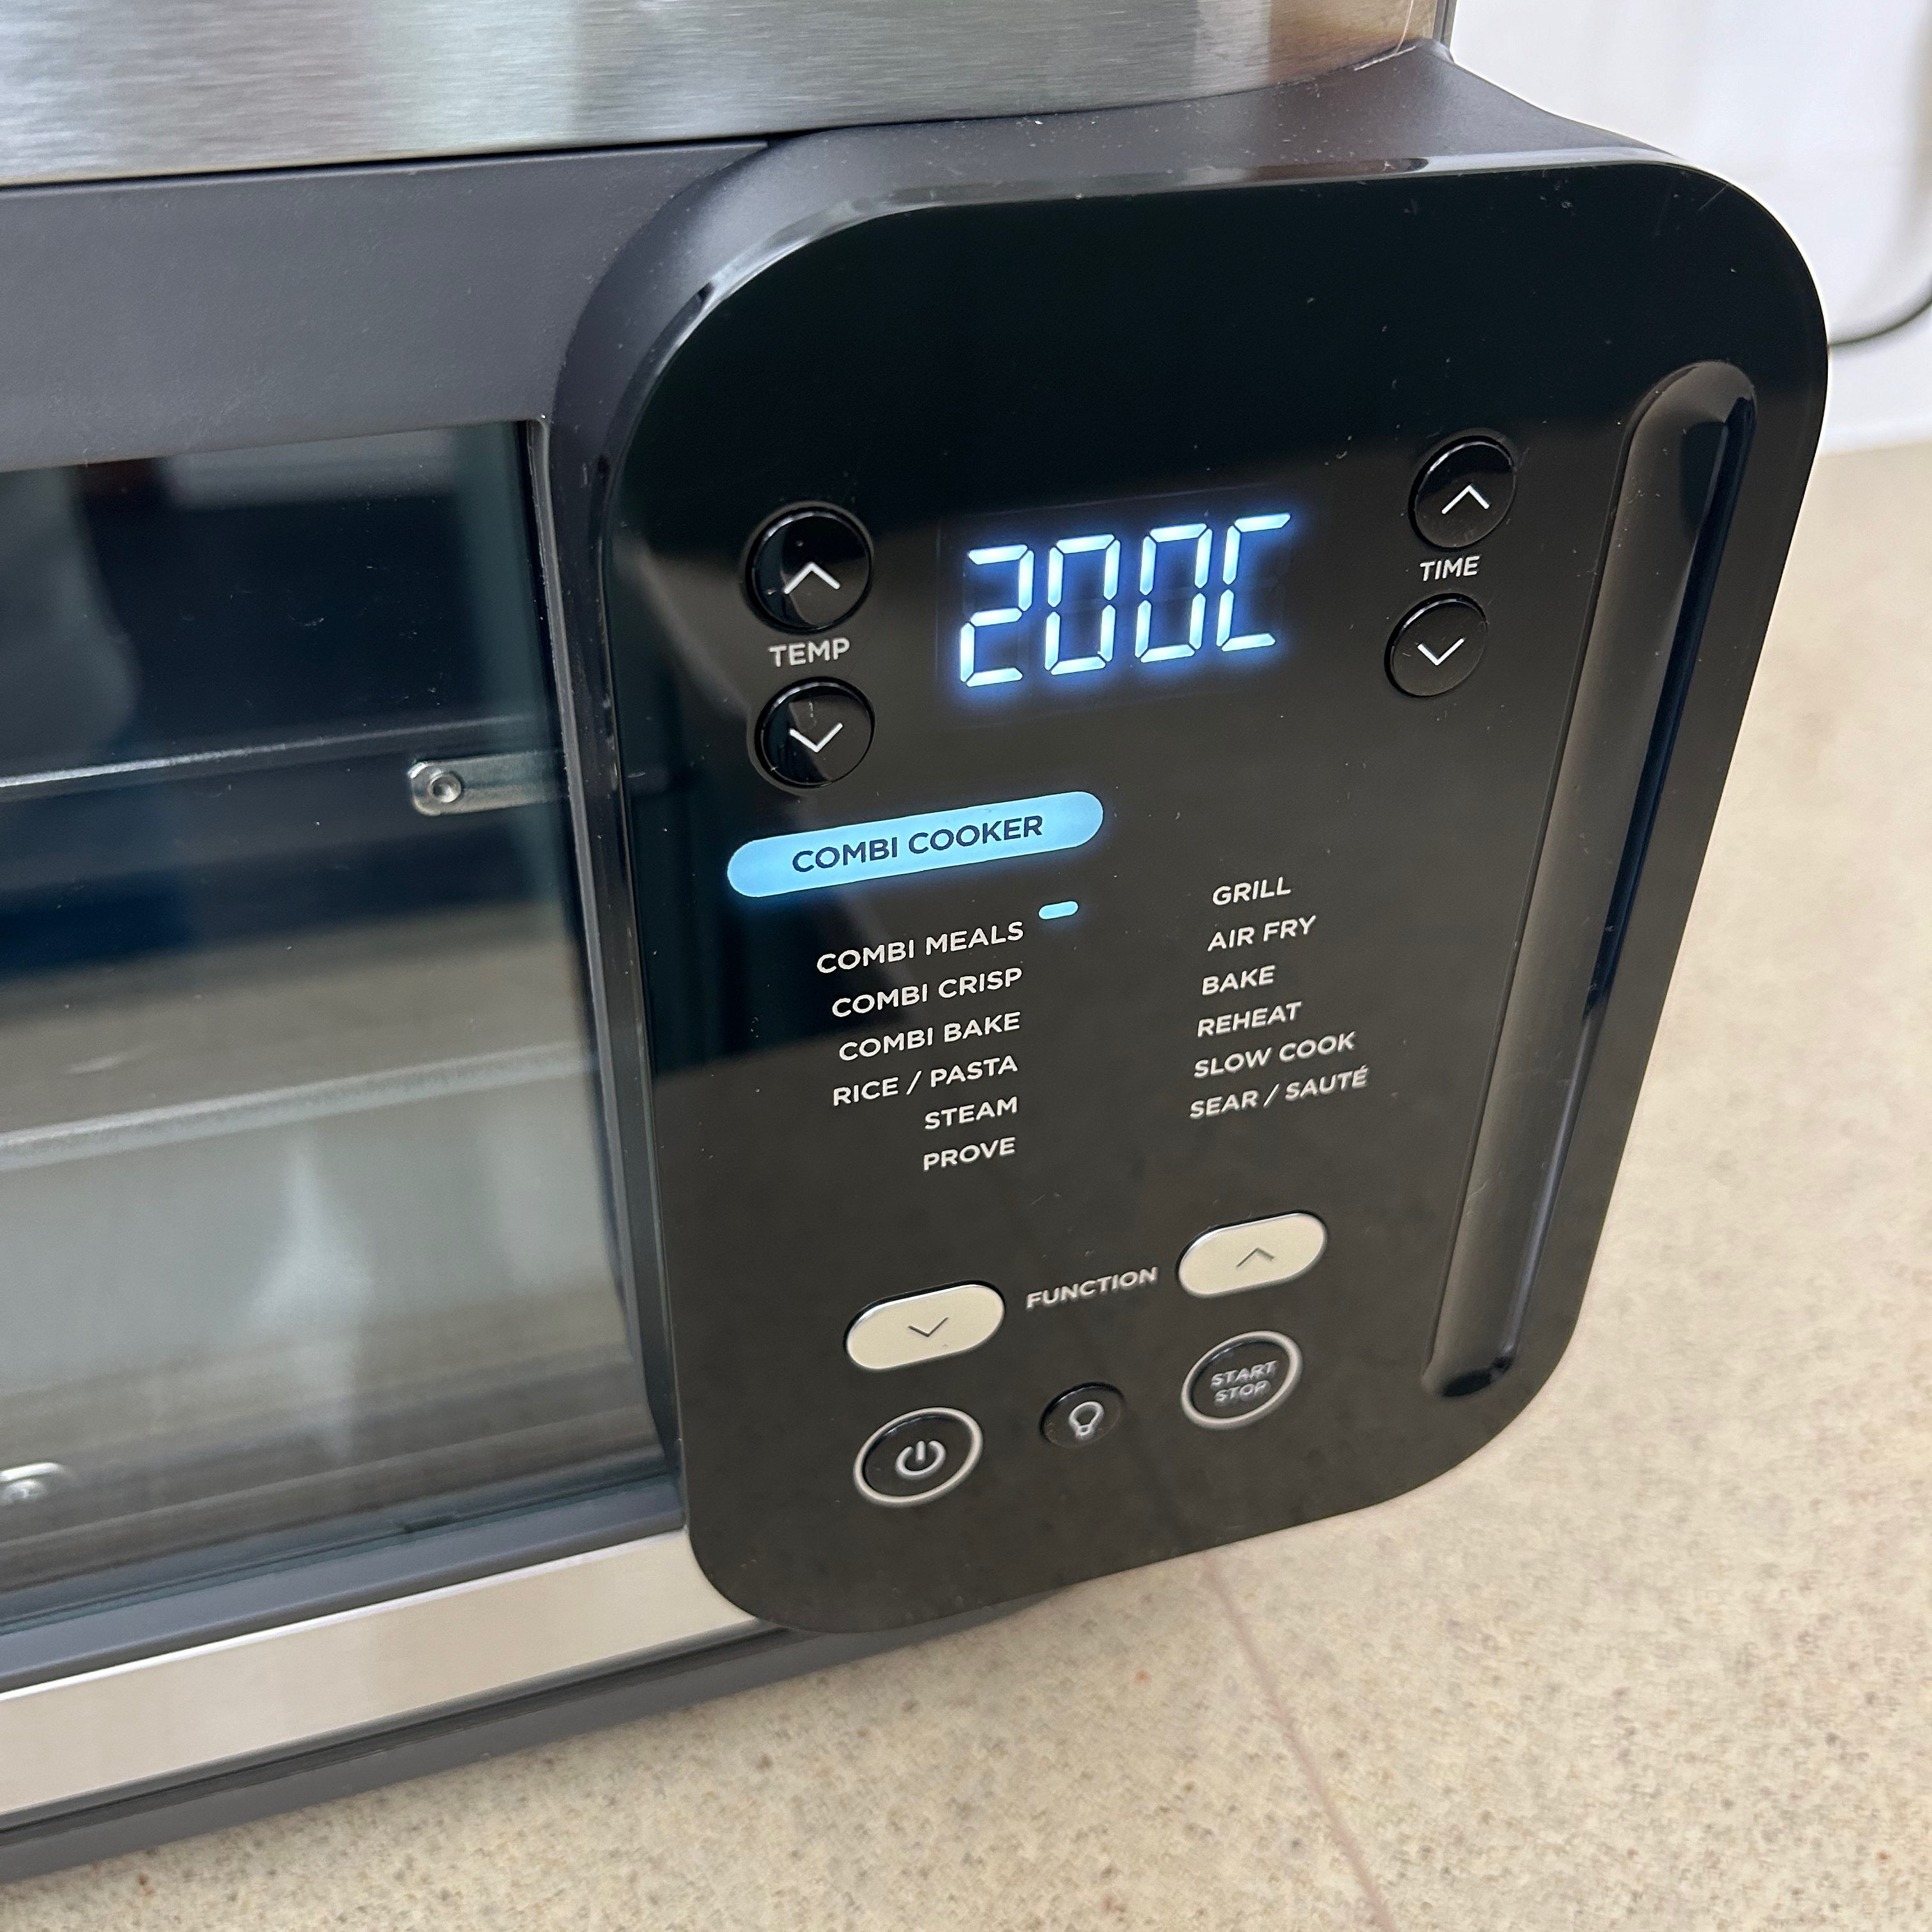
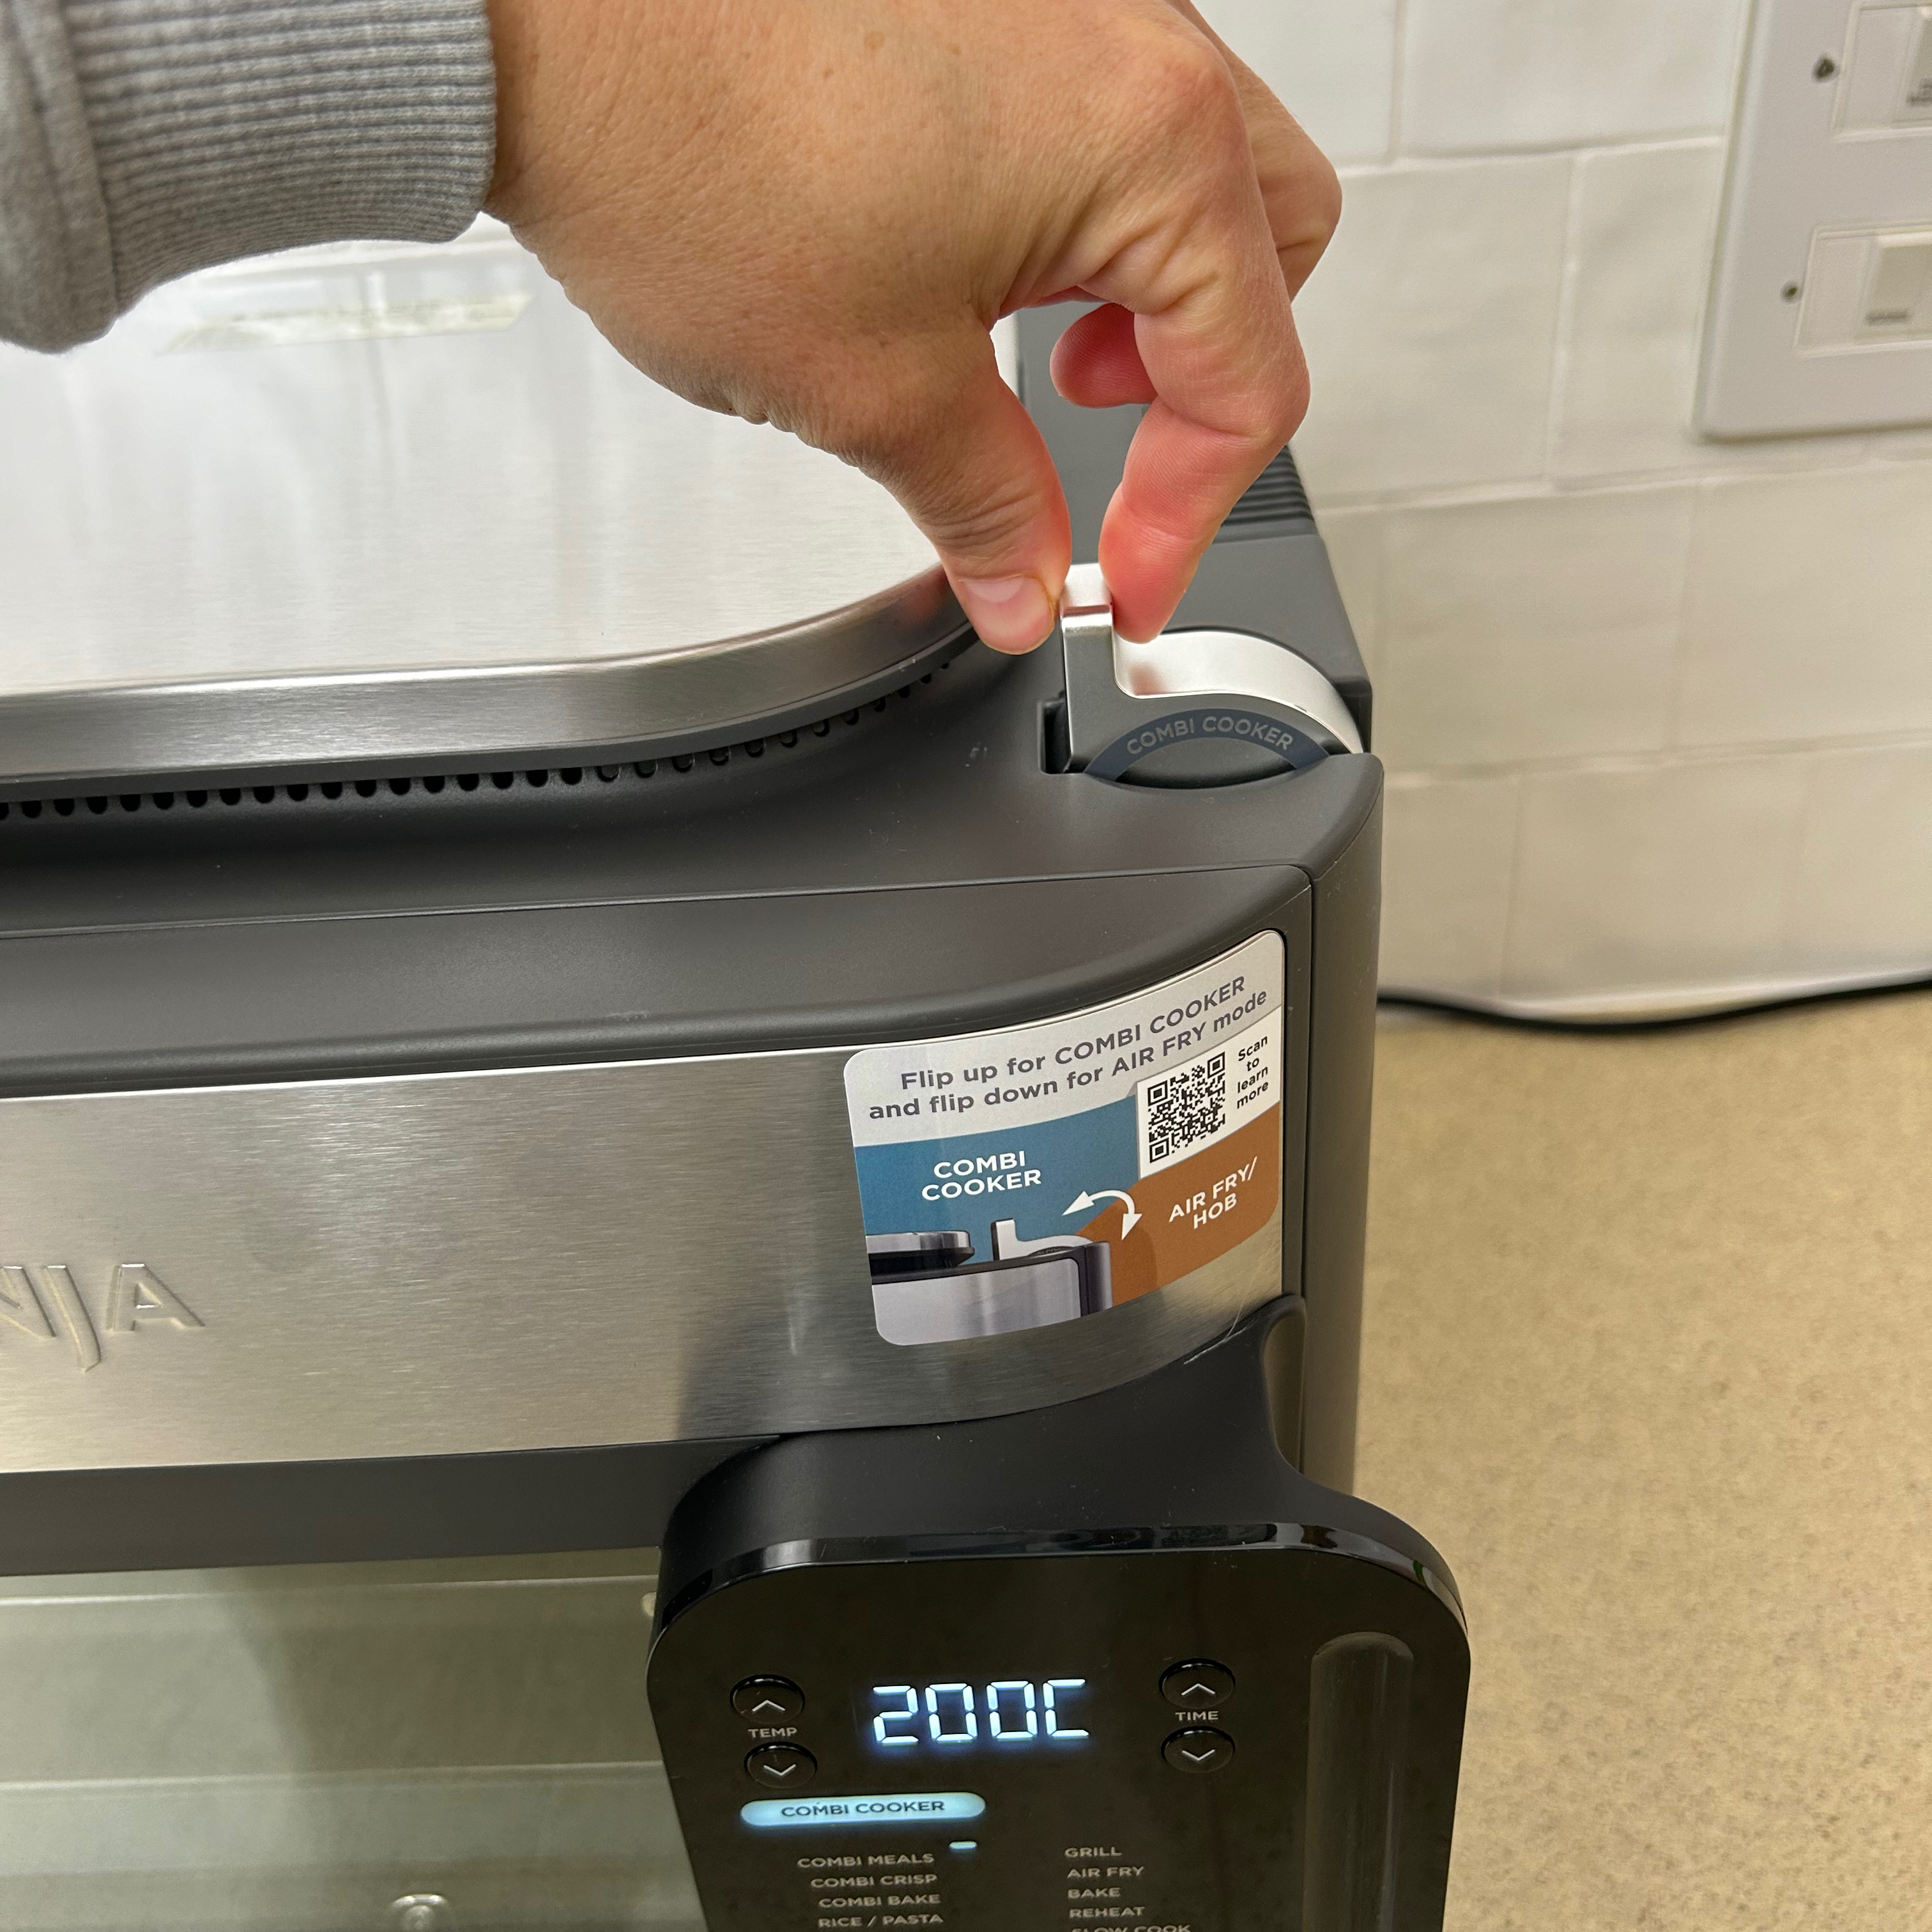
The control panel doubles as the handle to open the door. It is, as I’ve come to expect from Ninja, incredibly simple to use and understand. The only unusual control is the smart switch on top. It has two positions, the left position gives access to the combi cooker modes, while the right position lets you use the air fry and hob modes.
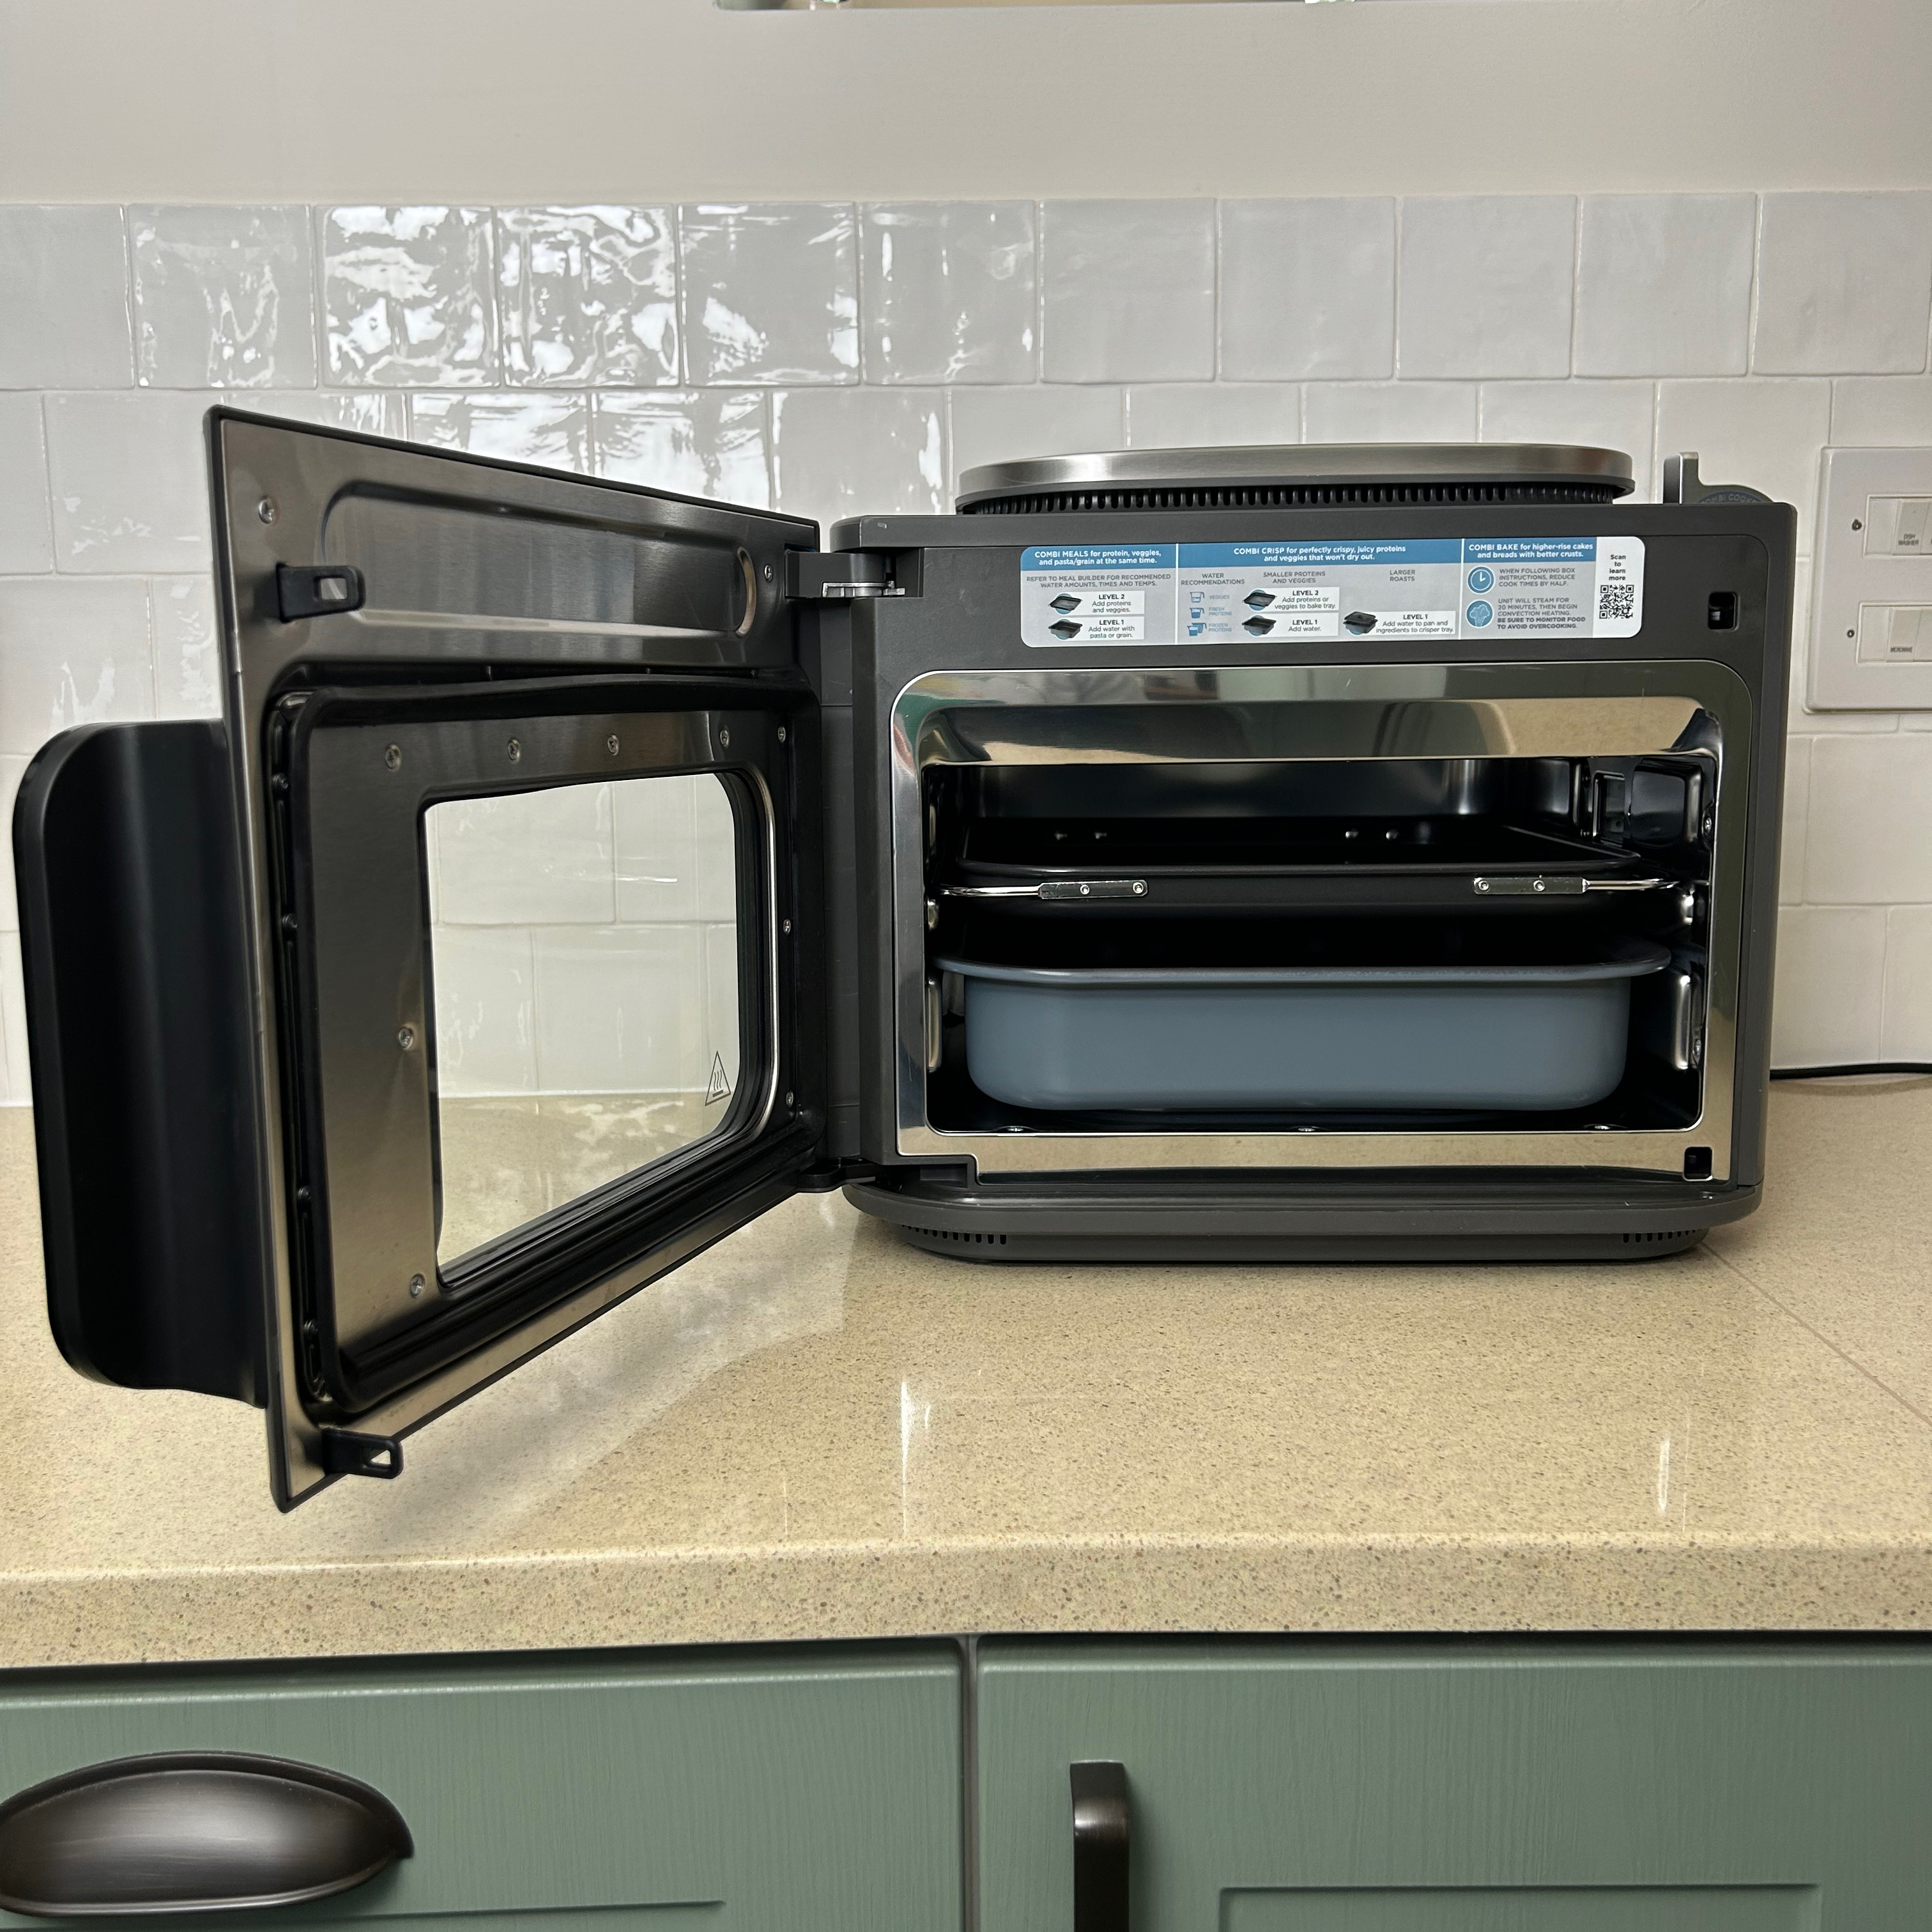
There are only two accessories, a simple baking tray and the combi pan, which is like a roasting tin, but with the addition of a perforated crisper plate that sits in the bottom.
With this appliance, setting it up and figuring out how to change the modes and settings was the simple part, the learning comes in using it and adapting the way you cook.
What is it like to use?
Because some of the cooking functions are so unique, I leaned heavily on the recipes in the booklet at first. I picked out a handful of recipes that would help me to learn how to best make use of some of the functions.
Combi meals
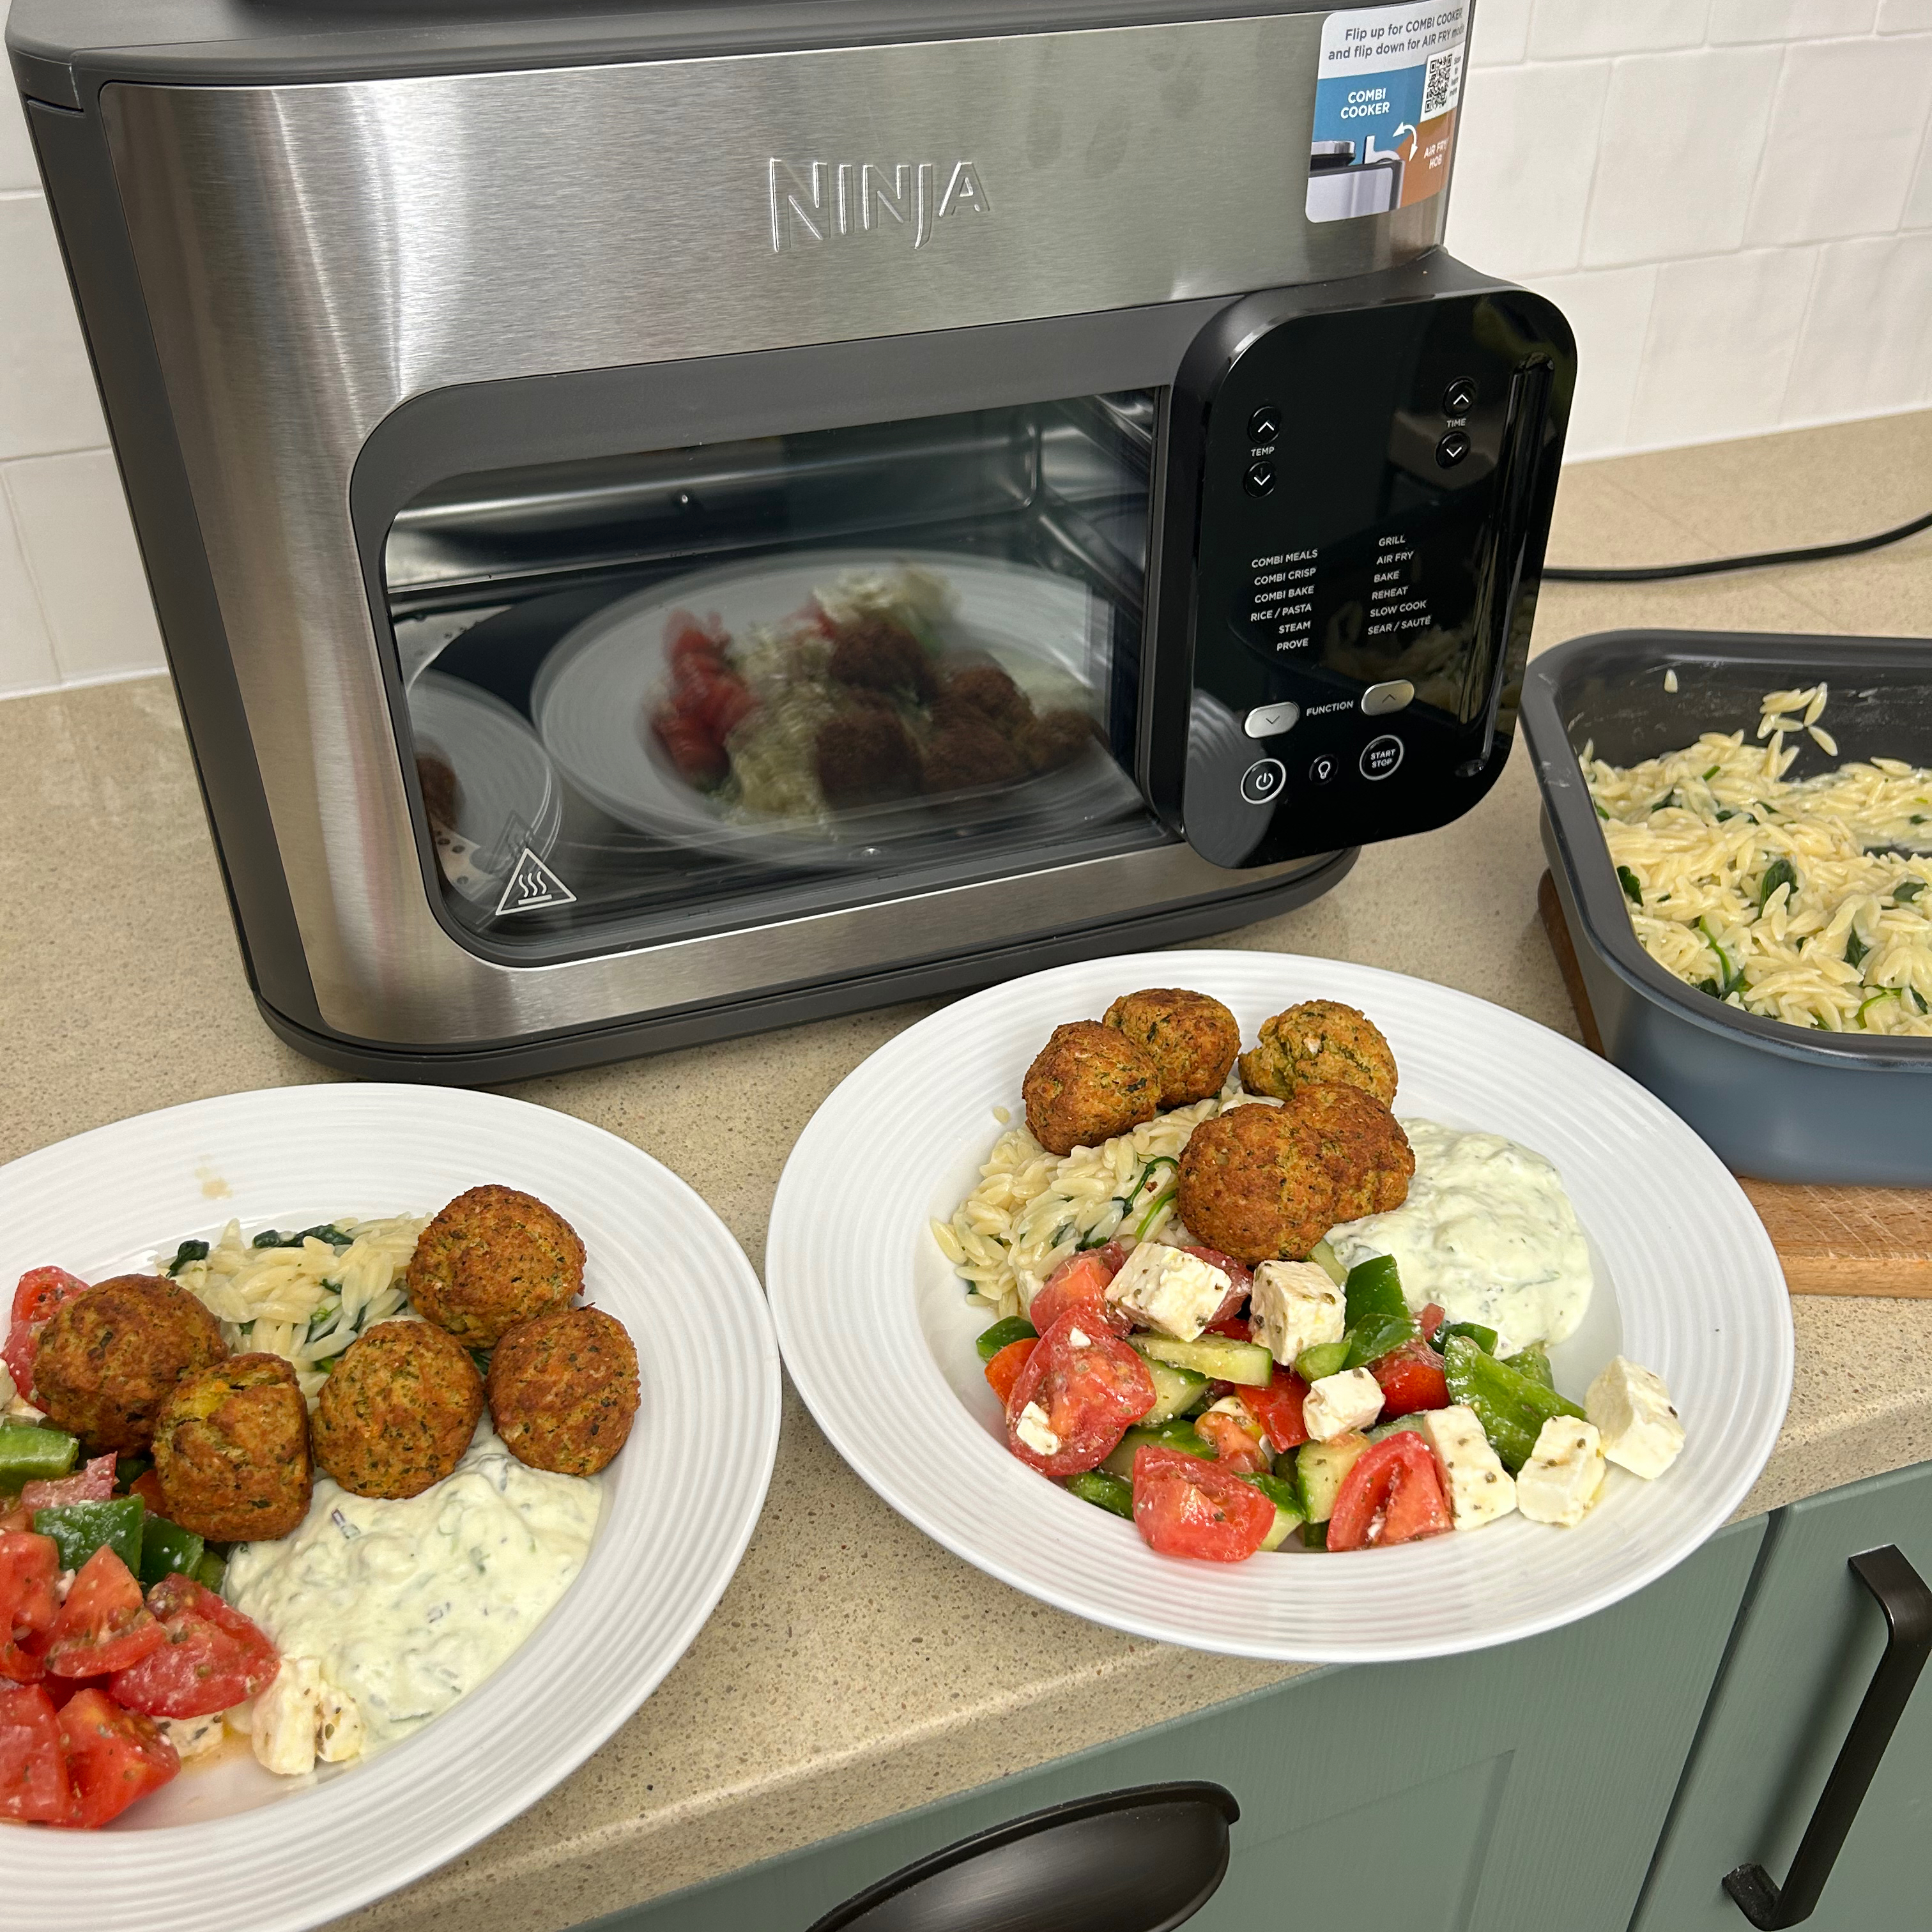
Since this mode uses steam and air fry simultaneously, it can be used to cook whole meals. The first recipe I tried was a falafel and orzo combination. I added raw orzo pasta and water to the larger tin, and frozen falafel to the baking tray above.
As directed in the recipe, I set the combi meals mode to cook for 12 minutes at 175C. It spent eight minutes heating and building steam before the timer started counting down. I must admit I was sceptical as to how this would work.
While it was cooking I whipped up a Greek salad and some tzatziki to go with it. When the timer went off, I opened the door and the falafel on top were browned and crisp on the outside. The orzo was a tad more starchy than I would like, but cooked nonetheless.

I often find shop-bought falafel can be a bit dry and I don’t know if it was the combination of steam and air fry, but these were nice and fluffy in the centre.
During cooking I noticed a lot of steam coming out of a vent on the top right, which meant I had to put my extractor fan on full blast. Subsequently, when cooking other foods I struggled with the amount of steam it was emitting and in the end I had to move it to the other side of my hob, so that the steam vent was as close as possible to my extractor.
I roughly followed another combi meals recipe, this time adding quinoa and water to the lower pan. On the upper tray I put four cod fillets, cherry tomatoes, and courgette slices. And once again, everything was cooked in under 20 minutes.
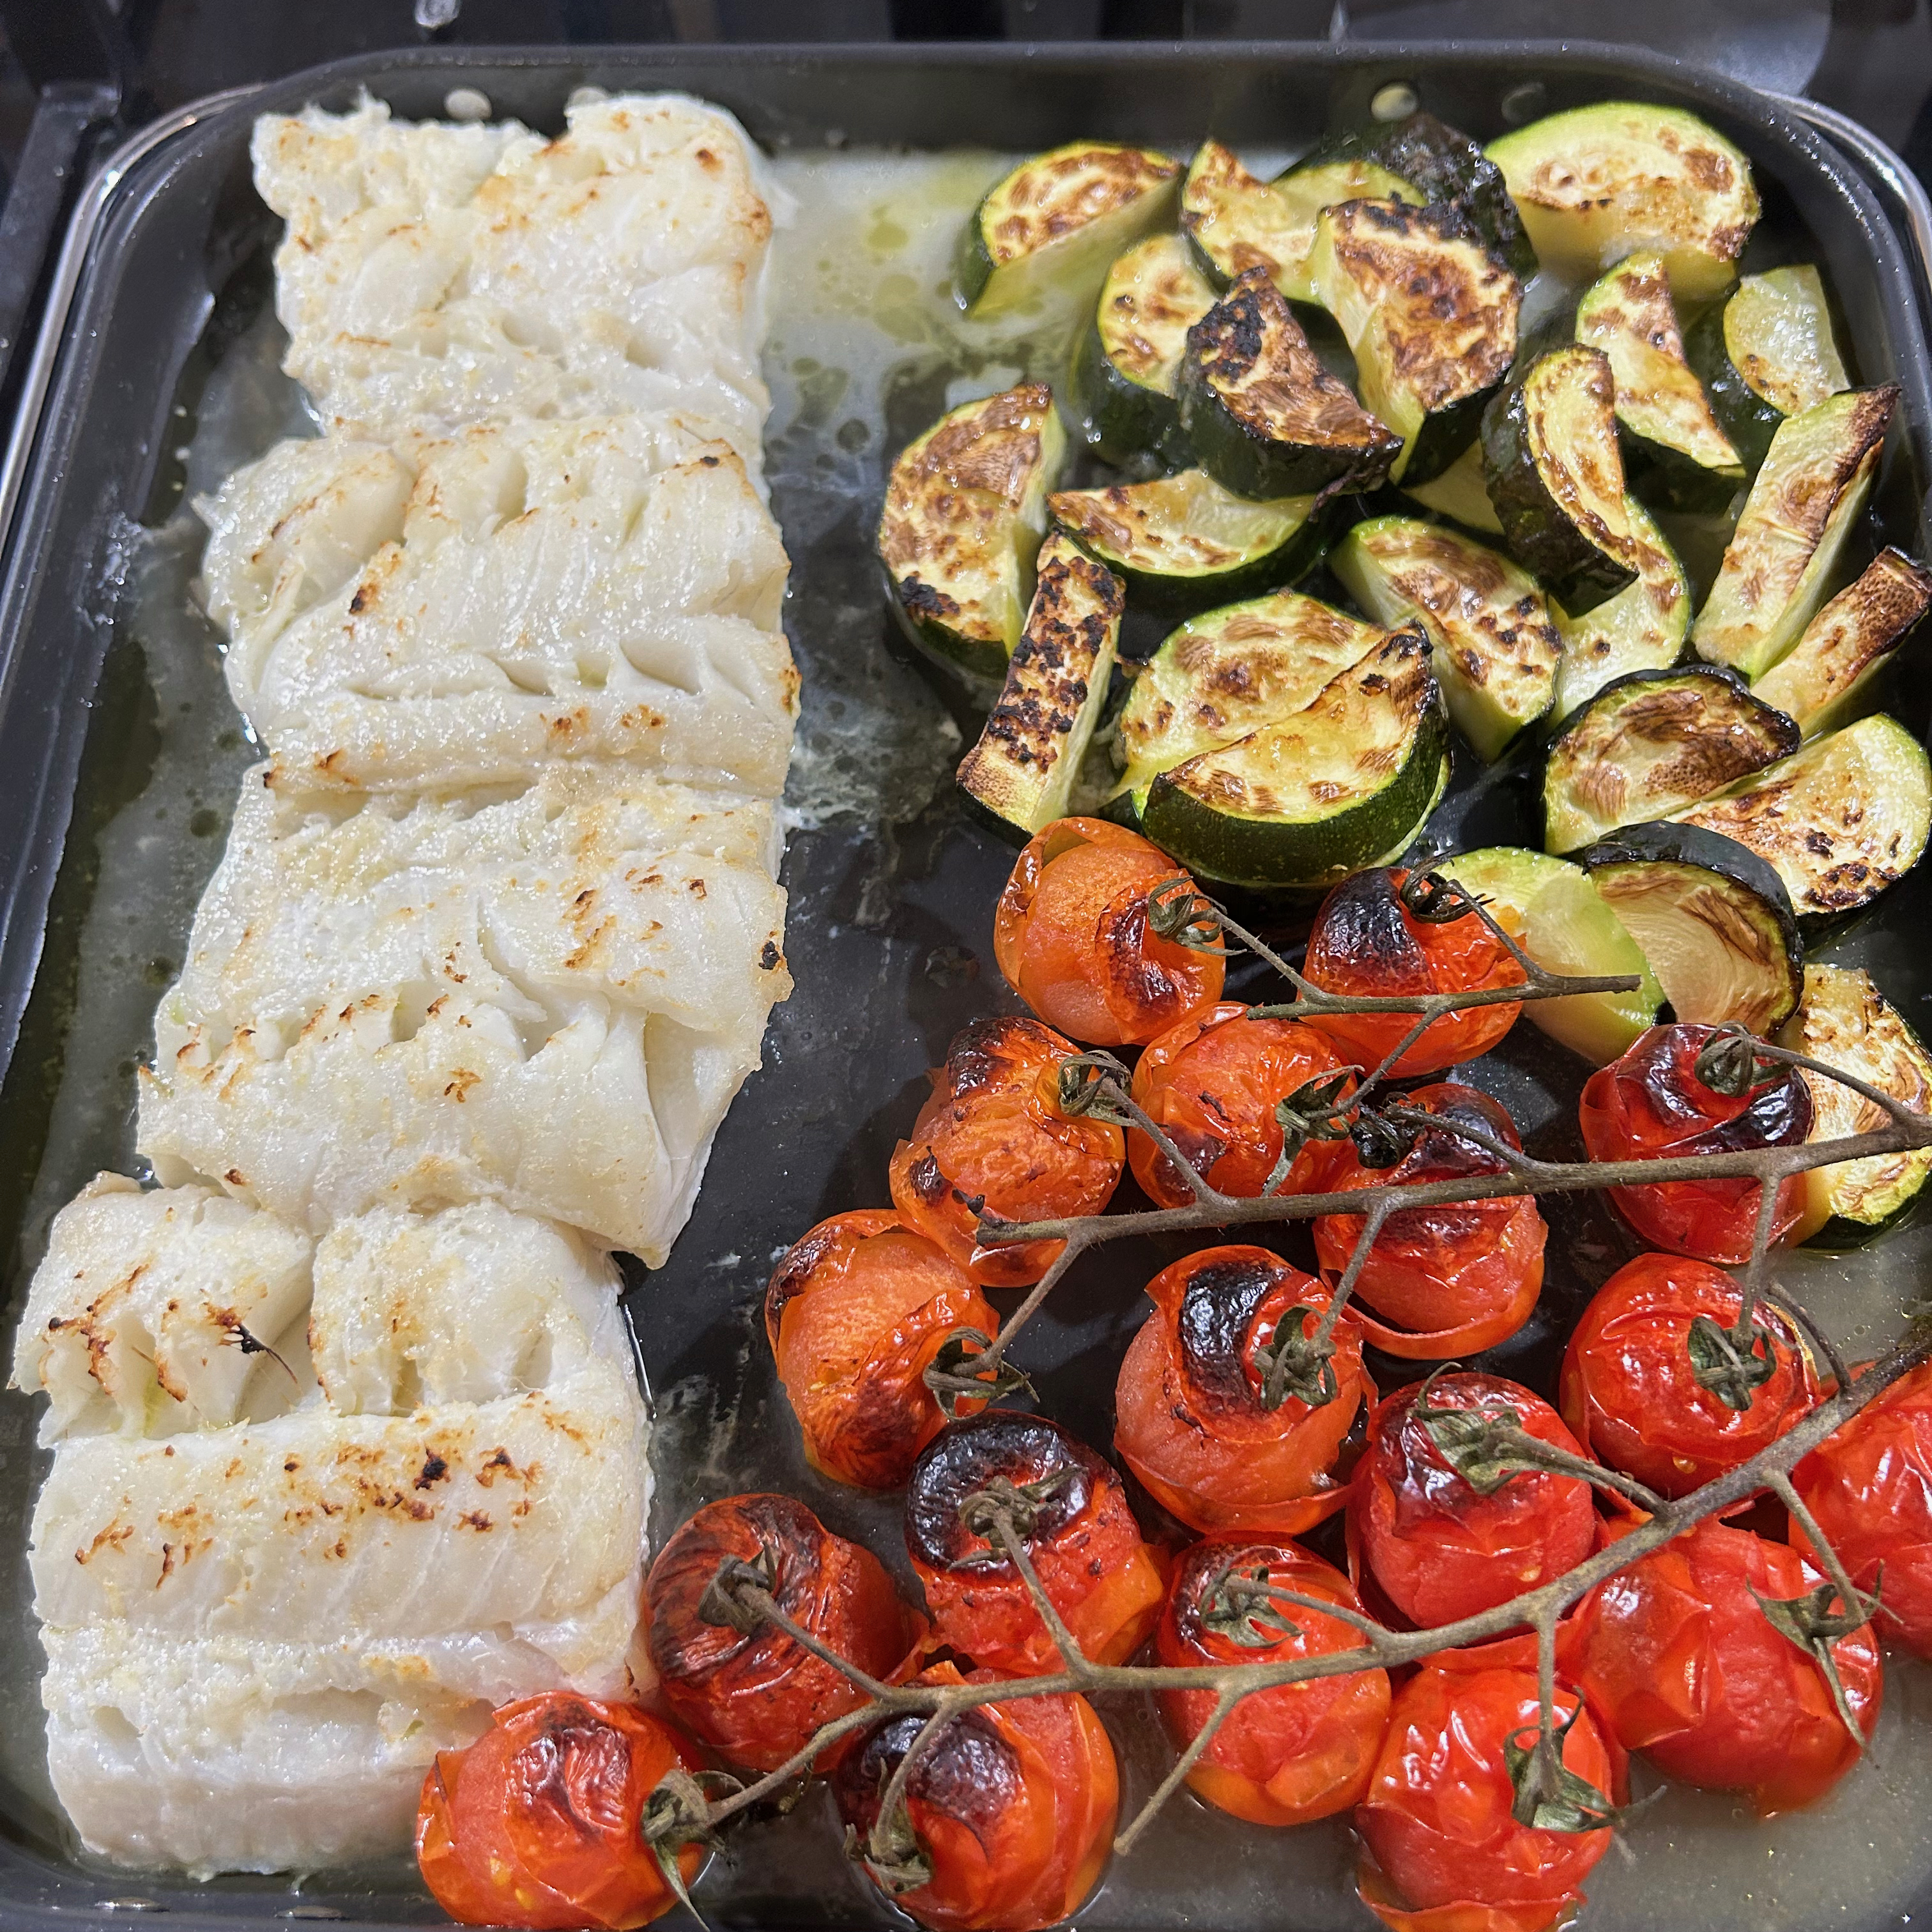
I had to remove the upper tray a couple of minutes before the end of the timer because the cod was cooked and the vegetables were nicely browned. The quinoa continued cooking and when the timer finished, it was perfectly cooked without being gloopy.
While both recipes I tried were successful, it’ll still take me a bit of time to get my head around cooking whole meals in this way. Thankfully the guide includes a section on how to build meals, with examples of different proteins and carbs. But you’ll still have to be up for the challenge of changing how you cook.
Combi Crisp
This mode is supposed to be ideal for a range of foods, from whole joints of meat, to vegetables, to crusty artisan bread. And since I bake a loaf of sourdough bread every week, I wanted to see how well my loaf would cook using this unique combination of steam and oven heat.
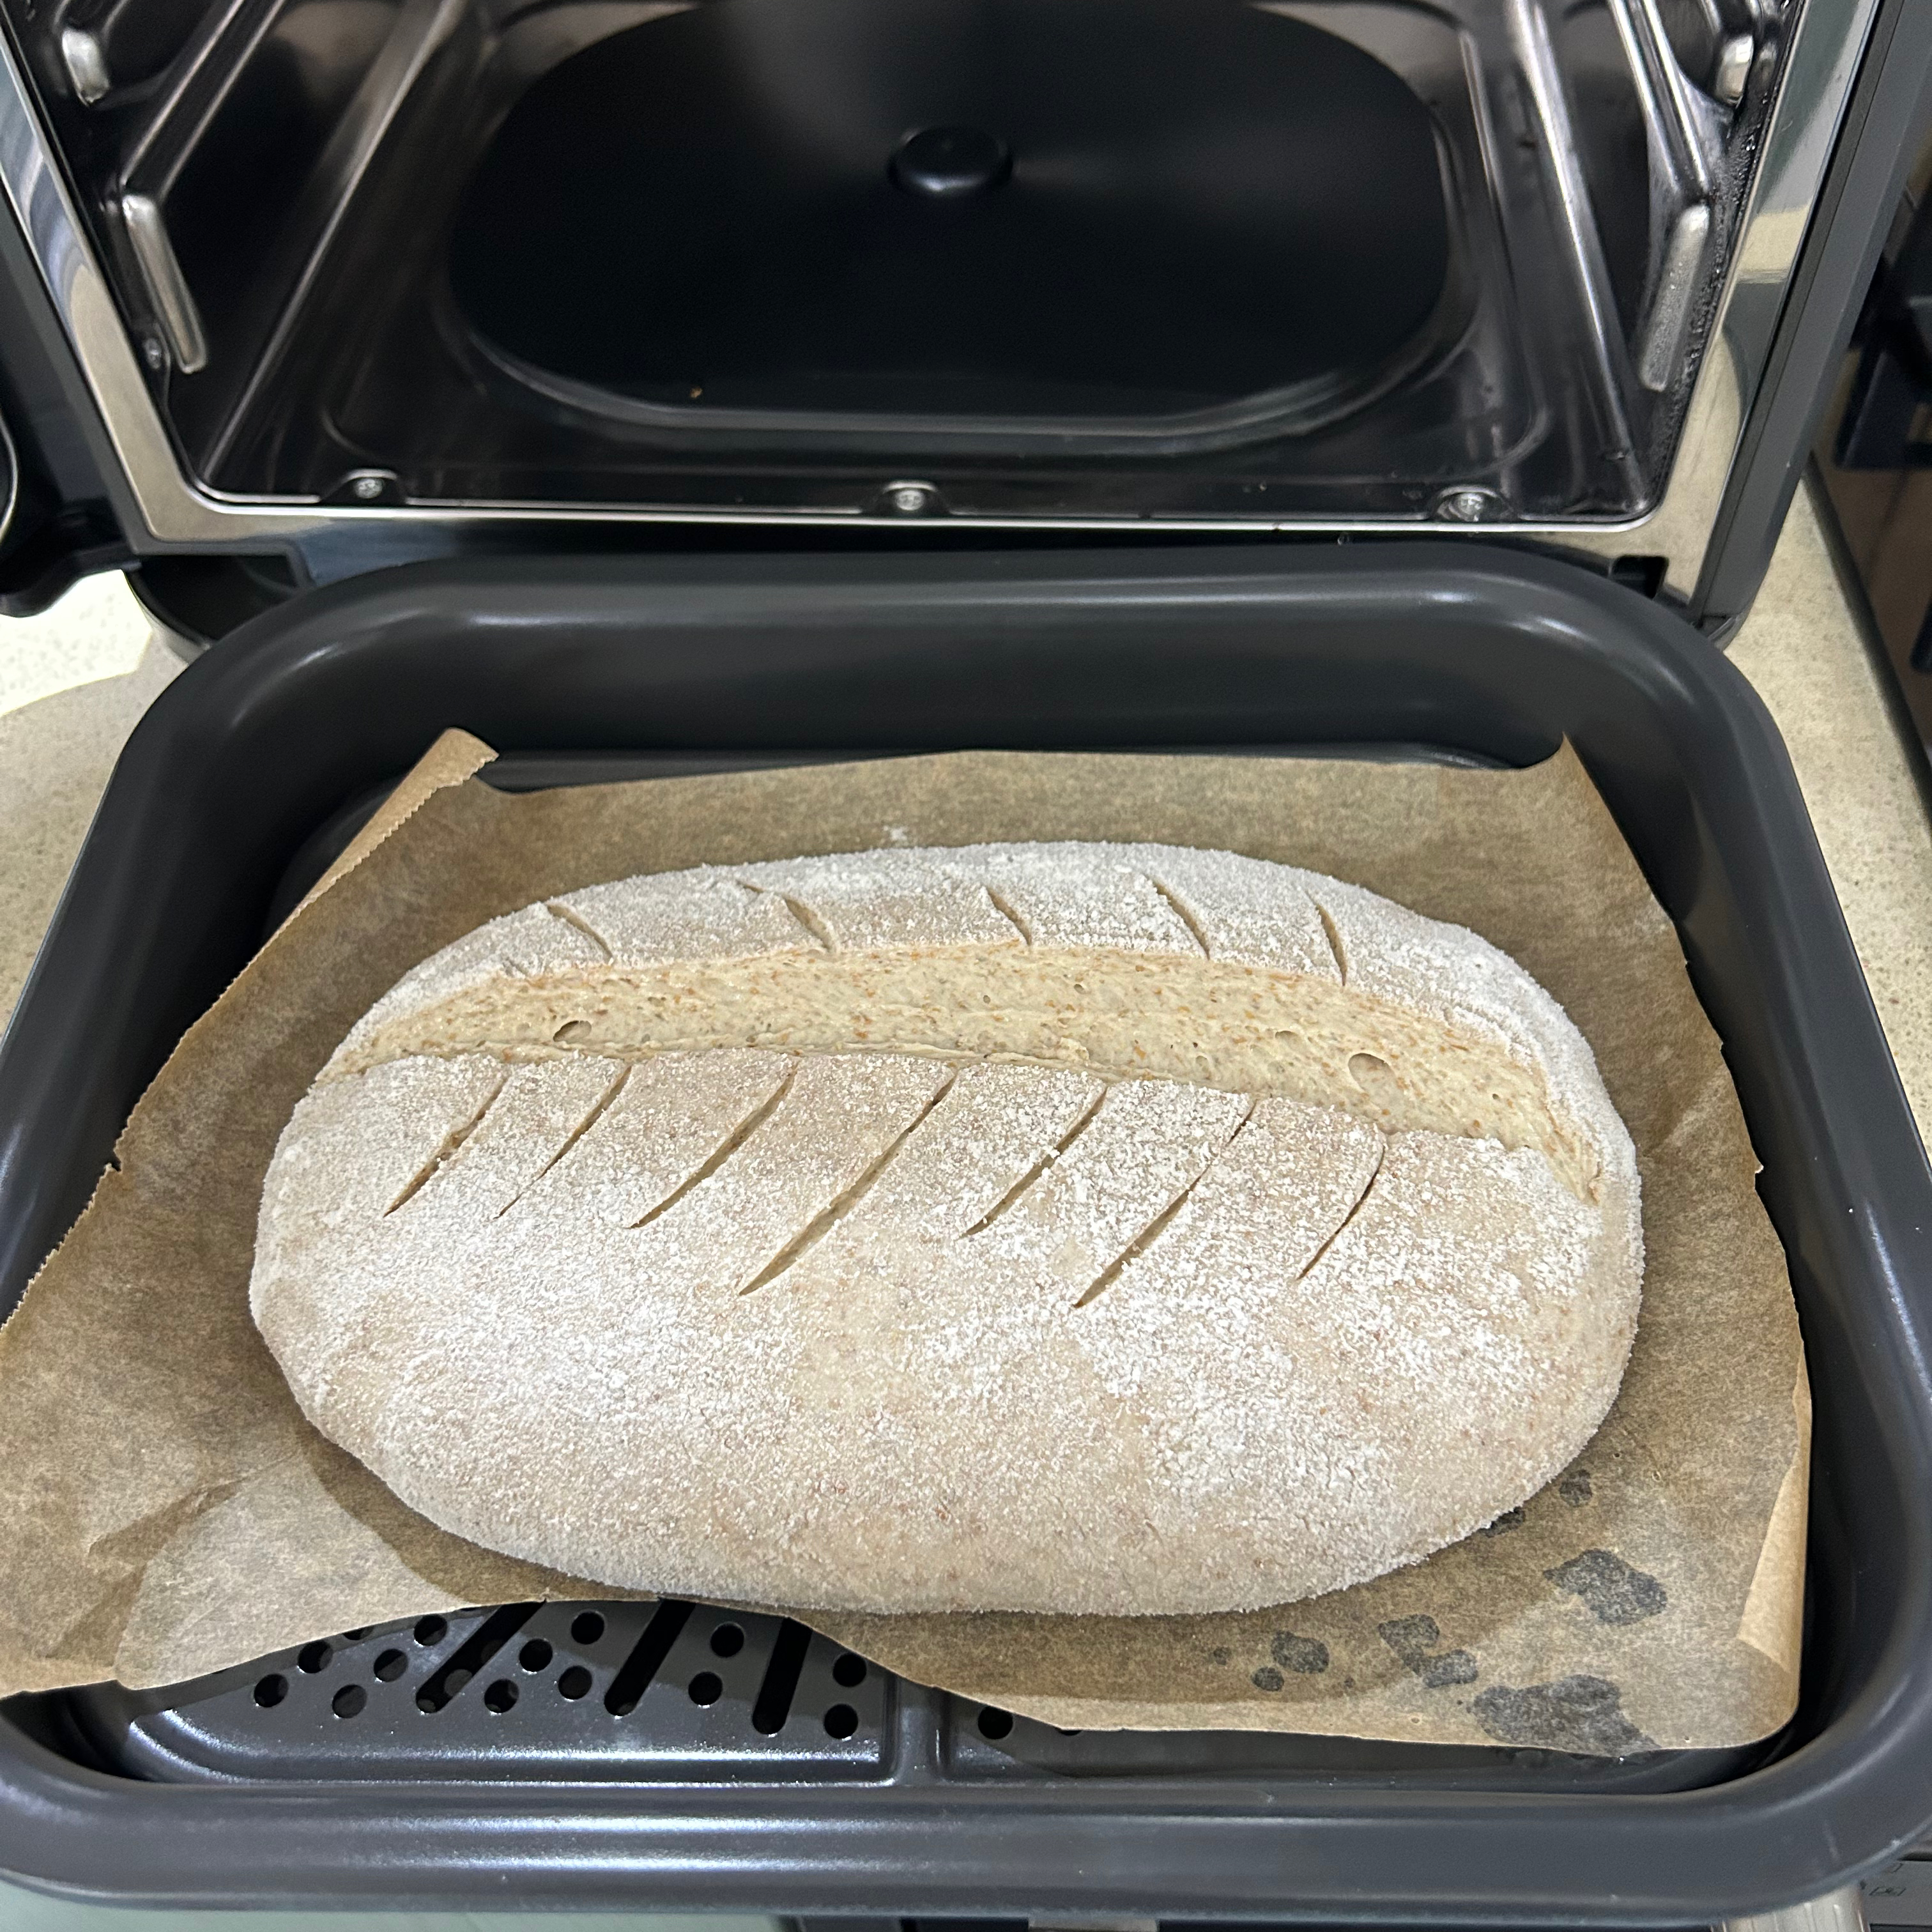
Admittedly, I had to wing it a bit. And just went with my usual time and temperatures that I would select for baking it in the oven. In the end, I took it out half way through the 40 minute timer, the crust was very dark. Sadly, it didn’t rise as well as normal and the appearance wasn’t as appealing or artisanal as I’d usually aim for.

I was expecting to be disappointed when I sliced into it, but was very surprised by the soft, fluffy and even bread texture, that was actually very enjoyable to eat.
The base was a little soft and wet from the steam and there’s definitely room for improvement on the looks front. But the result has intrigued me and I’m interested in experimenting with it some more on my next few loaves. Though once again, I can tell it’ll require a heavy amount of trial and error, which slightly puts me off.
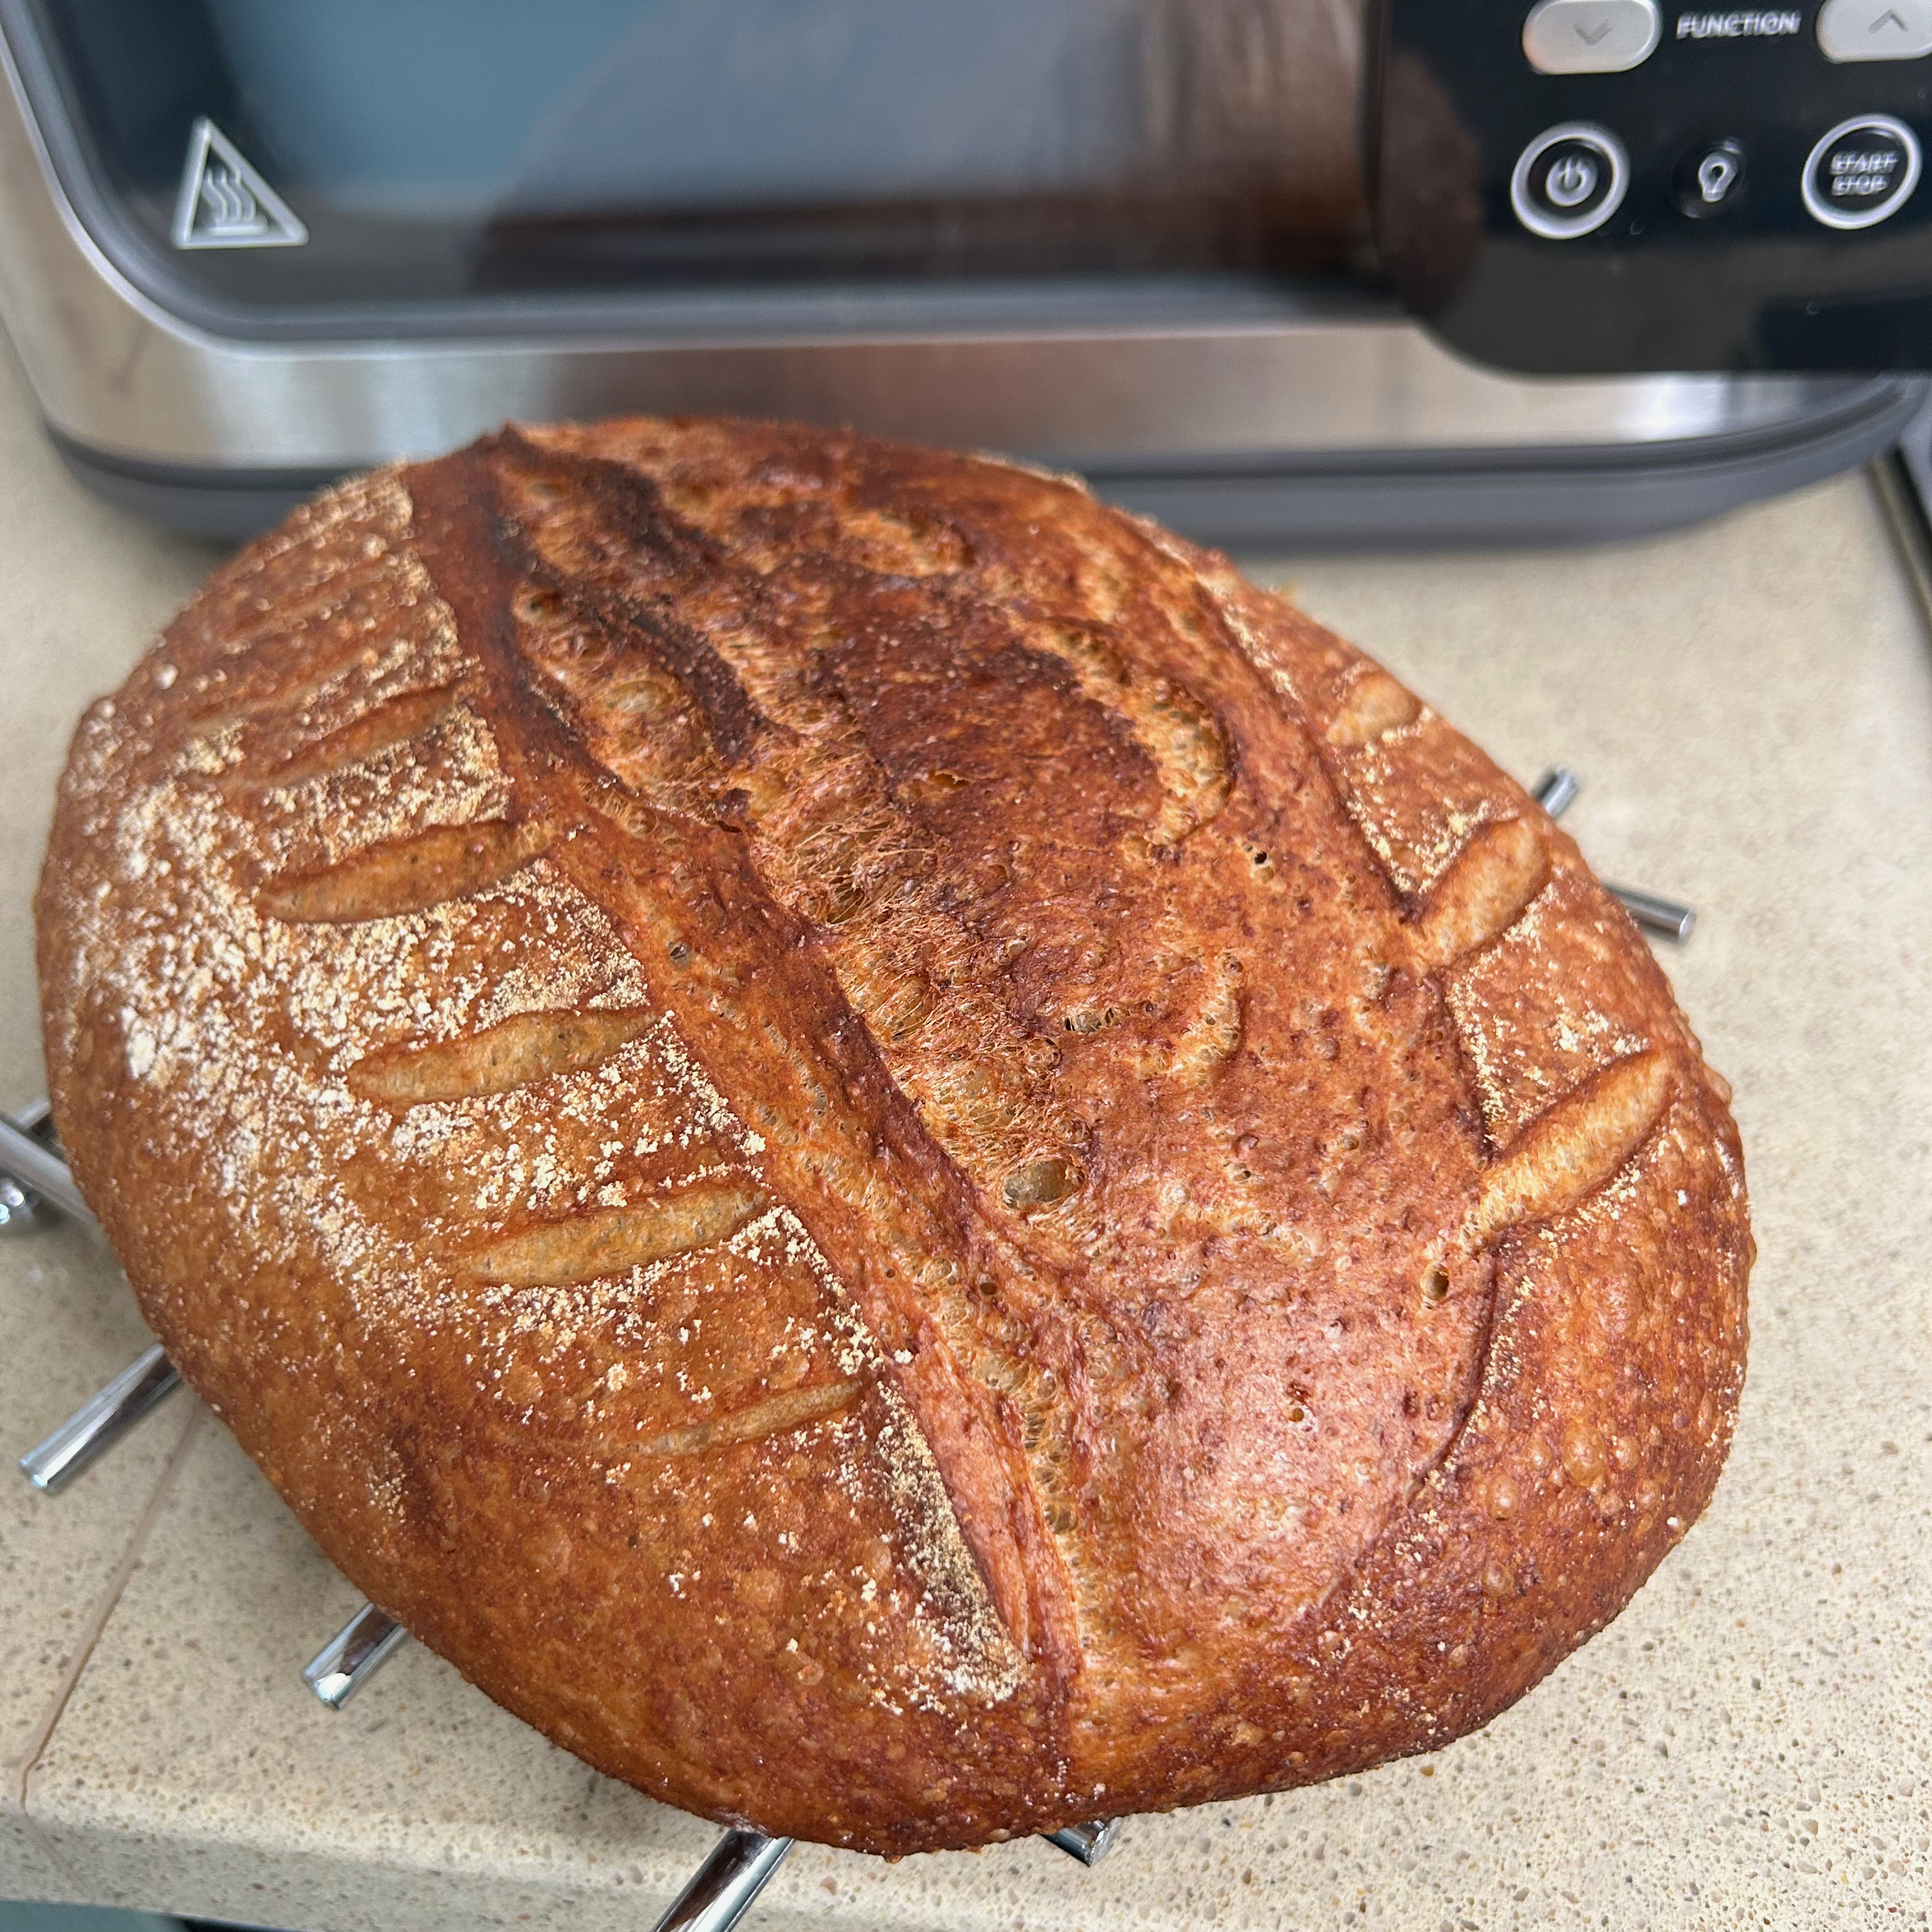
Side note, following the first attempt using the combi crisp mode, I tried a sourdough loaf using the combi bake mode and the results were far more impressive. It was well risen and golden, with a crisp crust and soft fluffy bread. Still not perfect, and I had to finish it on the bake only mode, so there's more experimenting to do!
Combi Bake
This setting uses steam during the bake and promises a good rise and moist, fluffy results. But given that there’s also a standard bake mode, it might be tough to choose which is best. So I followed a recipe for apple cake that uses the combi bake mode.
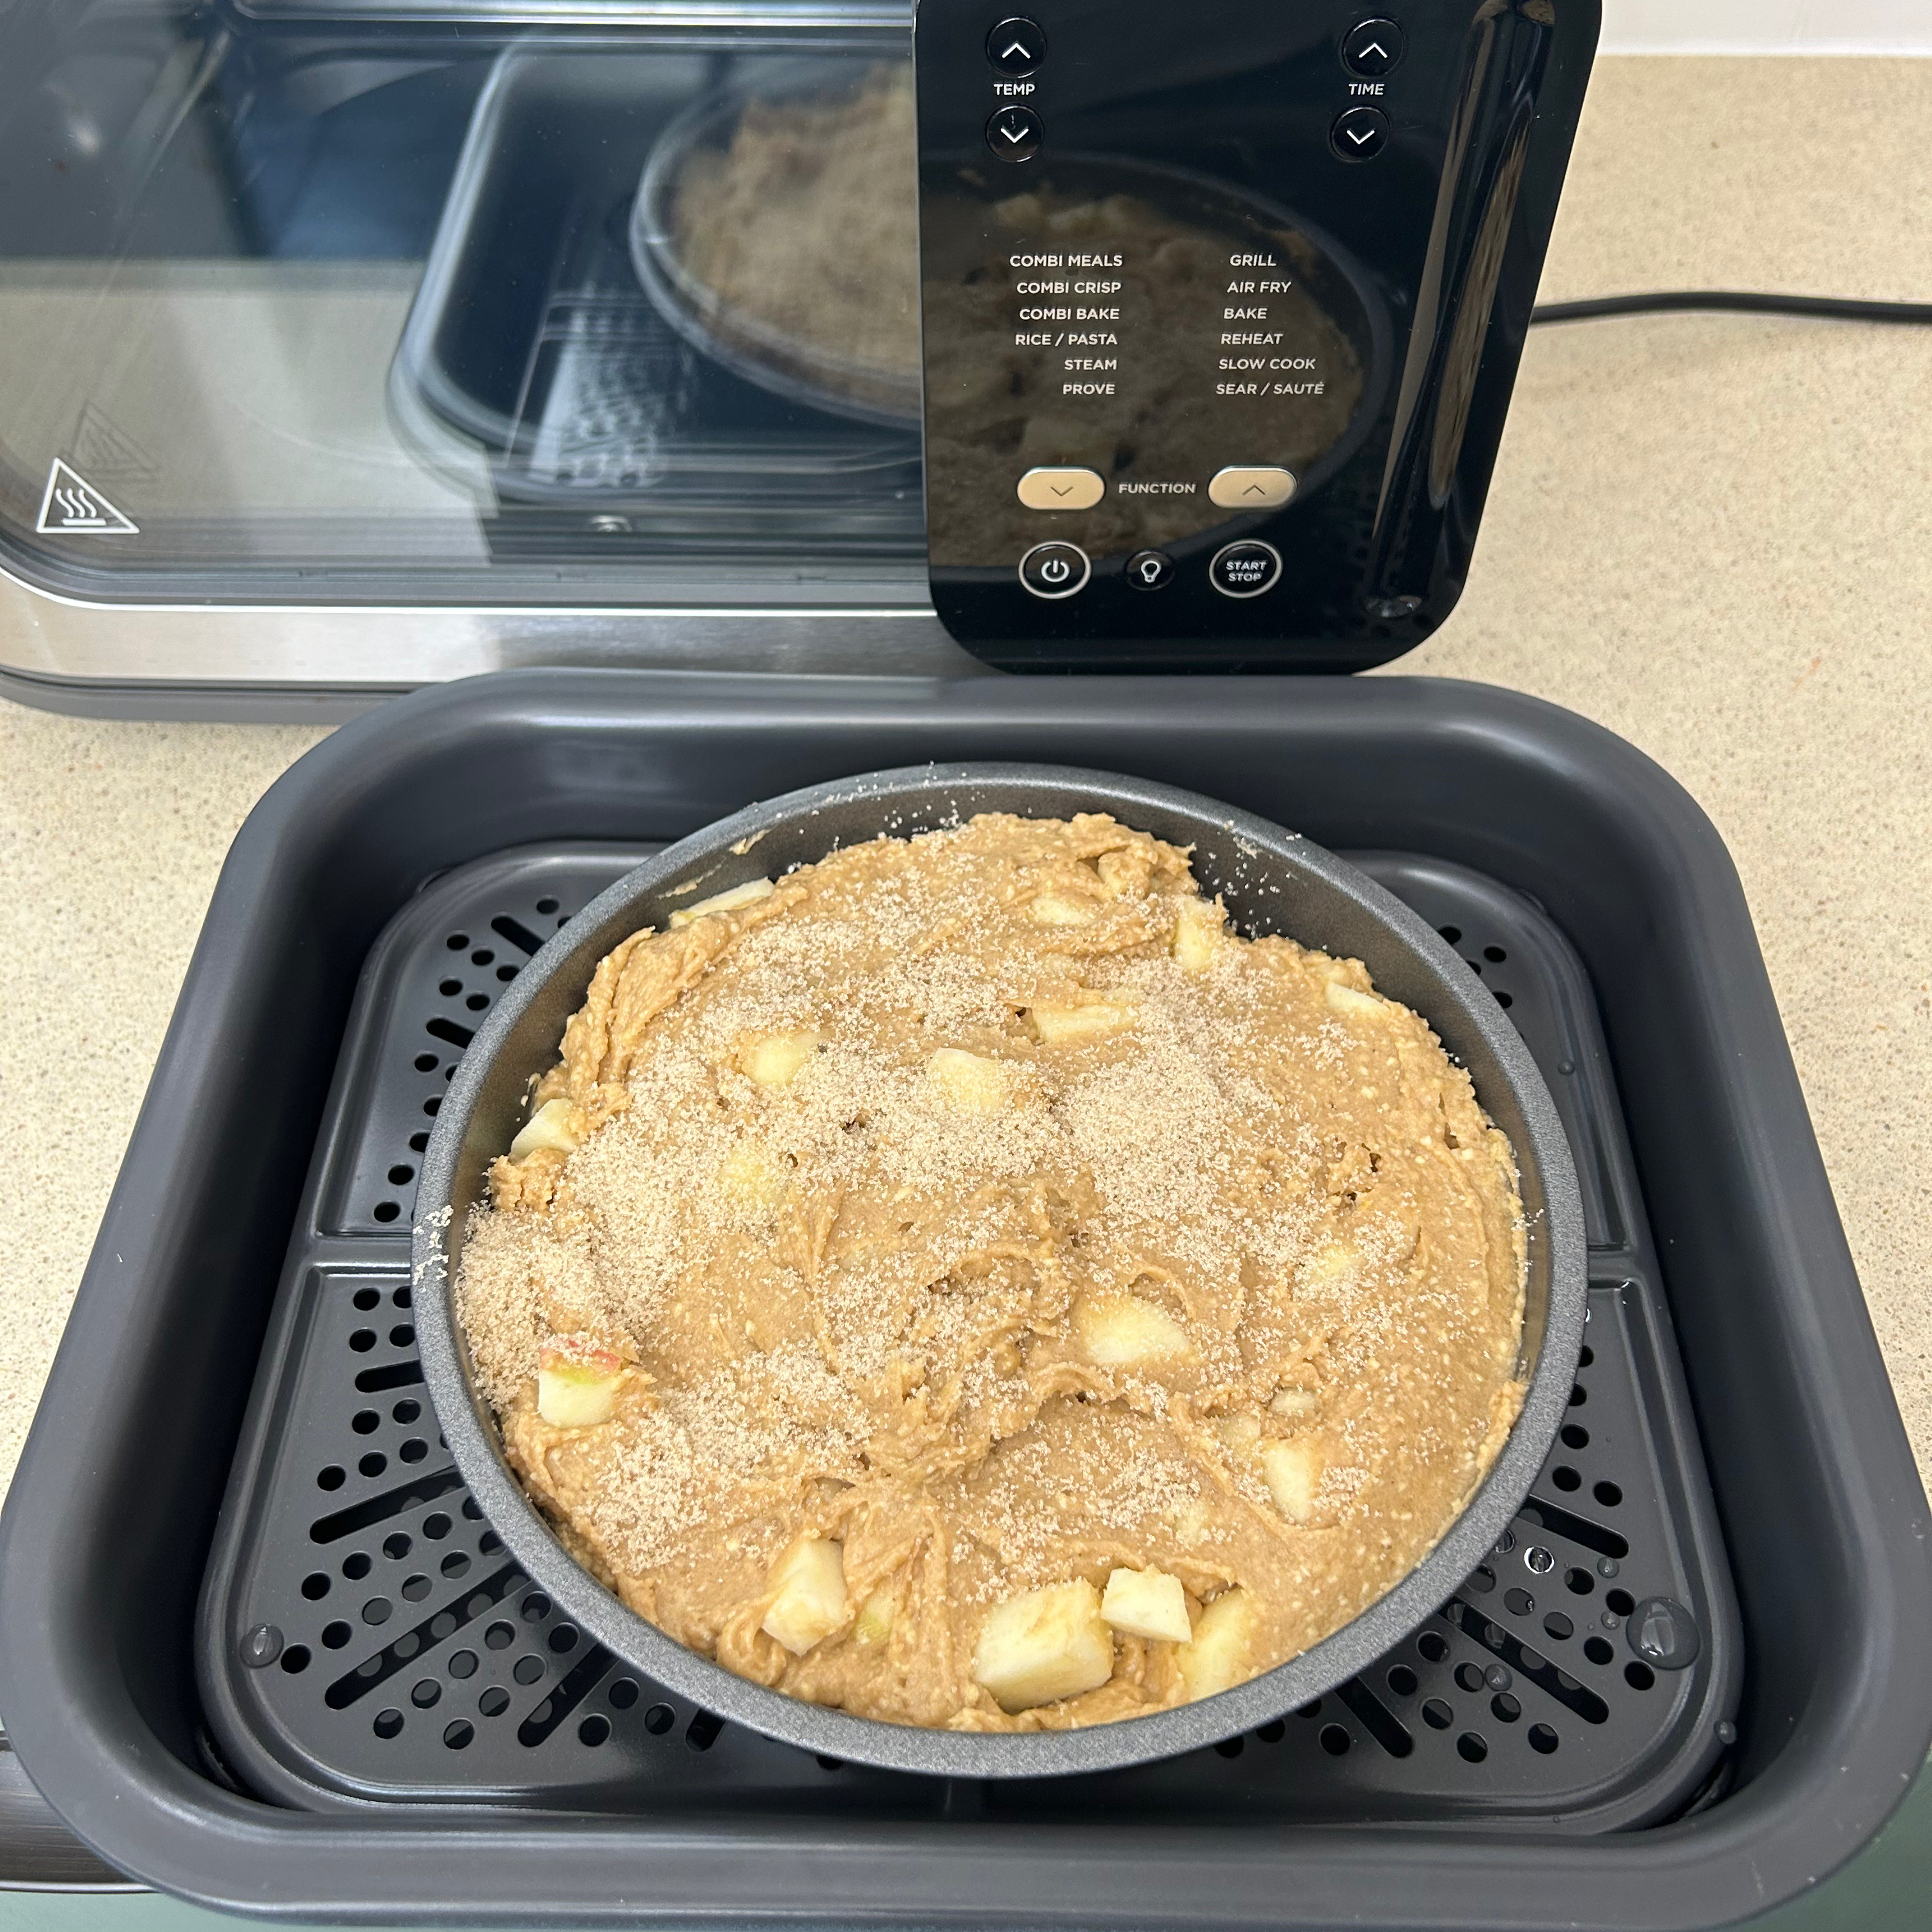
I had to add water to the combi pan and then sit my filled cake tin on the crisper plate. The timer was set to 25 minutes, but it spent a lengthy 20 minutes building up steam before the 25 minute timer started counting down.
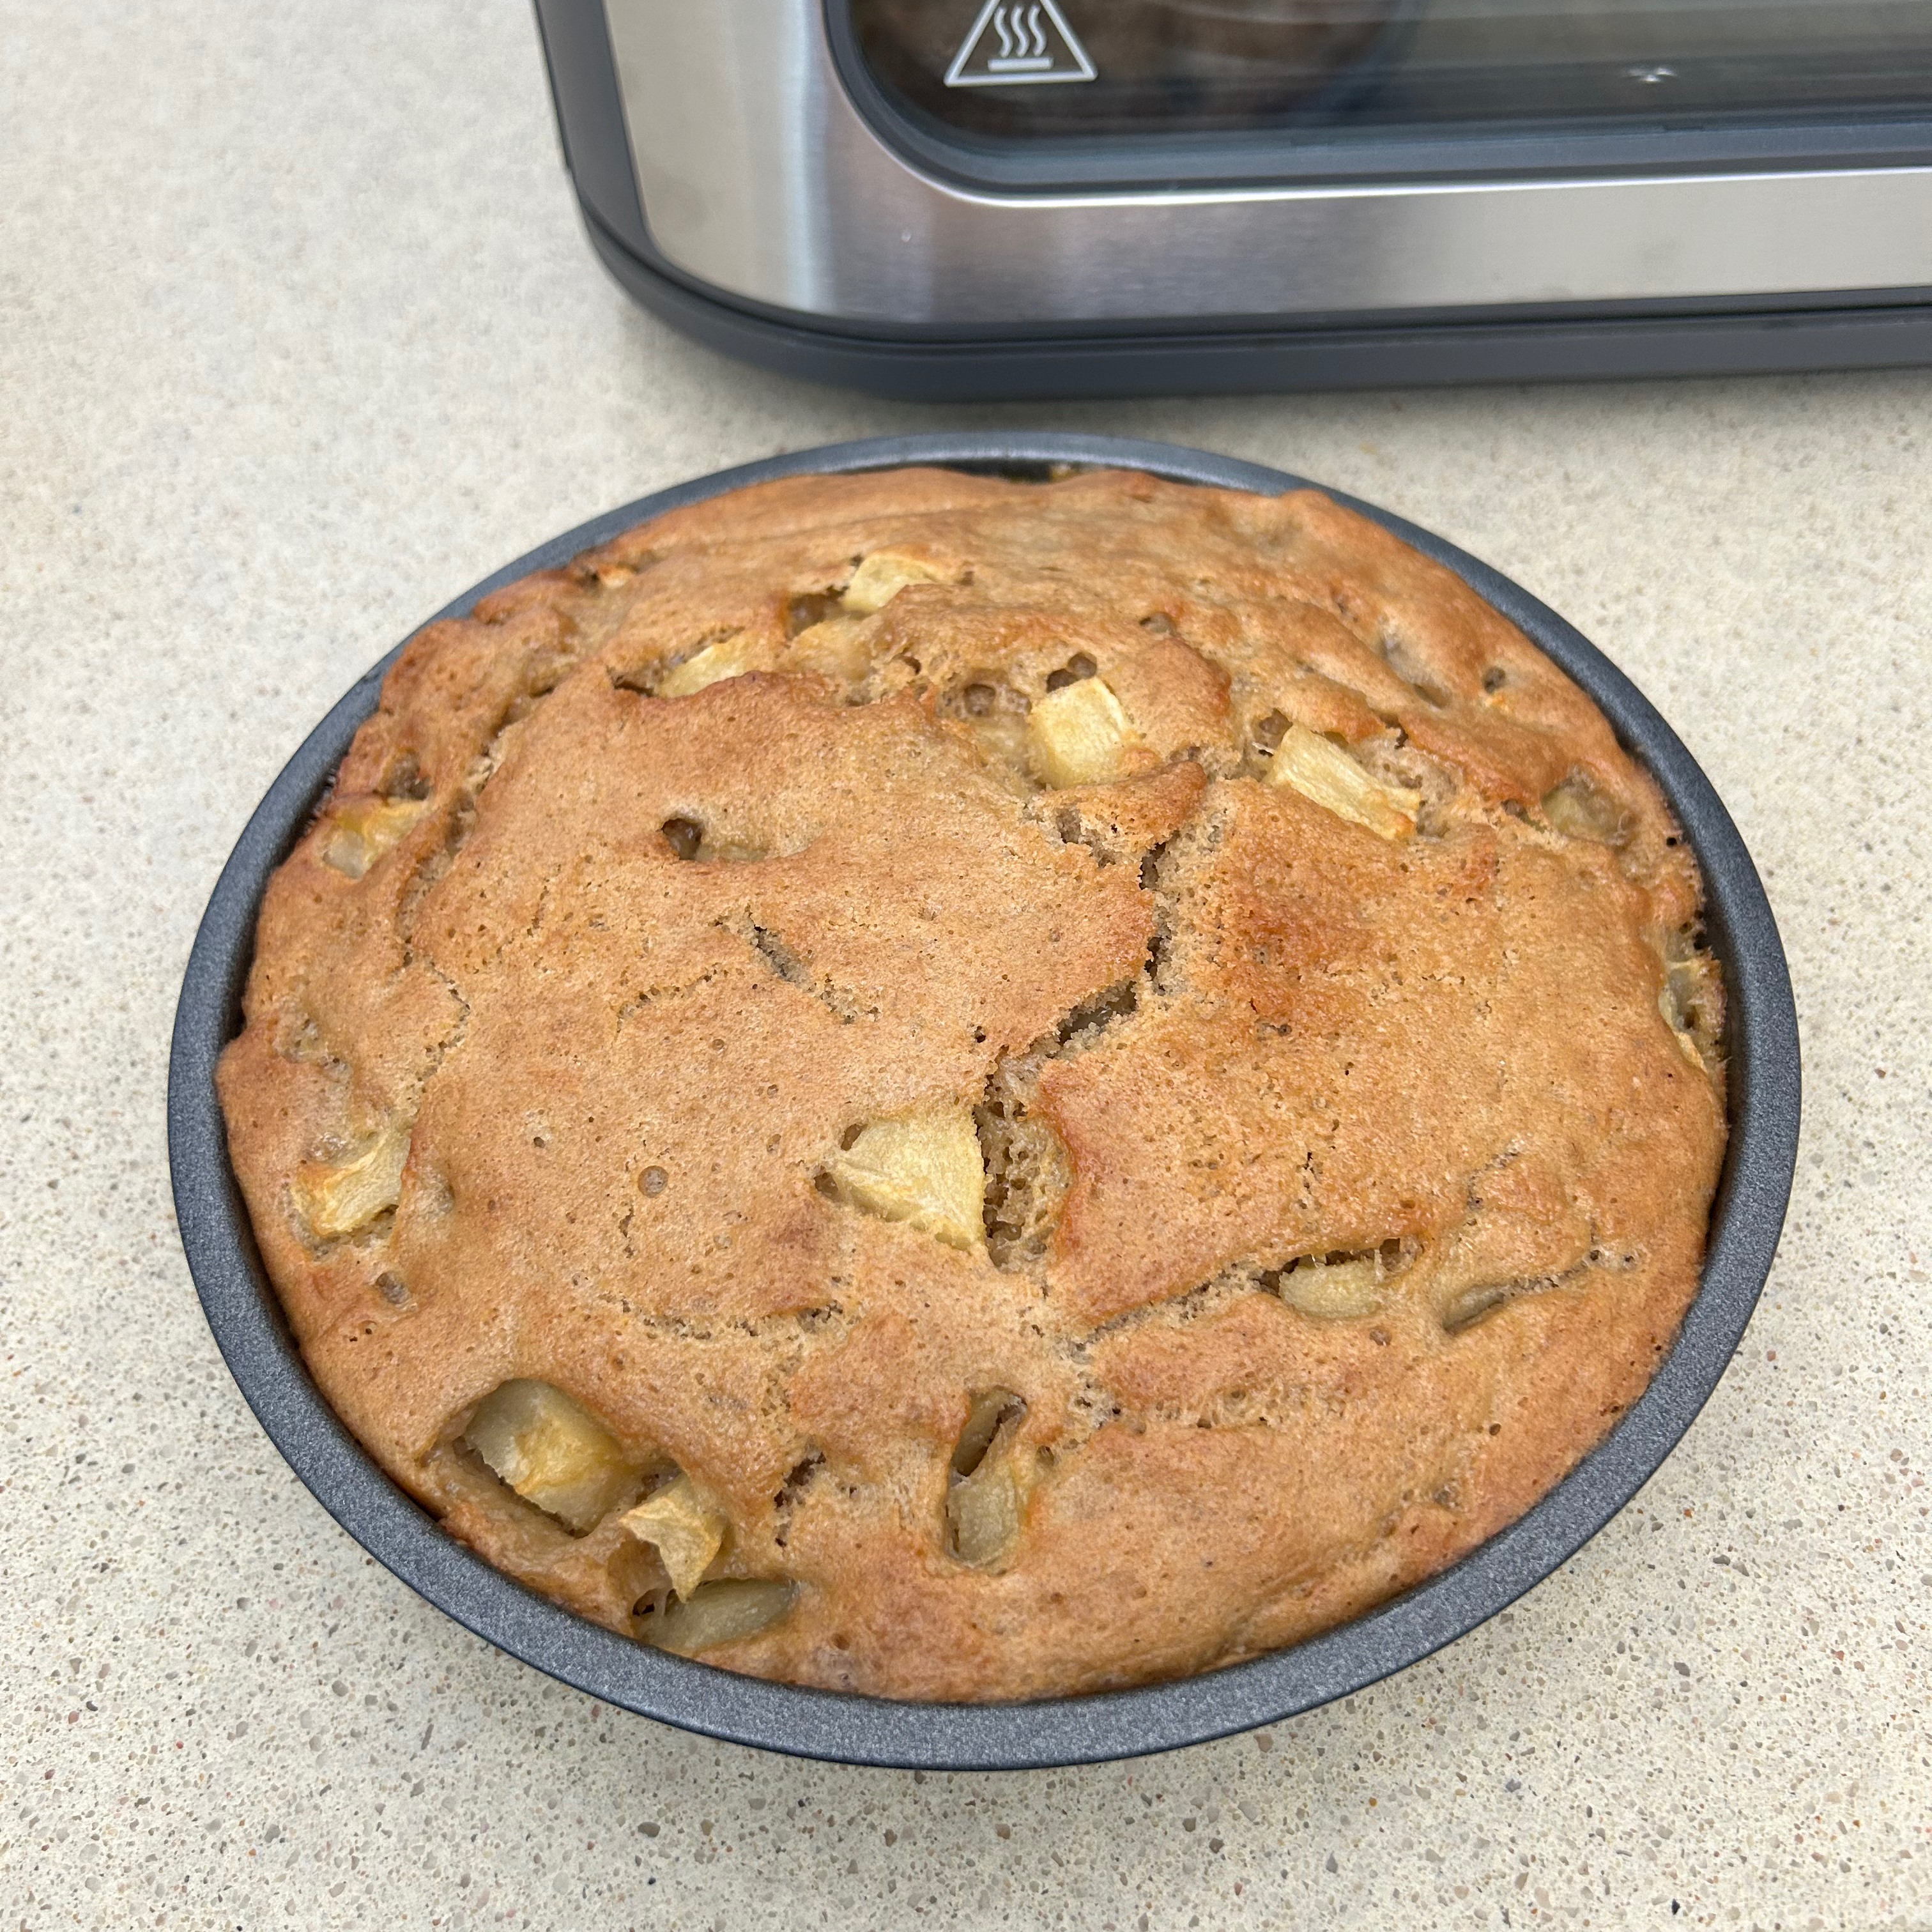
The cake was cooked five minutes before the end. But that’s still a total of 40 minutes, which is long compared to a standard oven. And like the combi meals mode, I foresee some trial and error baking cakes using this mode.
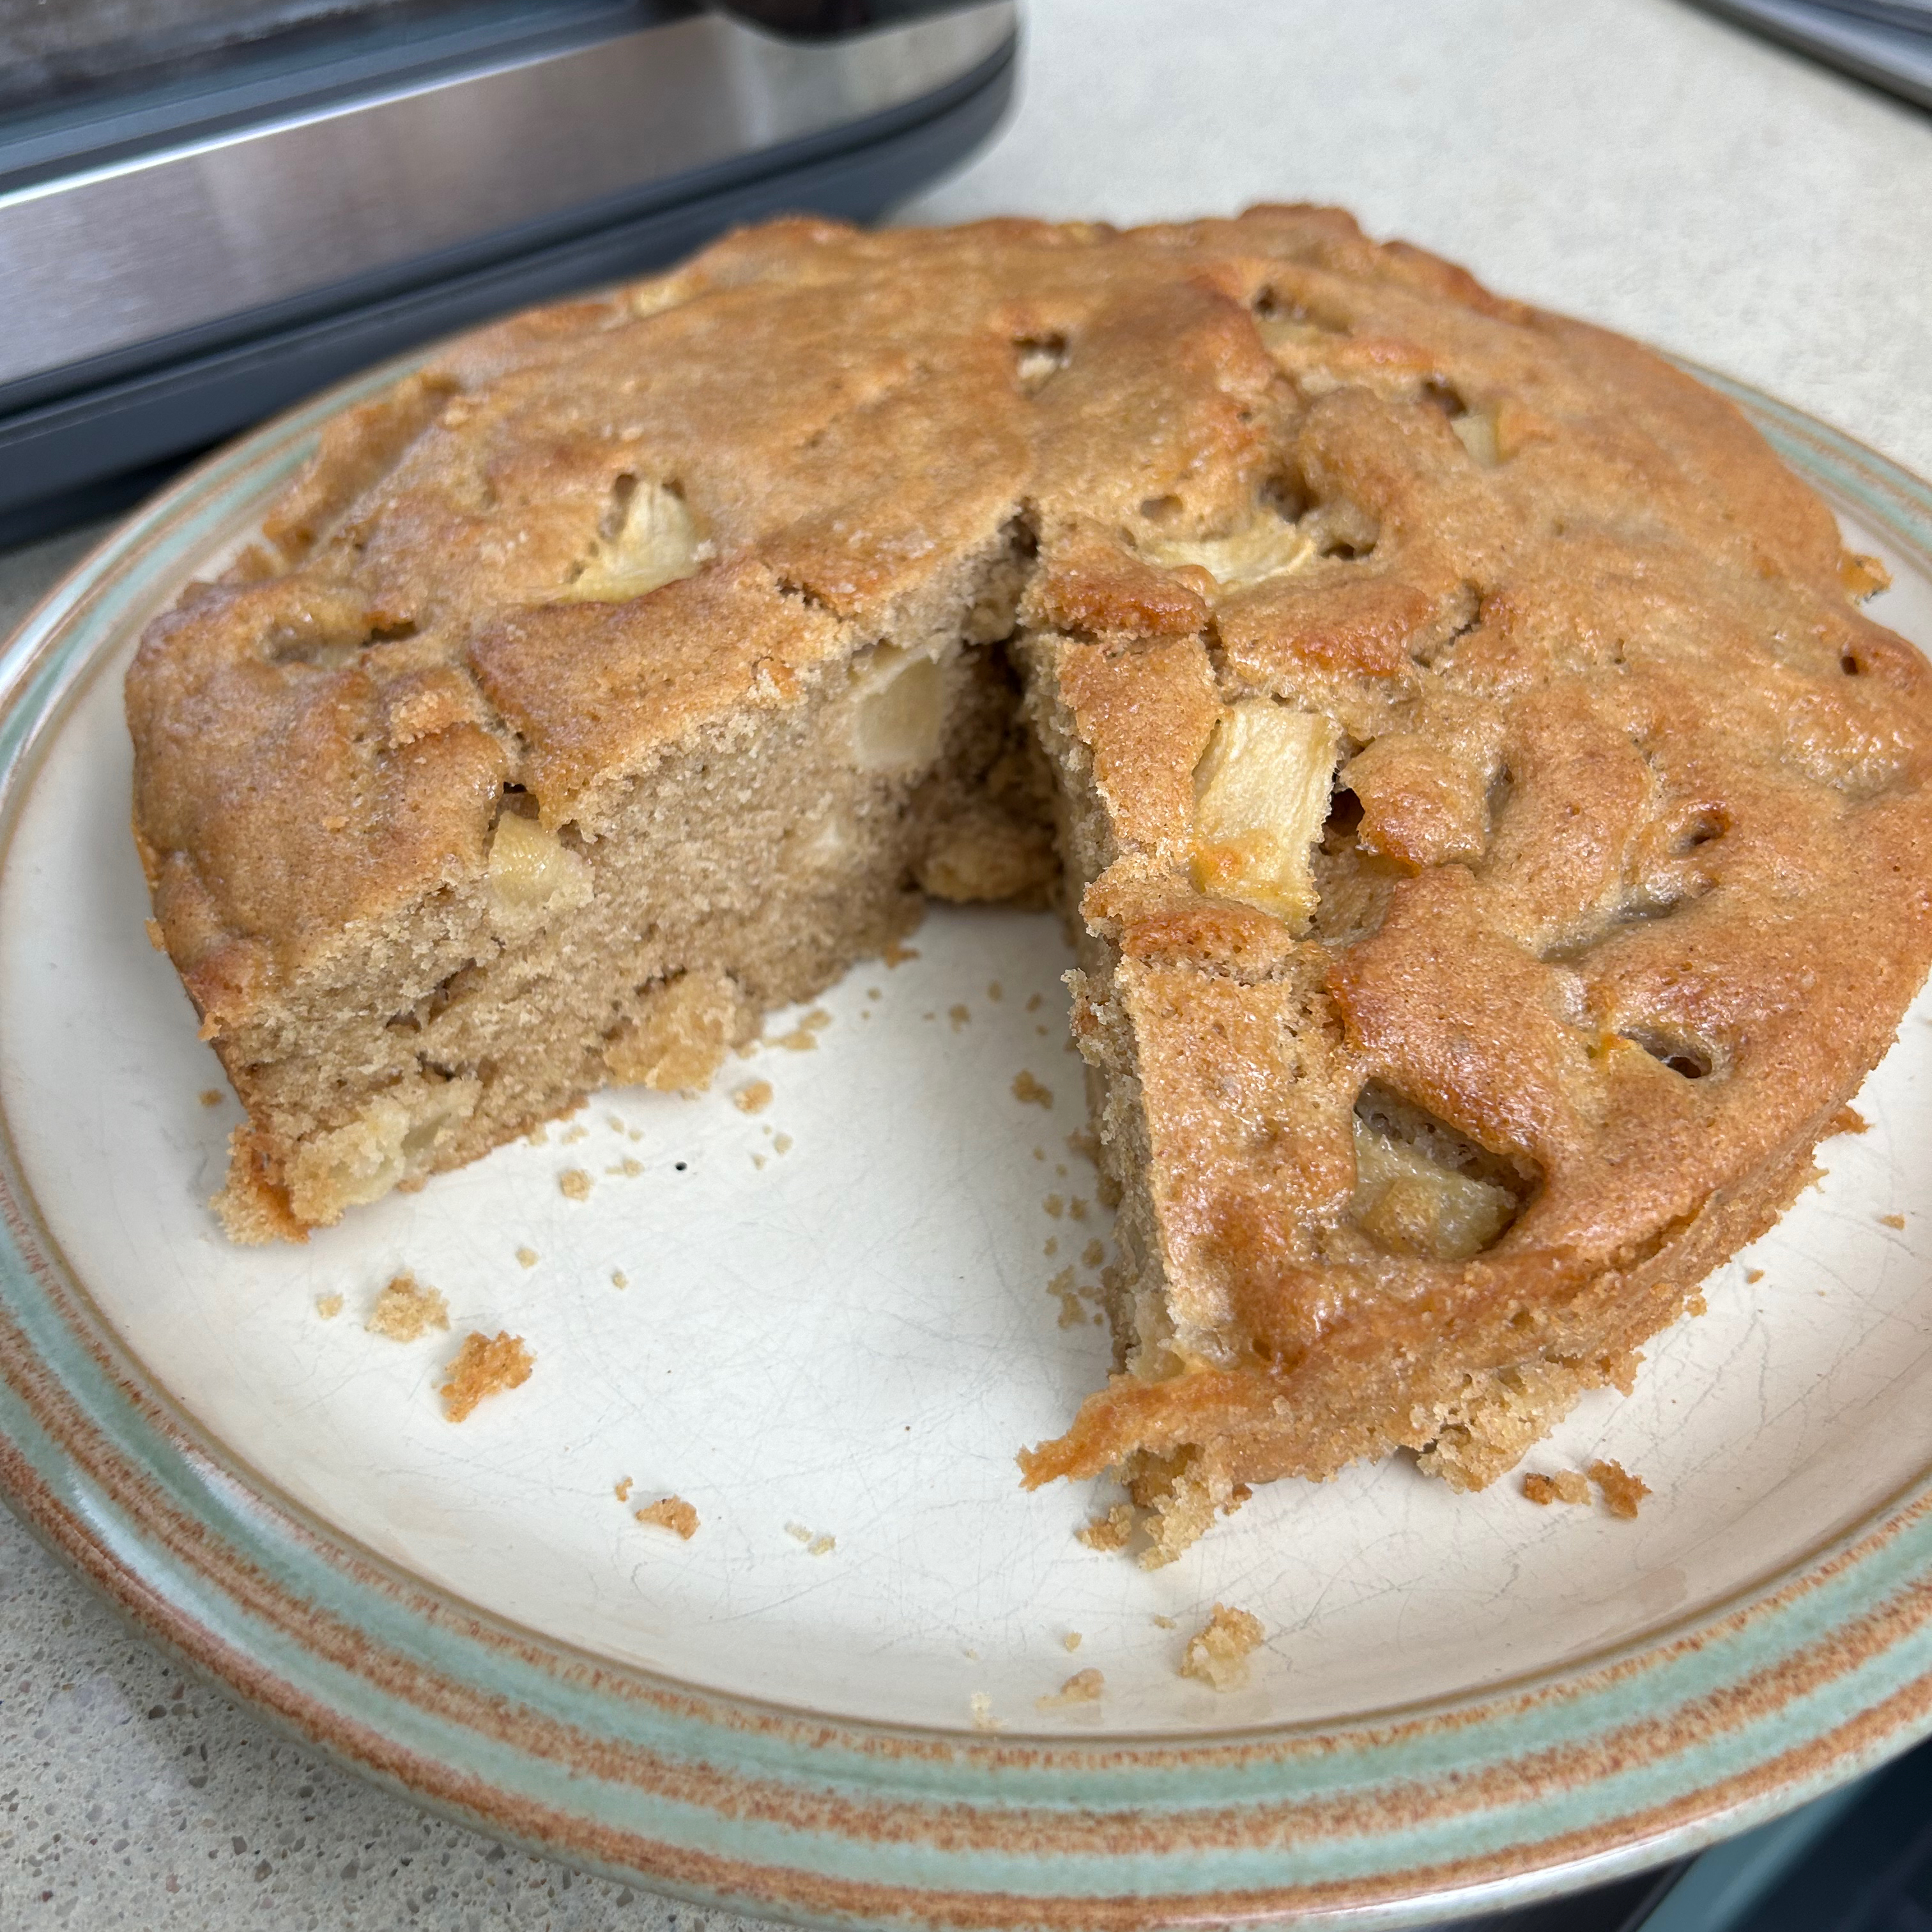
I was worried that the steam might give it a heavy, steamed pudding kind of texture. But it was fluffy and light. However, once cooled it was a little dryer than I hoped. Although, I’m not complaining, because that was just the excuse I needed to warm it up and eat it with custard.
Yet again, if you want to use this setting for your usual cakes and bakes, the addition of steam might change the results, so be prepared for some unpredictable results until you get your head around it.
Bake
The standard bake mode was my go-to for a tuna pasta bake, as well as a fish pie and I even used it to bake up a batch of granola.
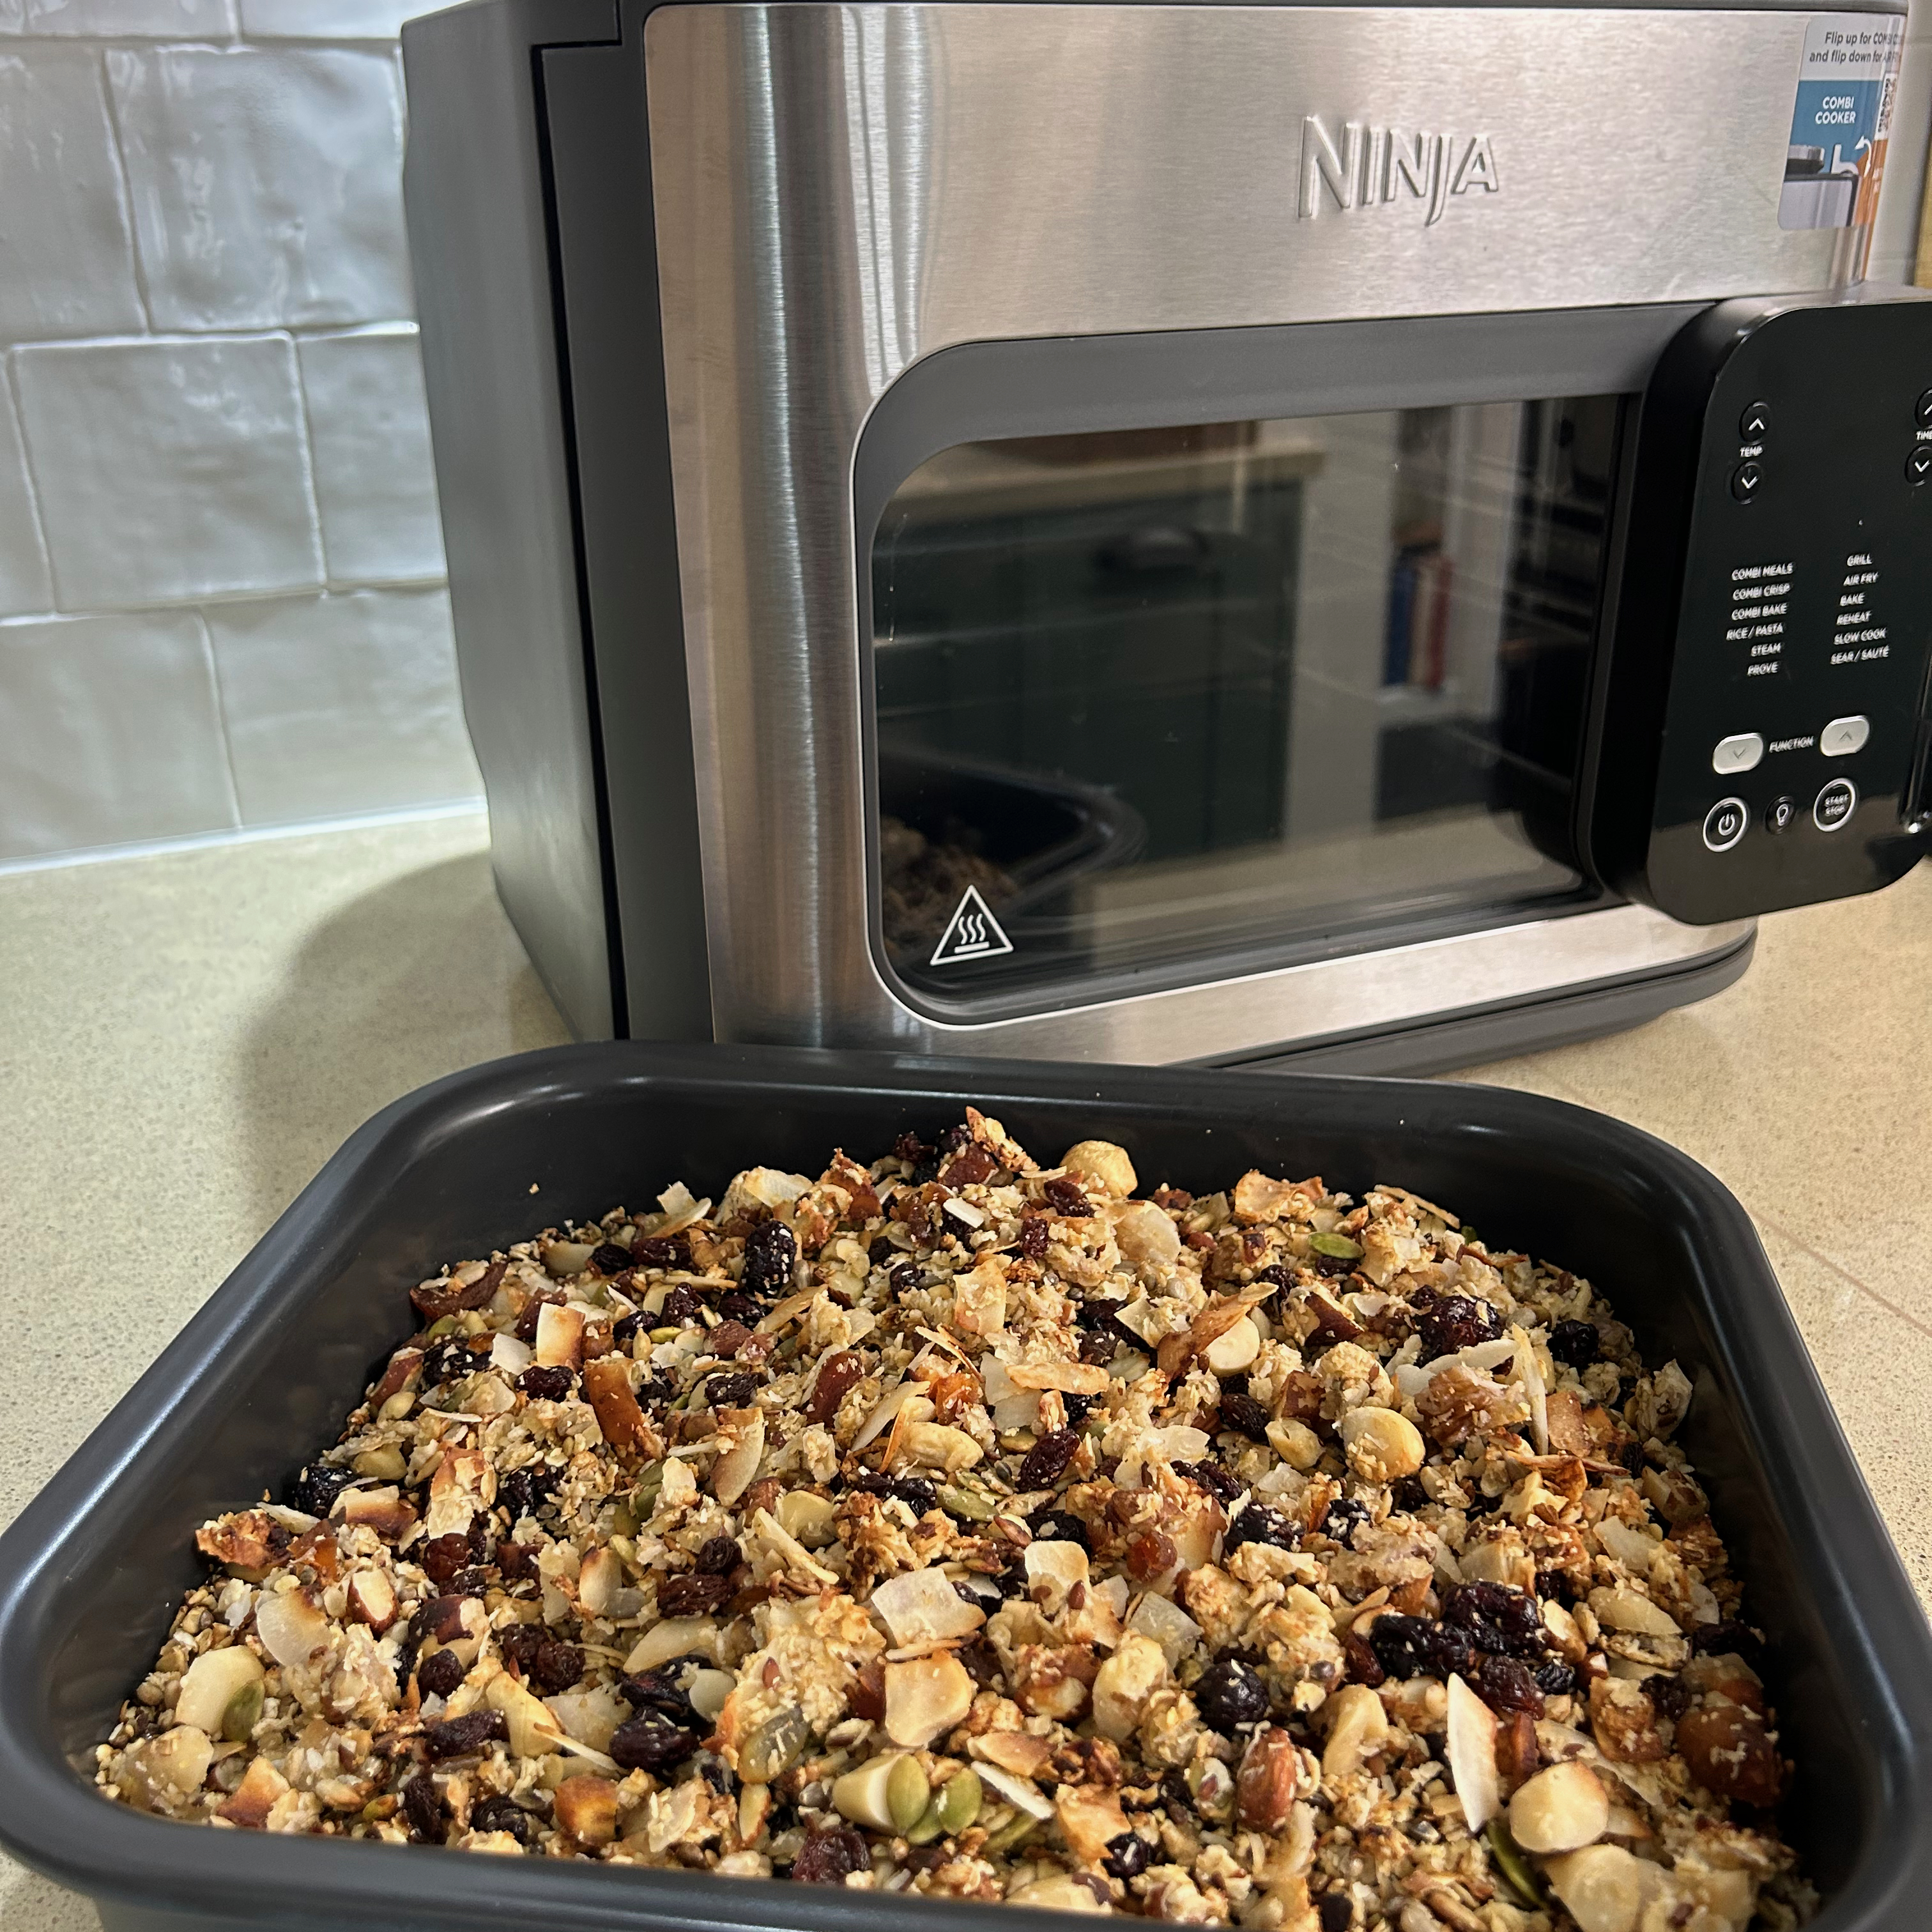
I used the main combi pan for the pasta bake and the fish pie. It’s a great size for 4-6 portions, depending on how greedy you are.
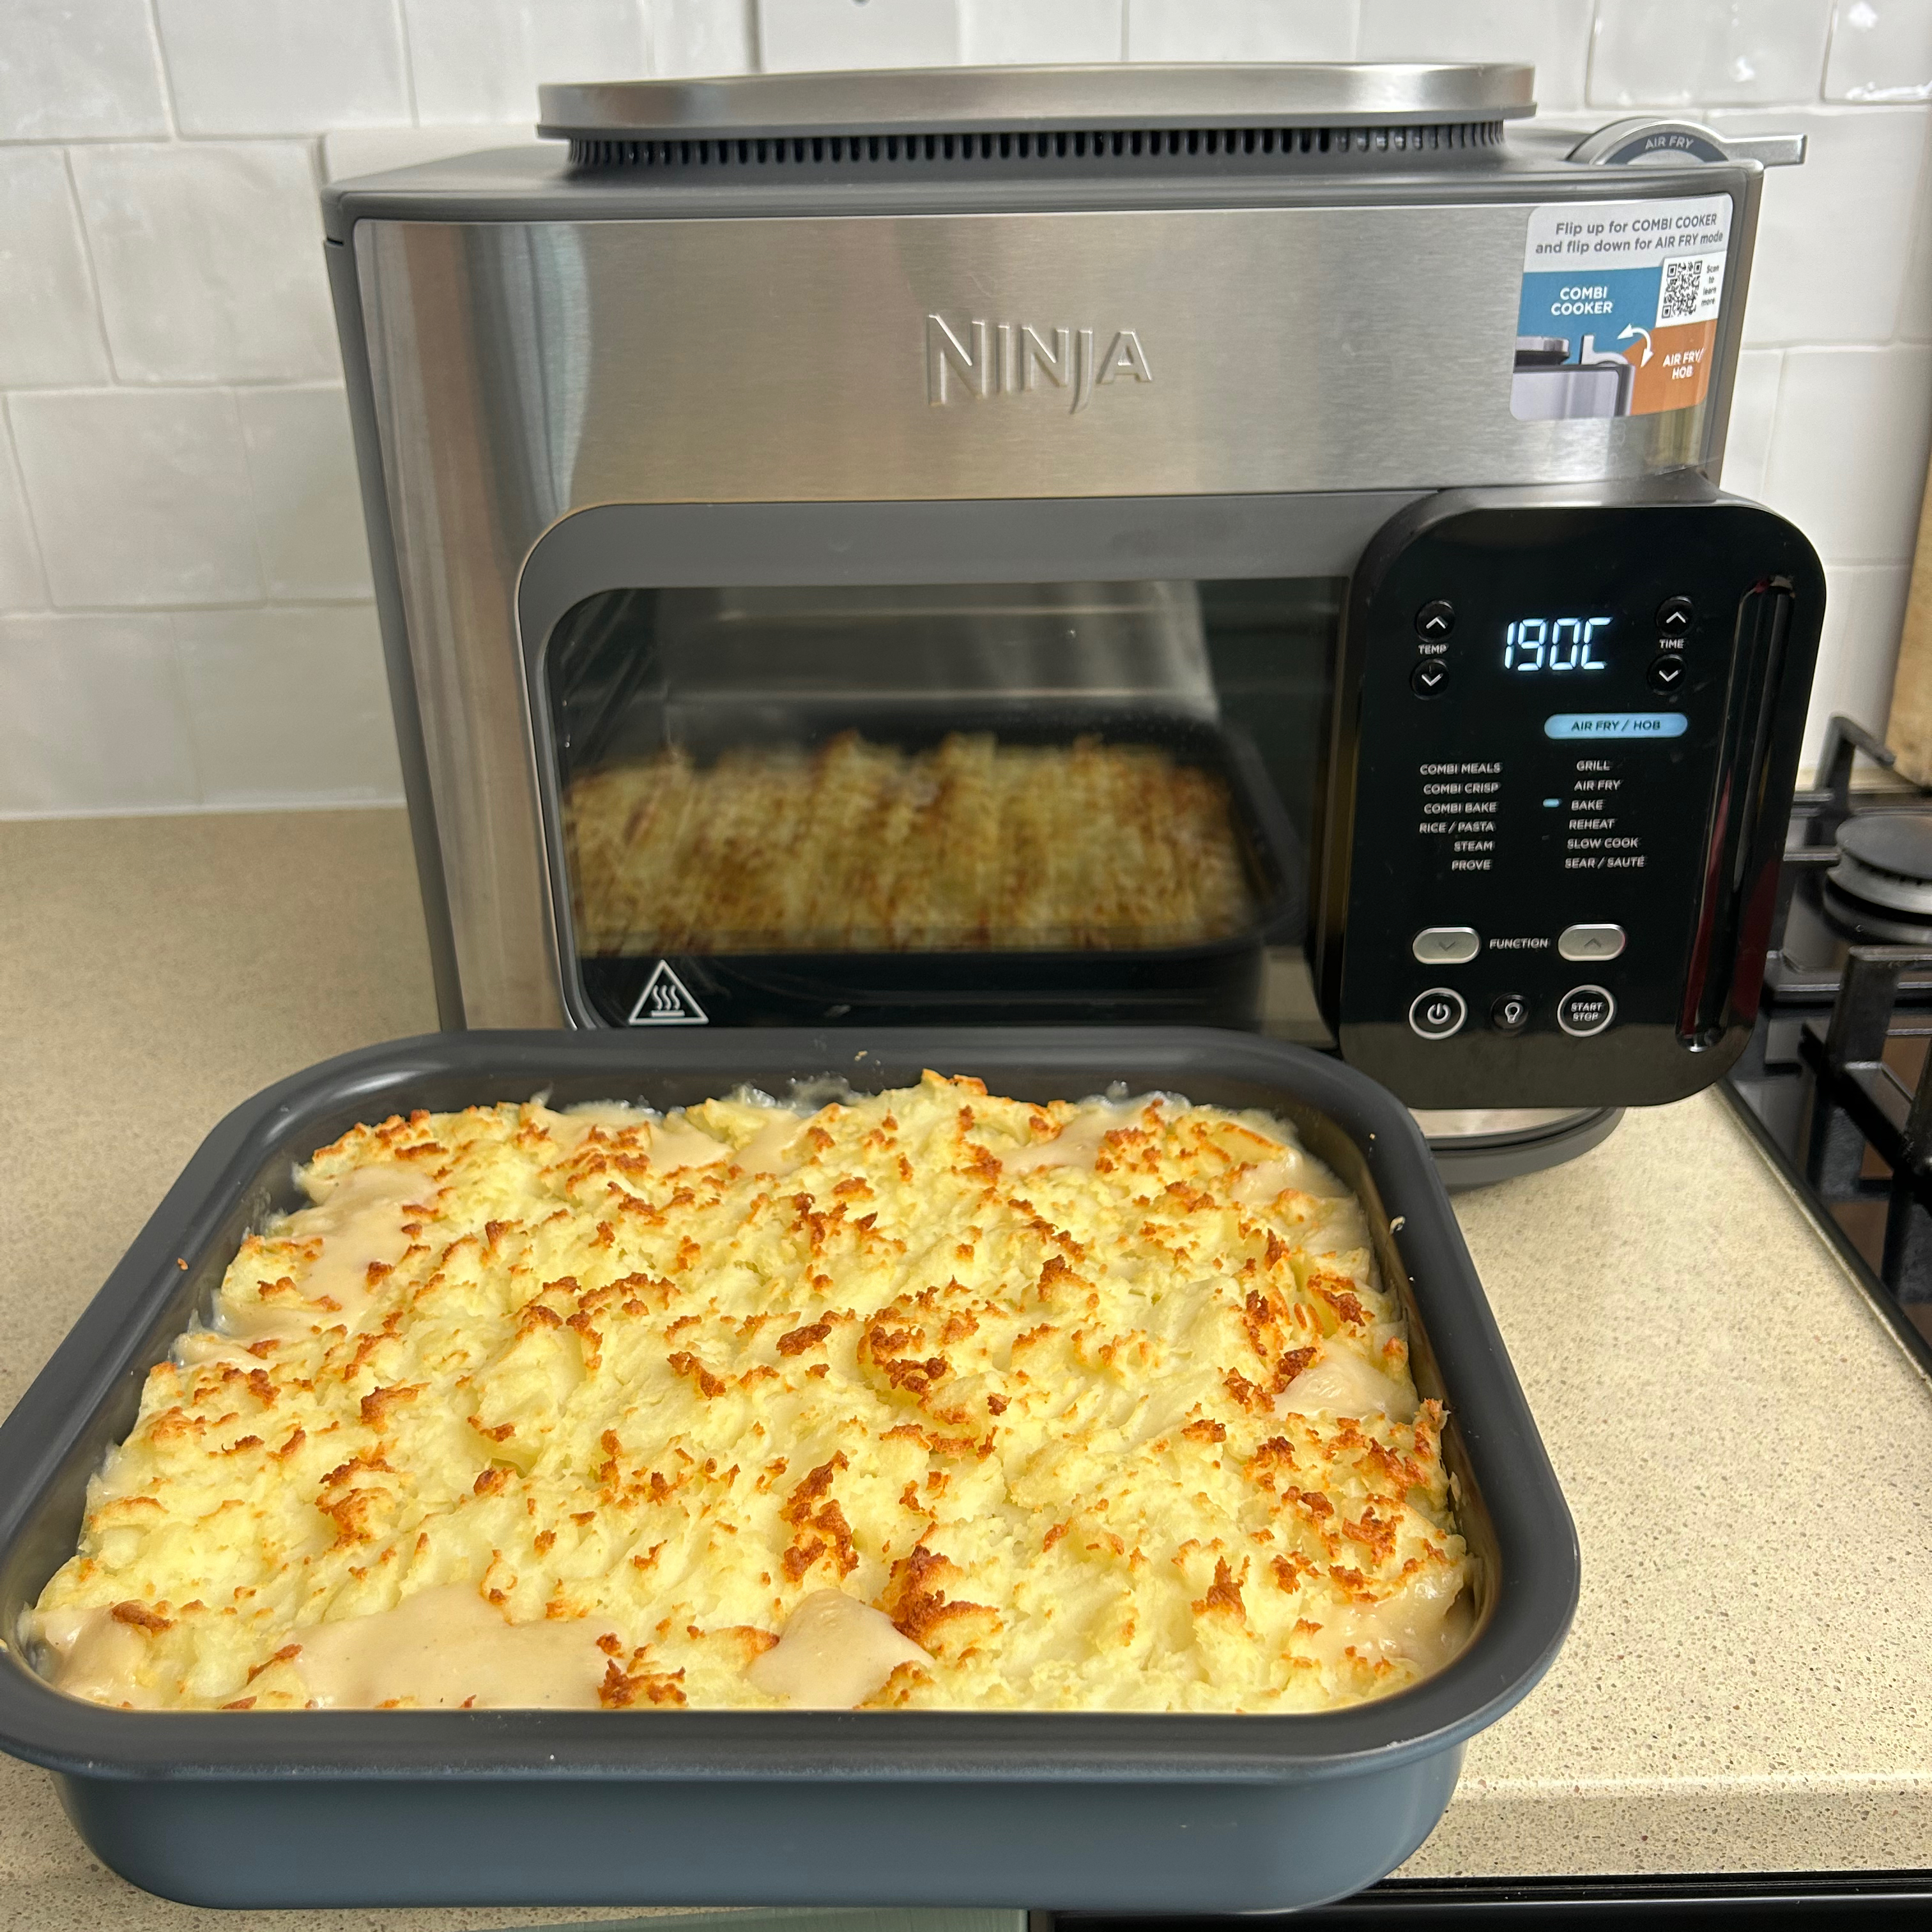
Both the fish pie and pasta bake cooked beautifully in under half an hour and had nicely golden, crisp tops that were far superior to what I’d get in my oven. The granola also baked nicely, it was getting browned on the base of the pan as well as on top, so it crisped fast in comparison to when I bake it in my air fryer.

Reheat
For leftovers, like my pasta bake and fish pie, I just popped the combi pan back in and used the reheat function, turned down to around 150C. Both bakes reheated nicely, the tops stayed crisp but they didn't dry out either.
Grill
I only used the grill to make cheese on toast. I started with frozen bread which I toasted under the grill before adding cheese. It only took eight minutes to go from frozen bread to melted cheese on toast, and there was no preheat, so it was super speedy.
Air fry
To begin with, I assumed I’d be able to make use of both cooking levels when air frying. And although everything I read said to use the combi pan, I couldn’t find anything saying not to use both at once.
So I hedged my bets and decided to pop homemade chips in the combi pan and after 10 minutes, I added frozen breaded fish above on the tray. It started well, the chips were cooking nicely until I added the fish.
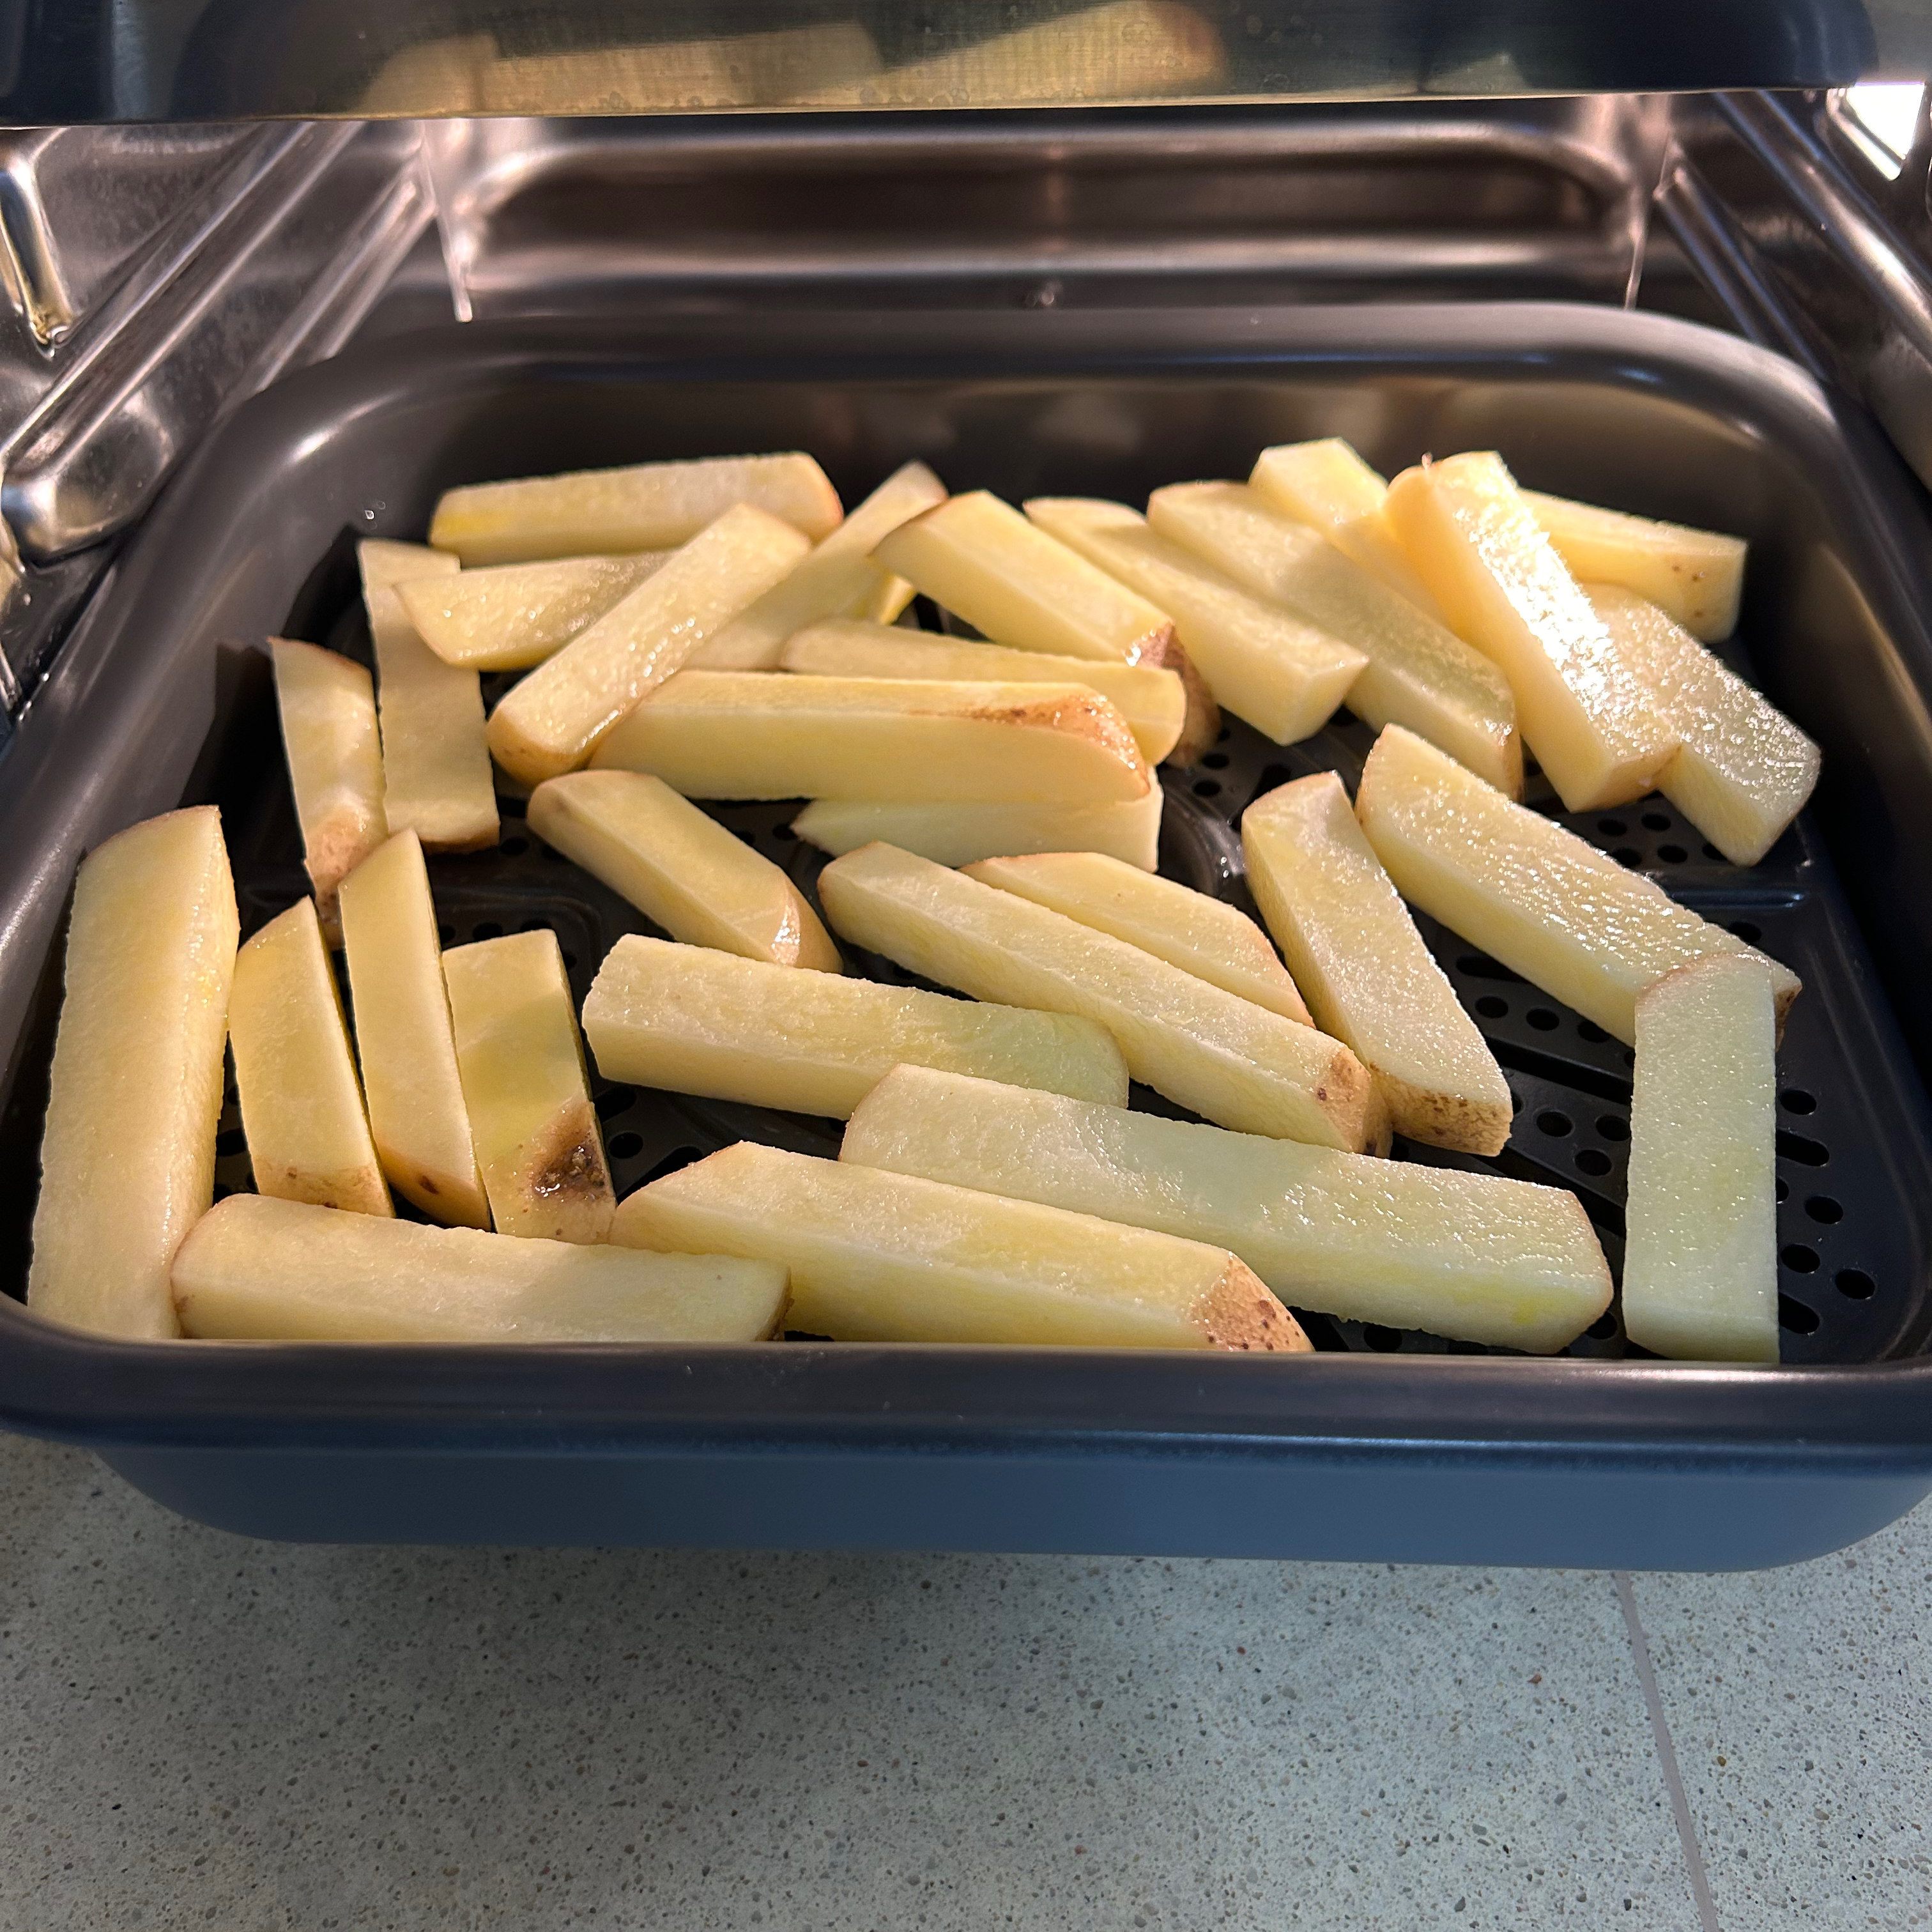
When I opened it to check if the fish needed turning, I checked the chips too, and they had stopped browning and started to go soggy. So, realising that you can’t use two levels after all, I had to scooch the chips over and make space to add the fish to the combi pan.
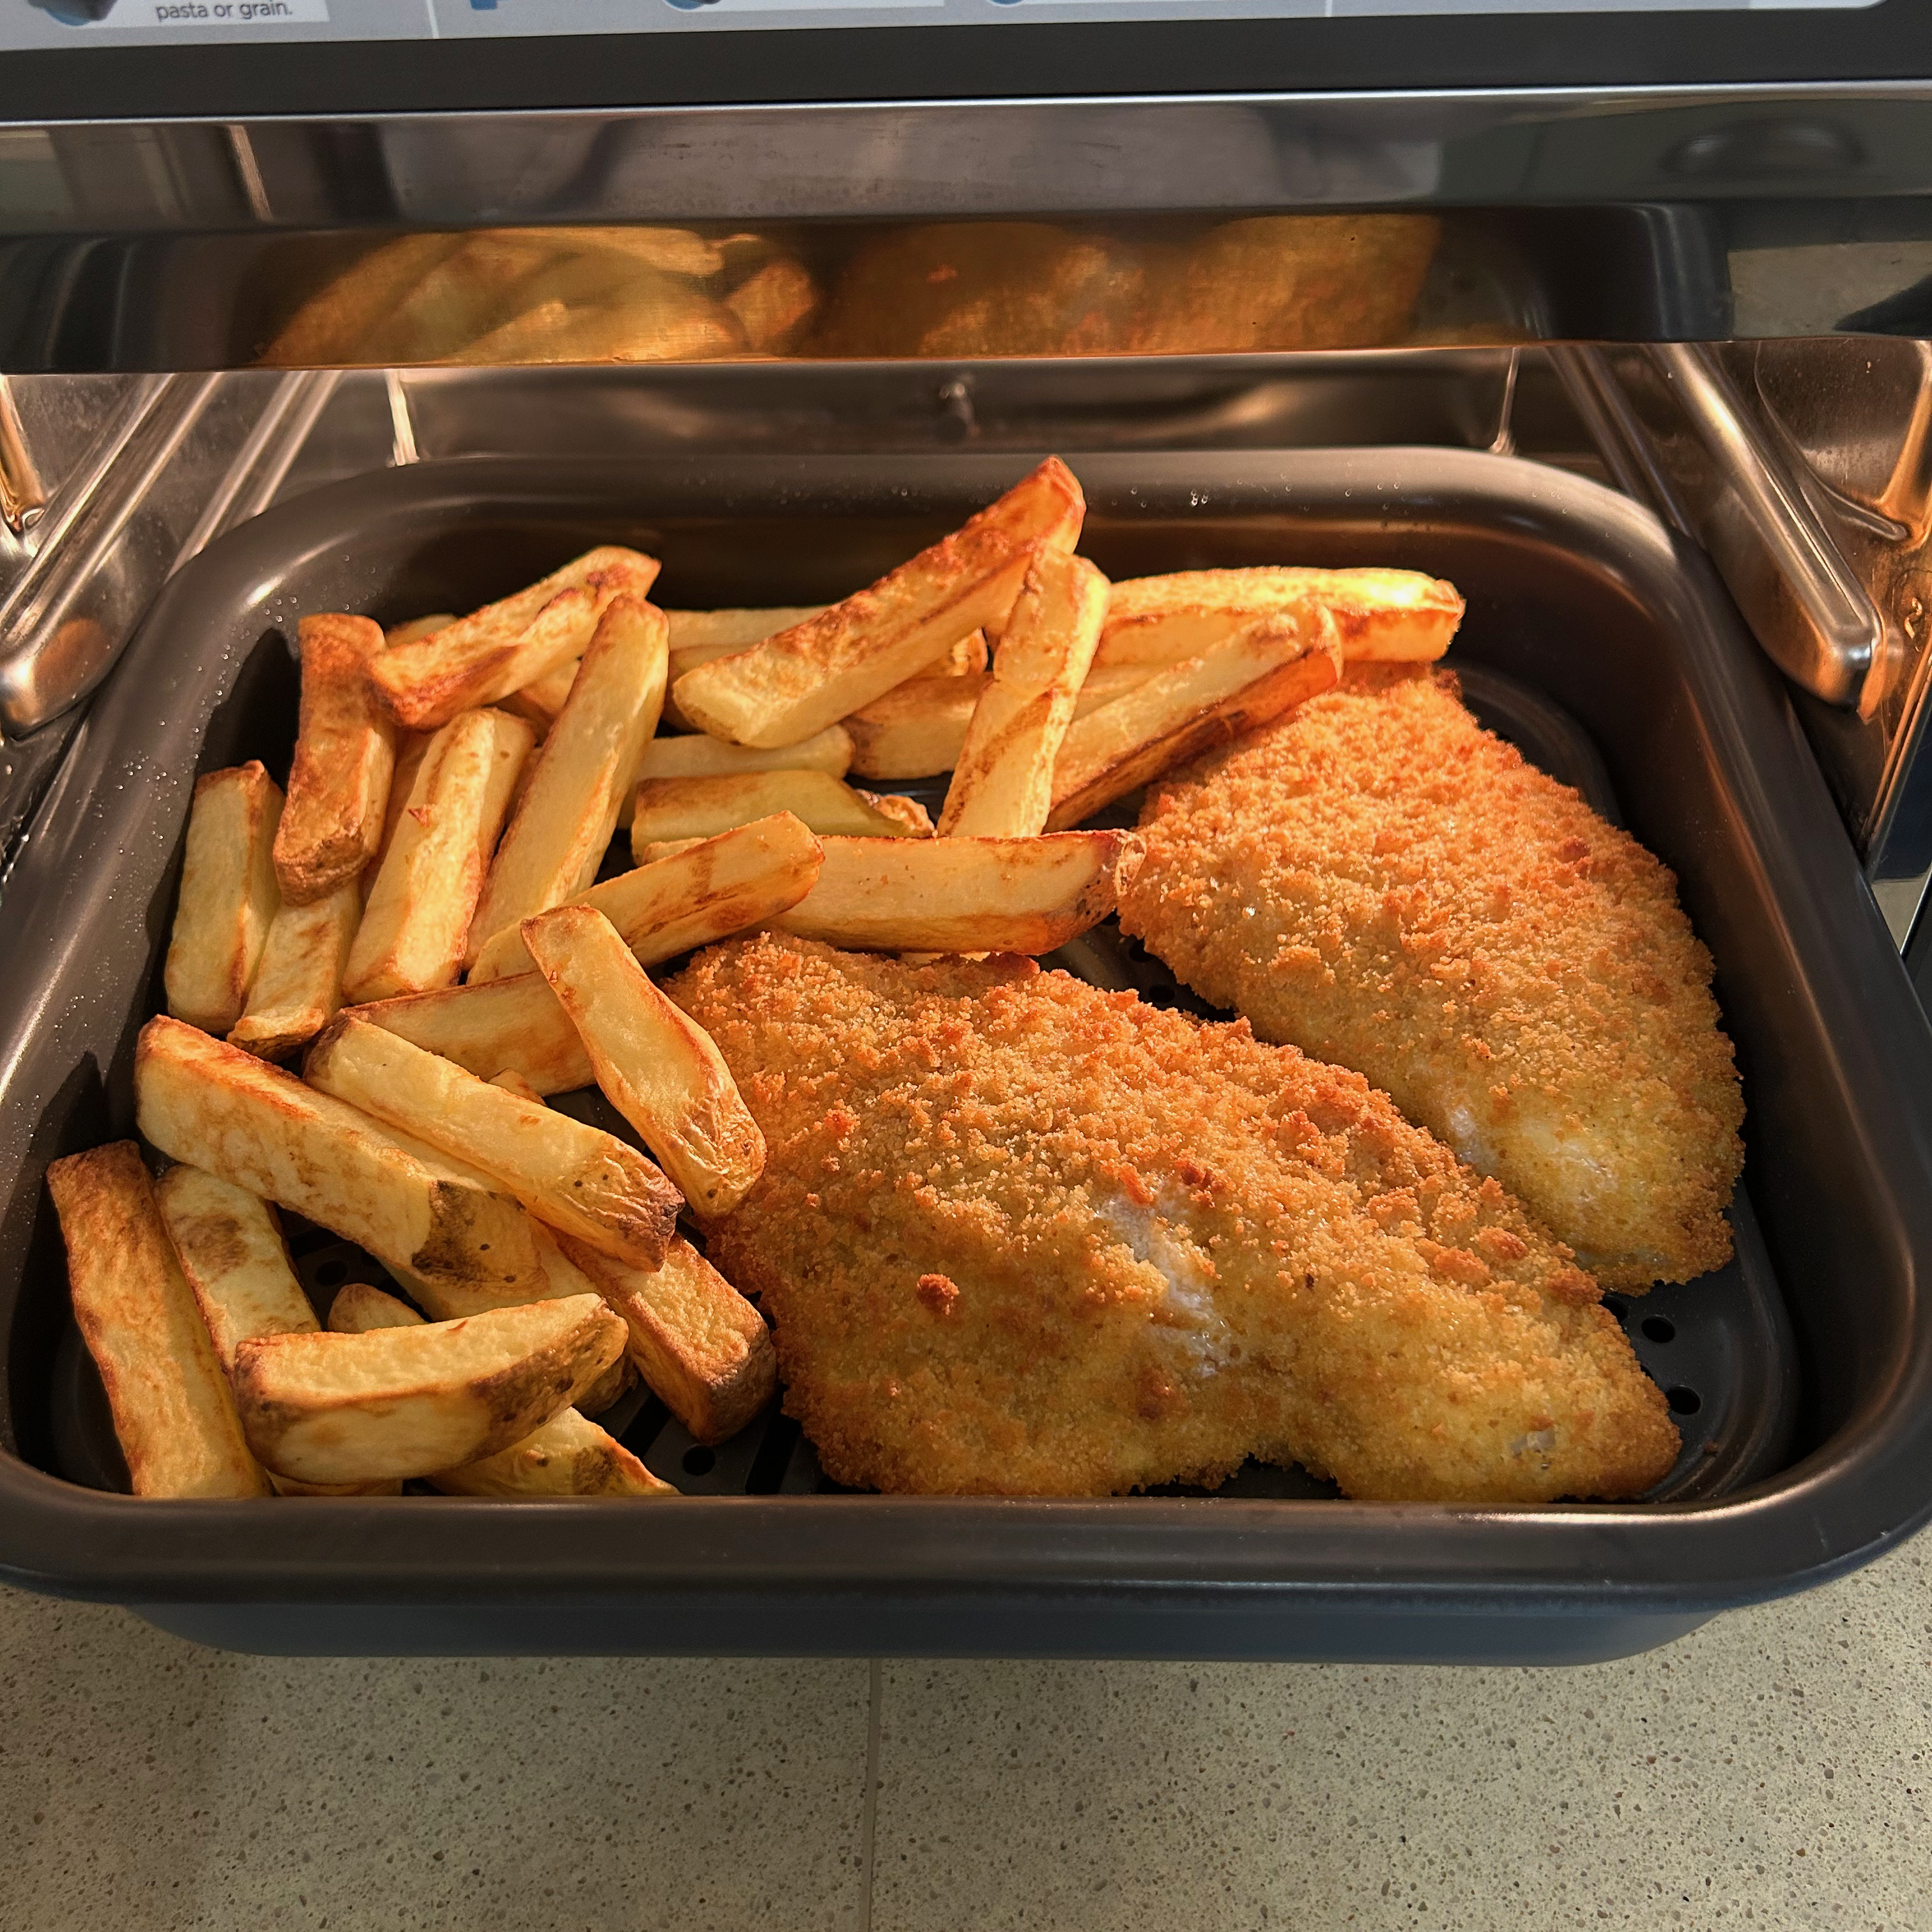
In the end it all turned out well, the chips crisped and browned nicely, as did the fish. It was the kind of top notch air frying I’ve come to expect from Ninja. But I am disappointed that air frying is limited to the combi pan. Not only does it reduce the volume but also the flexibility to air fry different foods simultaneously.
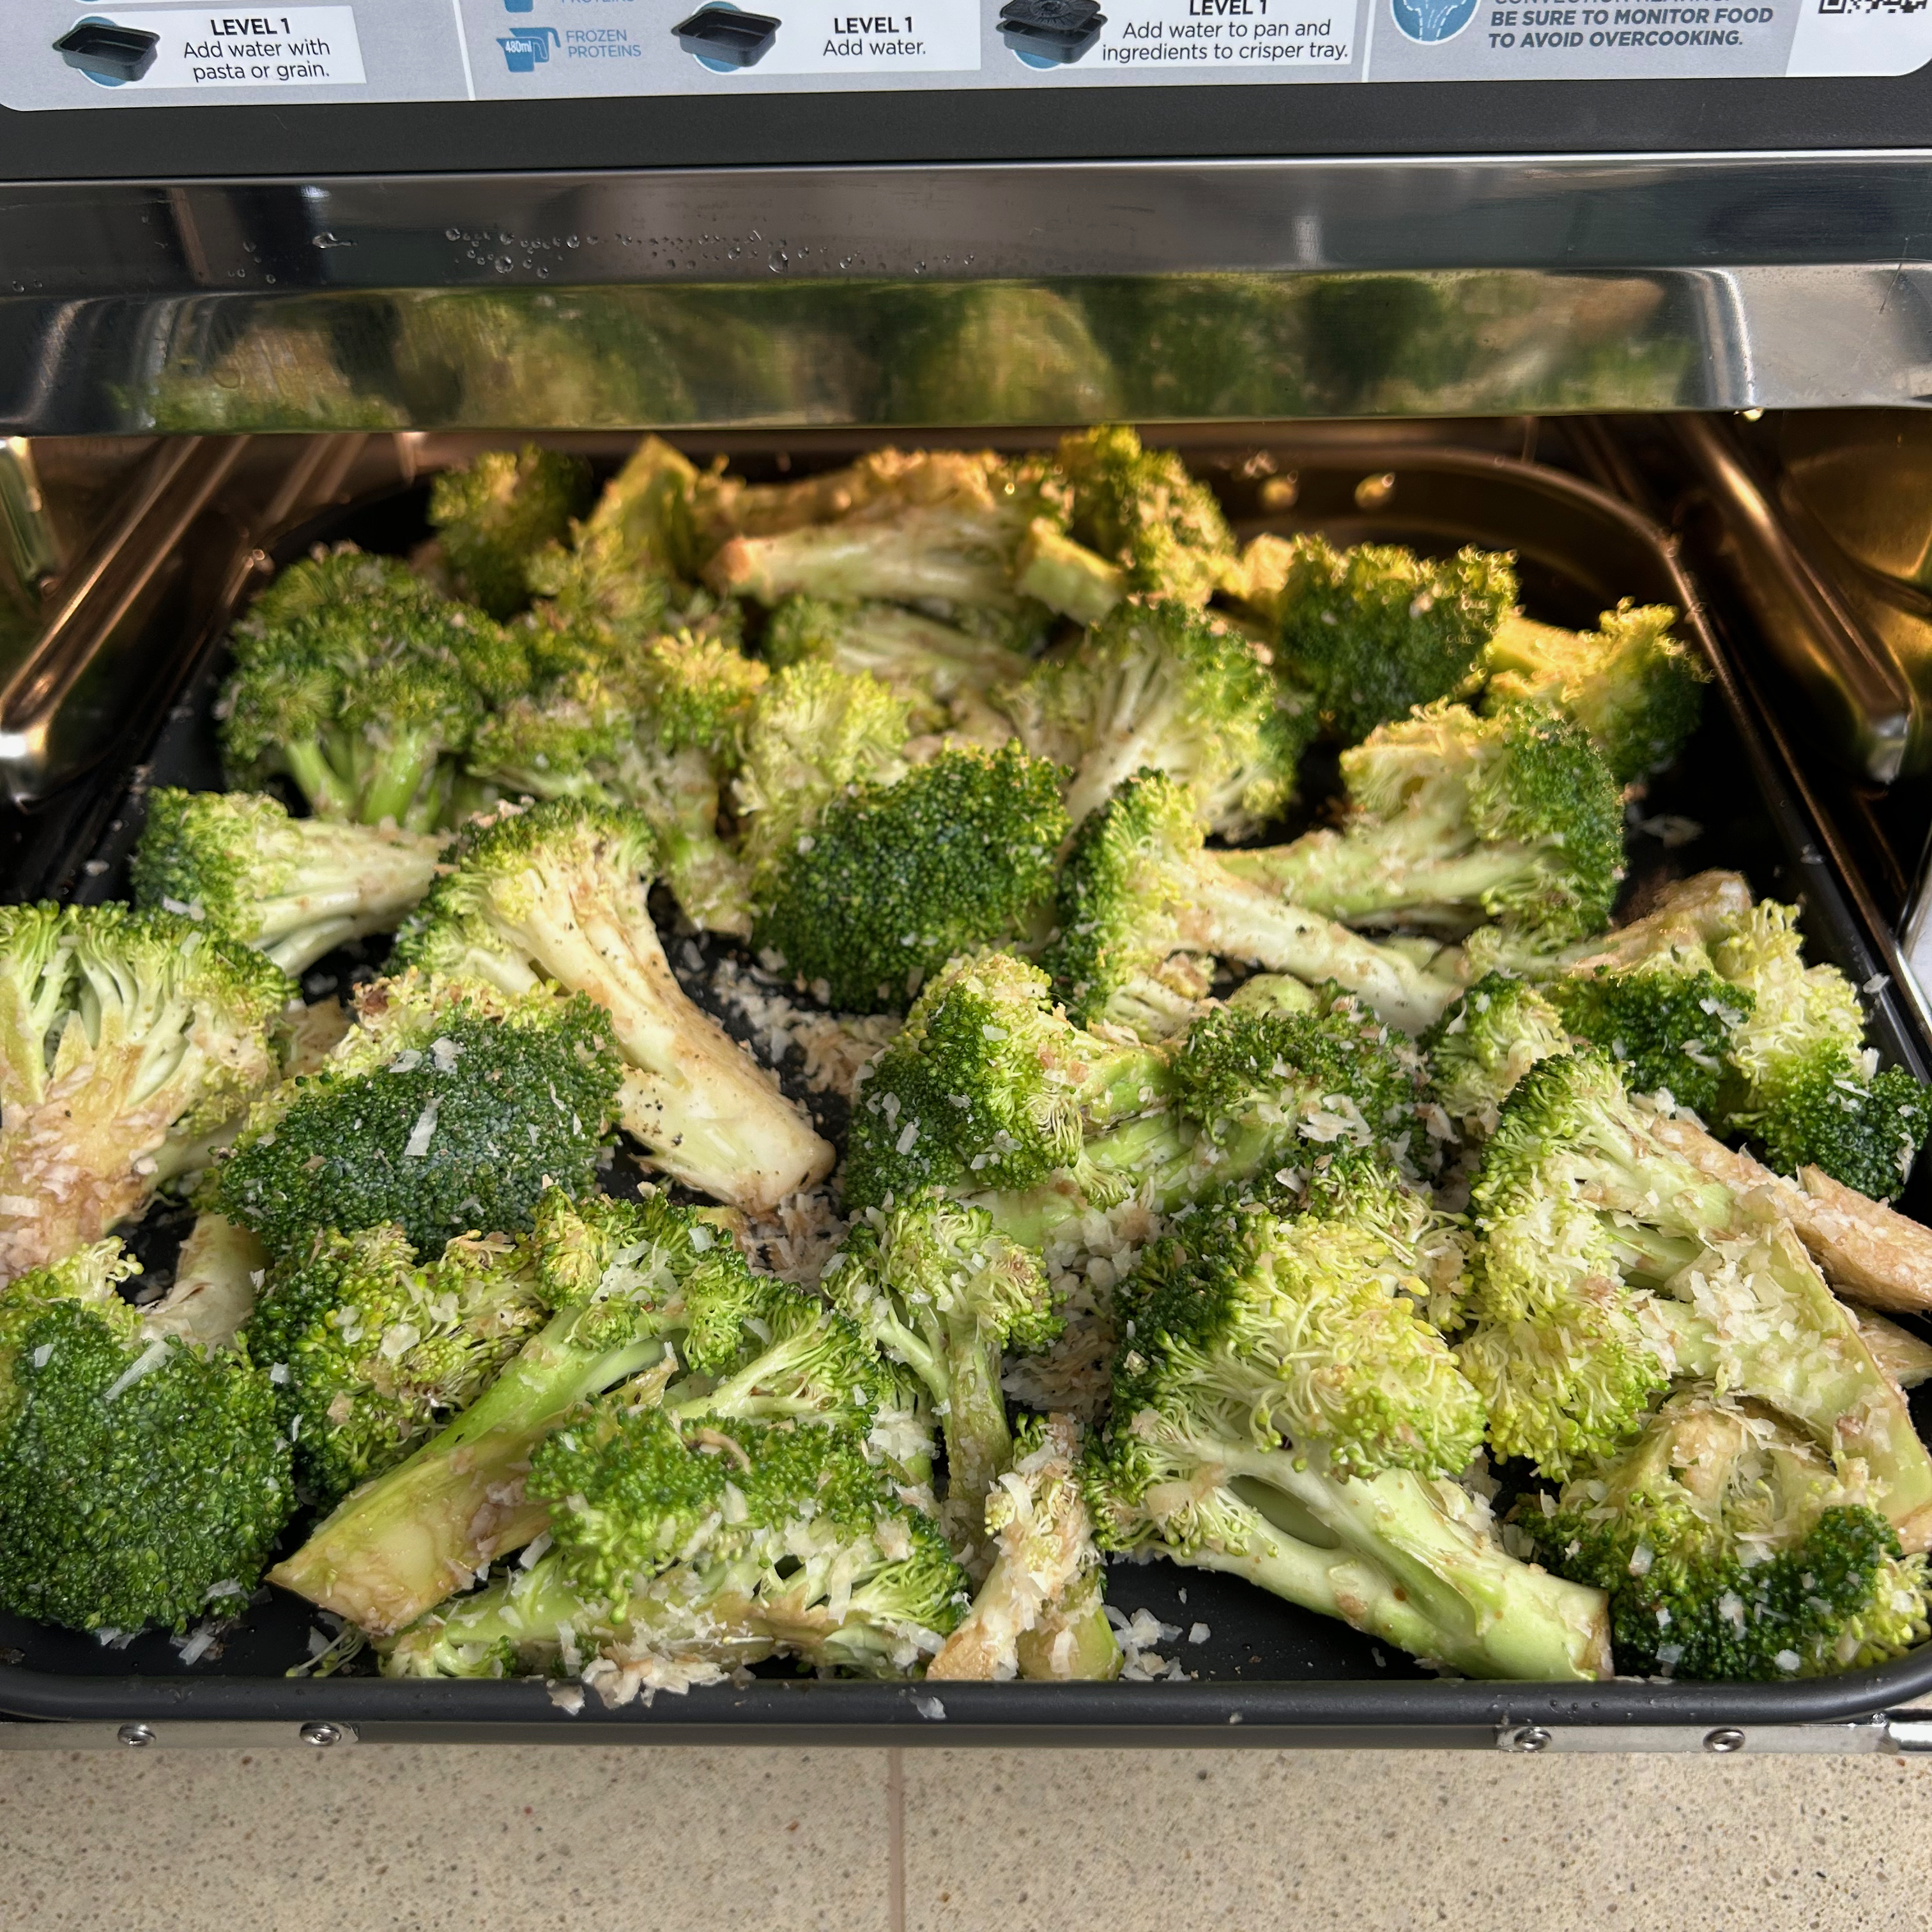
The air fry mode worked well for courgette cubes and I also followed a recipe in the booklet for parmesan broccoli. I had this as a side the fish pie, which meant the combi pan wasn’t free, so I had to air fry it on the baking tray. Thankfully it still air fried nicely and the crispy cheesy broccoli was a big hit.
Sear/ saute
The sear/ saute function offers five heat levels to choose from, but only works with the deep combi pan. You also have to keep the door open to use this mode, which makes sense. At first it feels a bit weird, frying off your onions and searing meat inside this cooker.
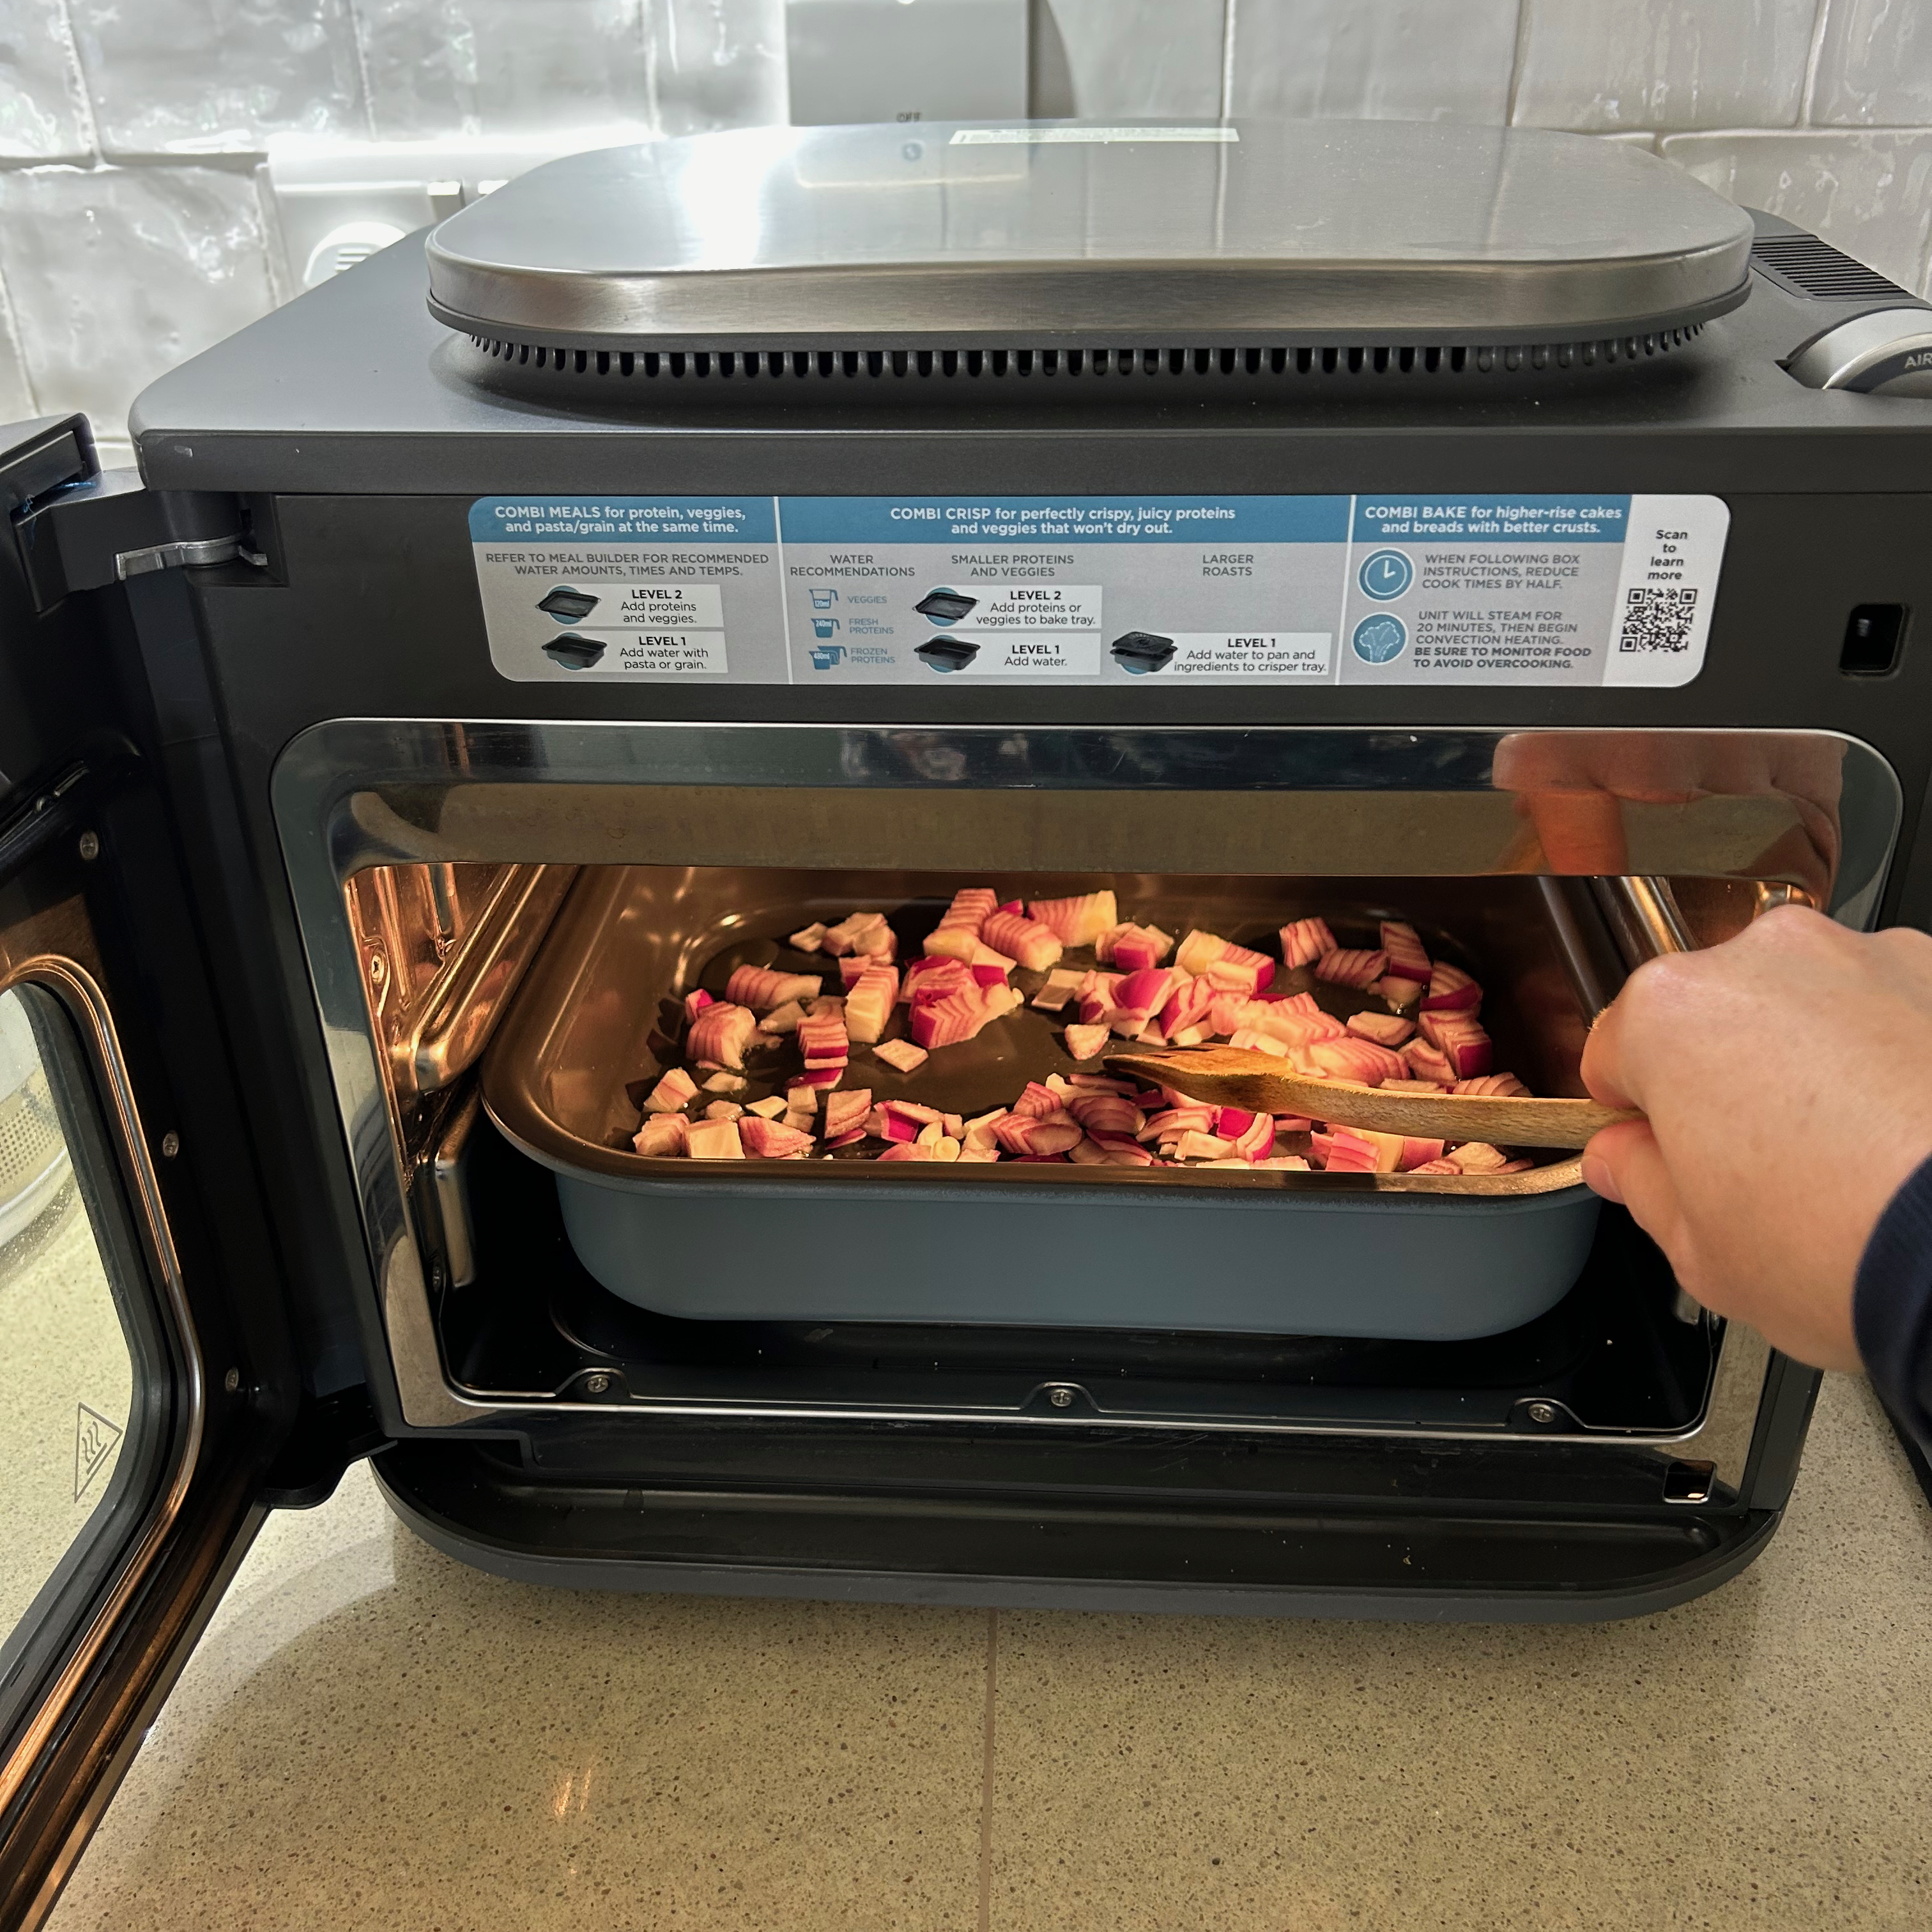
But once you get your head around reaching in to stir whatever you’re sauteing, or pulling the pan out to add more ingredients, it does actually function very well. Plus it reduces the washing up, which is a bonus.
I sauteed onions and vegetables for a bolognese, before slow cooking. I also used it to cook off the ingredients for tomato sauce for a pasta bake.
Slow cook
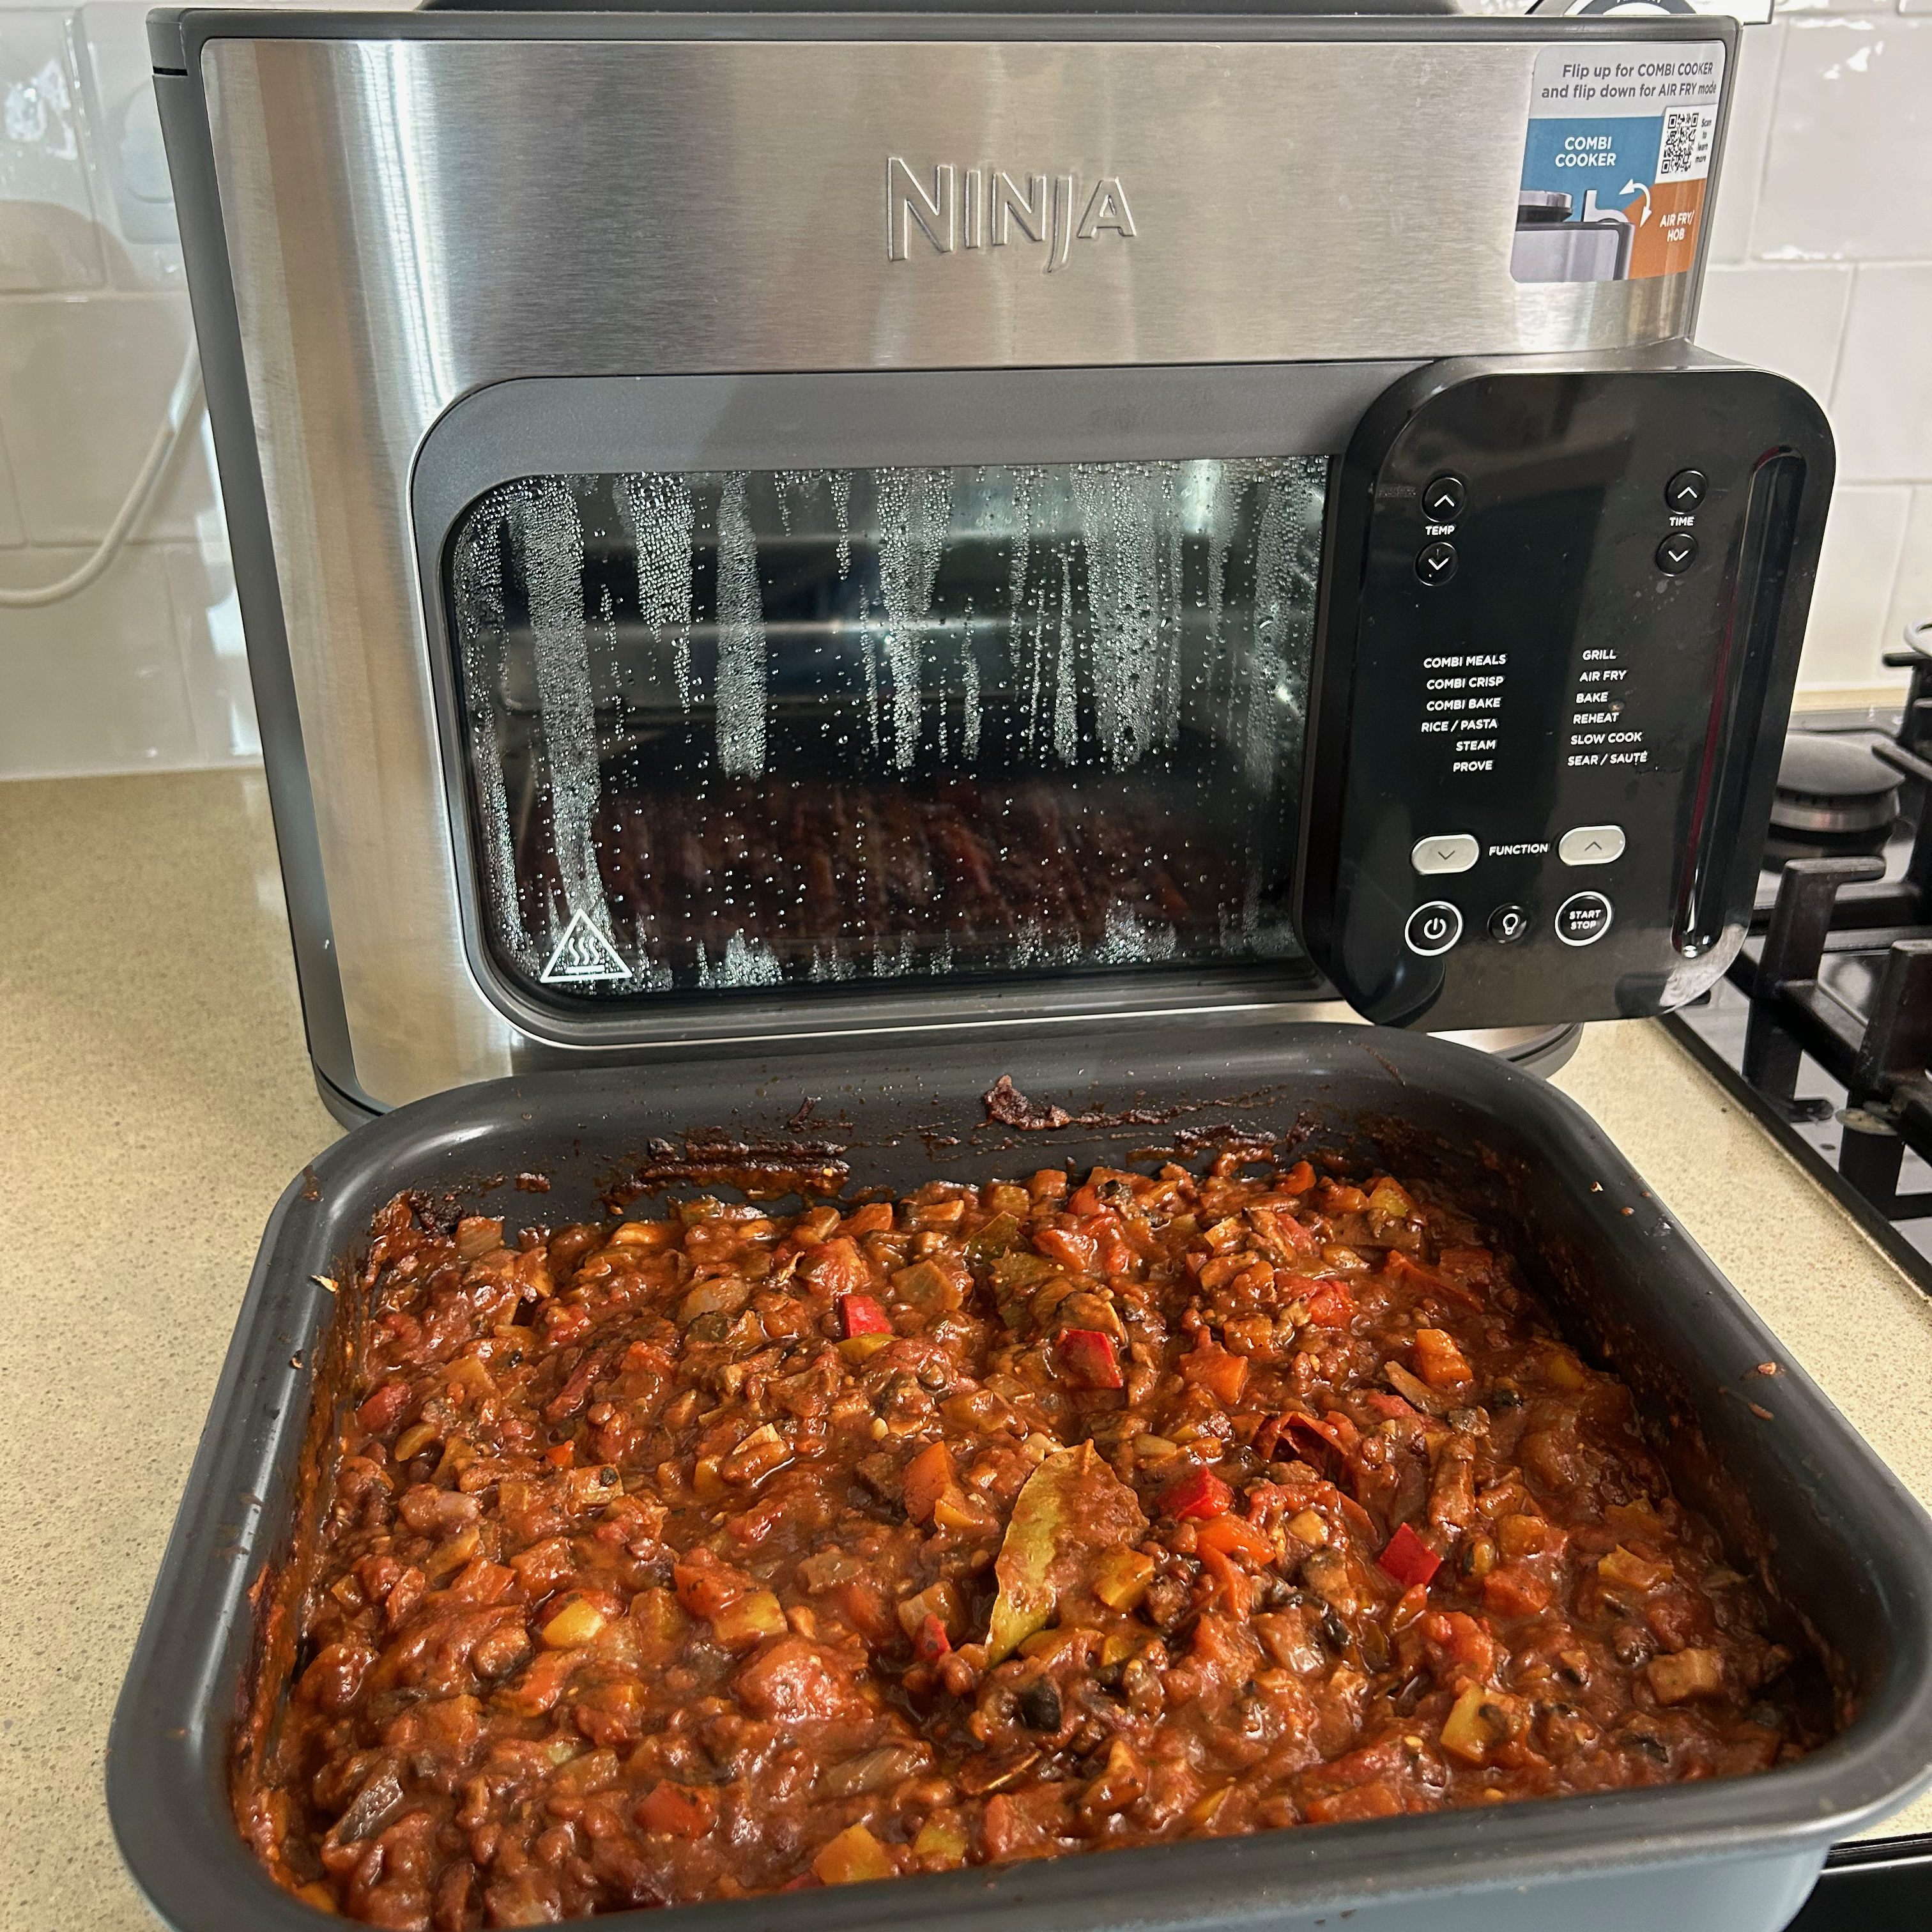
As I said above, I sauteed my ingredients using the sear/ saute function before adding everything else and cooking my veggie lentil and mushroom bolognese for four hours on the higher of the two temperature options.
It worked well as a slow cooker, the bolognese sauce thickened nicely and developed a good flavour. The combi pan might not have the capacity to cook up big hearty meals for a larger family though, so keep that in mind.
Rice/ Pasta
In addition to the orzo pasta that I cooked using the combi meals mode, I also cooked spaghetti using this rice/ pasta mode, to go with my bolognese. Though the annoying thing about this was that I had to tip the slow cooked bolognese into a different dish to free up the combi pan to cook the spaghetti.
Currently extra accessories aren’t available on the Ninja website, but I’d certainly consider buying a second combi pan if and when they do become available.
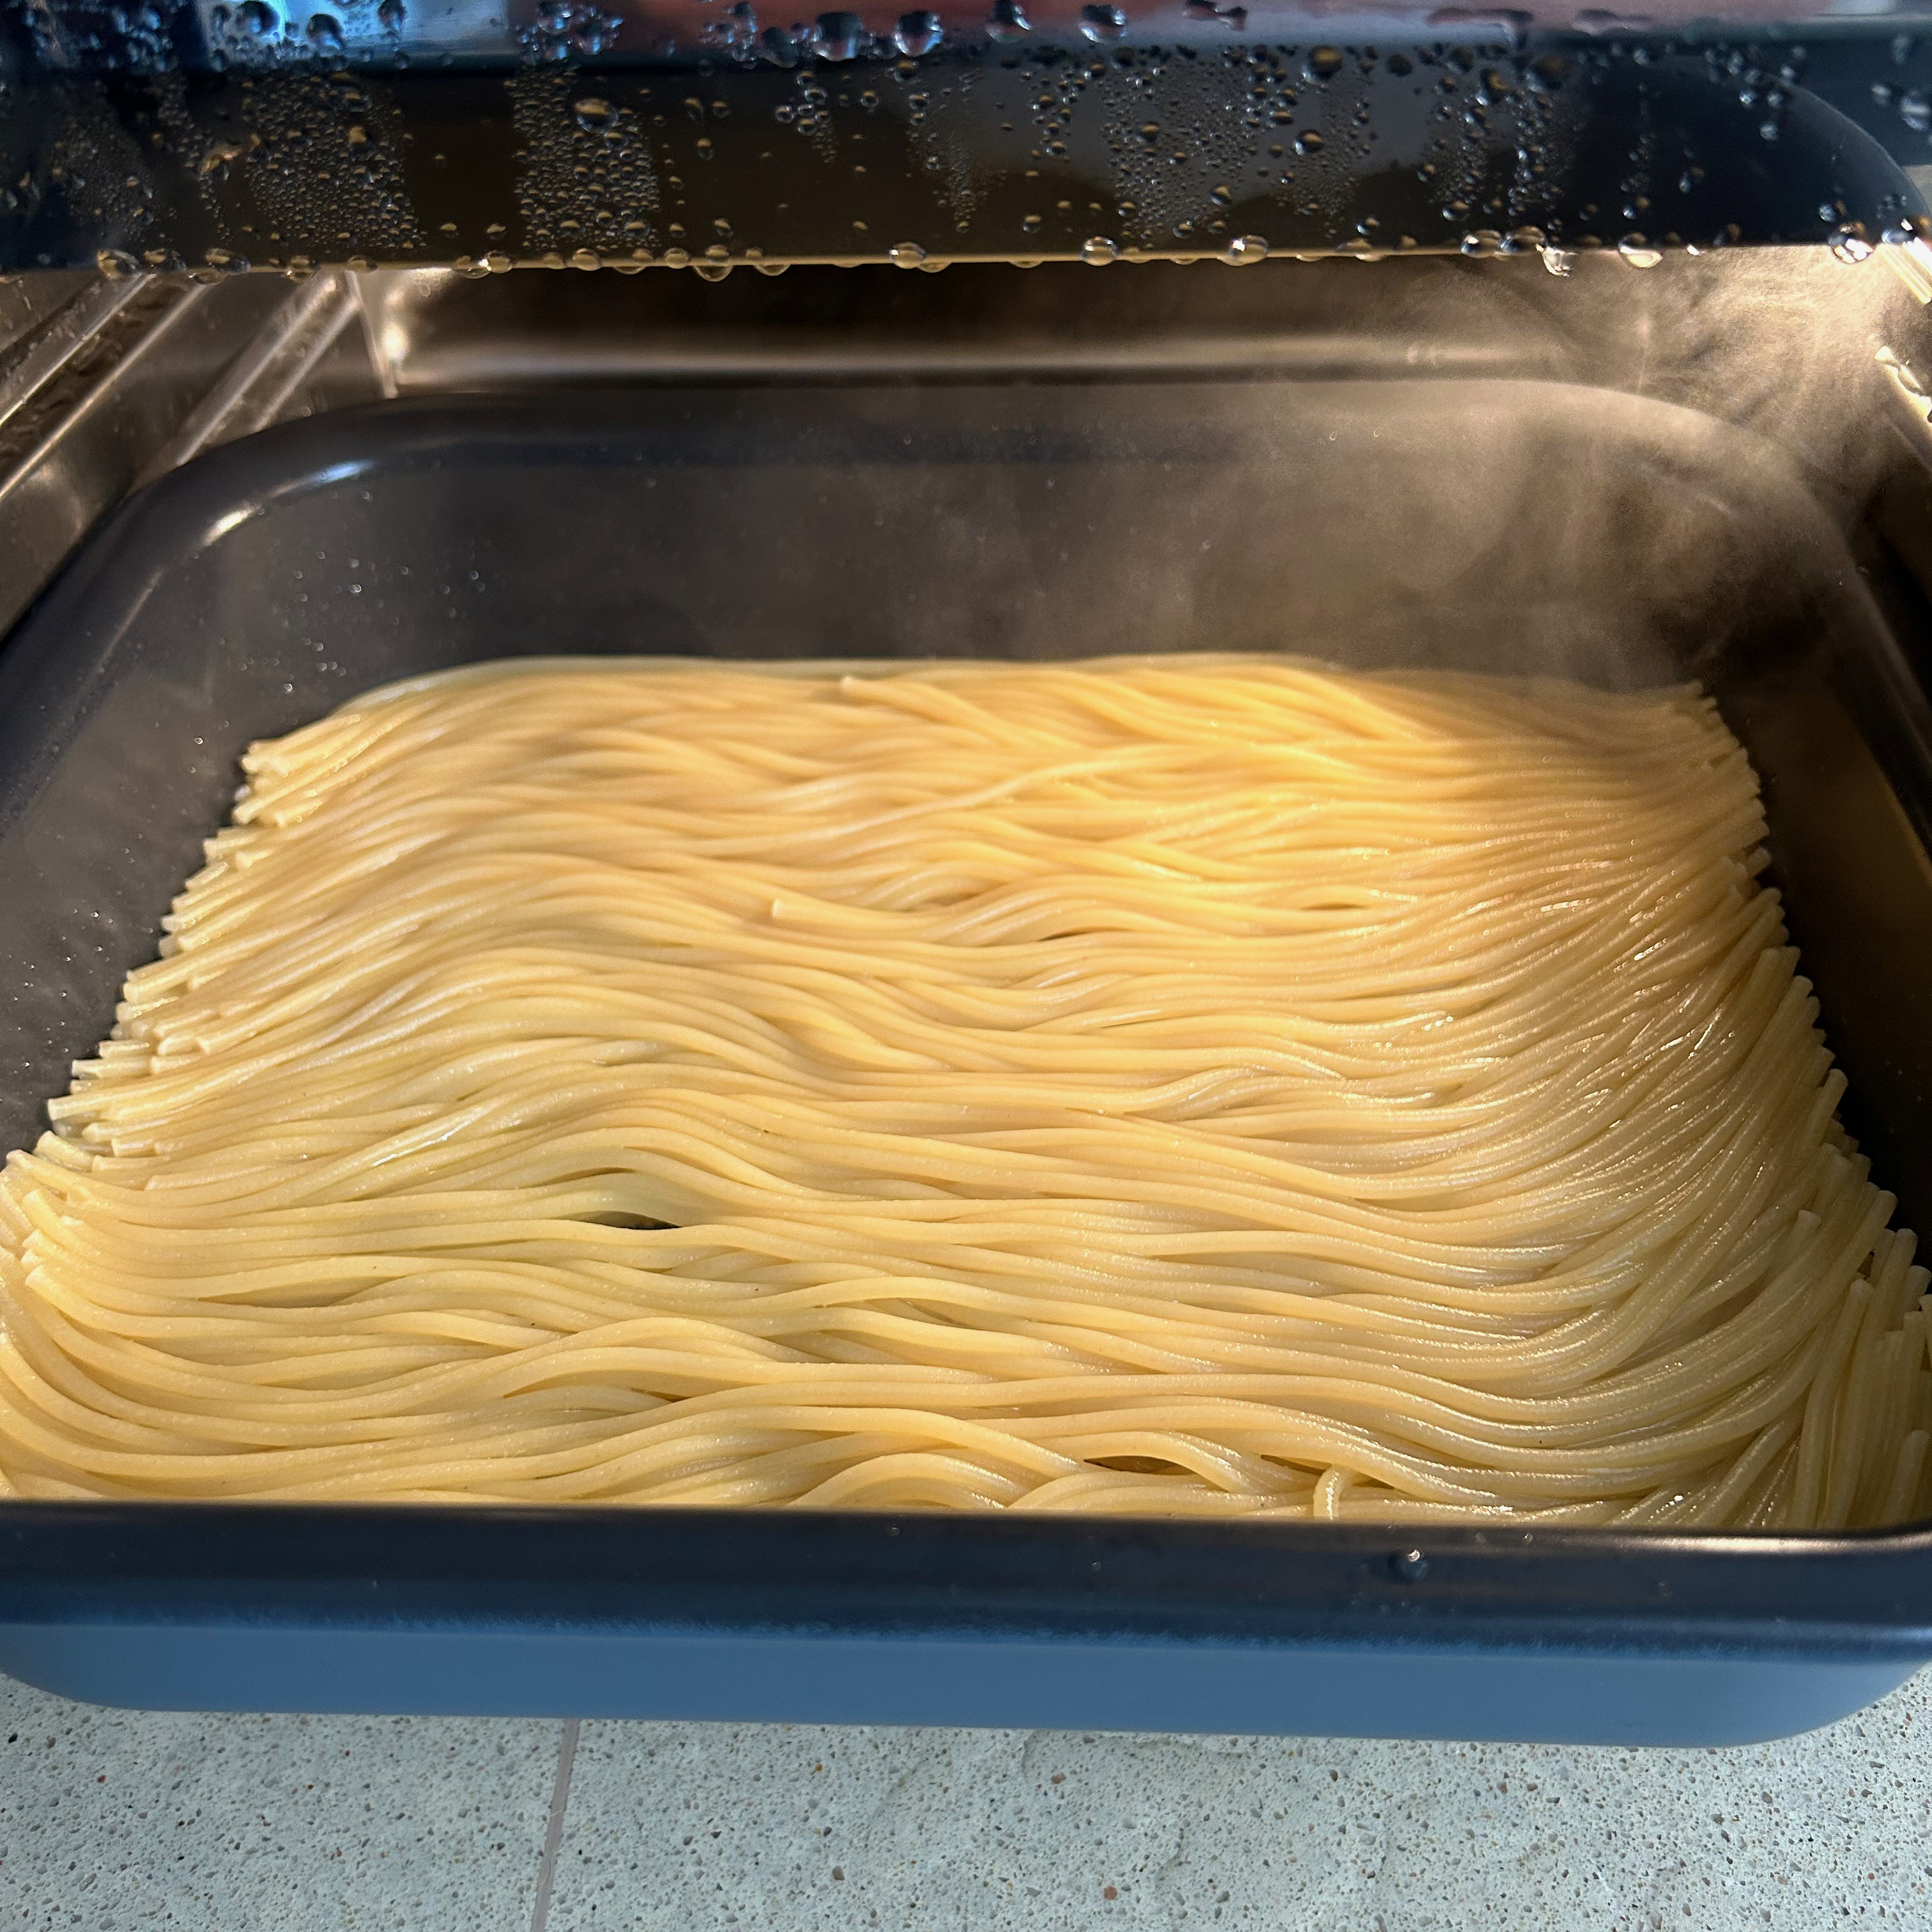
There’s a rice and a pasta chart giving advice on cooking, but the quantities specified are huge and I didn’t need to cook 450g pasta, so I halved the pasta and water quantities and hoped for the best. There are no time or temperature adjustments to make, you simply select either rice or pasta and hit start.
The thing that threw me at first was that there’s no countdown, so I didn’t know when the pasta would be ready. This makes it difficult to plan the timings of when to heat up the other elements of the meal. The spaghetti took 17 minutes and it cooks by absorption, so the texture is stickier than if you boil it on the hob.
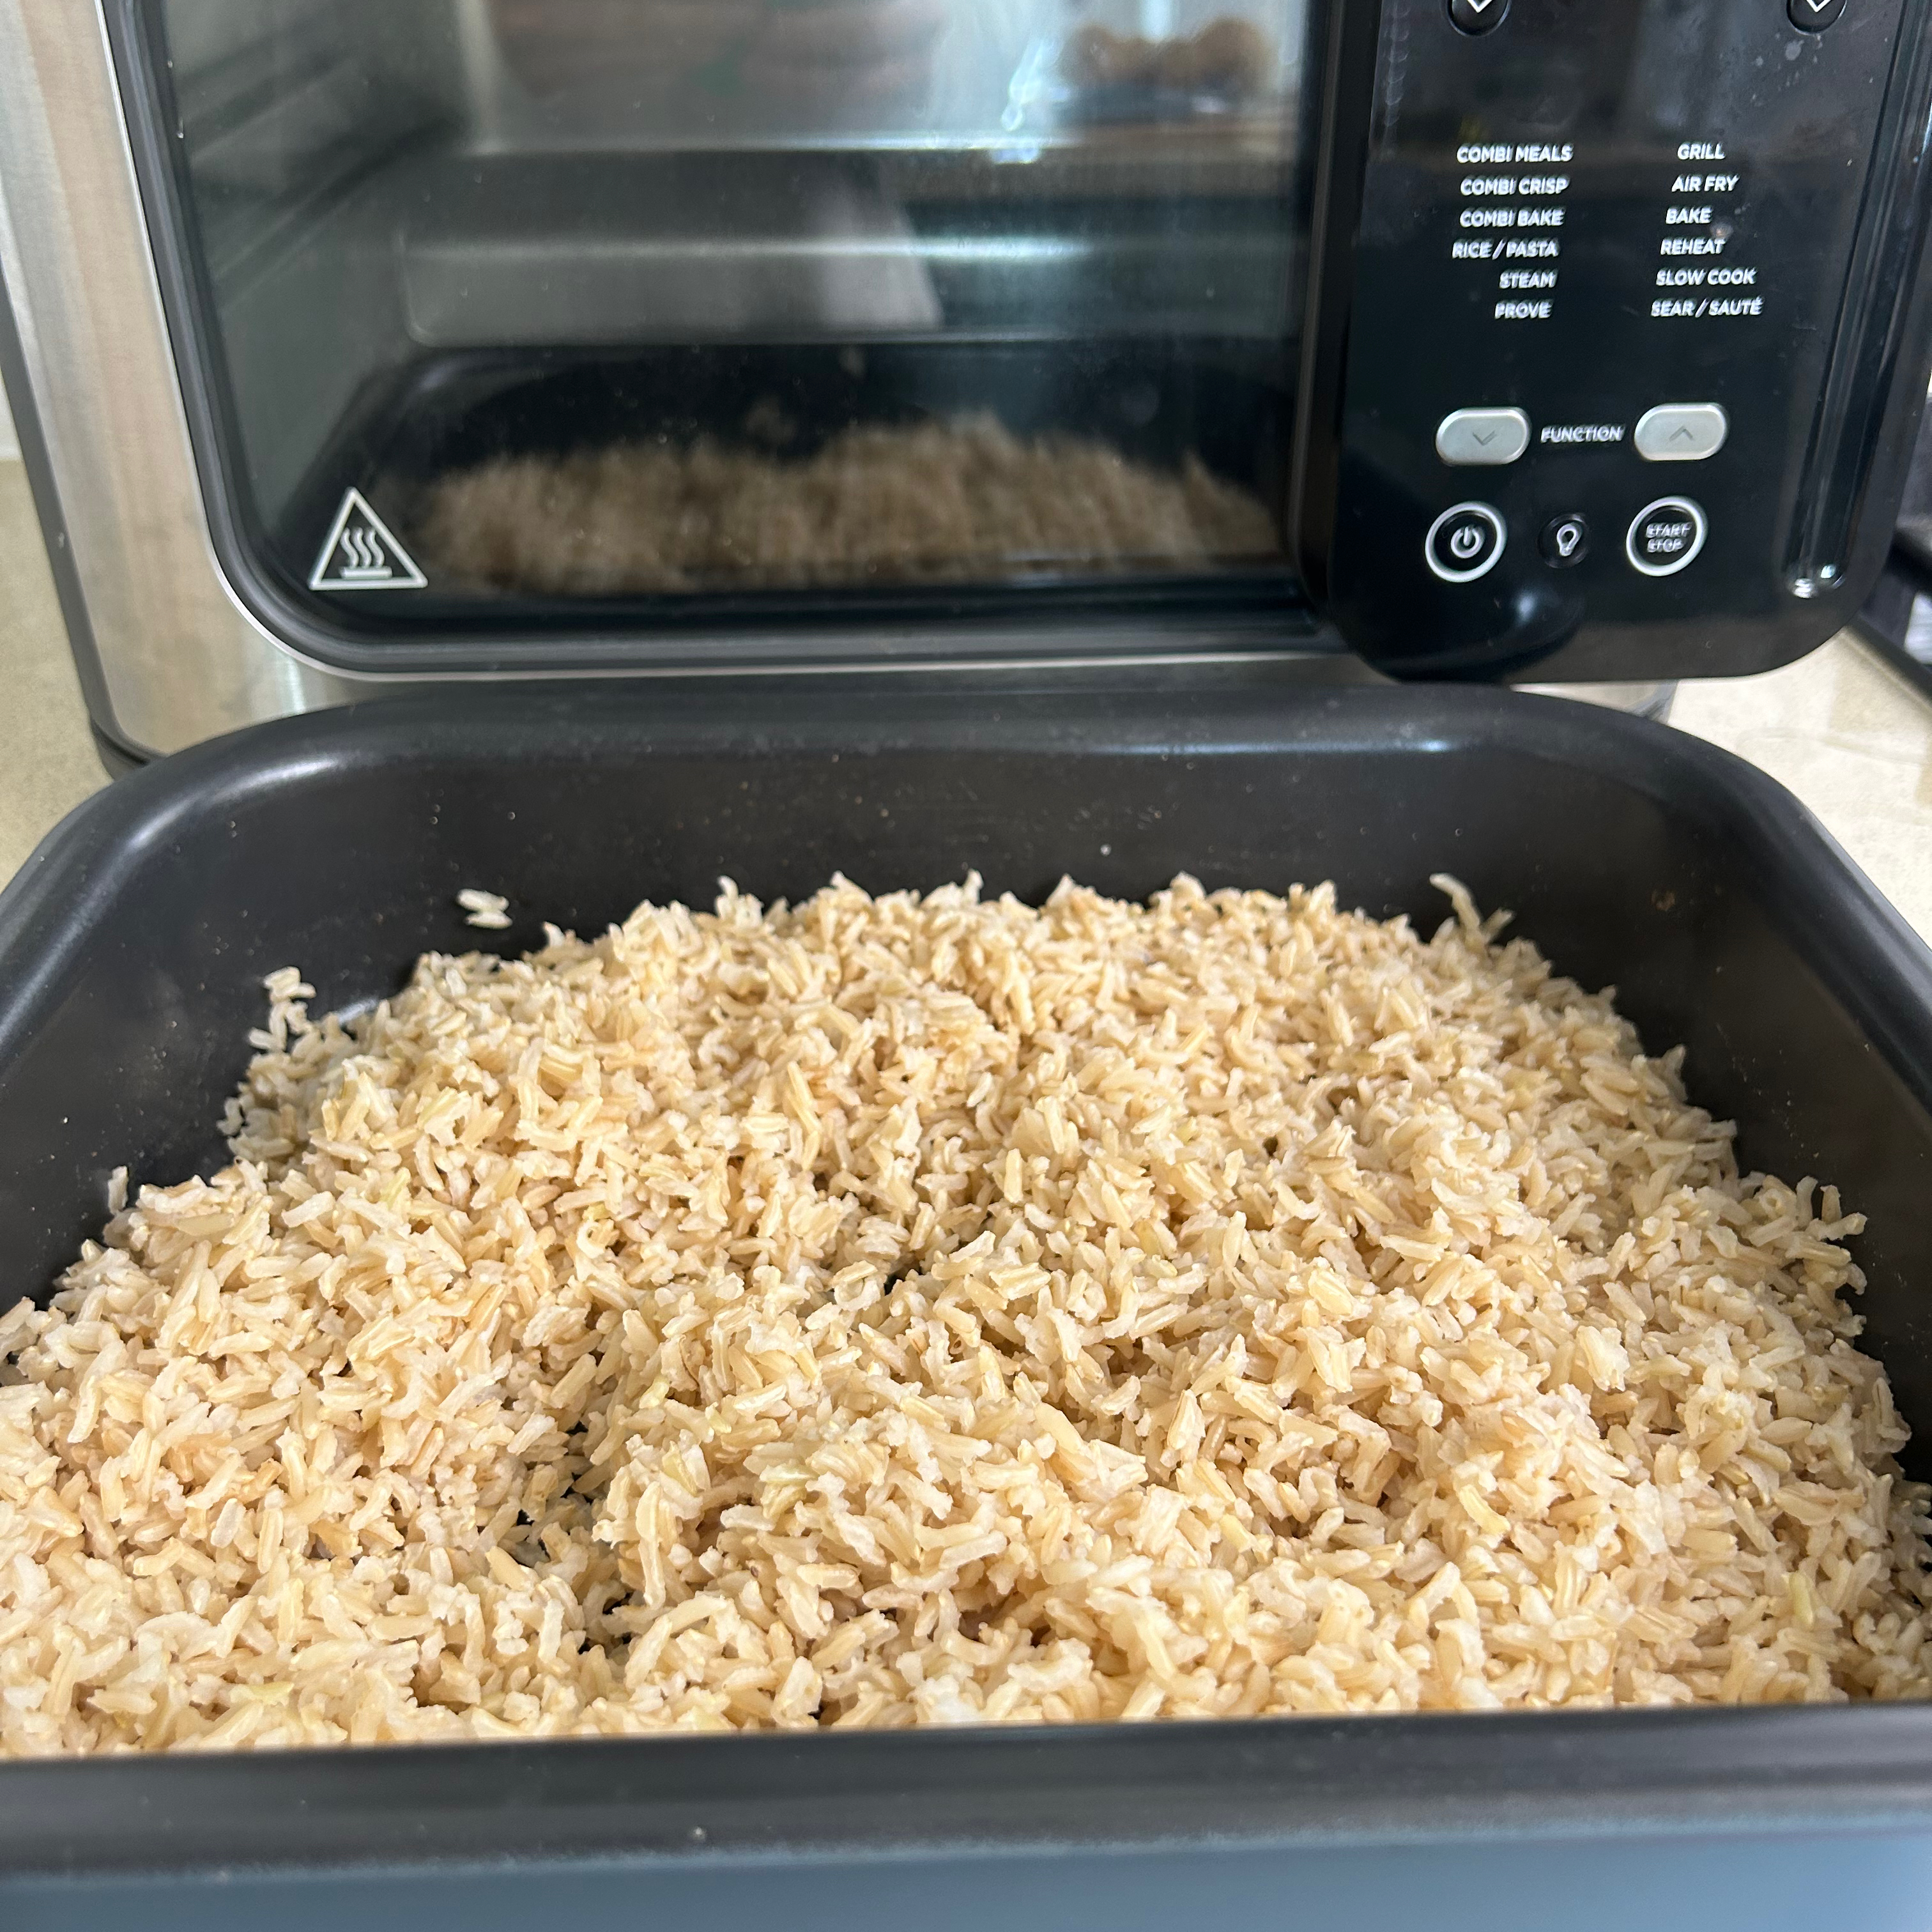
When I cooked 300g brown basmati, it took almost 33 minutes, and again, you don’t know when it’ll be ready so planning to plate up is tricky. The rice texture was spot on though, it cooked really well, so this took the sting out of having no timer to work from.
Steam
Since many of the modes use steam, by the time I came to using this mode I knew it’d work well. I added 500ml water to the pan and then placed carrot batons on the crisper plate above the water.
The temperature isn’t adjustable and I couldn’t find any guideline times so I guessed and set it to 10 minutes. It took almost six minutes to build up steam before the timer started counting down. Luckily my guess was spot on and the carrots were perfectly steamed when the timer went off.
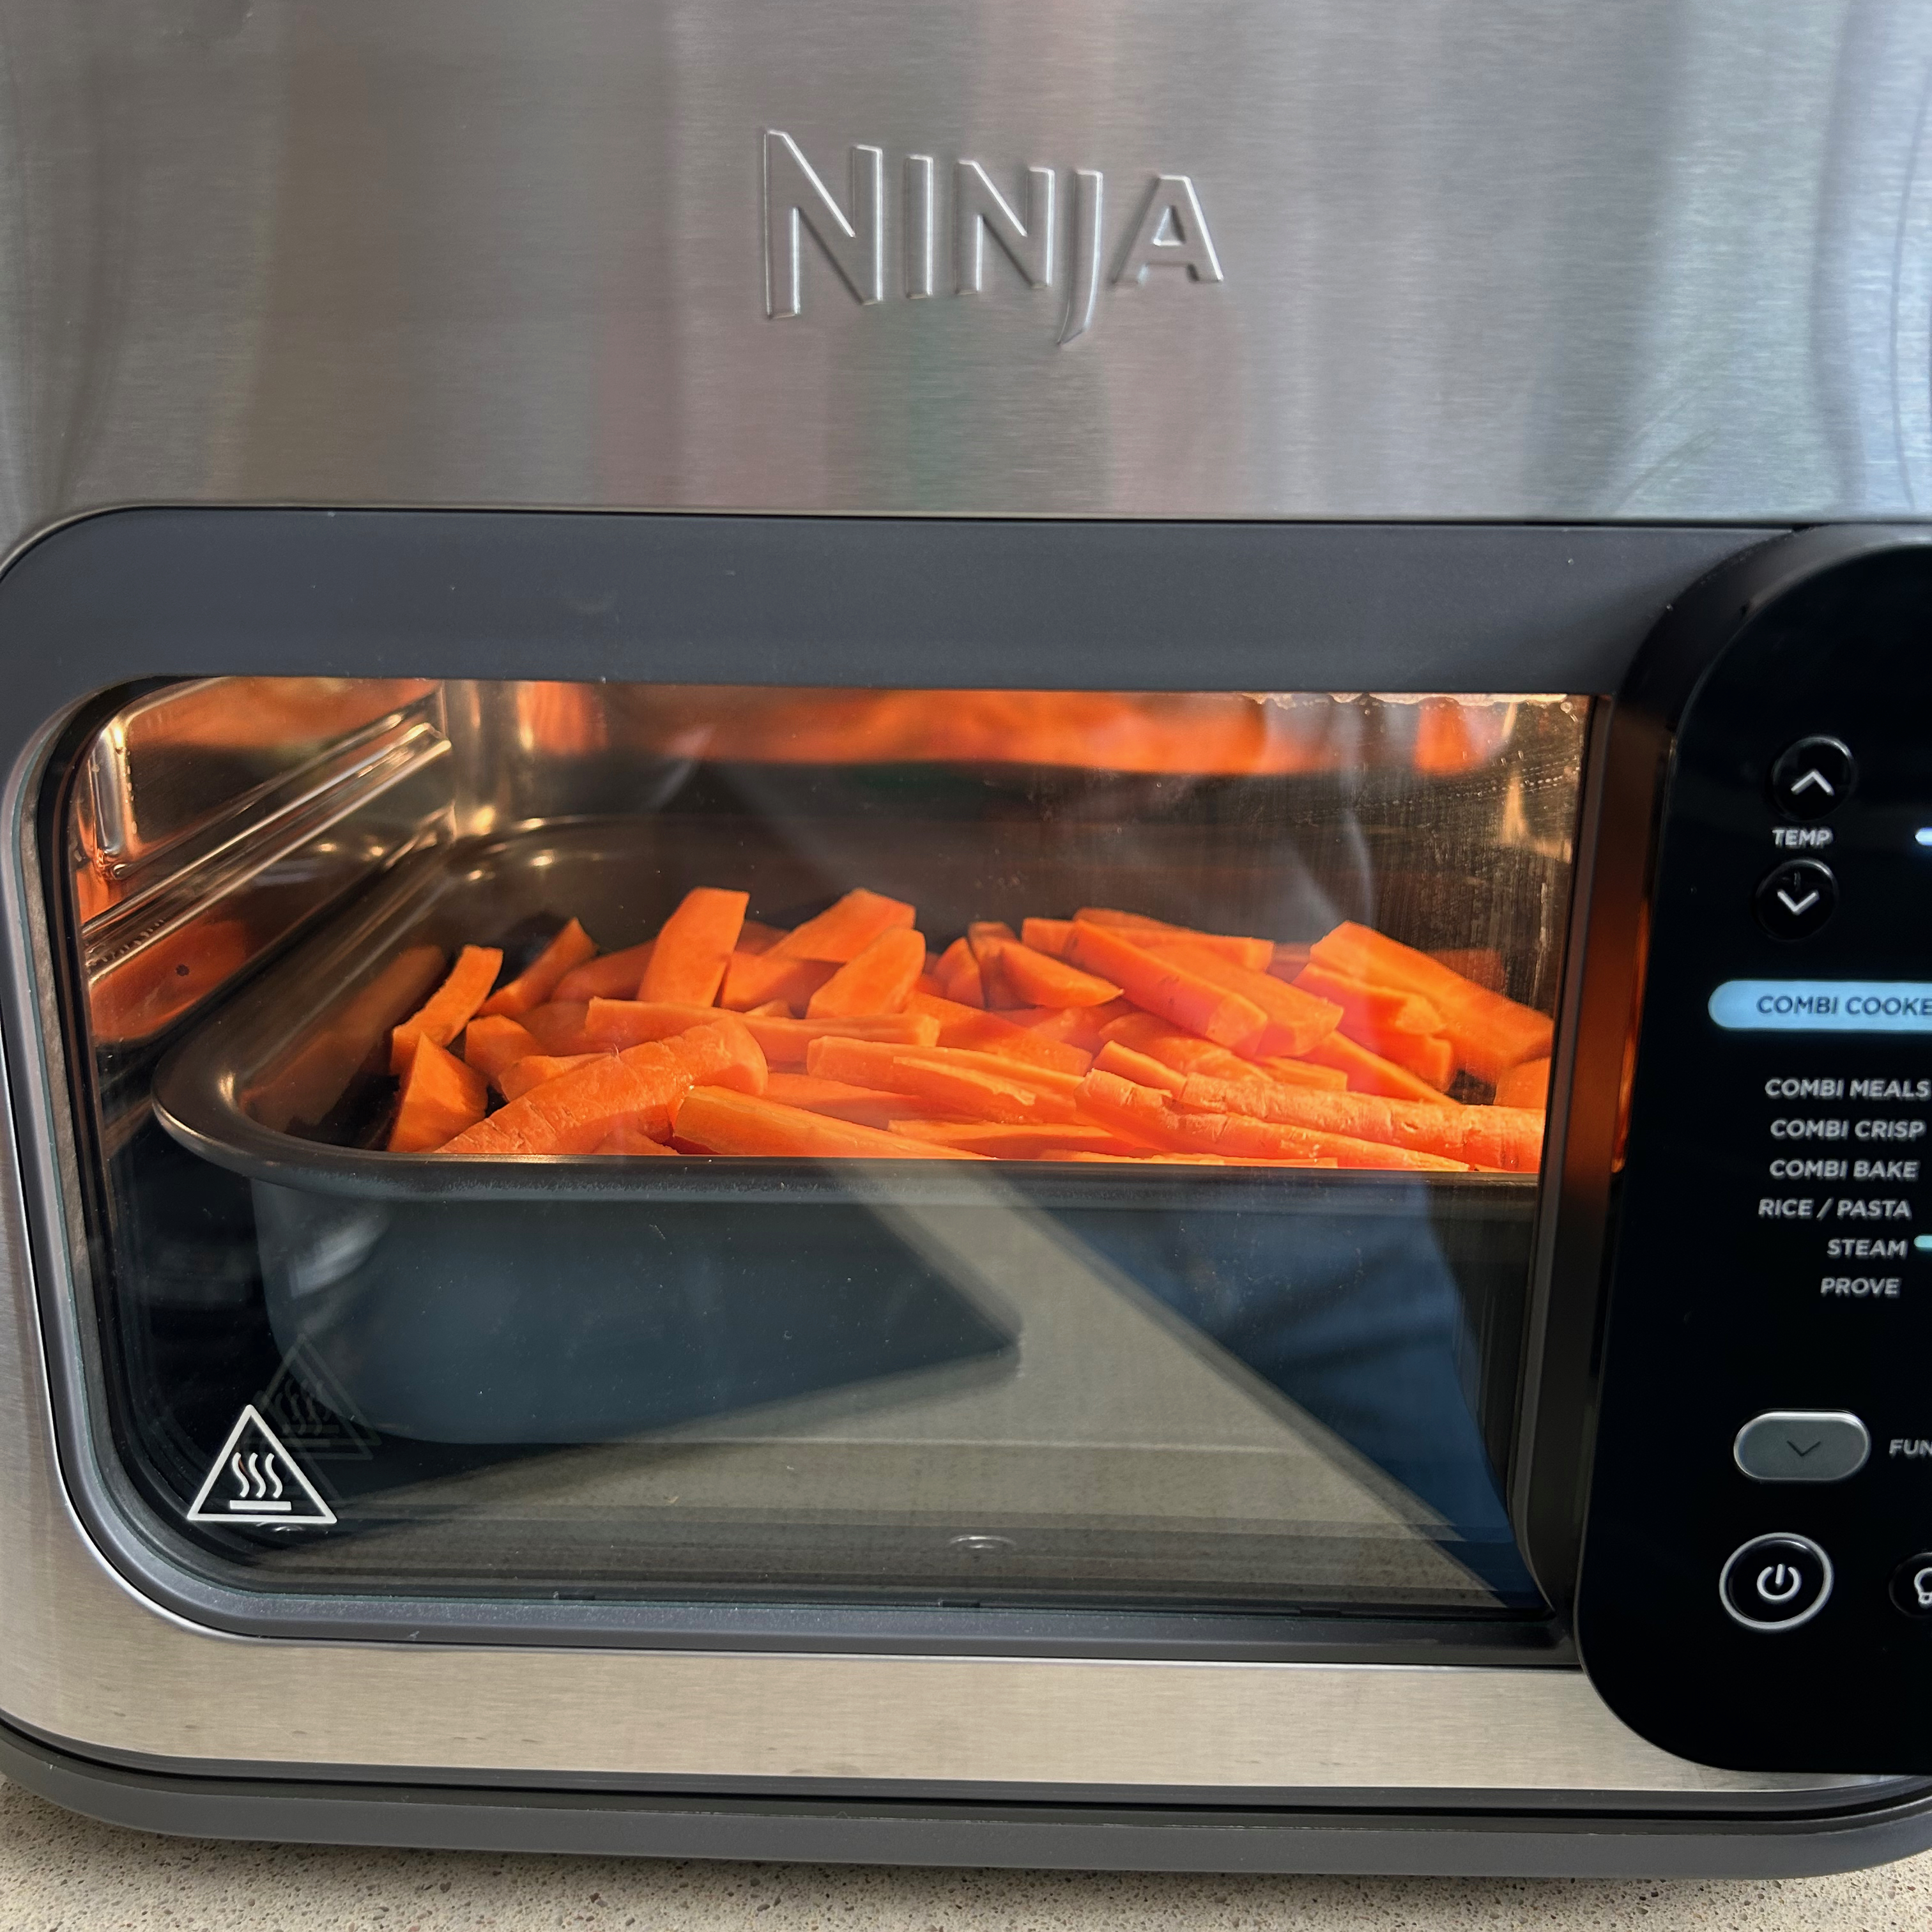
Afterwards it prompts you to start up a 3 minute drying cycle, which gets rid of excess moisture from inside. I should also point out that as I said earlier in this review, you do need to place it as close as possible to a cooker extractor, because it emits a lot of steam out of the vent.
What's it like to clean?
The two trays have a very good quality non-stick coating. They are also dishwasher safe, but in all honesty, they were so quick and easy to clean, I rarely felt the need to throw them in the dishwasher.
The inside of the Ninja Combi can get messy, and due to the element in the top, it’s not always easy to wipe clean if food has splattered around. Cleverly though, the manual includes instructions on how to use the steam function for a deep clean. This loosens all baked on dirt, so it then comes clean with a quick wipe. This certainly makes the Combi easier to learn how to clean than learning how to clean an air fryer.
I noticed the stainless steel front and the shiny black plastic control panel both show fingerprints. So they need frequent wipes with a microfibre cloth to keep it looking pristine.
How does it compare to similar Ninja appliances?
The two closest comparisons that spring to mind are also both Ninja products. The Ninja Foodi 10-in-1 Multi Function Oven is a much larger capacity air fryer oven. It lacks the wet cook modes, such as steam, slow cook, rice/ pasta, and the combi settings. But it’s an alternative worth considering if you have a larger family.
Or, if you’re interested in the Combi steam options, but want something a bit smaller, the Ninja Speedi offers a lot of the same functionality. But it’s cheaper and slightly more compact. One of the big differences is that it has a hinged lid, instead of a hinged door, so the setup is somewhat different.
As it's the summer, if you're looking to cook outside more with a multifunctional appliance, then Ninja has a range to help you do that too. Our explainer on the differences between the Ninja Woodfire Oven vs BBQ can help if that sounds like an enticing prospect.
Should you buy the Ninja Combi?
The Ninja Combi is undoubtedly a clever and innovative bit of kit. But, the Combi settings in particular, require you to take the way you cook meals and completely flip your thinking on its head. You have to learn a new way of cooking, and if you really want to use it to its full potential, I foresee some trial and error along the way.
That said, there are a lot of positives and I was surprised by how convenient the combi meals function was for easy weeknight meals. Moreover, the familiar cooking modes such as air fry, bake, steam, and slow cook are faultless.
Whether you should buy this over a Ninja multi cooker or a Ninja air fryer, will very much depend on how you hope to use it and what you envisage cooking in it. Before deciding, I’d recommend downloading the ‘quick start guide’ that's available for this product on the Ninja website. It includes all the recipes, inspiration, and user guides that’ll give you a good flavour of how it can be used and what it’s capable of.


