Expressive performance is a topic of debate today. For hundreds of years, we’ve made do with instruments like pianos, and more recently electric pianos, and we haven’t spent much time complaining about what they can’t do. The best musicians don’t mind limits – they stick within them and work out how to turn limits to their advantage.
But there’s been a growing number of manufacturers who believe that musicians are ready to be liberated. To these companies and people, musical notes as ‘on/off switches’ is not enough, and the keyboards and MIDI controllers we’ve come to know are now due a radical overhaul.
The collective solution put forward to this creative drought? MPE. The ‘MIDI Polyphonic Expression’ protocol allows for an expanded version of MIDI to carry more information than just note on velocity, note off velocity and aftertouch. In MPE, five types of message are passed along with each note that’s pressed and held.
What data can MPE carry with it?
Velocity is as you would expect: the force with which you play a note. As in a real-world instrument, we can expect velocity to be connected to parameters like amp and filter cutoff.
Next, there’s Pressure: if you push harder or softer on a key while holding it down, you’re changing the Pressure, and this parameter can be hooked up to another control on the instrument you’re controlling. Similar to Pressure, the vertical position at which you strike or hold a key is called Slide, which is not to be confused with Glide, which comes next…
Glide is the all-important pitch control, which takes pitchbending to extremes, letting you glide from note to note while holding a single finger down – something that’s pretty much impossible in traditional MIDI, at least not above about two semitones. And finally, Lift sends information about how a finger leaves the key, and could be hooked up to determine release time, delay wet/dry or indeed any other parameter.
The point is polyphonic
All this expression is impressive to start with, but there’s another point to MPE: it’s polyphonic. This means that, whether it’s pitch, velocity or any other parameter, you can move one note independently of the others, changing properties for only that one note.
The most obvious example – pitch – means you could hold a chord but slide one note of it up and down continuously while the others remain stationary. If Pressure is polyphonic, the different notes will vary in pressure independently, and the parameters linked to pressure will be in a different state for each note.
With all these newfangled ways of playing keyboards, it’s easy to get a painful neck from gazing up at the learning curve. But we’re here to take you step by step through some of the basic operations of MPE, from setting it up to understanding basic parameters to creating or amending a patch.
Setting up MPE and exploring basic capabilities
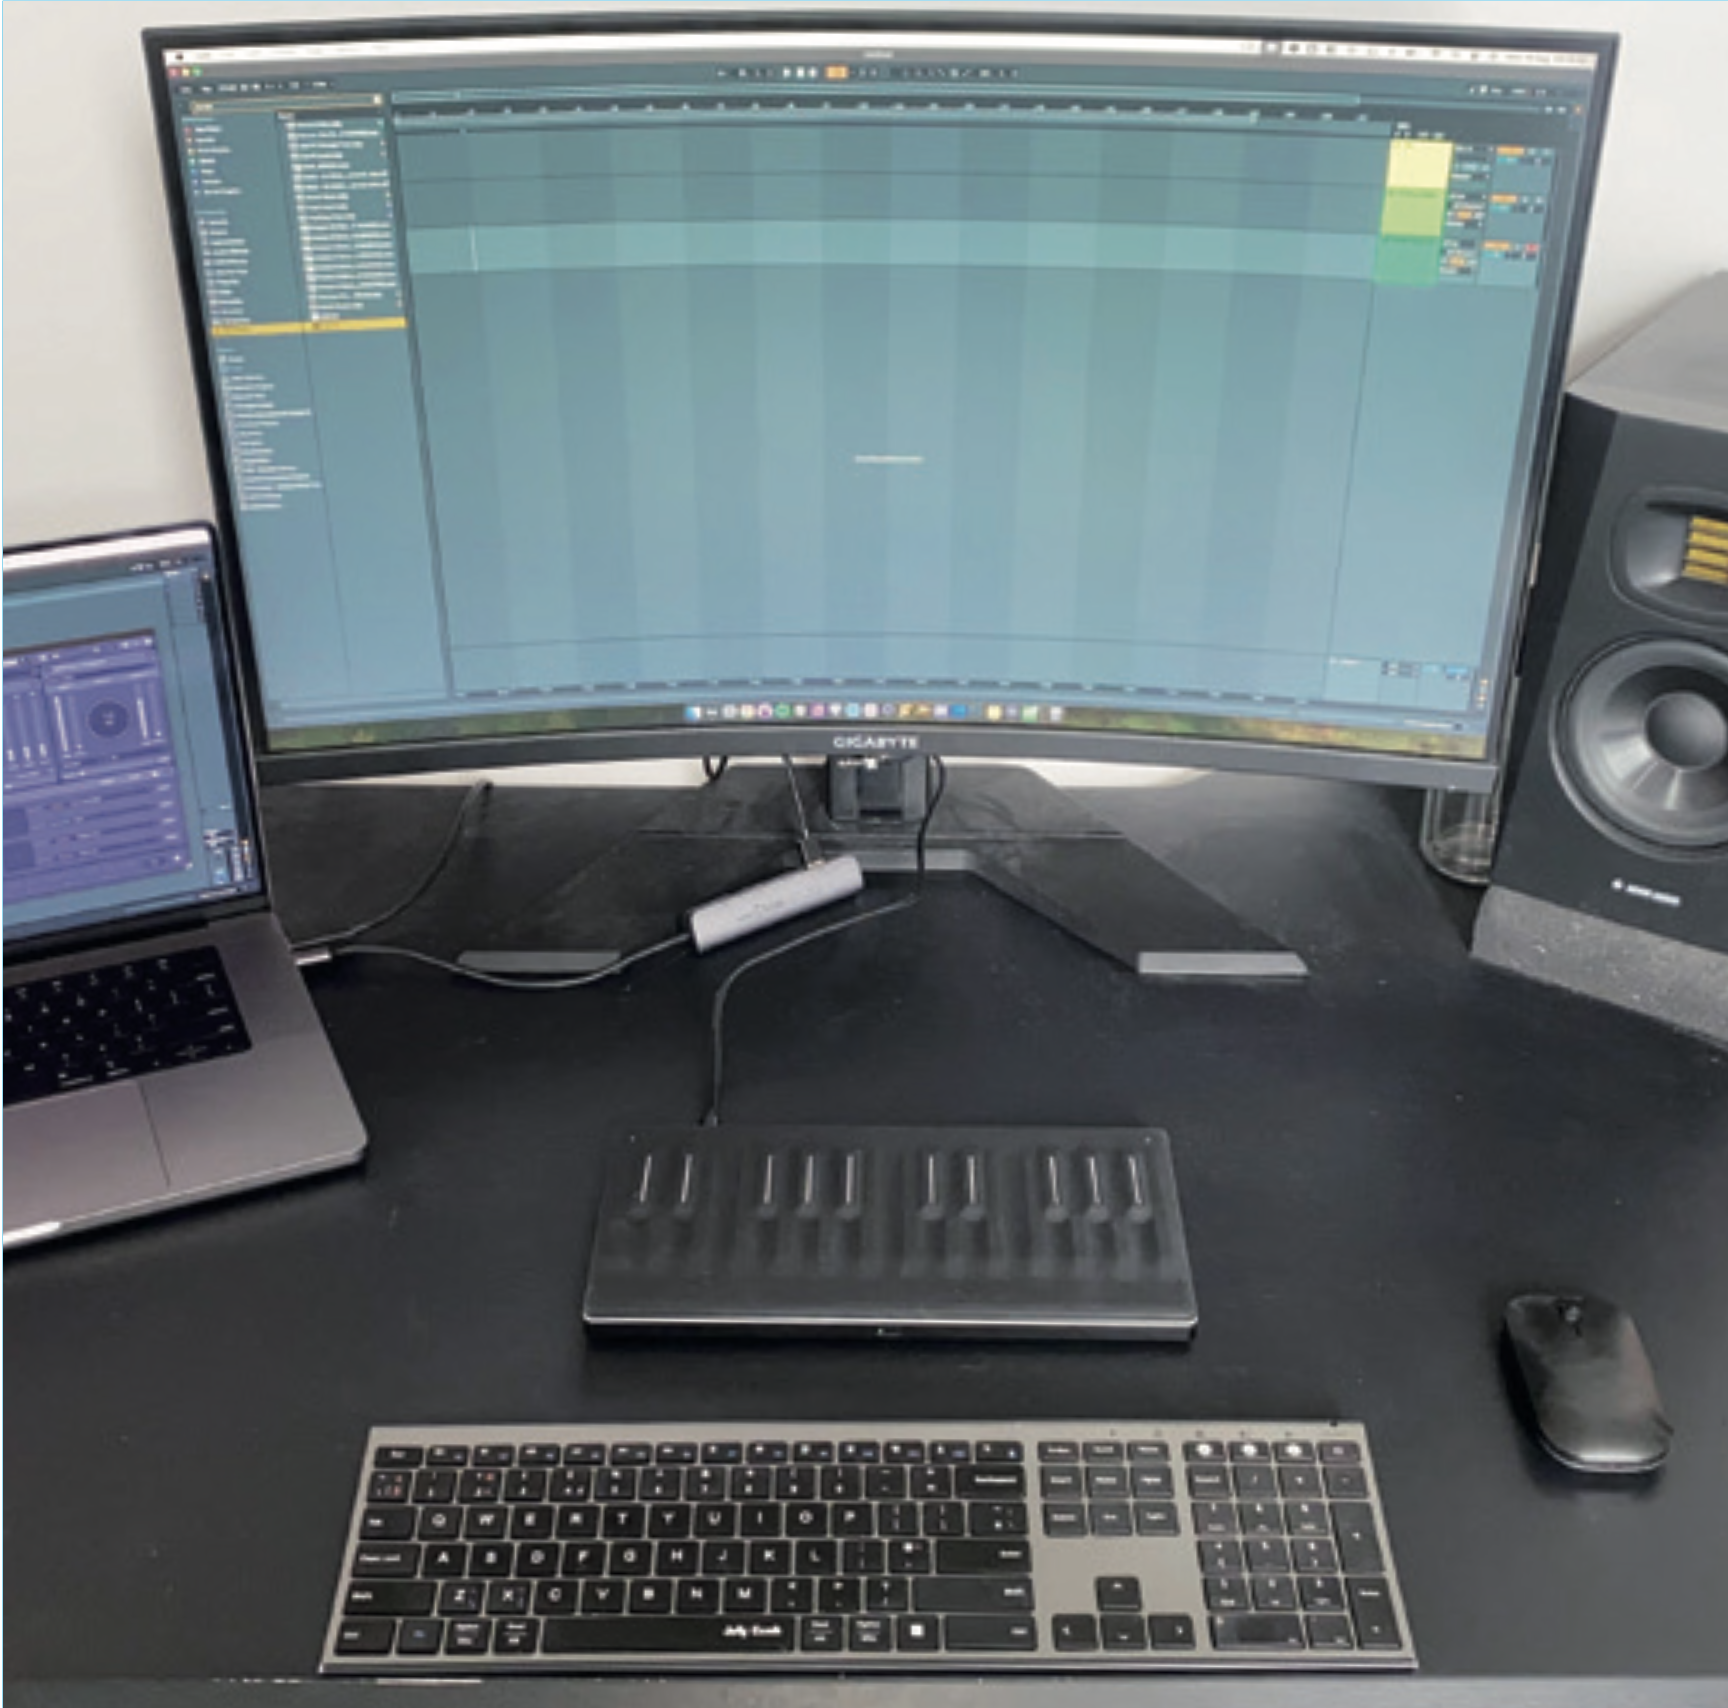
Each keyboard manufacturer and DAW developer works differently, but with Roli Seaboard, MPE is quite simple. Once connected to your computer, the hardware is often recognised immediately by your system.
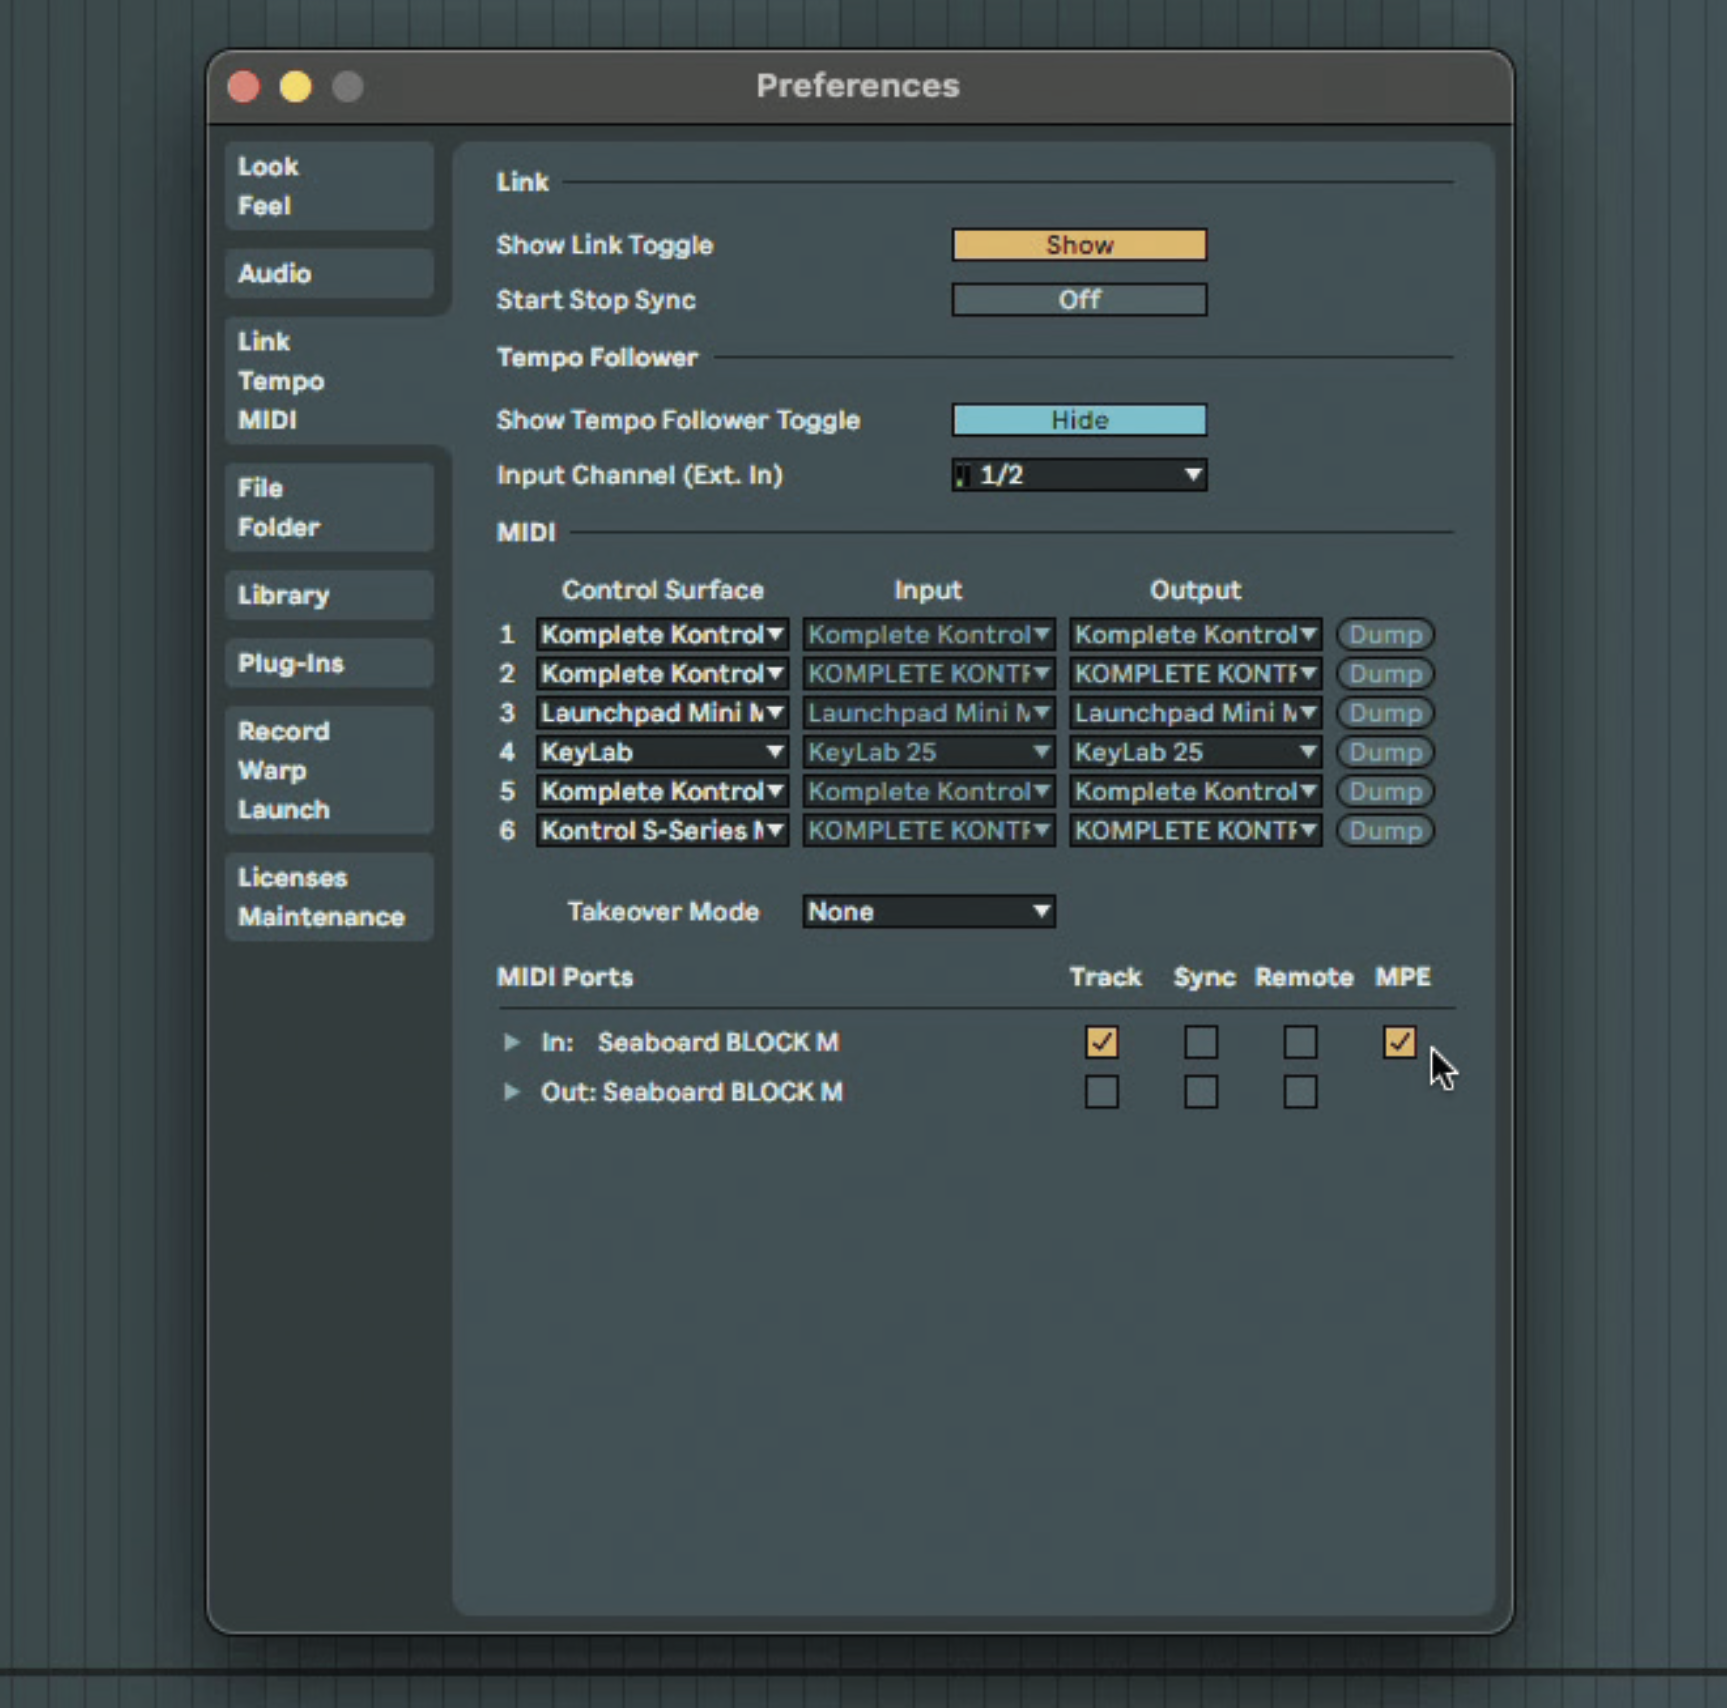
In Ableton’s Preferences, in the Link/Tempo/MIDI window, there’s a section called MIDI Ports, which displays the controller currently connected. Ensure that MPE is ticked for your controller (it should be by default).
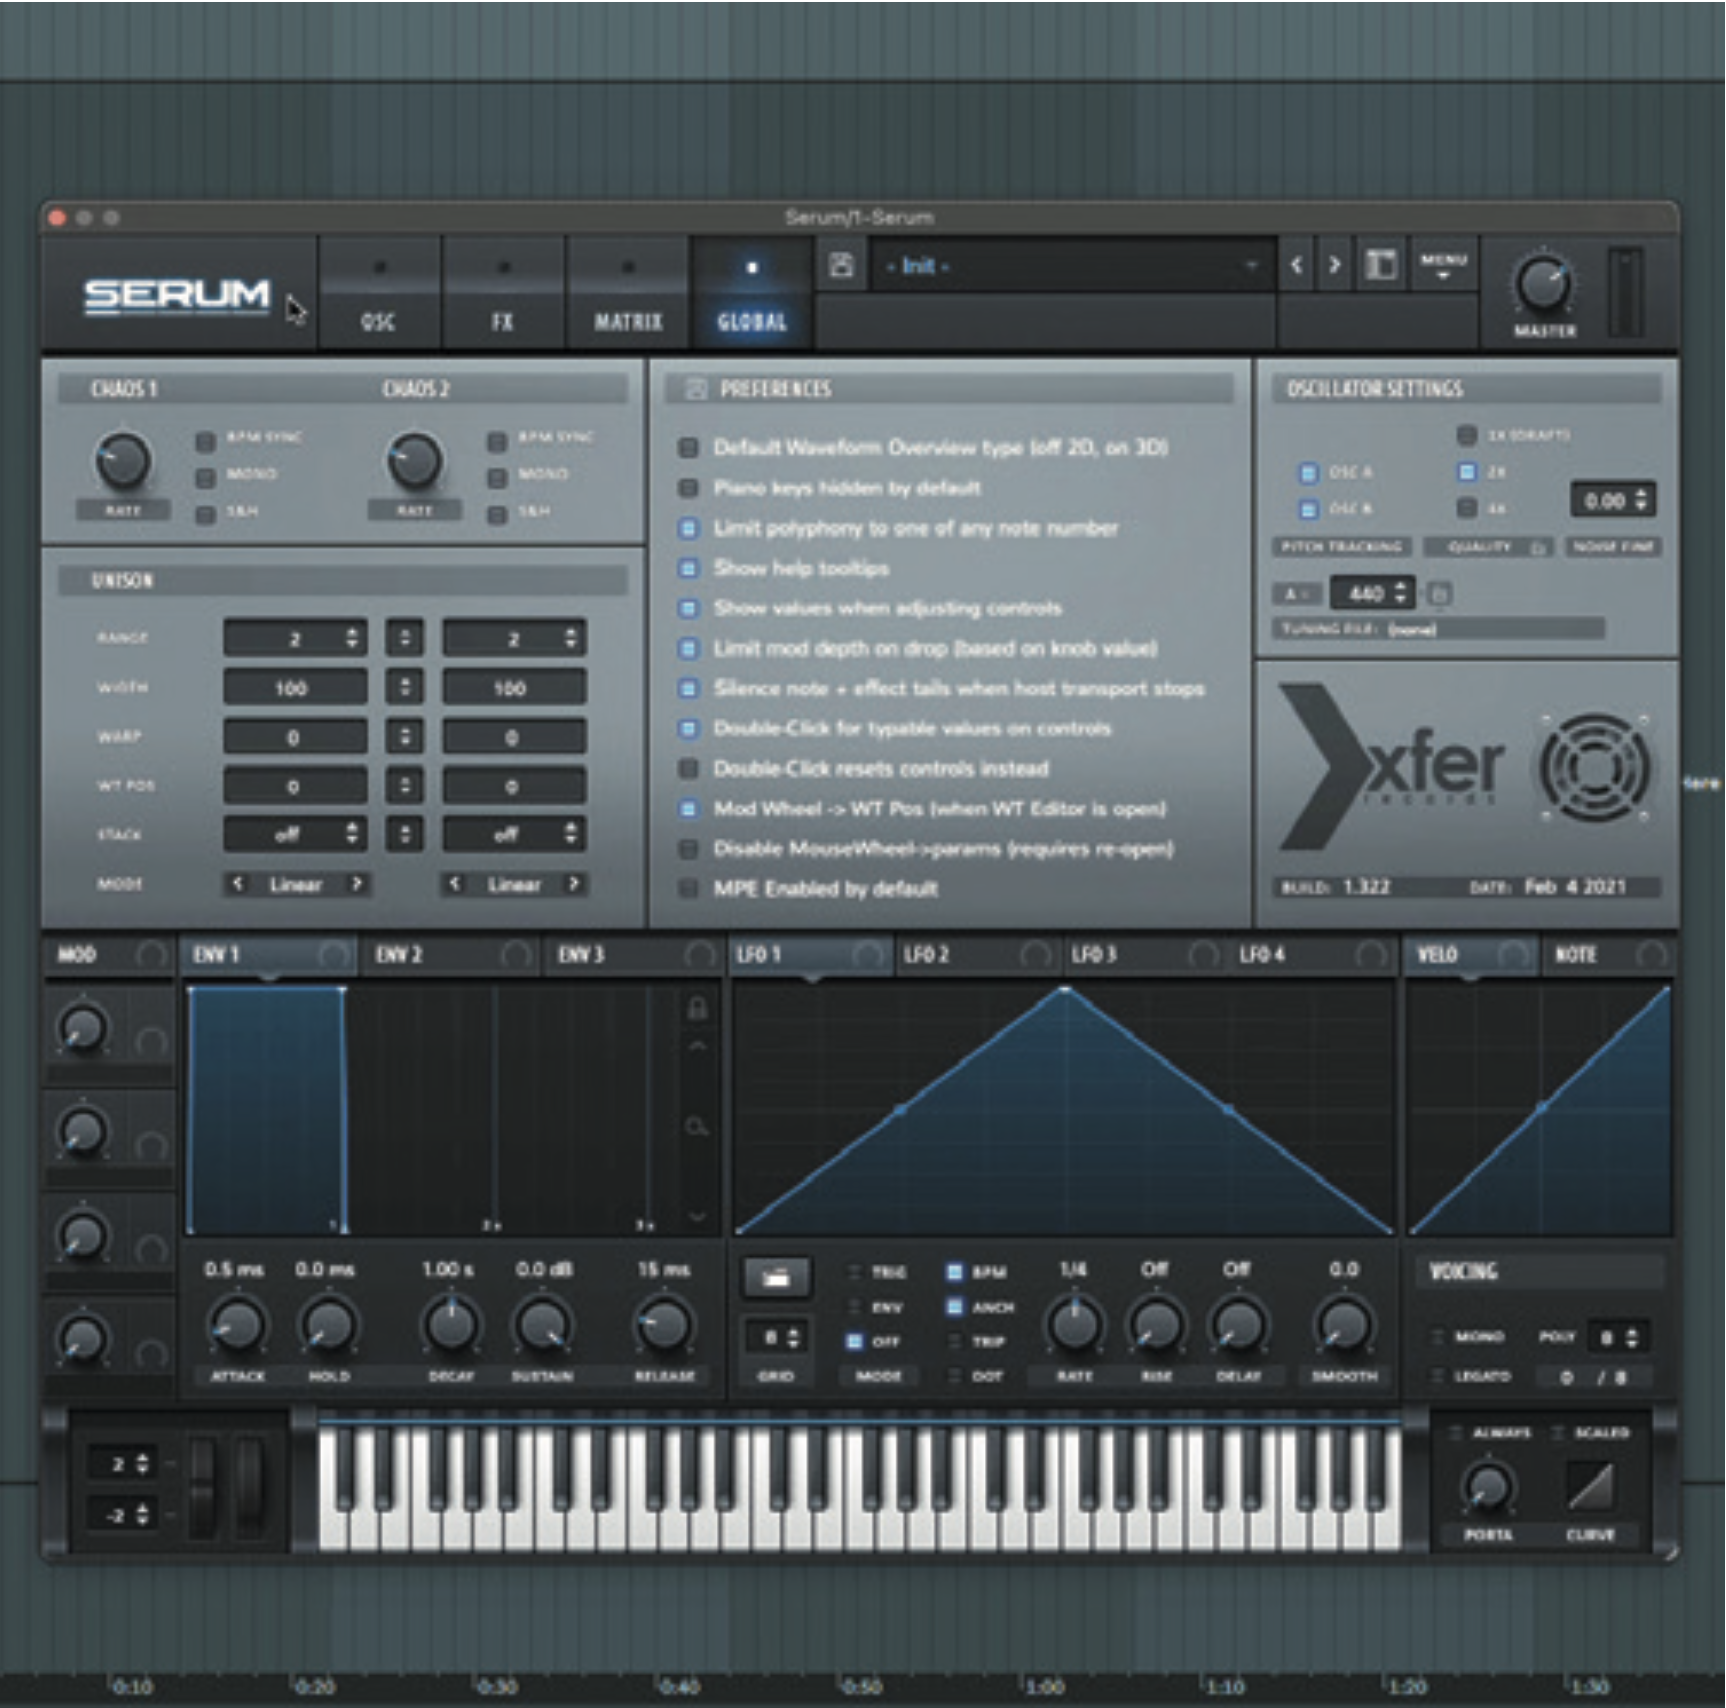
Once you load an MPE-capable instrument plugin on a DAW track, you may need to tell it that it will receive MPE messages. Consult your own synth’s instructions for how to do this.
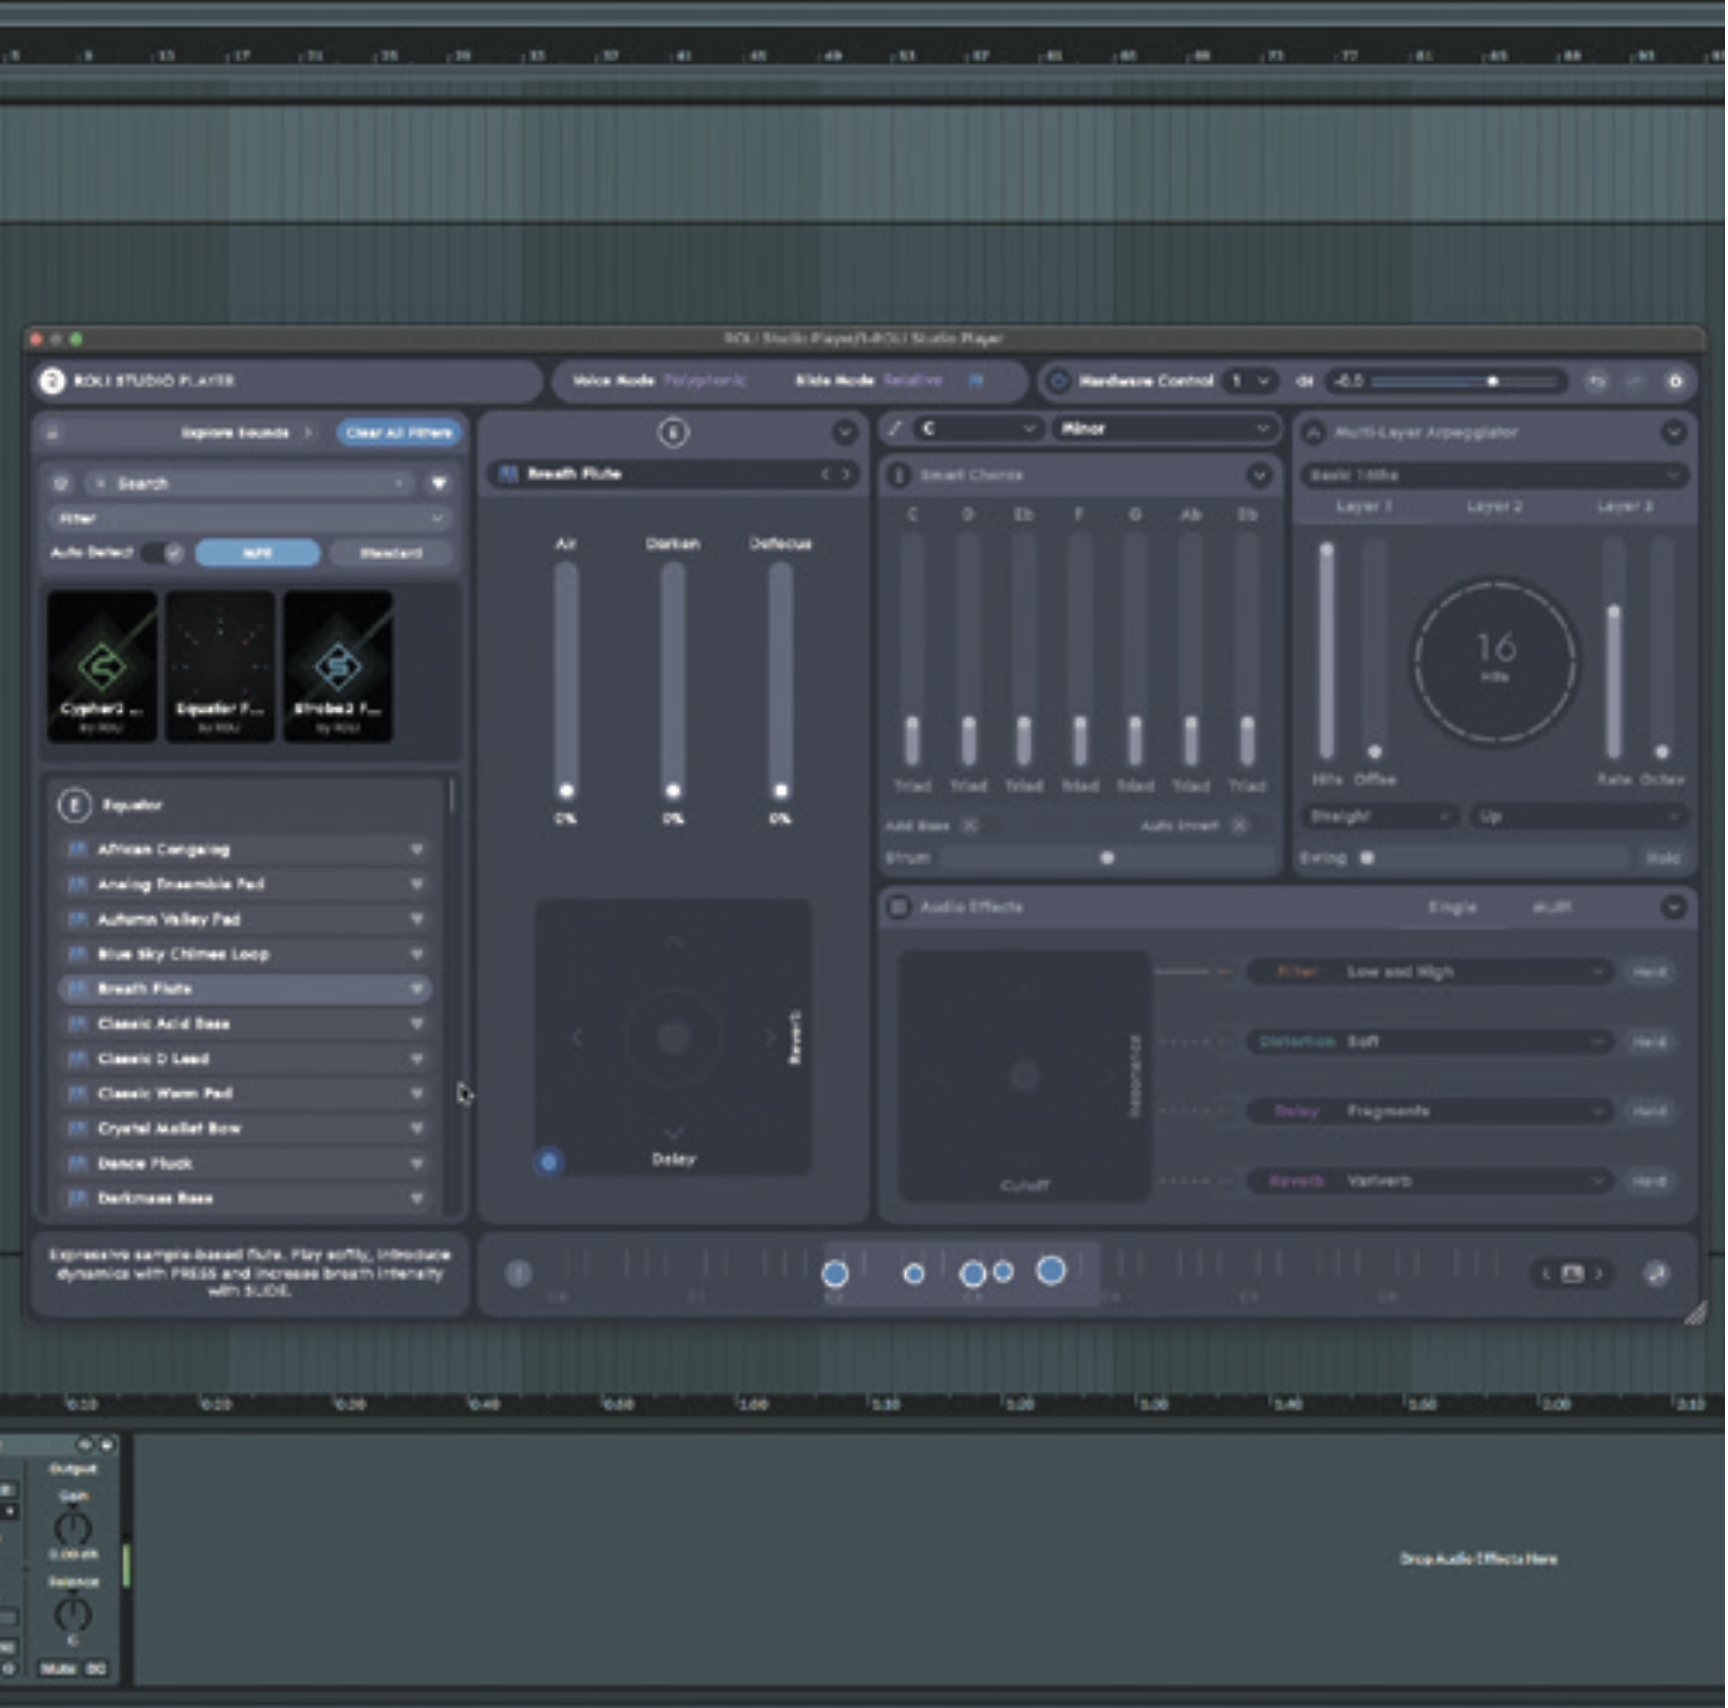
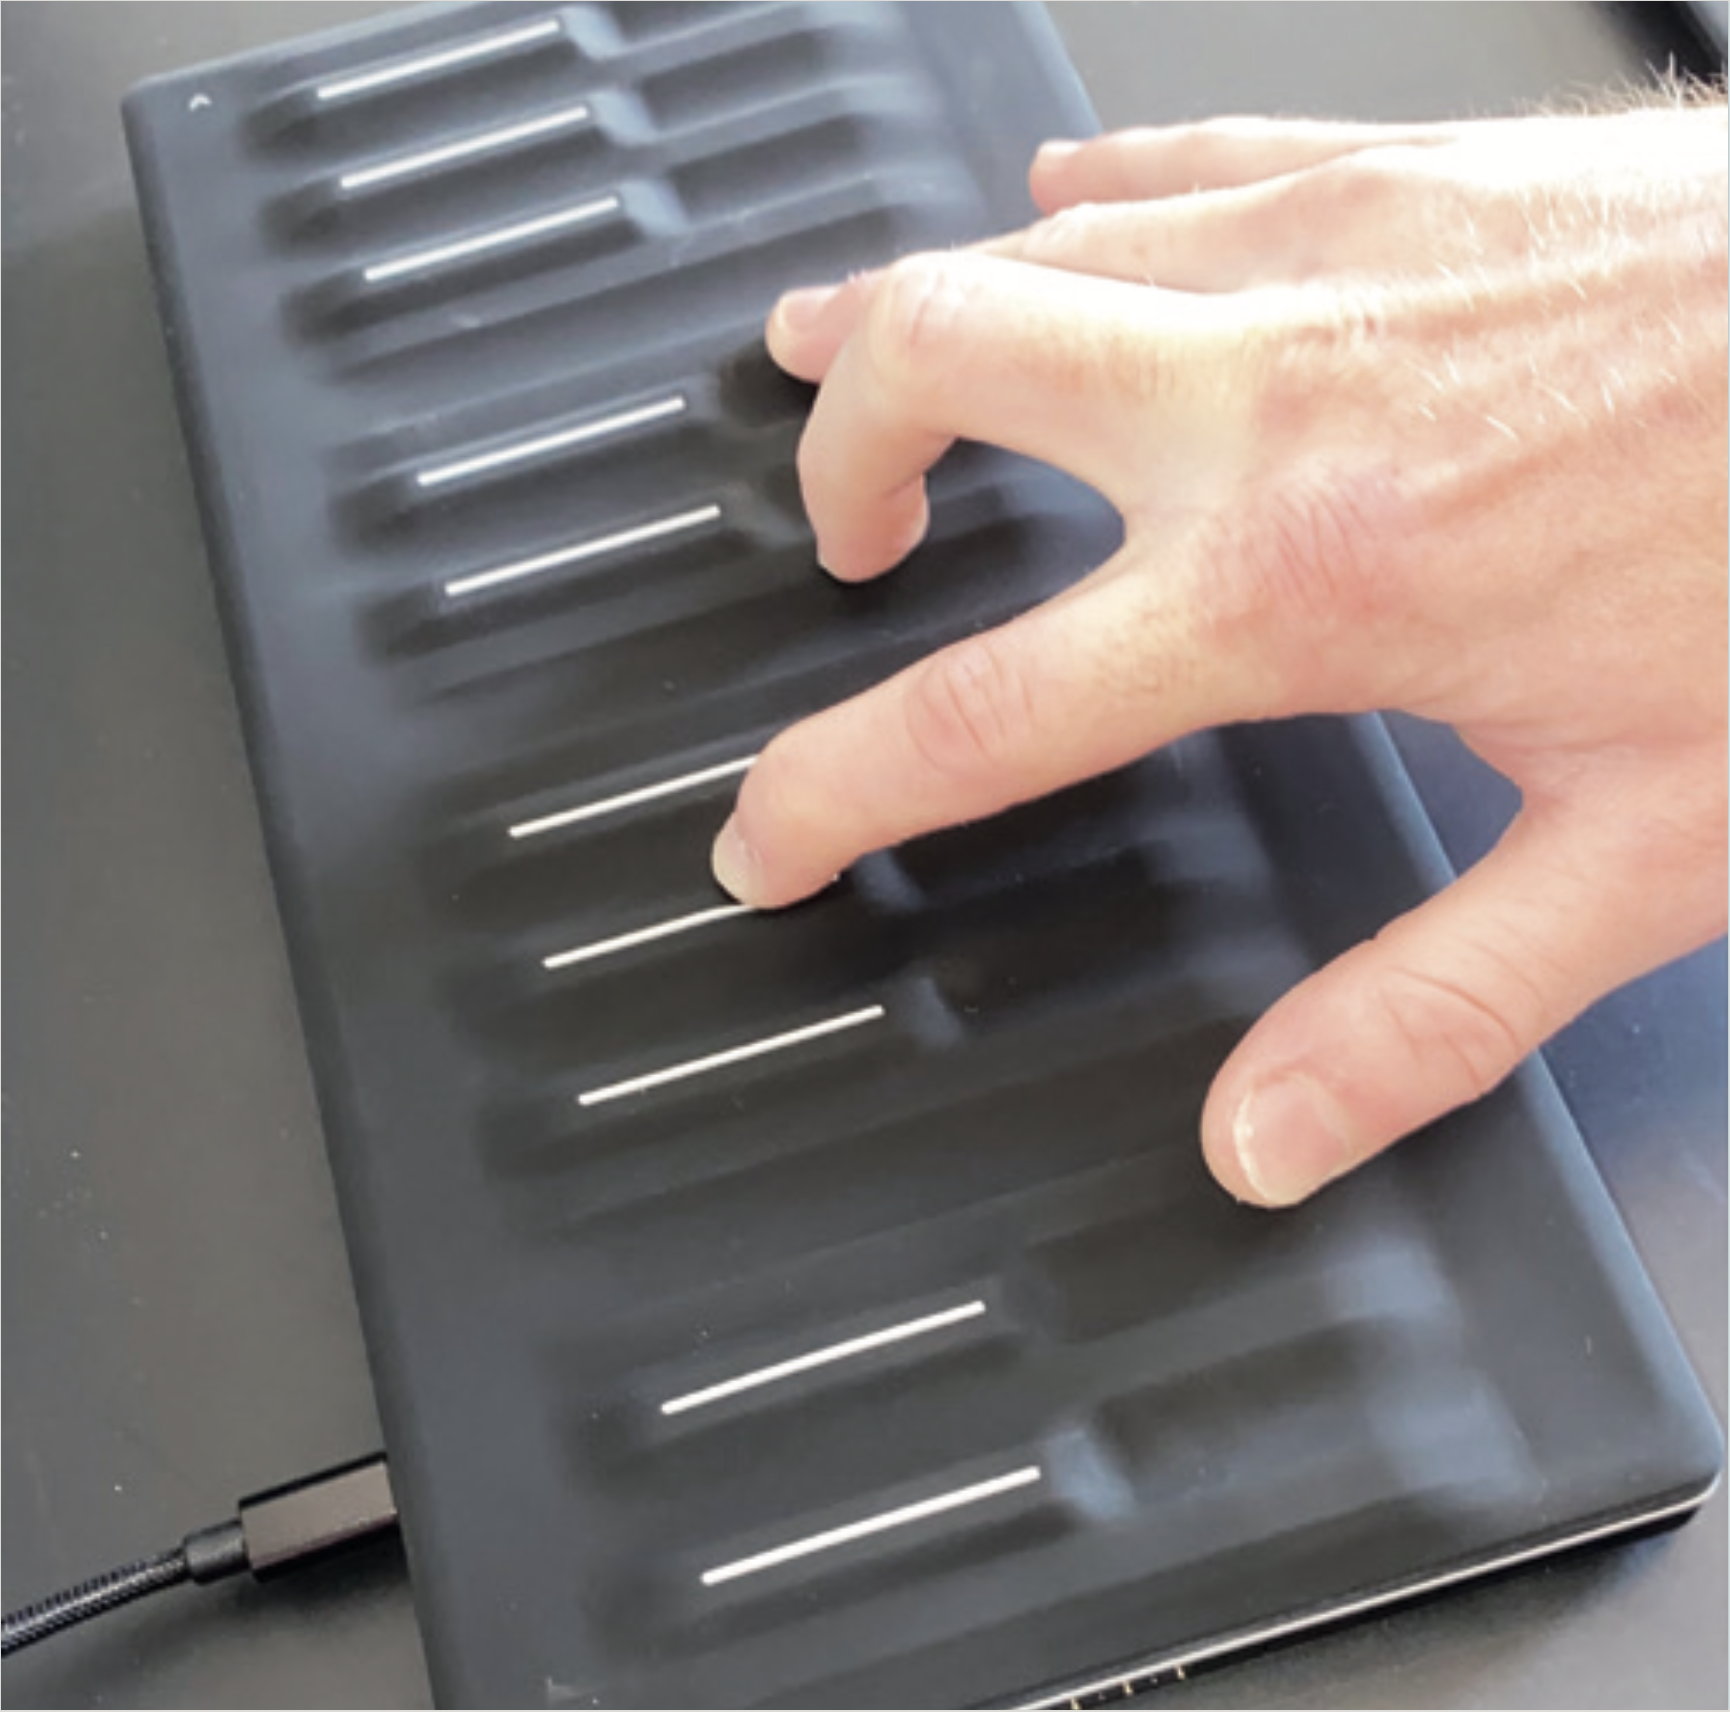
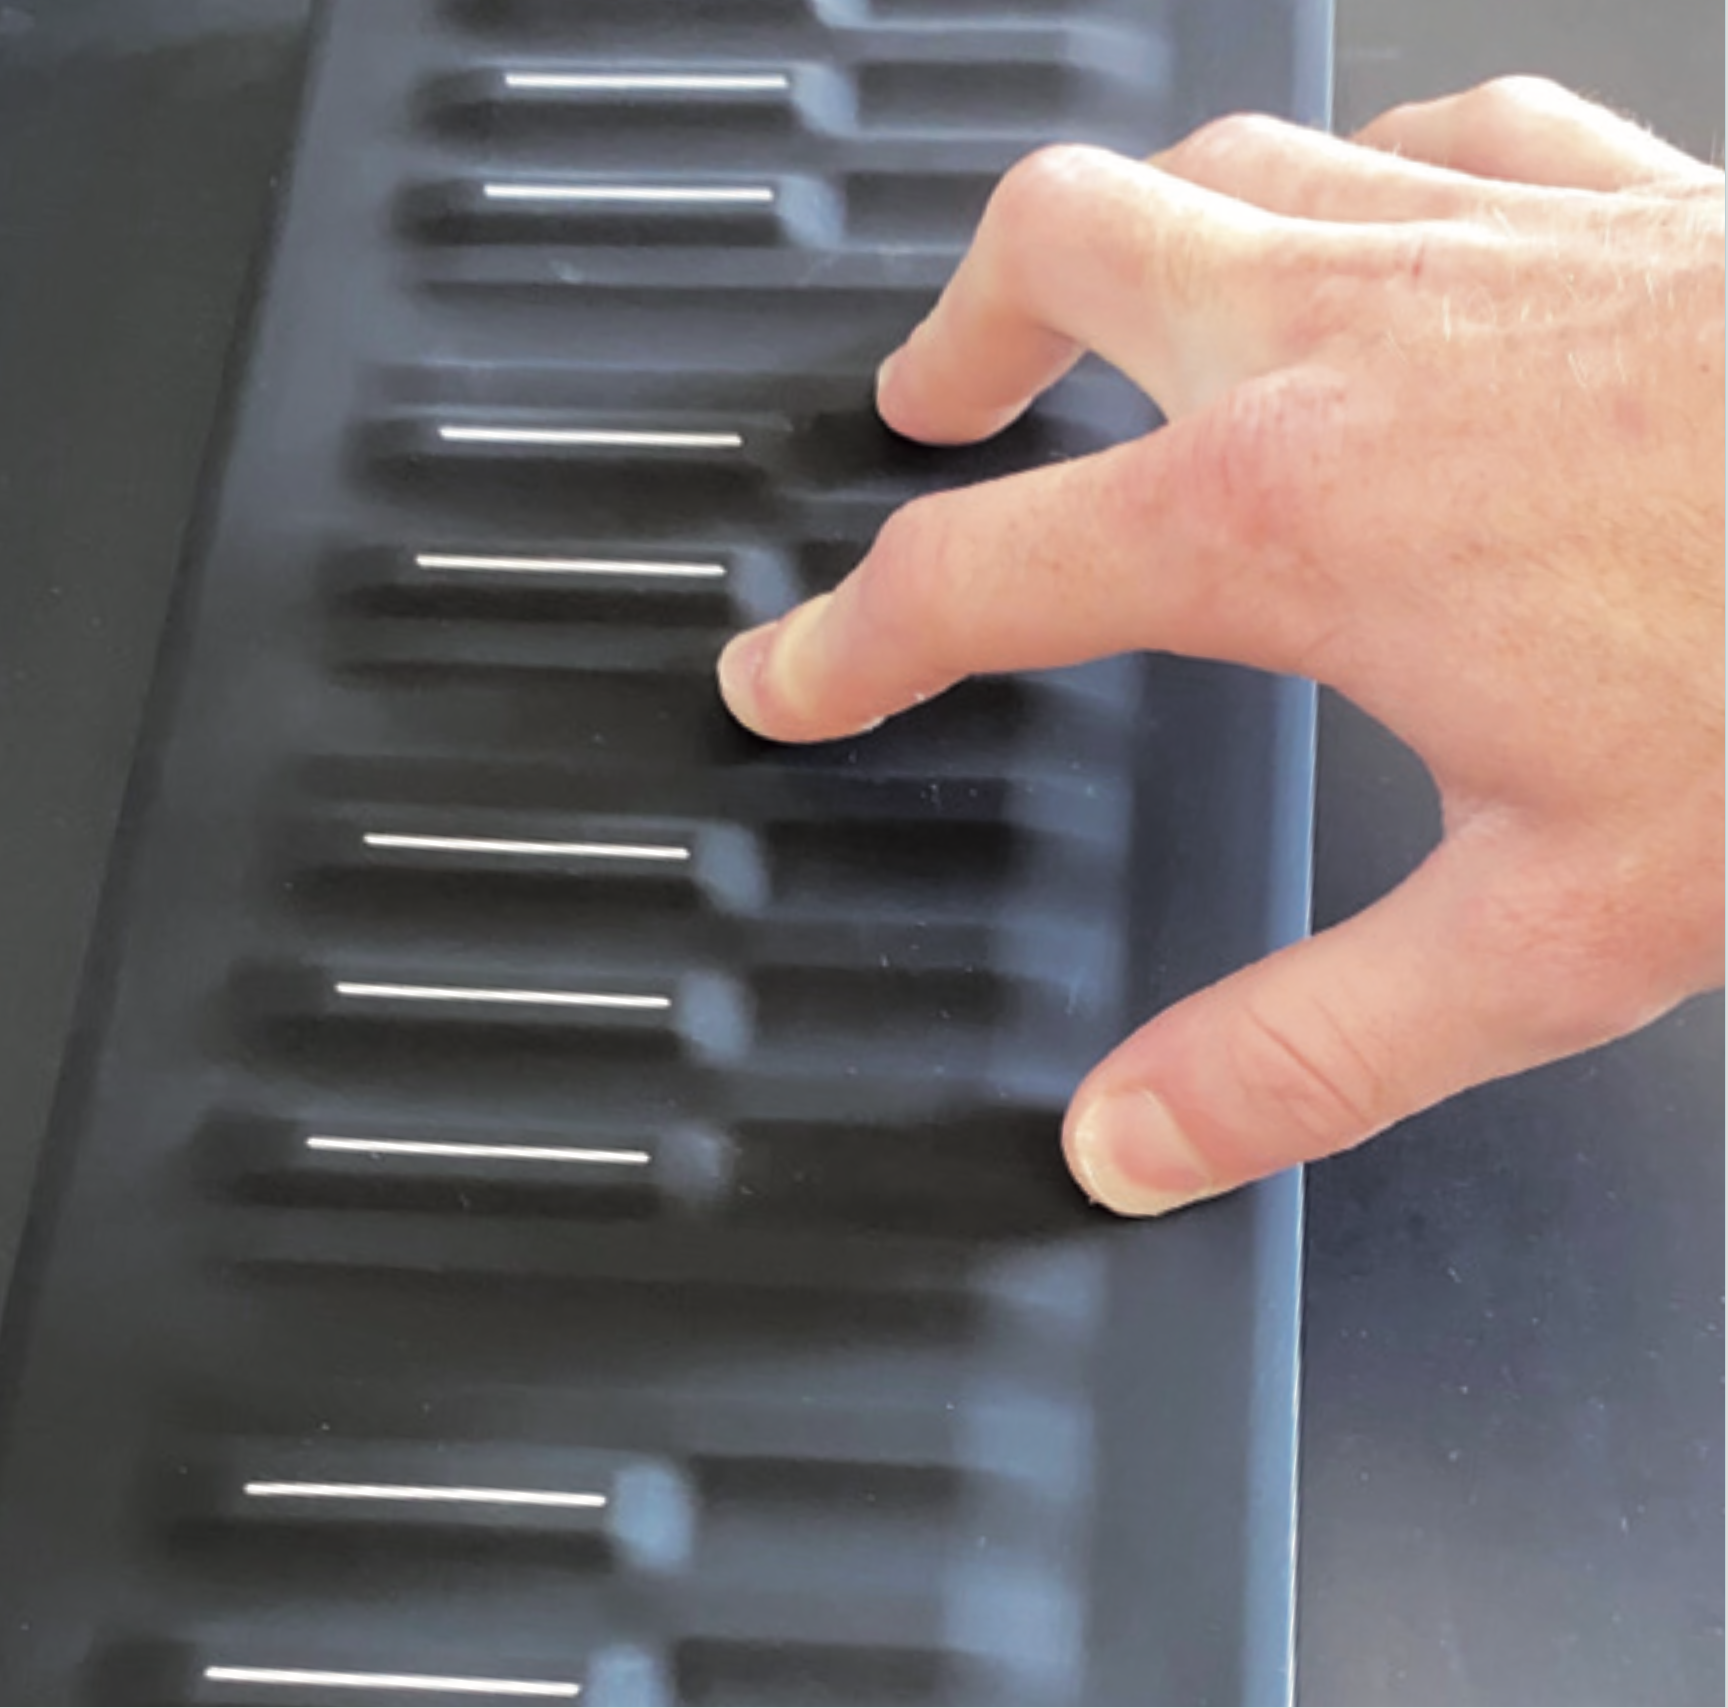
Each note pressed has its own control over various parameters: properties can be ‘waggled’ for each note, so if you move a finger while holding a note, that one note changes pitch.
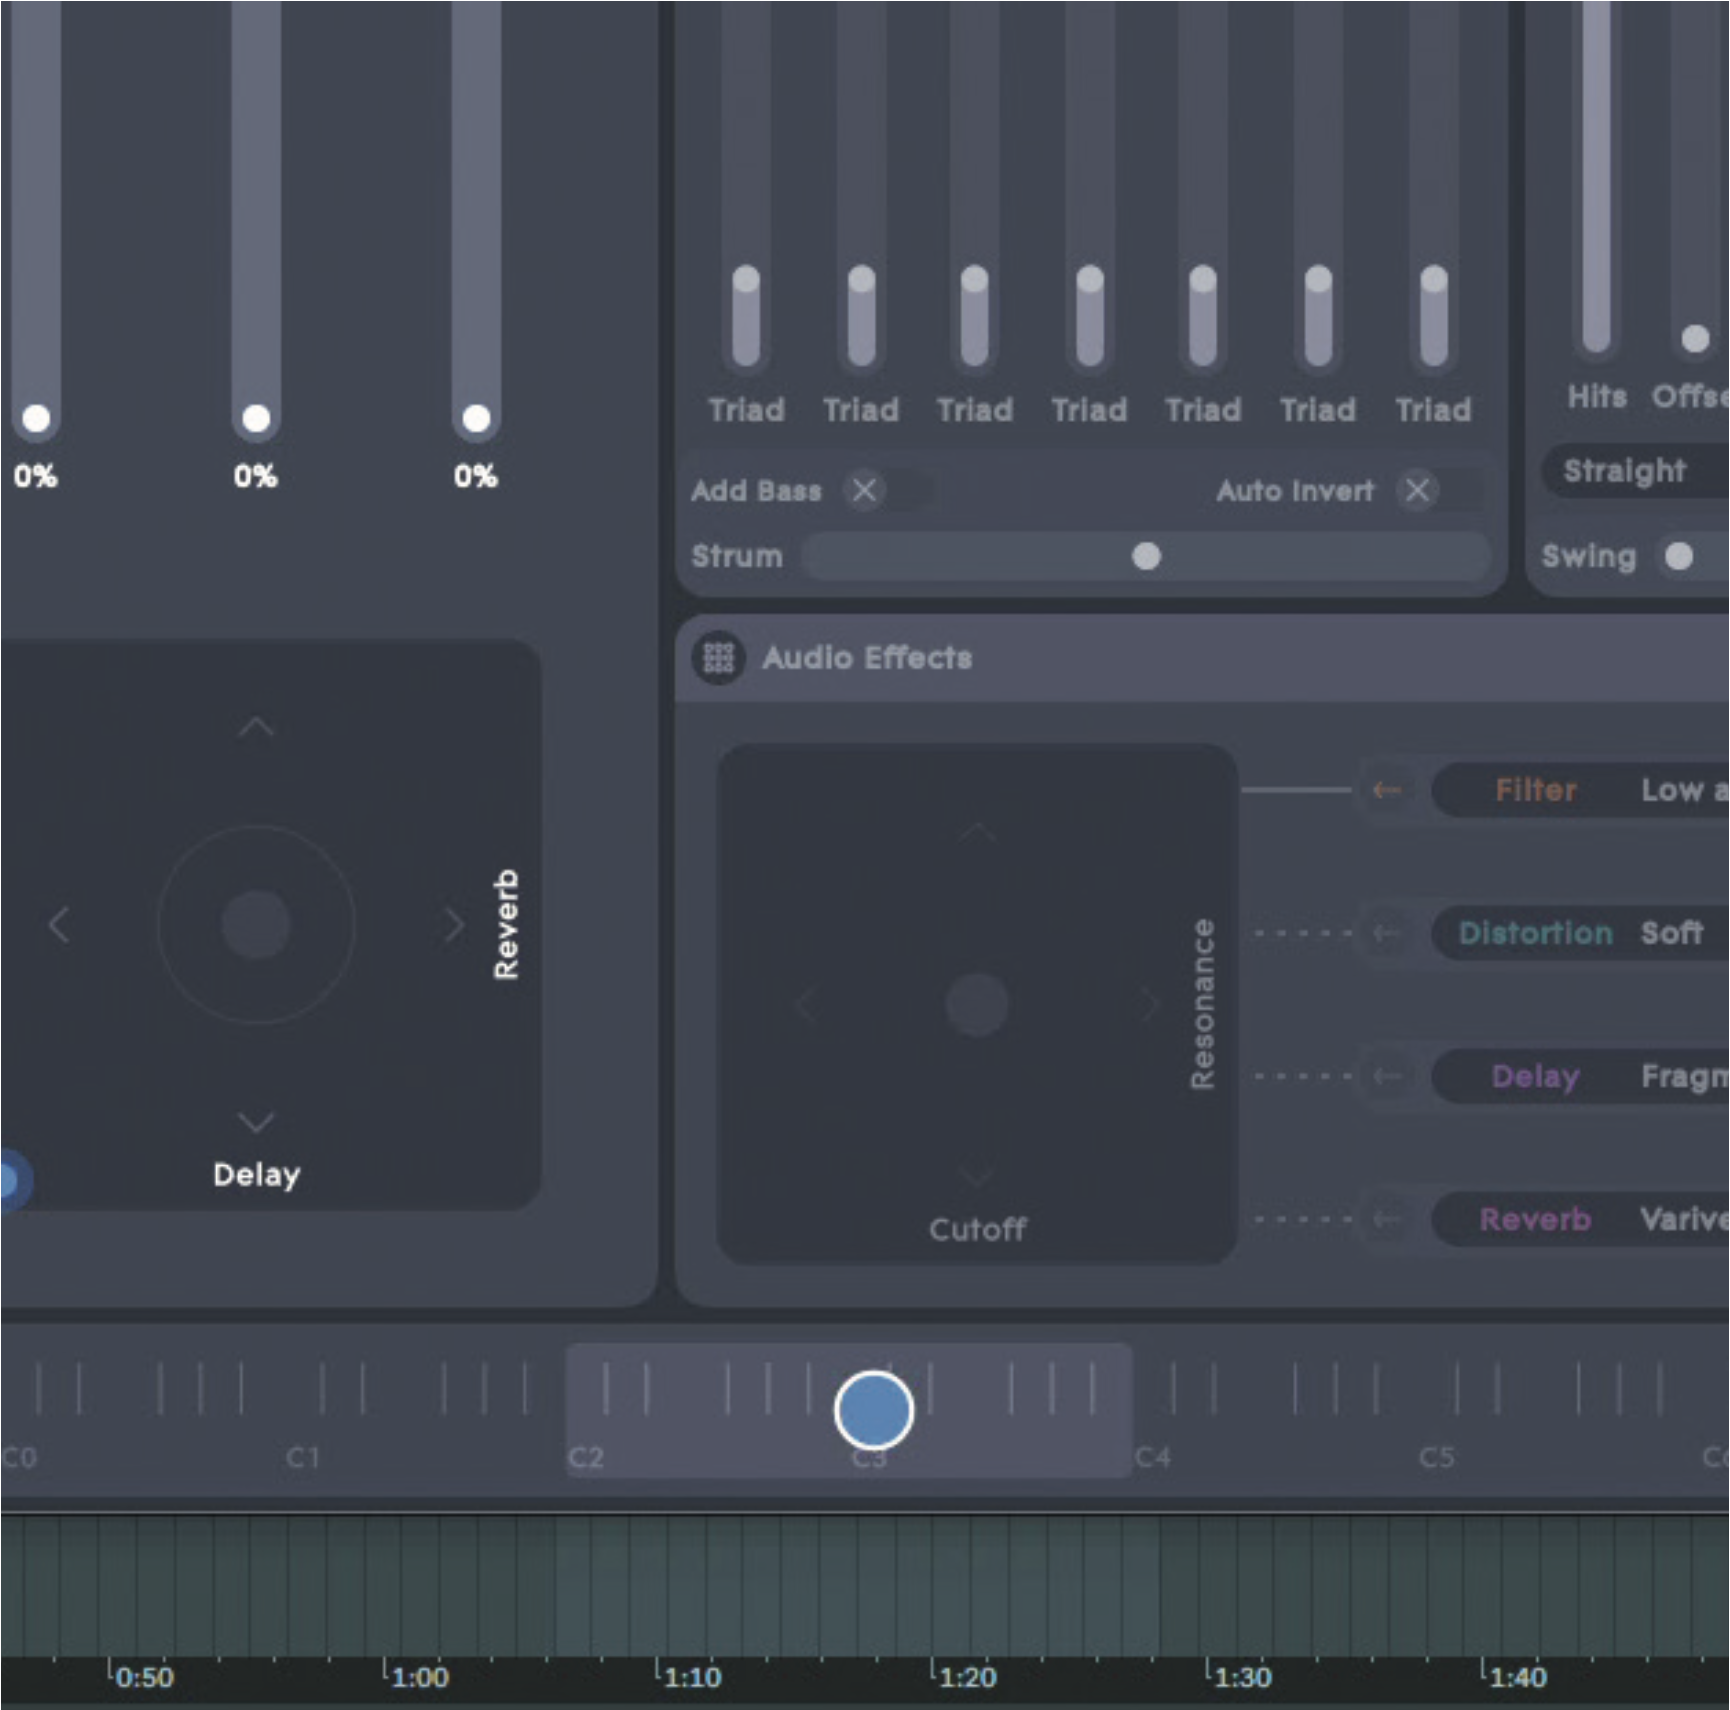
Each note also has associated pressure data, so you can press harder or let up pressure on a note while holding it. This can trigger changes, determined by the settings of the instrument patch you have loaded.
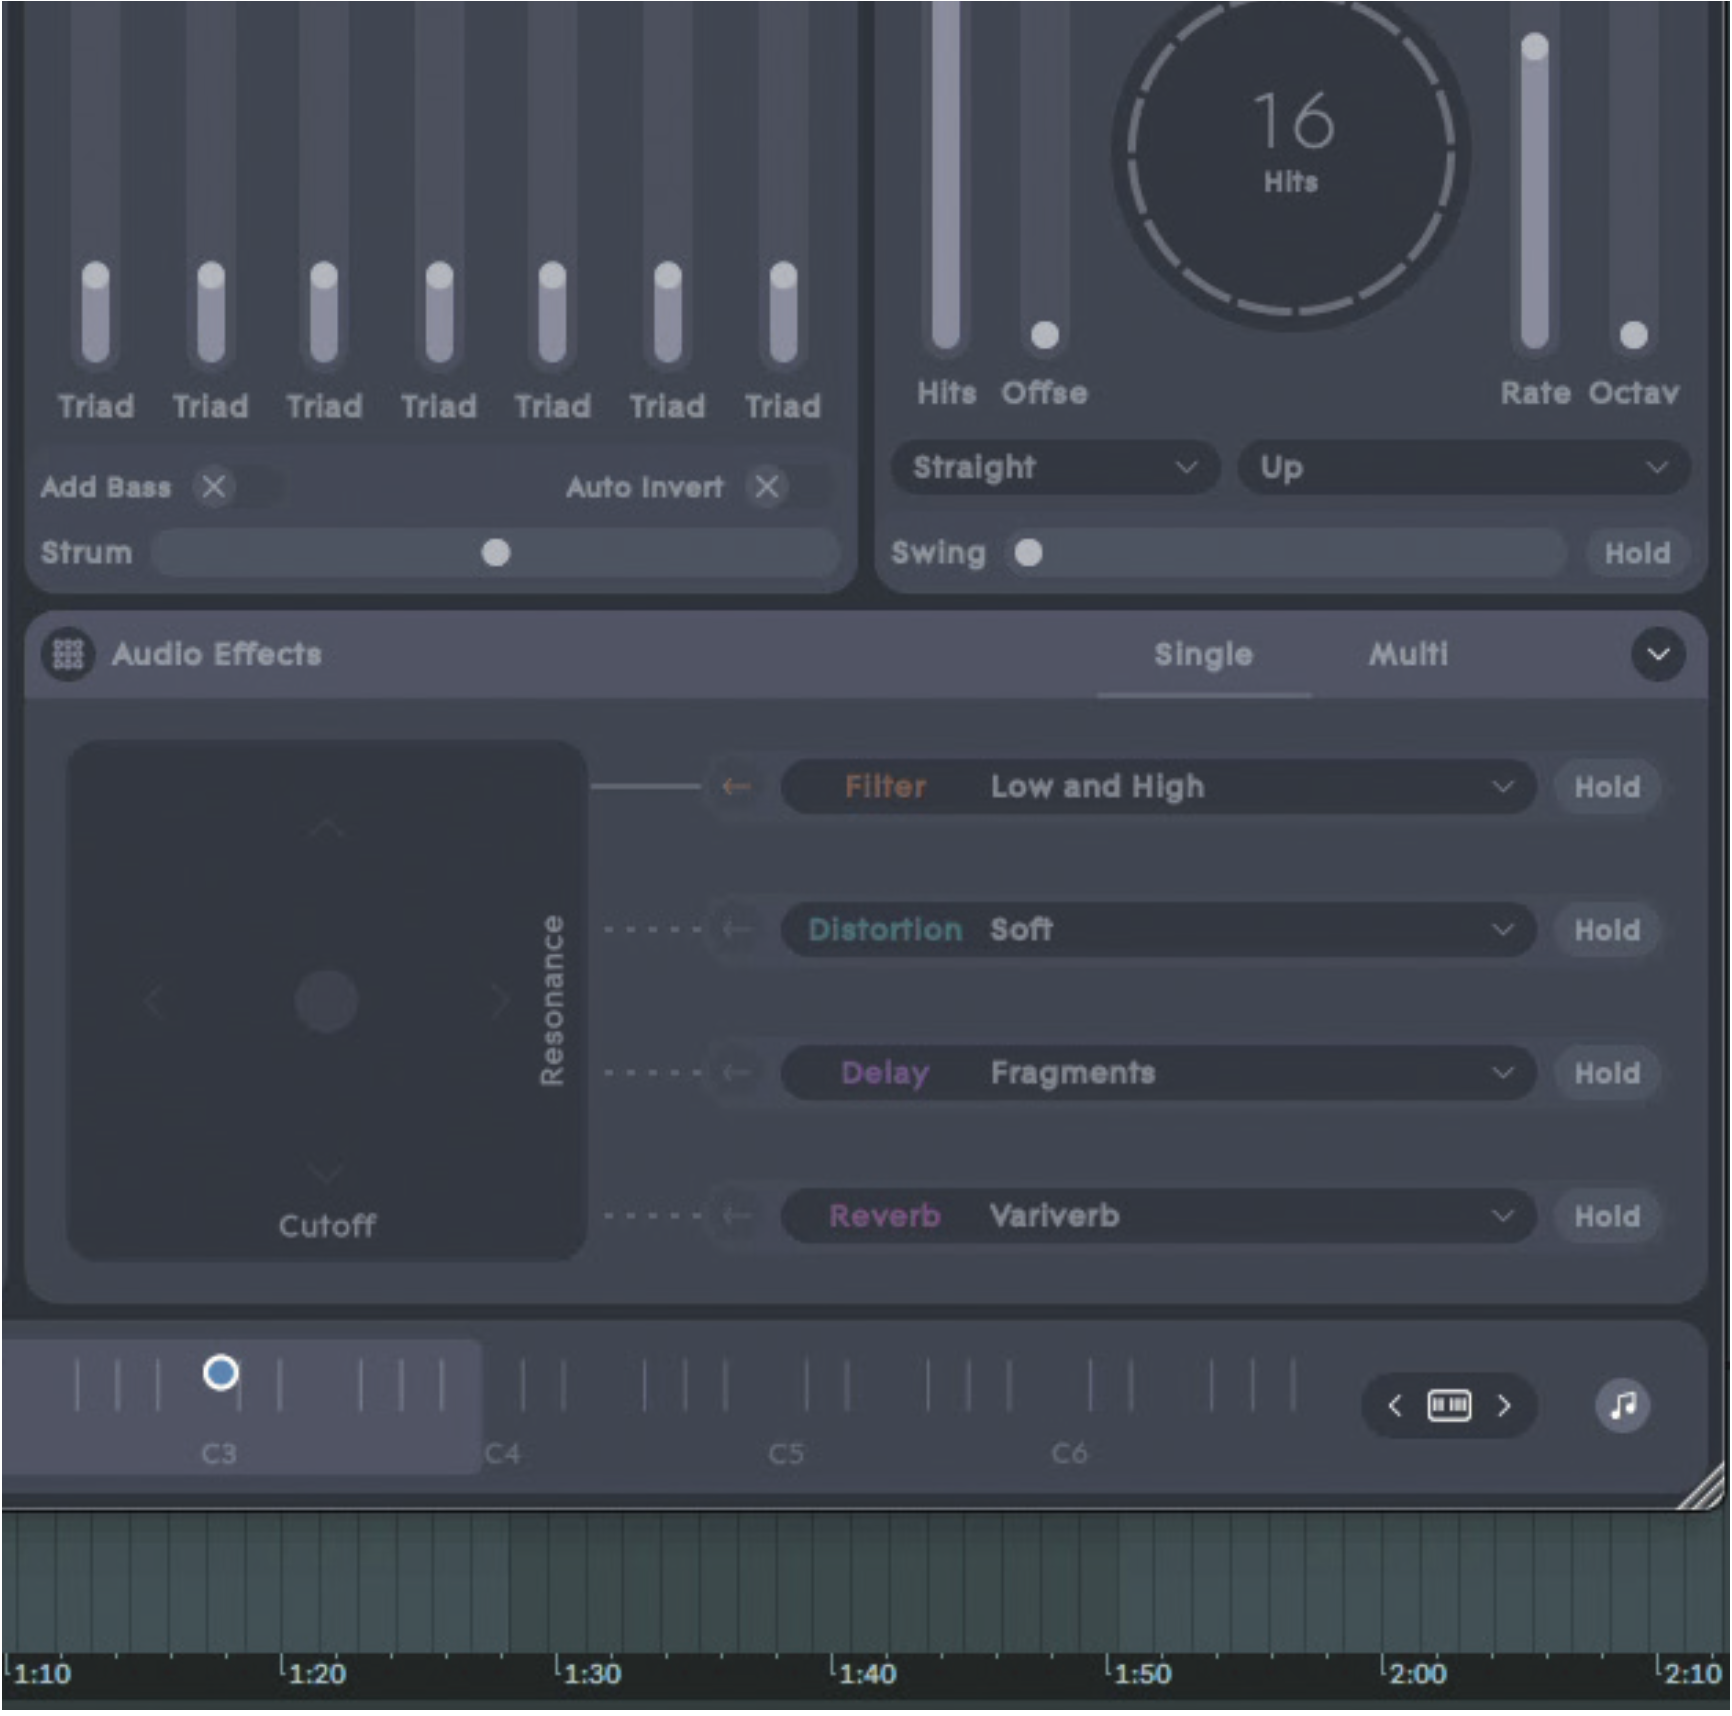
The third key ‘expression’ is the Y position pressed on the note, so you can slide your finger up or down a key to introduce more or less of the effect. Here, the patch has linked this to the flute sound’s flutter level.
The Roli ecosystem
A recent innovator in MPE, and the company that really pushed for its mainstream adoption into MIDI, Roli has been a main driving force behind MPE in every sense. Their Seaboard hardware and their Blocks environment are just one way to get MPE, but often they’re the most accessible or easy way to get started with it.
Below, we’ll show you how Roli’s Studio Player plugin works, managing presets from Roli’s own synths under a single plugin that’s searchable. Next, we’ll move to the Roli Dashboard software, which helps customise how your keyboard responds to playing. It’s also a great way to understand how your controller works in general, as well as how it can be changed.
Working with presets in Roli Studio Player
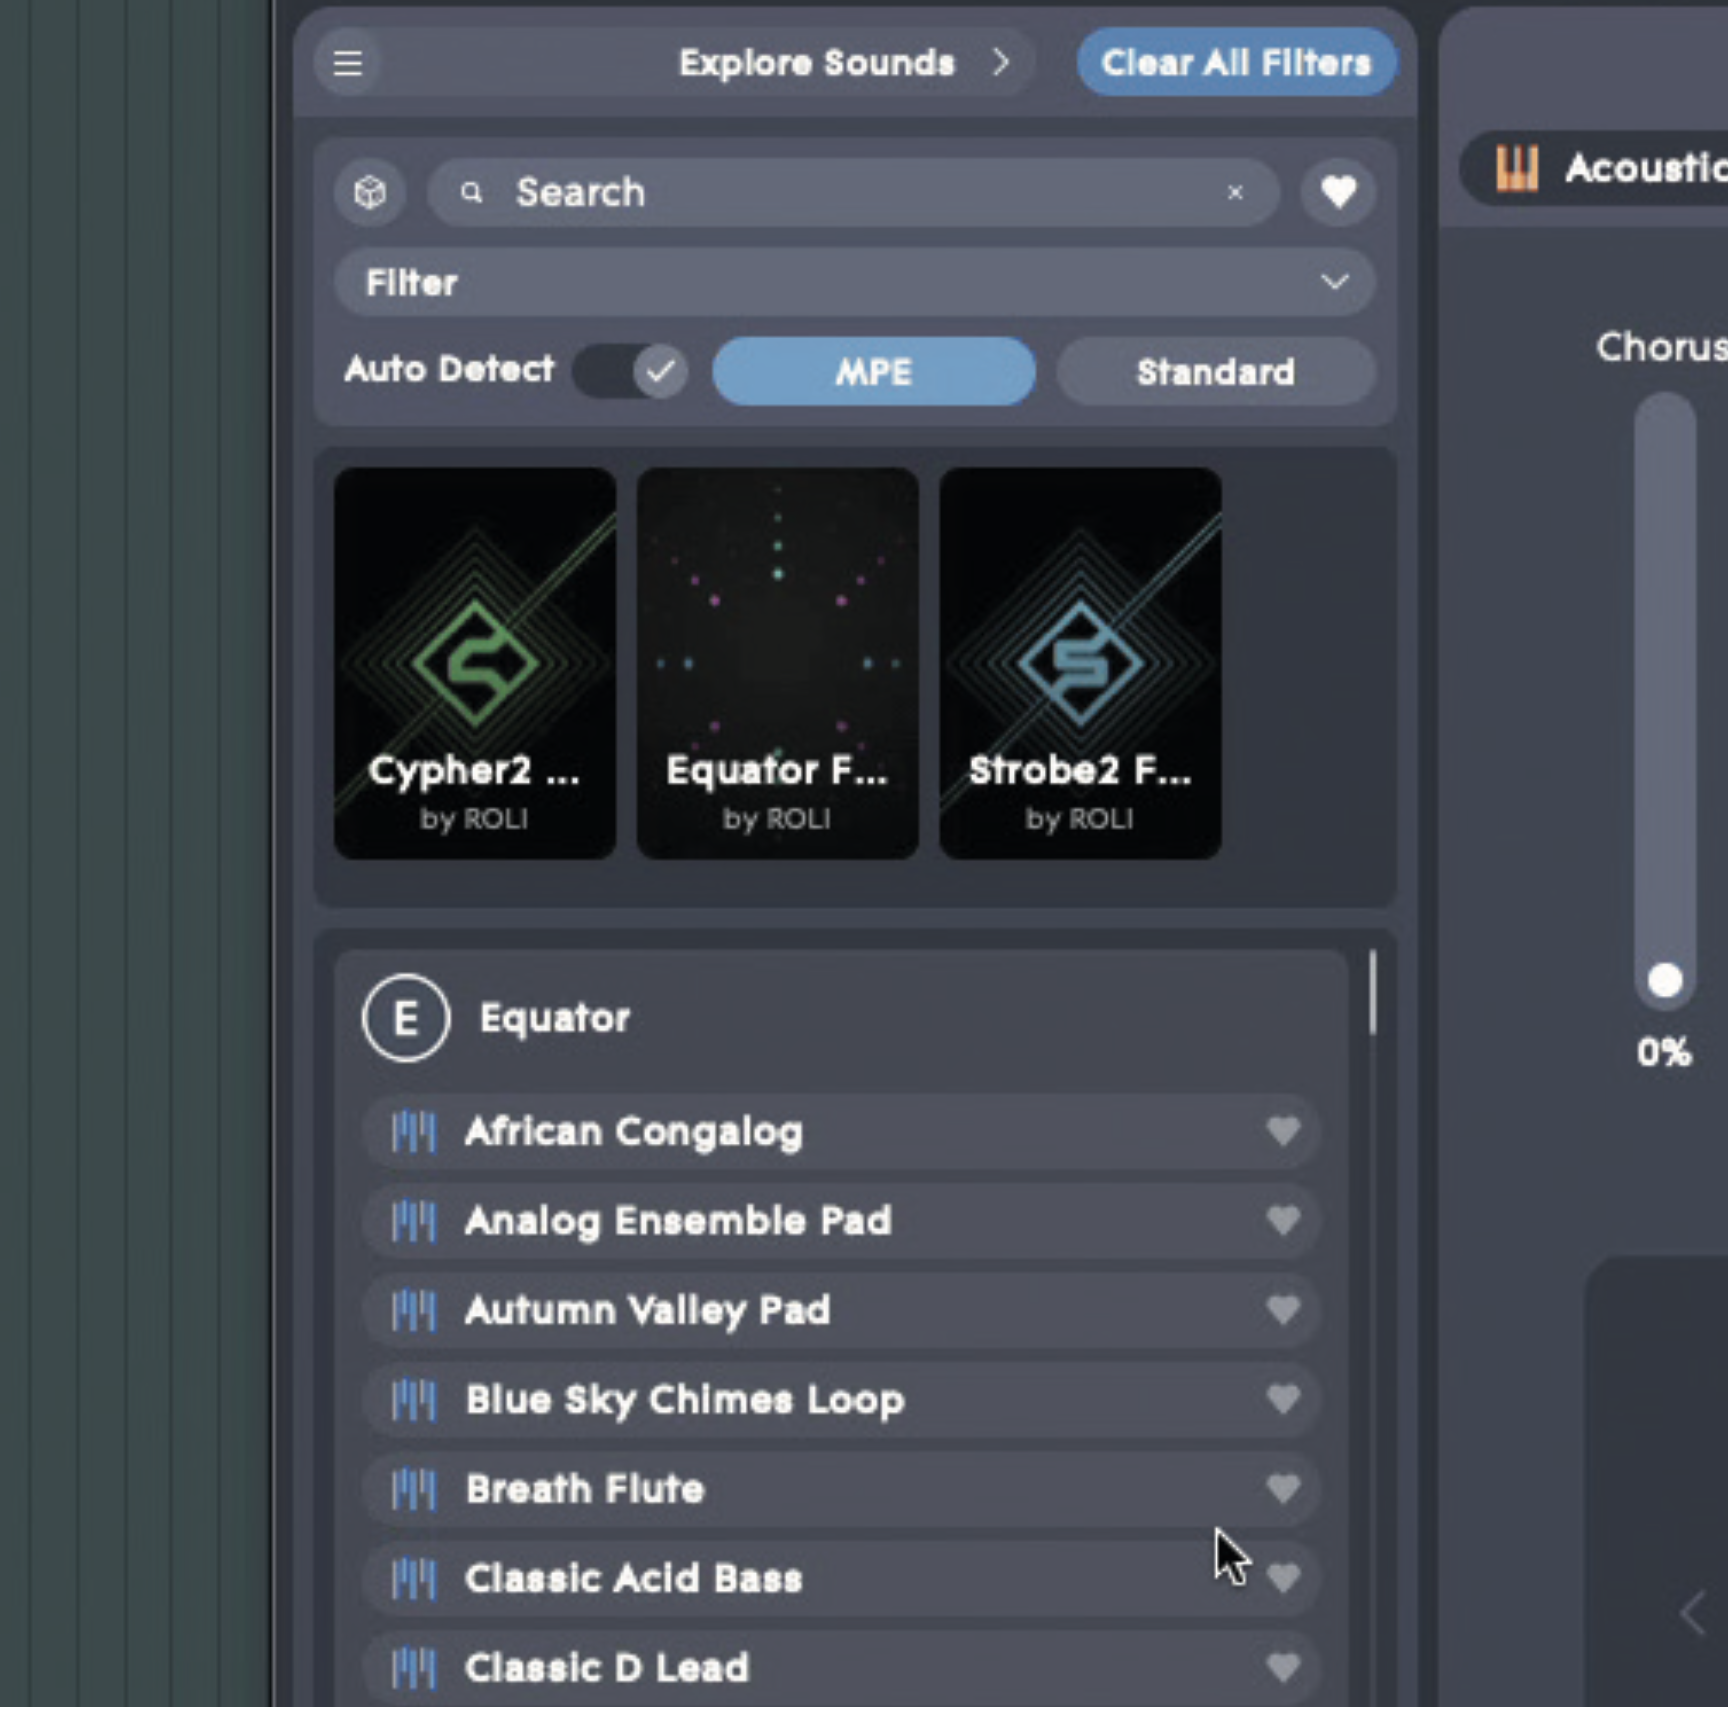
With Roli Studio Player loaded in a DAW, and MPE settings configured, we can explore sounds. The plugin has a useful Auto Detect feature that will filter down its preset list to MPE or Standard presets as soon as you hit a note. From here, you can browse presets.
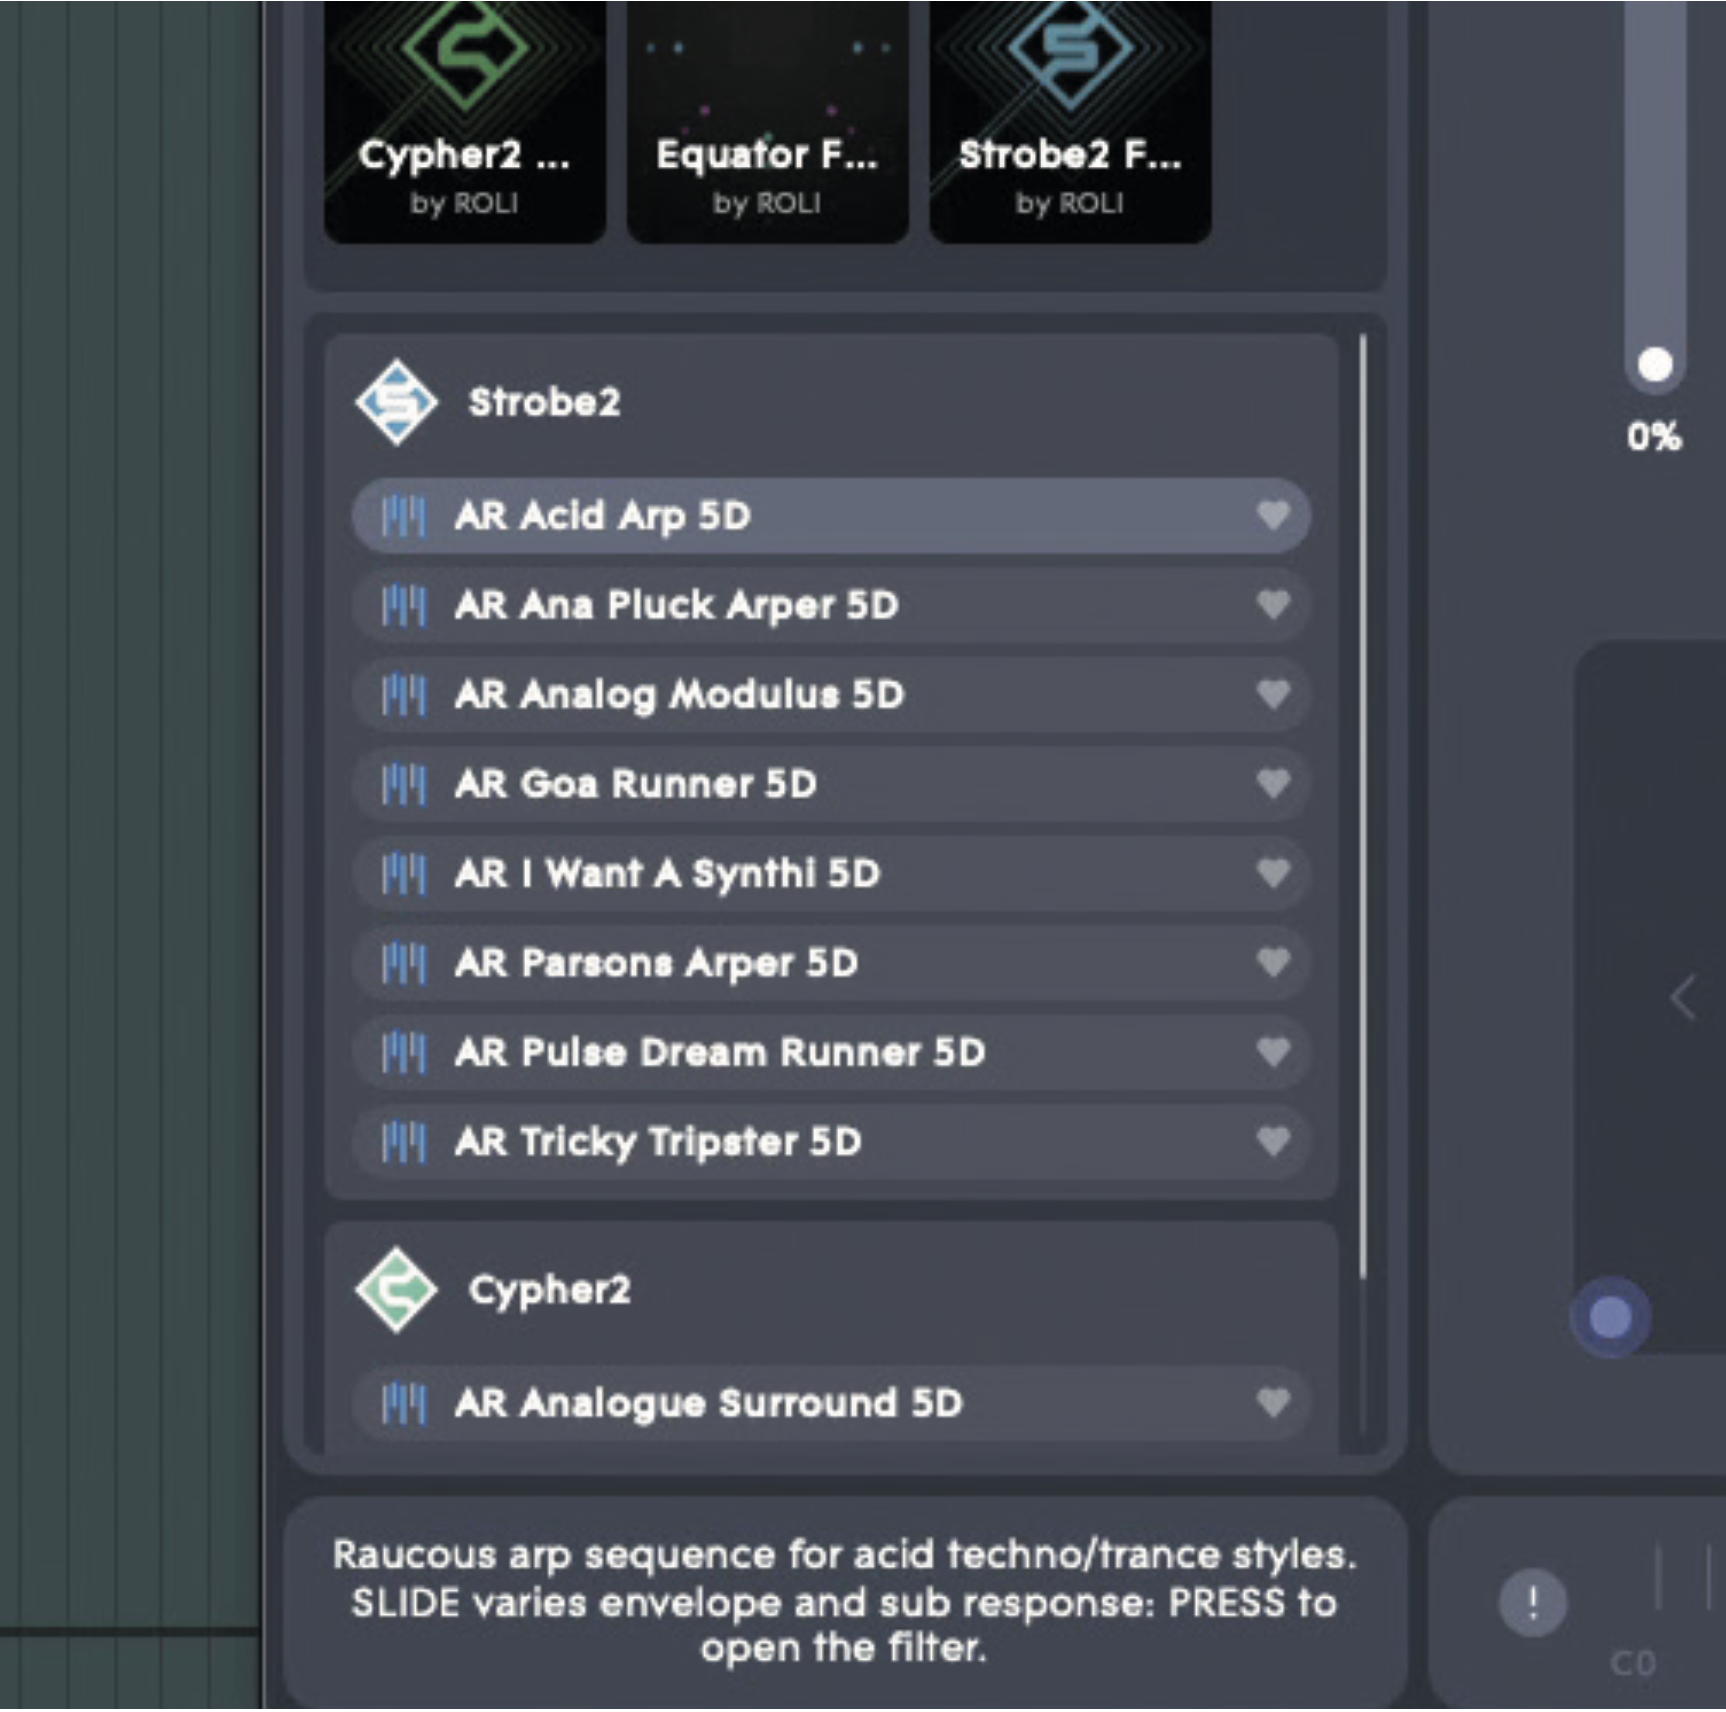
Roli Studio Player is a single plugin that unifies presets for all their instruments and expansion packs. The presets are divided into what ‘Engine’ they came from – in other words, which synth they are loading behind the scenes and getting their sound from.
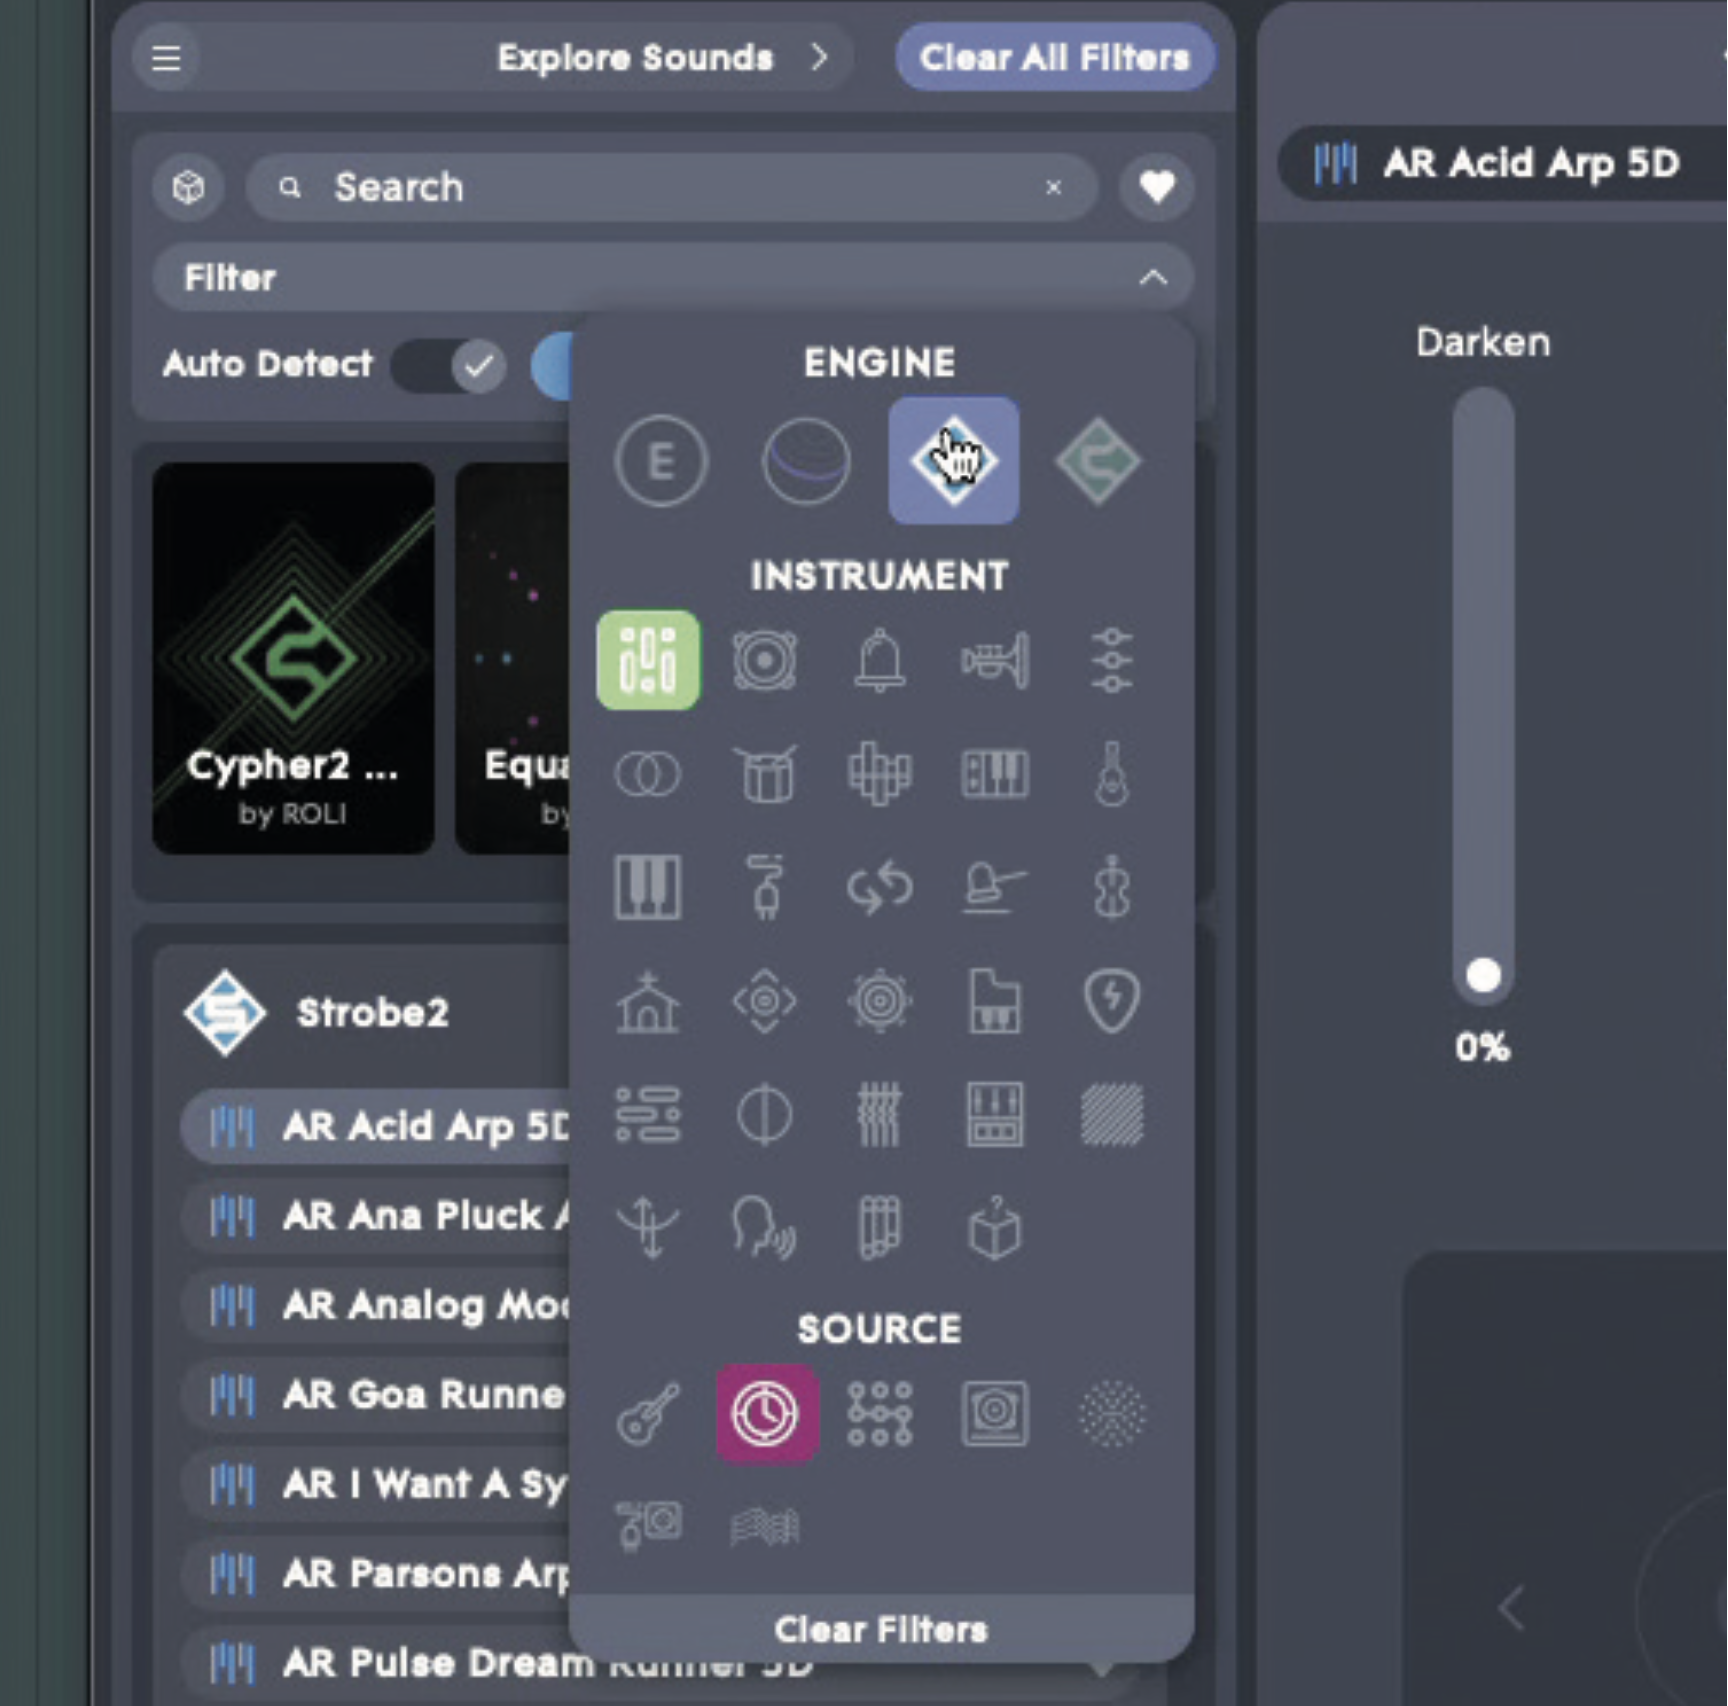
You can filter down the sounds even further. Here, we select the Arpeggiated instrument type (green), the Analog source type (magenta), and the Strobe2 engine (blue), giving us eight patches to choose from. From here we can select one and play.
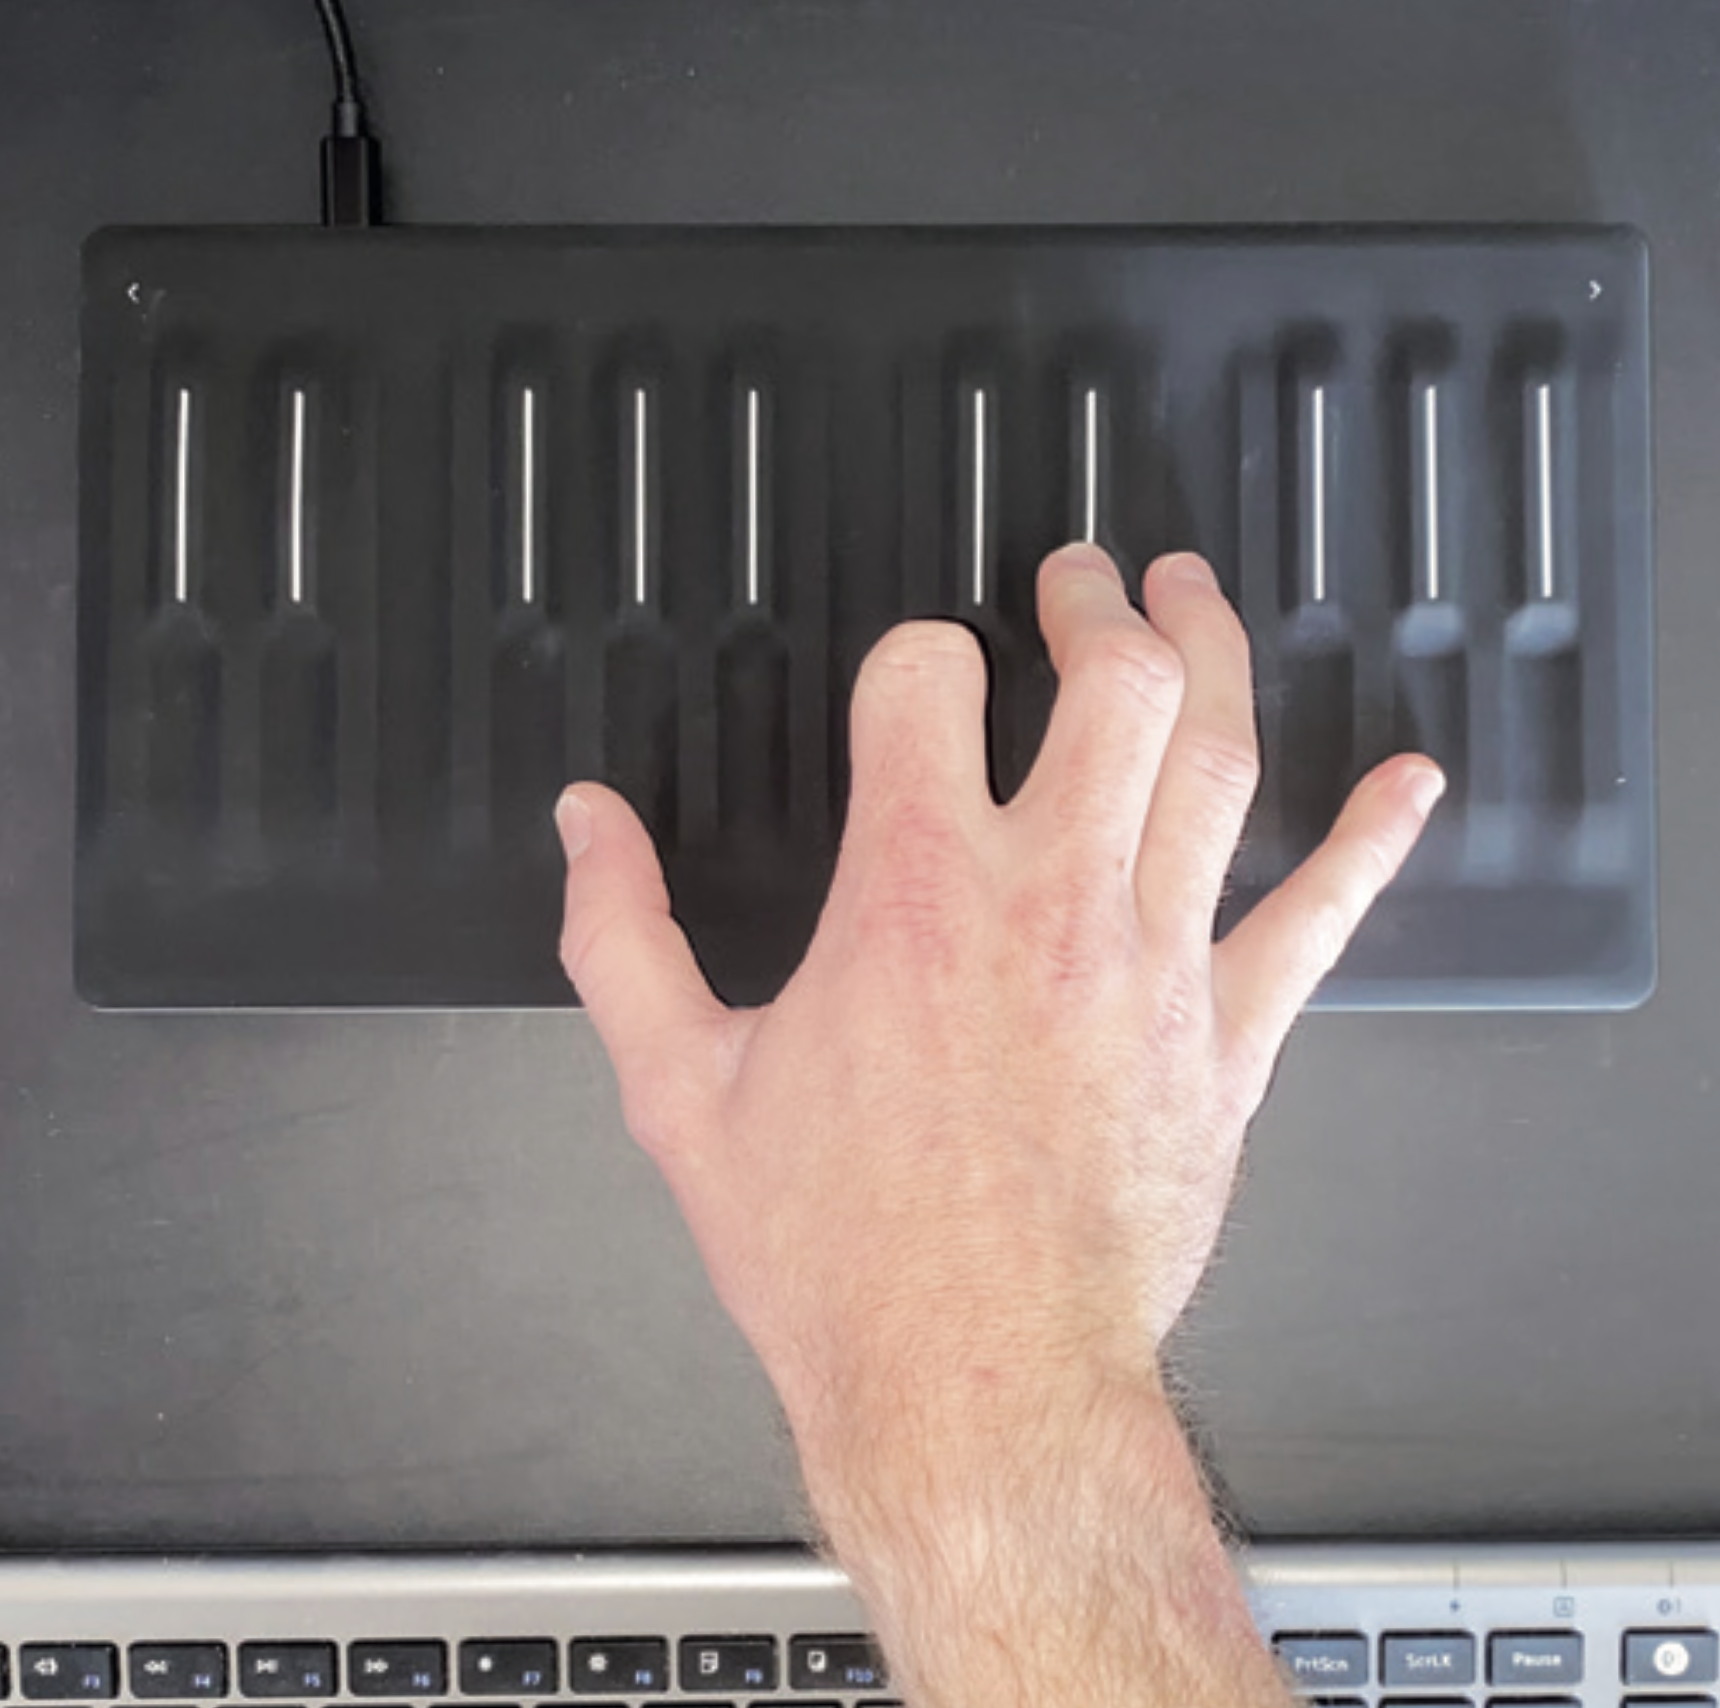
From here, we access other parameters such as macros and effects controllers, and get visual feedback about our playing. In this case, the patch is an acid-style arp, which changes properties as note pressure and slide are changed up.
The Roli Dashboard and ‘dimensions of touch’
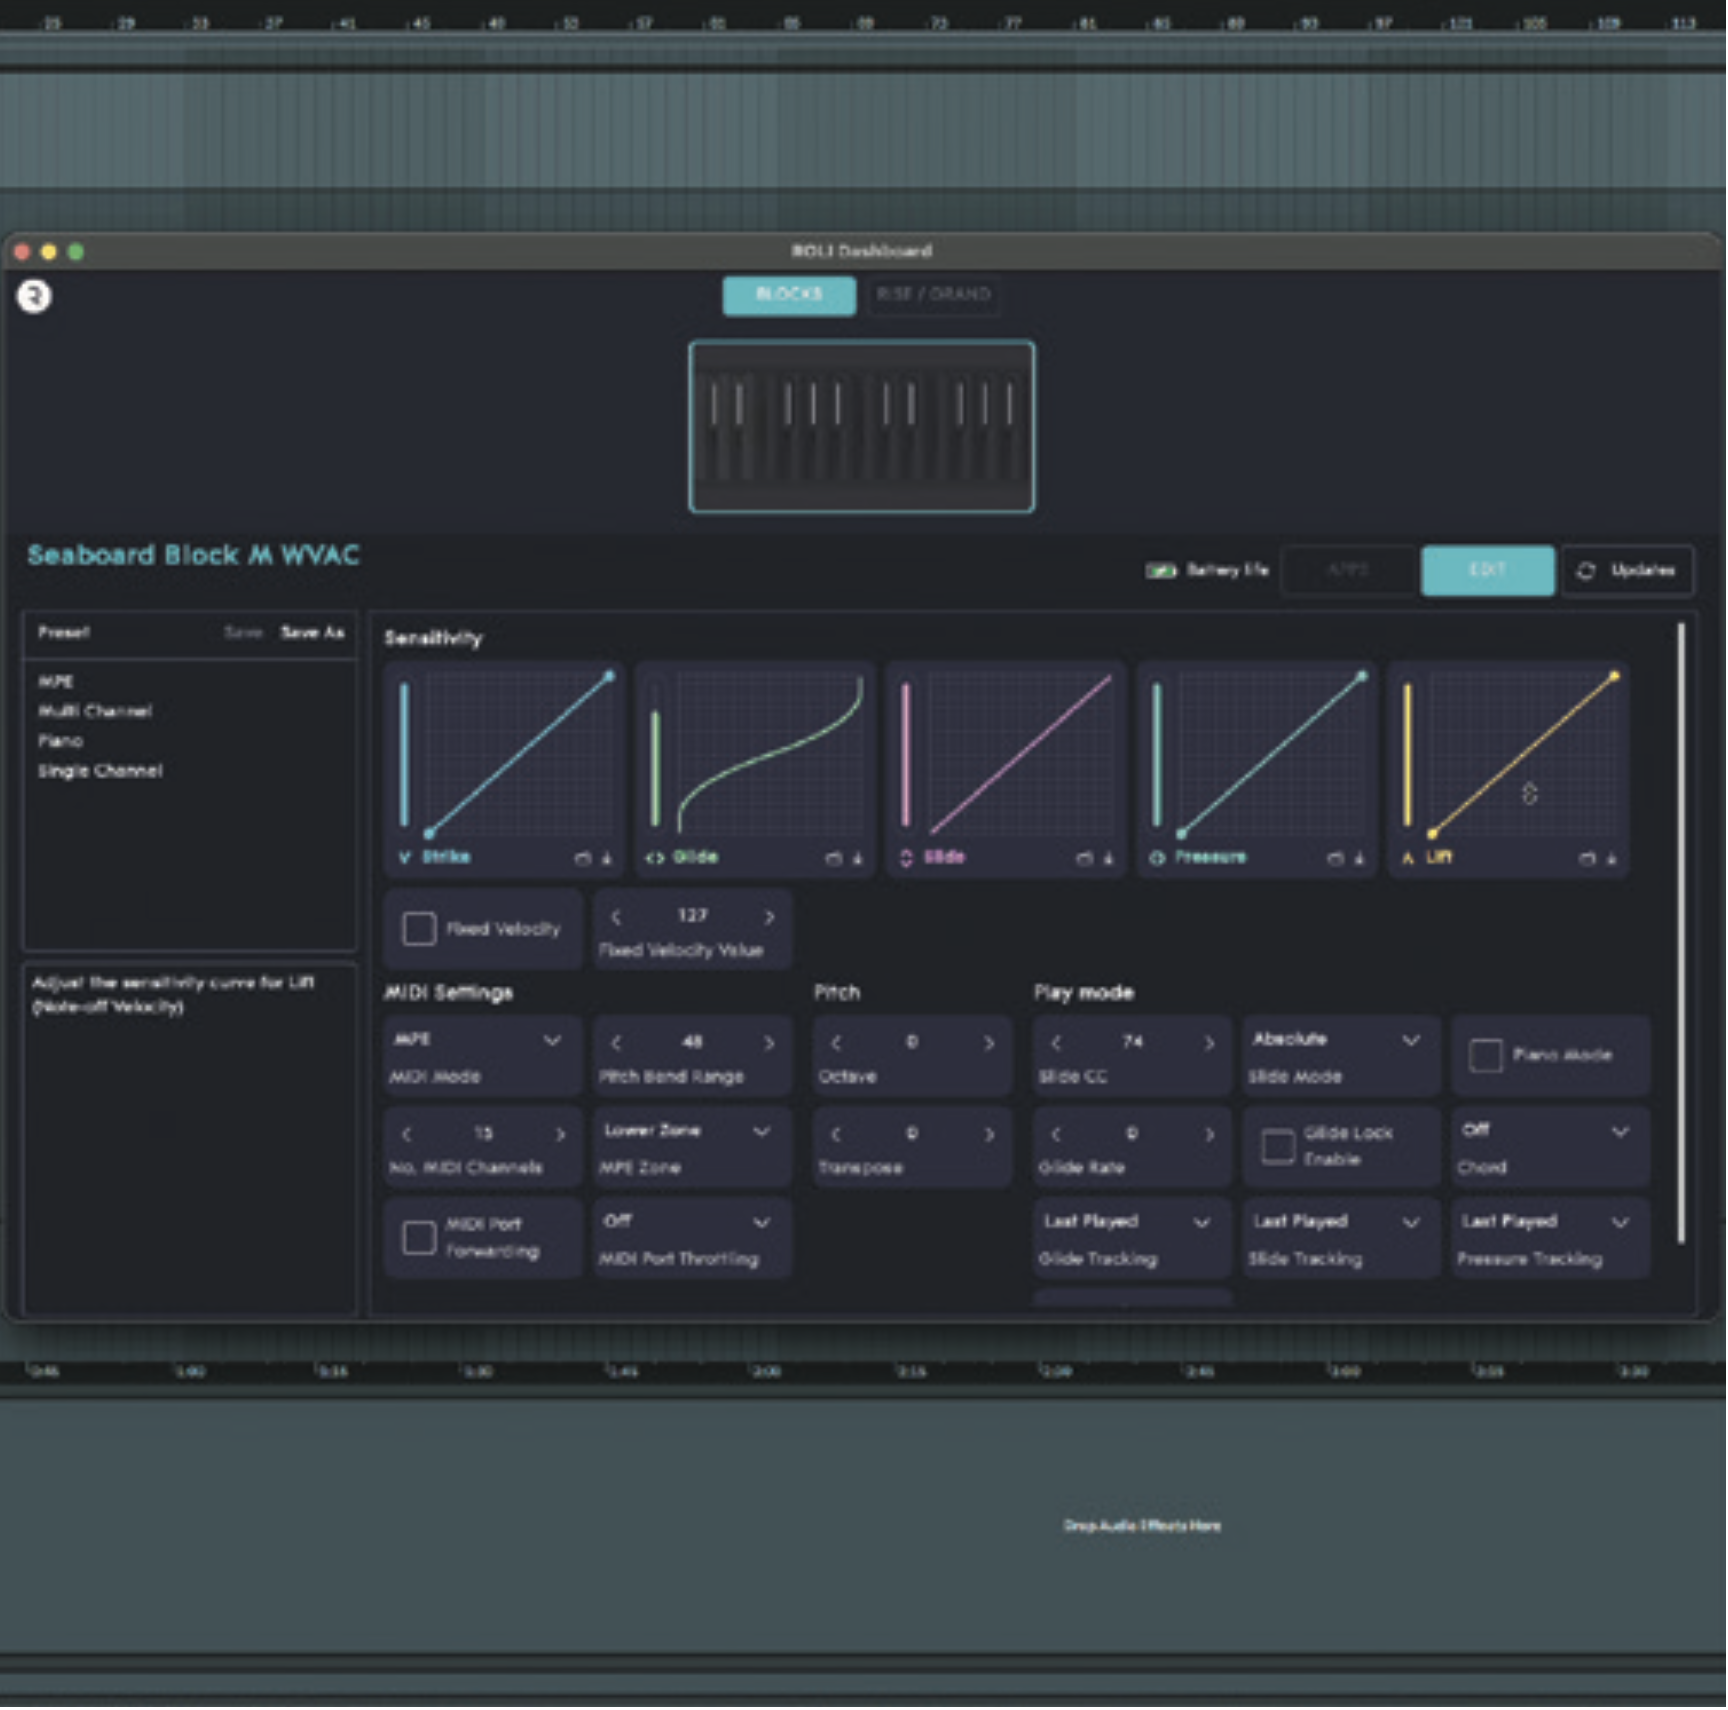
In the Roli Dashboard app, you can change how a Seaboard controller sends messages, personalising your setup and playing style. Curves alter how the five ‘dimensions’ scale as their values increase/decrease.
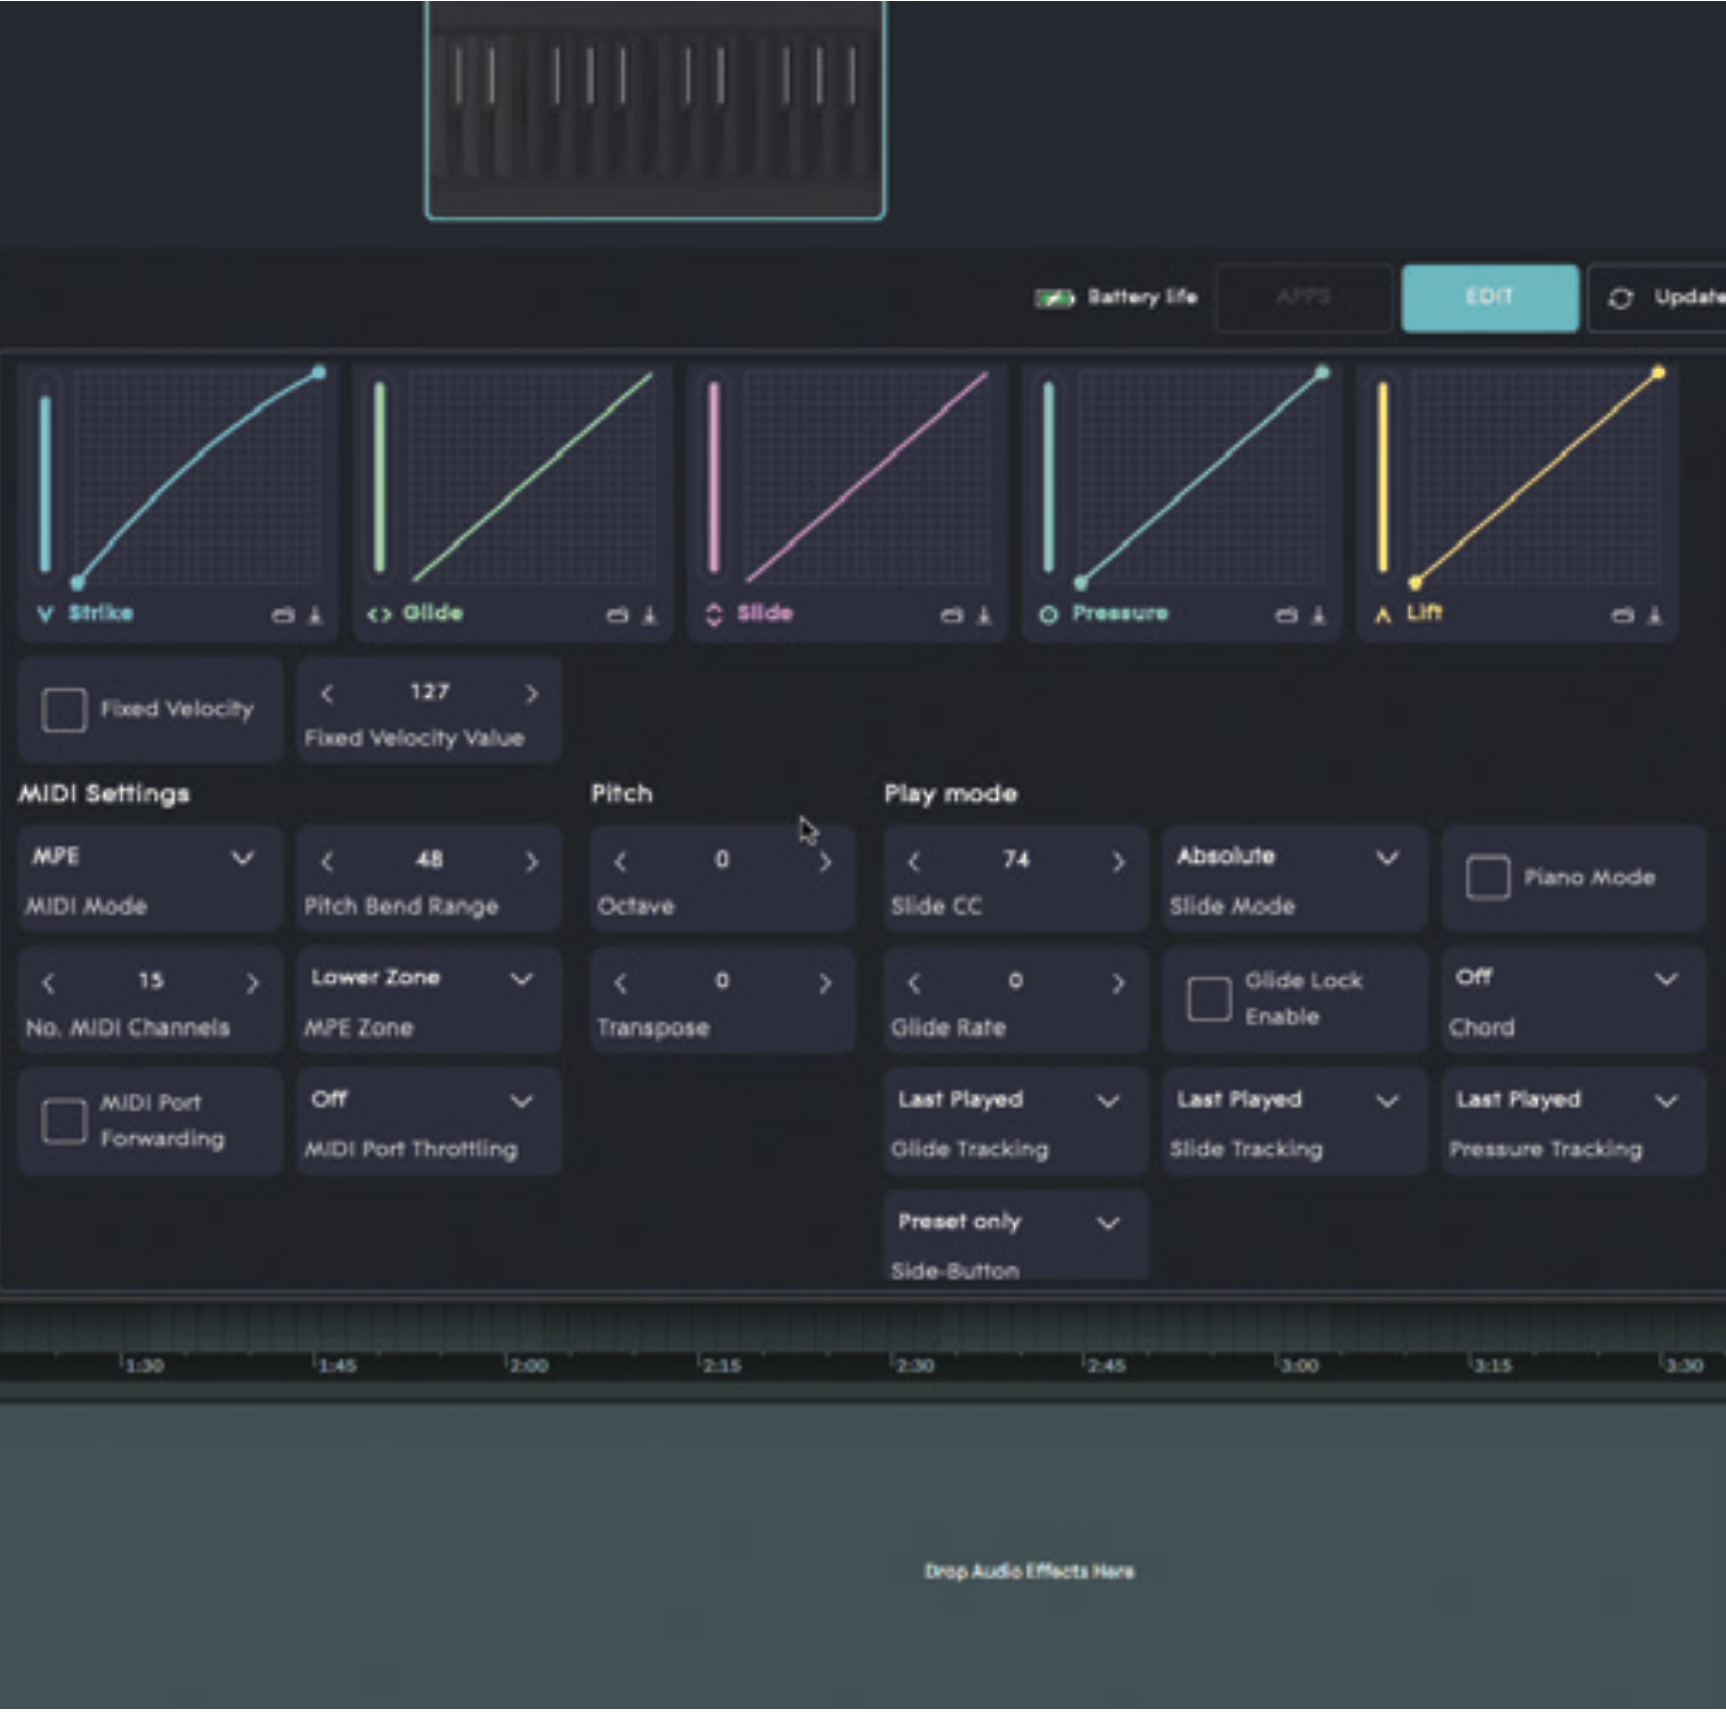
The parameters below are like a synth’s setup controls, letting you get specific about MIDI channels, slides, glides, velocity and CC. Piano mode does things like lock the glides and restrict white-note-only glides.
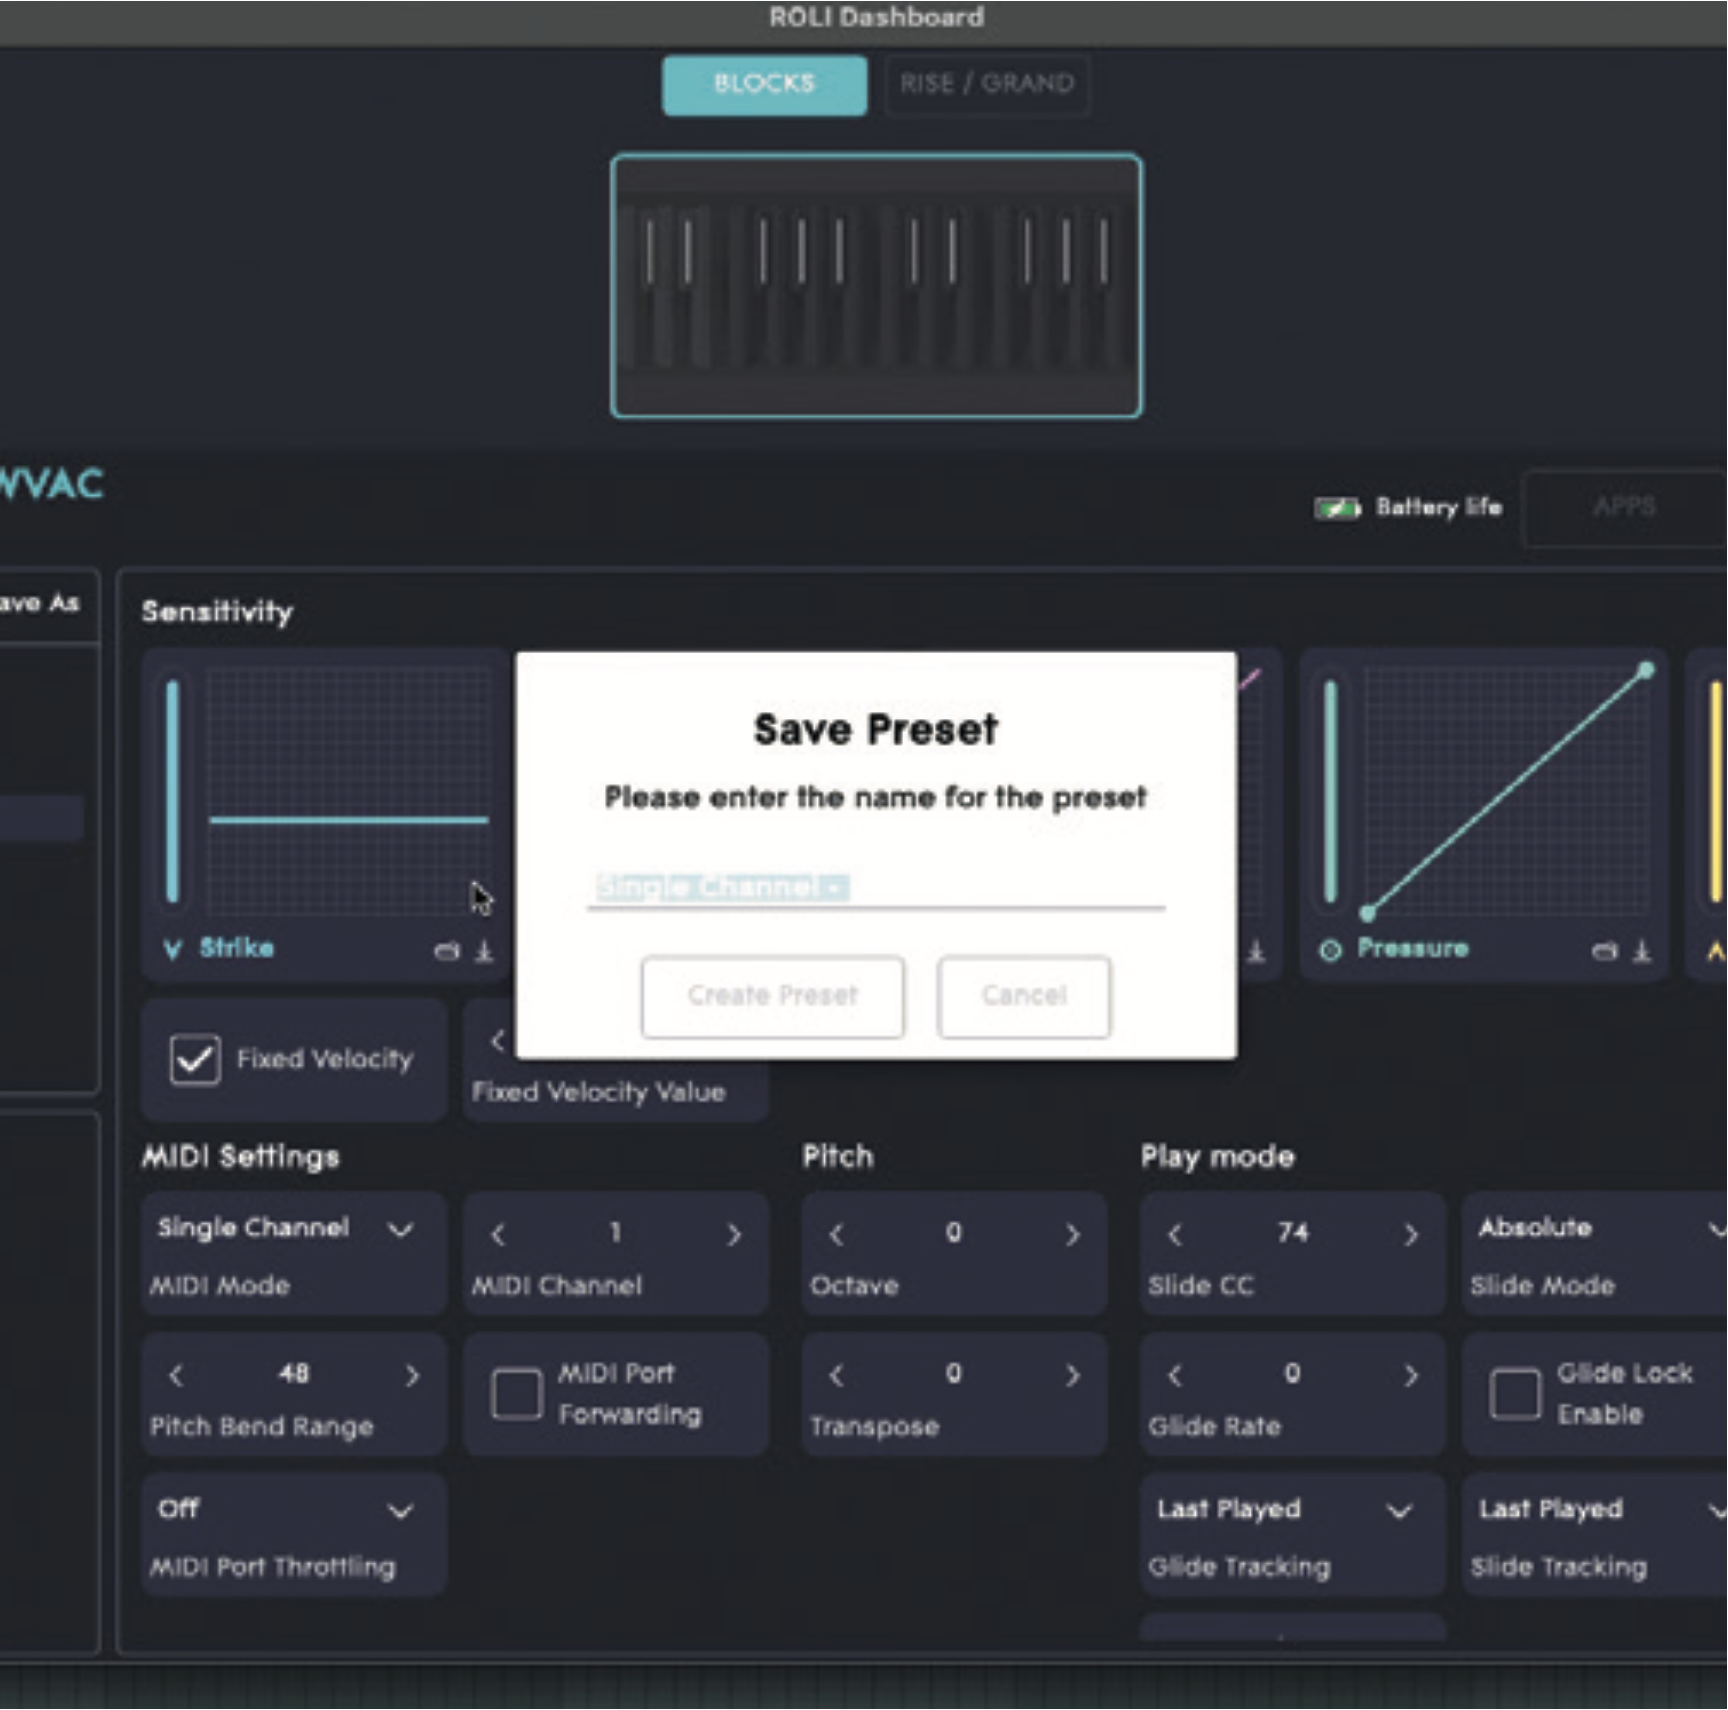
The various selectable modes are saved as presets on the left-hand side. You can add your own to store playing styles or setups, which you may find helpful when using specific instruments like pianos or ROMplers.
Have synth, will MPE?
We’ve just finished looking at Roli’s own synths, which work great with the company’s dedicated hardware, but what happens when you use the myriad plugin synths by third parties – the ones we all know and love already. How has MPE functionality been implemented in these?
Most instruments will have been made or retro-fitted with MPE in mind. Plugins that pre-date MPE, such as Serum, have facilities to enable MPE in their settings, and basic MPE properties can be implemented. Plugins that came out after MPE are usually better at supporting the protocol, with at least some functionality built in from the start.
However, this doesn’t mean that every MPE synth will have dived as deeply into MPE control as one that has MPE as its main focus like Roli’s. It’s unfortunately possible for a developer to mention that they support MPE – and mean it – when patches haven’t been designed with it in mind, or when a limited selection of MPE capabilities have actually been implemented. It shouldn’t be extremely difficult to try out most synths in their demo mode, though, therefore it should be possible to make sure any potential purchase is right for your needs before you take the plunge.
Even if a synth’s presets aren’t all MPE-friendly, it’s possible to retro-fit them yourself by assigning your own MPE control parameters to realistic targets. This has to be done thoughtfully and carefully, and it may be useful to unhook some existing routings and replace them with MPE sources, rather than going ahead and simply adding loads of new MPE connections.
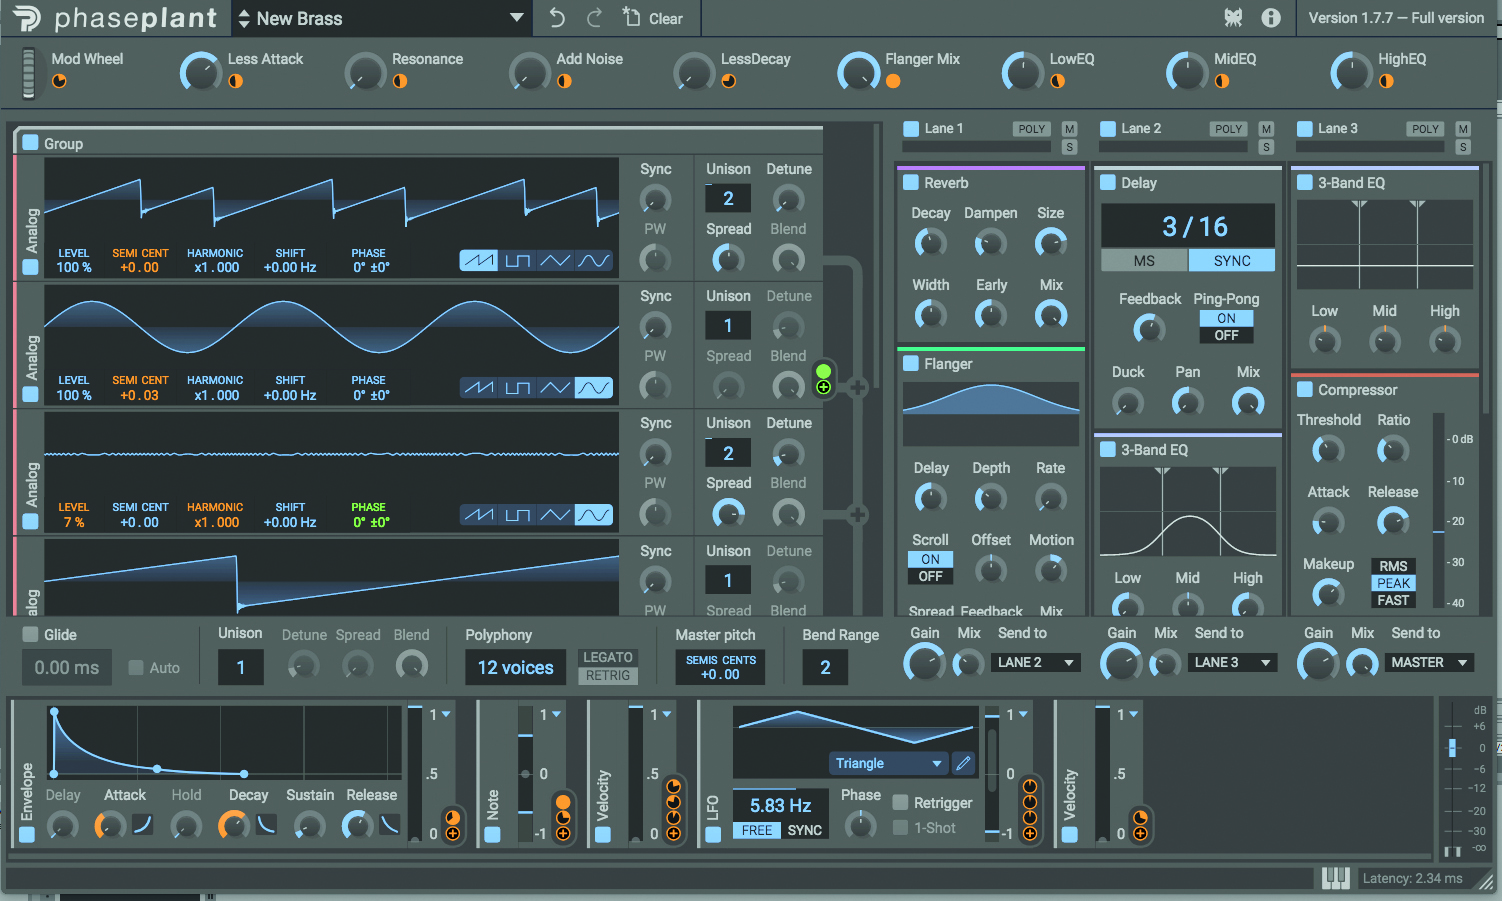
In the tutorial you’ll find below, we’ll cover exactly this topic, using kiloHearts’ Phase Plant synth, and adding some MPE capabilities to a factory library patch.
Retrofitting a Phase Plant patch to be MPE-capable
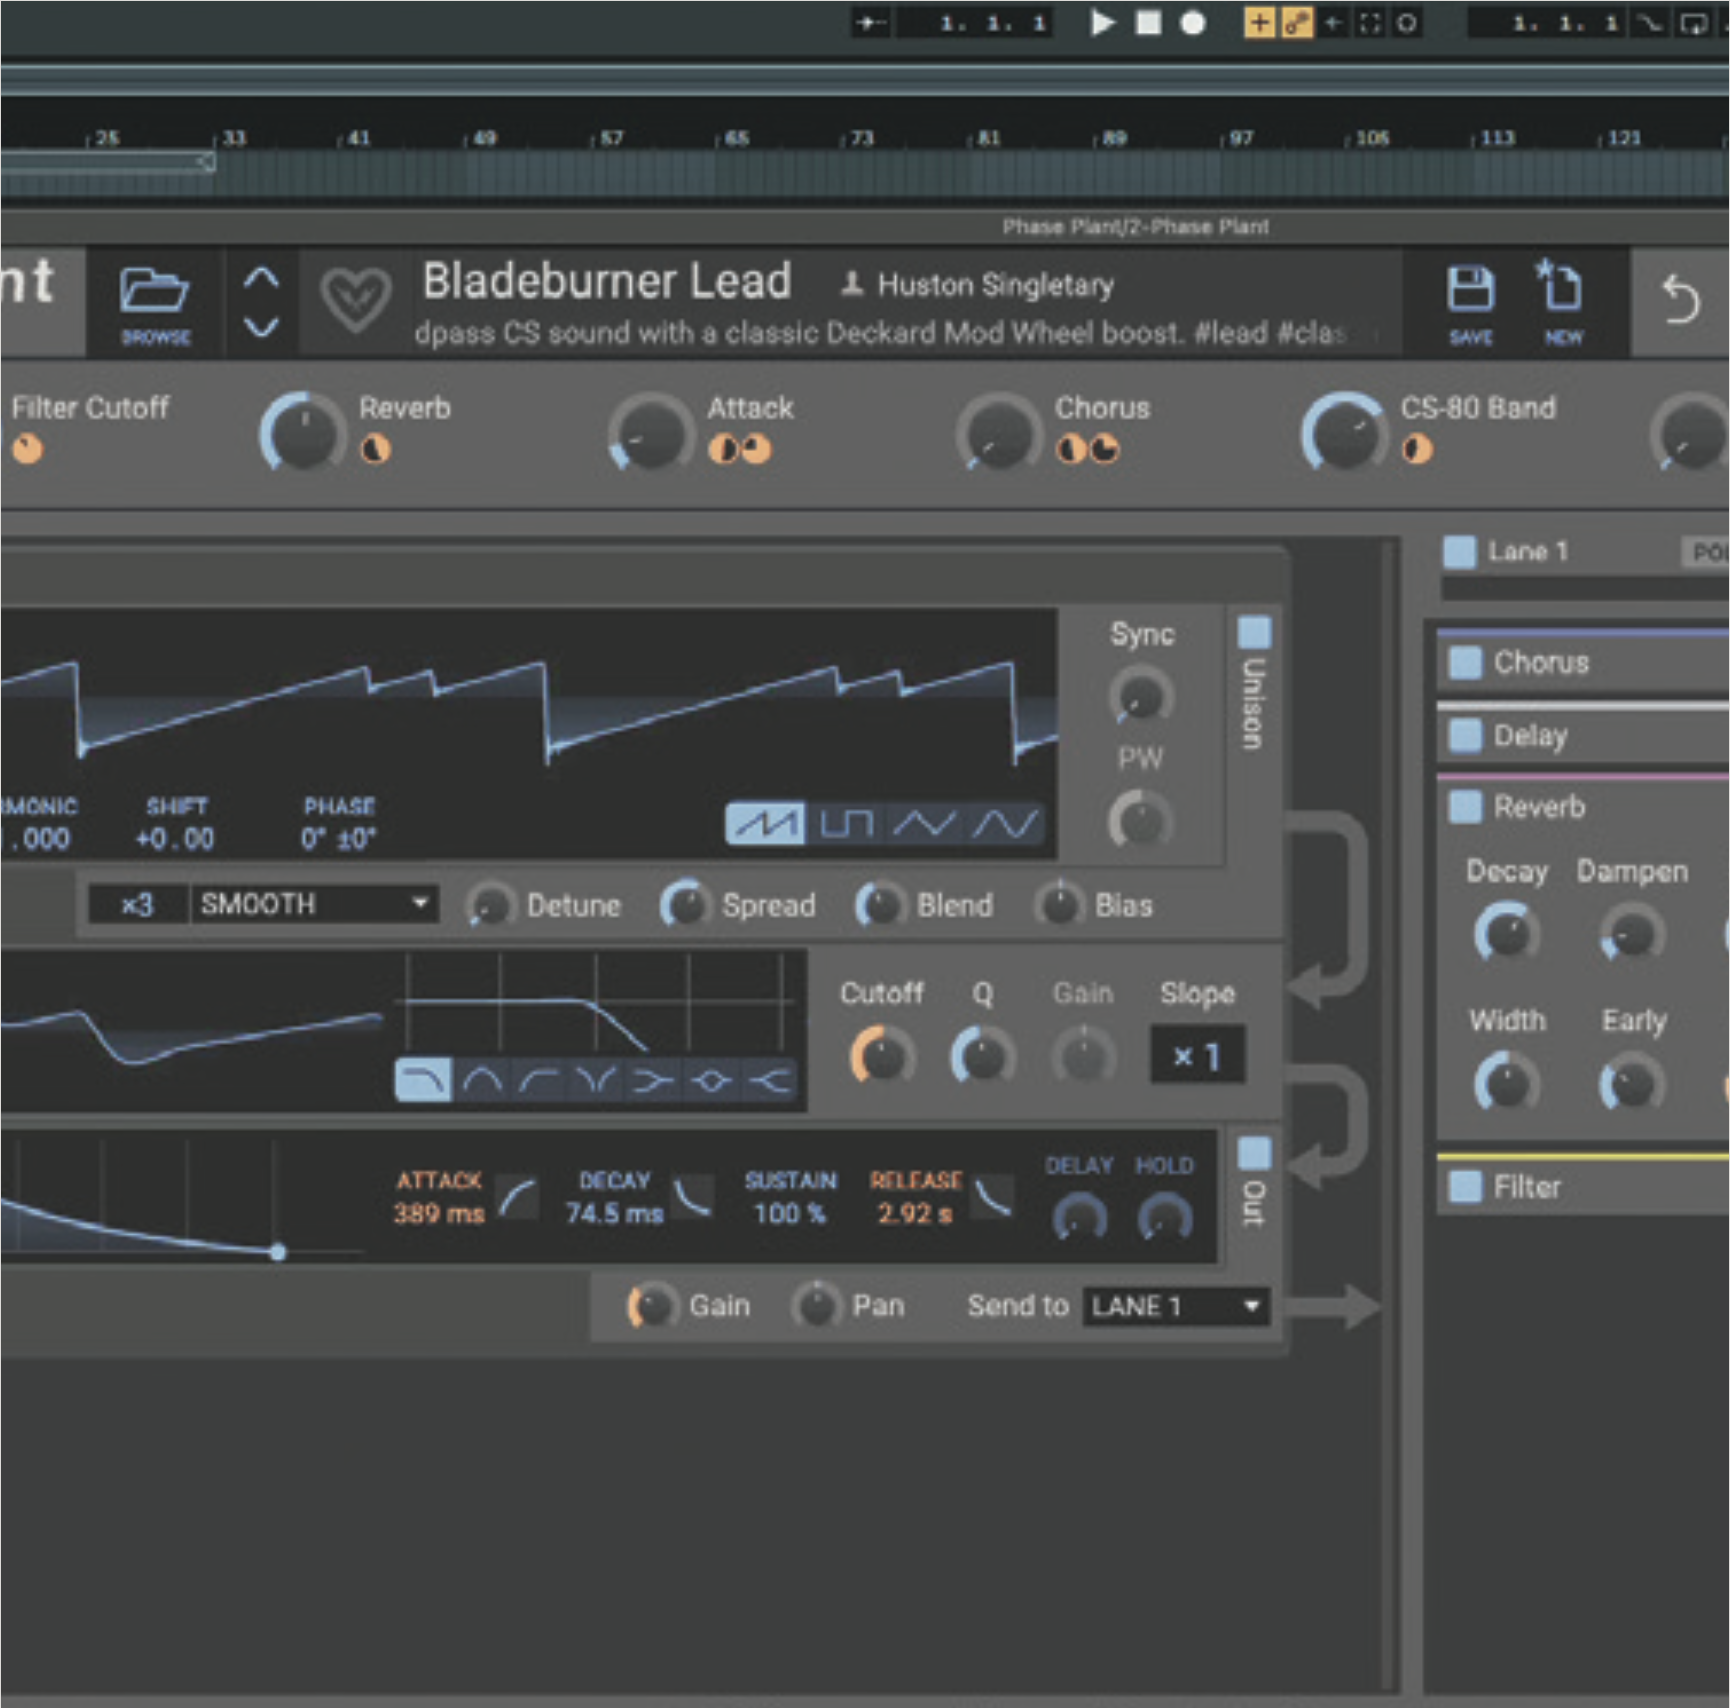
Let’s take an MPE-capable synth and turn one of its non-MPE patches into an MPE-enabled one. We open Phase Plant, ensuring our DAW and its plugin host are passing MPE messages through, and choose a patch.
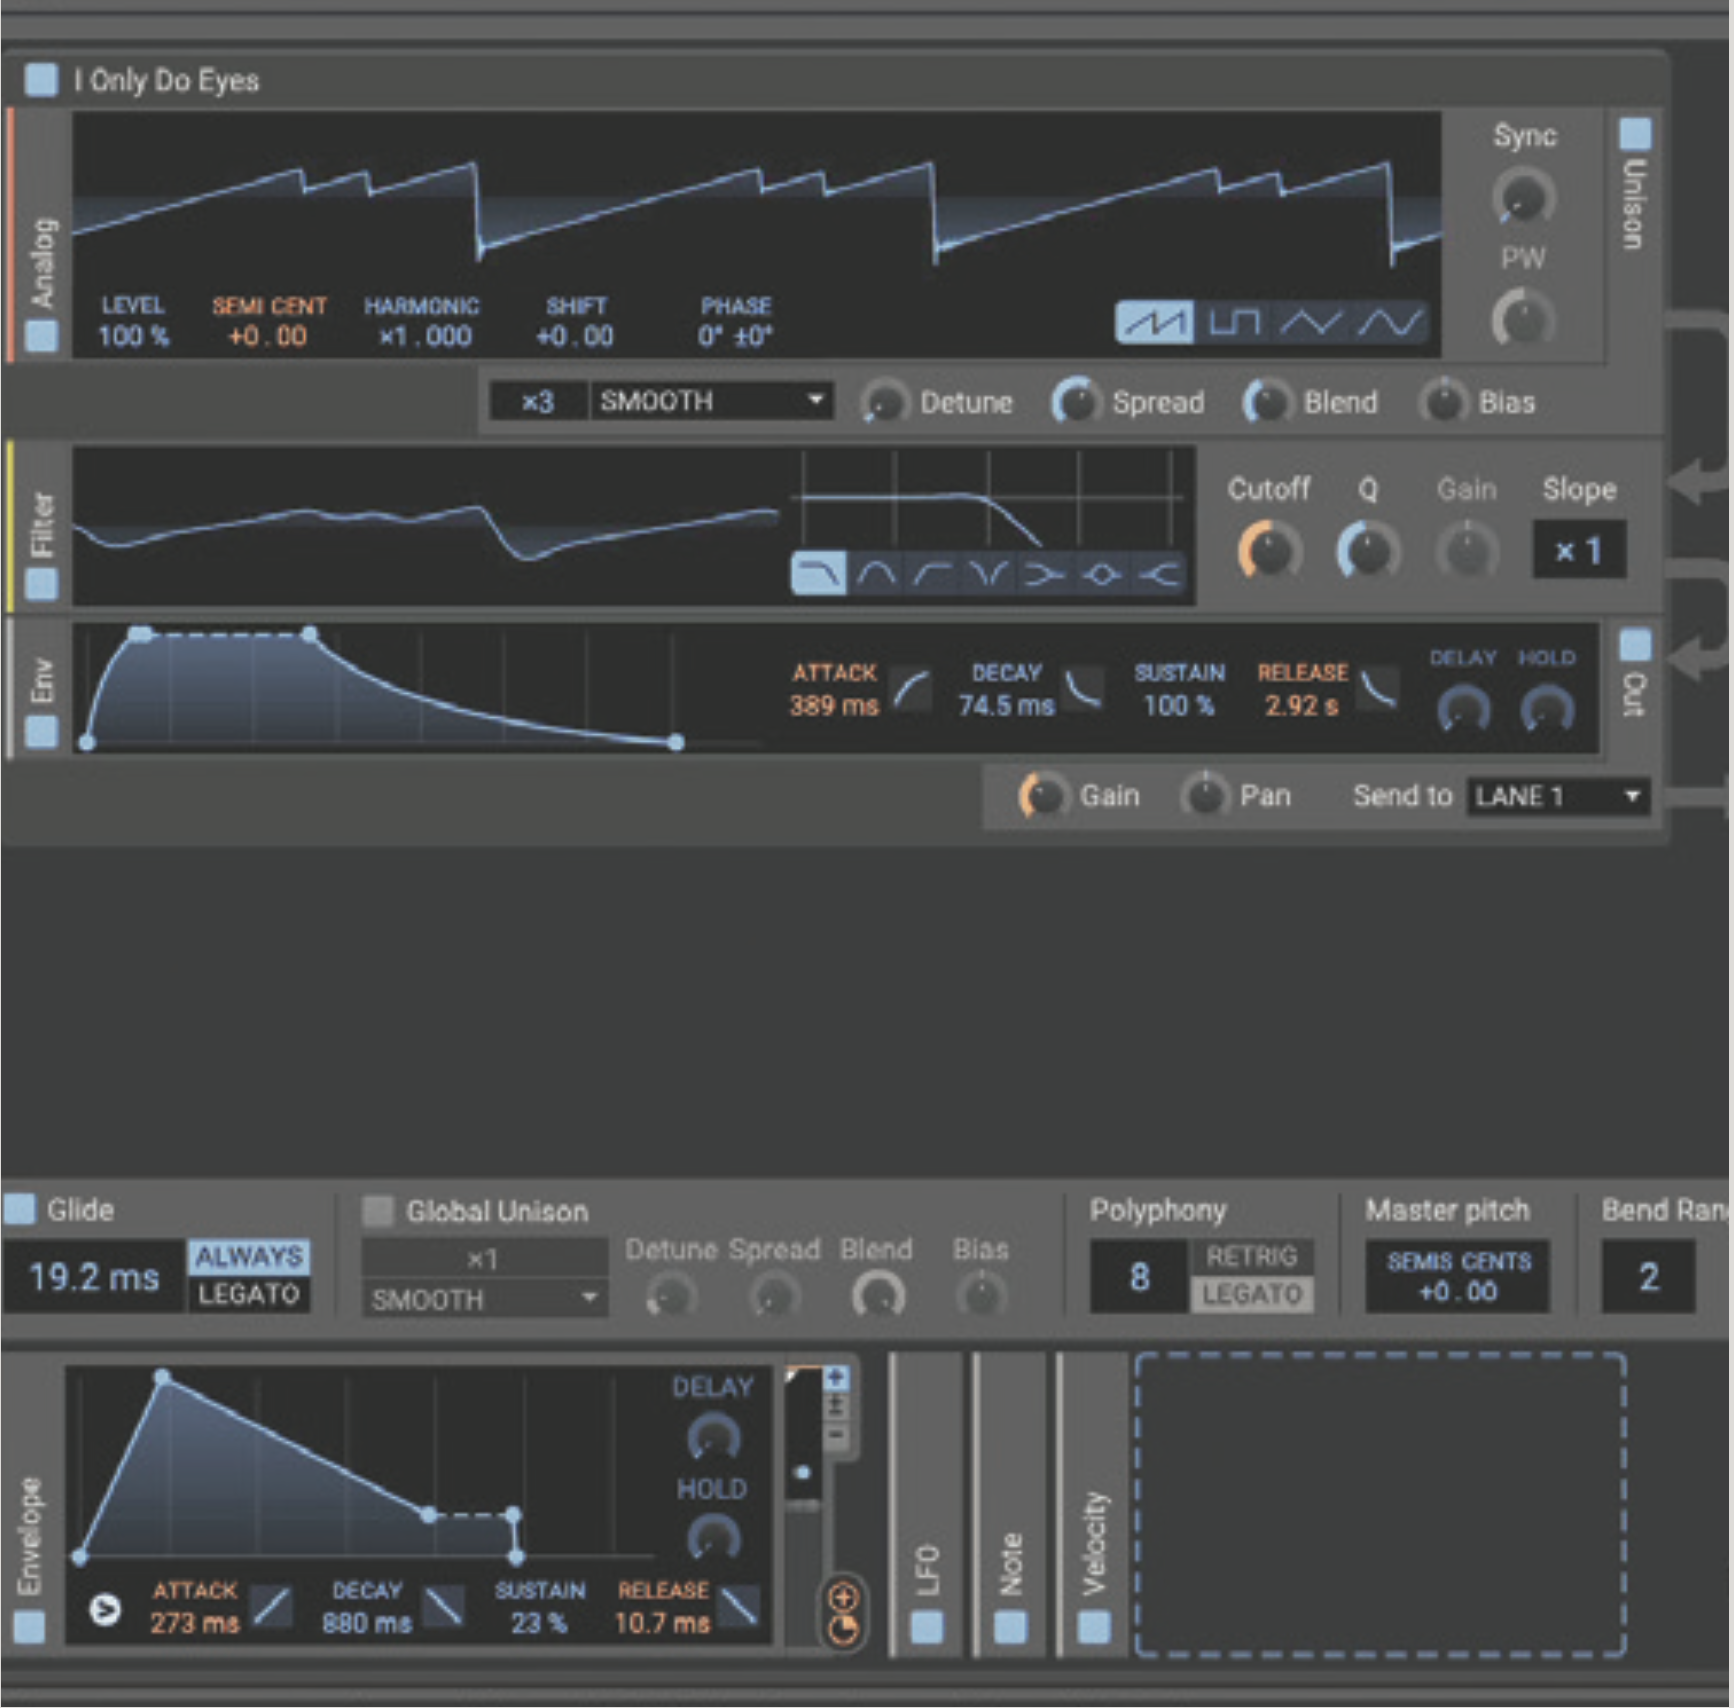
Pitch is automatically assigned and MPE-compatible in Phase Plant, so no matter which patch you choose, it’ll bend nicely when gliding on an MPE controller. This is also a good test that MPE is indeed working.
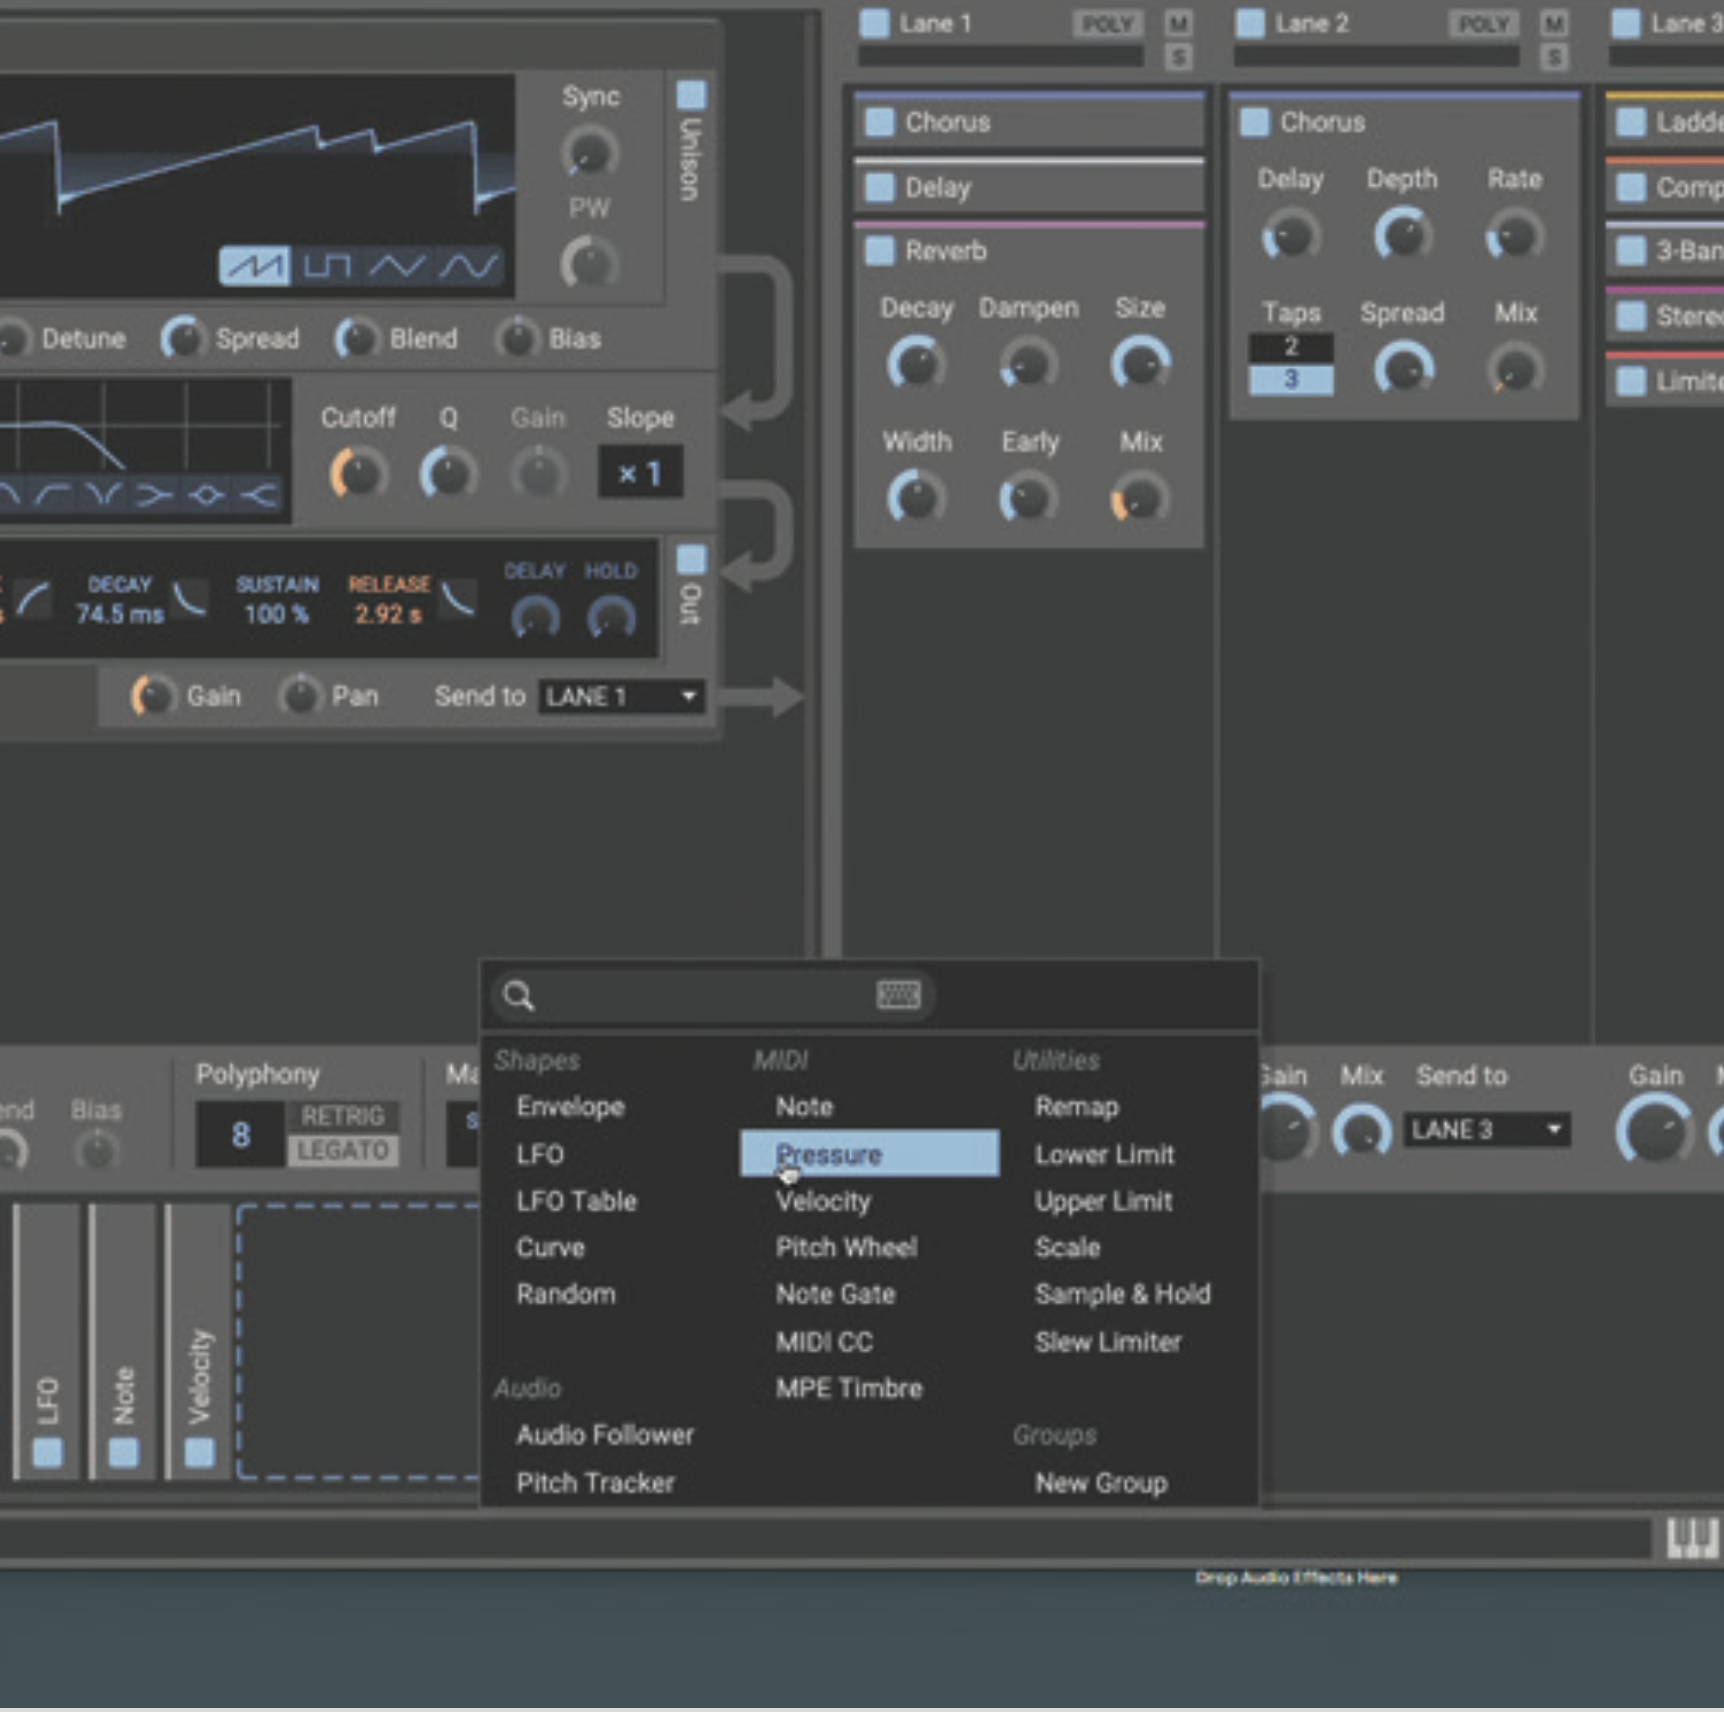
Now to convert our patch into an MPE-friendly one. Add a new modulator in the chain at the bottom. We access to our MPE pressure control from our connected hardware or whatever’s in the piano roll.
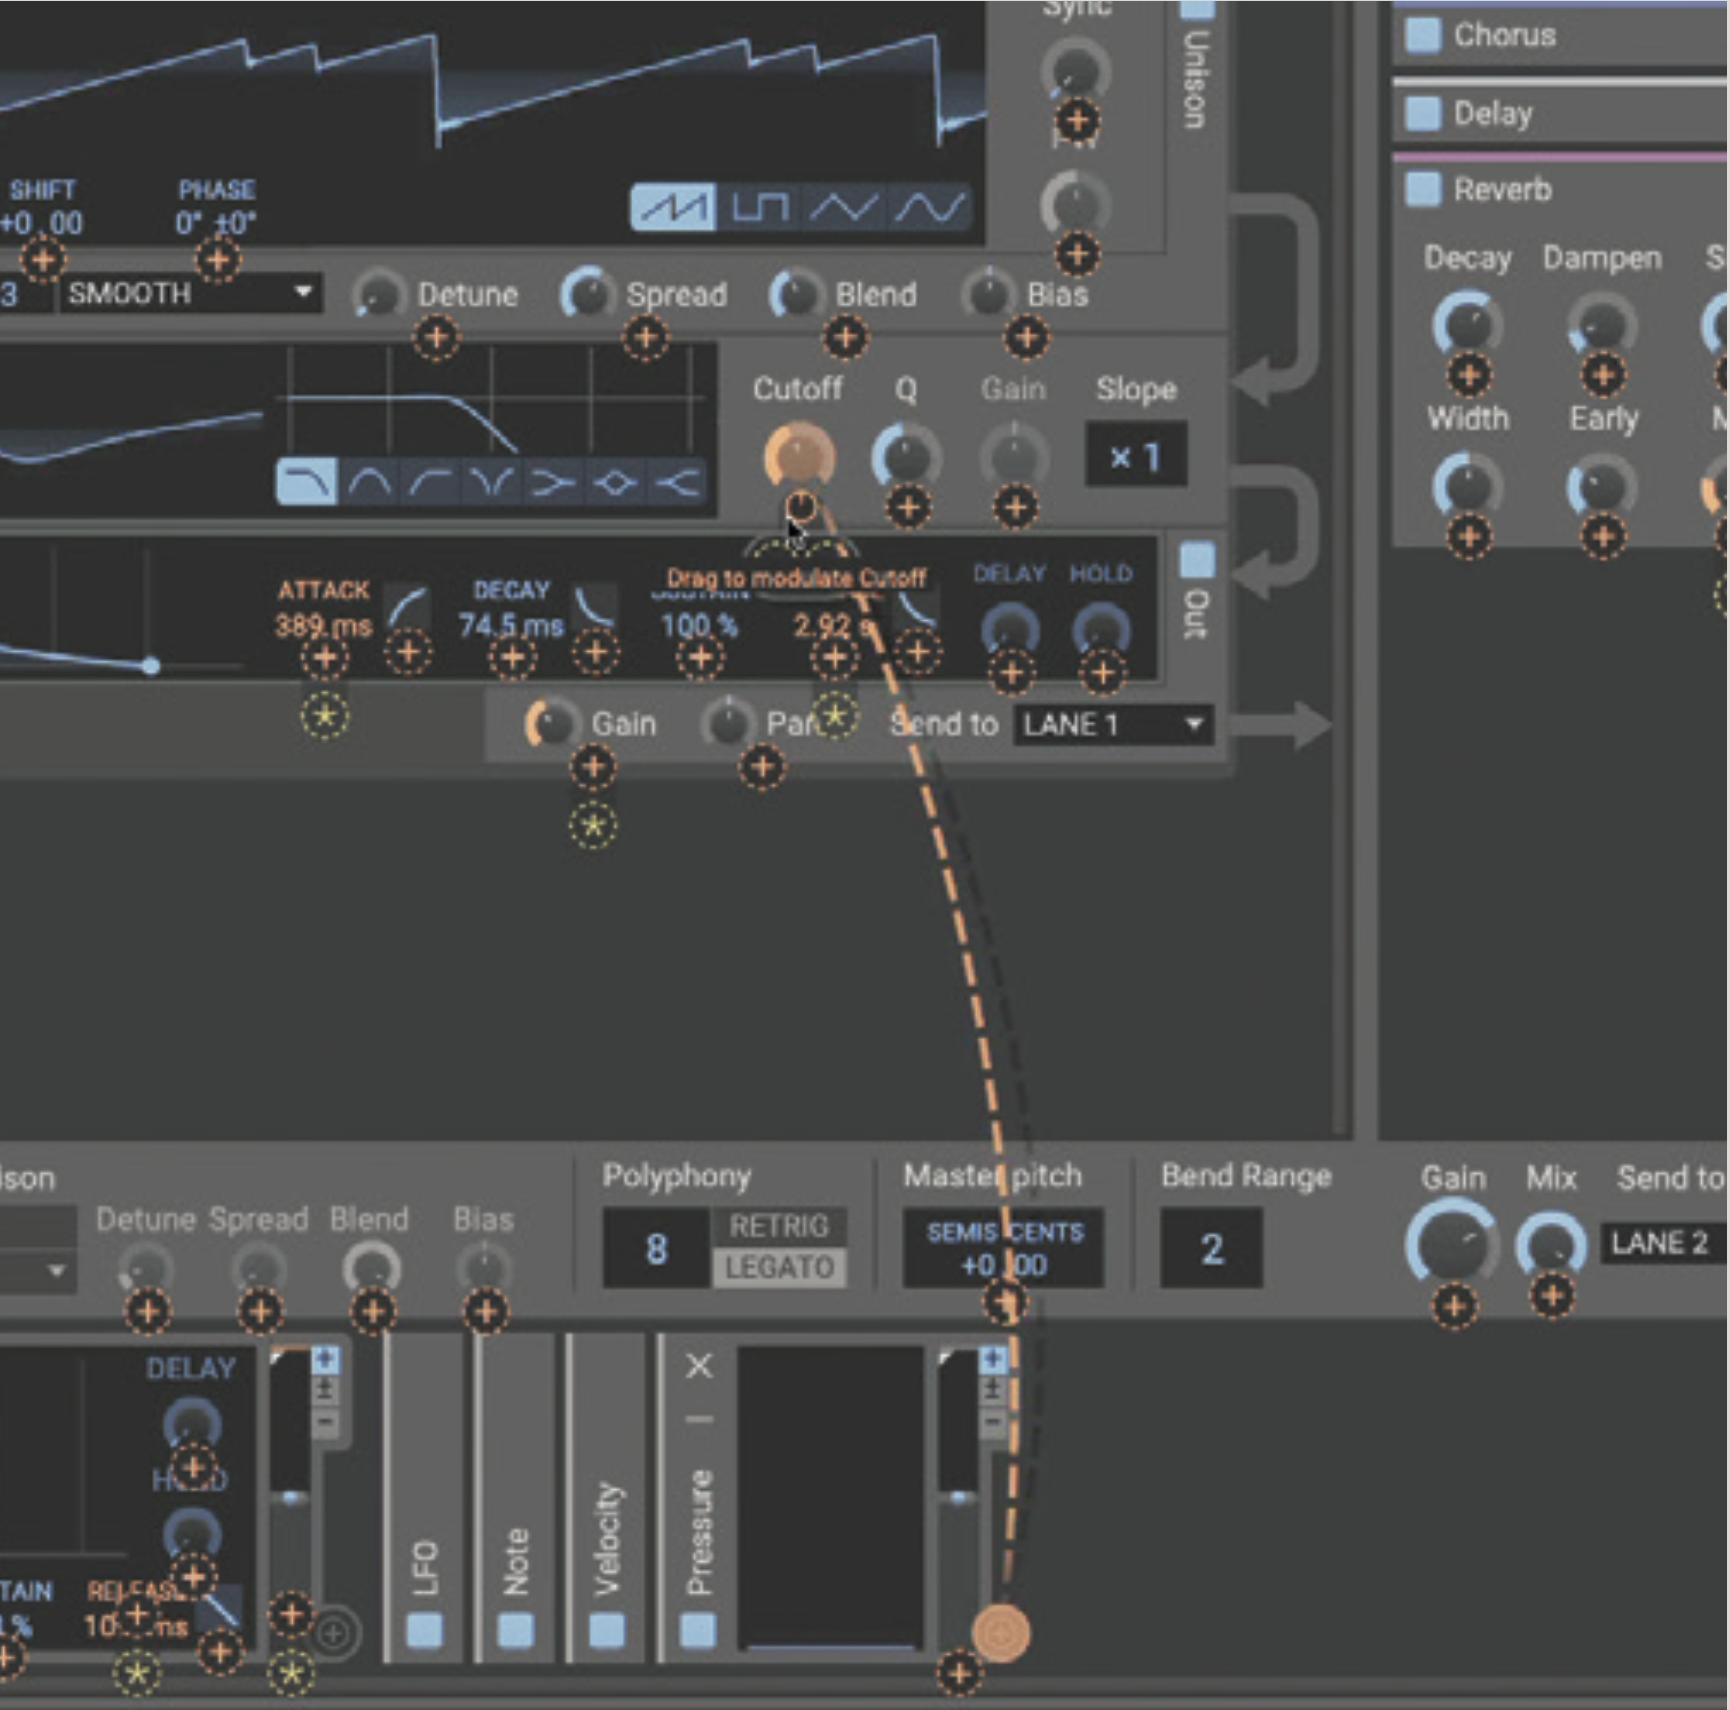
We need to assign this as a modulator to something for it to be audible in the synth. Let’s set Pressure to bring filter cutoff up and down. We assign the modulator in the usual way in Phase Plant.
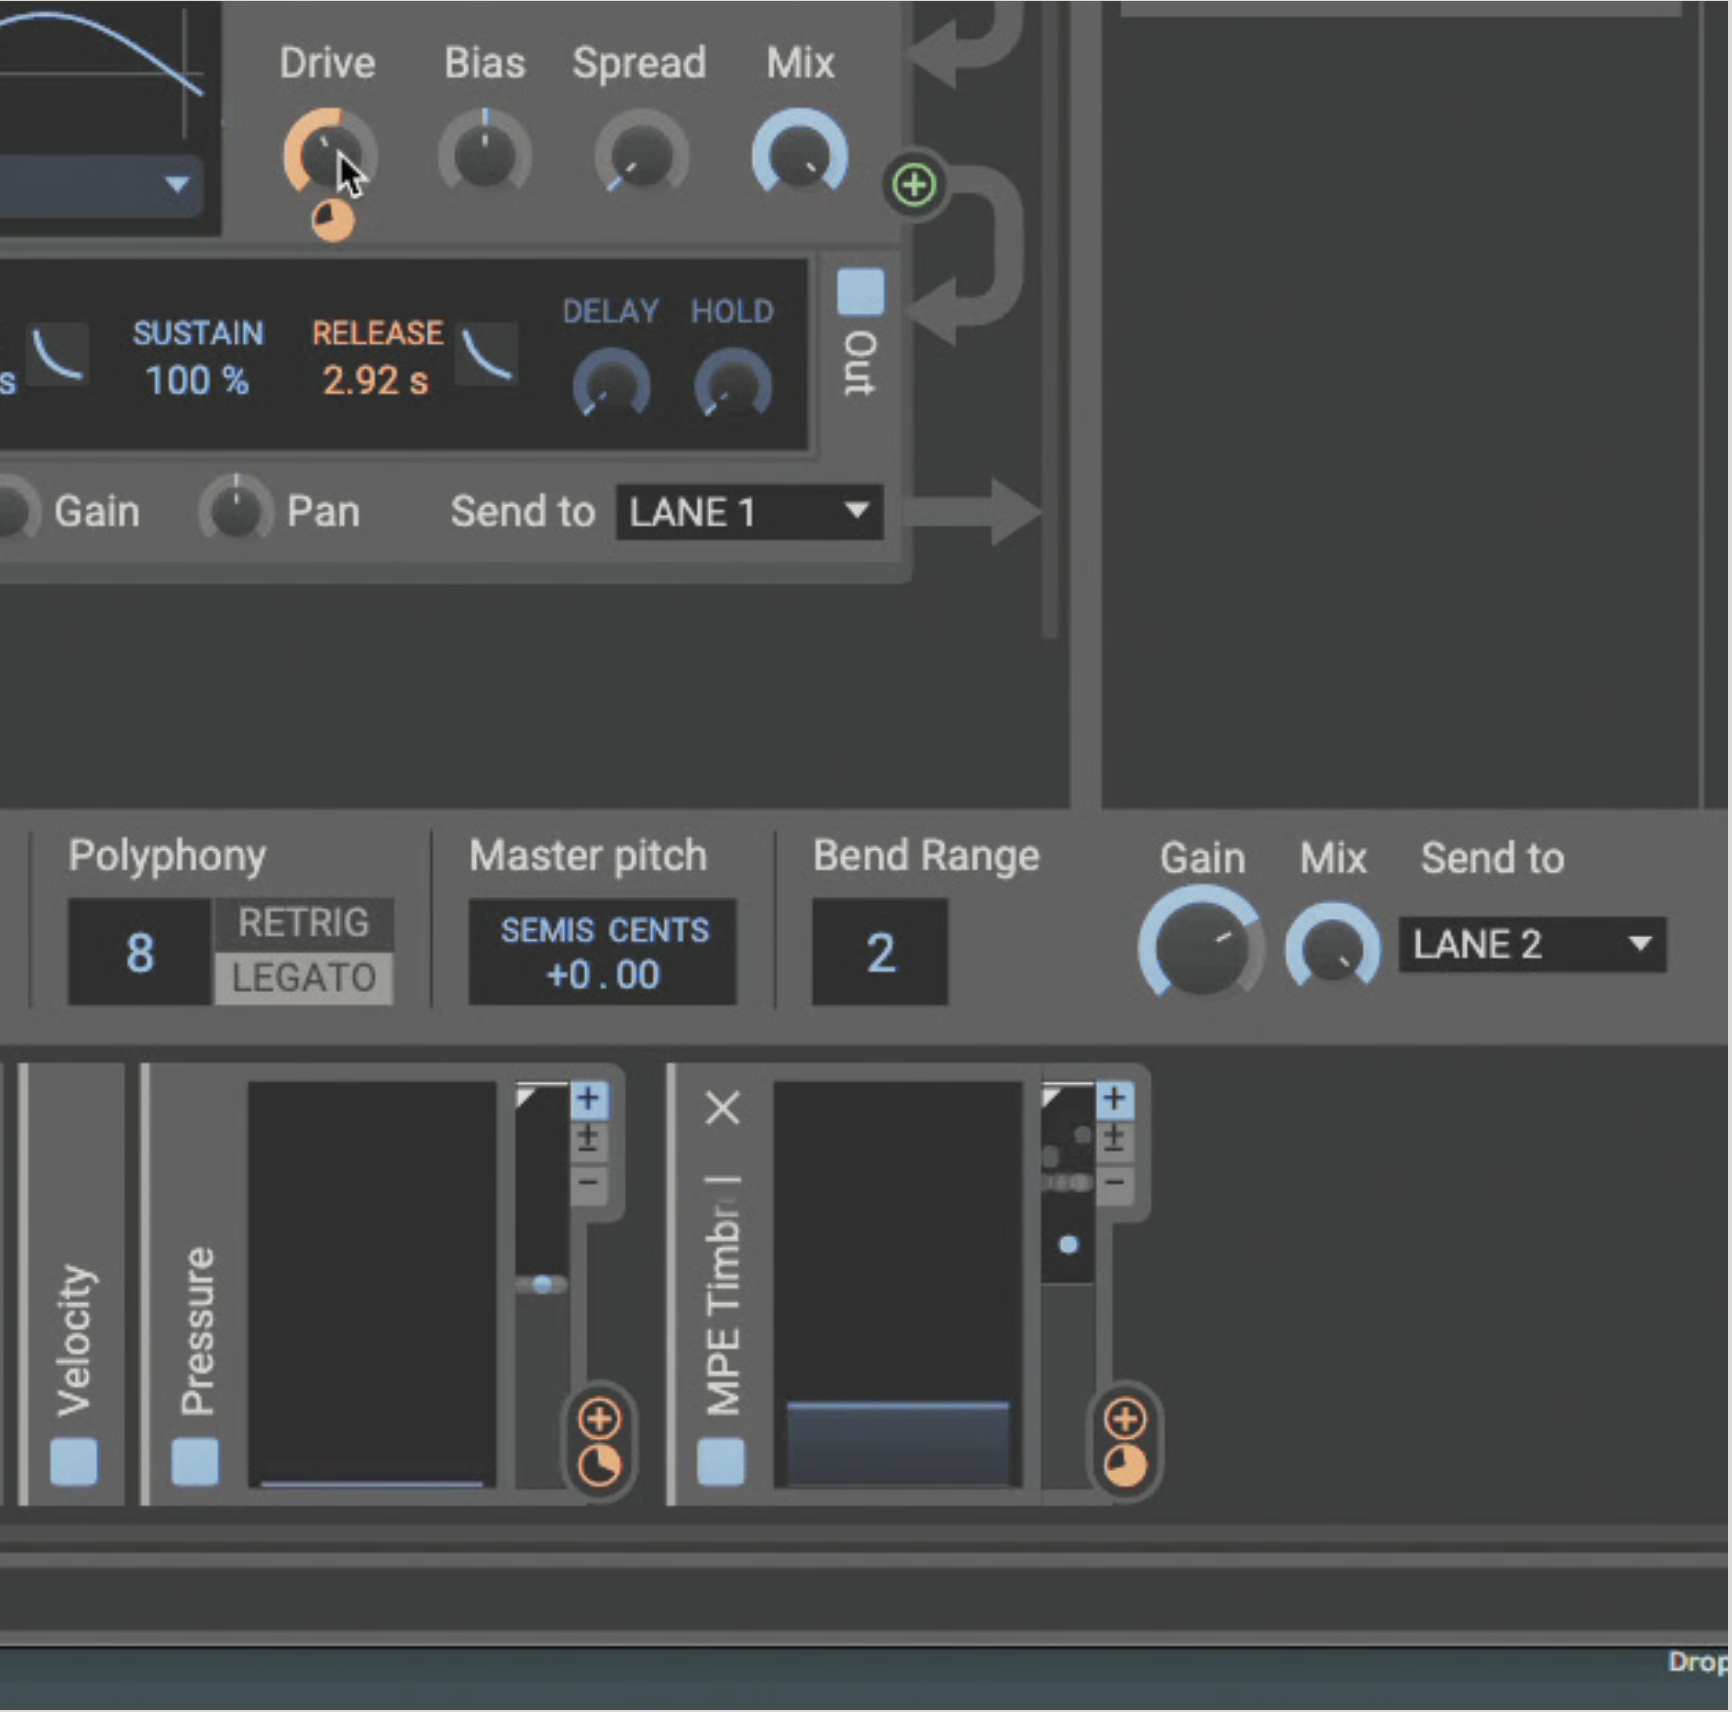
Next, an MPE Timbre patch takes the Y position on the key (“Slide” in Roli speak). Assign this carefully – it’s easy to hit a new note wrong, so keep the effect subtle to start with. A distortion effect works well here.
Remember, one point of MPE is the “P”: Polyphonic Expression. Now, we can hold multiple notes in a chord, and each can take its own path of filter cutoff (through pressure) and distortion (through vertical position).
Exploring MPE implementation in Ableton’s Wavetable synth
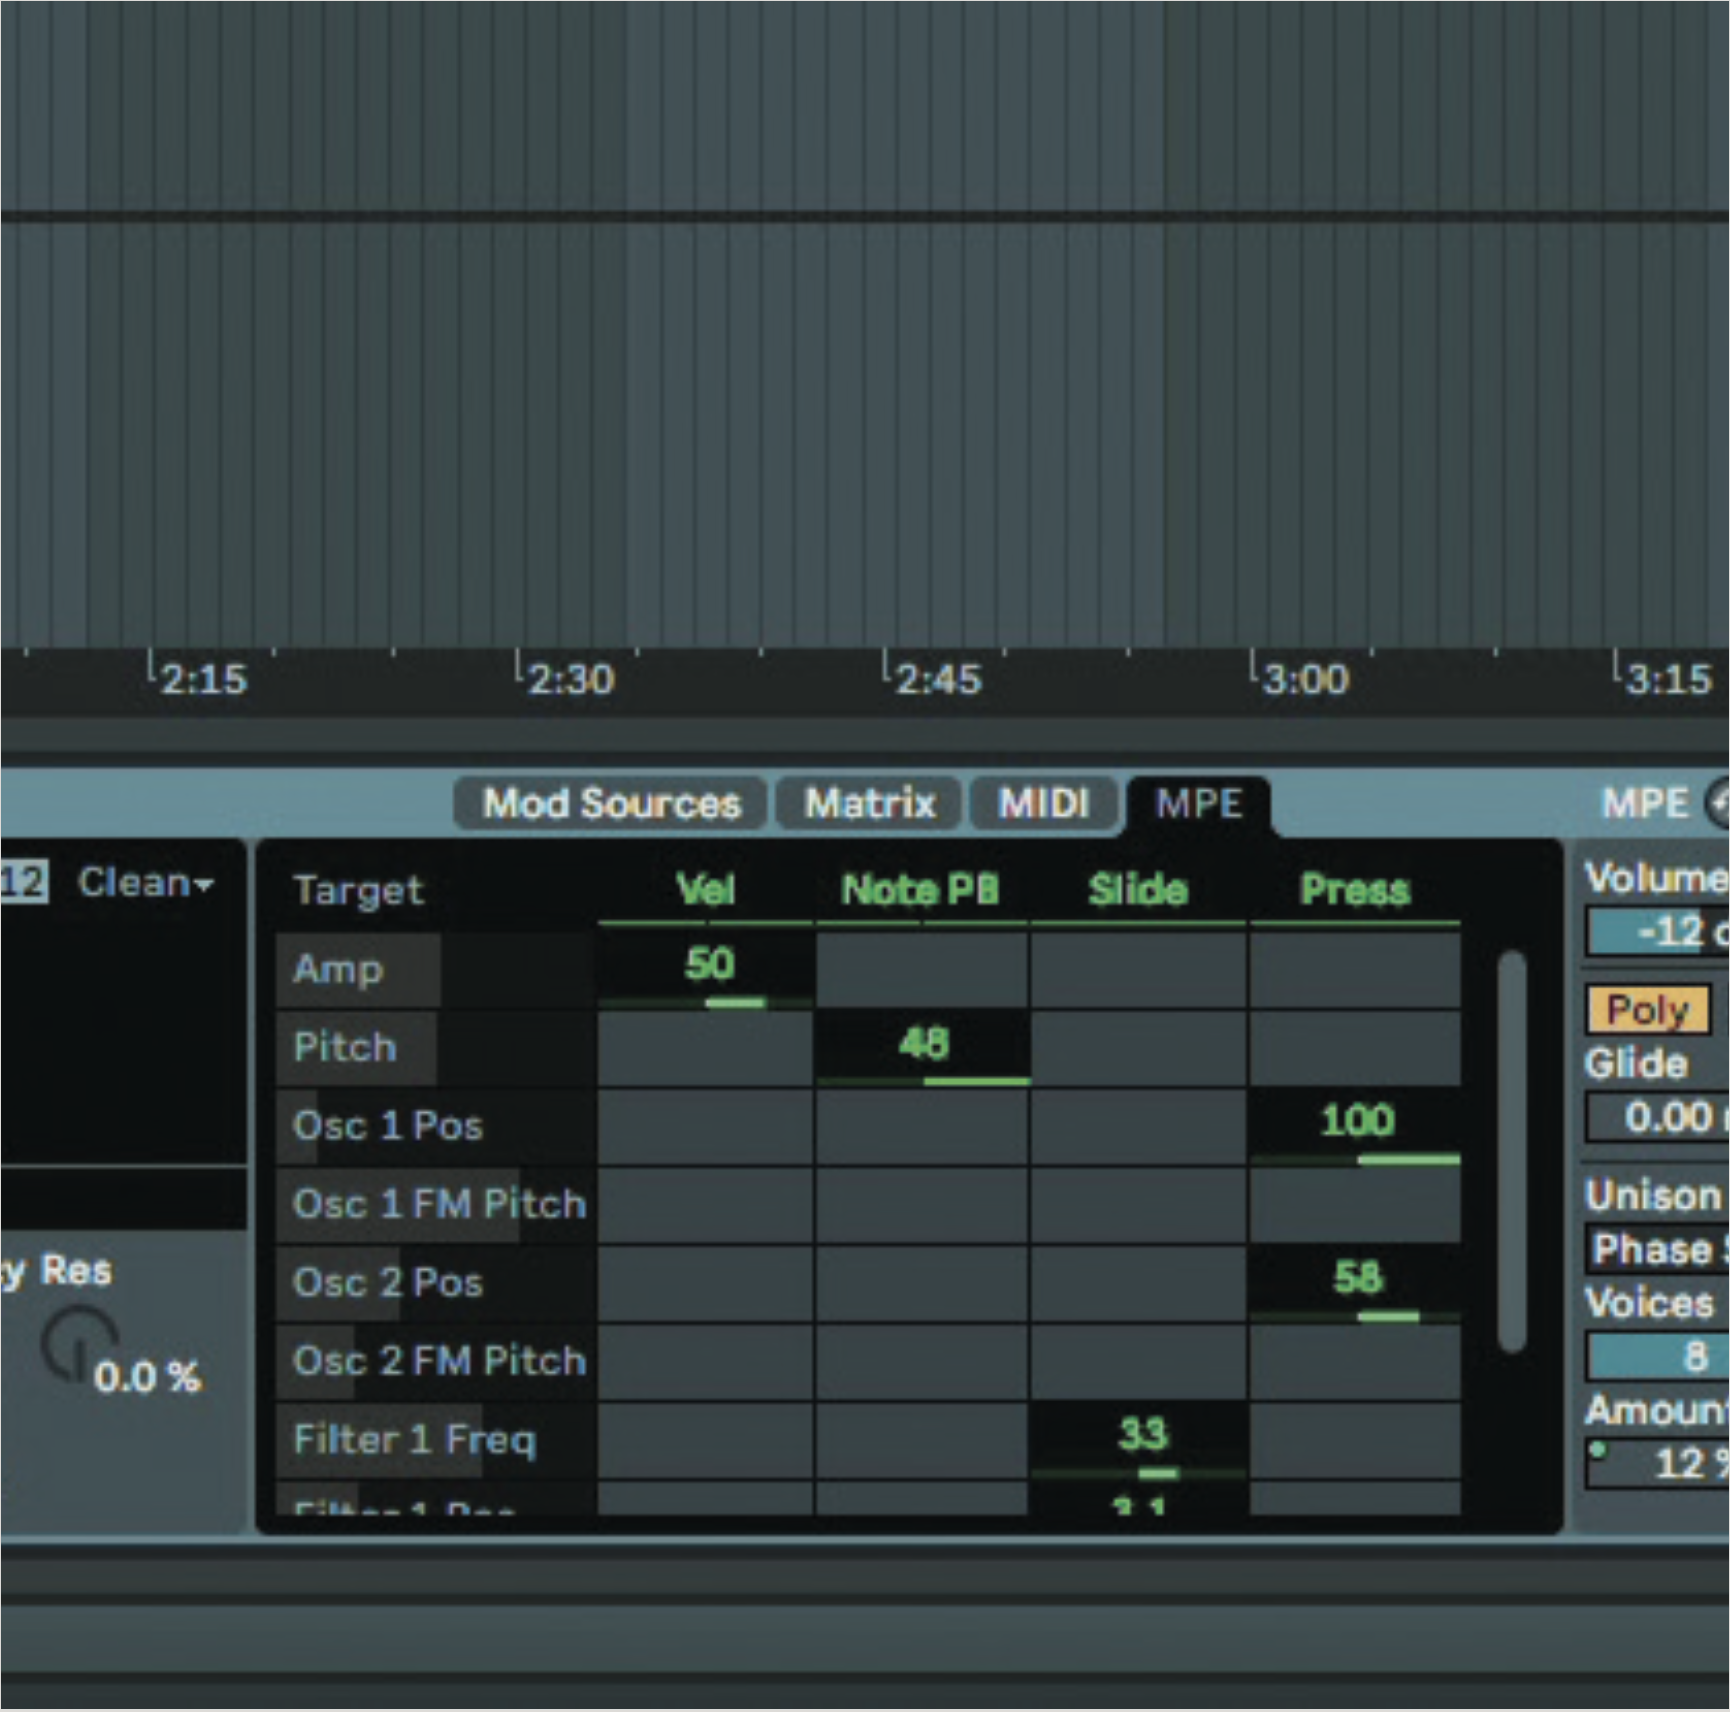
Ableton’s more recent in-built synths are equipped with MPE. In Wavetable, for example, we can tab over to MPE on the right-hand side. The whole editor here acts like a modulation matrix of a sort, treating four input properties as modulators, with an amount set for how much each affects its target.
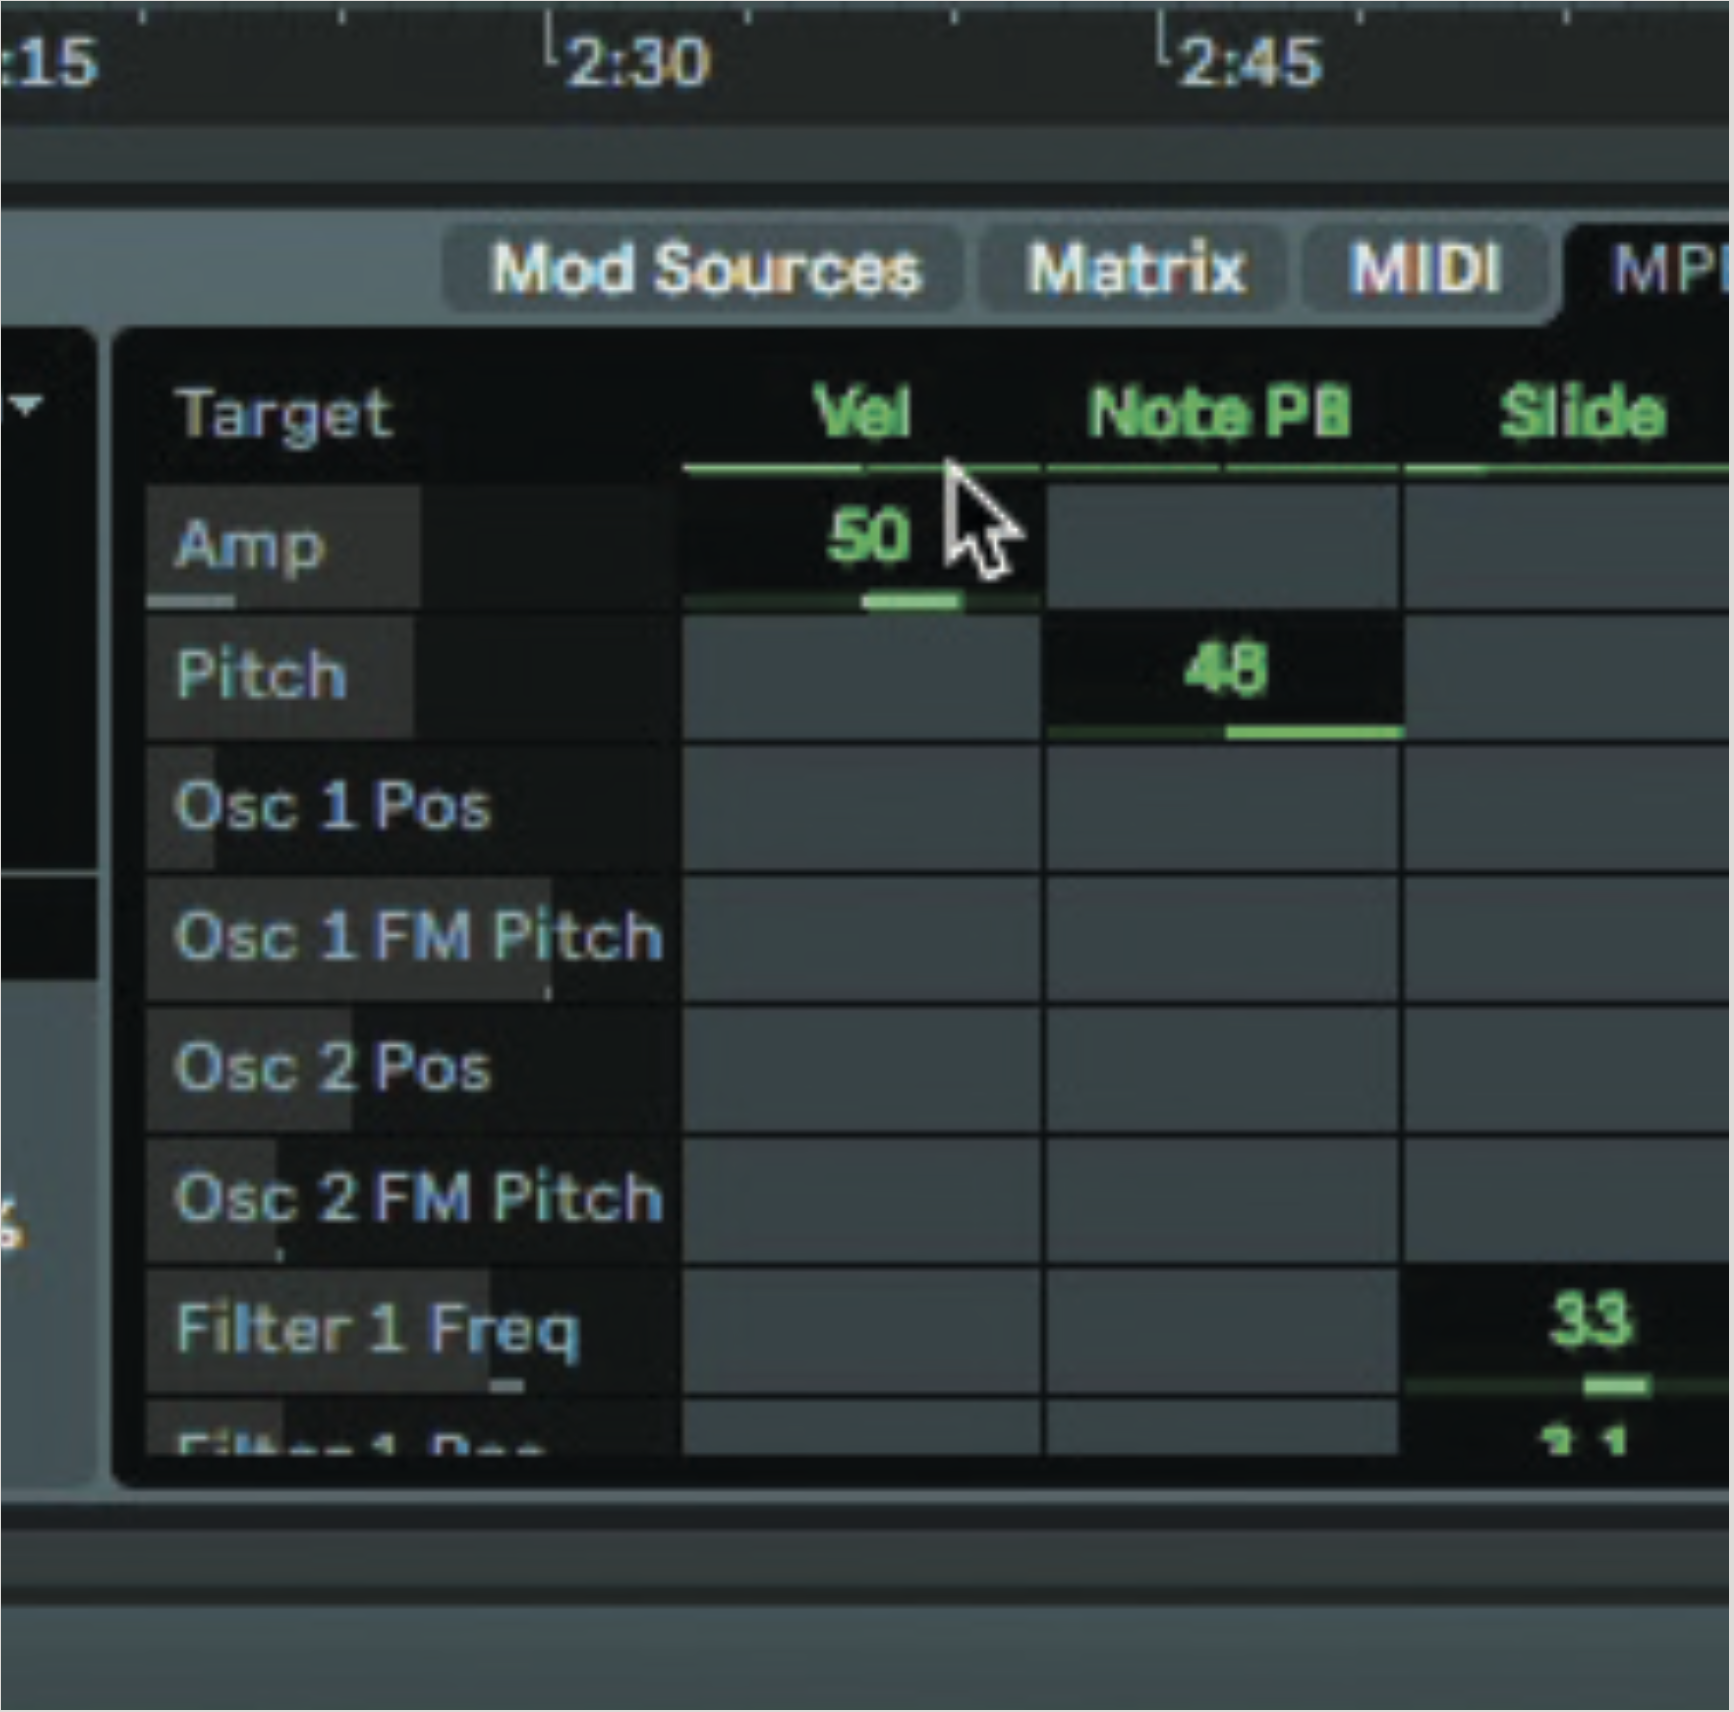
Velocity acts very much like it does on any traditional synth, with the striking force modulating certain parameters. On this patch, it’s linked up to Amp and Filter Cutoff, which is all very standard so far. You can apply a negative amount to have the inverse effect on a destination.
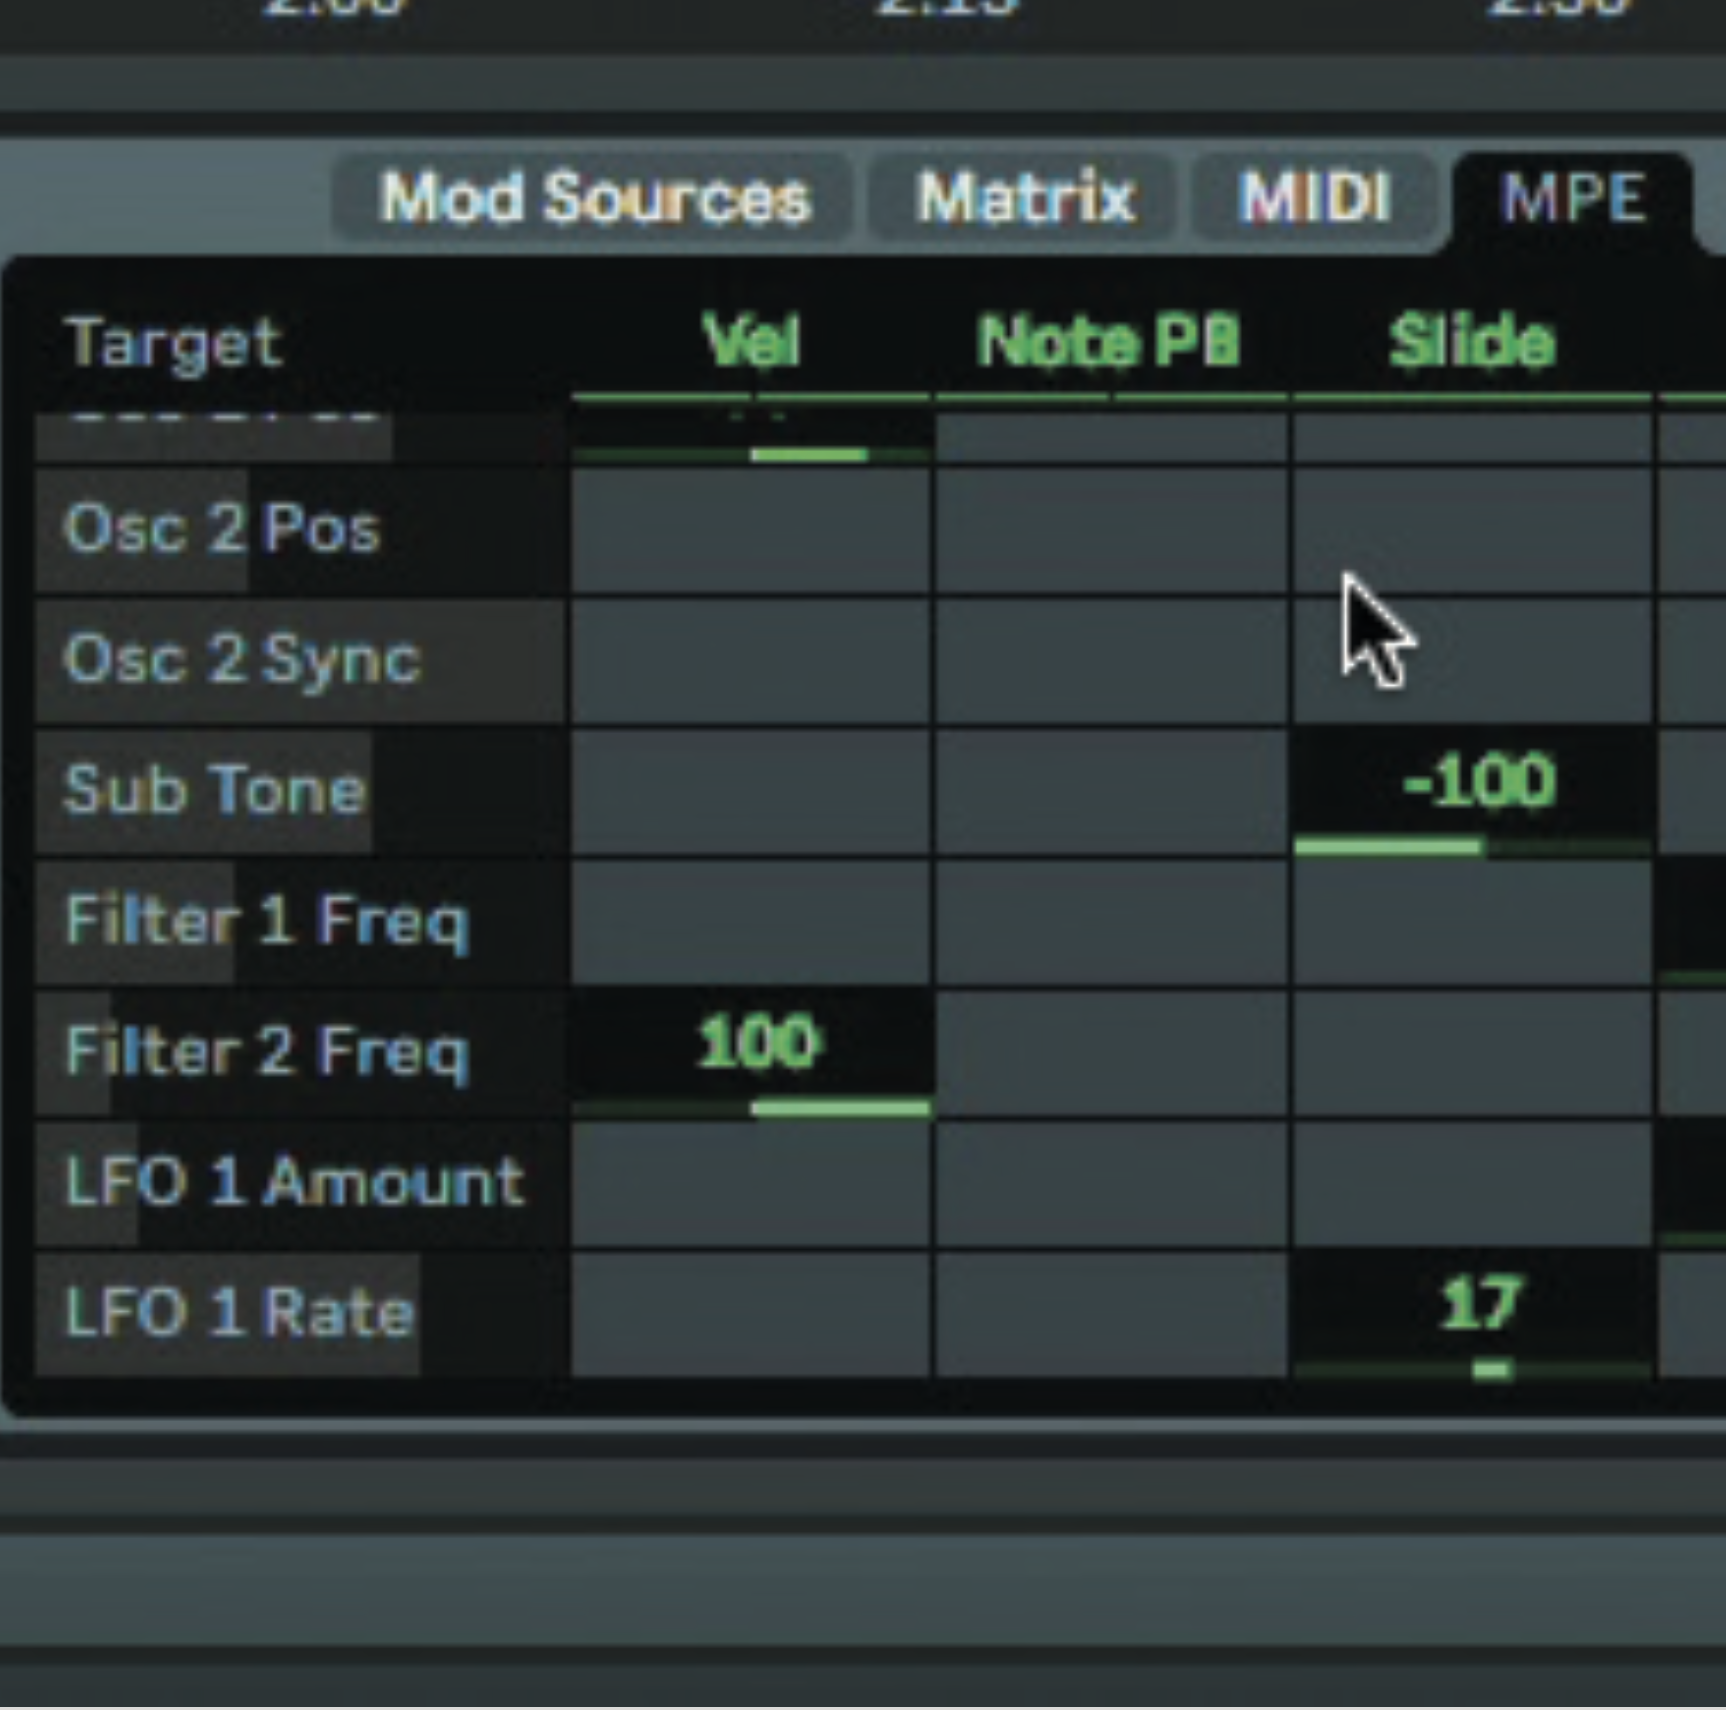
Let’s head to another patch, Dark Swarm, which has two controls linked to its Slide position – that is, the vertical position of a finger on a note. It’s routed to LFO 1’s Rate by an amount value of 17, and routed negatively to the Sub Tone, by -100. How does it work?
As you can hear in the audio example, as notes have their Slide values changed (this works polyphonically of course), their LFO rate changes, and a tone moves along with it. While the main oscillators keep their tone, their ‘sub’ is able to move around, and the effect is very nice.
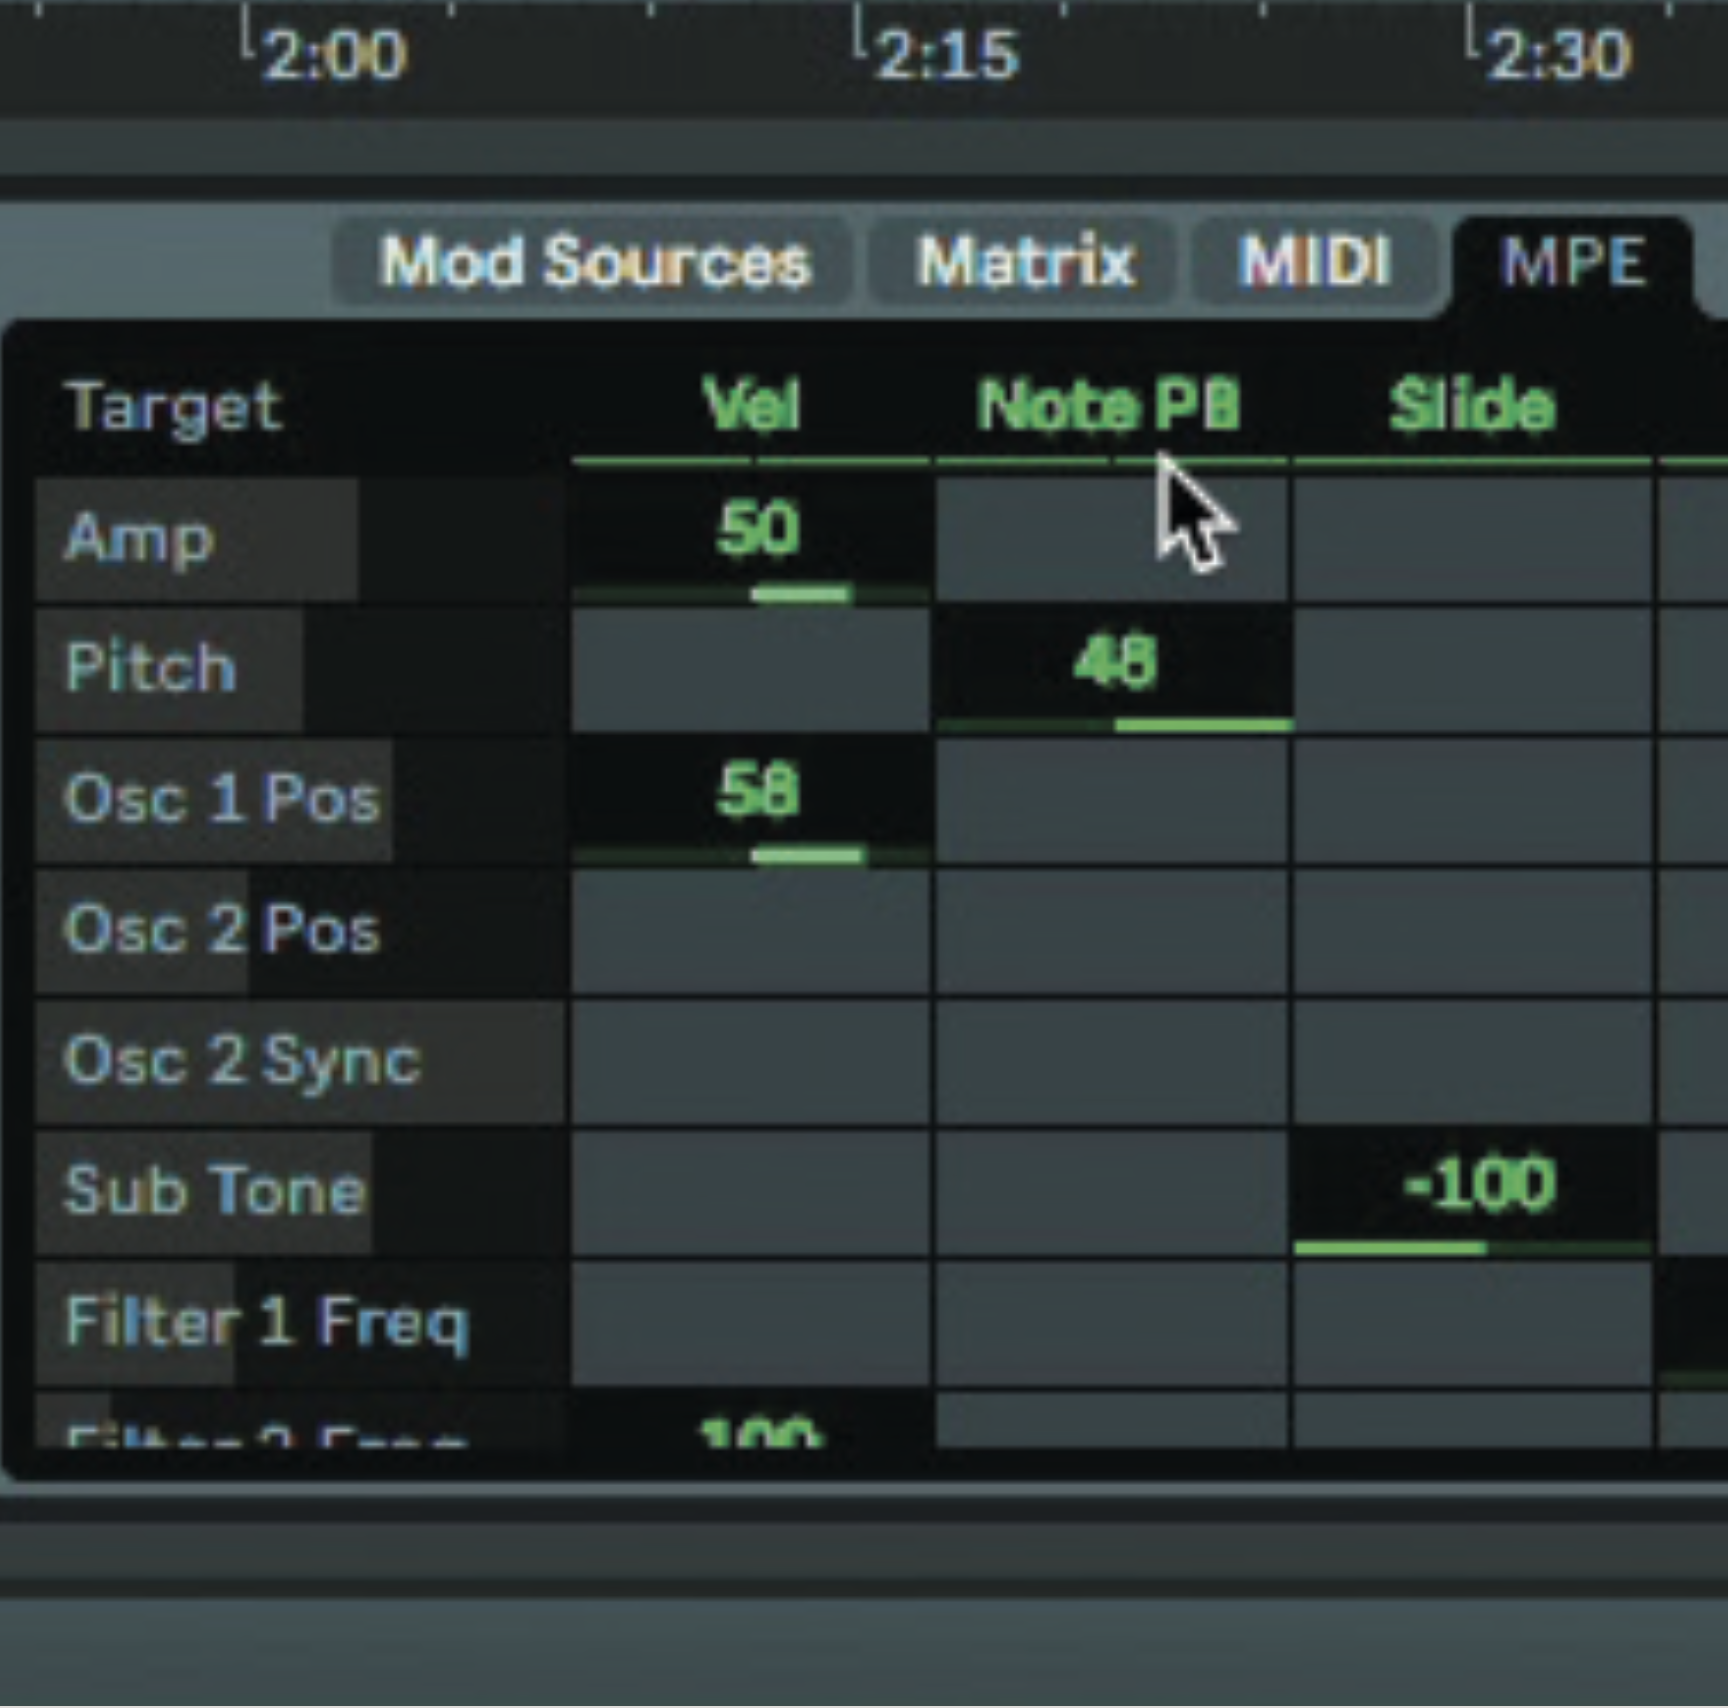
Pitchbend values in the destination synth are set as per the hardware, to have expected results. This means that every synth can be safely set to 48, something of a default for MPE. But if your controller or synth work in a different way, this parameter may need to be flexible.
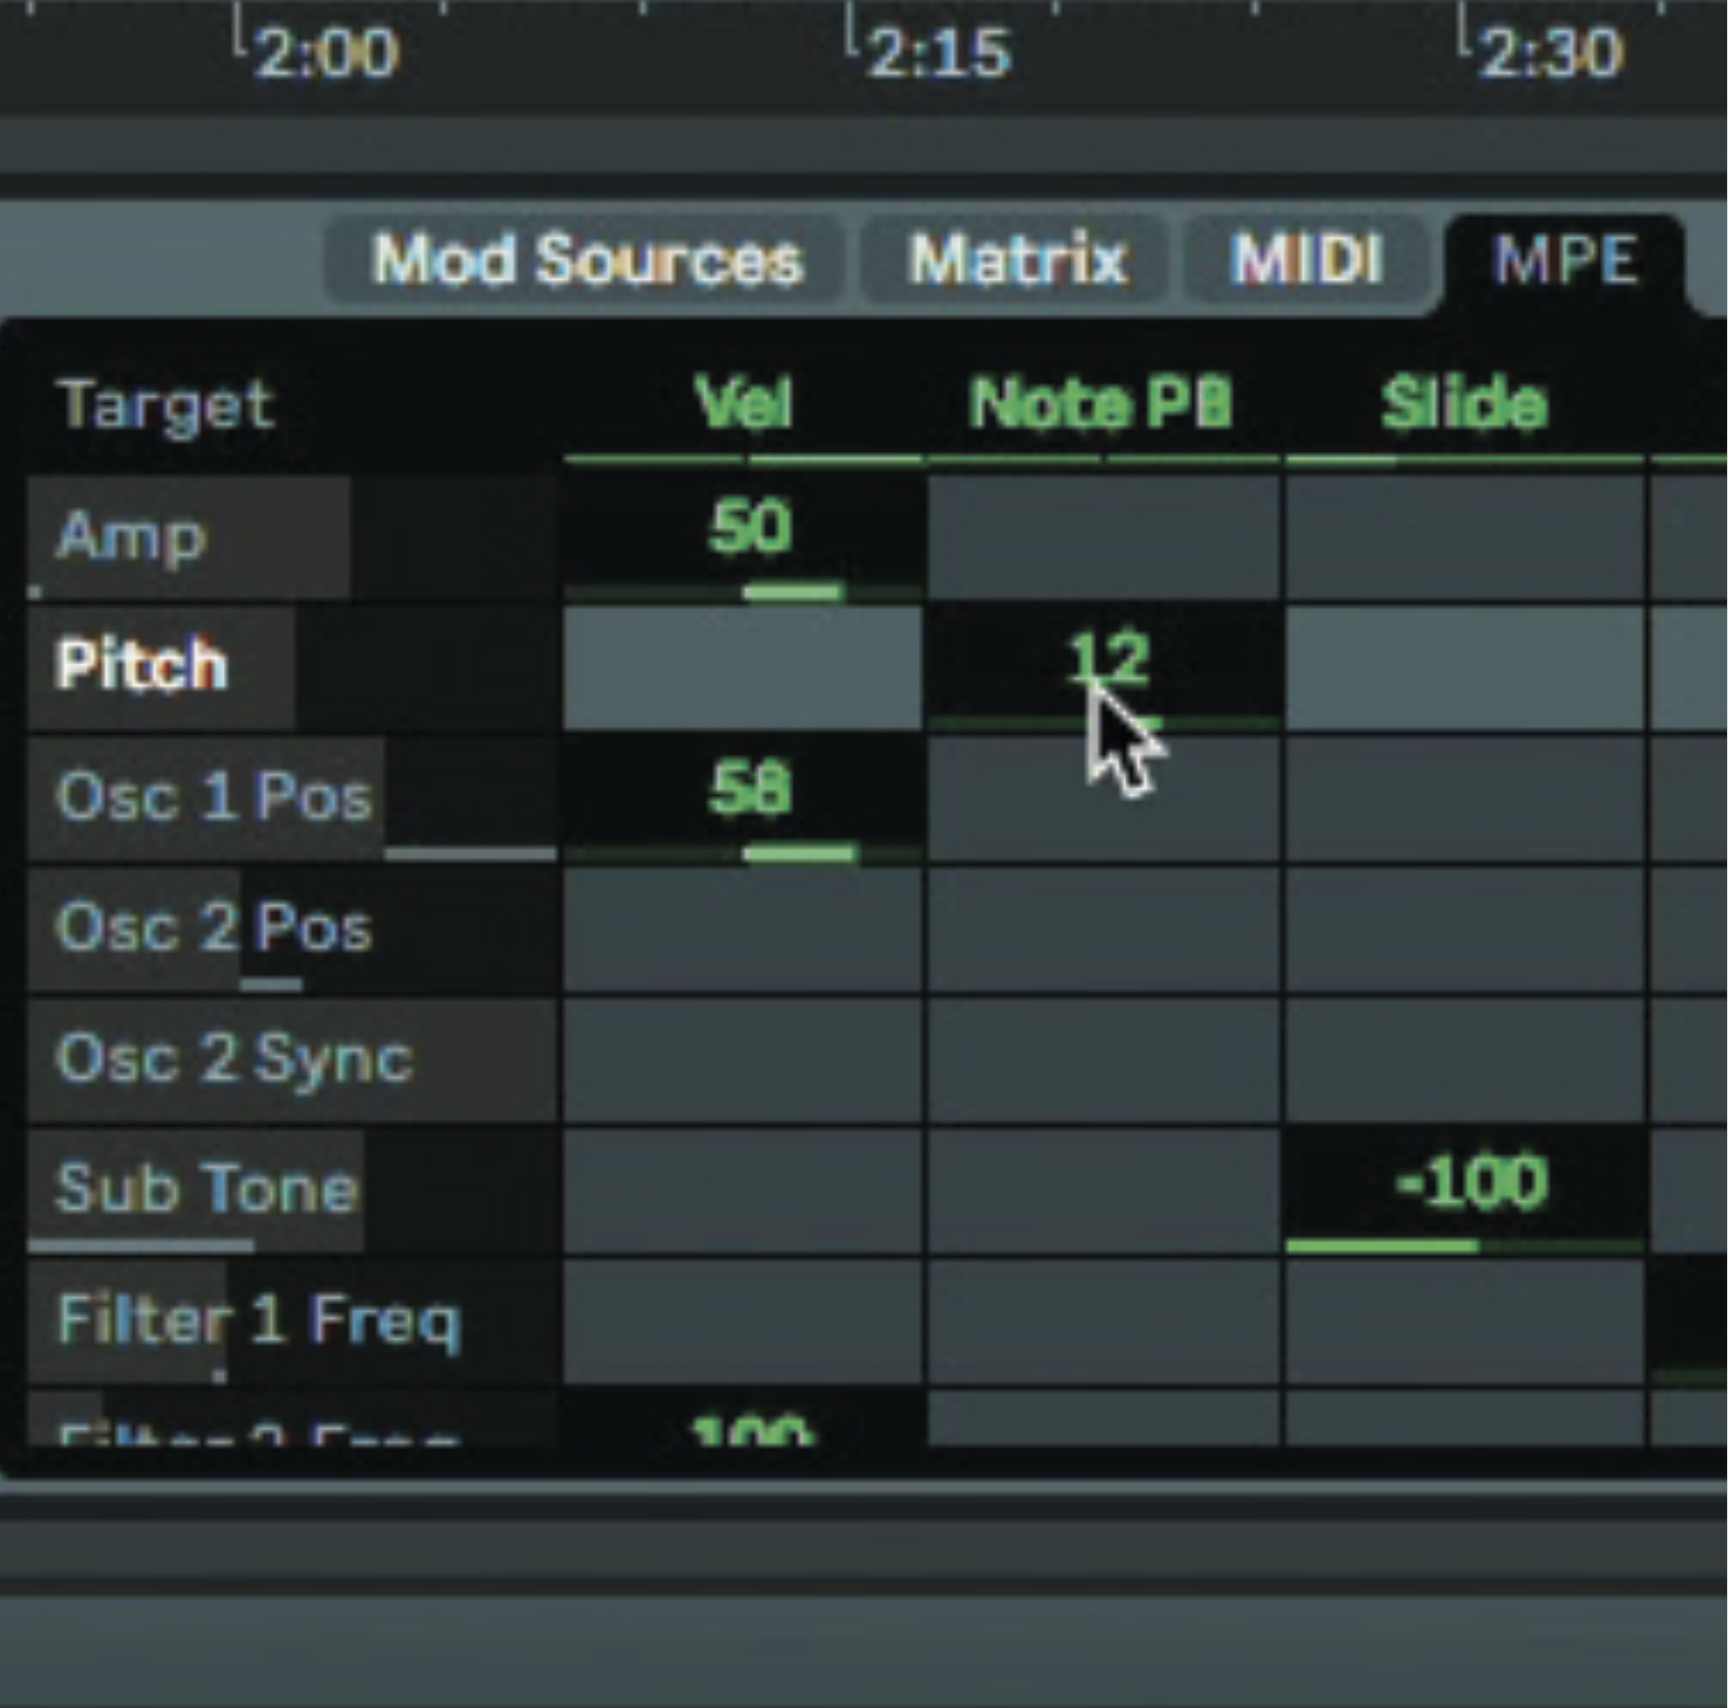
But given the pitchbend modulation source, we can assign pitchbend to more destinations, doubling the effects when a note glide happens. Also, when playing more subtle techniques like vibrato, reducing the PB value to, say, 12, can give you more control and flexibility.
The Sync Drift Pad patch is an ethereal pad that links various MPE parameters up to crucial wavetable controls, such as oscillator position and pulse width. The patch has a lot of control, and we’ll swap some of these out to change how it works.
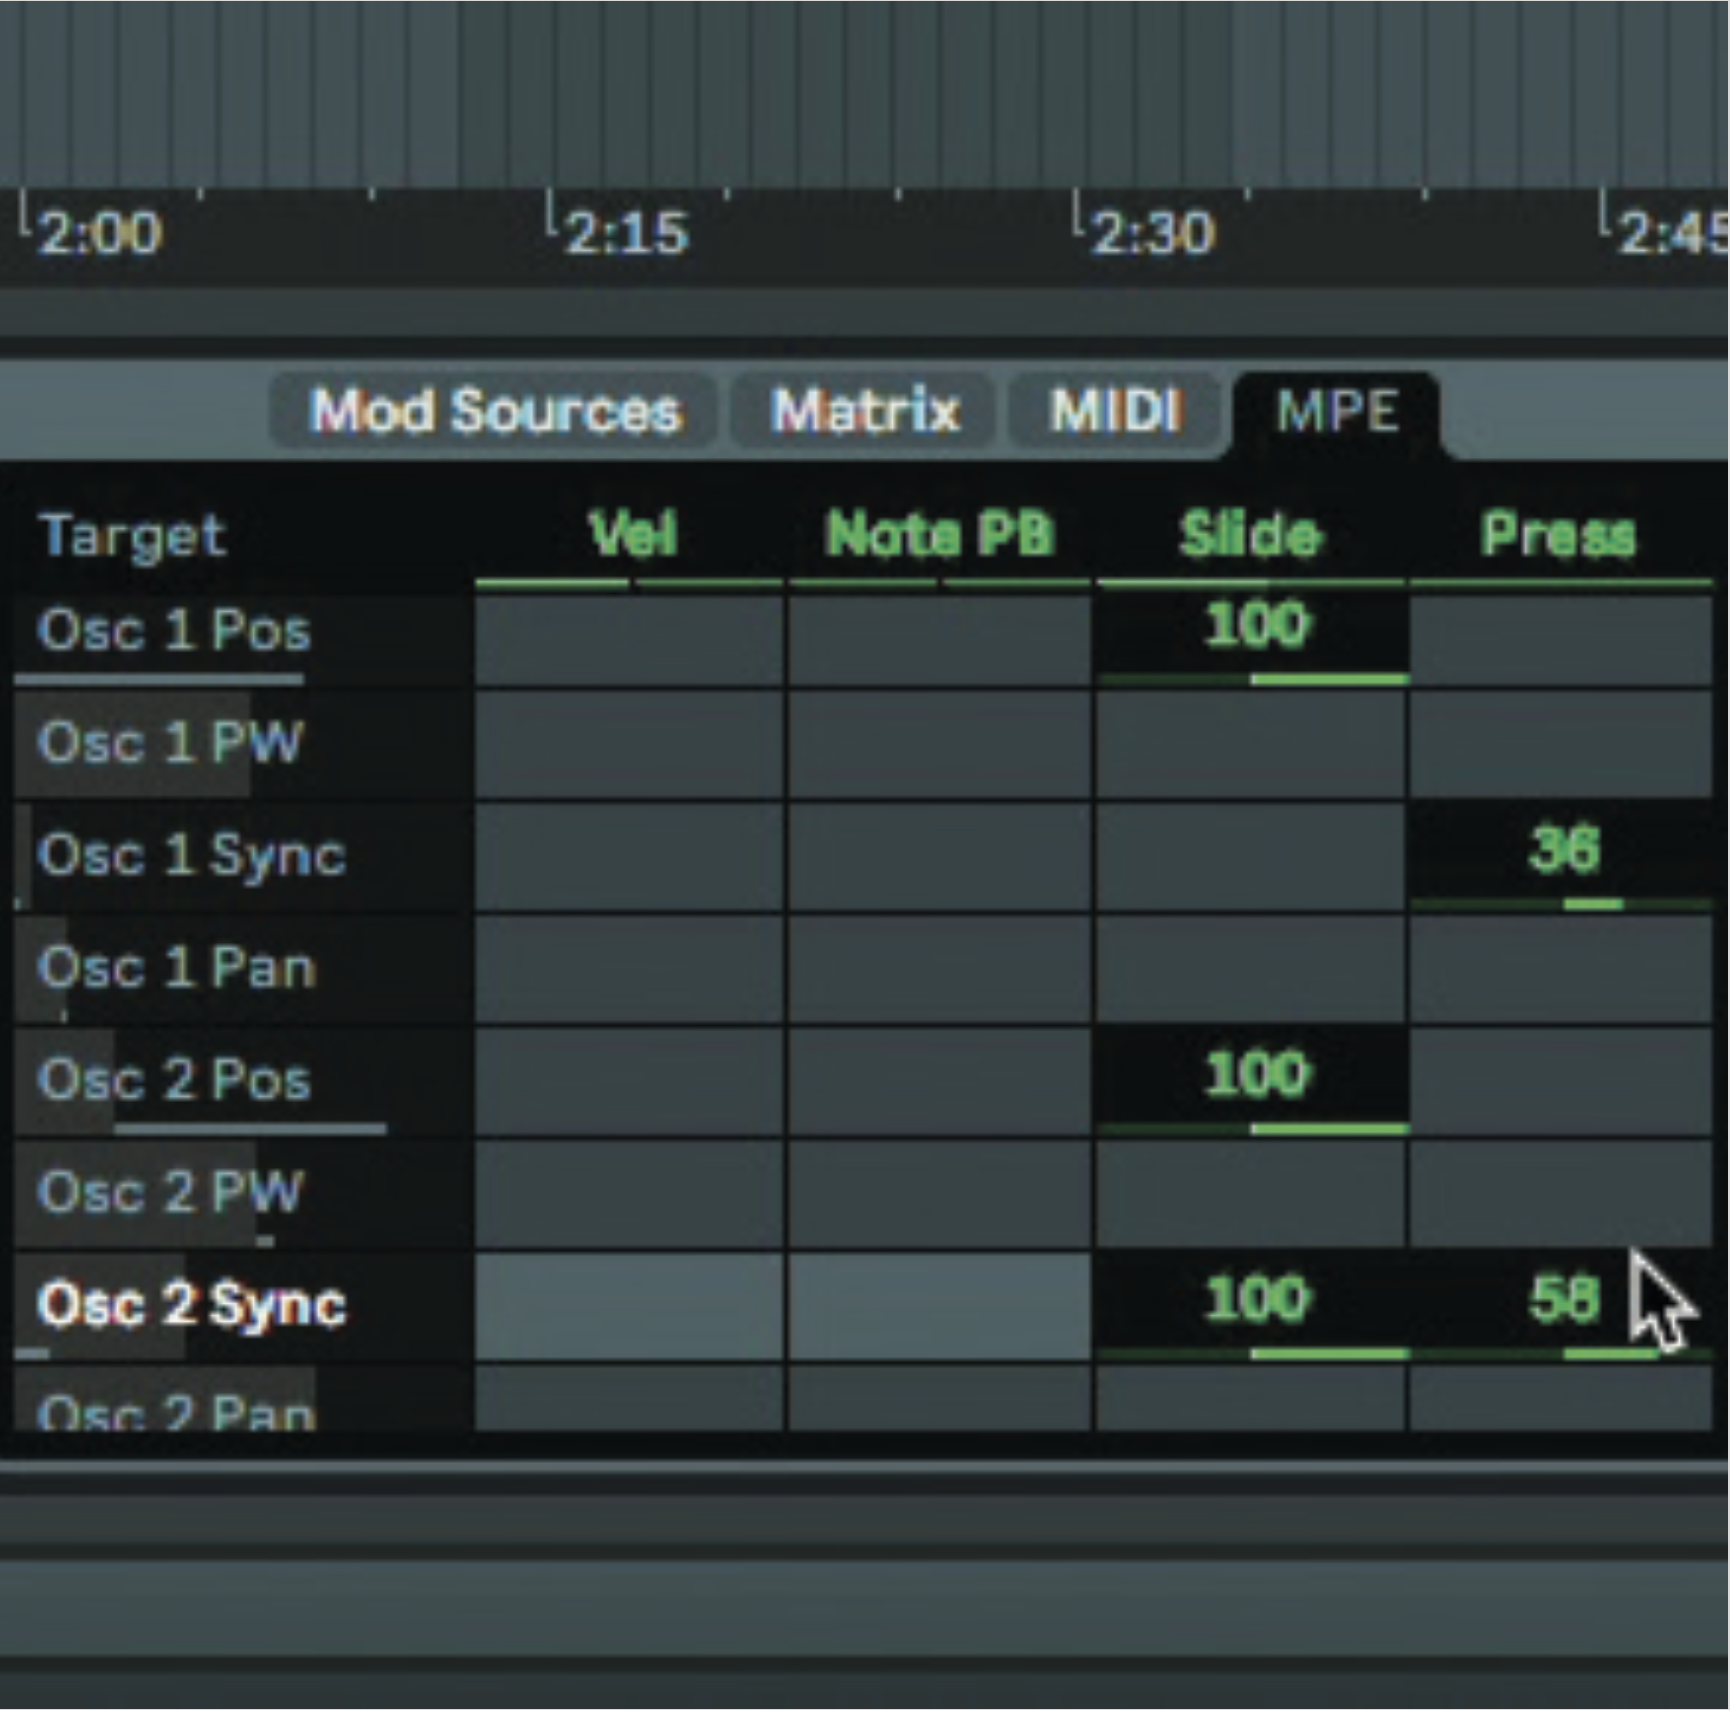
We re-route some of the MPE modulation, removing the Pressure from the filters, and using it on the oscillators’ Position controls and Oscillator 2 Sync. We also route Slide to filter frequency. You can hear our changes in the audio files.
Pro tip
To keep things subtle with MPE targets, choose a lower amount value, for less drama. Given that these modulations are polyphonic, they build up quite heavily. Another tactic is to compensate for one modulation with another: you could increase the amount of distortion applied while reducing the dry/wet of the processor, for example. Or try affecting one filter cutoff negatively and the other positively, keeping things equal-power overall, but still introducing change when the modulation source gets higher.
Using MPE functions in Preparation 2
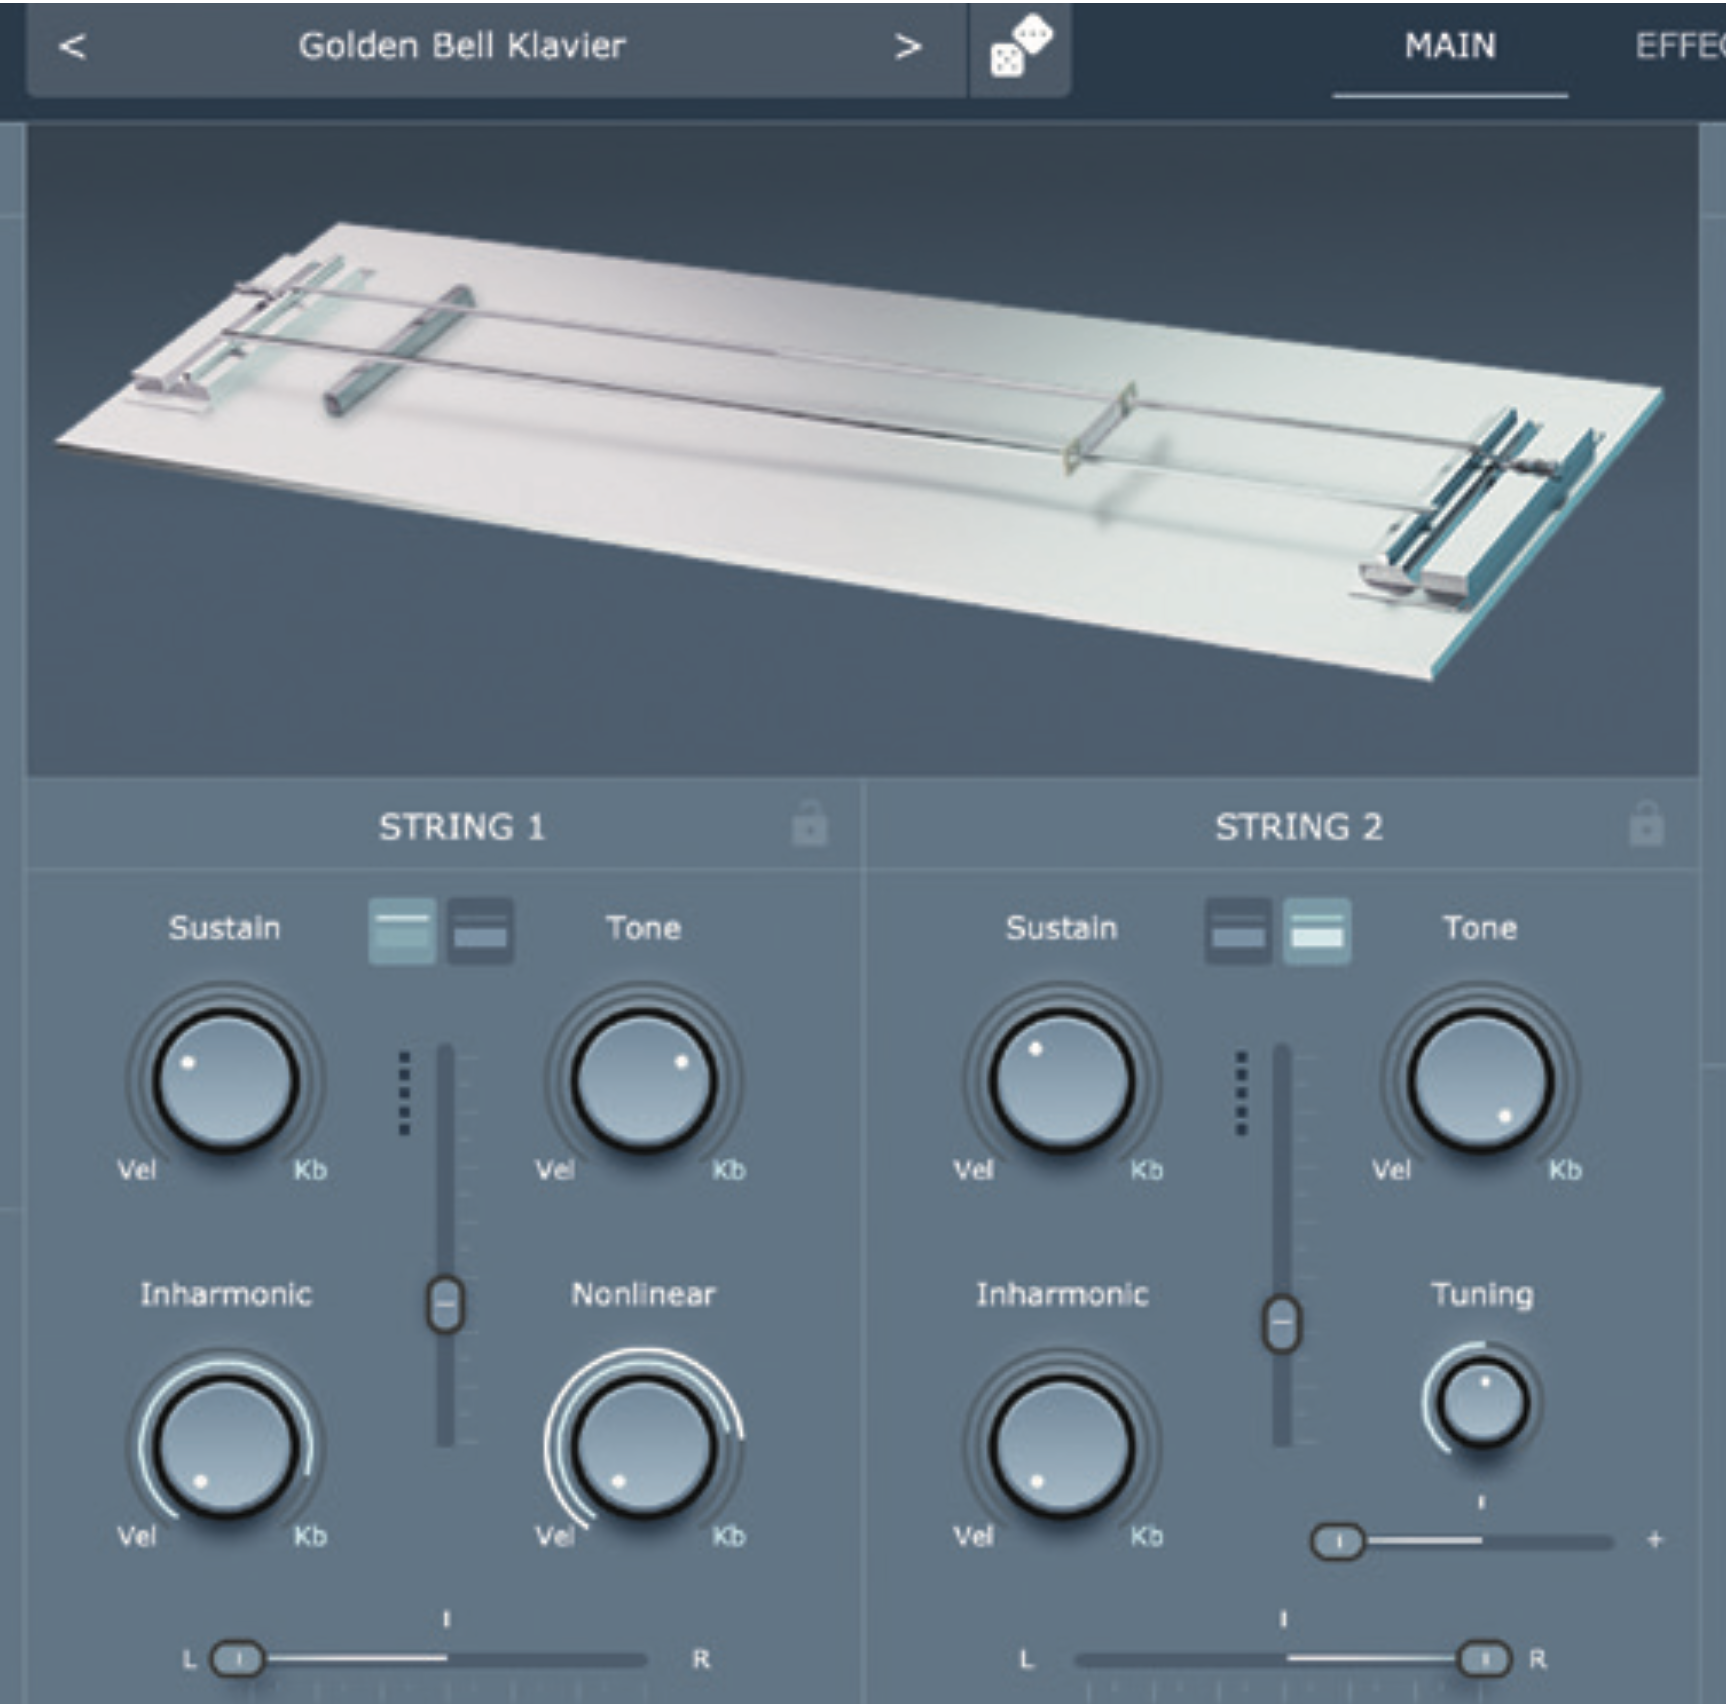
In Physical Audio’s Preparation 2, a pair of physically modelled strings collide with a fret and a rattle, setting off a chain of collisions that have effects on the overall sound. This conceptual instrument can be controlled by MPE as well as regular MIDI input.
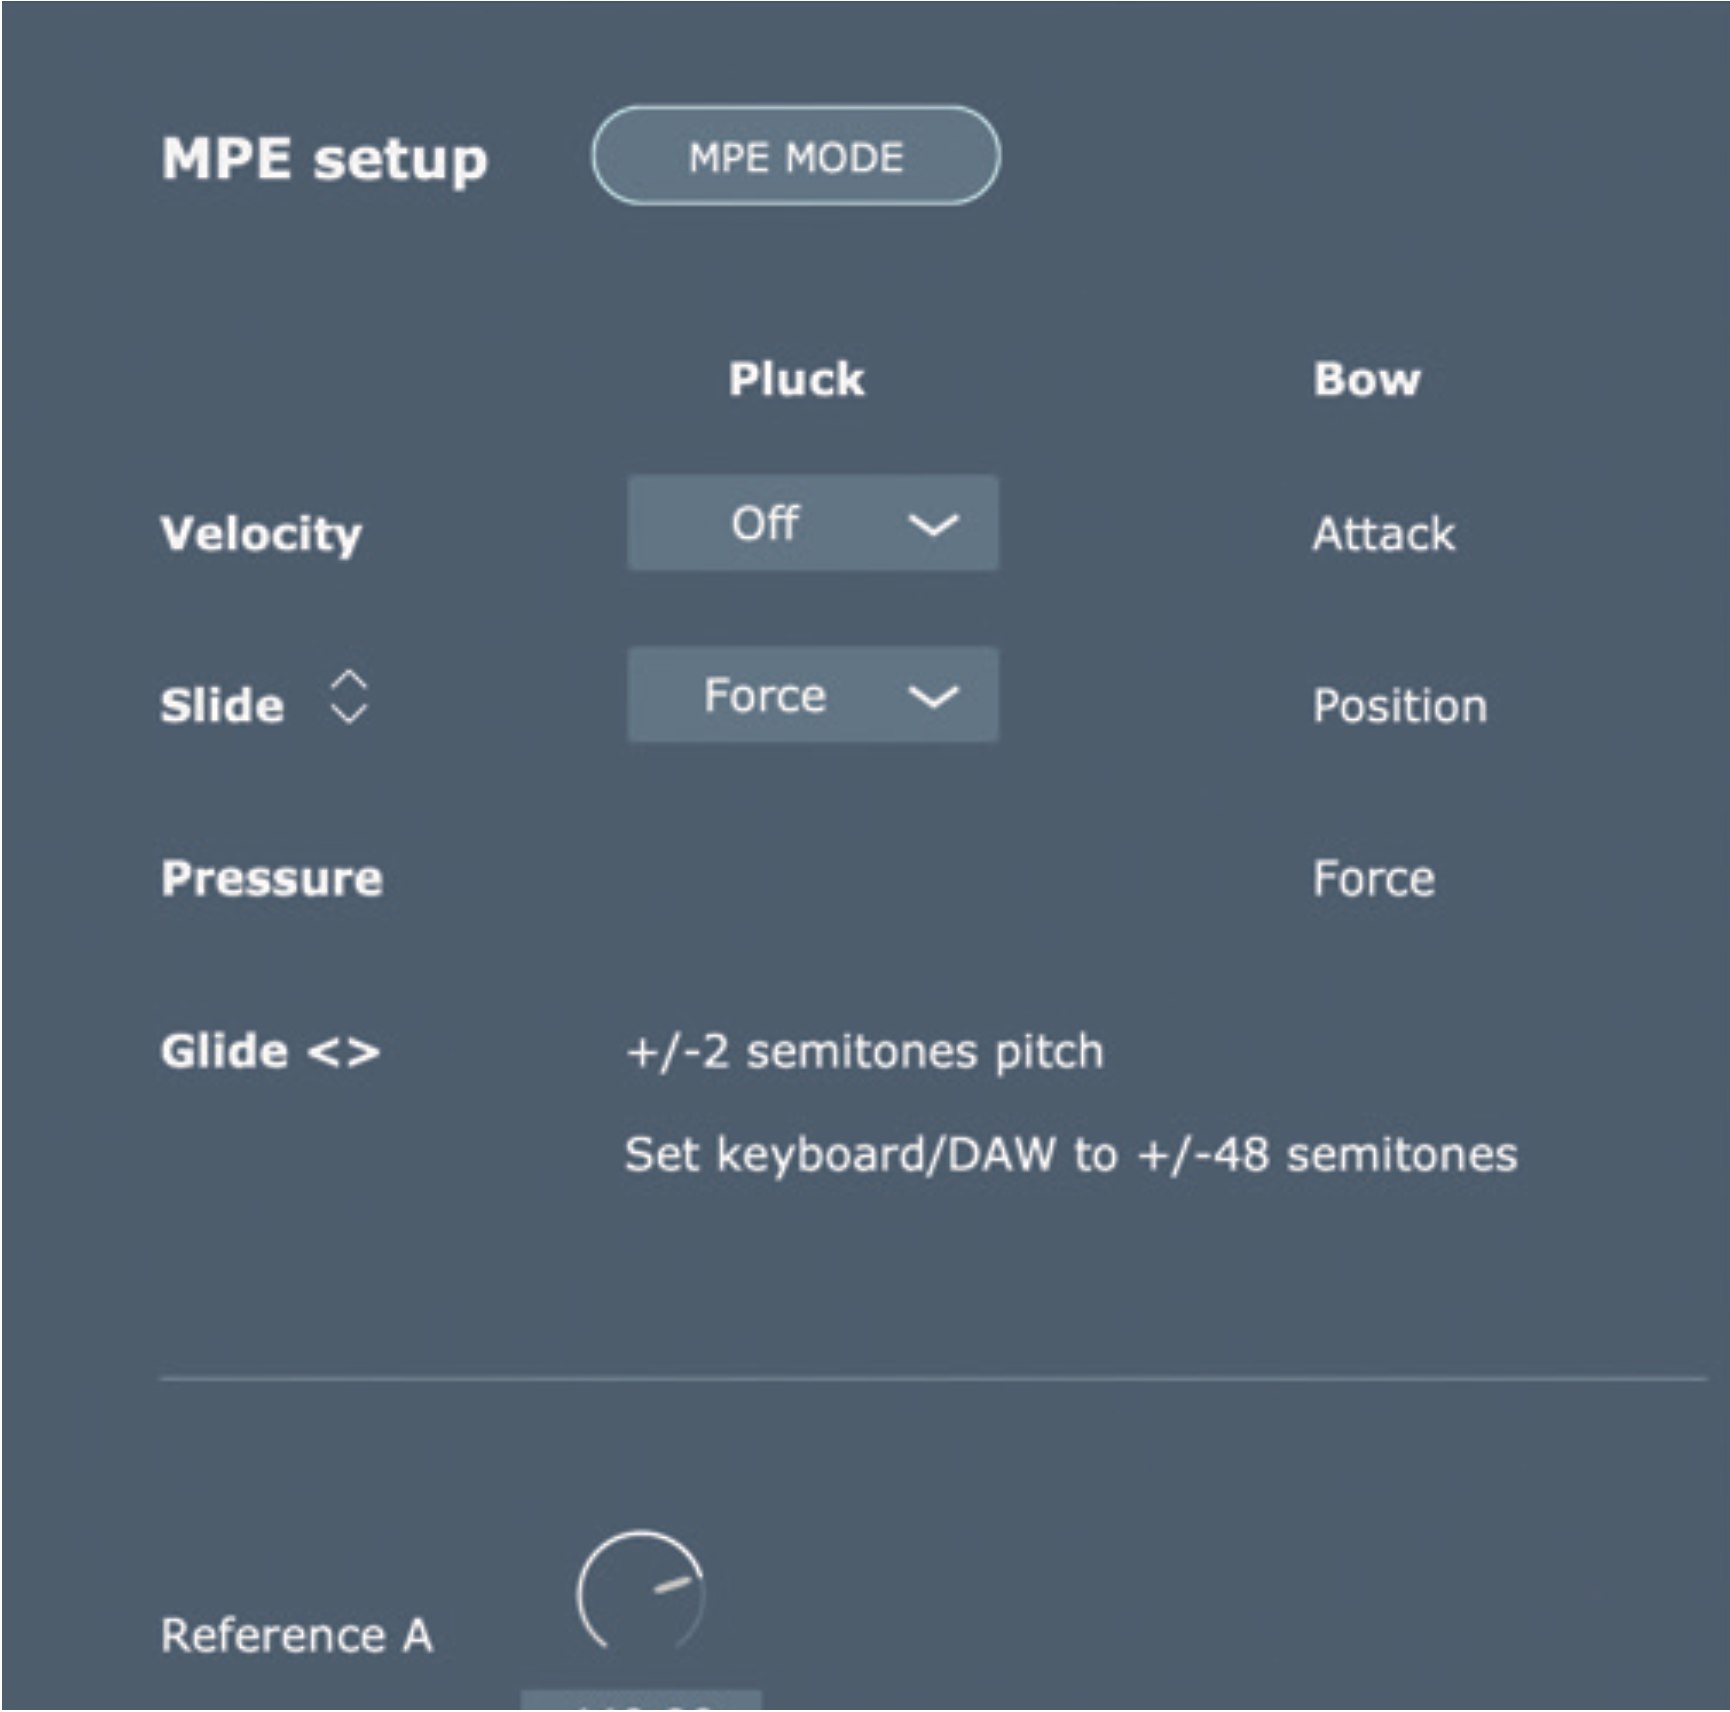
With MPE enabled in our DAW, head to the MIDI tab and activate the MPE mode to starting playing the instrument back using MPE. Note here that the pitchbend isn’t as fluid as other synths, due to the nature of each physical model generated as a note is played – it goes as high as two semitones.
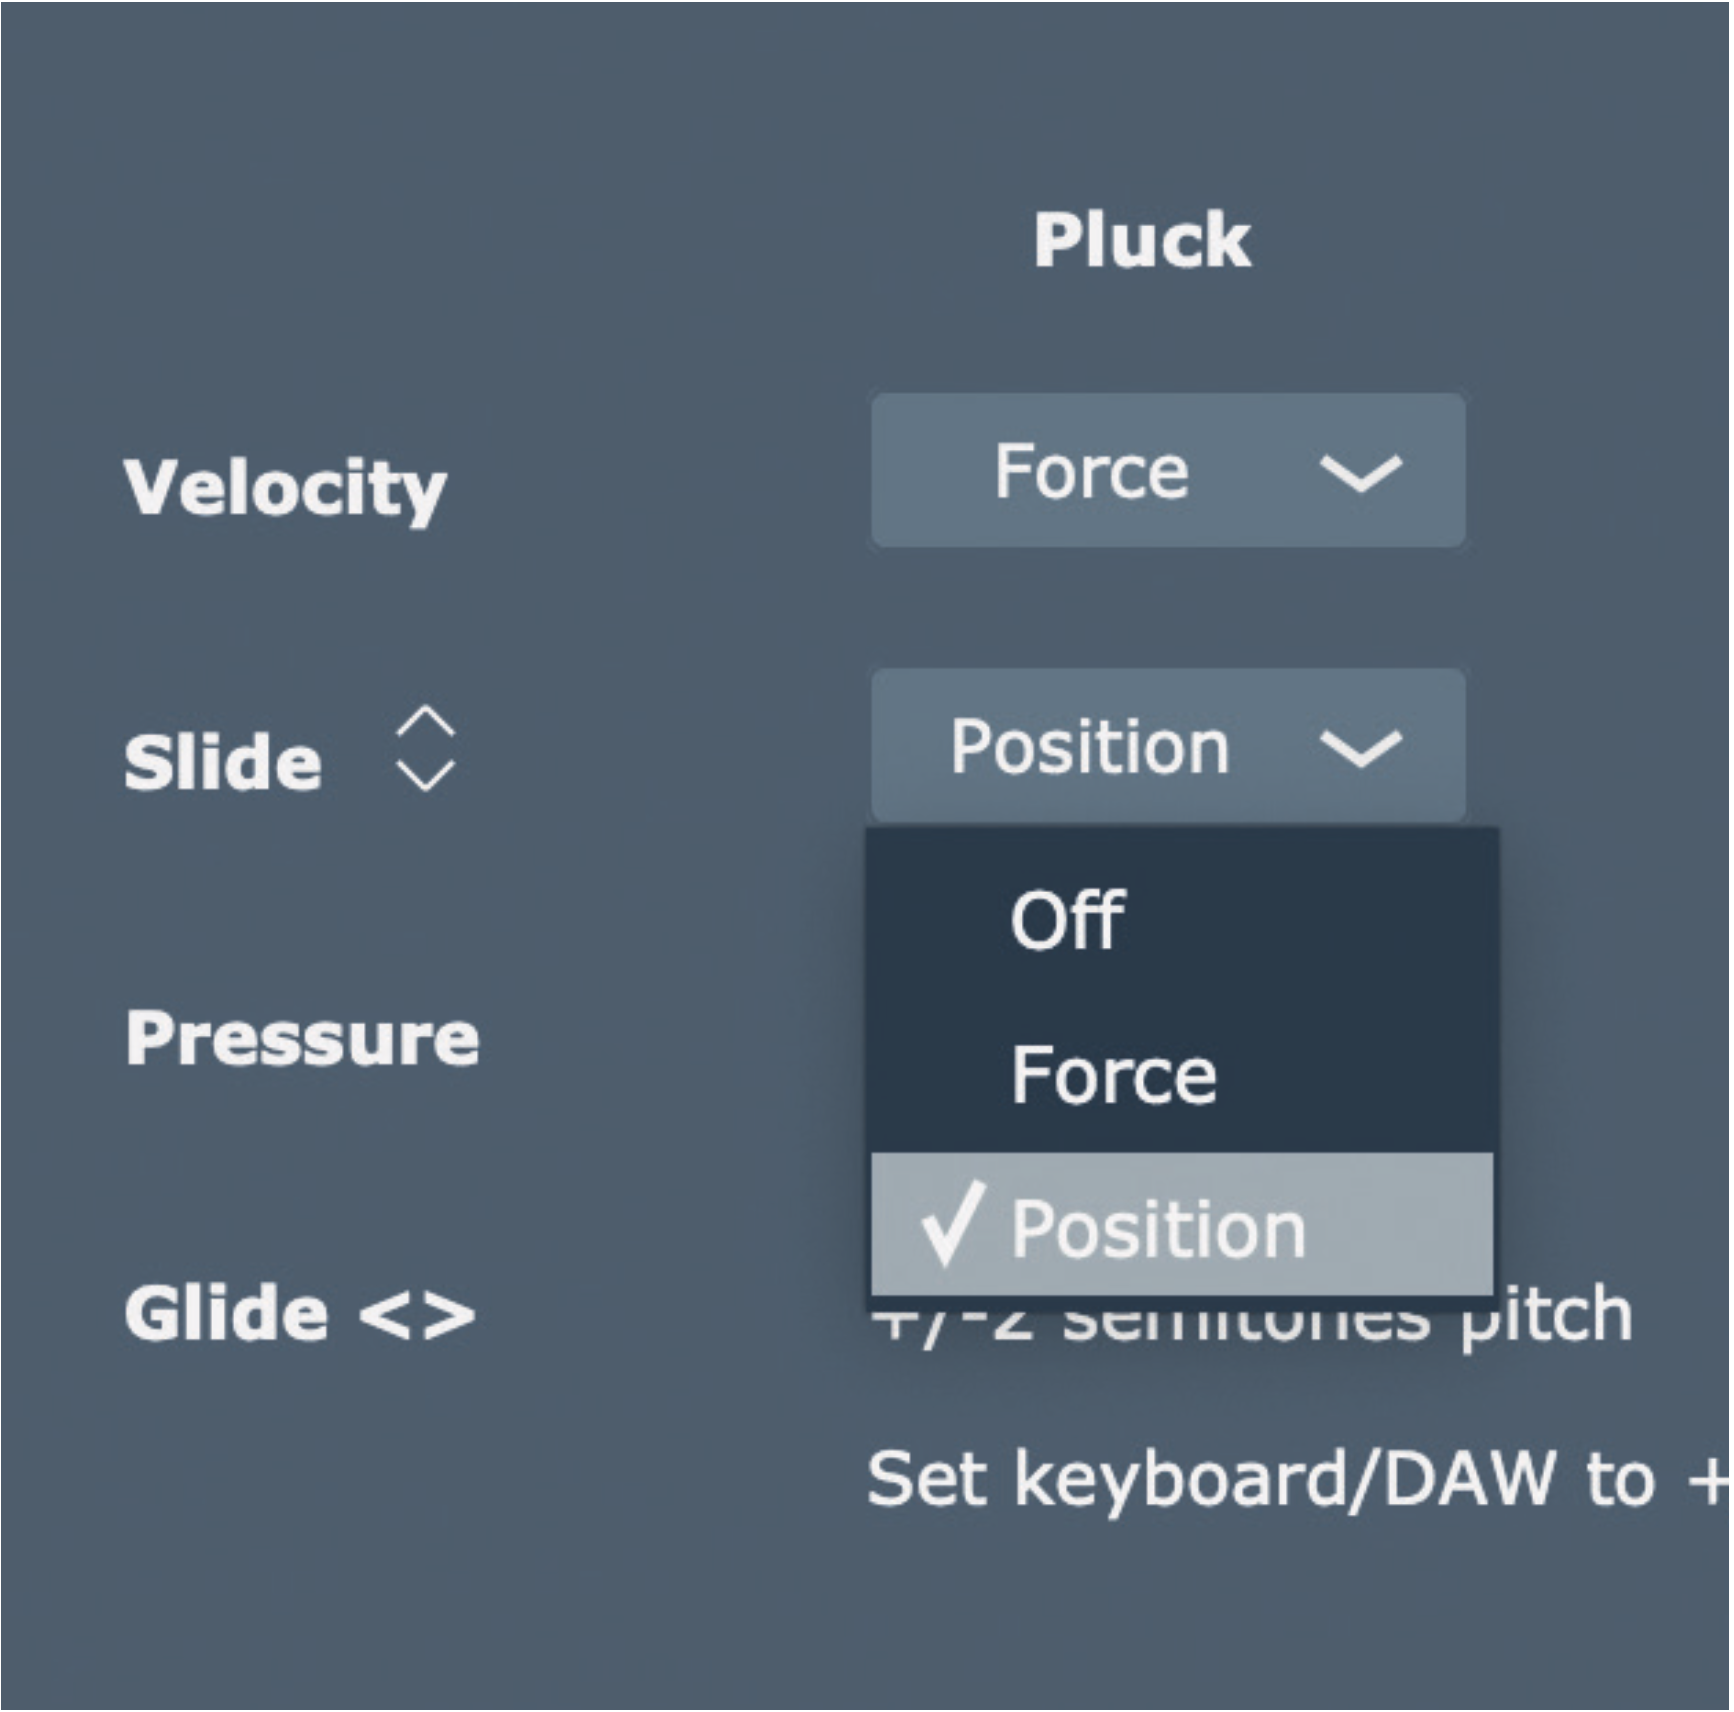
When Preparation 2 is in Pluck excitation mode, Velocity and Slide information per note is assigned to its Force or pluck Position. When Bow excitation mode is used, Velocity, Slide and Pressure controllers are hardwired to Attack, Position and Force.
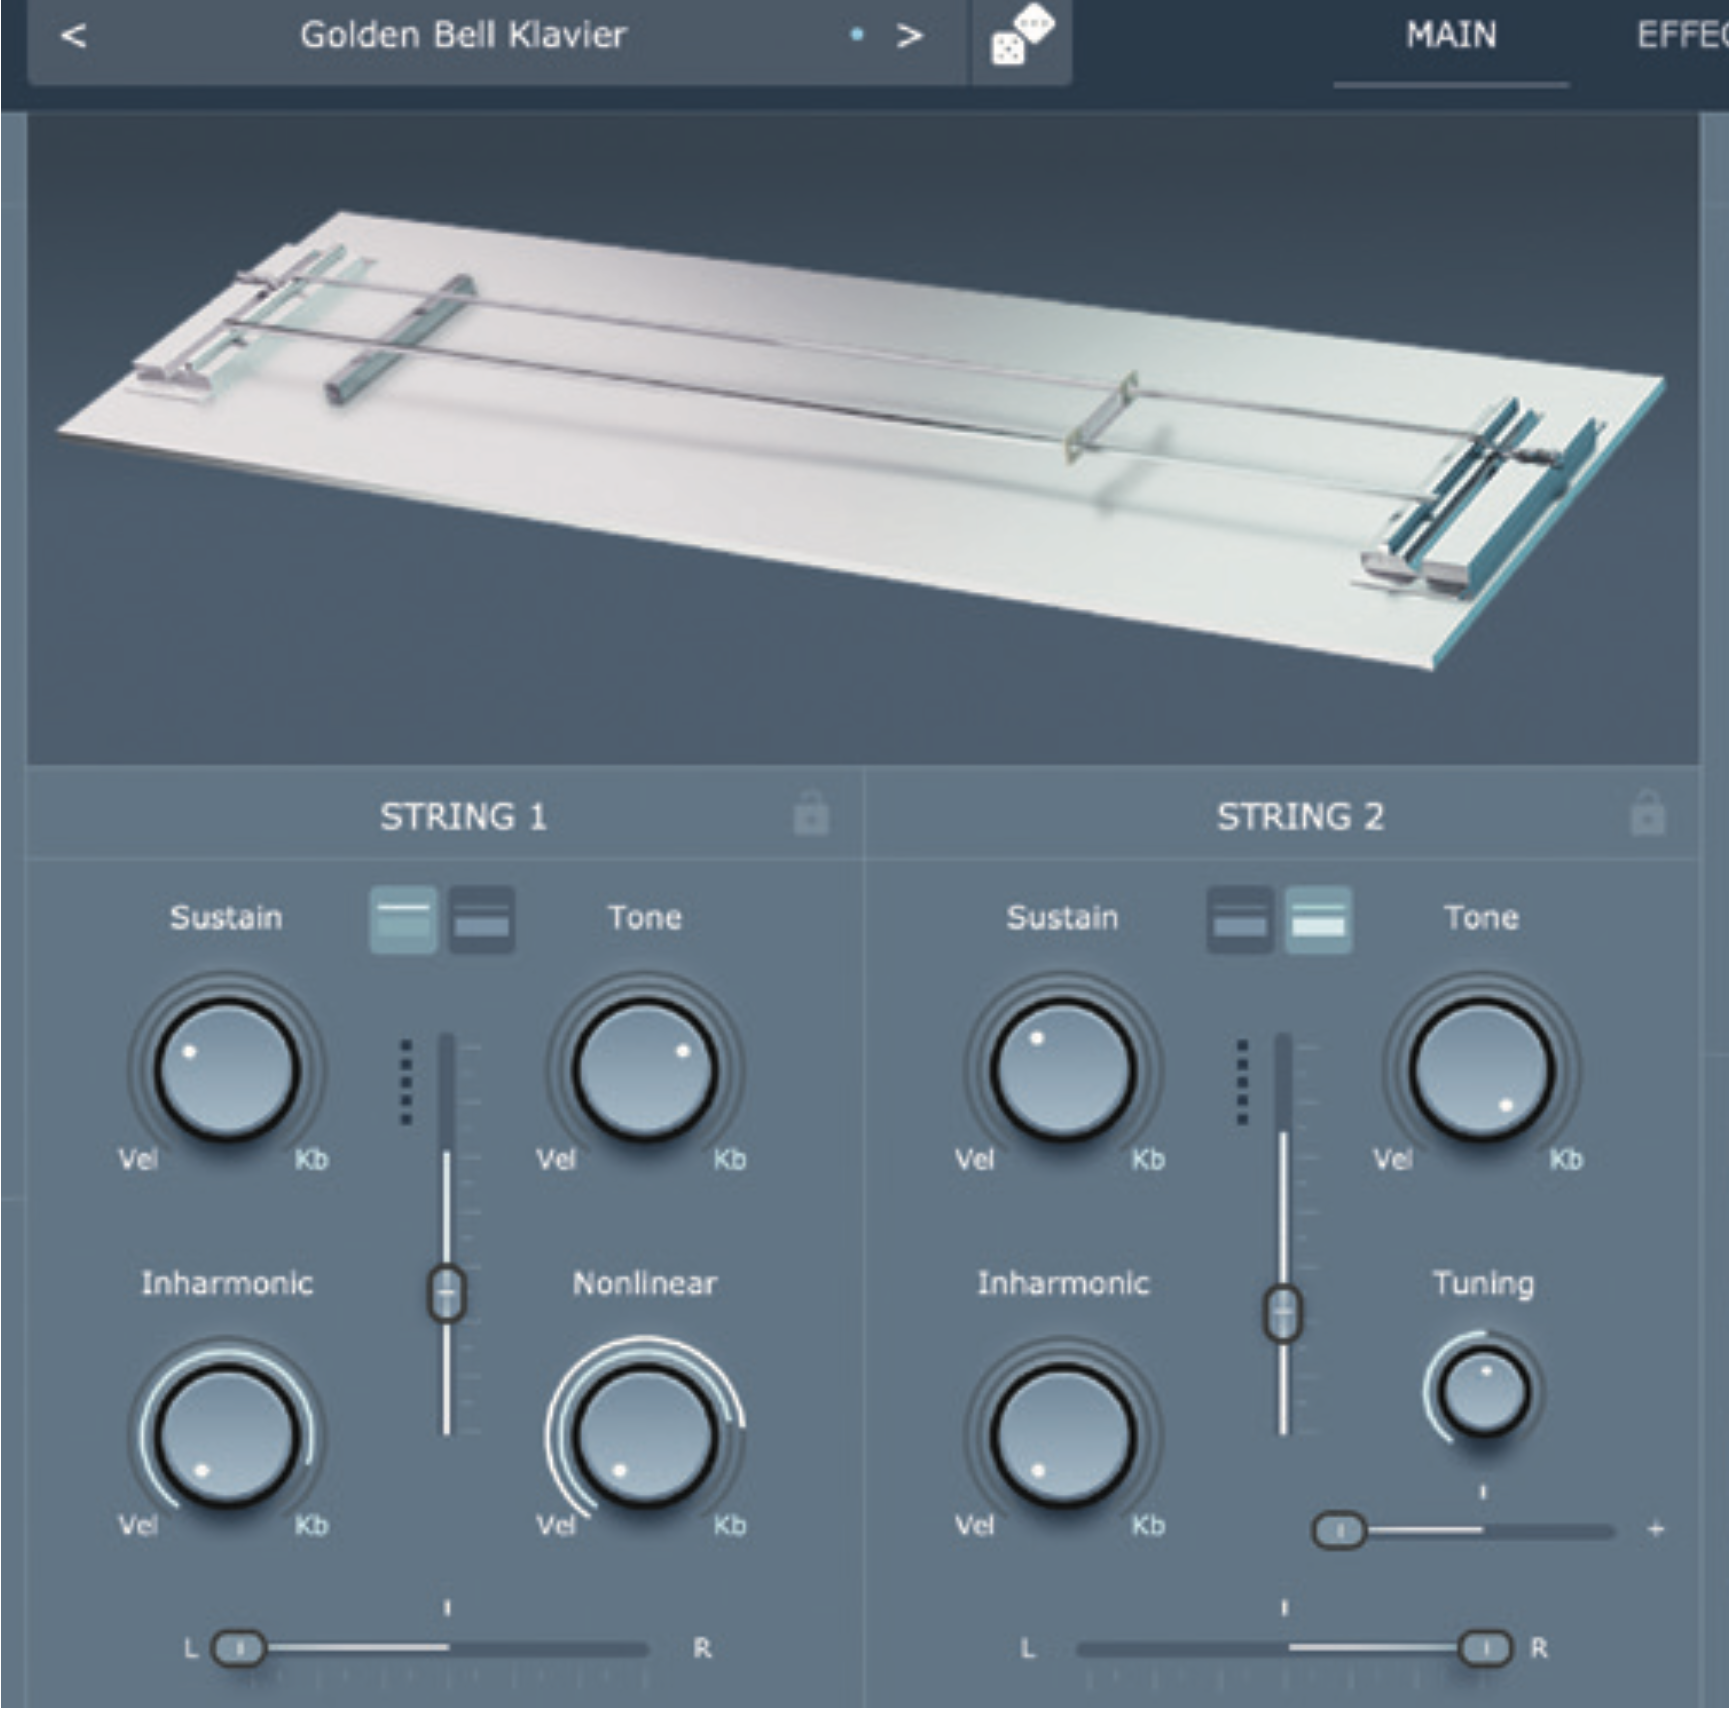
Here’s the Pluck exciter at work. Here, the force with which a key is struck translates easily to the force used by the model’s pluck. The Position of the pluck along the string is determined by the position of the finger on the note, making for an intuitive setup.
More MPE plugins
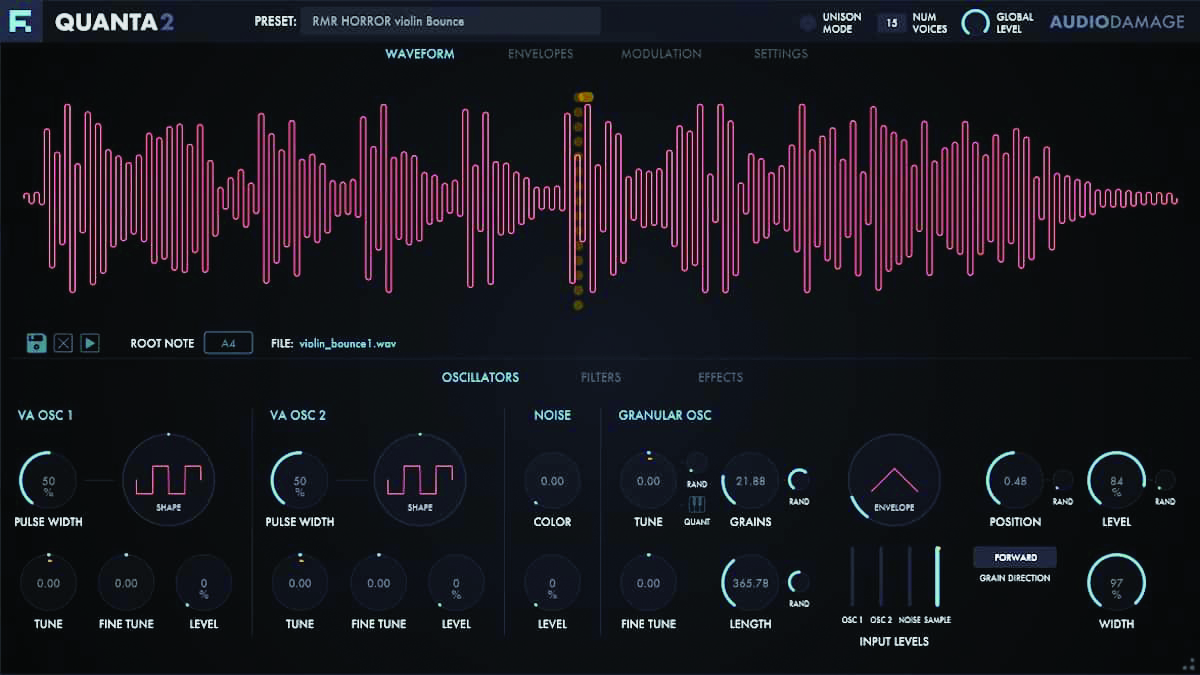
Most of today’s instruments are MPE-compatible. The standard isn’t loved by every musician, artist or producer, but it has become a standard expectation for most synths released today. It’s worth noting a few of the developers who are bringing good MPE-capable synths to market, including those sold by Roli itself: Cypher, Equator and Strobe, which were first introduced by FXpansion a decade or so ago.
Arturia has thrown its shoulder into MPE with their flagship Pigments synth, and you’ll also find MPE capability in Audio Damage’s Quanta 2 synth. Many other options are out there for getting your multi-fingered polyphonic wiggling on. In the hardware synth world, it’s slightly less common to see MPE implementation, but it’s on the rise.
3 of the best MPE-compatible plugins
1. Madrona Labs Sumu
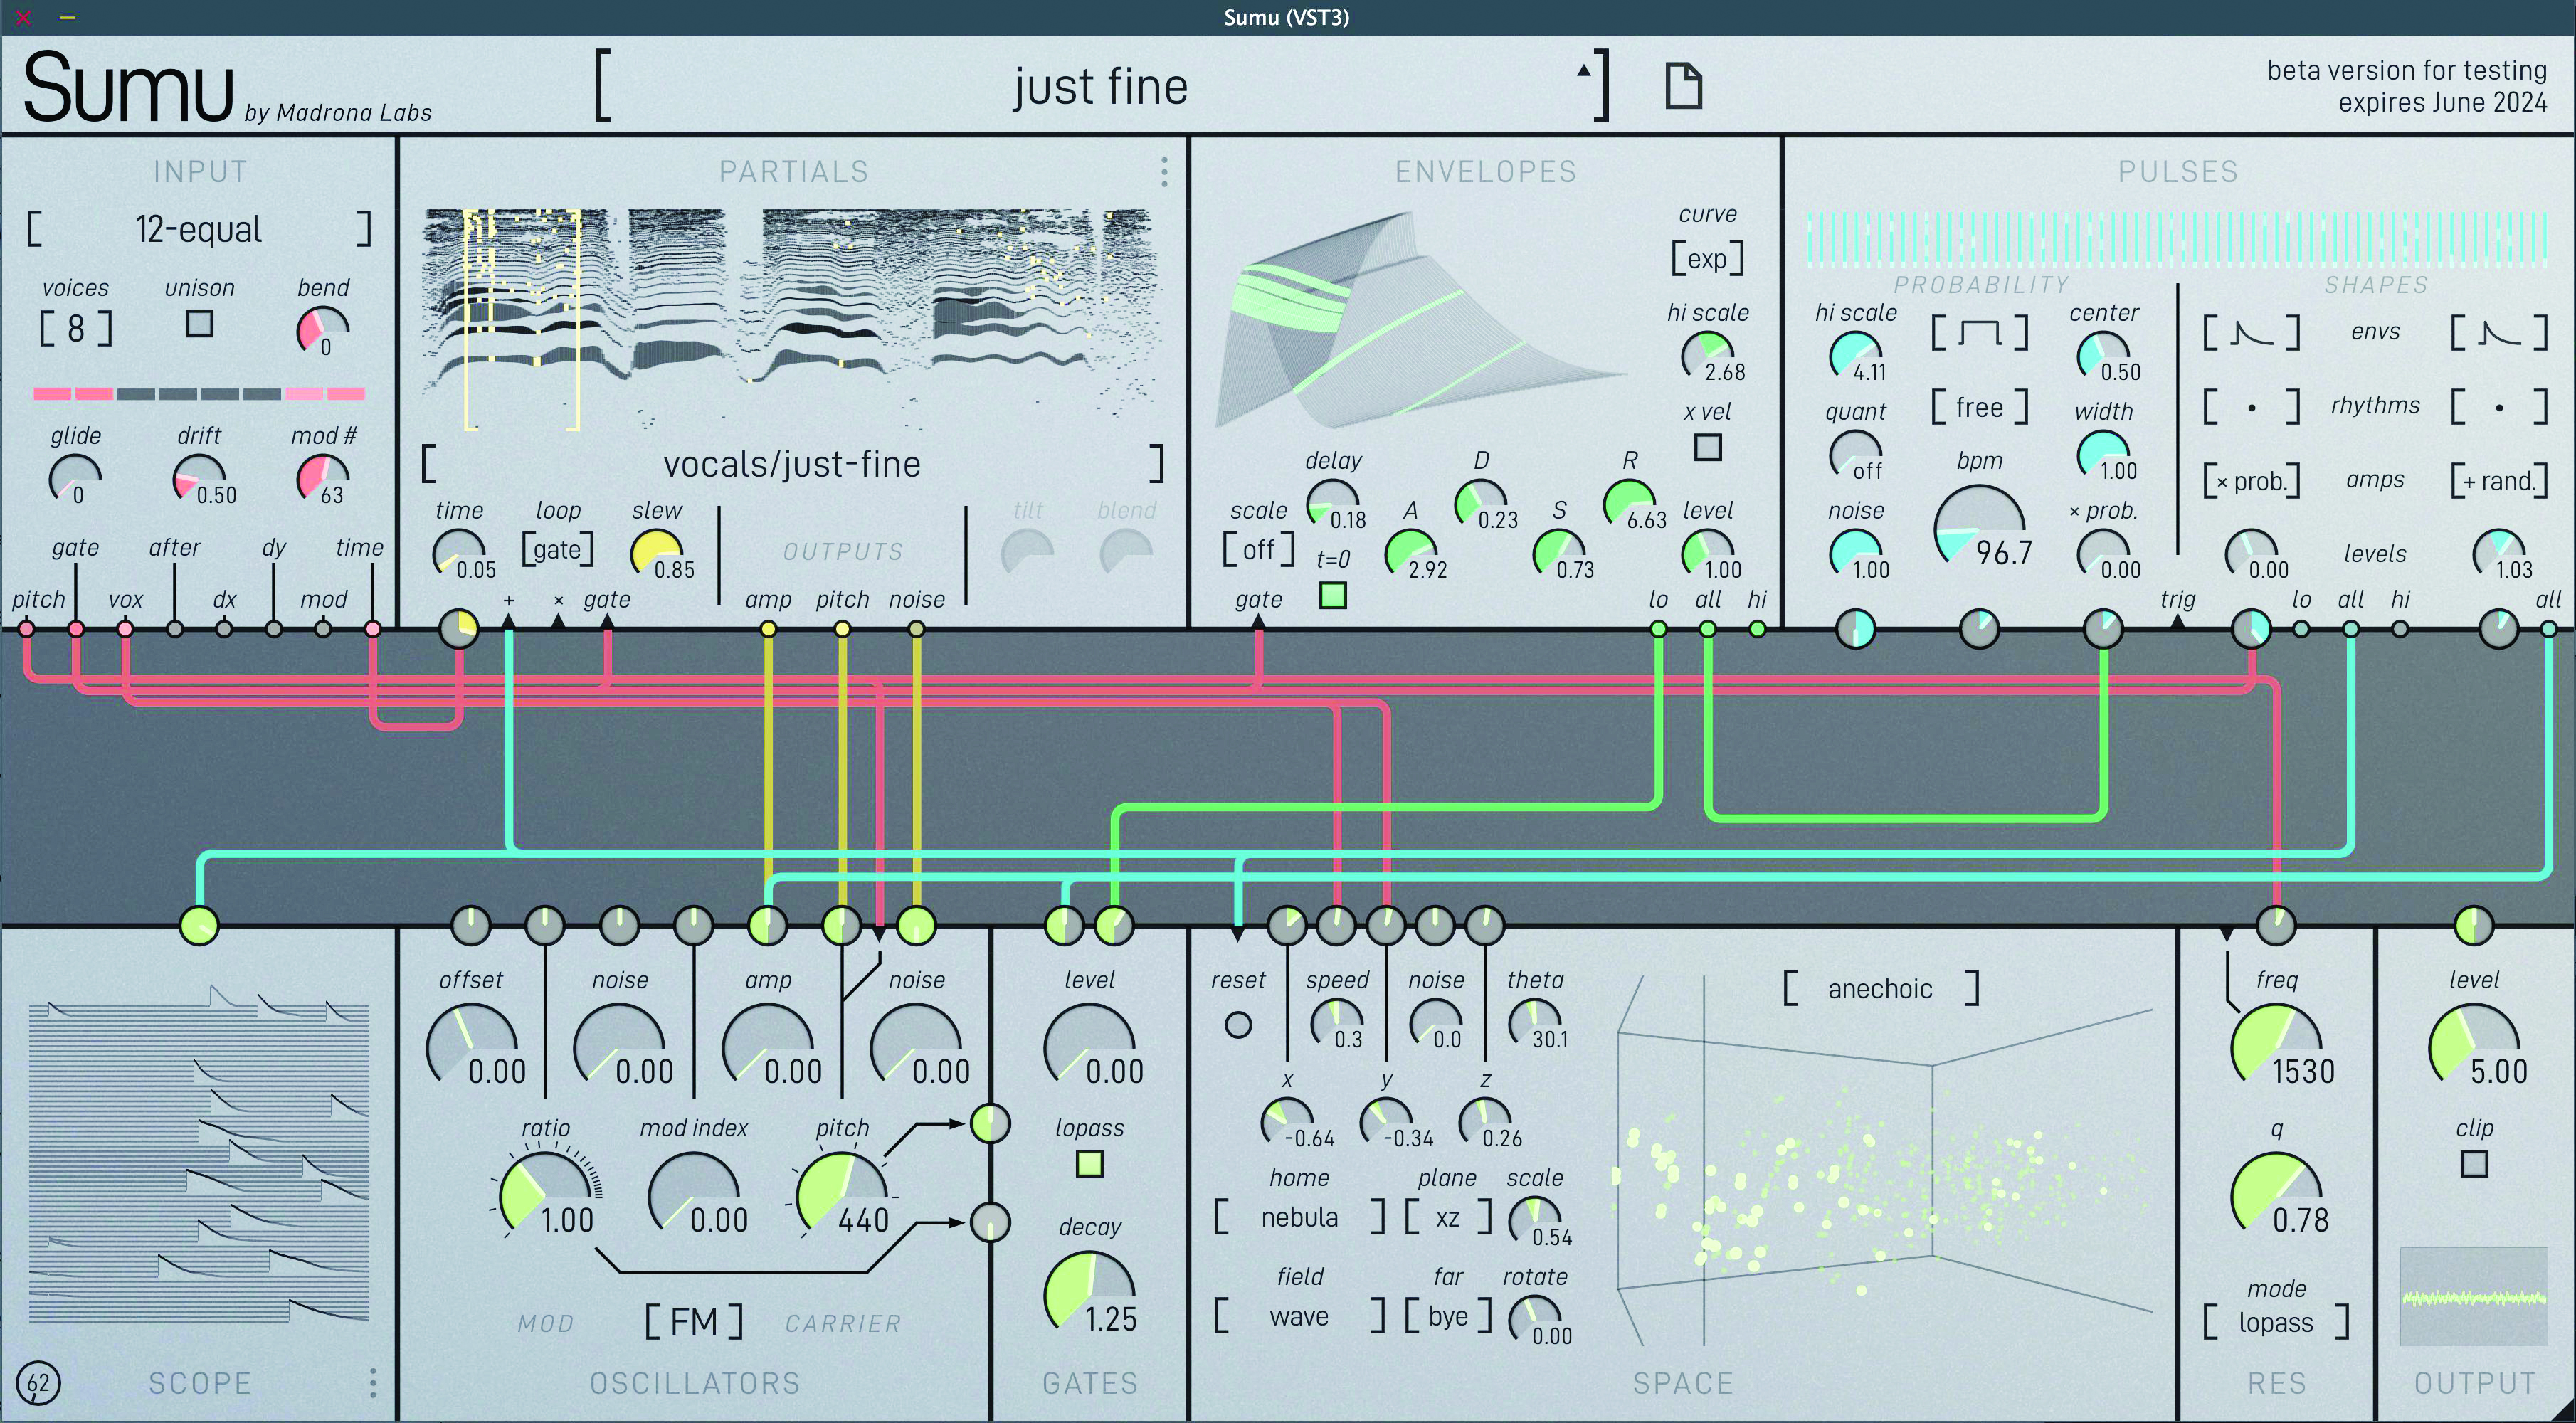
This is a long-awaited synth from the maker of Aalto, Kaivo and Virta. Sumu brings together a mix of Additive synthesis, FM synthesis and something called “Vector Field Spatialization”.
$179 from Madrona Labs
2. Synapse Audio The Legend
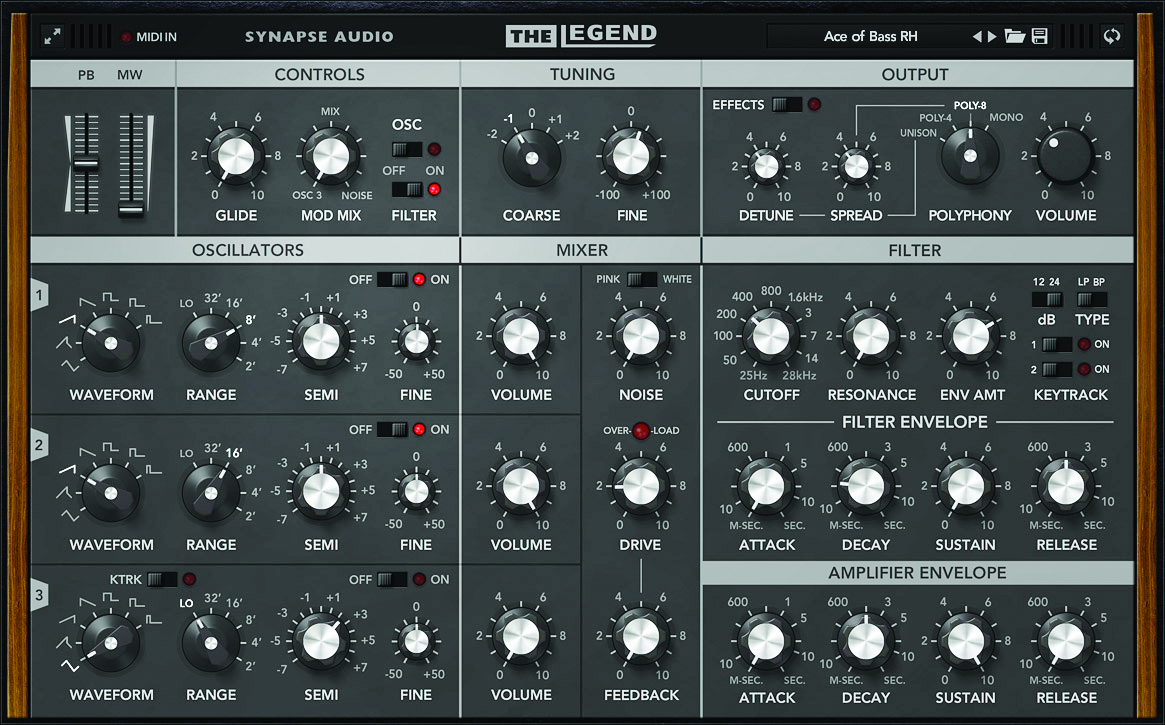
If you like to smash together old-school analogue gear and new-school MPE control, how about using Synapse Audio’s MPE-compatible plugin The Legend? It’s a comprehensive Minimoog emulation that also has its own ‘Hans Zimmer edition’
£149 from Synapse
3. UVI Falcon
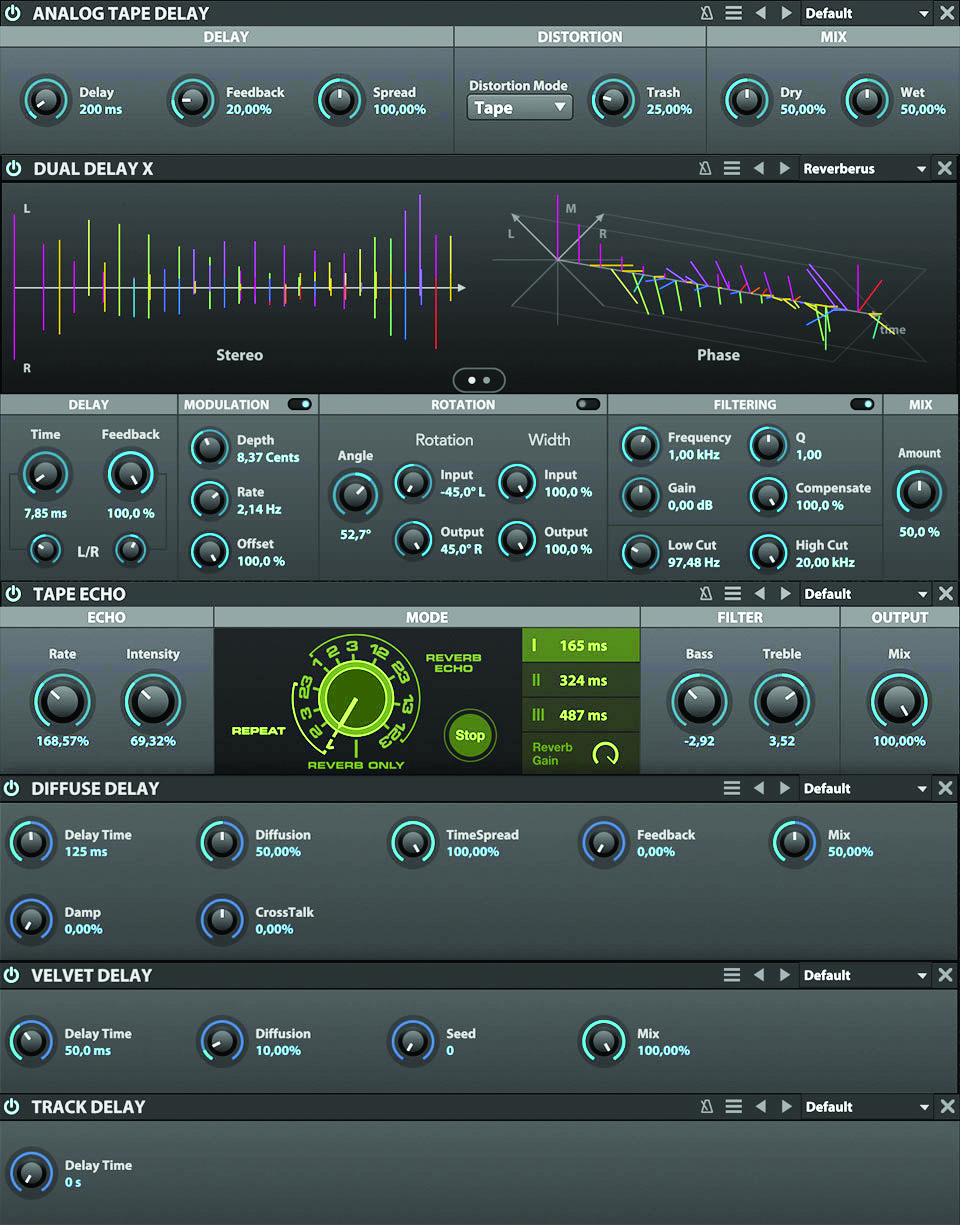
This respected alternative to Kontakt is MPE-compatible, meaning that many third-party instruments are potentially within MPE’s grasp too.
$349 from UVI


