Recreating one of the best retro handhelds ever is no mean feat, and the Lego Nintendo Game Boy certainly has its work cut out for it. You see, while most reasonable building block fans will see this set as an incredibly accurate 1:1 model of Ninty's 1989 brick, I'm not so easy to please.
When it comes to this Game Boy recreation, there are two unbearably nerdy wolves in me. One has opposable thumbs and had a fairly nice time putting together what it'd call one of the best Lego sets out there in terms of detail and value for money. The other is snarling at the tiny differences that keep the 412 blocks from being the ultimate handheld homage.
I'll be the first to admit that most of my Lego Game Boy gripes are stupid. It's hardly fair to judge a set that largely nails translating every visual element of the '90s handheld into something made of existing parts, and it's the first kit of its kind that feels *almost* like you could actually play Zelda: Link's Awakening on it. Still, my feelings on the model are mixed post-build, and if you're a diehard fan of the portable, you might feel the same unreasonable disappointment.
Lego Game Boy features
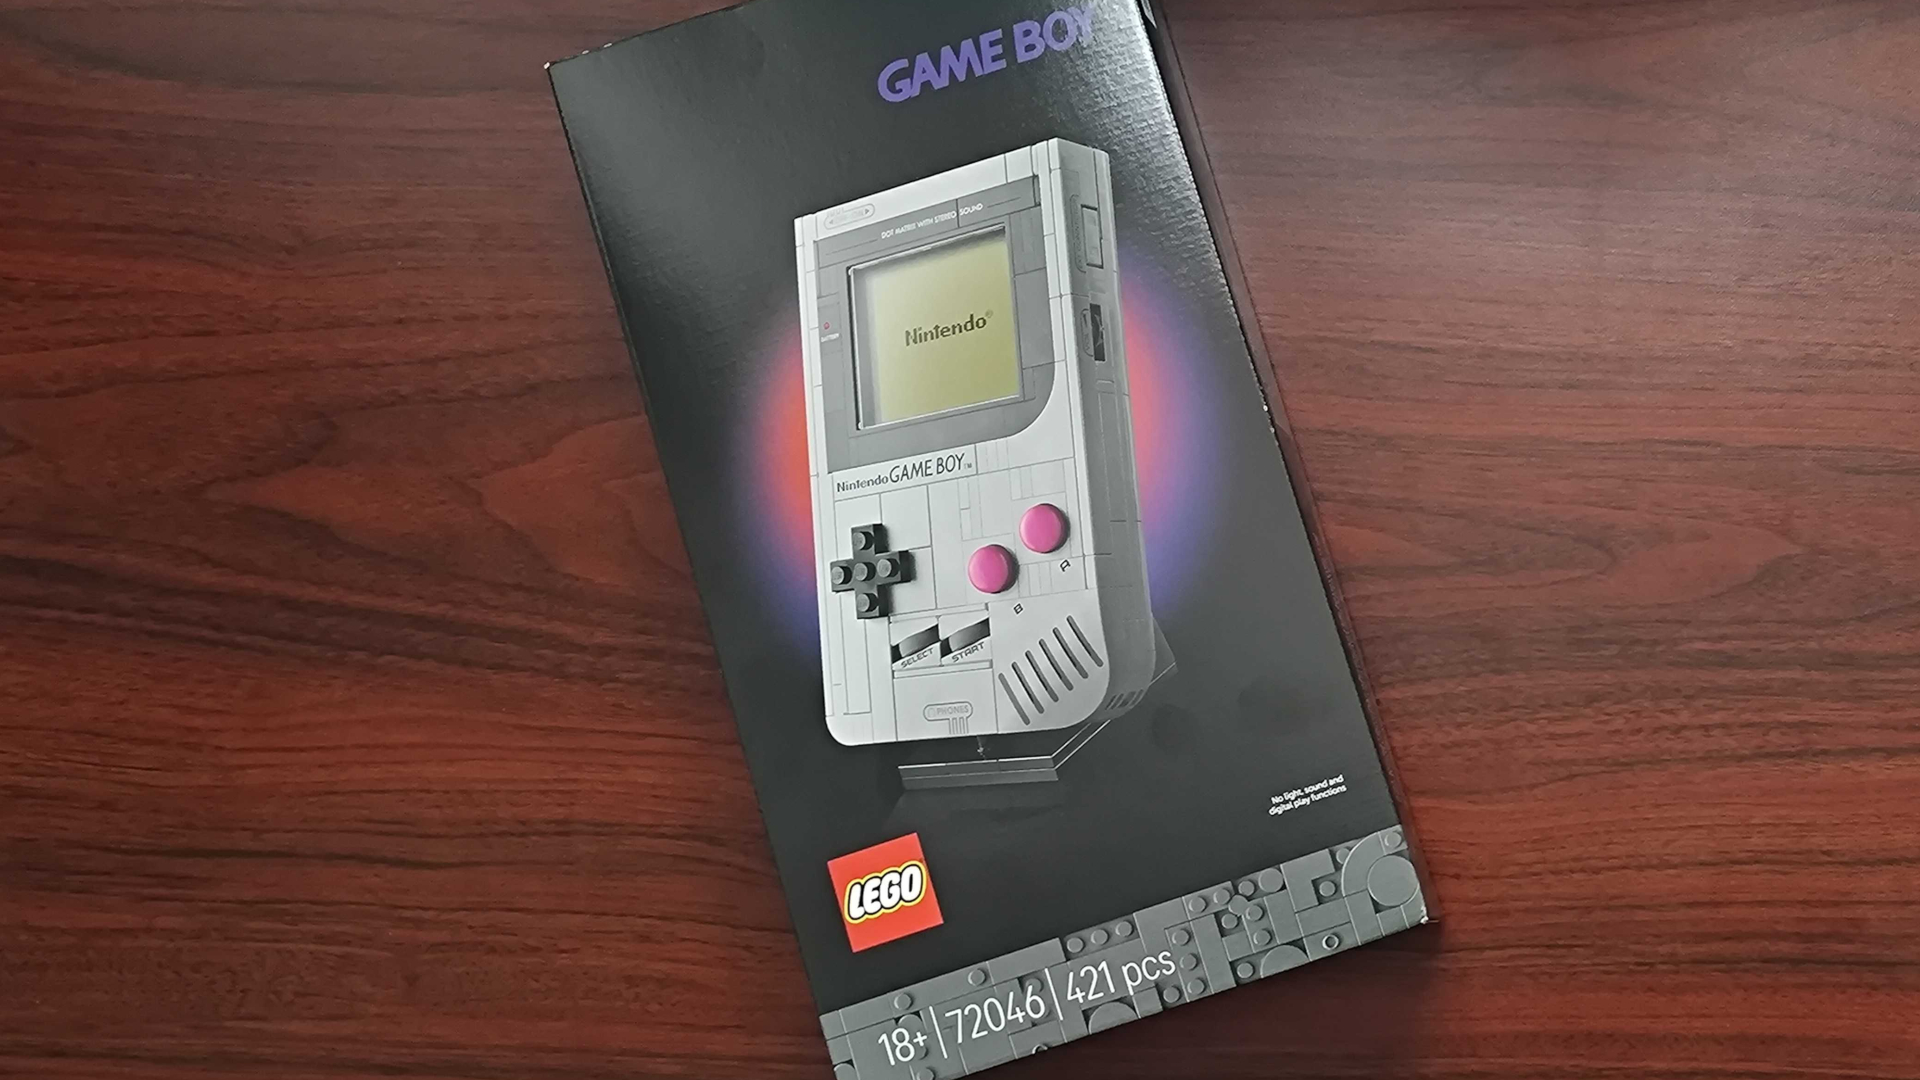
Price |
$59.99 / £54.99 |
Ages |
18+ |
Pieces |
421 |
Minifigures |
0 |
Build time |
1-2hrs |
Dimensions |
14 x 9 x 3 cm |
Item Number |
72046 |
Lego Game Boy build
Upon freeing the Lego Game Boy's paper baggies from their cardboard prison, I couldn't help but wonder how Gunpei Yokoi started piecing together the portable. The legendary Nintendo designer certainly didn't cobble it together using Swedish building blocks, but I was curious whether I'd get a feel for what it's like to piece together an iconic piece of retro console history, one with a revolutionary design.
The irony is that while I can tear down and disassemble most old handhelds with my eyes closed, and regularly take on mods like adding an AMOLED touchscreen to a Game Boy Color, I am famously tetchy when it comes to Lego sets. It's not that I'm bad at assembling kits, as I've been doing it since 1994, but my ADHD tendencies do kick in, selectively choosing complete chaos throughout some building sessions.
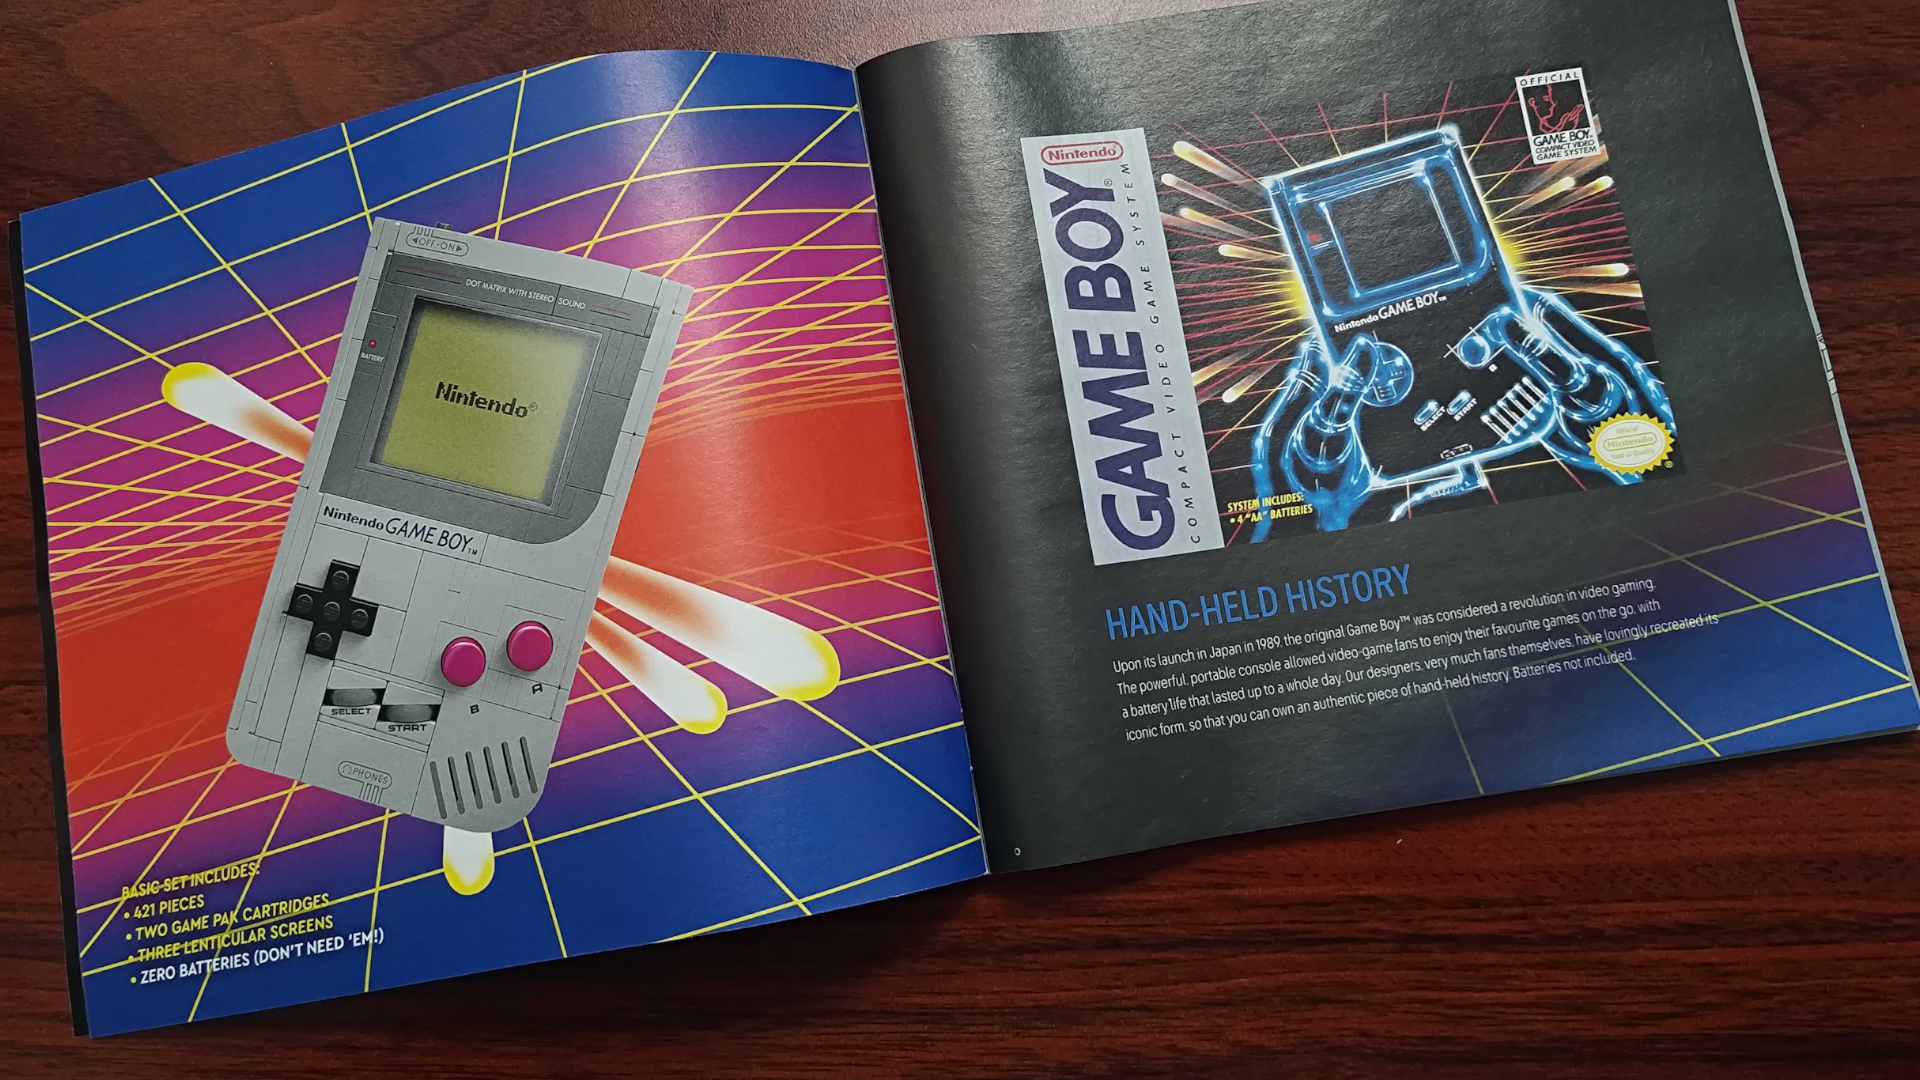
It's for that reason that, upon getting everything out of the box, I was starting to sweat. The package presents you with five varying sizes of paper baggies and what feels like a very thick instruction booklet. In my head, a Lego Game Boy shouldn't have that many parts to be a remotely intimidating build, but I found myself procrastinating by judging the instruction manual itself on how it doesn't look like the OG console's paperwork. It does provide a few prelude history pages that feature that artwork and the portable's original box, so that's a nice touch.
Brick by 8-bit brick
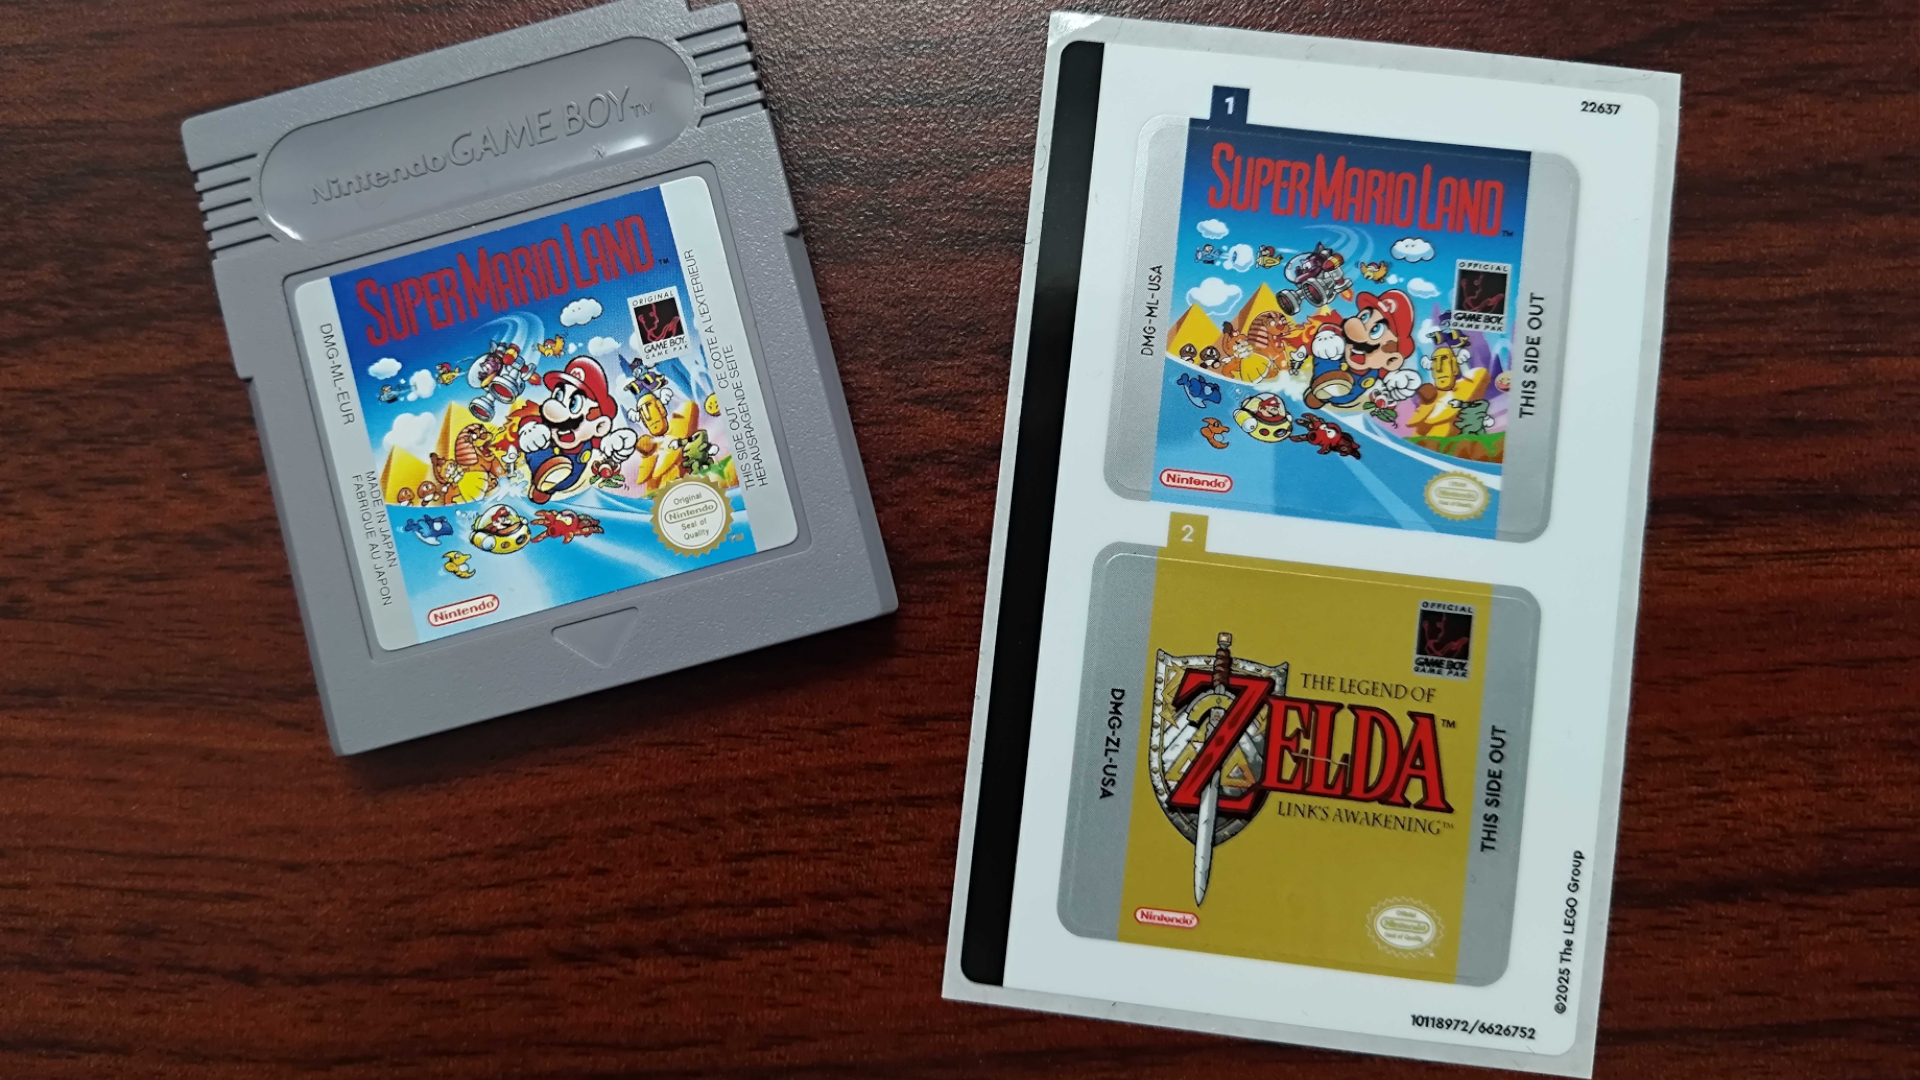
There are also several reminders on the box and manual that you're building three pieces of retro gaming history here. Yes, the primary model is the Game Boy itself, but the build process sandwiches the main handheld filling between two replica cartridges, and it eases you into the project with a Super Mario Land cart and a display stand.
The latter is the first thing you'll make, and it didn't really provide a taste or sense of rhythm for the build ahead of me. The same applies to the first Mario cart, which primarily uses layered plates to form a gray rectangle with mysterious hinge parts that will be better appreciated during the home run.
What I really didn't appreciate, though, was Nintendo's decision to make you apply the Game Boy cartridge labels yourself. The adhesive artwork is almost identical to an actual cartridge sticker, save for some color grading and shading differences, but you'll have to stick them to a smooth plastic plate with no indent or guidelines, meaning if you're not extremely careful, it will be squint.
Yes, this is likely due to Lego's philosophy on using existing parts, but it could have painted on an outline as it did with the Game Boy, faux-embossed logo on top. This is certainly a design decision that could cause tears early into the build, and while I used an actual cartridge as a guideline for placement spacing, I'd suggest just carefully trying to match the manual images.
After what should only really be around 10 minutes tops, you'll have a standalone model of a Game Boy cartridge. Kicking things off like this gives you the option to return to the build while still having something for your shelf in the meantime, but if you're doing it in a oner, you'll swiftly move into assembling the handheld itself.
If you're the type that double-guesses build structure stability, then Lego will absolutely psyche you out with the Game Boy. No, I really shouldn't doubt the building block makers since they're masters of their craft, and their kits always come together in a logical way in the leg. But, I've given myself a degree of paranoia assembling cheap alternative sets that meant I felt uncomfortable layering the back grates on temporarily wiggly single studs, and I ended up second-guessing myself.
Again, I don't think this is a remotely challenging build, but paying close attention to the 3D instructions is vital. Don't try to predict what's coming next in a causal flow state, or try to correct anything you don't think is structurally sound in that moment. The parts will layer together to form a solid brick, and you should have no issues if you pay extra attention to the admittedly sometimes hard-to-perceive 3D renders.
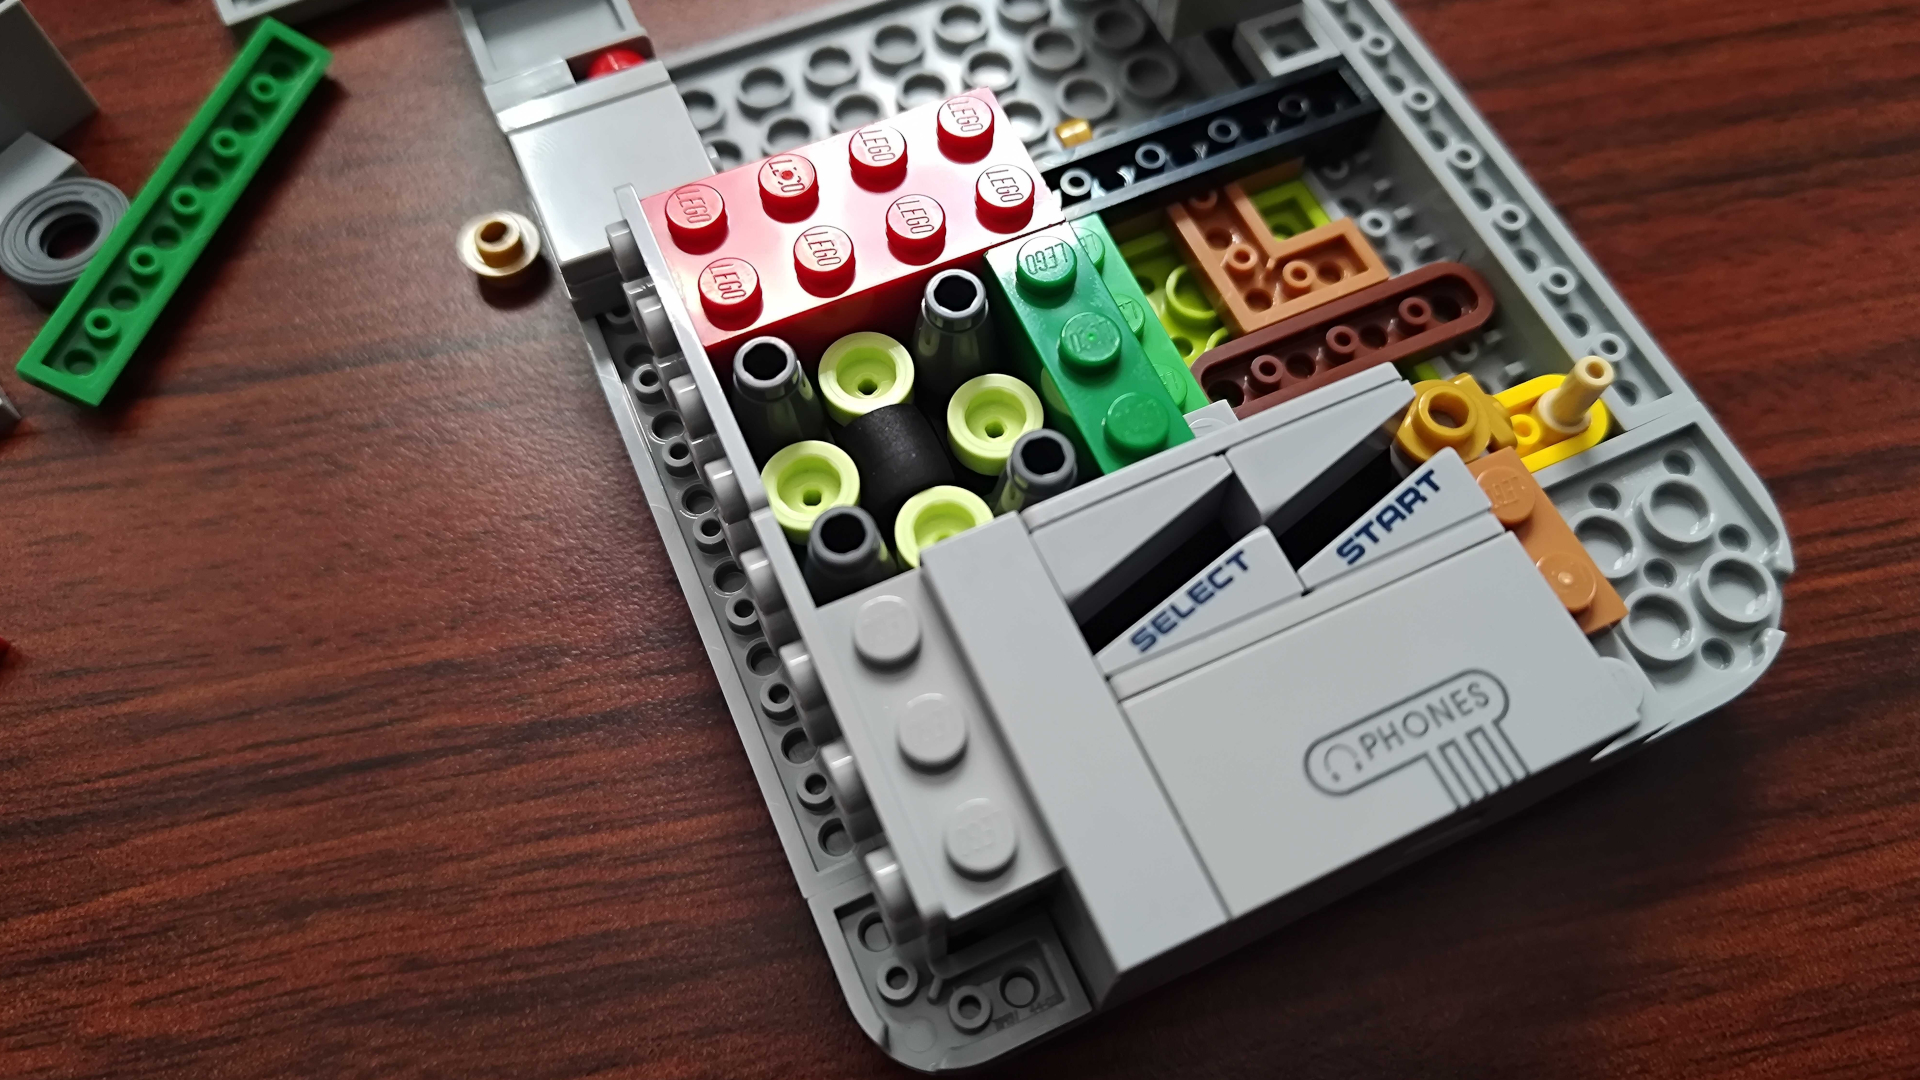
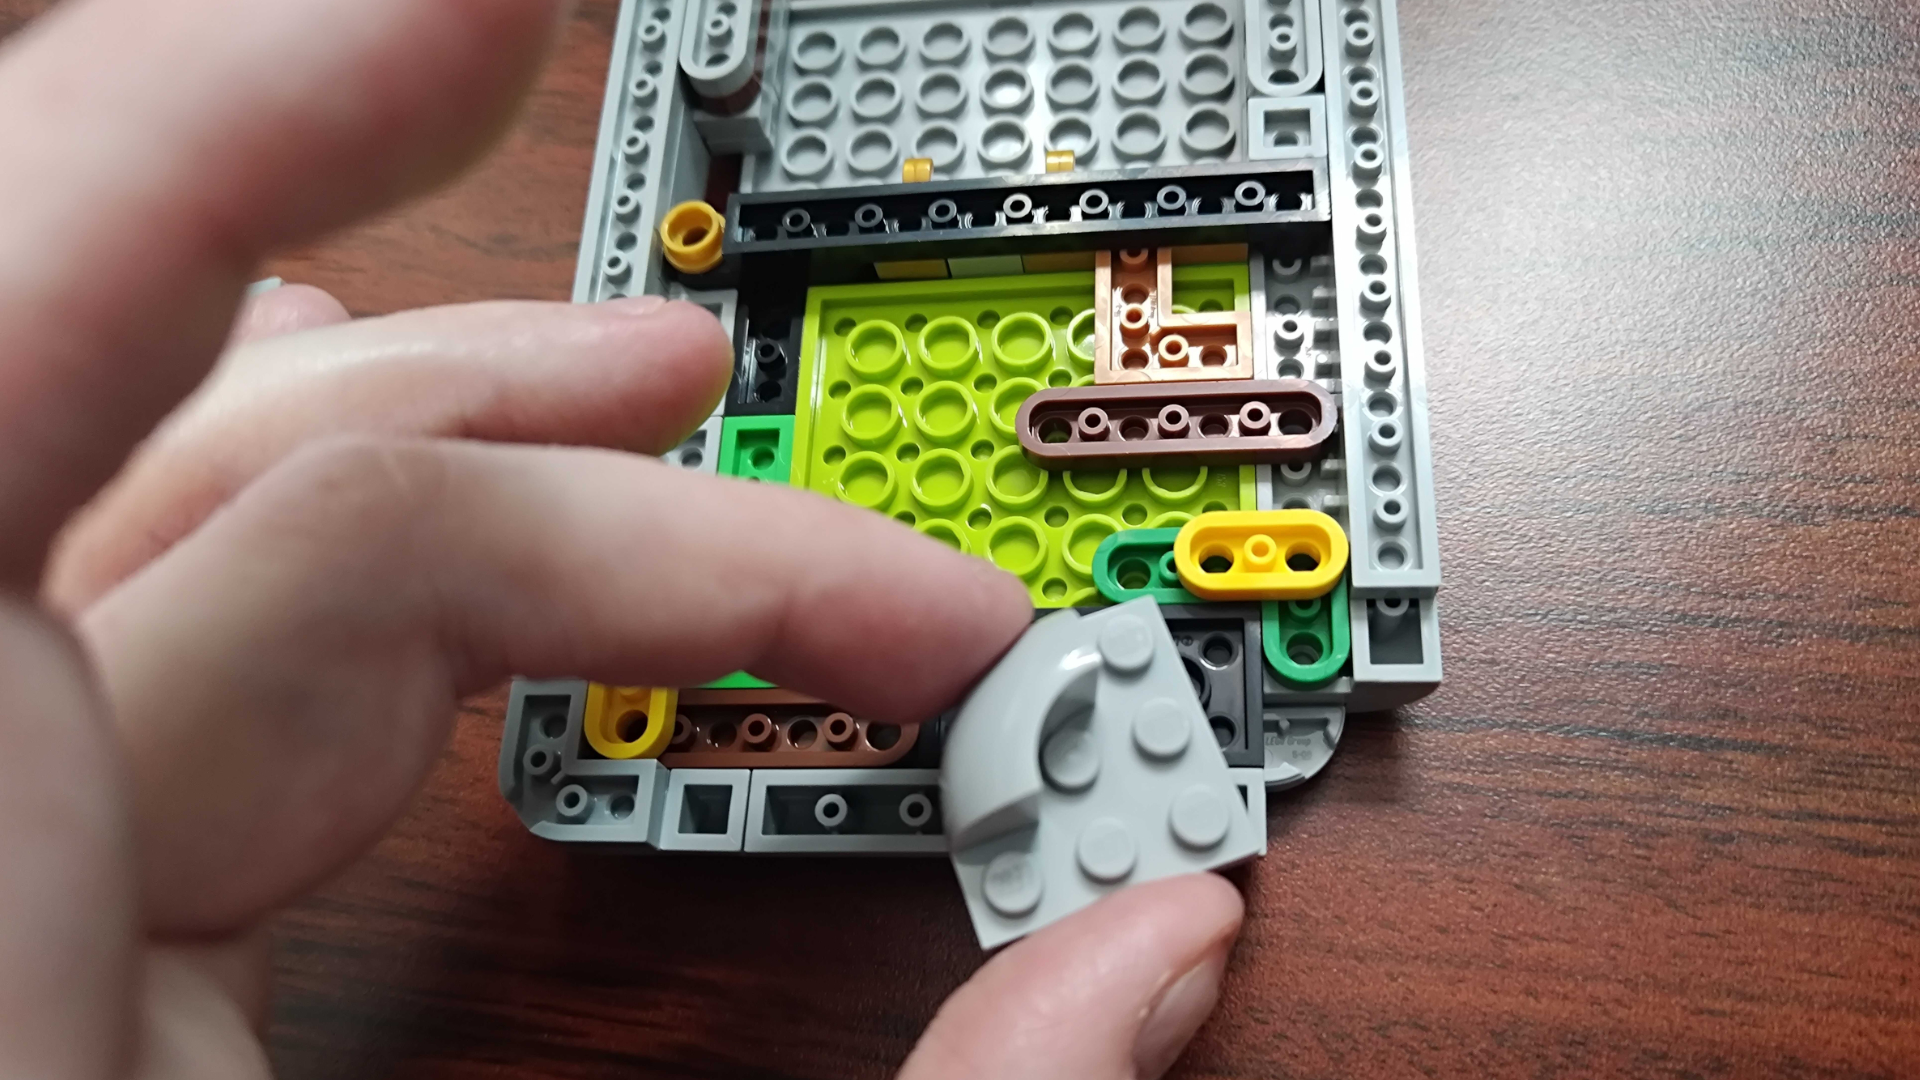
Throughout the build, it might feel like you're assembling something abstract, but every piece is intentional. No, you're not getting an identical tribute to the actual innards of the Game Boy with this set, but you are getting nods to the presence of a circuit board and even tiny touches like yellow two-stud parts representing speaker wire, although the pedant in me wants to point out the headphone jack used longer grey wires that connect to a module.
Yes, I had to have a word with myself mid-build about wanting to see every tiny hardware element replicated. It's an unreasonable request, one that makes sense given that I'd still want this to look like an actual Lego set rather than an indistinguishable model. Thankfully, I really started to come around once the button mechanisms came into play, as the approach is weirdly functional.
Lego Game Boy design
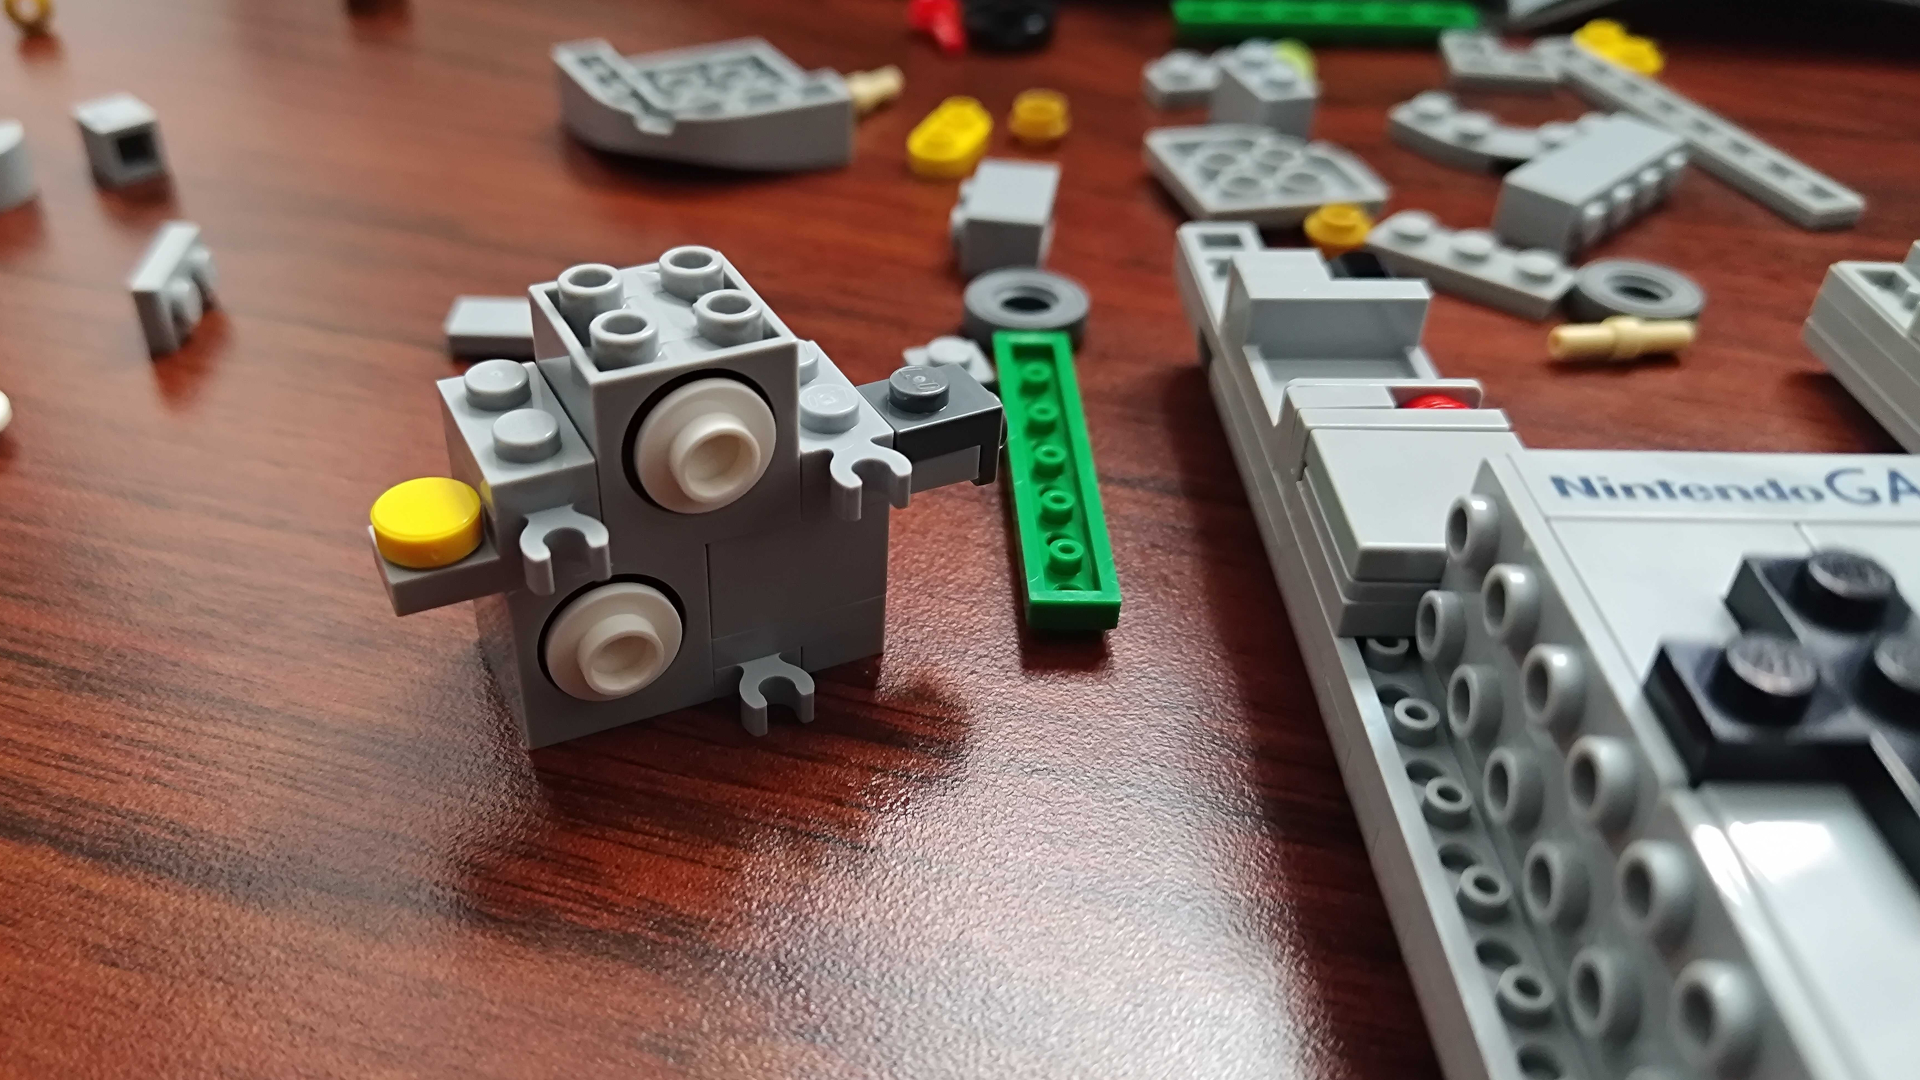
Lego really could have just made the Game Boy kit's buttons static. That way, it could have opted to include more accurate details when it comes to the exact size of the purple circles and Ninty's long-patented d-pad. Why do that when you can use a rubber band to add pressable inputs so you can say "look mom, I'm playing Mario!" on something that has zero gaming capabilities?
That might sound like I'm being flippant, but I promise I love this approach to pseudo Game Boy buttons. Even just including the simplistic mechanism of plastic bounding on elastic bands has inspired a whole sub-hobby of transforming the kit into a functioning handheld, but even just as a fidget toy, this kit really hits the spot. Hell, while I am slightly peeved at the difference in button color and size compared to the OG, the d-pad feels more tactile than some portables I've tested over the years, studs digging into your thumbs and all.
This Game Boy homage doesn't stop at face buttons, though, it makes sure to include a faux version of every port, dial, and toggle. Elements like the power switch will move with a surprisingly convincing clunk, the contrast and volume wheels will spin, and there's even a 3.5mm headphone socket at the bottom. Even less detailed touches like a DC power jack and the ext. connector cover are here, and for whatever reason, there's what looks like a lanyard through hole on the left, even though that's not an original detail.
A tribute to a terrible display
Fairly quickly after forming the back base, the build will start to assemble a bezel for the "display." That's the part that makes this handheld truly stand out since it features a swappable lenticular panel with three options to choose from. The approach is fairly simple, as it effectively relies on a hinged arm to hold a thin plastic screen into place, and it ultimately highlights how crummy the 2-bit non-backlit DMG display was while adding in its own annoying visual caveat.
Look, I want the Lego Game Boy to serve as a reminder of how far we've come rather than adding a rose tint to the truth. Modern mods and the standardisation of backlighting mean many have forgotten that you'd once need to sit on the surface of the sun to play Pokémon. This kit's lenticular screens are no different in that you'll need a direct light source to see them properly since they're recessed into what's normally a Lego house window, and that's potentially an unintentional nice touch.
What I'm not so into is the shadow of the back-hinged arm showing through the plastic under certain conditions. At some angles, you won't see it at all, but in front of my window and with my white LED wall lights on, the outline of the part crept through. It's not a deal breaker or a biggie, but it does make it harder to see the already darker animated effect. Sticking a piece of paper behind the plastic will minimize the effect, though, so it's worth keeping in your back pocket.
Clever cart touches
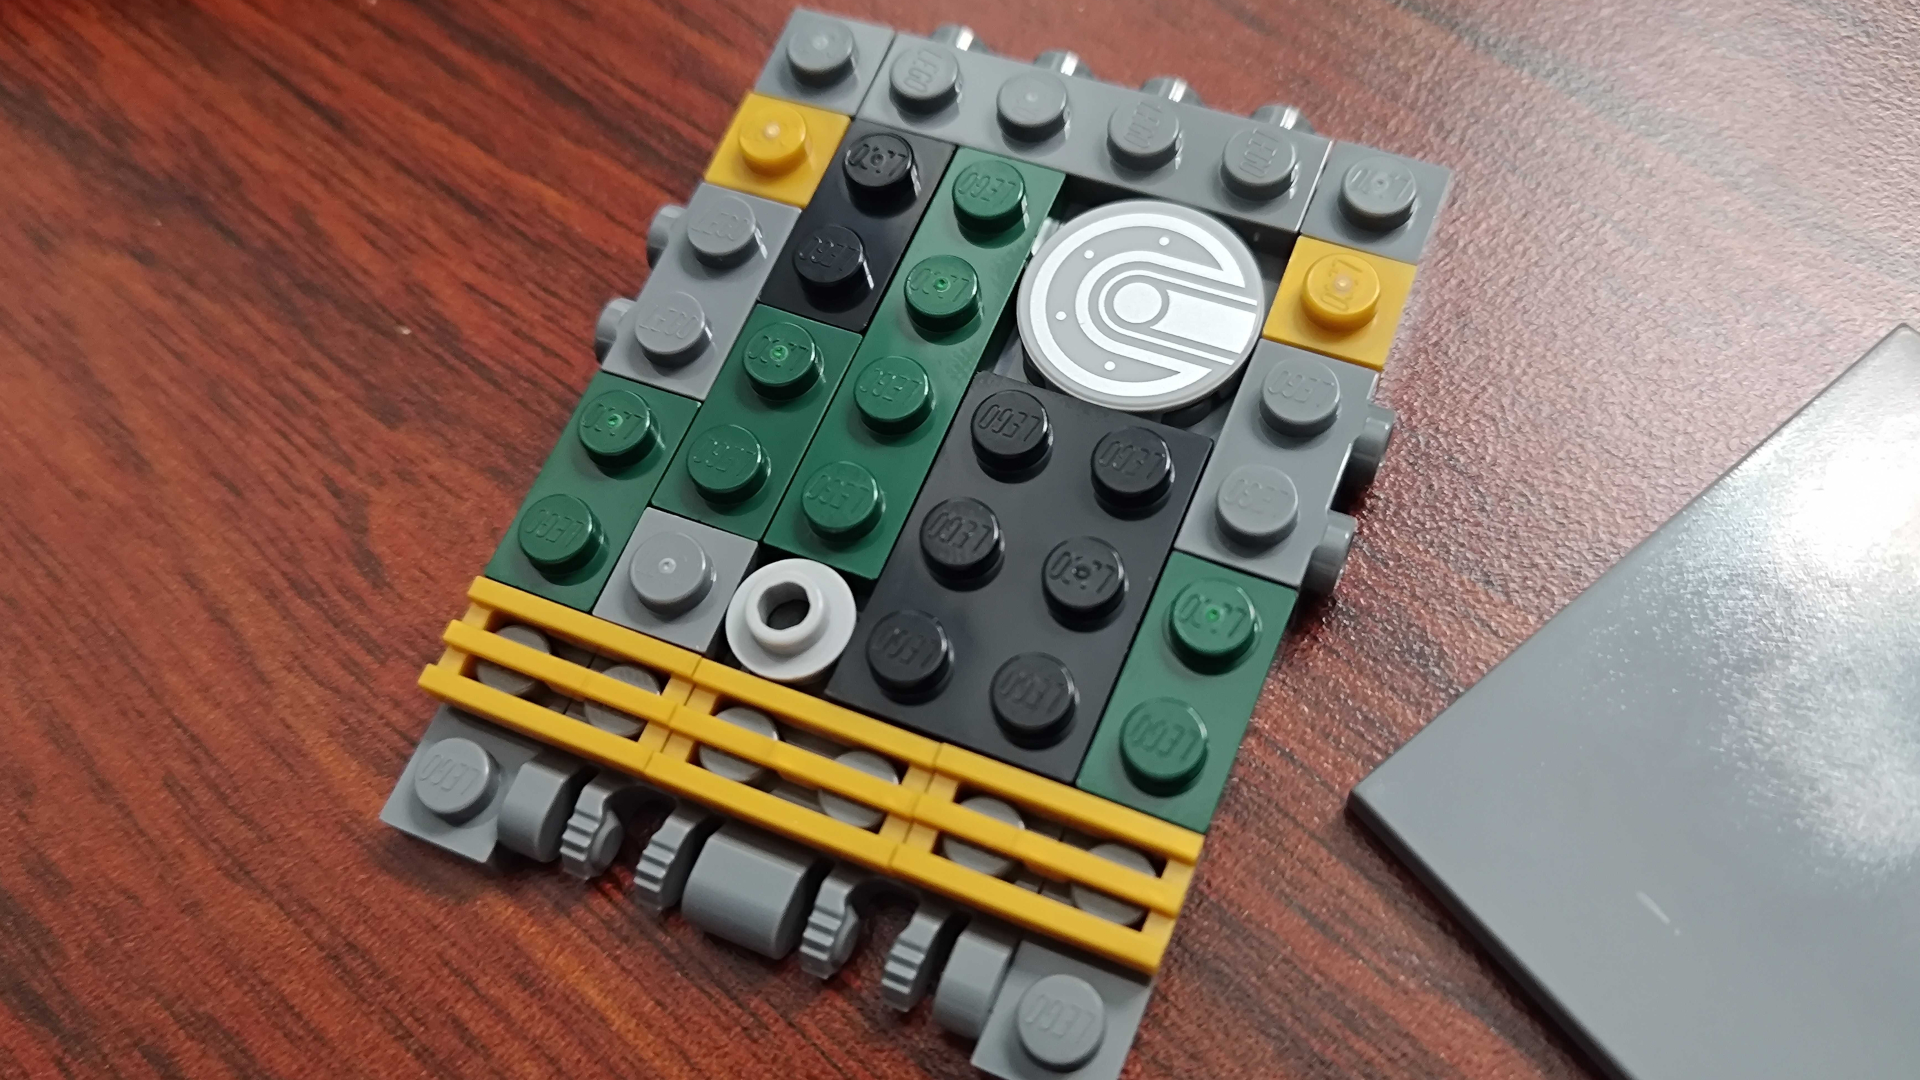
By the end of the build, you should come to better appreciate Lego's take on the Game Boy cartridges. For starters, with the complete portable in hand, you'll swiftly realize the initial claw parts provide a satisfying *click* when shoved into the back slot, just like the real deal. The Zelda game, however, decides to go slightly further and include some easter egg-shaped hardware history, as it includes a circular plate that represents a save battery.
Saving games is something we take for granted in the big 26, but back in the '90s, Nintendo had to utilize coin cell batteries to facilitate the feature. If you've ever tried to revisit Pokemon Blue or Red, only to find you can no longer retain your progress, it's because that aforementioned little bugger has run dry, and since Link's Awakening uses the same power source, it's represented in the build.
Again, Lego didn't need to even think about this, but it decided to round out what took me around an hour to build with an extremely obscure touch. Most builders probably won't think twice about what this part is, but I almost feel like the company has sprinkled the reference in as a nod to enthusiasts, which is nice since the design doesn't pack too many other easter eggs in.
Should you buy the Lego Game Boy?
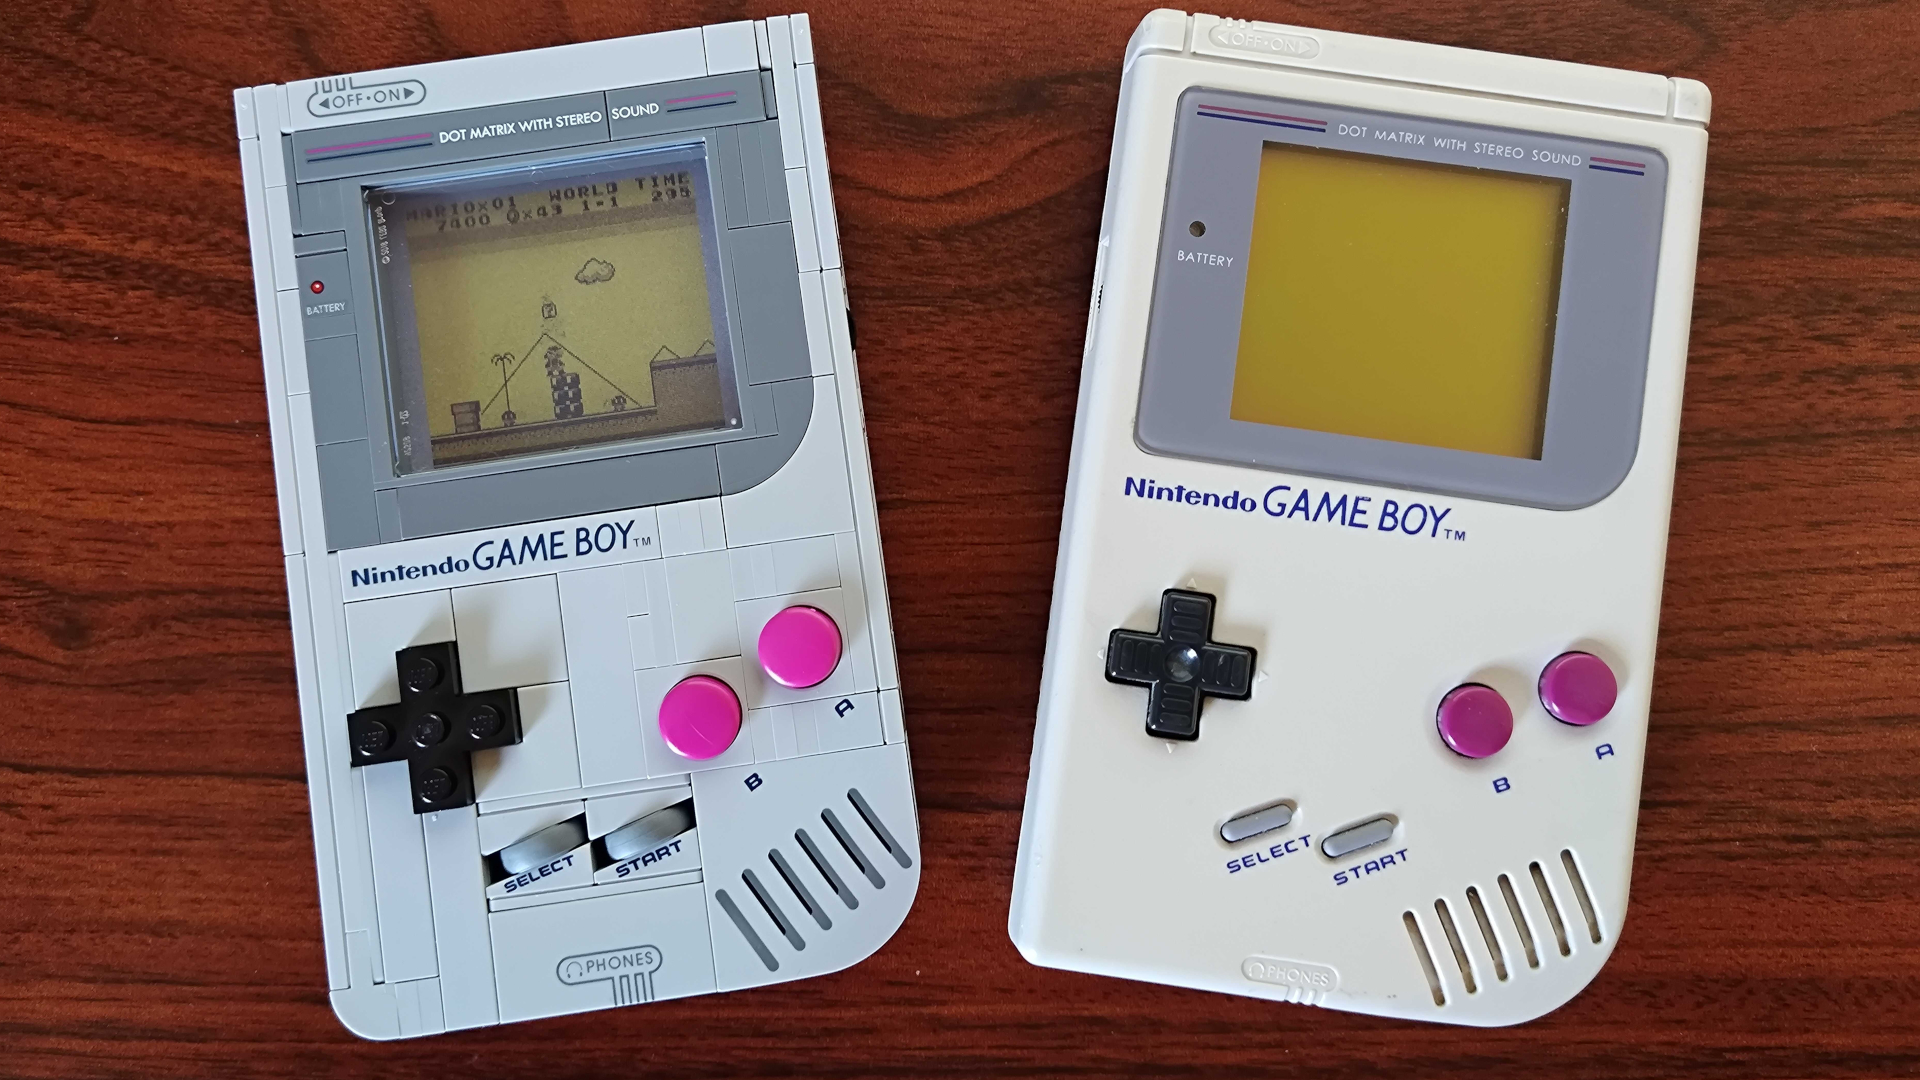
Here's the thing - if you're a big Nintendo fan, grabbing the Lego Game Boy is a given. Not only is it extremely affordable compared to other Nintendo sets like the Lego NES, but its 1:1 scale size means it can sit pretty on your shelf without taking up too much additional room. Or, it can accompany your OG brick if you still have one, but that might prompt an irritating game of spot the difference.
I'd argue that no one will think this is a real Game Boy at a glance. Naturally, the stud d-pad and brick lines are a giveaway, but it also feels intentionally inaccurate when it comes to color. The set is firmly a shade of gray, whereas the actual portable is more of an off-white, and the buttons are a high-contrast purple instead of the old maroon. Is that a reason to avoid this kit if you're an OG handheld evangelist? Perhaps, but I've come the conclusion that the differences are good, simply highlighting that this is a creative Lego tribute.
At the same time, the Lego Game Boy isn't a perfect set. I reckon it could have benefited from a few extra easter eggs, as the Lego Atari 2600 manages to squeeze some really fun dioramas into the console and its carts. Still, we're talking about a cheaper kit here that really hits mostly the right notes, and while most of you will buy it for your shelf as is, I'm also excited to see various bizarre projects that transform it into a functioning gaming machine to come.
Looking for more nerdy goodies? Don't miss the best Super Mario merch or the best Animal Crossing merch.