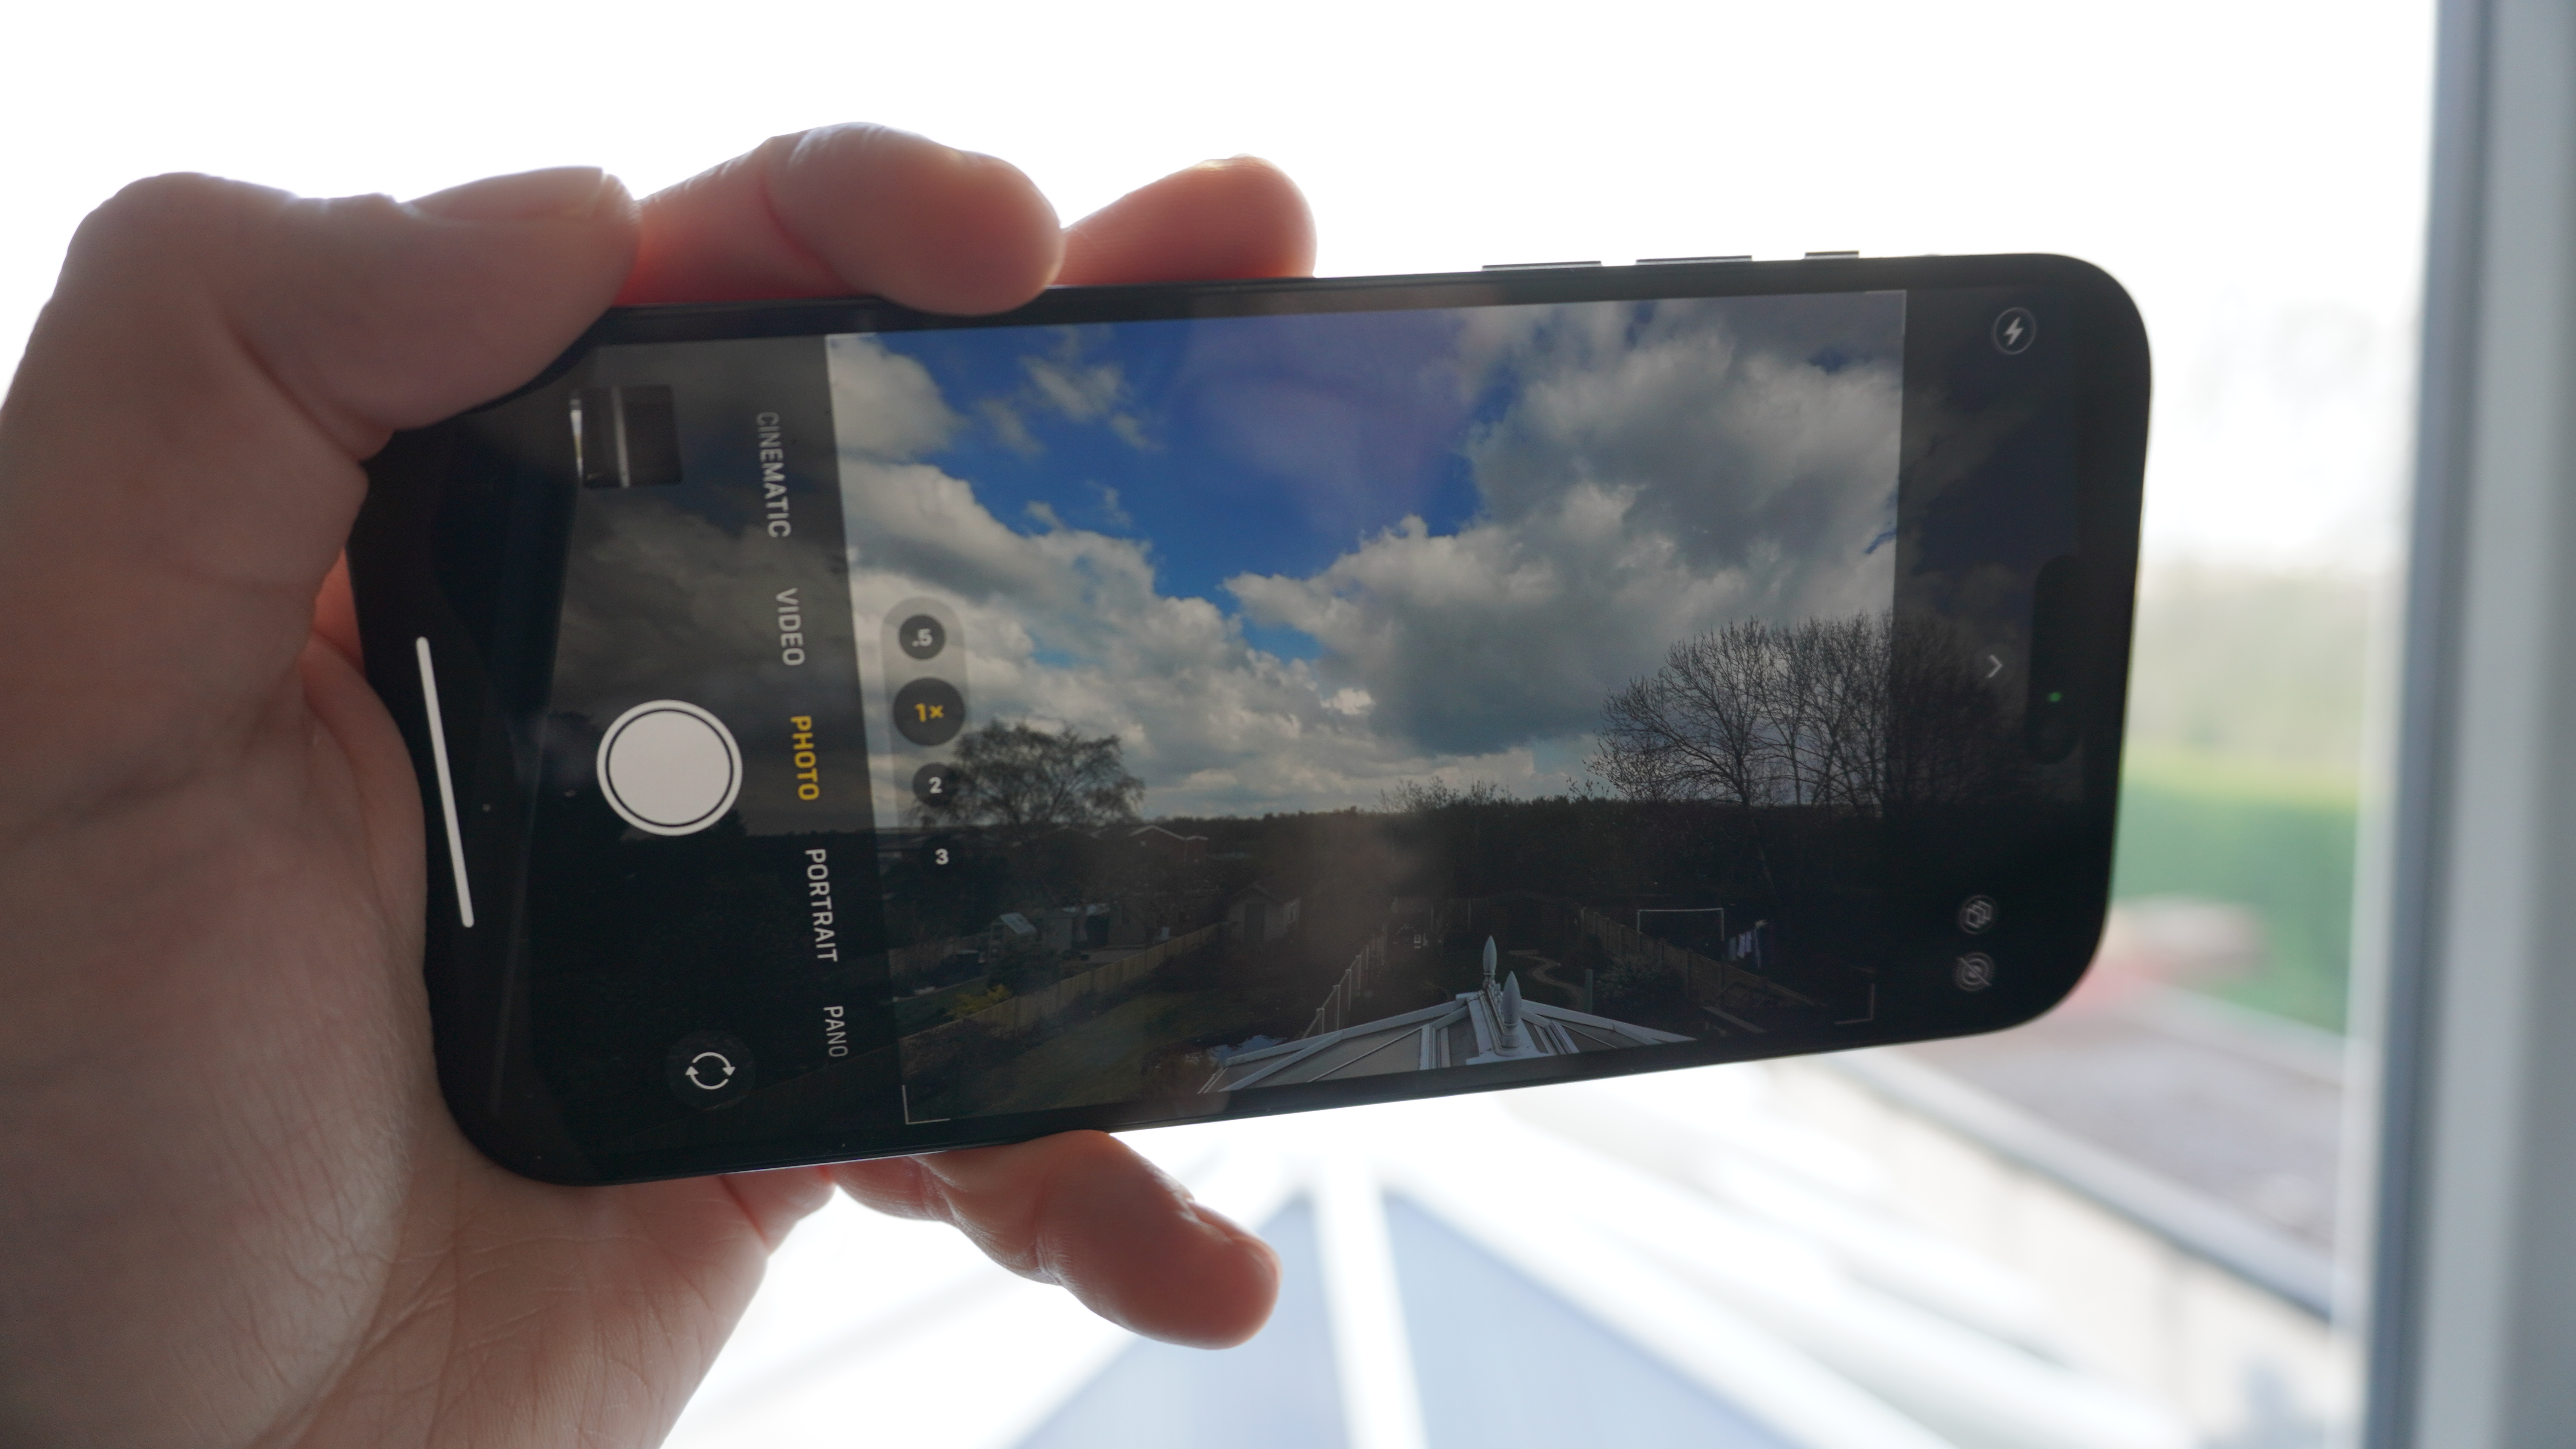
Let me be clear from the get go: iPhones are not bad at photography. The problems lie in the finer details that enthusiasts like me and you will spot. These come with Apple’s approach to color, contrast, and sharpening.
In most situations, you will get great shots for the family album, or even to share on Instagram. And don’t even get me started on the video quality, which is the best you can get on any smartphone right now.
However, I found myself thinking something is missing after taking dozens of photos on the iPhone 14 Pro Max and. Nothing overtly bad, but it seems to want to brighten up too much of the picture and oversharpen certain elements.
So let’s take a deep dive on what the problem is, the root cause, and how to fix it.
What’s the problem?
The issue seems to be two-fold: there is a fair amount of oversharpening at play here, and the default approach to contrast seems to be at war with any shadowy areas of a picture.
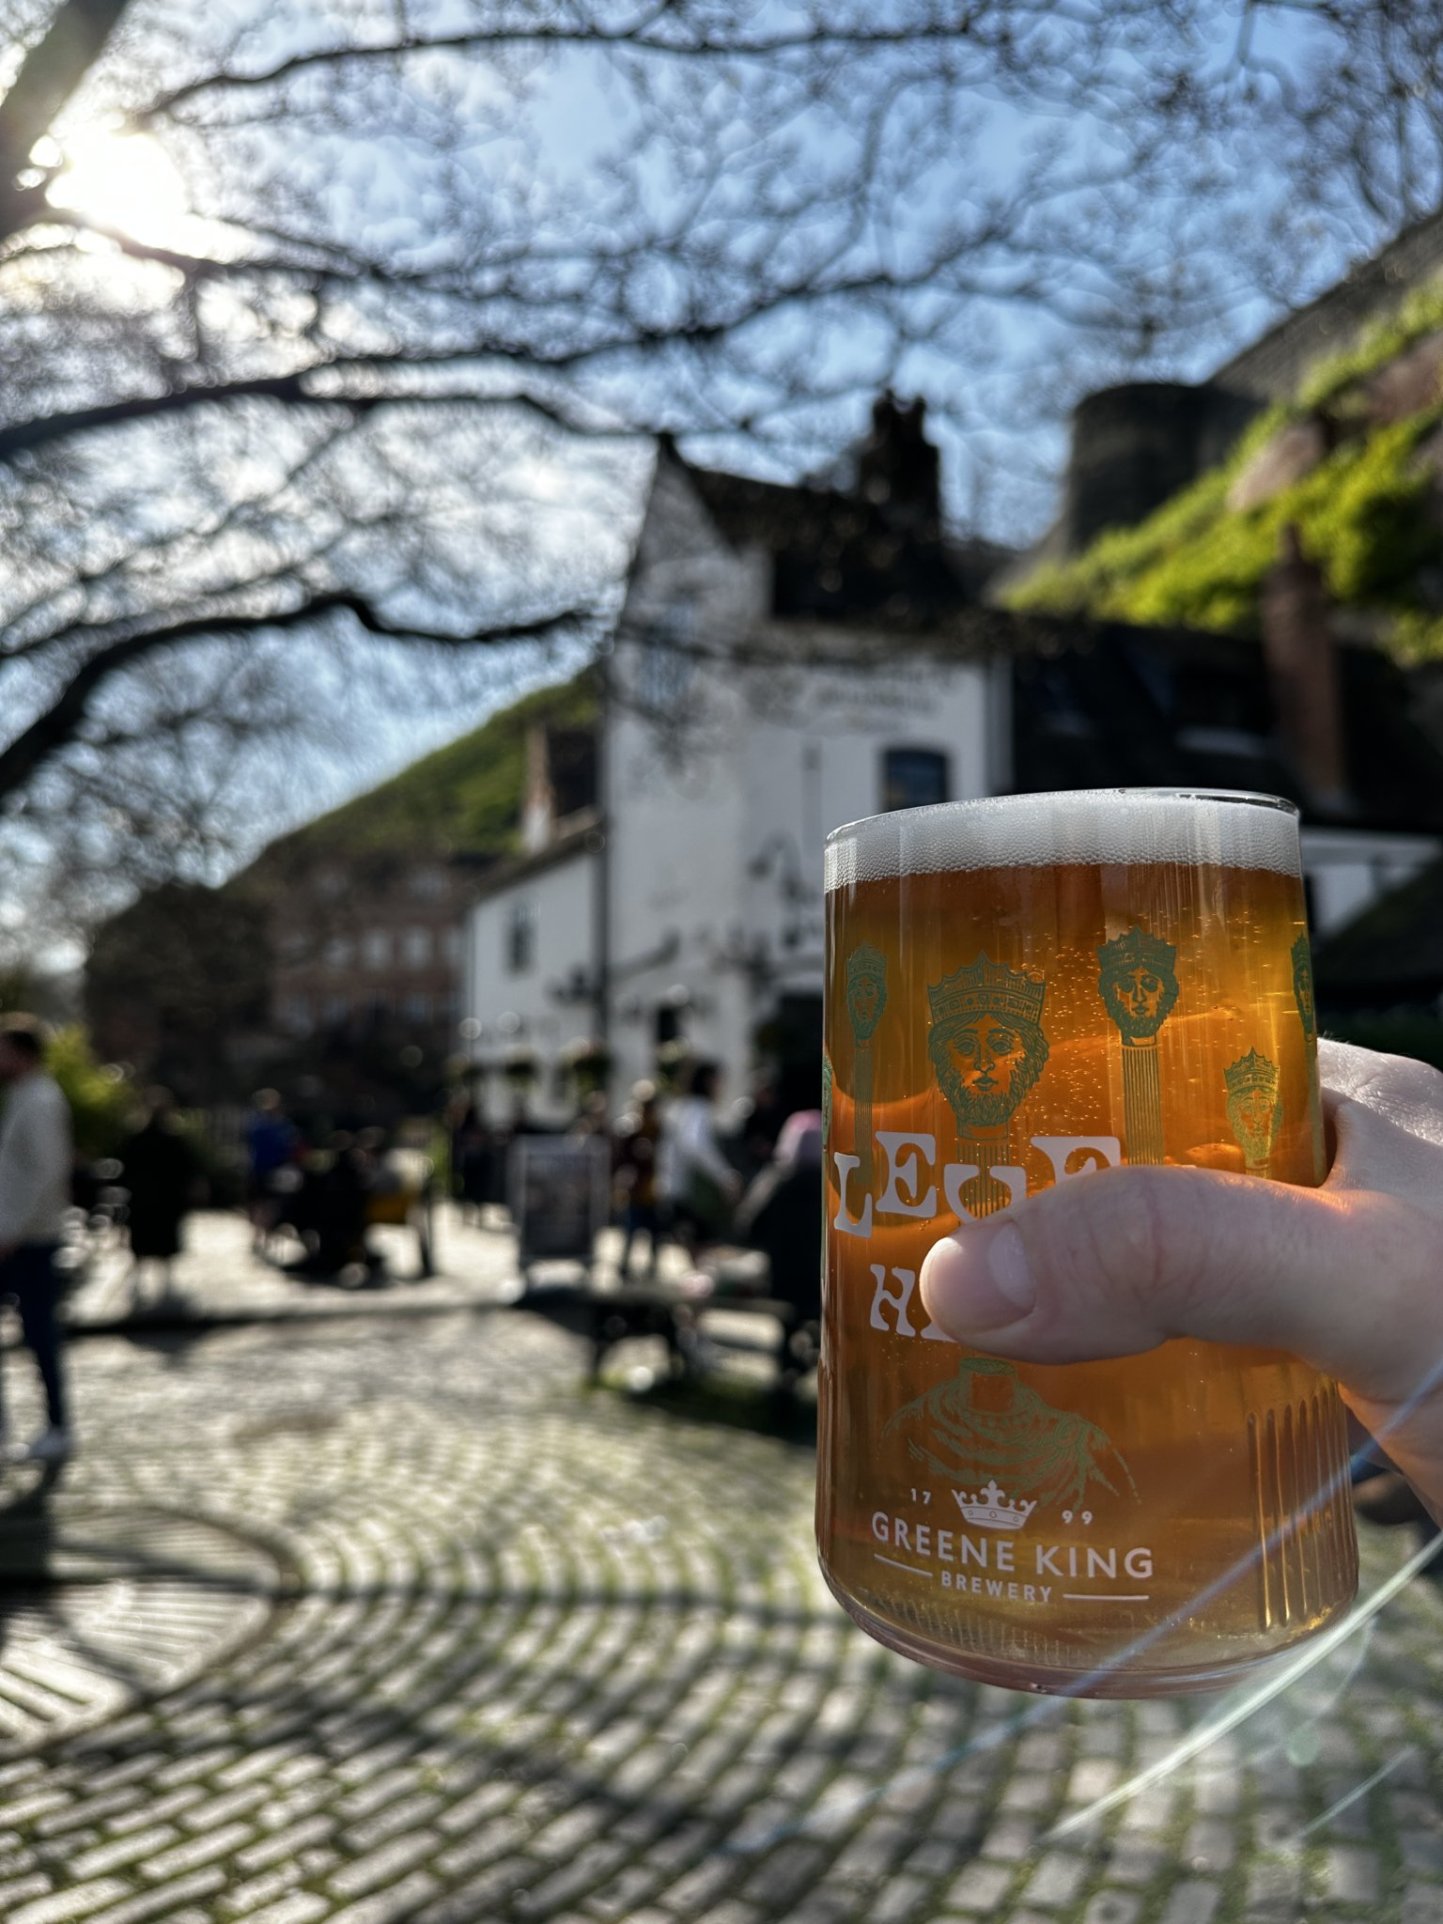
In some circumstances, like this picture of my pint outside the oldest pub in England, that’s fine. The computation is not having to do that much work, the near subject matter aids the natural bokeh of the lens (accentuated by software), and the sharpening really brings out the crispness of that beer — even down to the bubbly vivocity of this IPA.
The real challenges come at dusk. When the sun starts to set, and you get the dramatic shadow-laden vistas you want a picture of, that’s where the iPhone starts to struggle.
This hedge on one of my big daily walks after work sums up the issue here. It’s a complex shot for sure, with all the intricacies of the sticks in the bush, this is hard for any phone to get. But rather than allow some subtle softening of the twigs that are slightly out of focus, like my iPhone 13 Pro, the 14 Pro Max seems to be over-compensating.
Eagle-eyed photo geeks amongst you may even notice ever so slight artifacting around some of the shrubbery’s finer ends, which is indicative of sharpening working overtime.
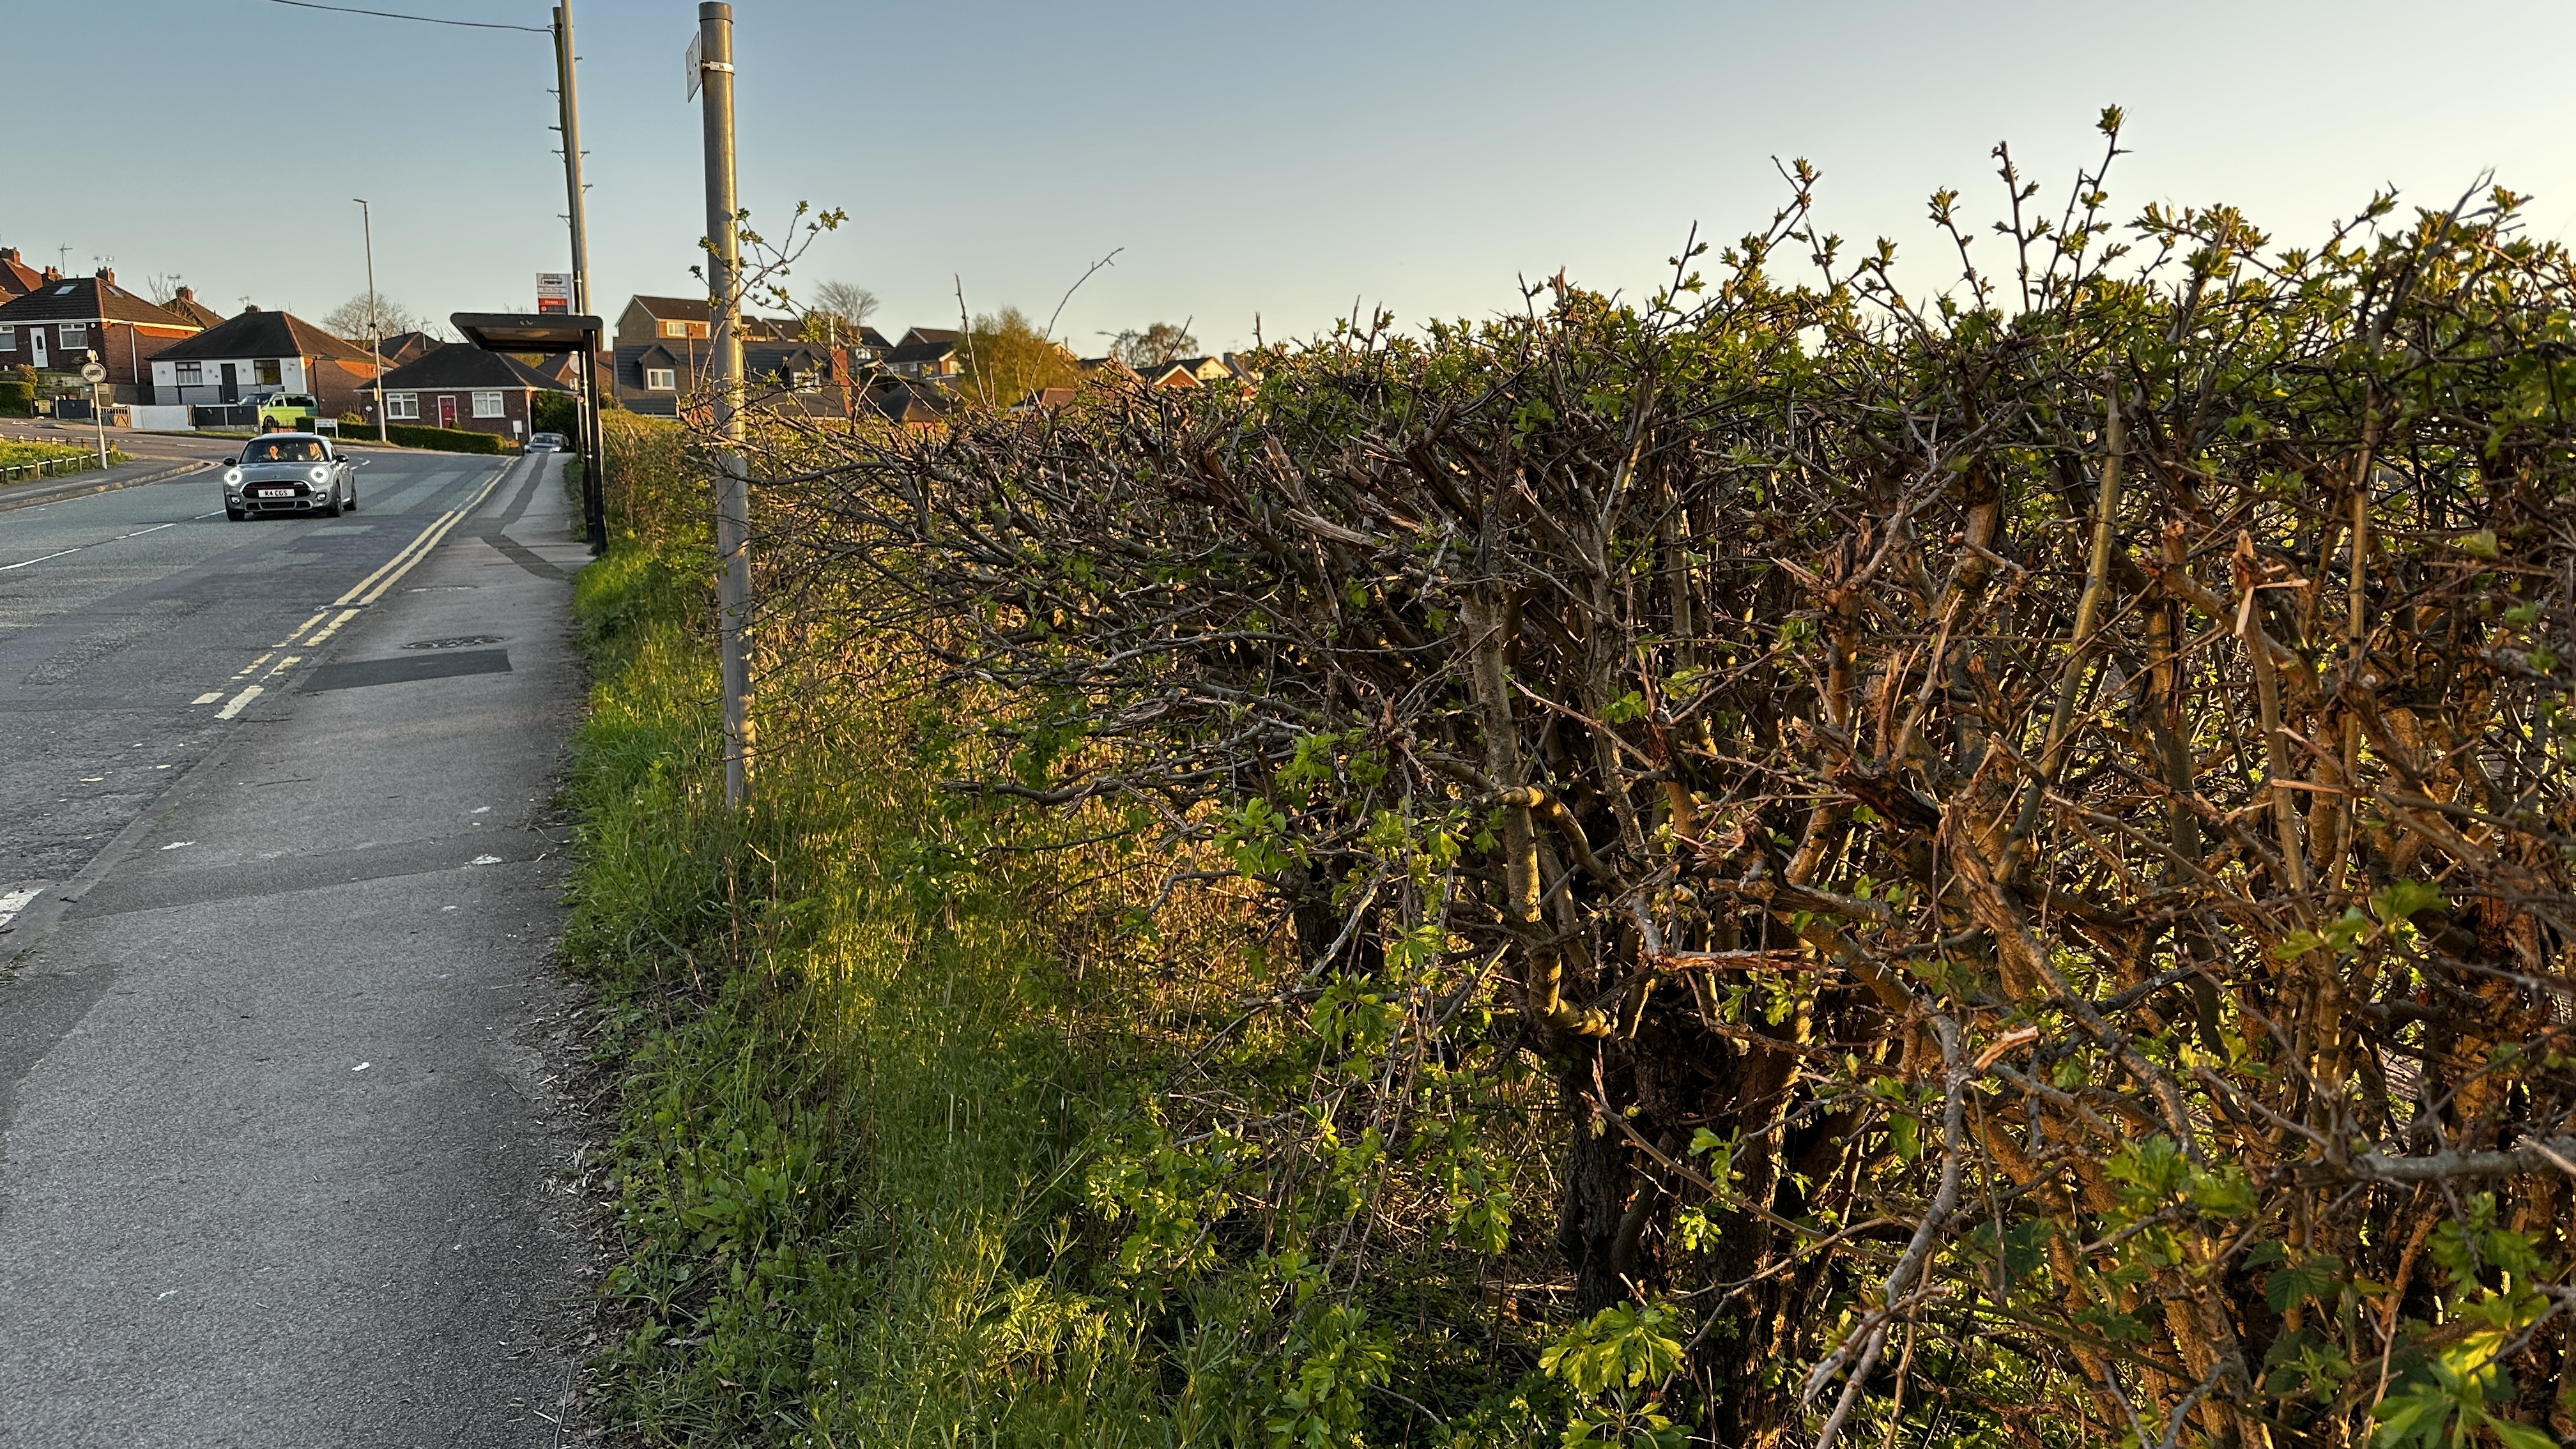
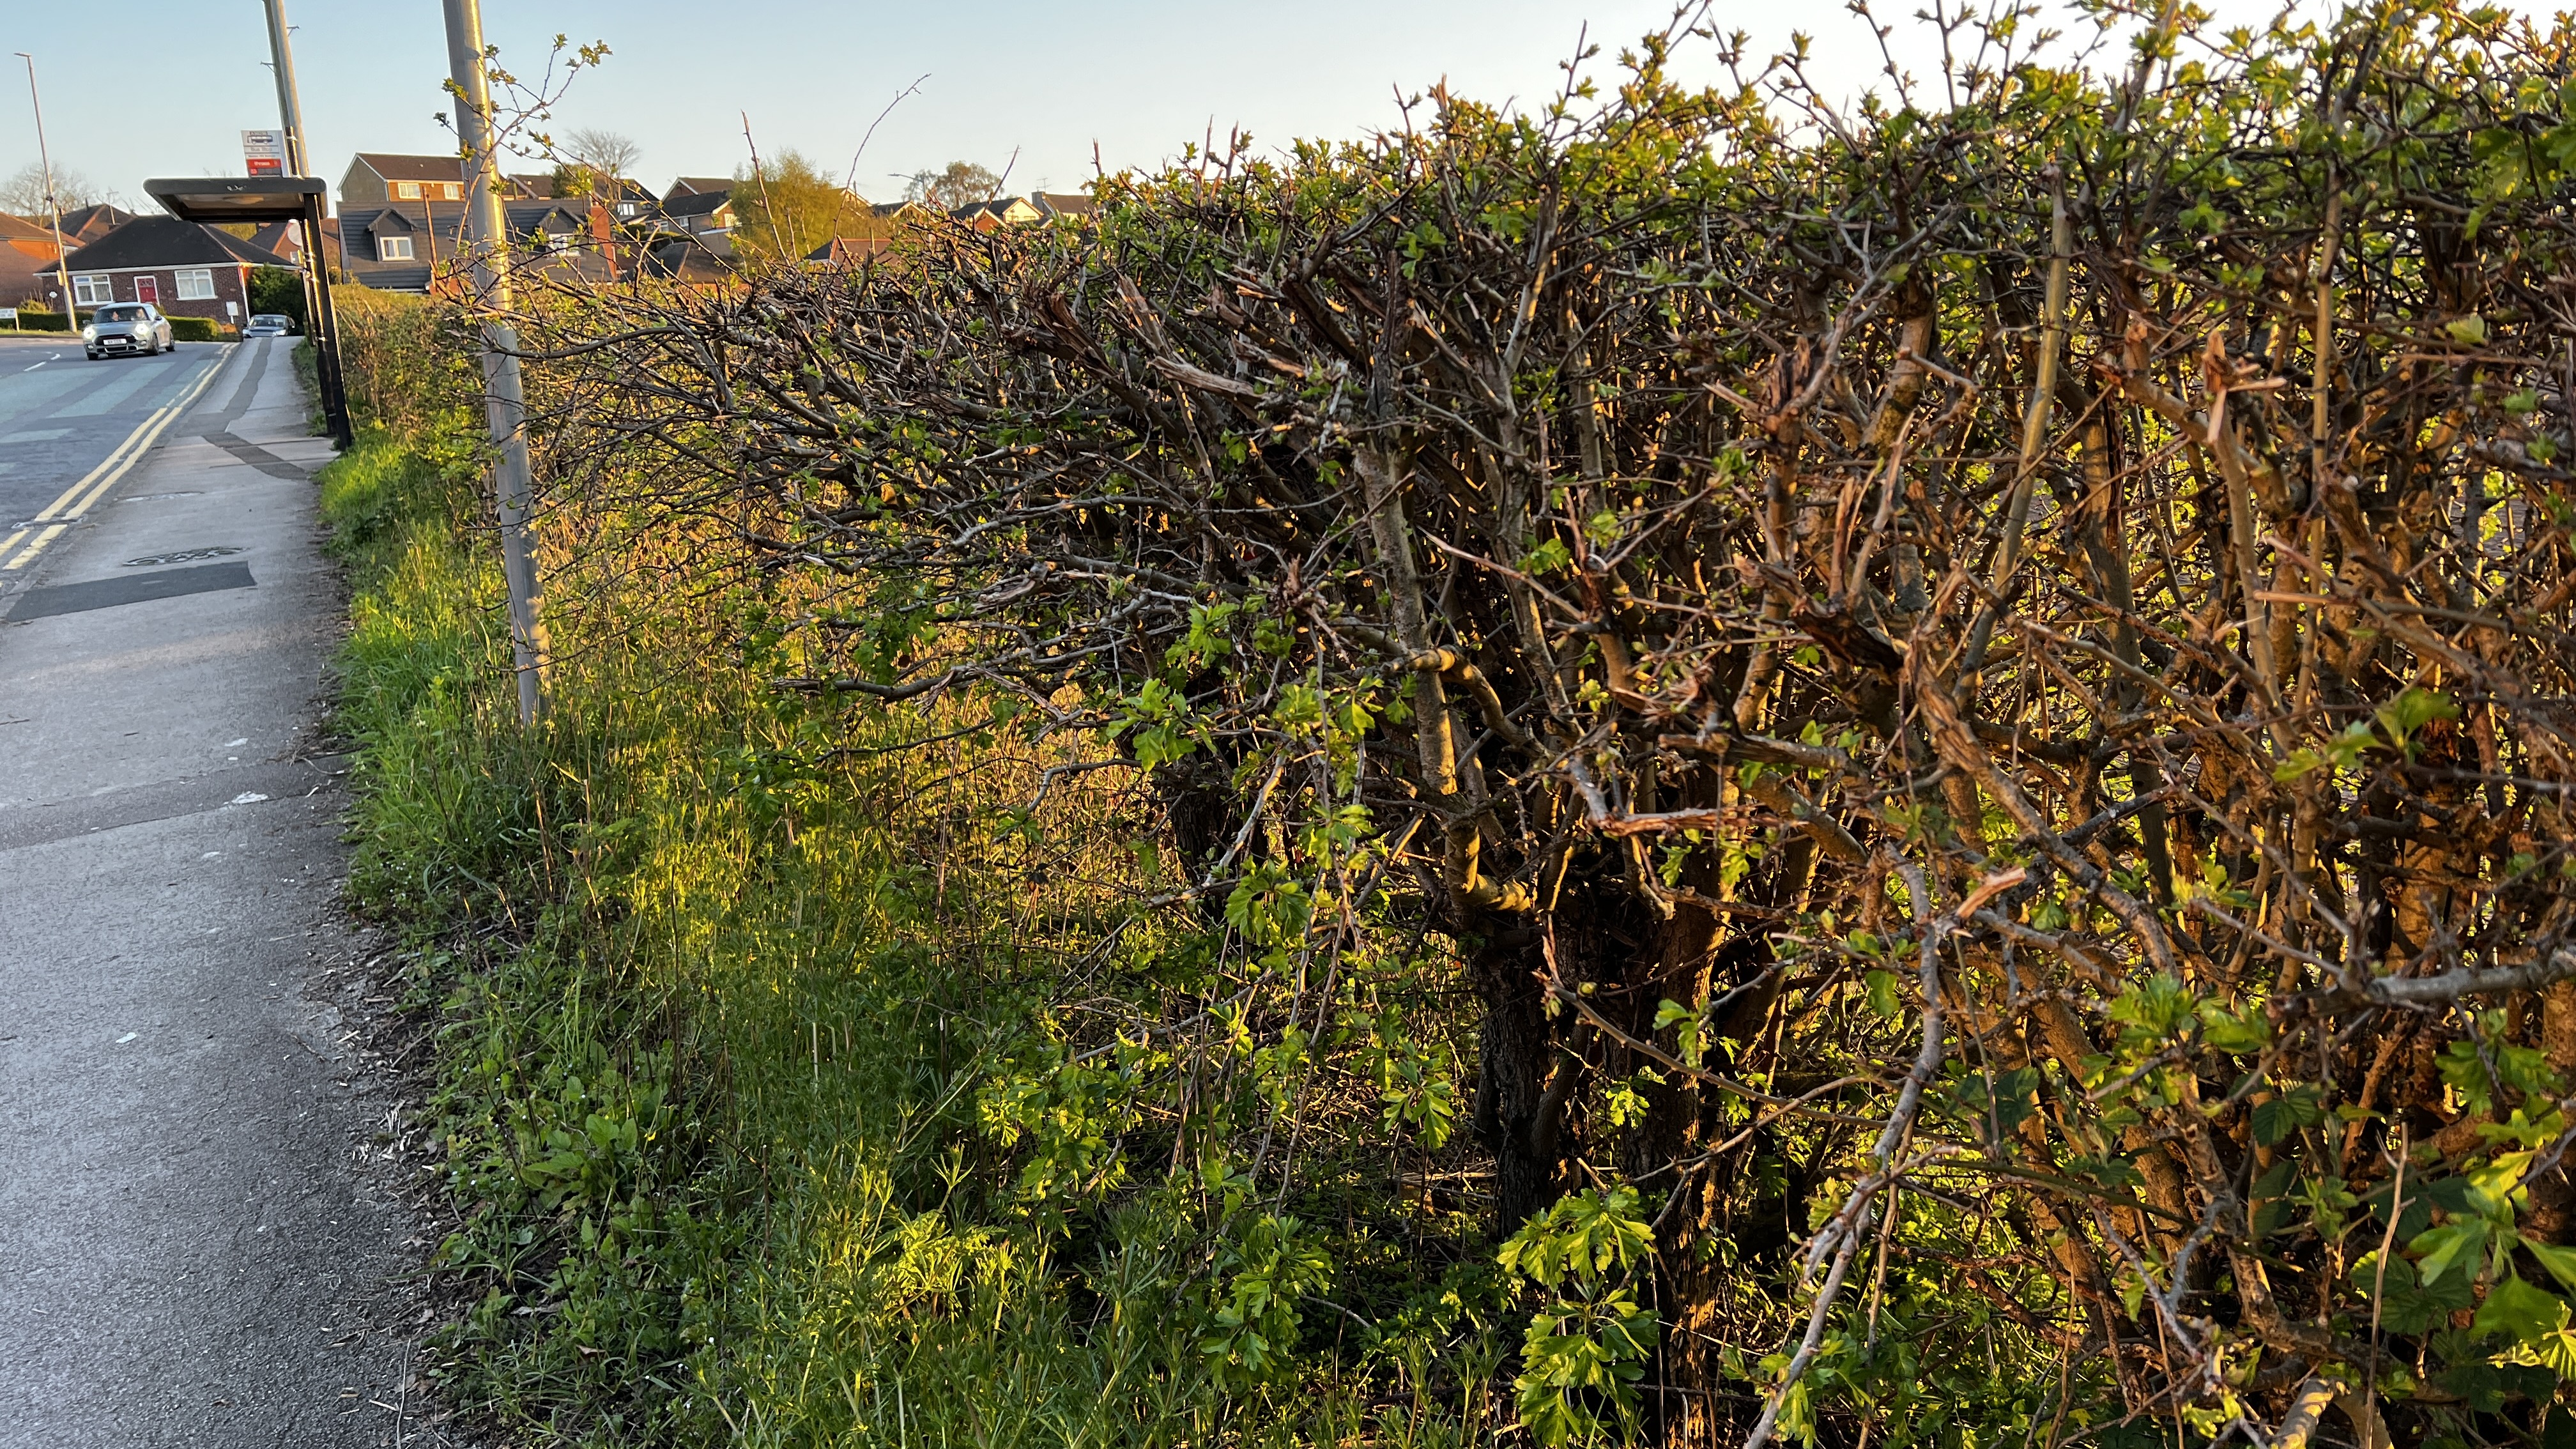
On top of that, a lot of this bush is coated in shadows as the sun sets just off to the right, but the iPhone has largely worked to eliminate a lot of those. For most people, that’s fine. However, I’m not most people. I’m a photographer at heart and my personal style gravitates towards those true-to-contrast shots over grabbing as much detail as possible.
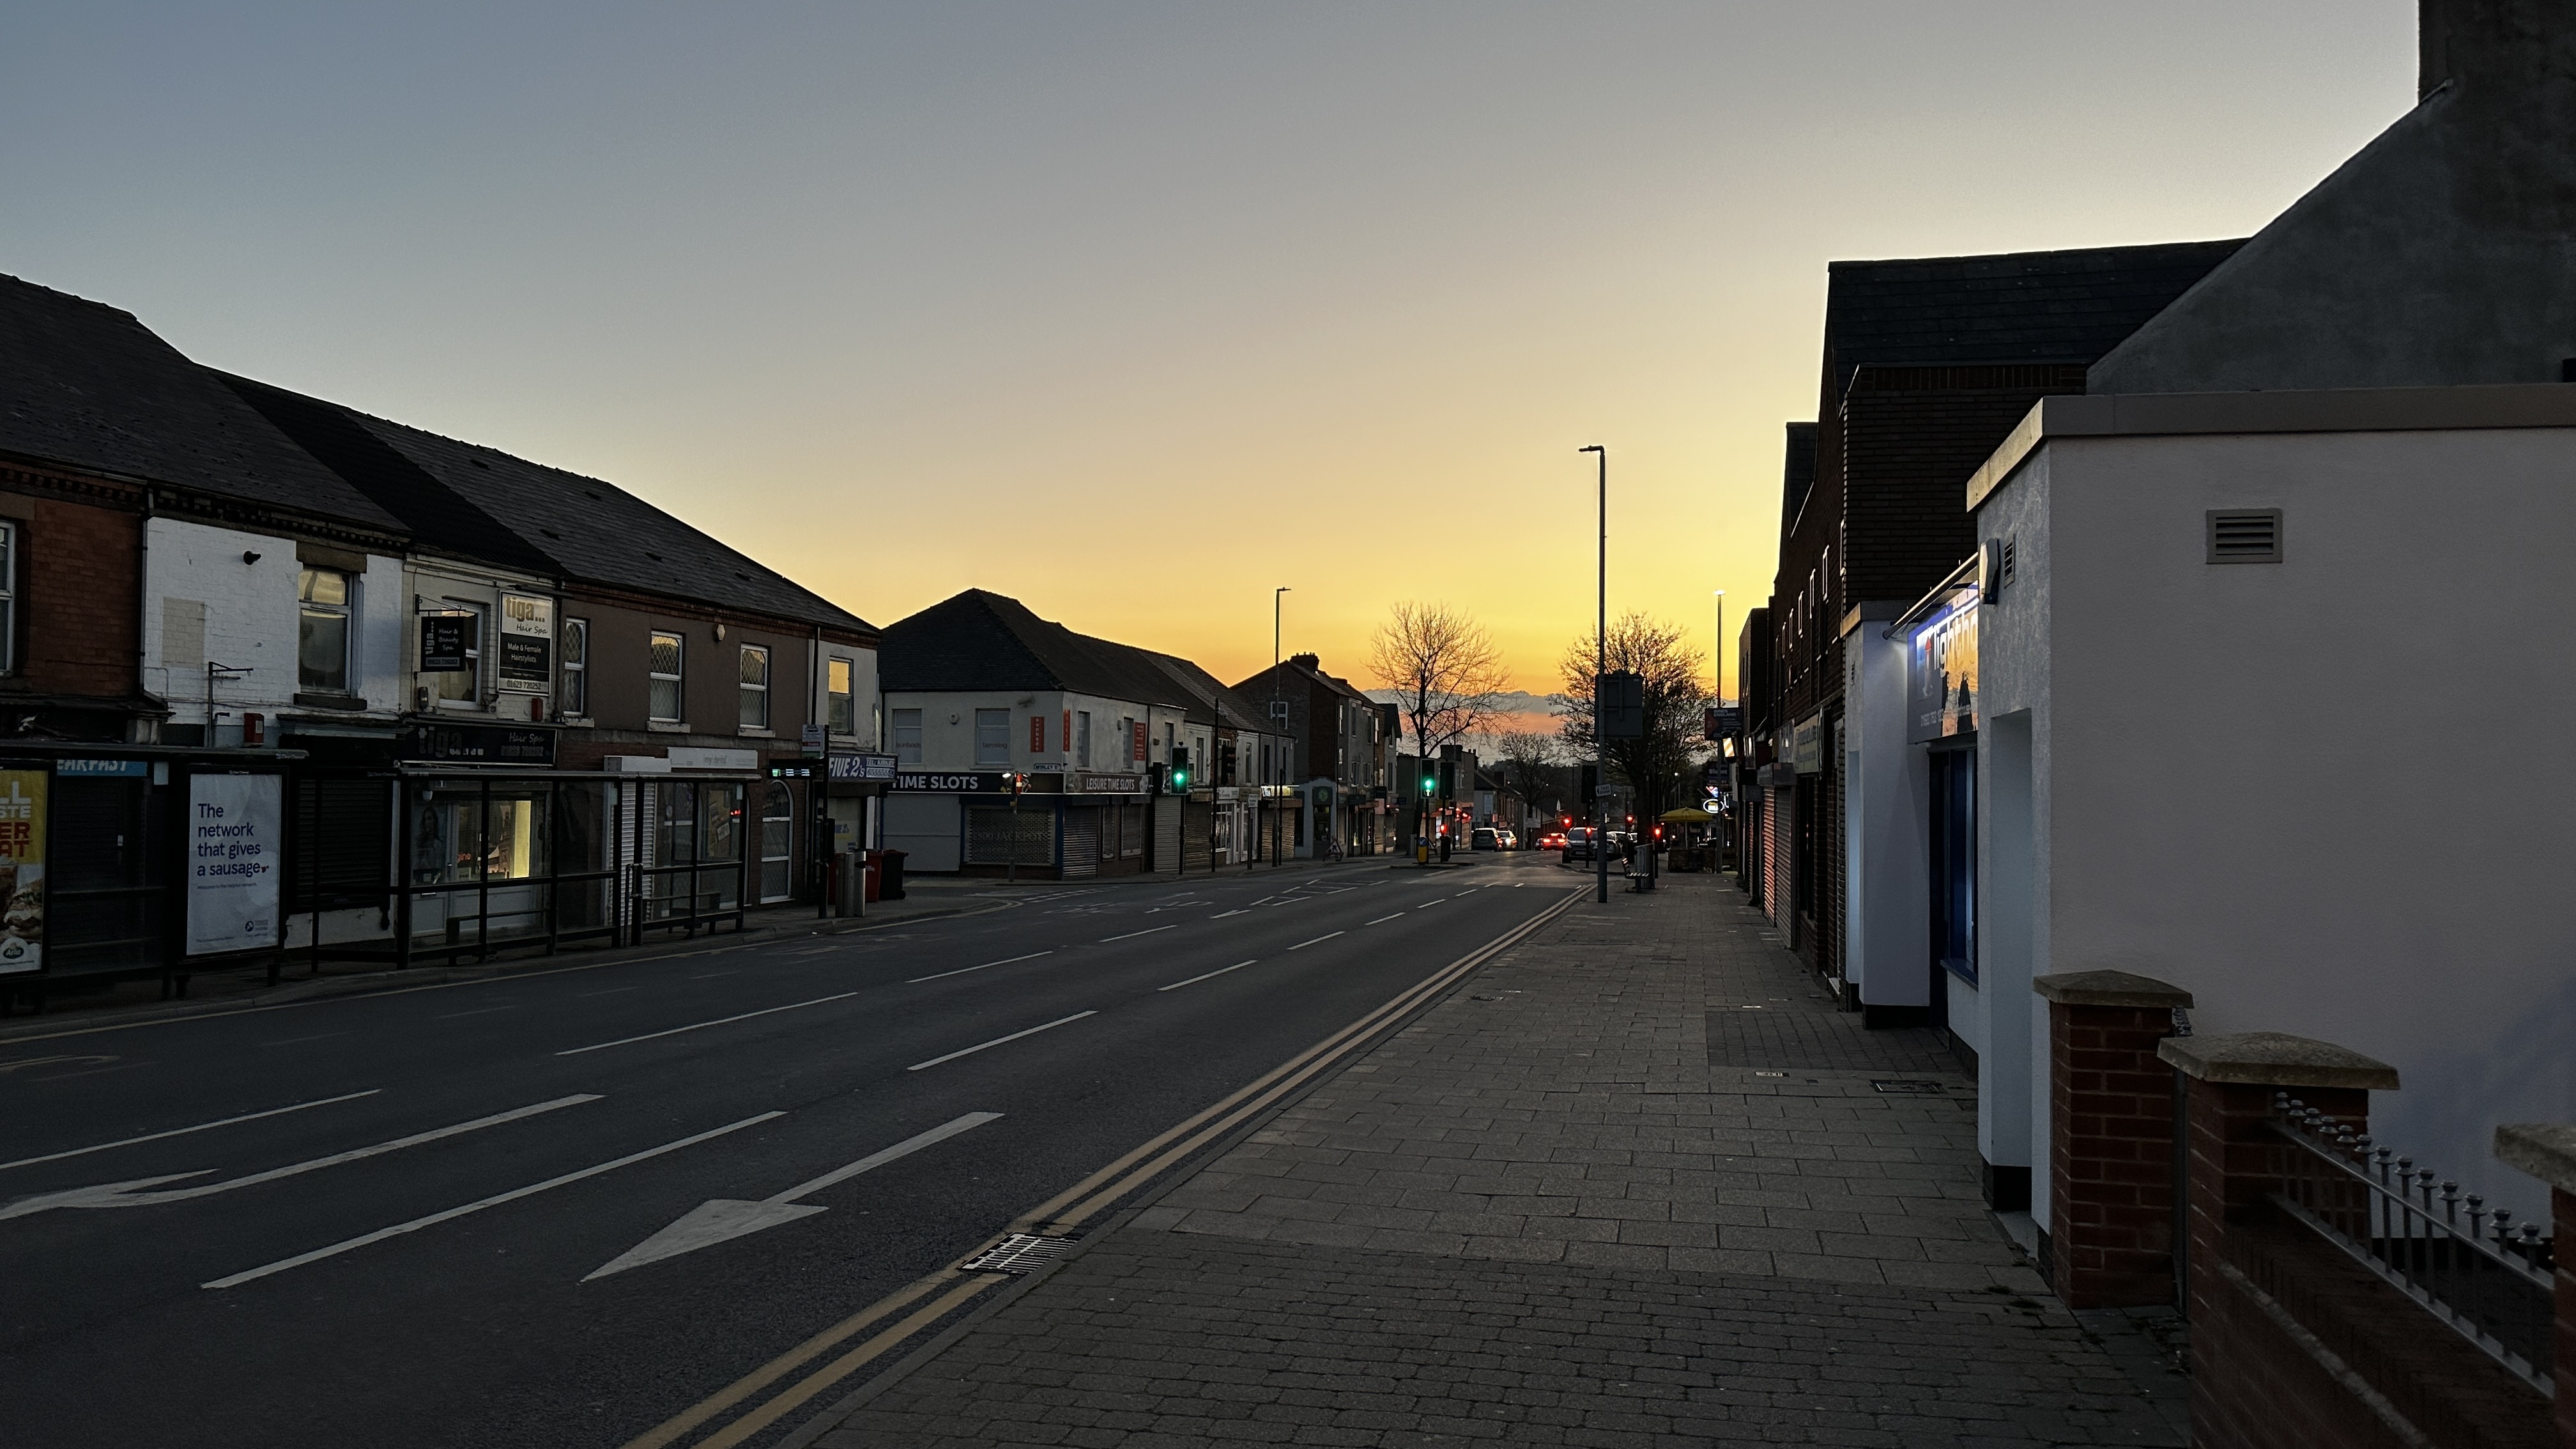
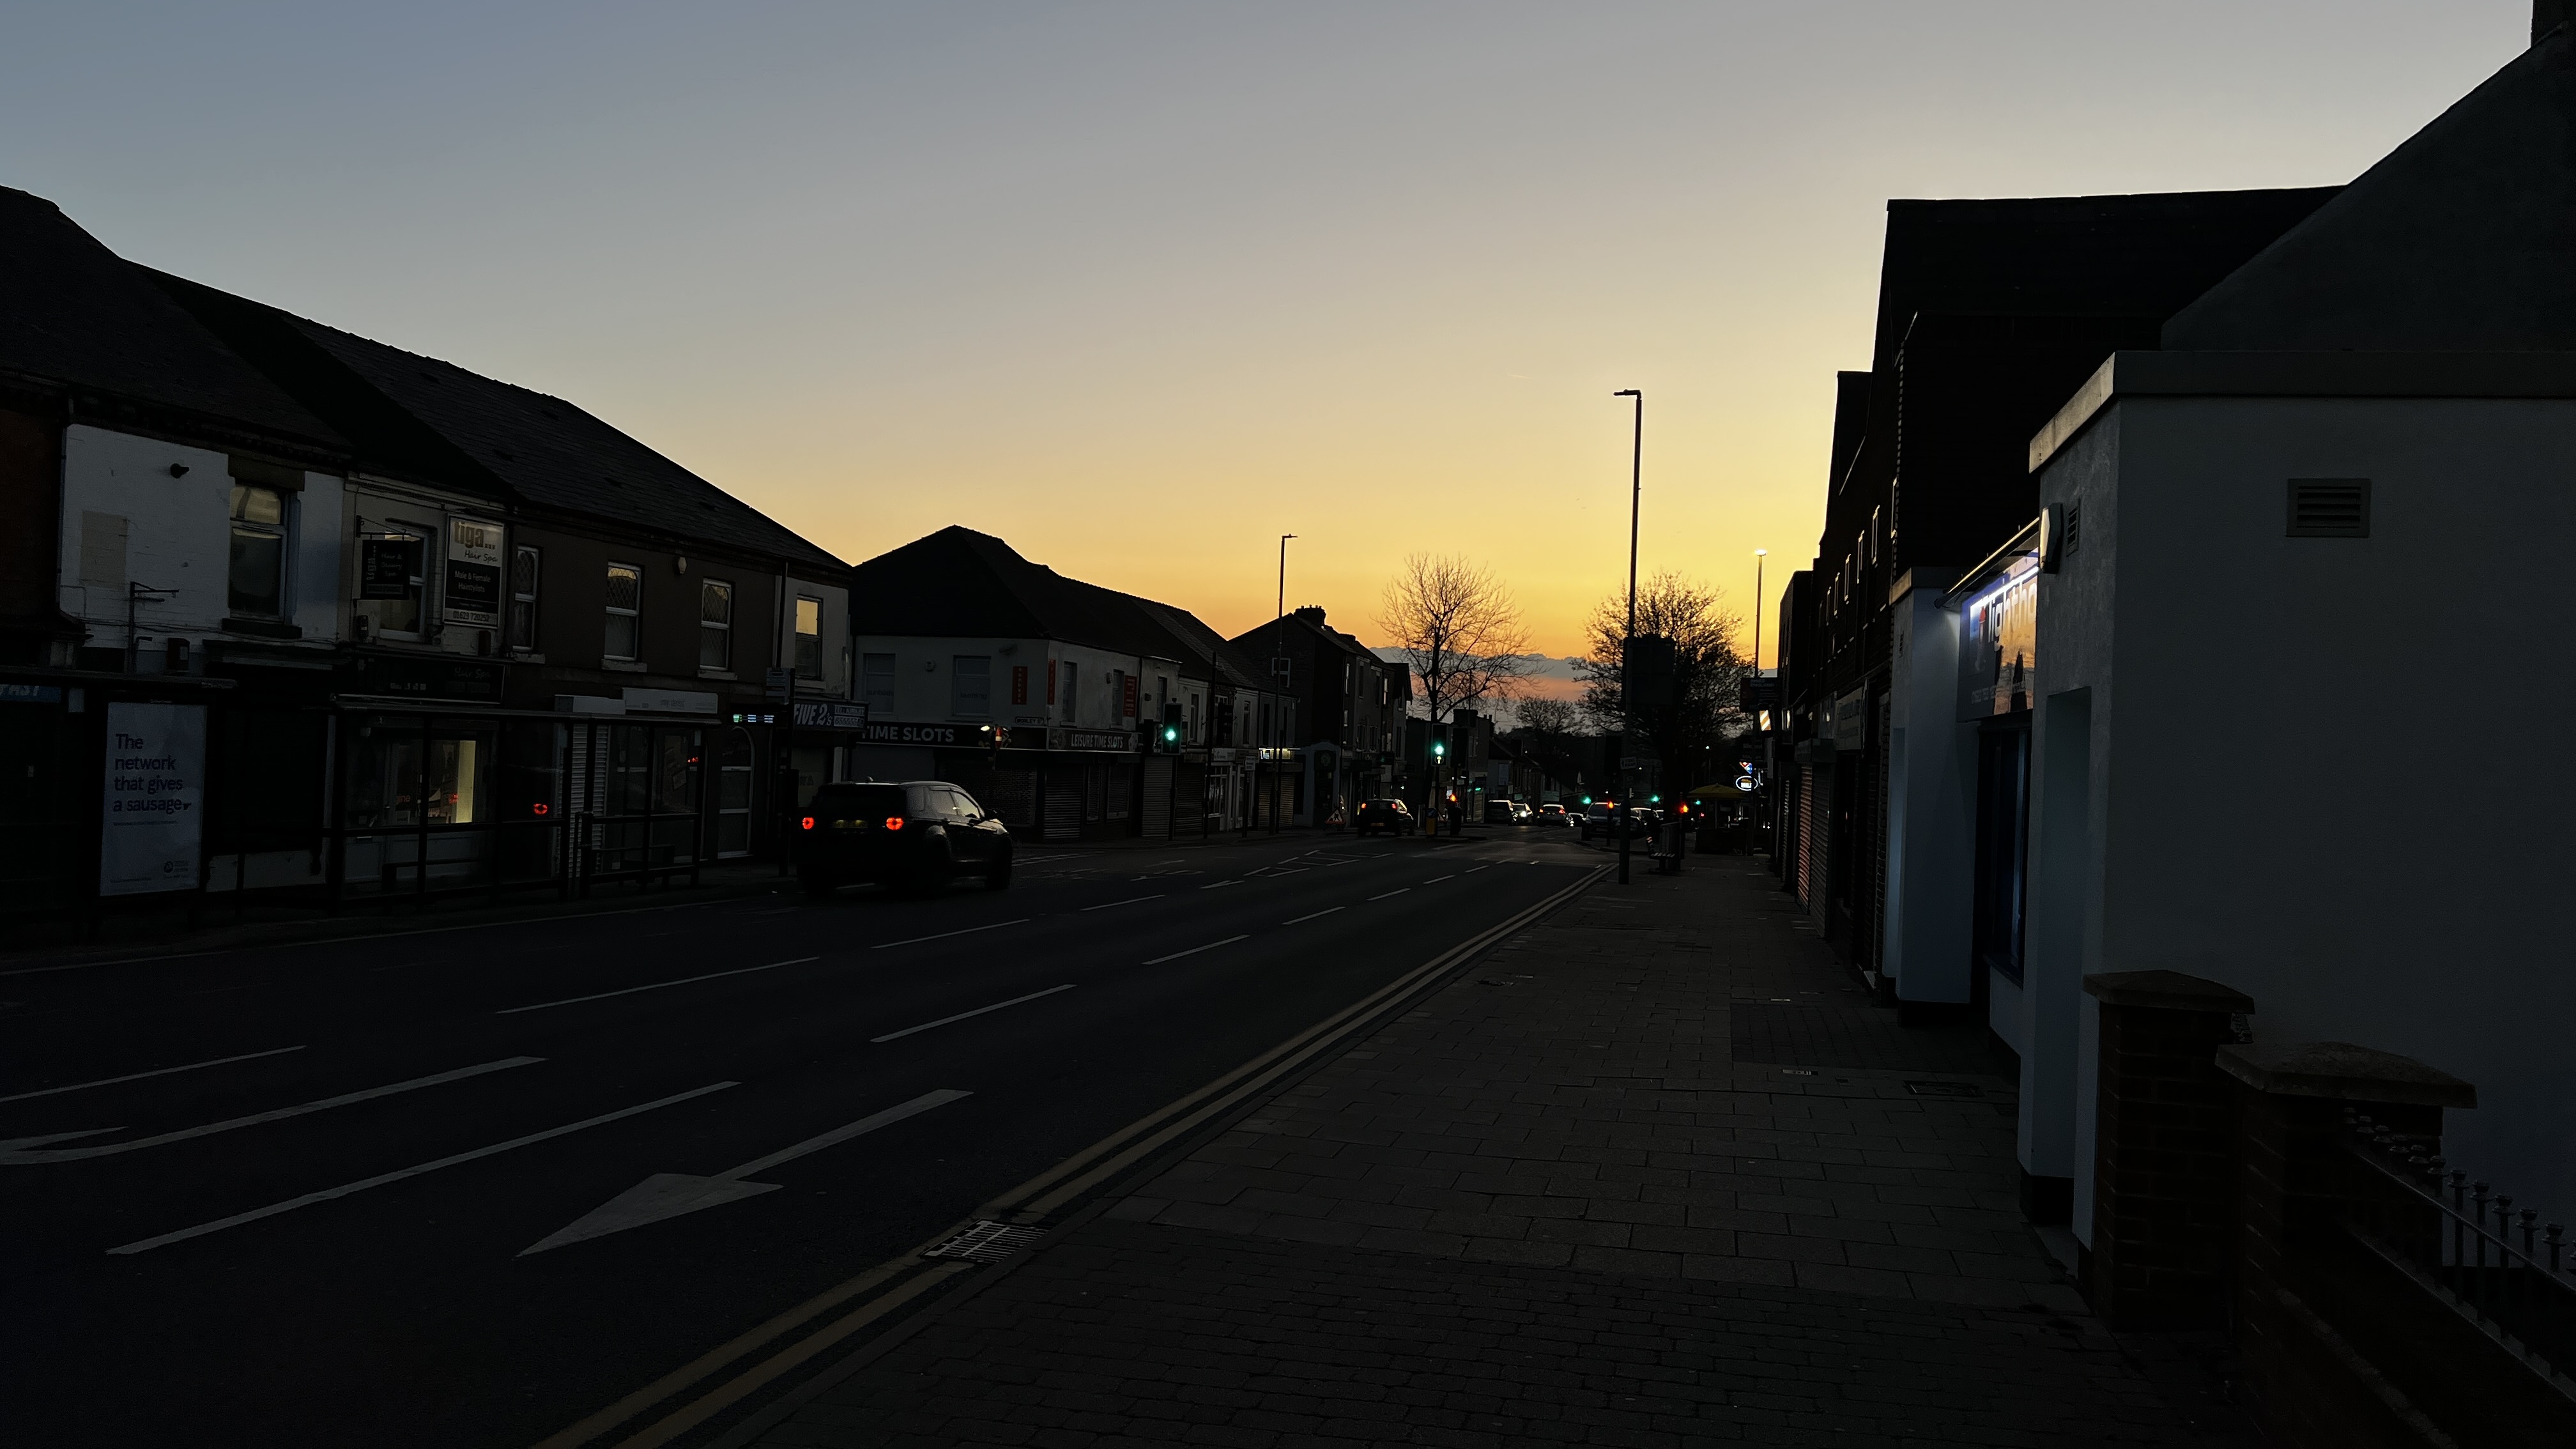
Nothing sums that up more than a walk down the main high street of my working class mining hometown. Normally, as the sun sets, this street is plunged into relative darkness, as shadows cascade across the landscape. However, the 14 Pro Max has tried too hard to balance everything, taking some of the drama out of the shot.
Meanwhile, my iPhone 13 Pro gave everything a far more moody aesthetic — my kind of aesthetic.
What’s the cause?
Quite simply, it seems to be the computational photography. The hardware itself is stellar, as is proven in many of the daylight shots I take. But the software that processes every picture you take seems to have a problem with pictures taken at this time.
Whether it’s making shots overly warm while over-balancing the contrast, or trying to sharpen too much of a scene rather than giving allowances to some subtle focus blur every now and again, this is the next photography mountain for Apple to climb with its default settings.
How to fix it
The oversharpening is, unfortunately, unavoidable. That is hard-coded into the iPhone’s computational photography DNA for now, and outside of downloading a prosumer-focussed camera app like ProCam 8 or Focus, there’s no getting around it.
However, we can do something about the over-brightening of scenes within the default camera app.
Open the camera
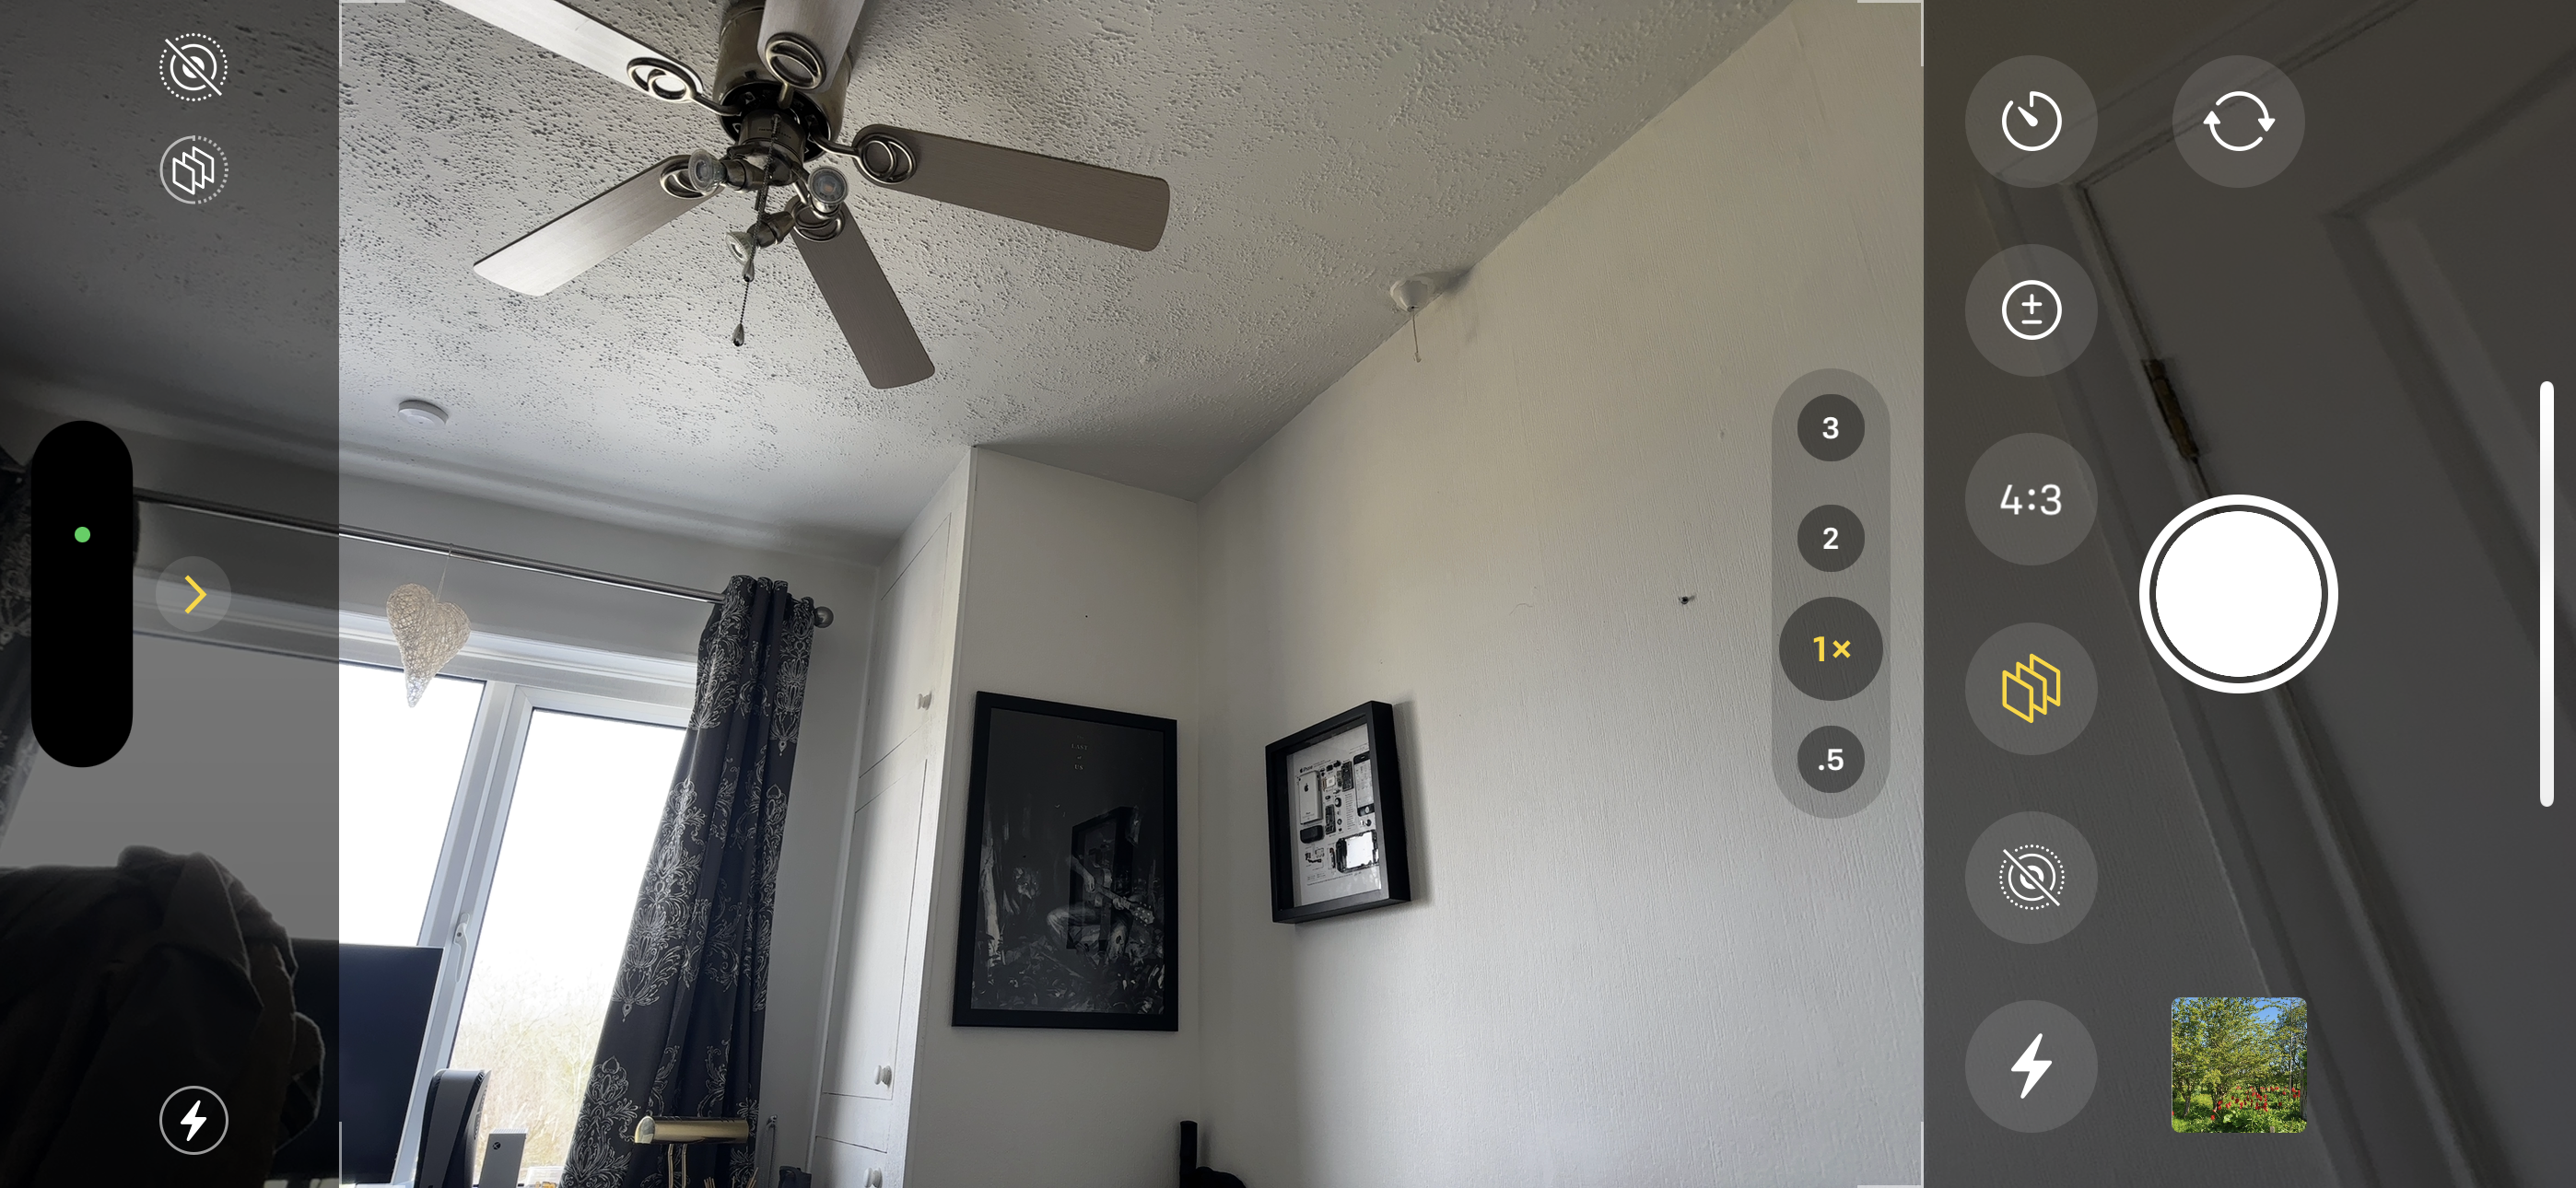
1. Open the Camera app and tap the arrow symbol at the top of the screen when in portrait, or to the left when in landscape mode.
Pick a filter
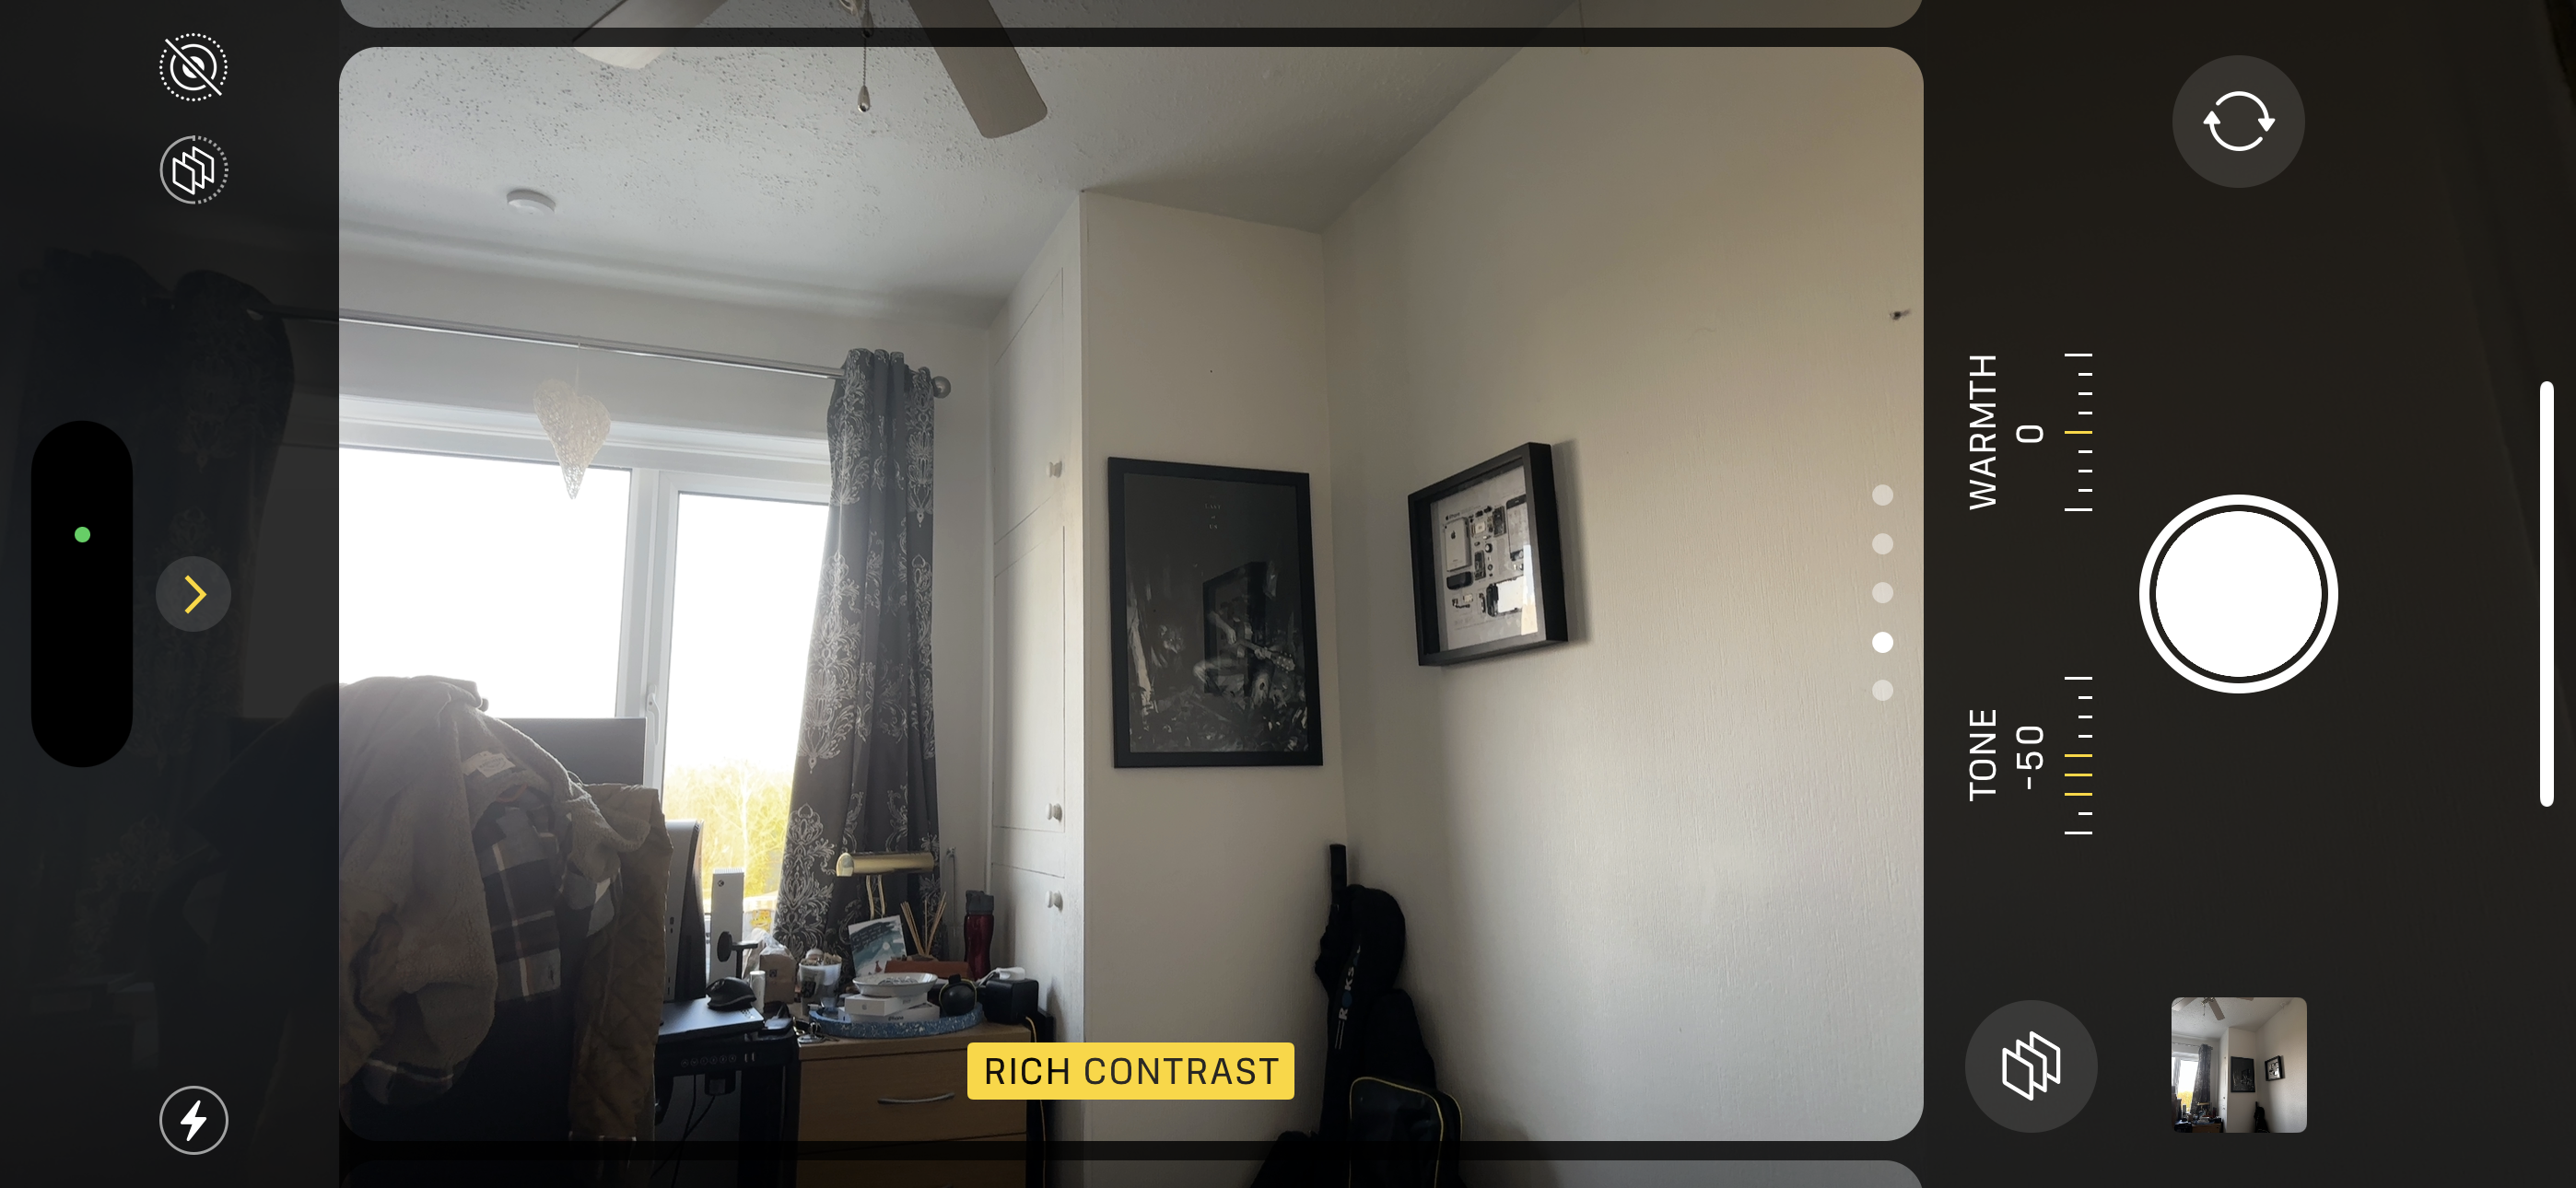
2. Tap the Filters button (looks like three squares laid on top of each other), and select the Rich Contrast option.
This tackles some of the saturation, and provides a decent contrast depth to a lot of shots. But for the right result every time, you need to go a little further. Say I’m dealing with this bright window and want the contrast. By standard, it throws off the iPhone’s camera, so let’s use AE/AF Lock.
Activate AE/AF lock
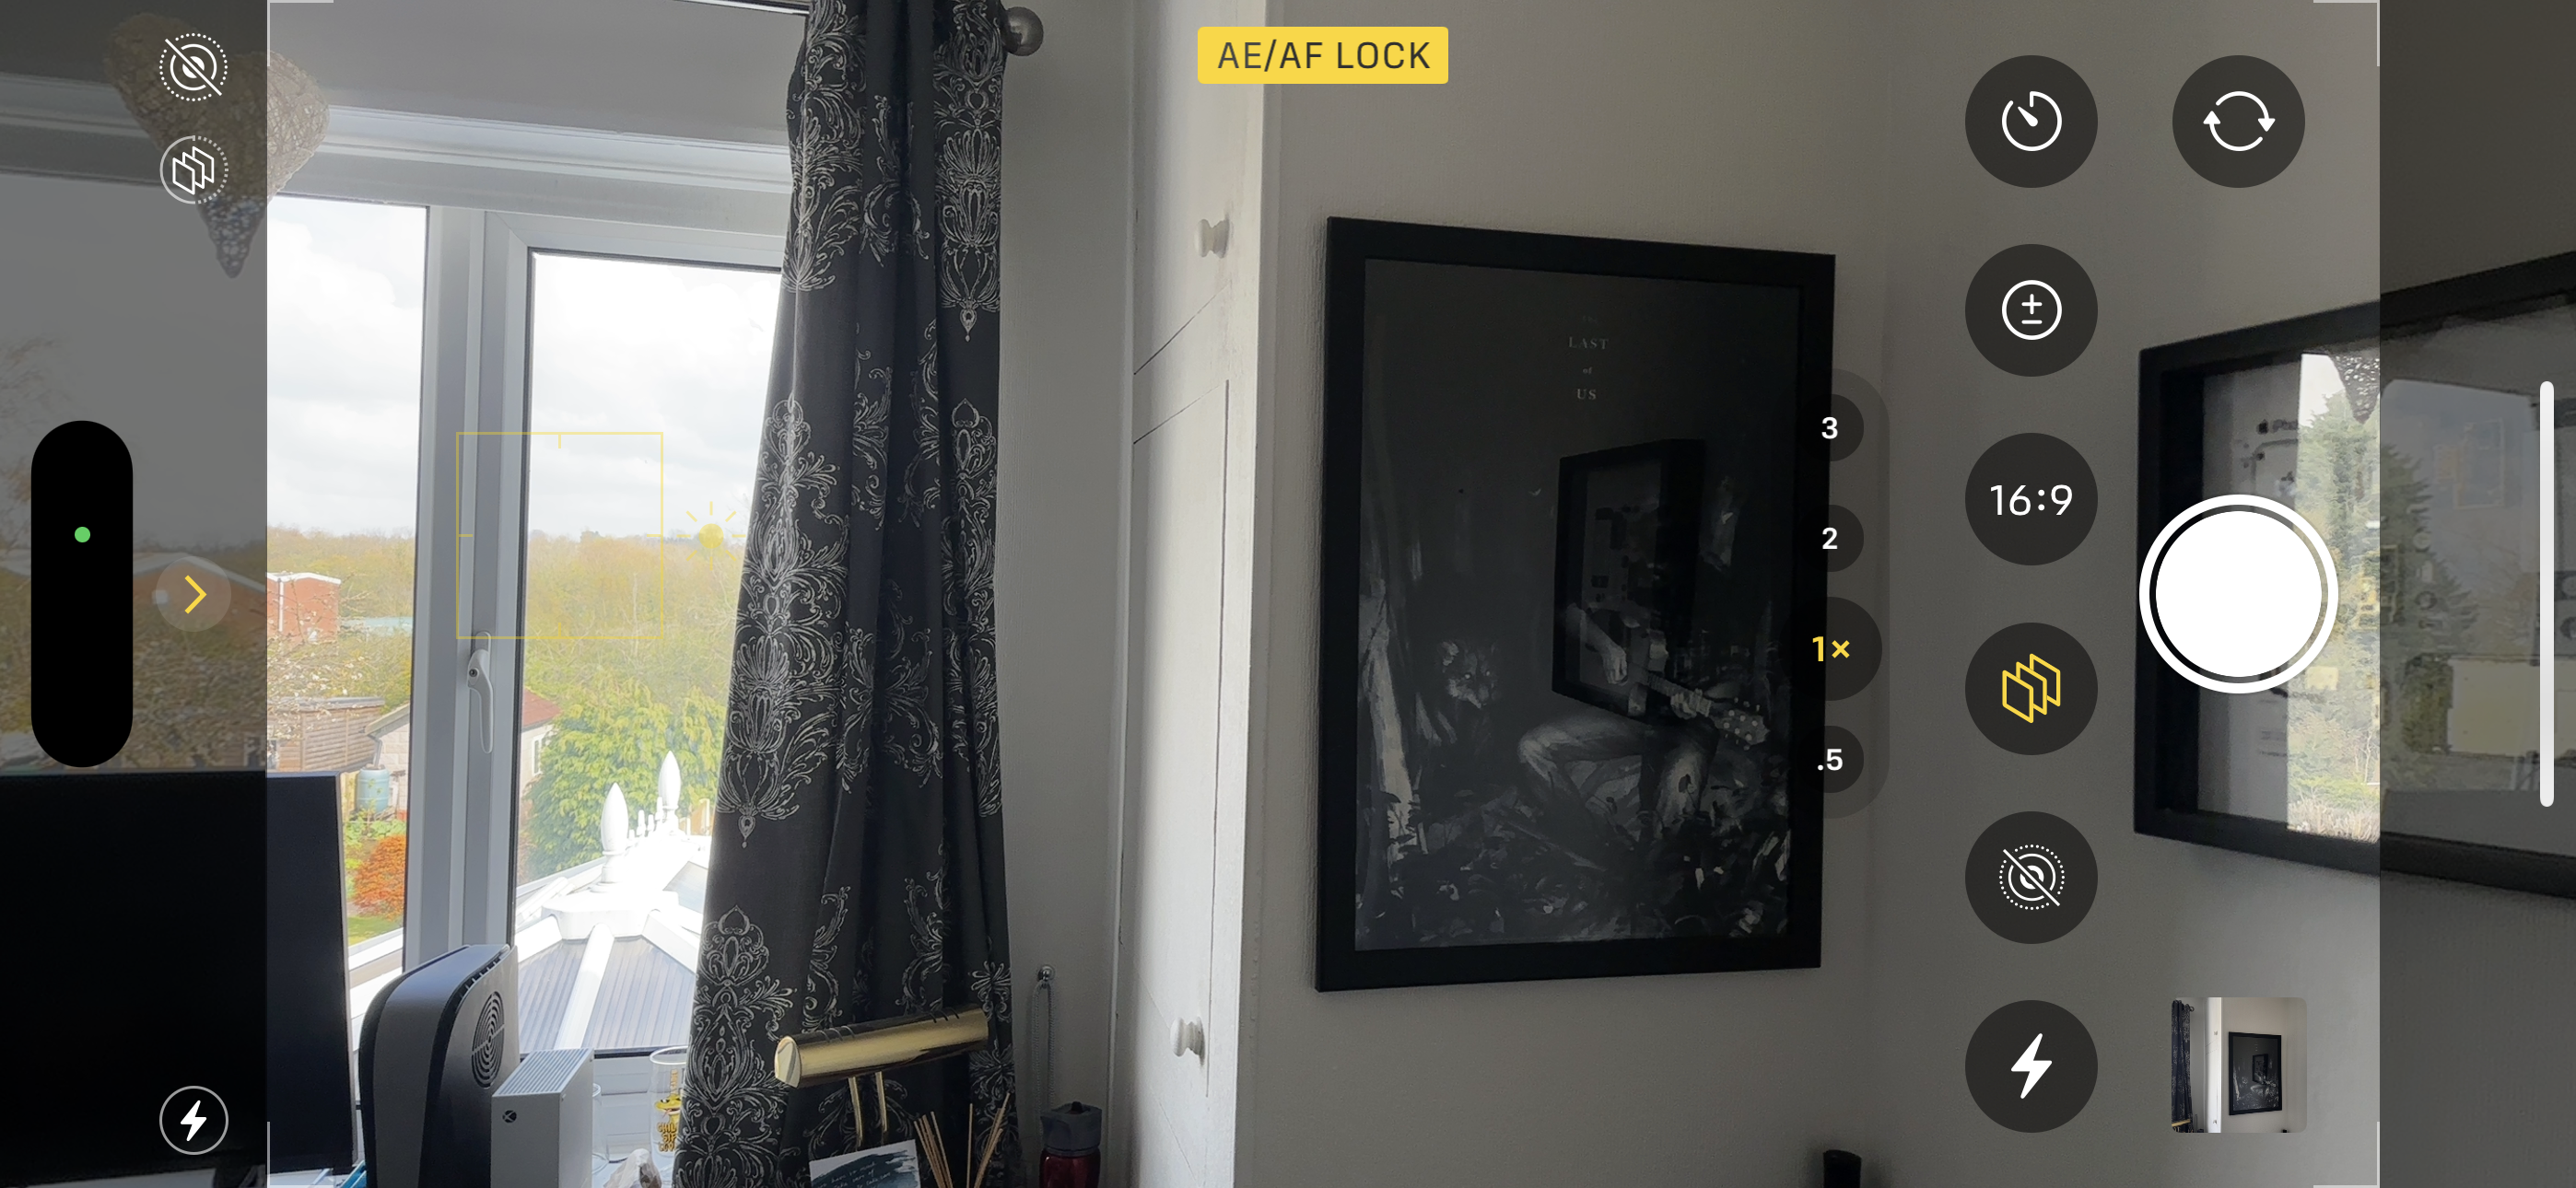
1. Press and hold on the light source you wish to balance out, until you see the focus square pulse and AE/AF Lock appear on-screen.
Balance the exposure
2. Scroll your thumb up or down to turn the exposure up or down, until you get the right balance.
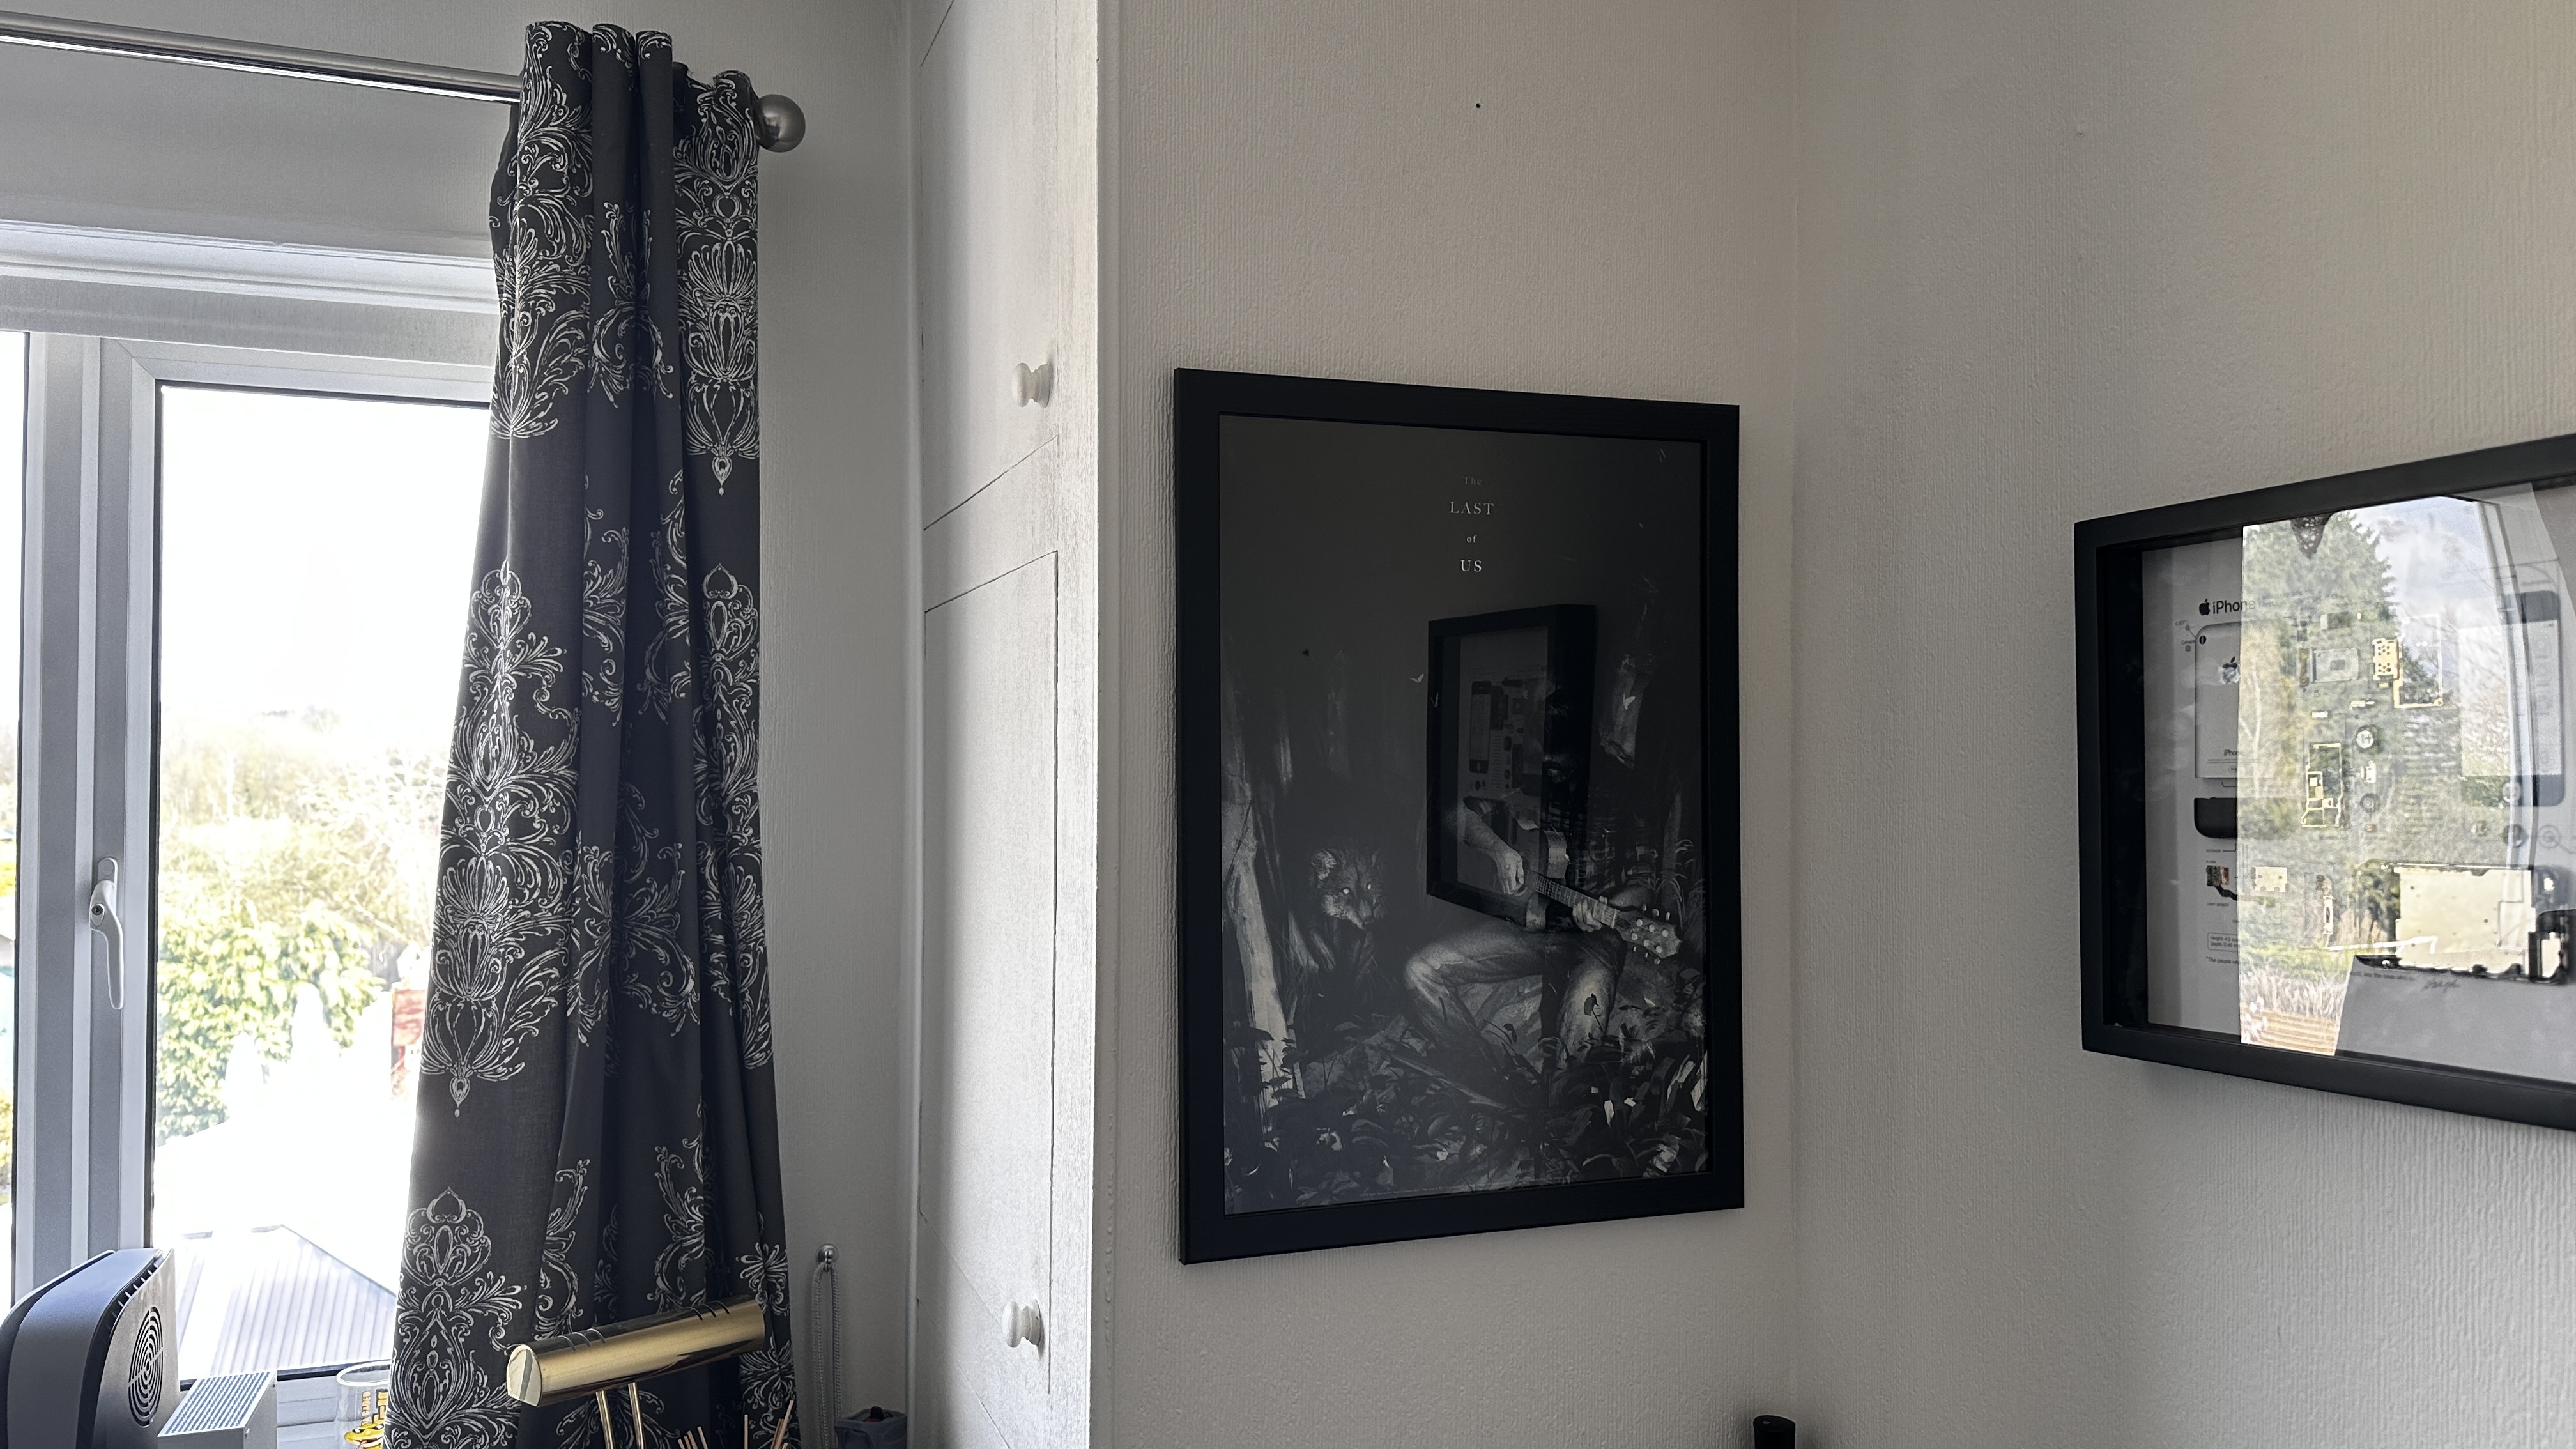
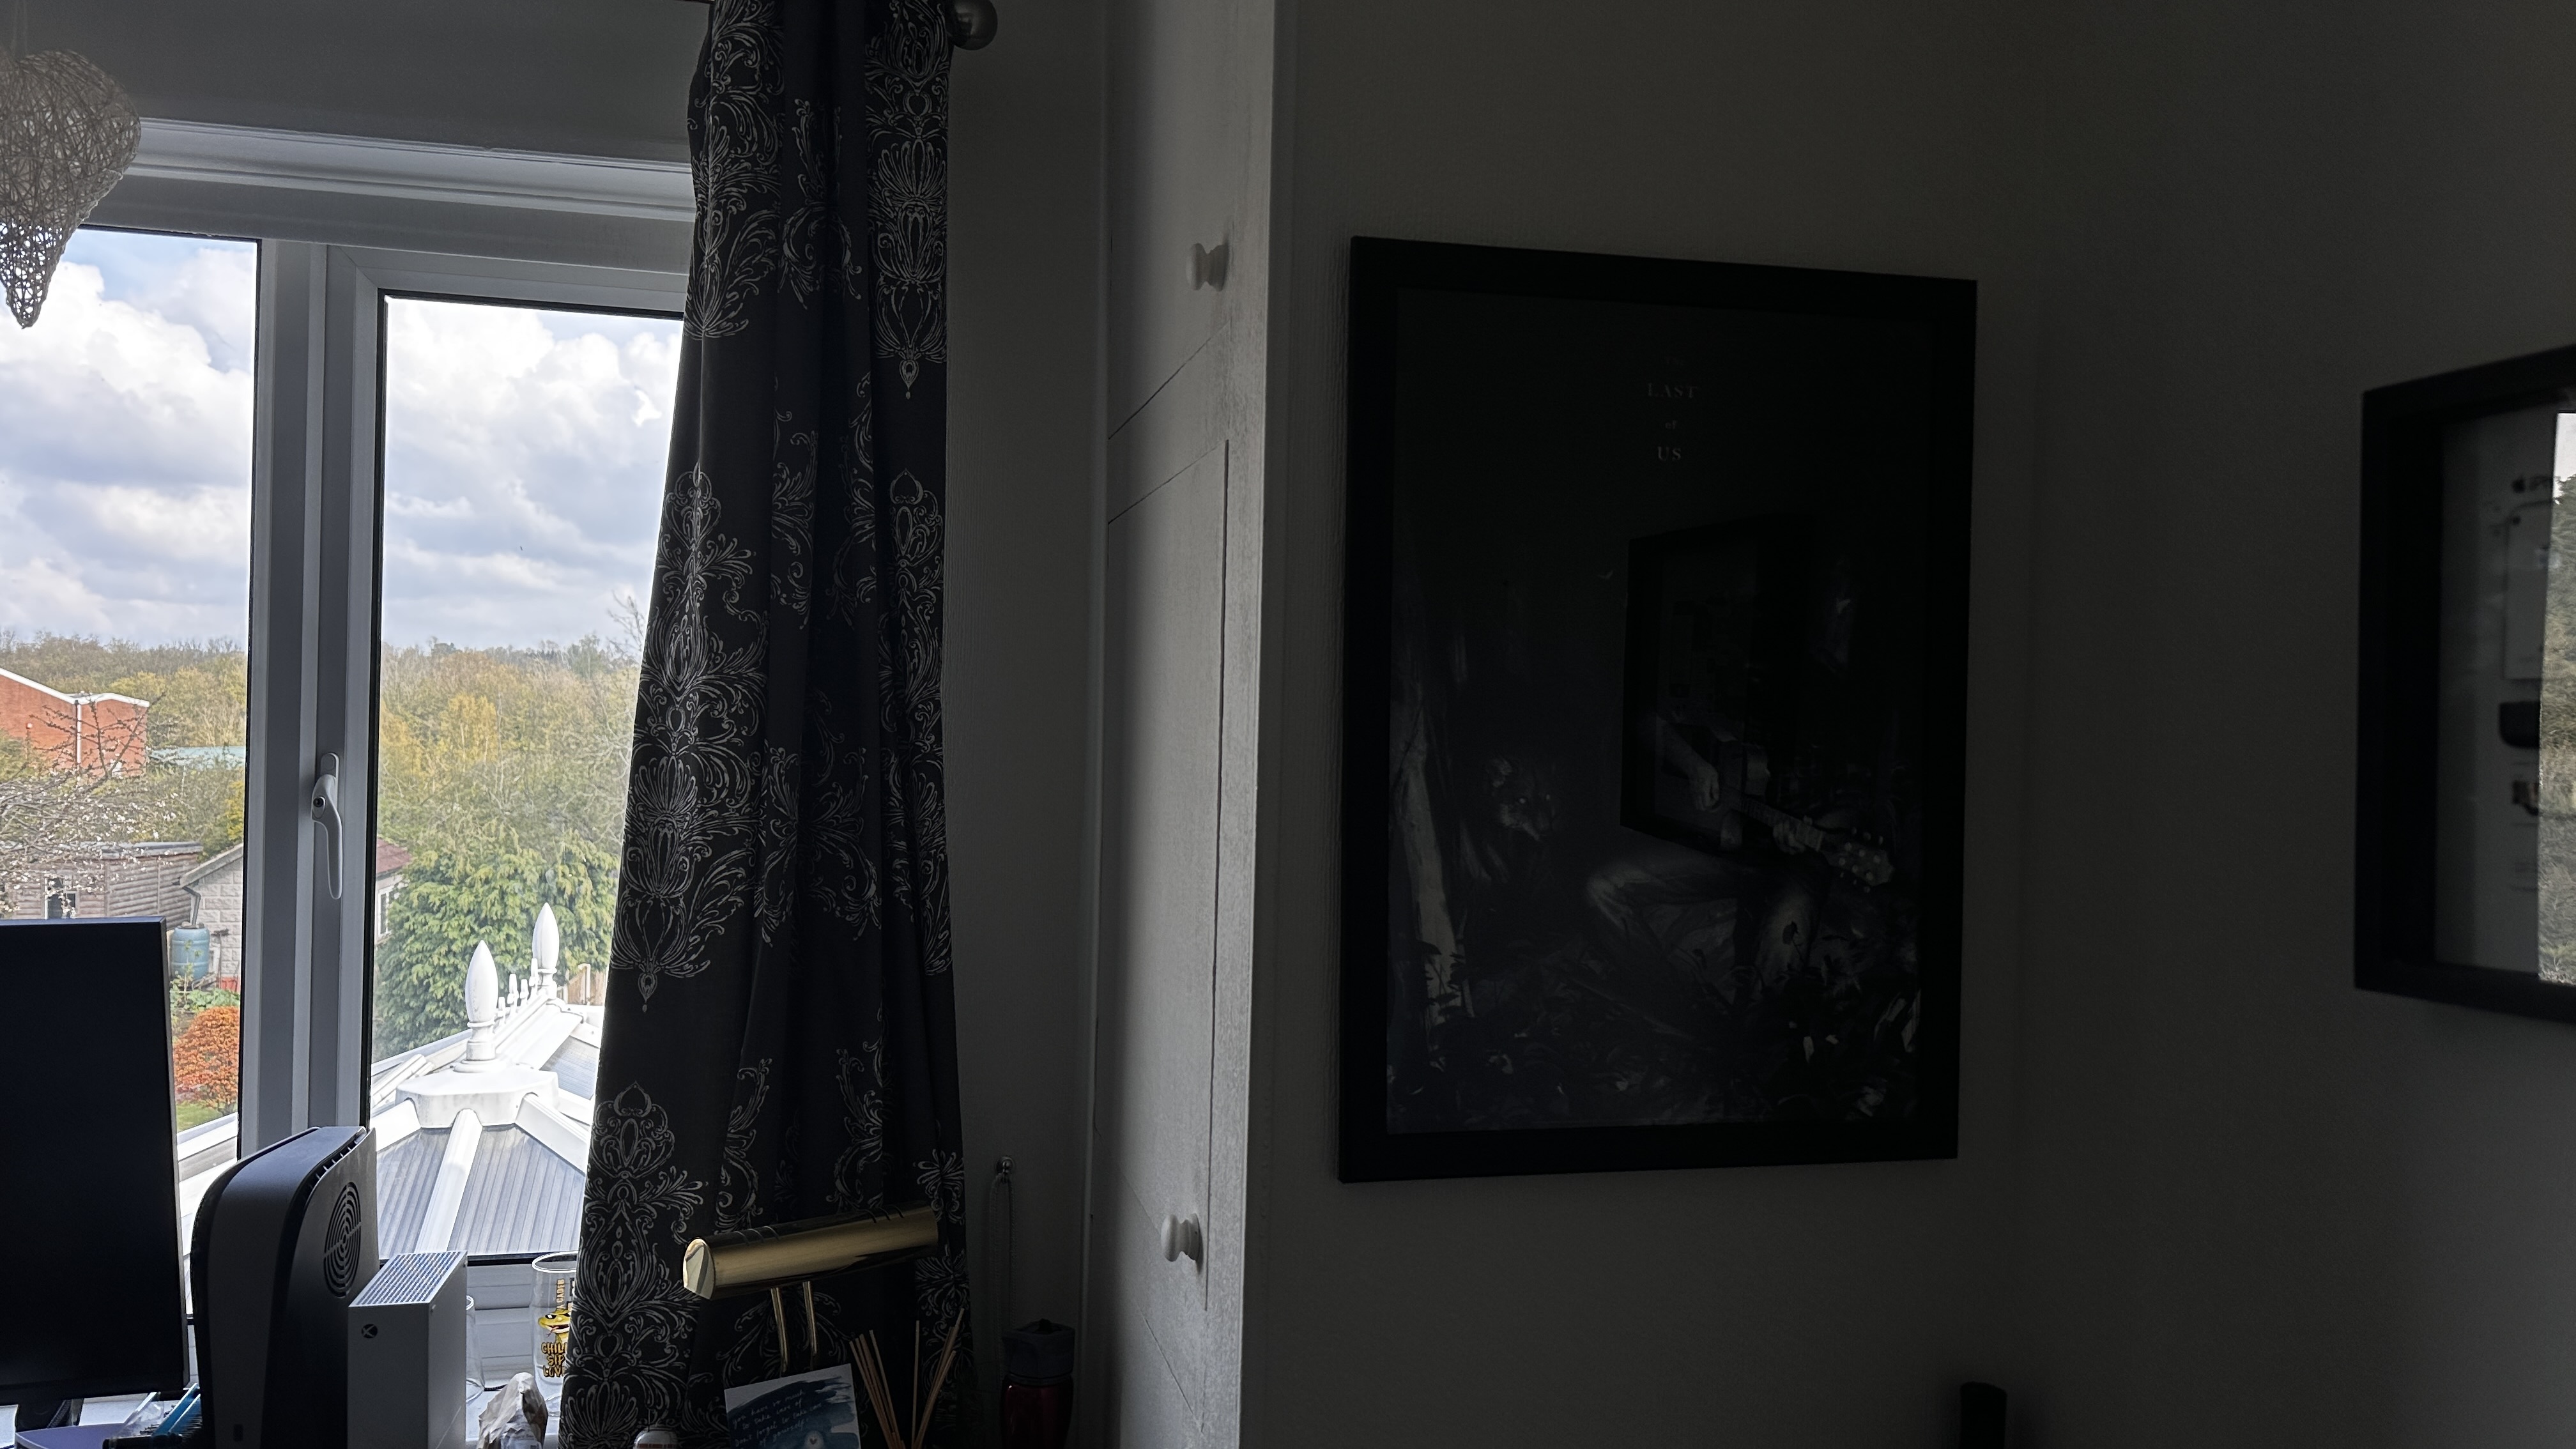
Bottom Line
So, there you have it. Chances are that as many of you agree with my take on the iPhone’s change in photography style, as those who think I’m talking out of my arse. And that’s OK — this is a subjective topic.
If you’re thrilled with the results you get from the camera by default, then ignore me! The pictures have a nice bokeh to them, and the easy-to-use customization means you can make some really cool shots.
But if you’re like me, and you miss the moody contrast-heavy persona of iPhones before, then be sure to hit up that rich contrast filter to get it back.


