
When it comes to styling hair—particularly long hair—it's easy to feel, after a while, like you've run out of ideas. I have two or three go-to hairstyles that I lazily opt for every time I go out, leading me to eventually feel like I'm in a bit of a hairstyling rut. And because I like to keep my hair out of my face while I'm working, reading, commuting, or simply trying to traverse the city streets without strands blowing into my line of sight, I'm always on the lookout for new updo ideas that can mix up my routine.
Thus, I've consulted celebrity hairstylist Dimitris Giannetos and Bea Watson, a hair styling expert with Aveda, on the best updos to opt for, whether you're rushing off to work, headed to a formal event, or simply trying to keep your hair up and out of your way.
The Slicked-Back Bun
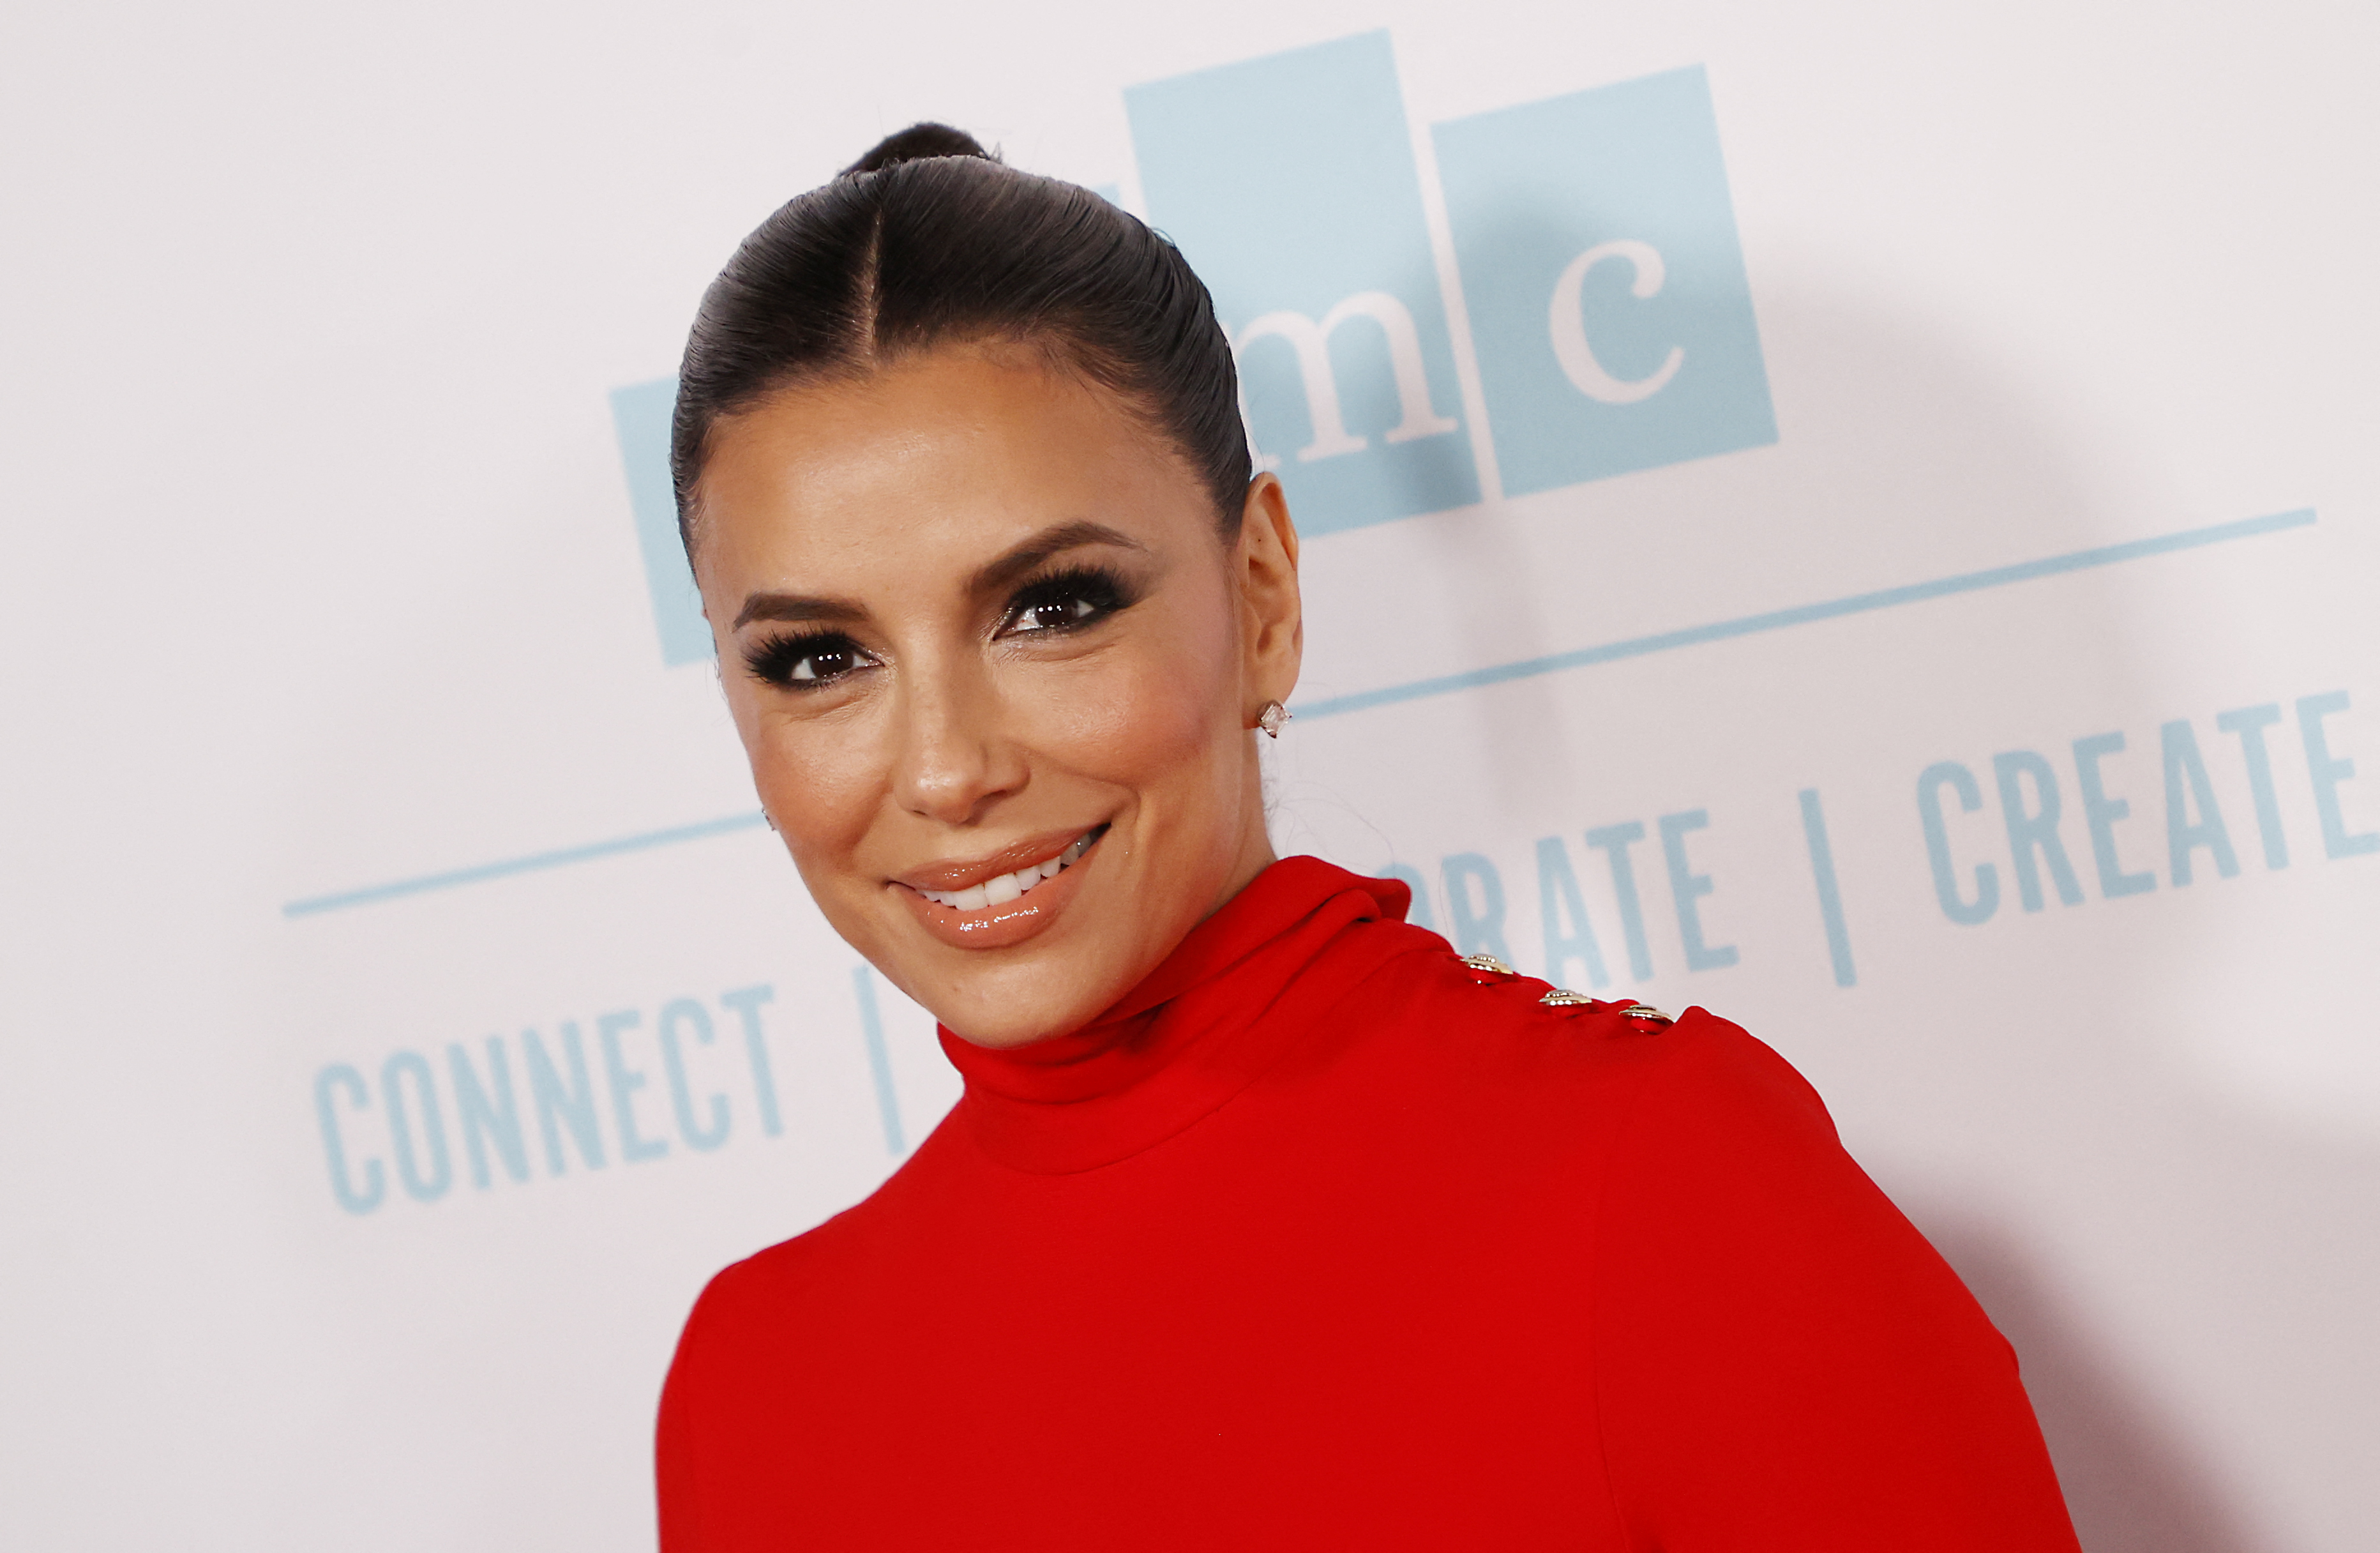
This classic look is one of my go-tos, and Giannetos agrees.
"When it comes to formal occasions, I prefer an updo that is sleek, elegant, and effortless," he says. "A slick back bun fits the bill. This hairstyle keeps your look clean and polished, but also keeps all the hair out of your face, giving you a sophisticated look. I recently styled Eva Longoria and began by applying my go-to styling cream, Dae Cactus Fruit 3-In-1 Styling Cream, throughout the hair to ensure it would stay in place. Then I gathered the hair into a ponytail and twisted individual sections into a bun, carefully pinning each strand in place. I always use a boar bristle brush to smooth out flyaways and secure it with some hairspray. For some extra shine, I like to finish off with Raw Sugar Living Endless Hair Glow."
Personally, I like opting for this hairstyle when I'm wearing a clunkier outfit, such as a top or dress with shoulder pads, an oversized sweater, or a bright, busy print. The look is also notoriously perfect for those days when you can't be bothered to wash your hair.
The Twist Half Up Half Down
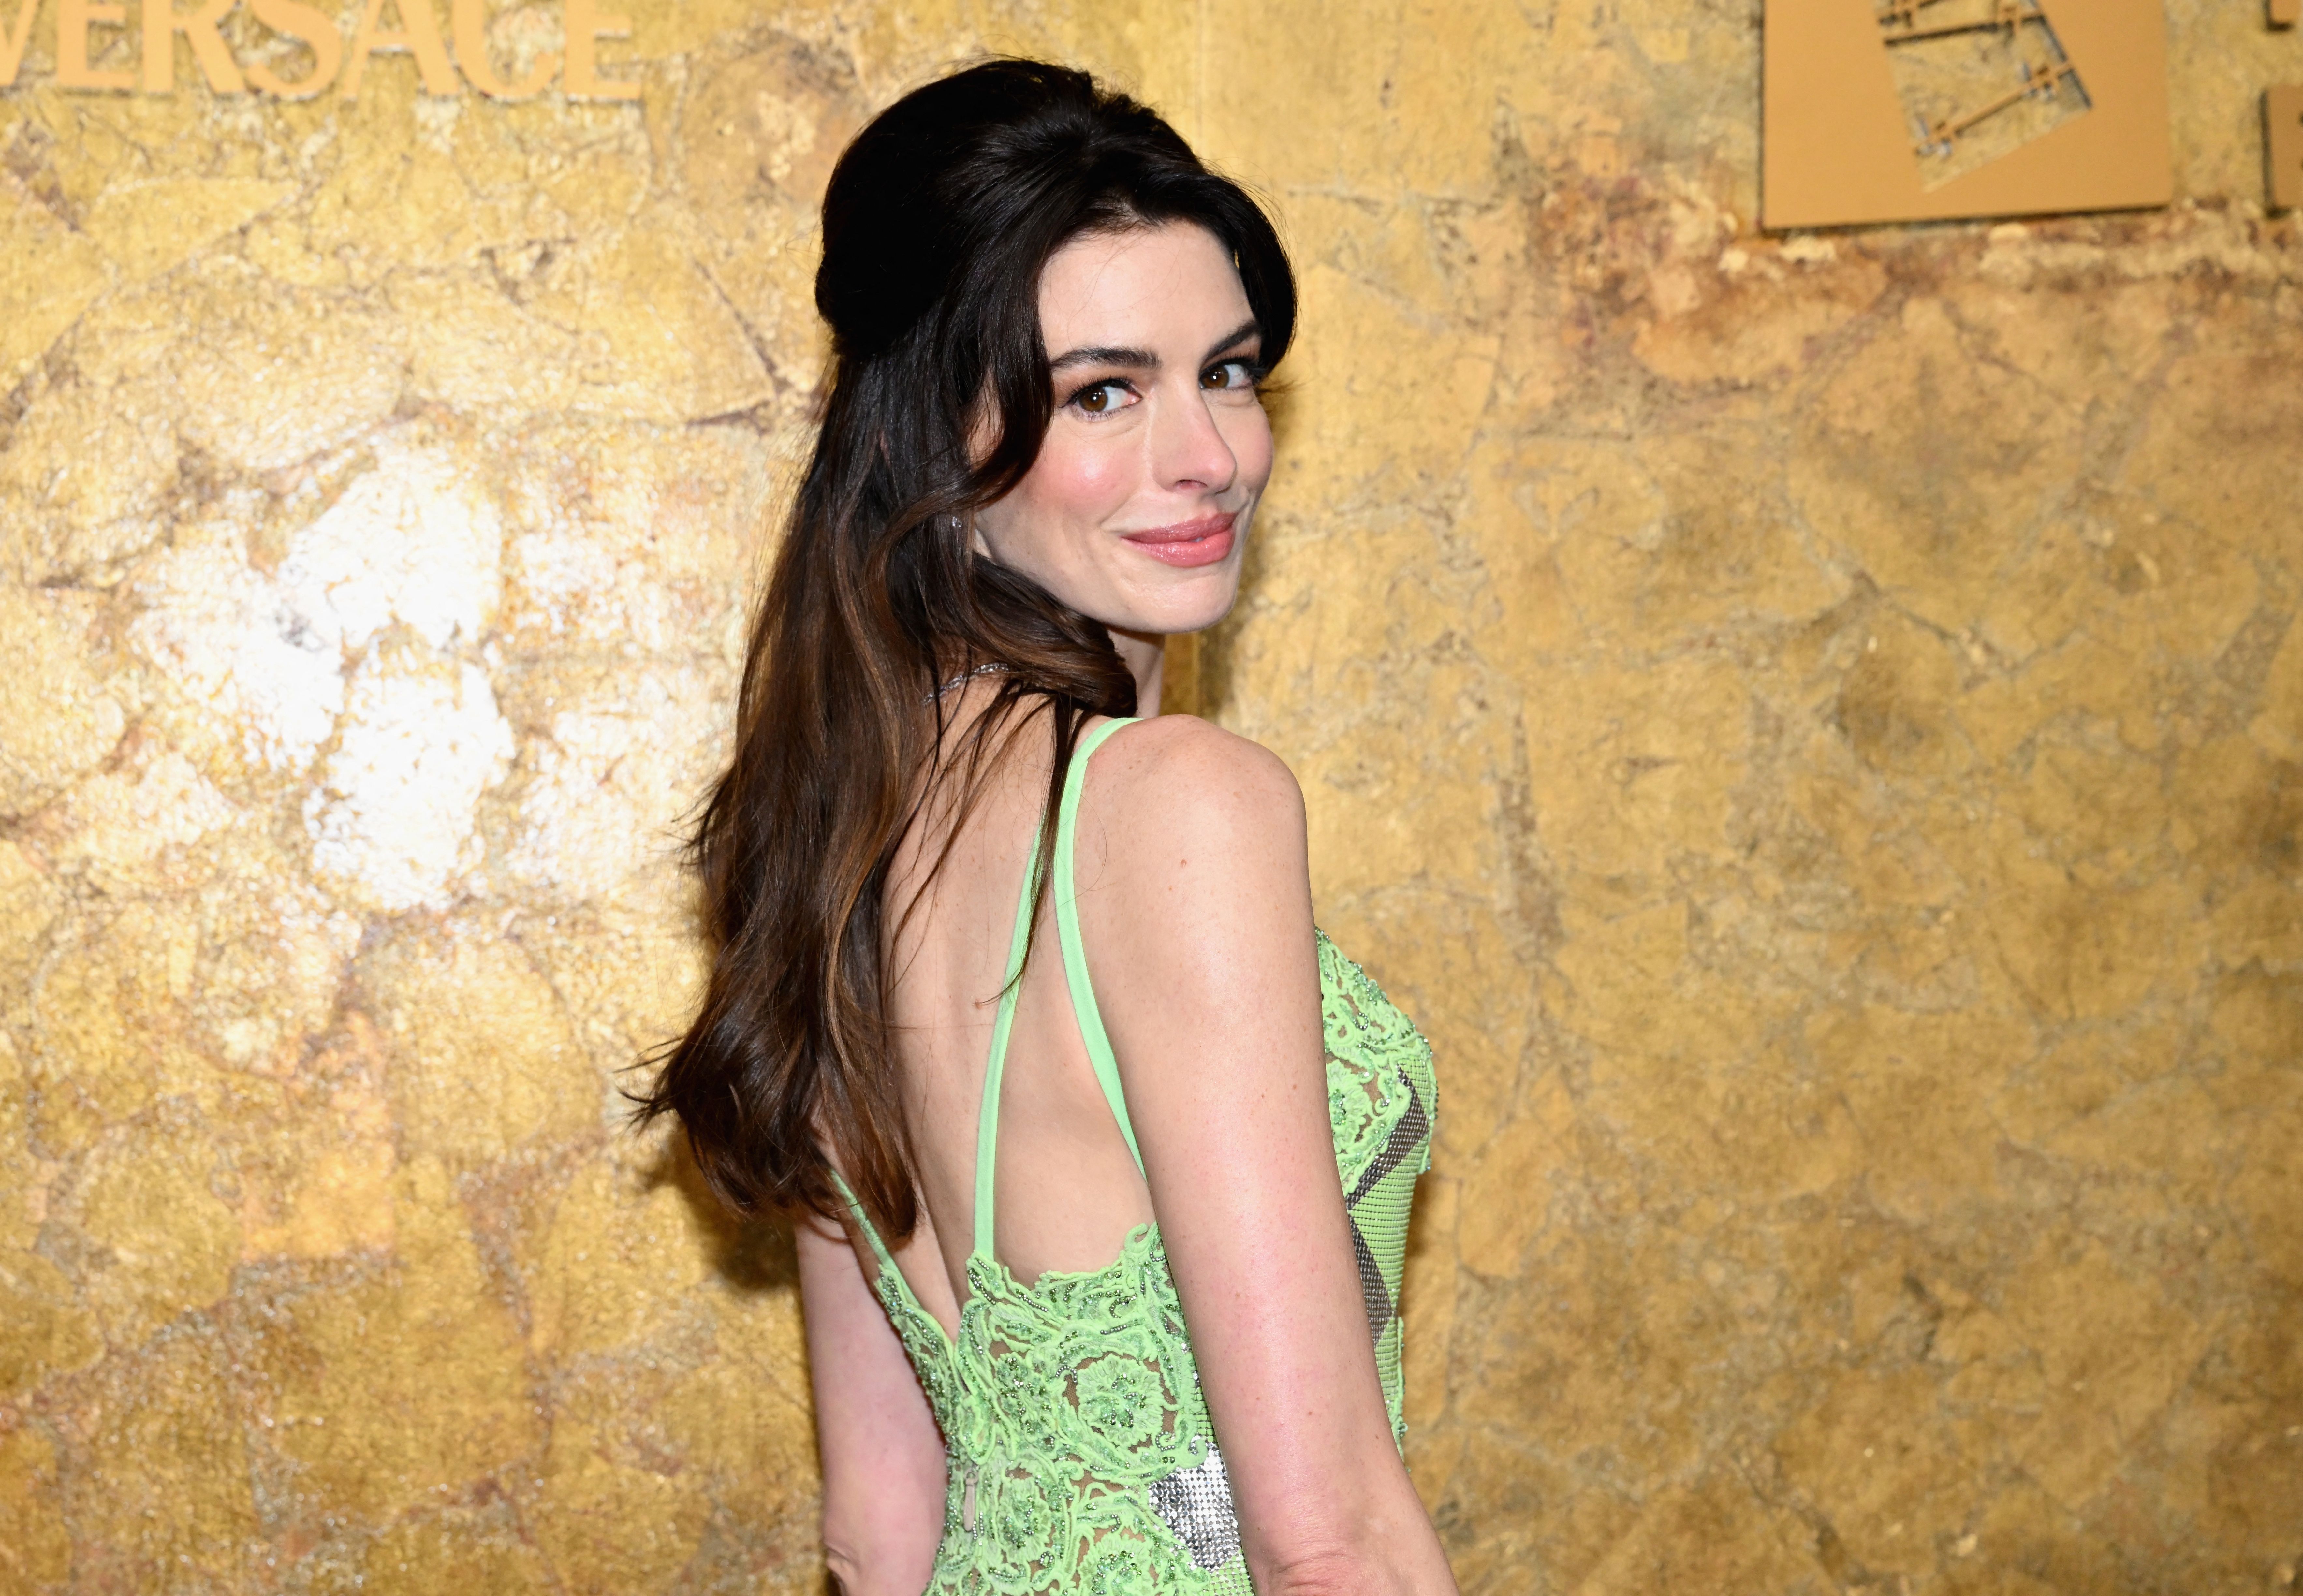
"This is a great look for anyone that doesn’t want to wear their hair fully up," says Bea Watson, the Artistic Director of styling for Aveda. "You can leave face framing pieces out around your face and adjust the volume to suit what you are comfortable with. This hair style is perfect for hair types one and two."
I also love this half-up-half-down style for my type three curls—especially when my hair is looking a little weighed down at the roots. This style instantly adds volume (and height!), and it allows the wearer to show off their face makeup (hello, highlighter) and their hair length.
First, Watson, says, "On damp hair, apply the Speed of Light Blow Dry Accelerator Spray and then layer and apply Texture Tonic, brush, or comb through for even distribution and blow dry with volume and movement."
Once your hair is totally dries, she advises to "take a triangular section on the top of the head incorporating the crown. Tip: the point of your triangular section should be in front of the crown at the center top of the head, then the outer points of the triangle should be near the top of each ear on both sides. Once you have your triangular section, back-brush or back-comb the hair at the roots for added volume."
"Once back brushing/combing is complete," she continues, "take the section and twist it vertically like a French twist. Make sure you keep the twist close to your head. Keep twisting until you see the volume you want at the crown, now pin in place and secure with bobby pins.Once the section is secure, add a clip with a bow attached and spray Air Control Light Hold Hair Spray by lifting the hair and spraying through the mid-lengths and ends."
The Slicked-Back Ponytail

Another great go-to is the ponytail. Giannetos says, "A classic slick-back ponytail is always a great choice. To achieve this look, I start by parting the hair down the middle and then use a styling cream to slick back each section of hair for a polished finish. While you don’t have to include a middle part, I find that it helps to create some volume at the top, which is important to avoid a flat hair/slick back look. You have to have some volume somewhere."
And he has plenty of experience creating this look. He recalls, "One of my recent favorites is Shay Mitchell's, which features some dramatic length. To give a ponytail a workforce touch, I also cover the hair tie with some of the strands. As always, finish off with some hair spray, my favorite is L'Oreal Paris Elnett Satin Hairspray Extra Strong Hold, to ensure the style stays intact all day. "
The Sleek Extended Ponytail for Natural Curls and Coils
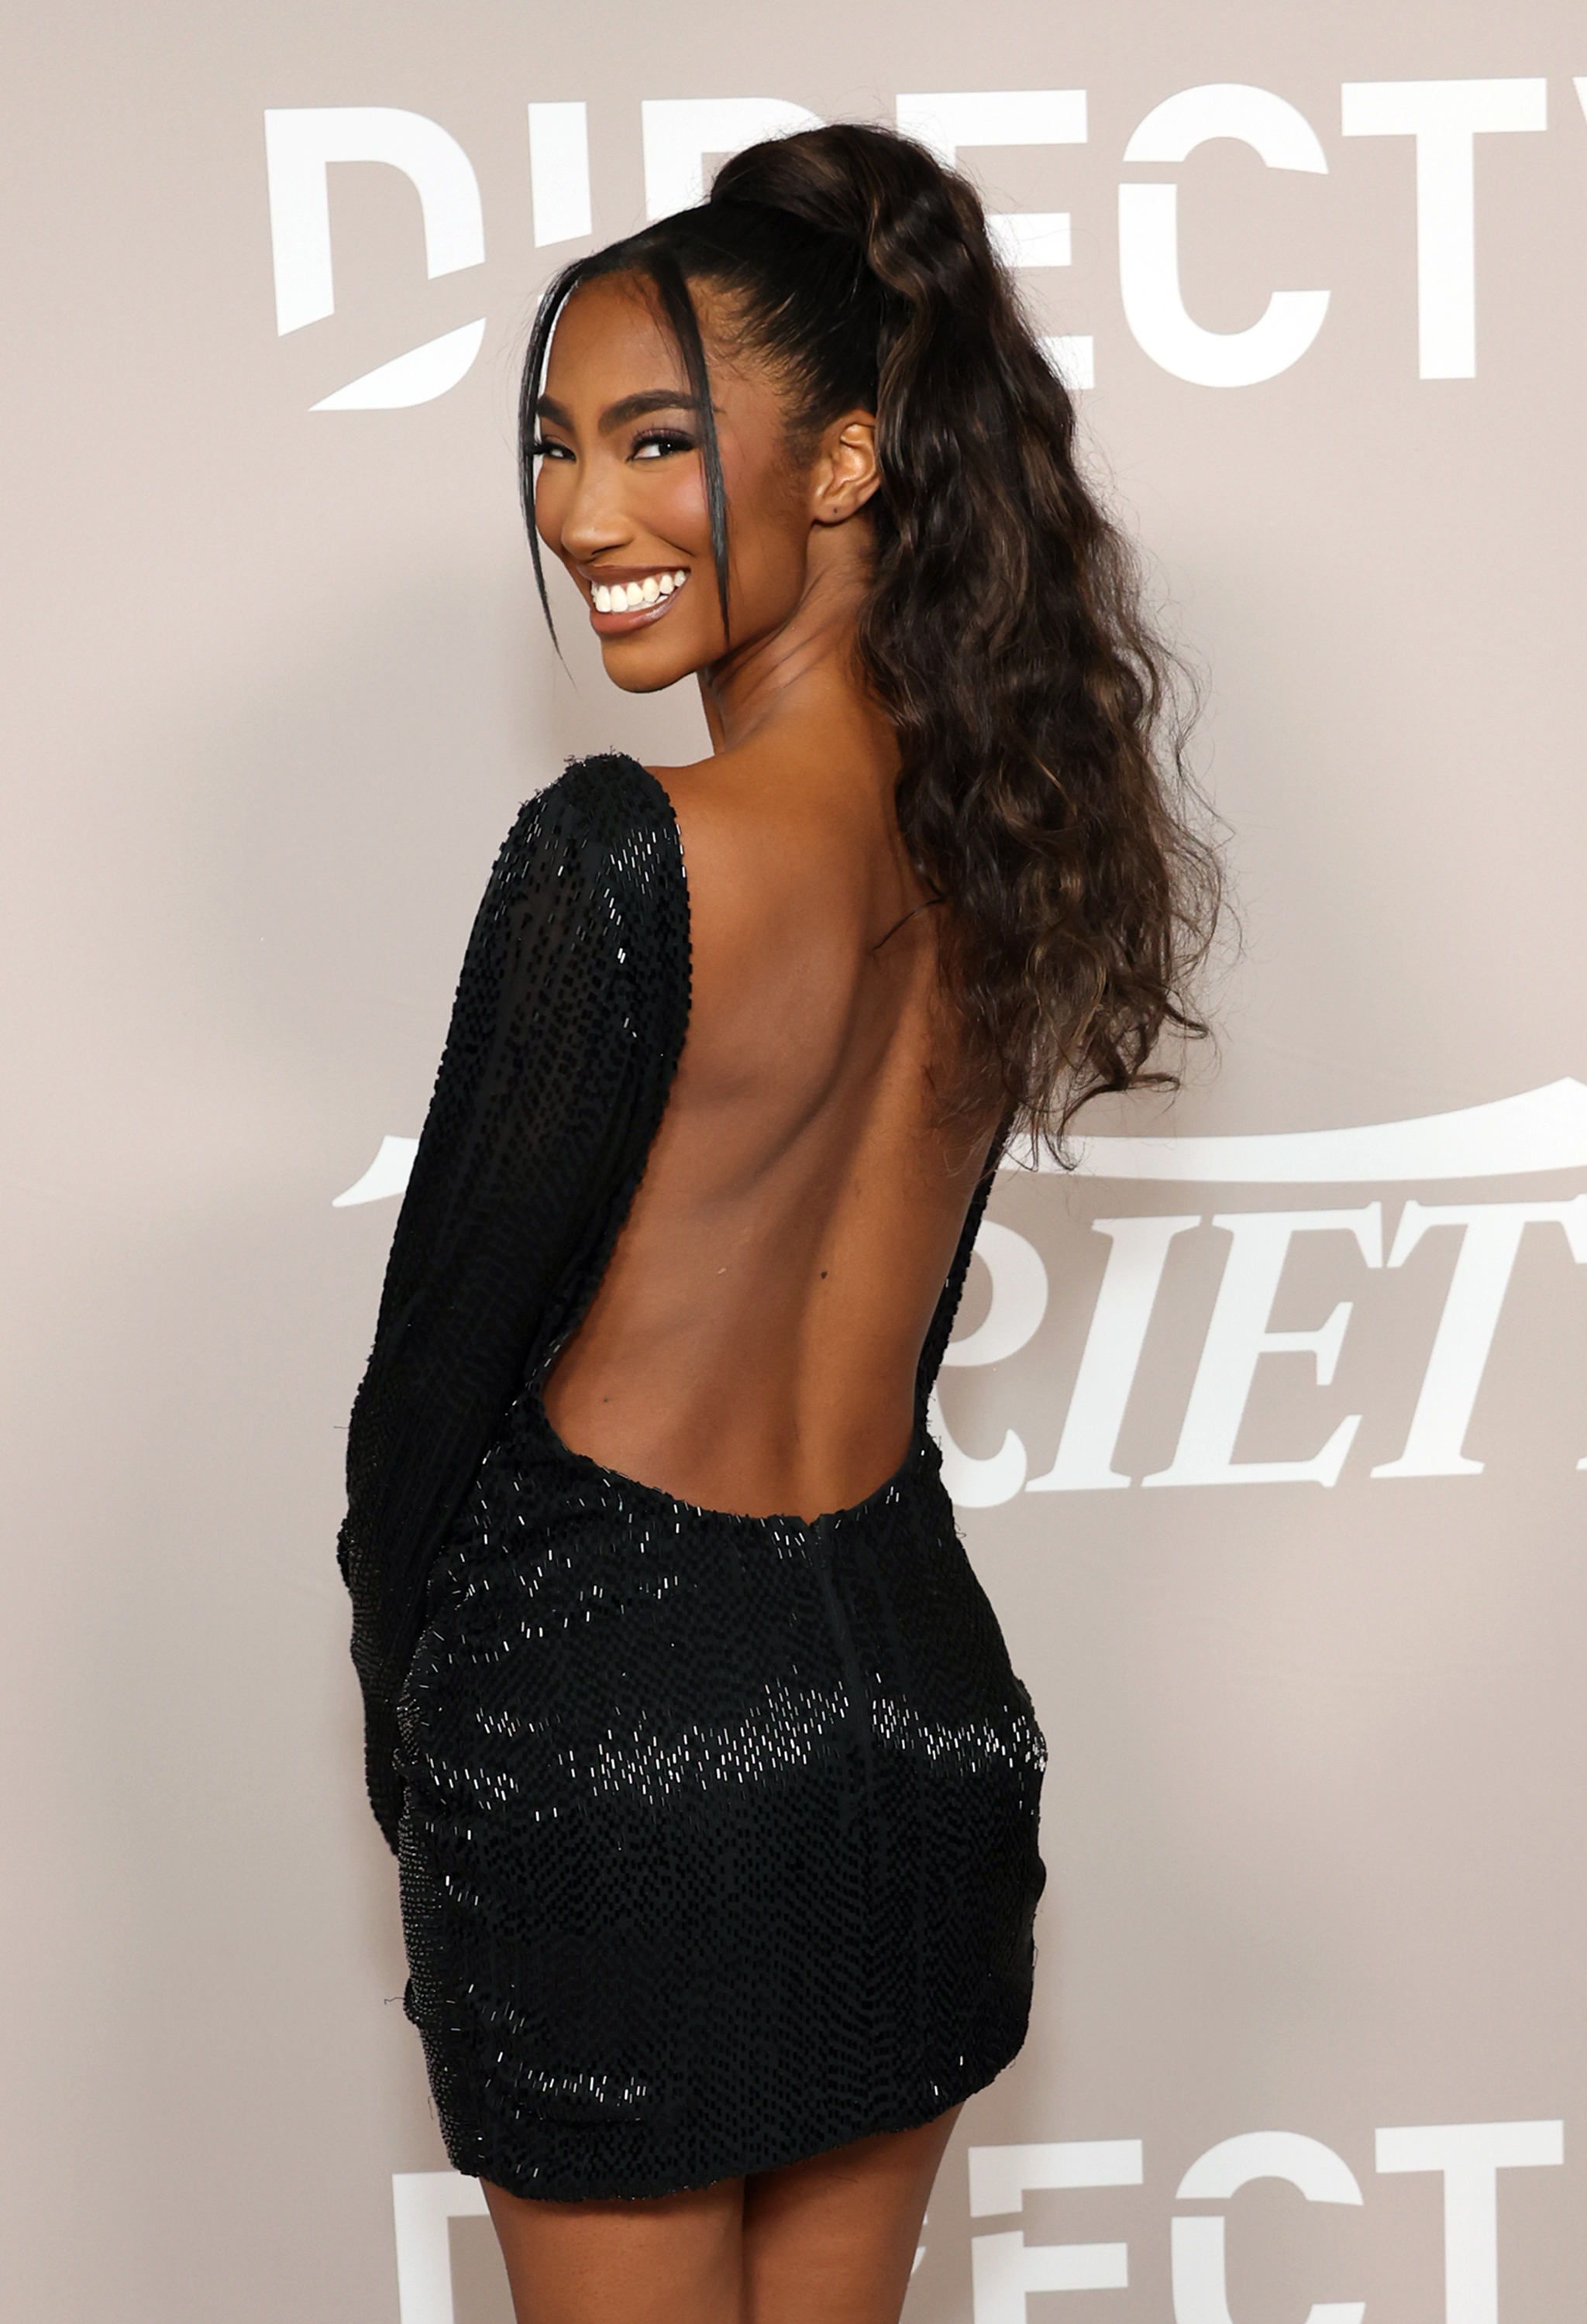
As a curly girl myself, my biggest struggle with updos is managing to slick back my hair without any bumps or flyaways. To that end, Watson says, "This style is perfect for longer length curls and coils and uses runway styling tricks to keep that ponytail tight and sleek. It's perfect for hair types 3 and 4."
To achieve the chic look, she says, "Apply a decent amount of Nutriplenish Styling Treatment Foam to wet hair after shampooing, conditioning, and detangling. Apply the product through each horizontal section starting at the nape of the head. Comb through each section to make sure the product is on every section from roots to ends and evenly distributed."
Once you've taken your time ensuring even application, Watson instructs, "Create your center parting and take a small triangular sub-section around the parting and clip this out of the way. You will be adding this section into the ponytail last."
Next, "start your blow dry at the nape using a flat brush and thumb locking technique to smooth out and dry the roots only. Leave the mid-lengths and ends damp—we will come back to those later. Once the hair is dry underneath your triangular section you are ready to take your first ponytail section. Use Botanical Repair Bond Building Styling Creme to keep everything in place as you brush the hair into the direction of the ponytail."
In the market for a runway-inspired styling tip? "Use elasticated cord to tie the section instead of a hairband for that perfectly sleek ponytail," Watson suggests.
Next, it's time to blow dry. "Once the first ponytail is secure you can blow dry your triangular section that is around your center parting and blow dry your parting into place," Watson directs. "Once the roots and mid-lengths are dry, add this section into the ponytail and secure with an elasticated cord around your first ponytail."
Here, Watson reminds up that you'll " just be adding this section into your existing ponytail."
Then, "Take another piece of cord and tie it around the ponytail with about three fingers depth away from the ponytail base (your first piece of tied elastic cord). Secure and cut off any over long pieces of cord. Then, using a bobby pin, thread your chosen ribbon through the pin and secure through the first ponytail band (created with the cord). Keep wrapping the ribbon around the ponytail base. Using another bobby pin, thread the ribbon through it and secure through the second elasticated band. Once the ribbon is secure apply more Nutriplenish Styling Treatment Foam to the ponytail and diffuse dry into your curls and coils using a low heat and speed to reform the curls."
And voilà! The last step, if you choose, involves laying your edges. For that, Wastons says to use control paste and an edging brush to "detail your edges, making them lay flat."
The Braided Pigtails
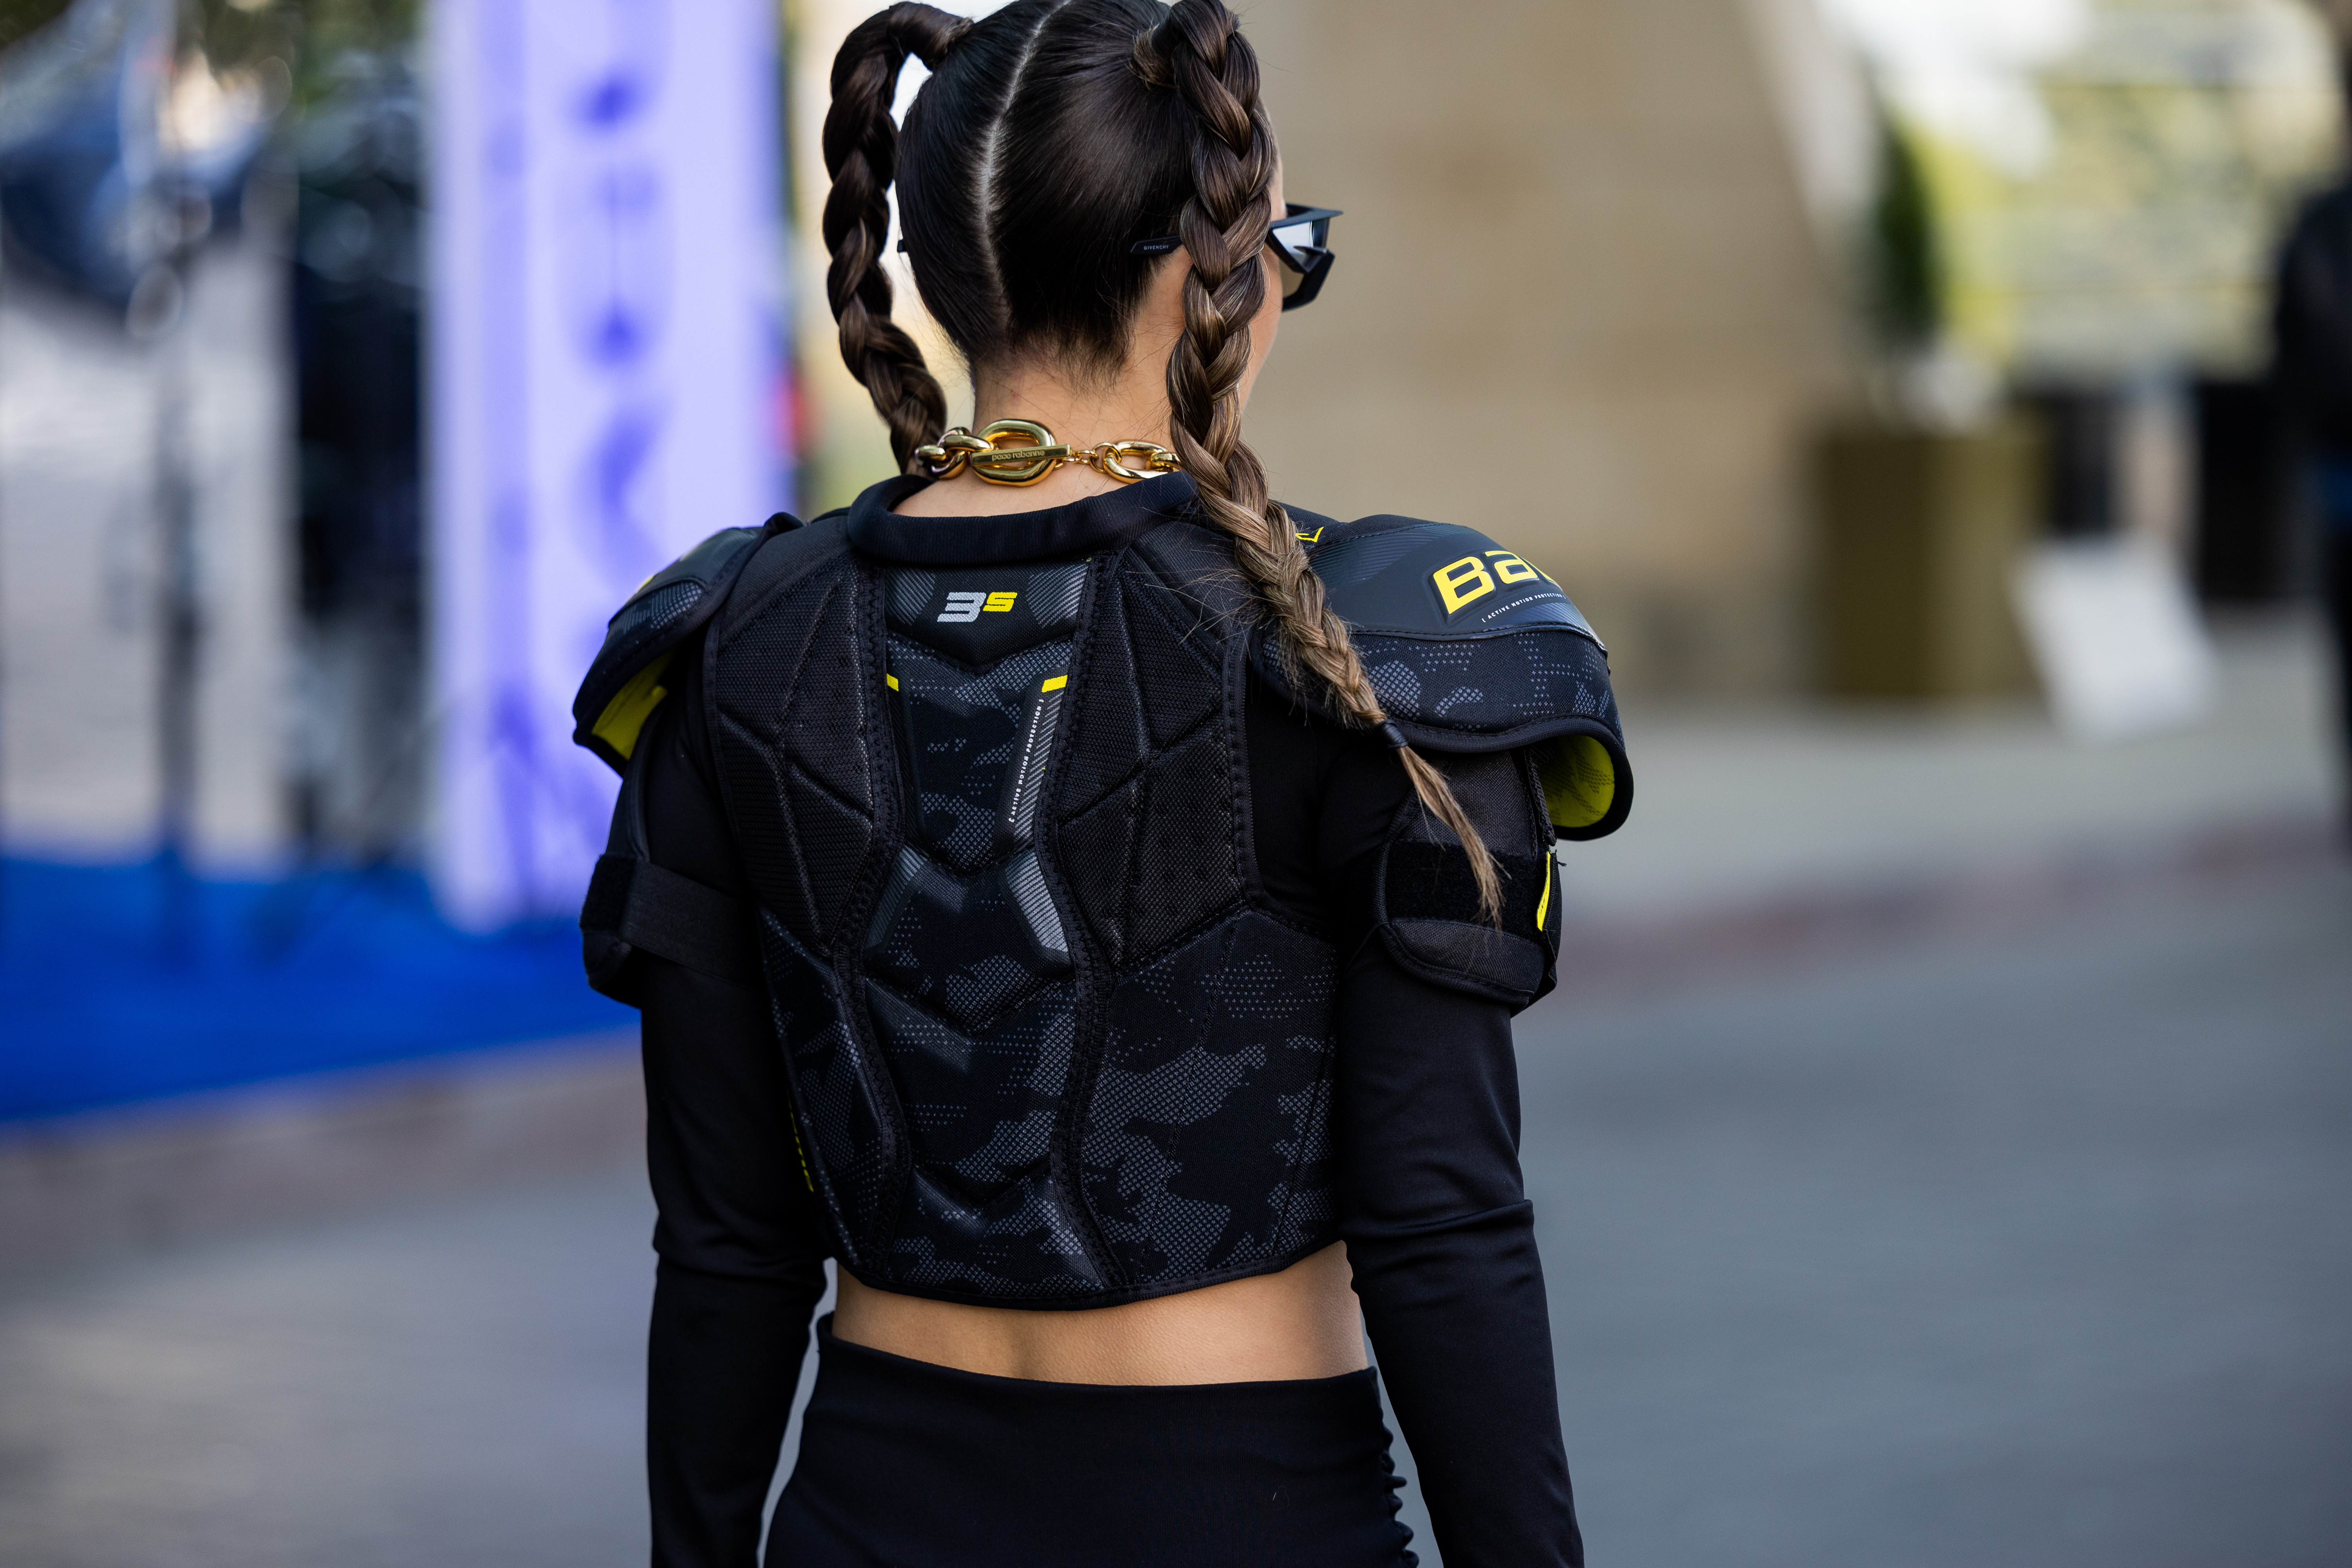
Braids are among my favorite hairstyles for getting my hair out of my face while keeping it detangled. Braided pigtails are especially comfortable, as they keep your braid from tickling the back of your neck (something that annoys me to no end).
To create this look, brush your hair all the way through and part it down the middle with a comb. Create two pigtails, using a comb and your gel or leave-in of choice to keep your hair flat and smooth. Then, braid each pigtail until you reach the bottom. Opt for festive scrunchies to create a statement look, or go for thinner, more subtle hair ties that blend in with your tresses.
The Braided Ponytail
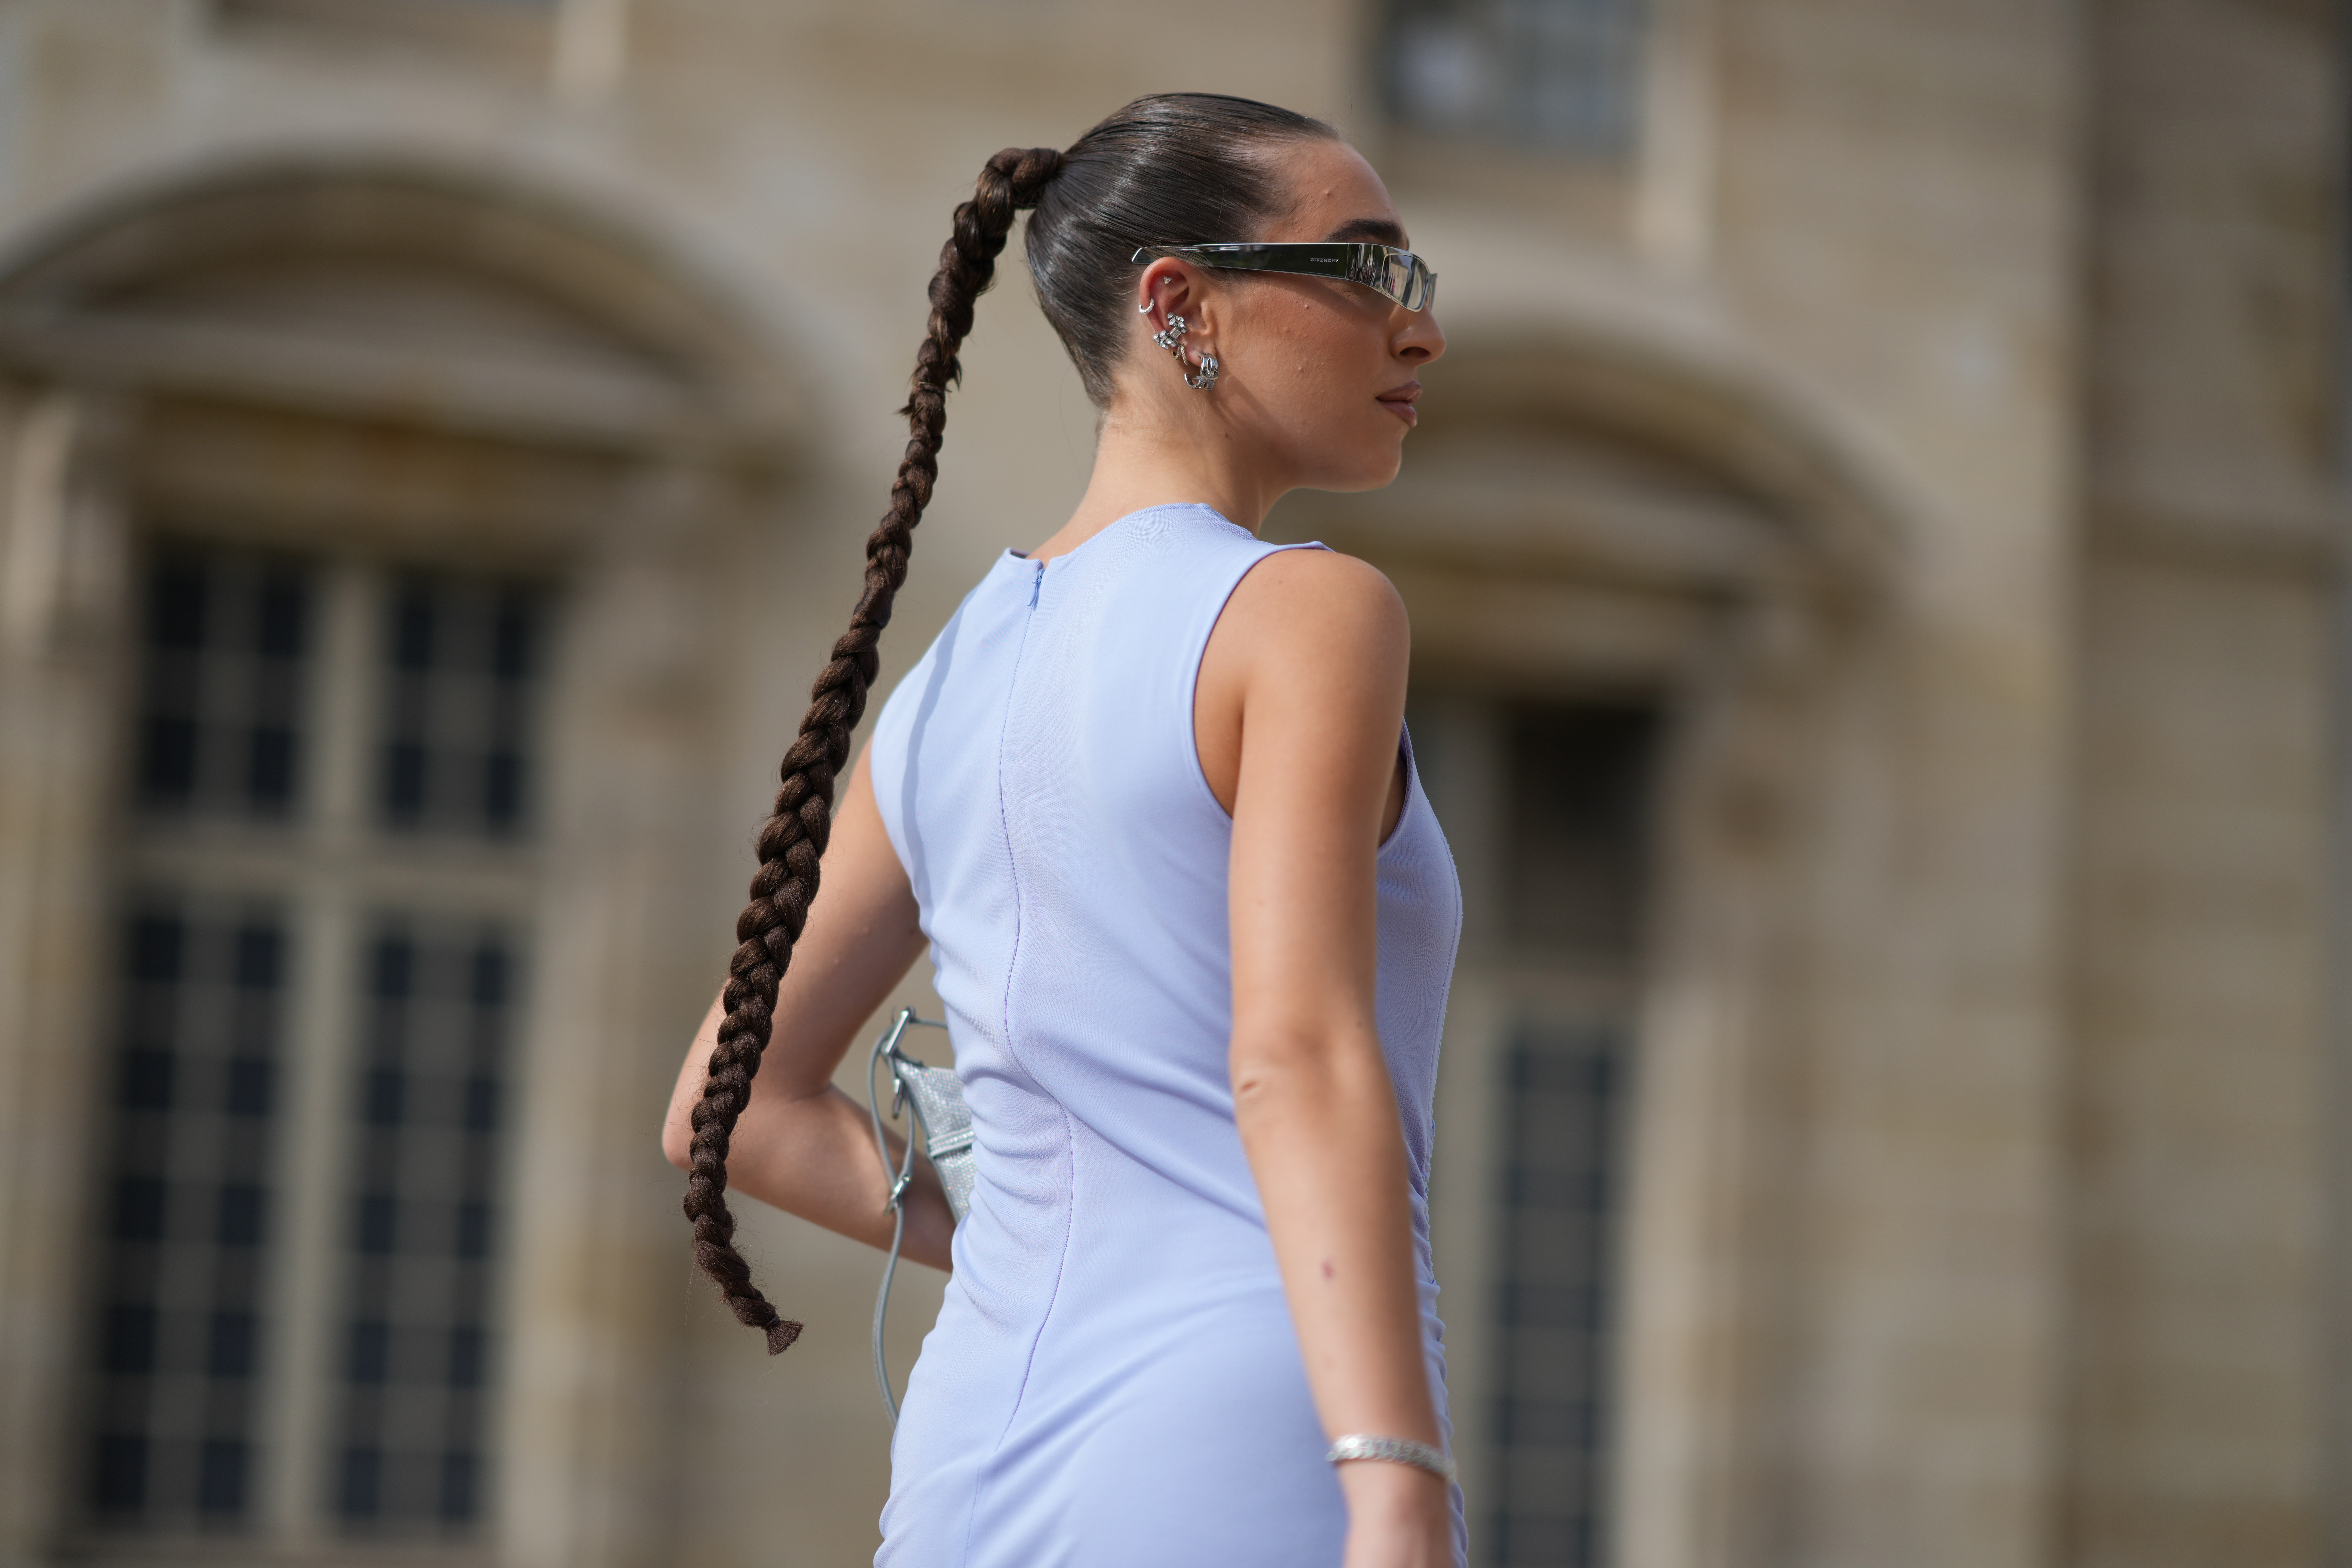
This hairstyle's pretty easy, and it combines the best of the high ponytail and the braid. Simply tie your hair up in a ponytail. Once it's secure, braid the ponytail and secure at the bottom with a hair tie. Personally, I like to opt for a fun scrunchie at the top of my head that matches my outfit or makeup, and then a thin elastic at the bottom of the braid. Finally, to tame flyaways, slick the top of your hair down with your gel of choice.
The Bubble Braids
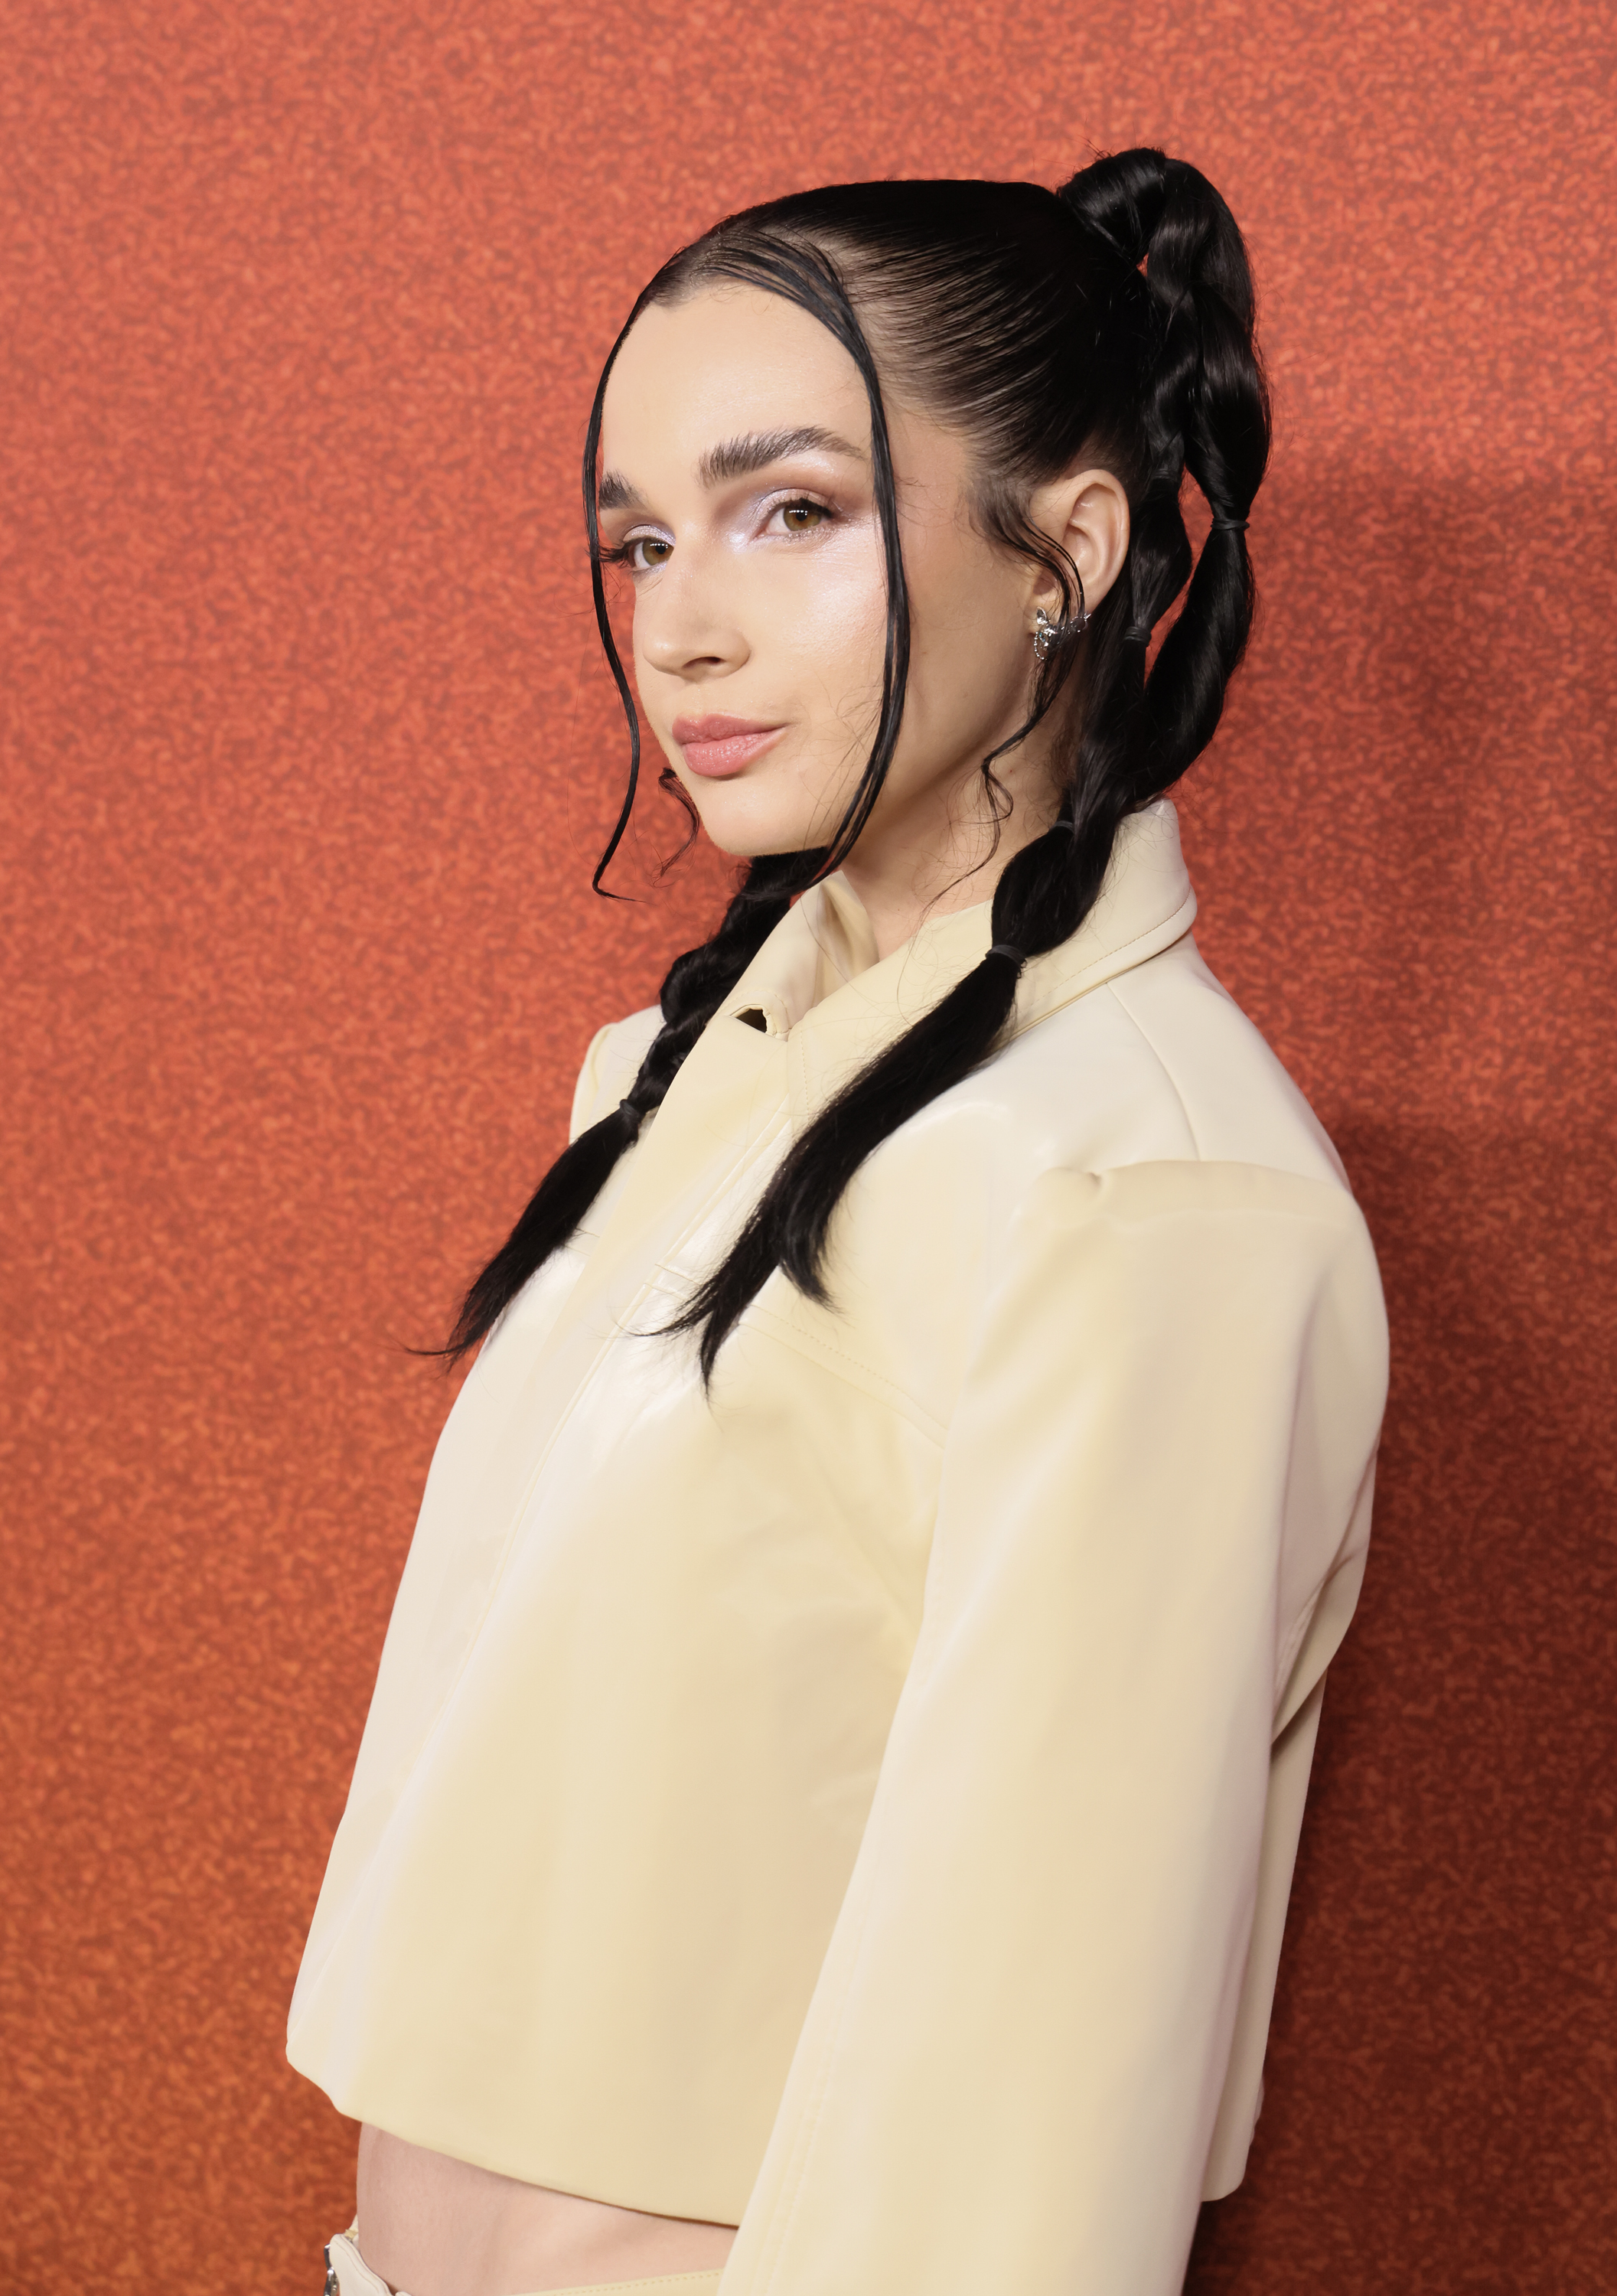
In spite of this fun hairstyle's name, it isn't actually a braid, but a line of "bubbles" made in the hair using elastics. To master this style, begin by brushing hair out and smoothing it with a lightweight leave-in conditioner. I, for one, like opting for thin, sprayable formulas that won't weigh down my hair. Make a ponytail or set of pigtails, and then secure elastics down the length of your hair, each about an inch apart. Finally, create the "bubbles" by gently pulling the sections of hair outwards, beginning at the top of your head and ending at the bottom. You can make the bubbles any size you want, and keep them uniform or have them grow smaller as you near your ends.
The Space Buns
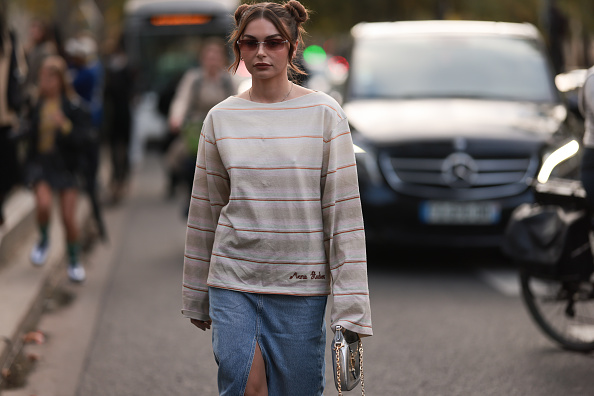
Space buns create a young, playful look that's perfect for just about any casual occasion, from a day spent exploring to a night out with friends. To get the look, simply tie your hair up in high pigtails. Then, create two identical buns out of both pigtails. If you have shorter hair or are going for a casual look, simply wrap the hair on either side around the base of each pigtail. Or, for a more polished 'do, braid each pigtail and then wrap the braids around the bases. In either case, secure the bun with bobby pins.


