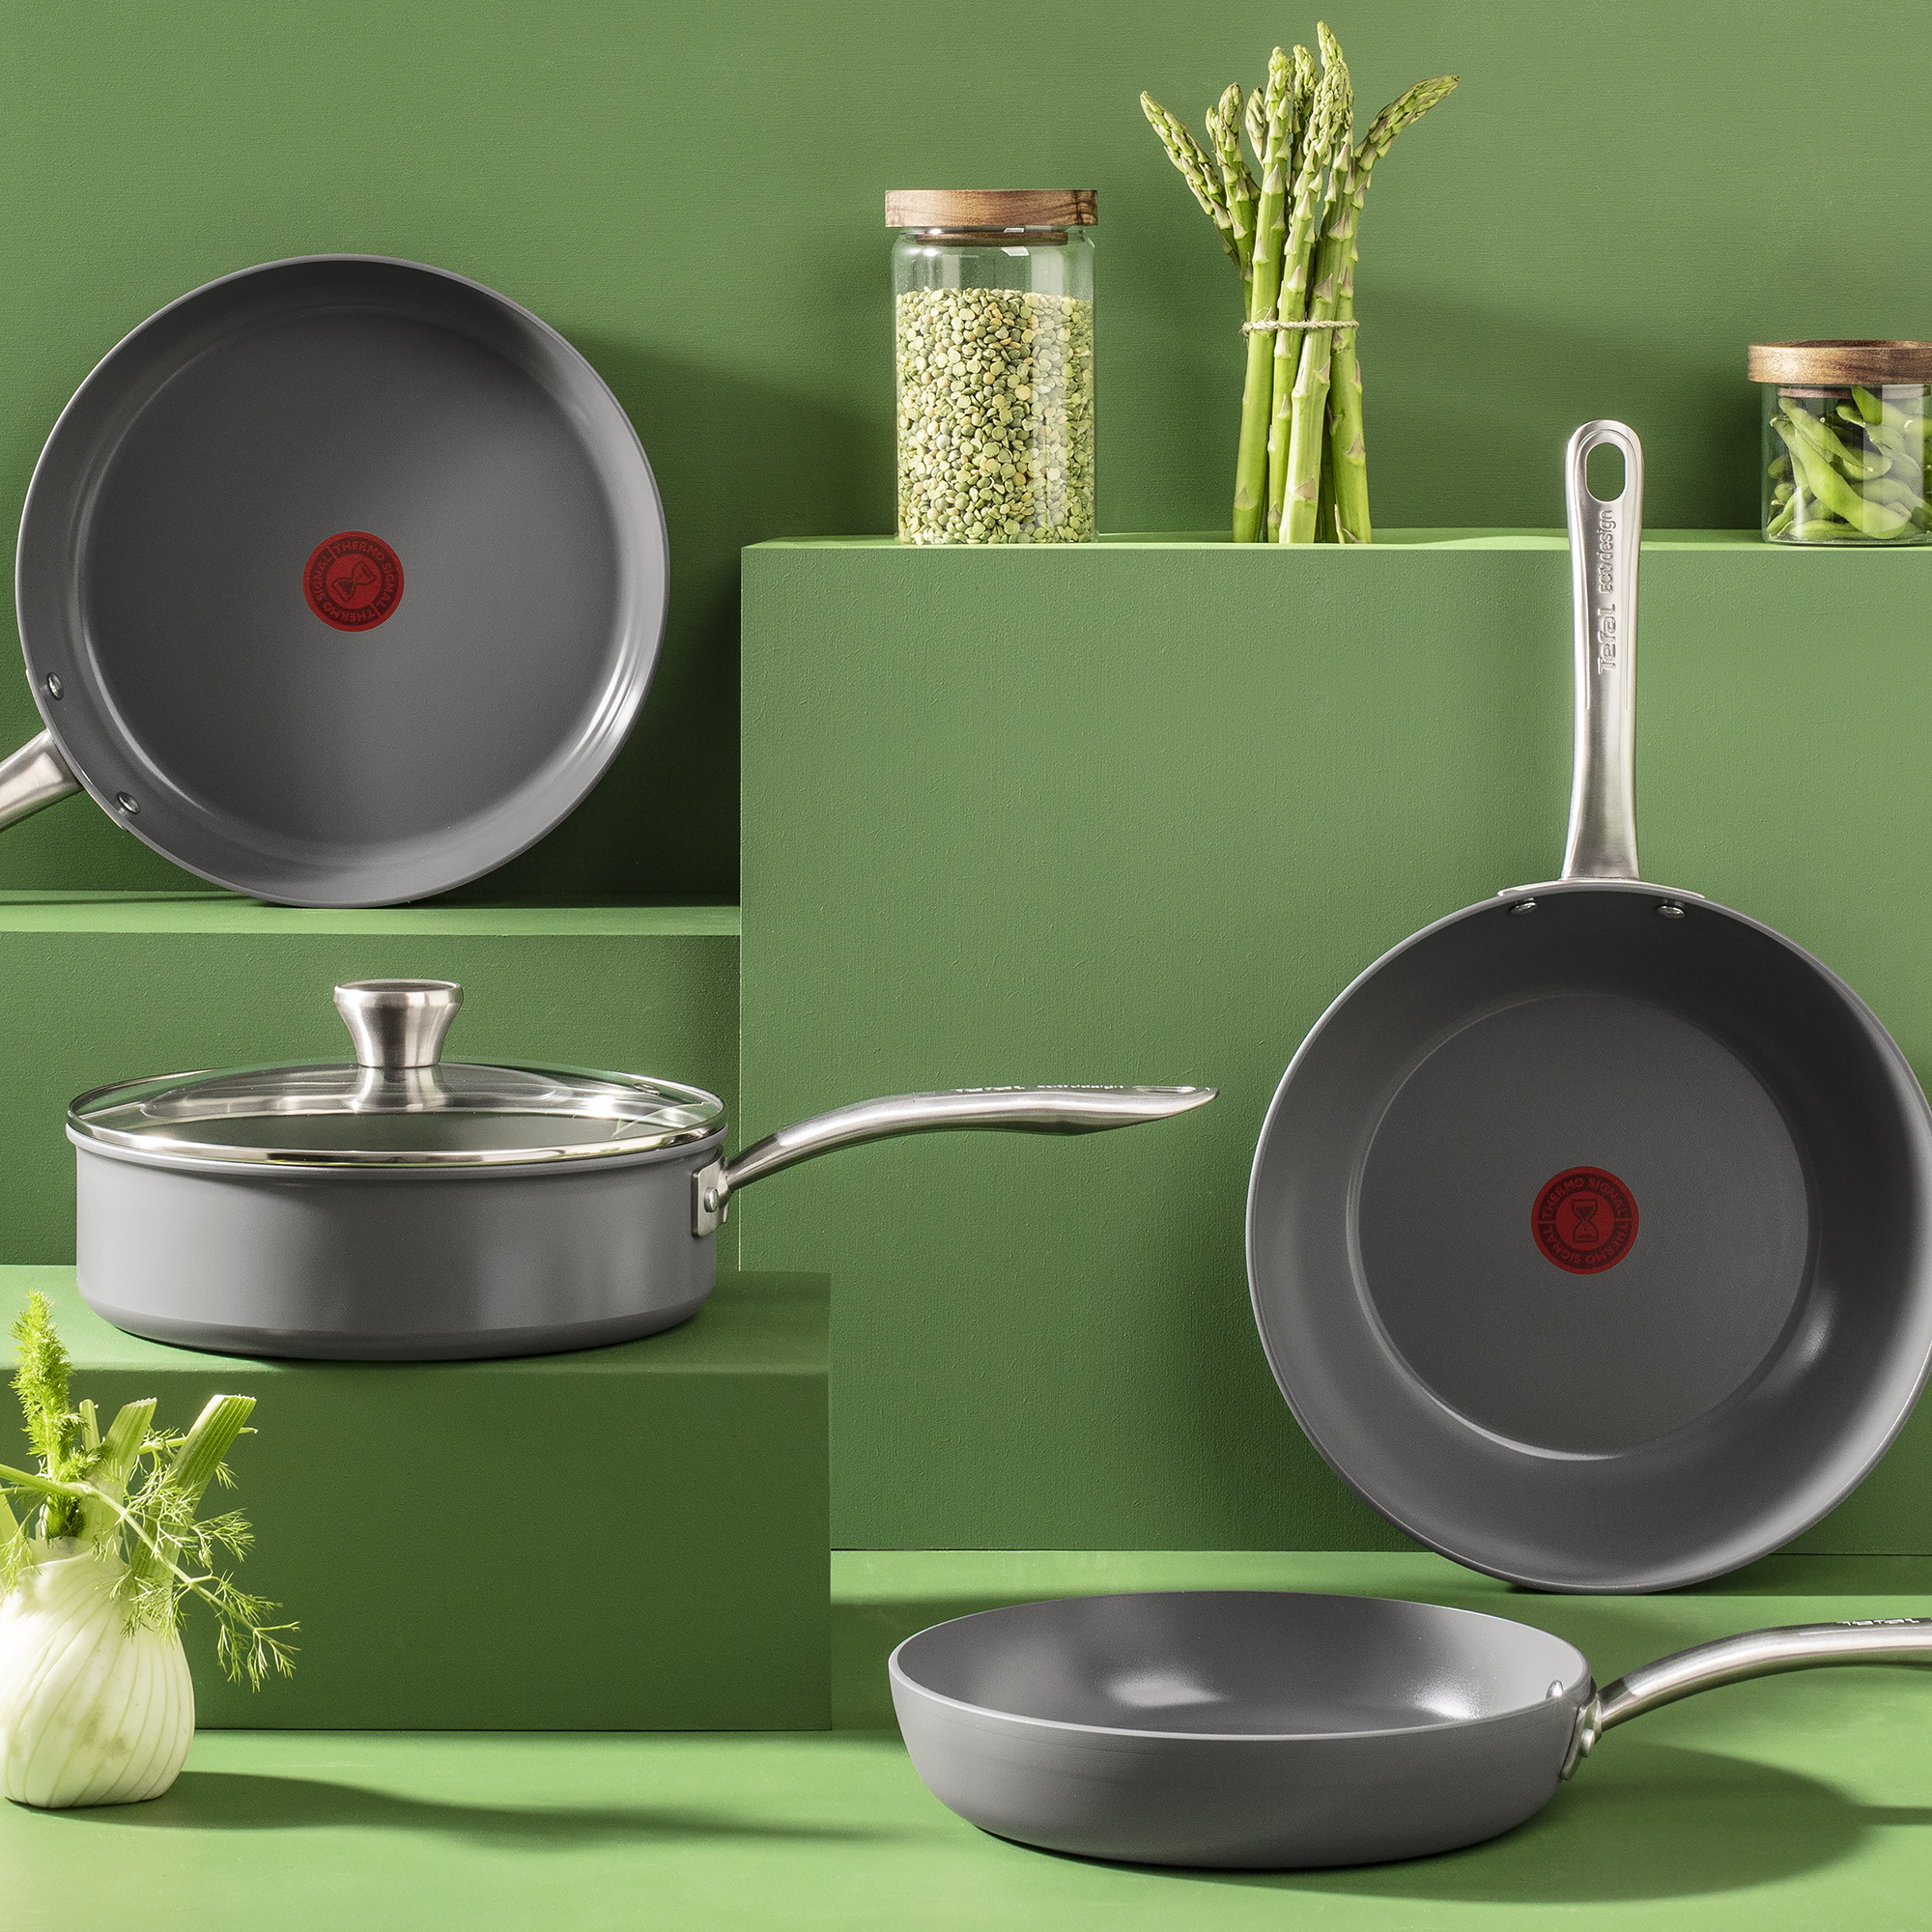
When it comes to affordable non-stick pans, Tefal is one of the go-to brands that instantly springs to mind. But this new range called Renew+ is exciting because it has been designed with a reduced environmental footprint - something many of us are, and should be considering when we look at buying anything new.
The body of the pans is made from 100% recycled aluminium, which is also recyclable when the pan comes to the end of its life. And with a new-generation ceramic non-stick coating called Inoceram, they promise to be long-lasting as well as non-stick. Plus, they still feature Tefal’s signature Thermo-spot heat indicator inside the pans.
I’ll admit, I’ve got a couple of Tefal frying pans, but they’re several years old, way beyond their best and in need of replacement. Tefal claims the non-stick coating on the Renew+ range is so good you can cook with no fat or oil, so that immediately felt like a challenge to me. Read on to see how I got on, and whether these pans are worthy of the title of the best saucepans.
Tefal Renew+ Aluminium Ceramic Non-Stick Pans specs
- Materials: 100% recycled aluminium body, stainless steel handle
- Non stick coating: Inoceram ceramic non-stick coating inside and out
- Available in the range: 28cm wok, 24cm saute pan, 20cm, 24cm, 28cm and 30cm frying pans
- Suitable for: all hob types
- Dishwasher safe: no
Who tested this saucepan set?
Unboxing, setting up and first impressions
I was sent the saute pan, wok, 20cm frying pan and 28cm frying pan. All the pans in this range are sold separately, so you can buy exactly what you need. The pans are packaged in a recycled and recyclable card sleeve in line with the eco design philosophy of the range.
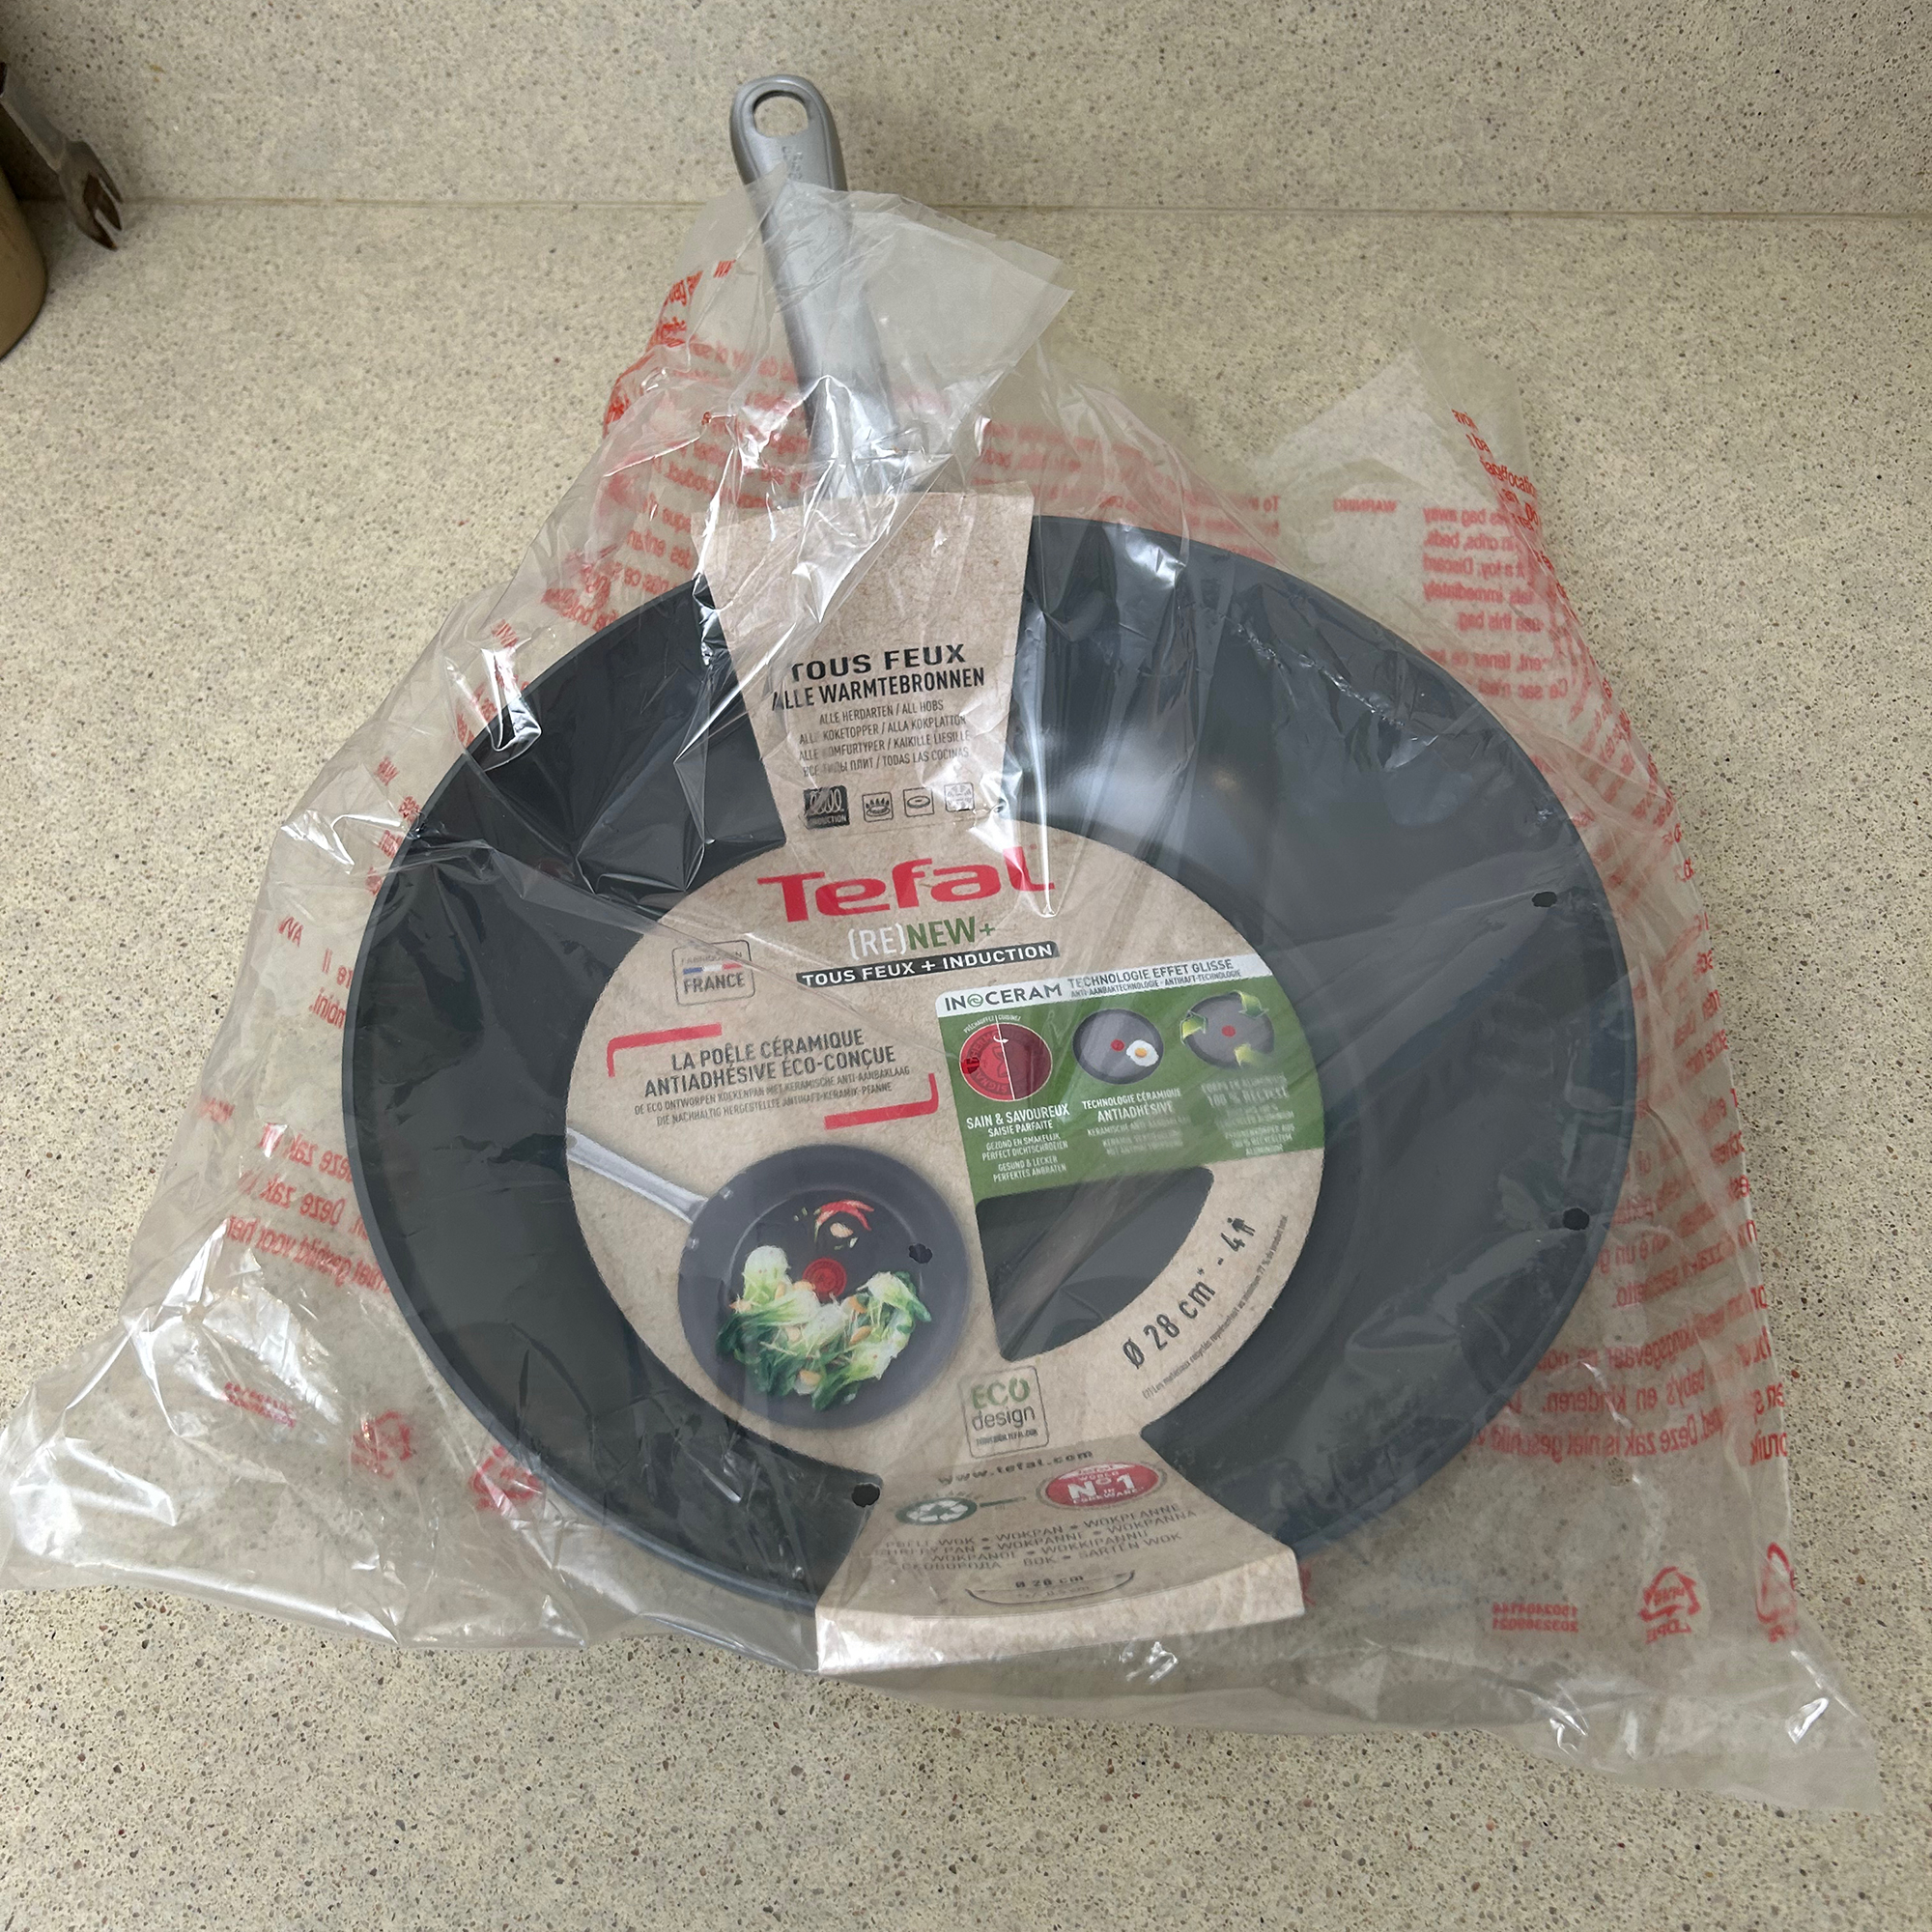
Although, for a product with a heavy emphasis on being eco, I was somewhat dismayed to see that under the cardboard, the lid for the saute pan was wrapped in a plastic film. And the wok arrived inside a clear plastic bag. Furthermore, when you delve into the smallprint on the packaging, it becomes apparent that recycled materials represent a minimum of 51% of the saute pan and 77% of the frying pans and wok.
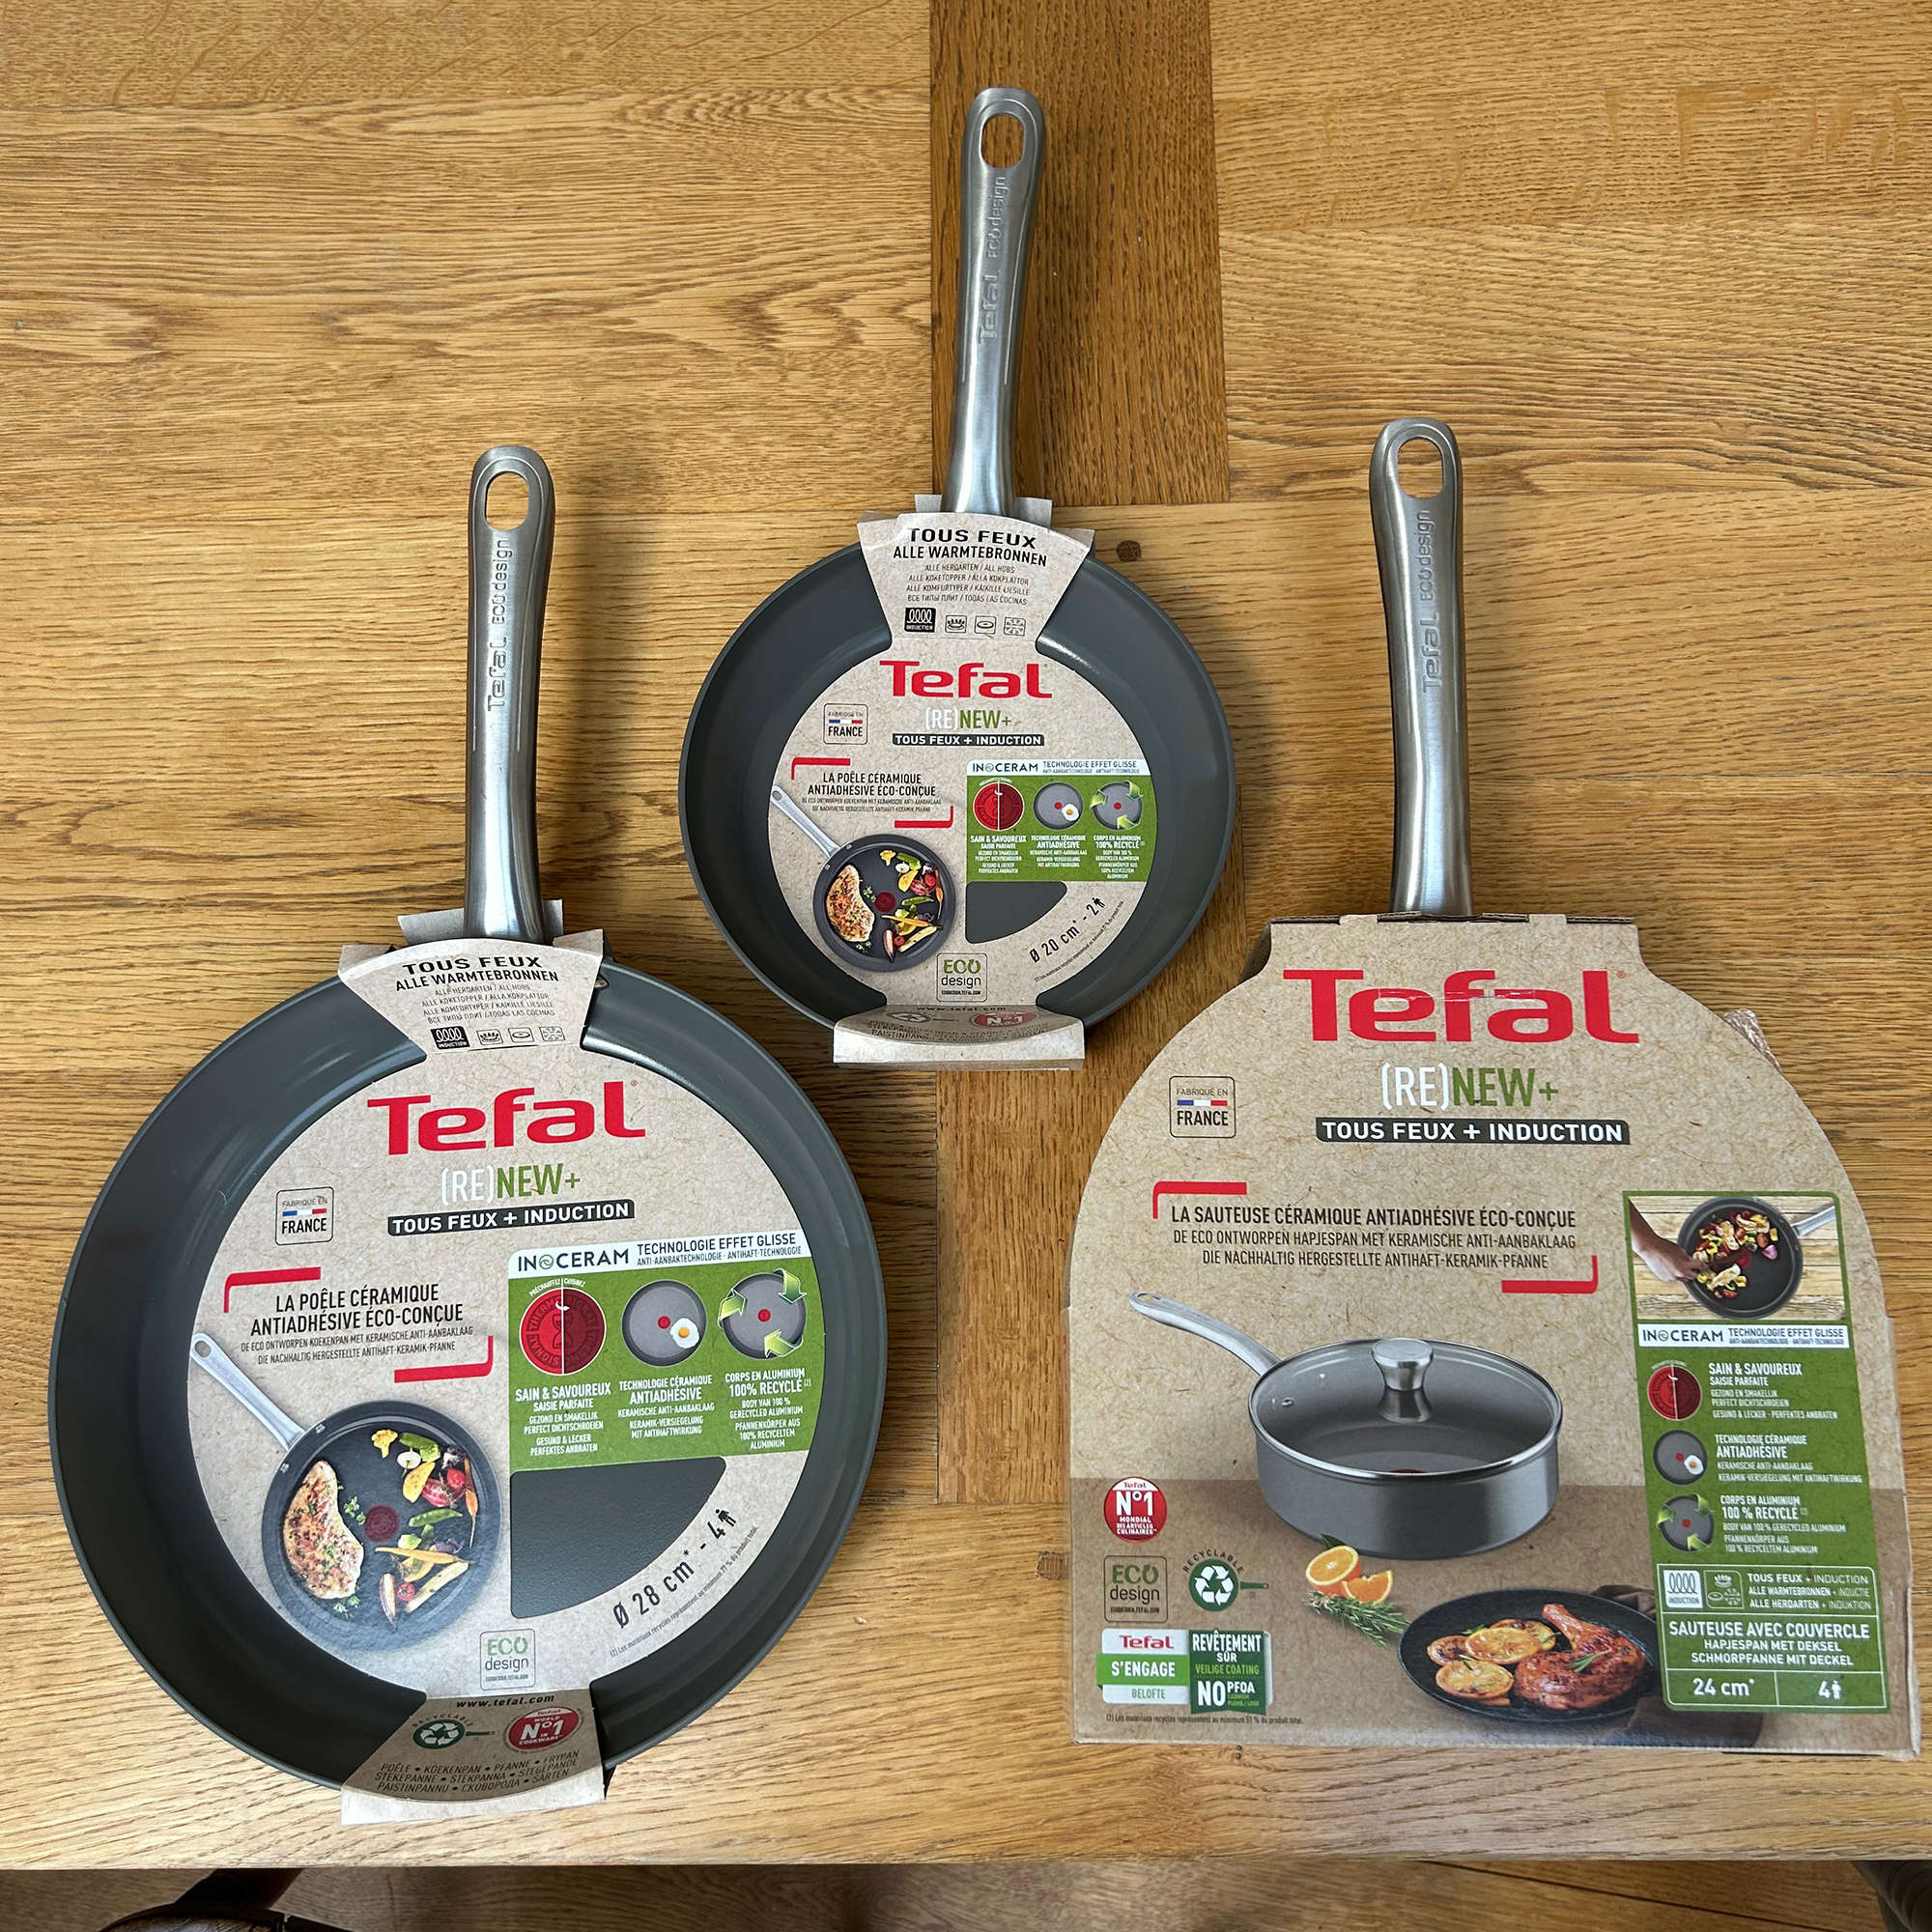
The pans are all advertised as having a 100% recycled aluminium body. And while that isn’t exactly misleading, the actual figures for the percentage of recycled materials in the product as a whole, are in much smaller print. So you could be forgiven for assuming that the pans are entirely made from recycled materials. But that said, I do applaud Tefal for using recycled materials and making a more environmentally-conscious range.
On first impressions, the pans feel sturdy, if a little on the heavier side. They seem to be good quality with riveted handles and a thick flat base. They all feature Tefal’s signature red Thermo-Spot heat indicator on the inside. The spot turns darker red when the pan is hot and ready to cook in. But if like me, you’re more of an instinctive cook, you might not pay much attention to it.
It’s clear on the packaging that they’re suitable for all hob types, but I had to scour the tiny print on the inside to find cleaning instructions - which sadly says hand wash only. What’s more, while the saute pan comes with a leaflet that says it’s oven safe up to 250C, the Tefal website says it can’t go in the oven. And the packaging for the frying pans gives no indication as to whether they can go in the oven or not.
I found this all very confusing and decided that I would try some of them in the oven, simply because I think most of us assume that if a pan has a metal handle, it’s fine to pop it in the oven now and then.
What are the pans like to use?
Cooking in the saute pan
The first thing I cooked in the saute pan was a huge bubble and squeak. Side note - I quickly discovered bubble and squeak does not look nice in photographs! Anyhow, I chopped up a whole cabbage, melted some butter and oil in the hot pan and added the cabbage, which pretty much filled it up.
Once the cabbage had cooked down and softened, there was space for me to bung in all my random leftovers. This consisted of broccoli, cauliflower, onion, carrot and sugar snap peas. And after these vegetables had sauteed down for around 10 minutes, I added in a mix of potato and sweet potato mash along with some seasonings and plenty of extra butter. I like my bubble and squeak really well cooked, with some gnarly charred bits, so I cooked it for quite a while.
The bubble and squeak browned very evenly and even when I let it char, it didn’t stick. What I did notice though was that the handle got hot. I could comfortably hold the end, but the bit from the middle of the handle towards the pan was too hot to hold.

The problem with this is that if you don’t hold the handle in the middle, it becomes unbalanced and difficult to lift - especially when you’re cooking a hefty amount of bubble and squeak. So I had to wrap it in a tea towel to lift it off the hob. On the plus side, my bubble and squeak was delicious and paired well with fried eggs which you can read about below.
I also made a big batch cook of veggie chilli. I fried onions in a small amount of oil then added mushrooms, garlic, and peppers. Then I tipped in tinned tomatoes, veggie mince, kidney beans and black beans along with all the spices and seasonings.
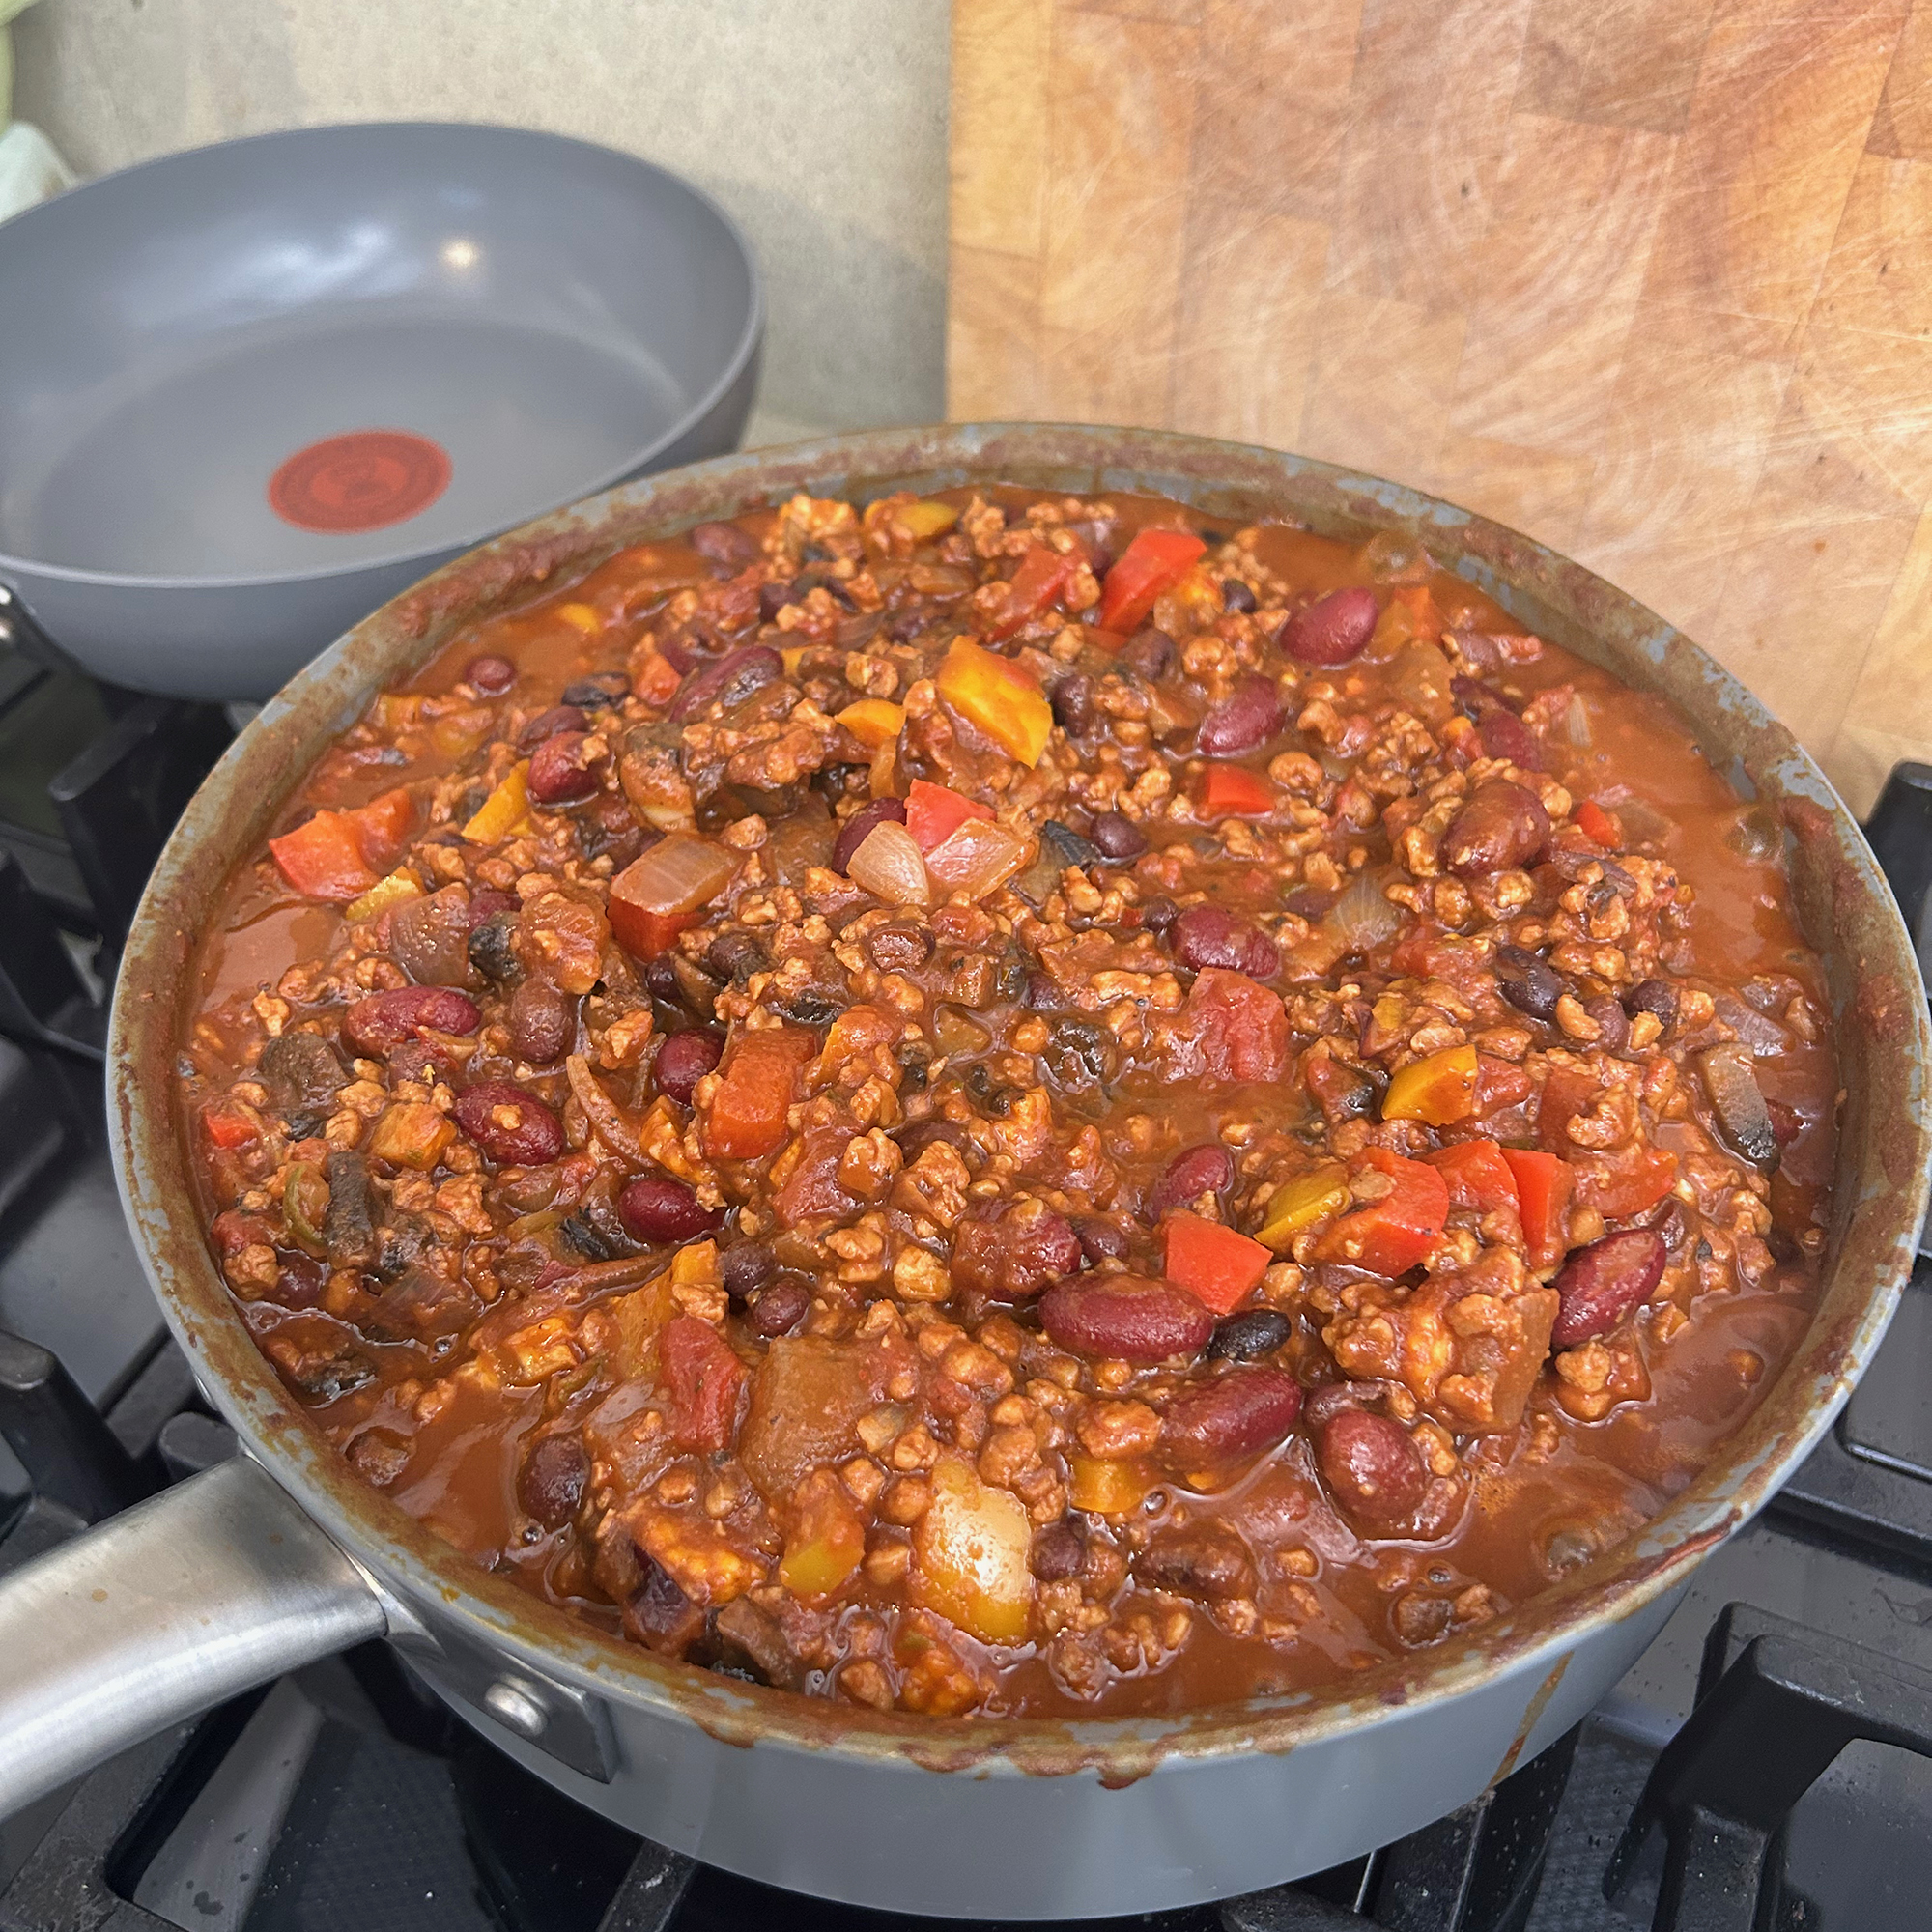
The pan is big enough to make around six portions. I let it bubble away with the lid on for a while and noticed that the lid forms a good seal - steam was only coming out of the steam hole on top and not around the sides of the lid. The lid handle gets a bit warm, but it wasn’t too hot to hold. All in all I’d say it’s a great pan for cooking this kind of meal.
Cooking in the frying pan
To go with the bubble and squeak that I made in the saute pan, I wanted fried eggs. So this was a good opportunity to try frying something with no oil. I heated the smaller frying pan and then when it was hot, cracked in two eggs.
It was obvious quite quickly that they were sticking. Once they were cooked, they hadn’t stuck so badly that I had to scrape at the pan. I was able to ease them out without destroying them or breaking the yolks, but nevertheless it wasn’t ideal and there were burnt residues left behind.
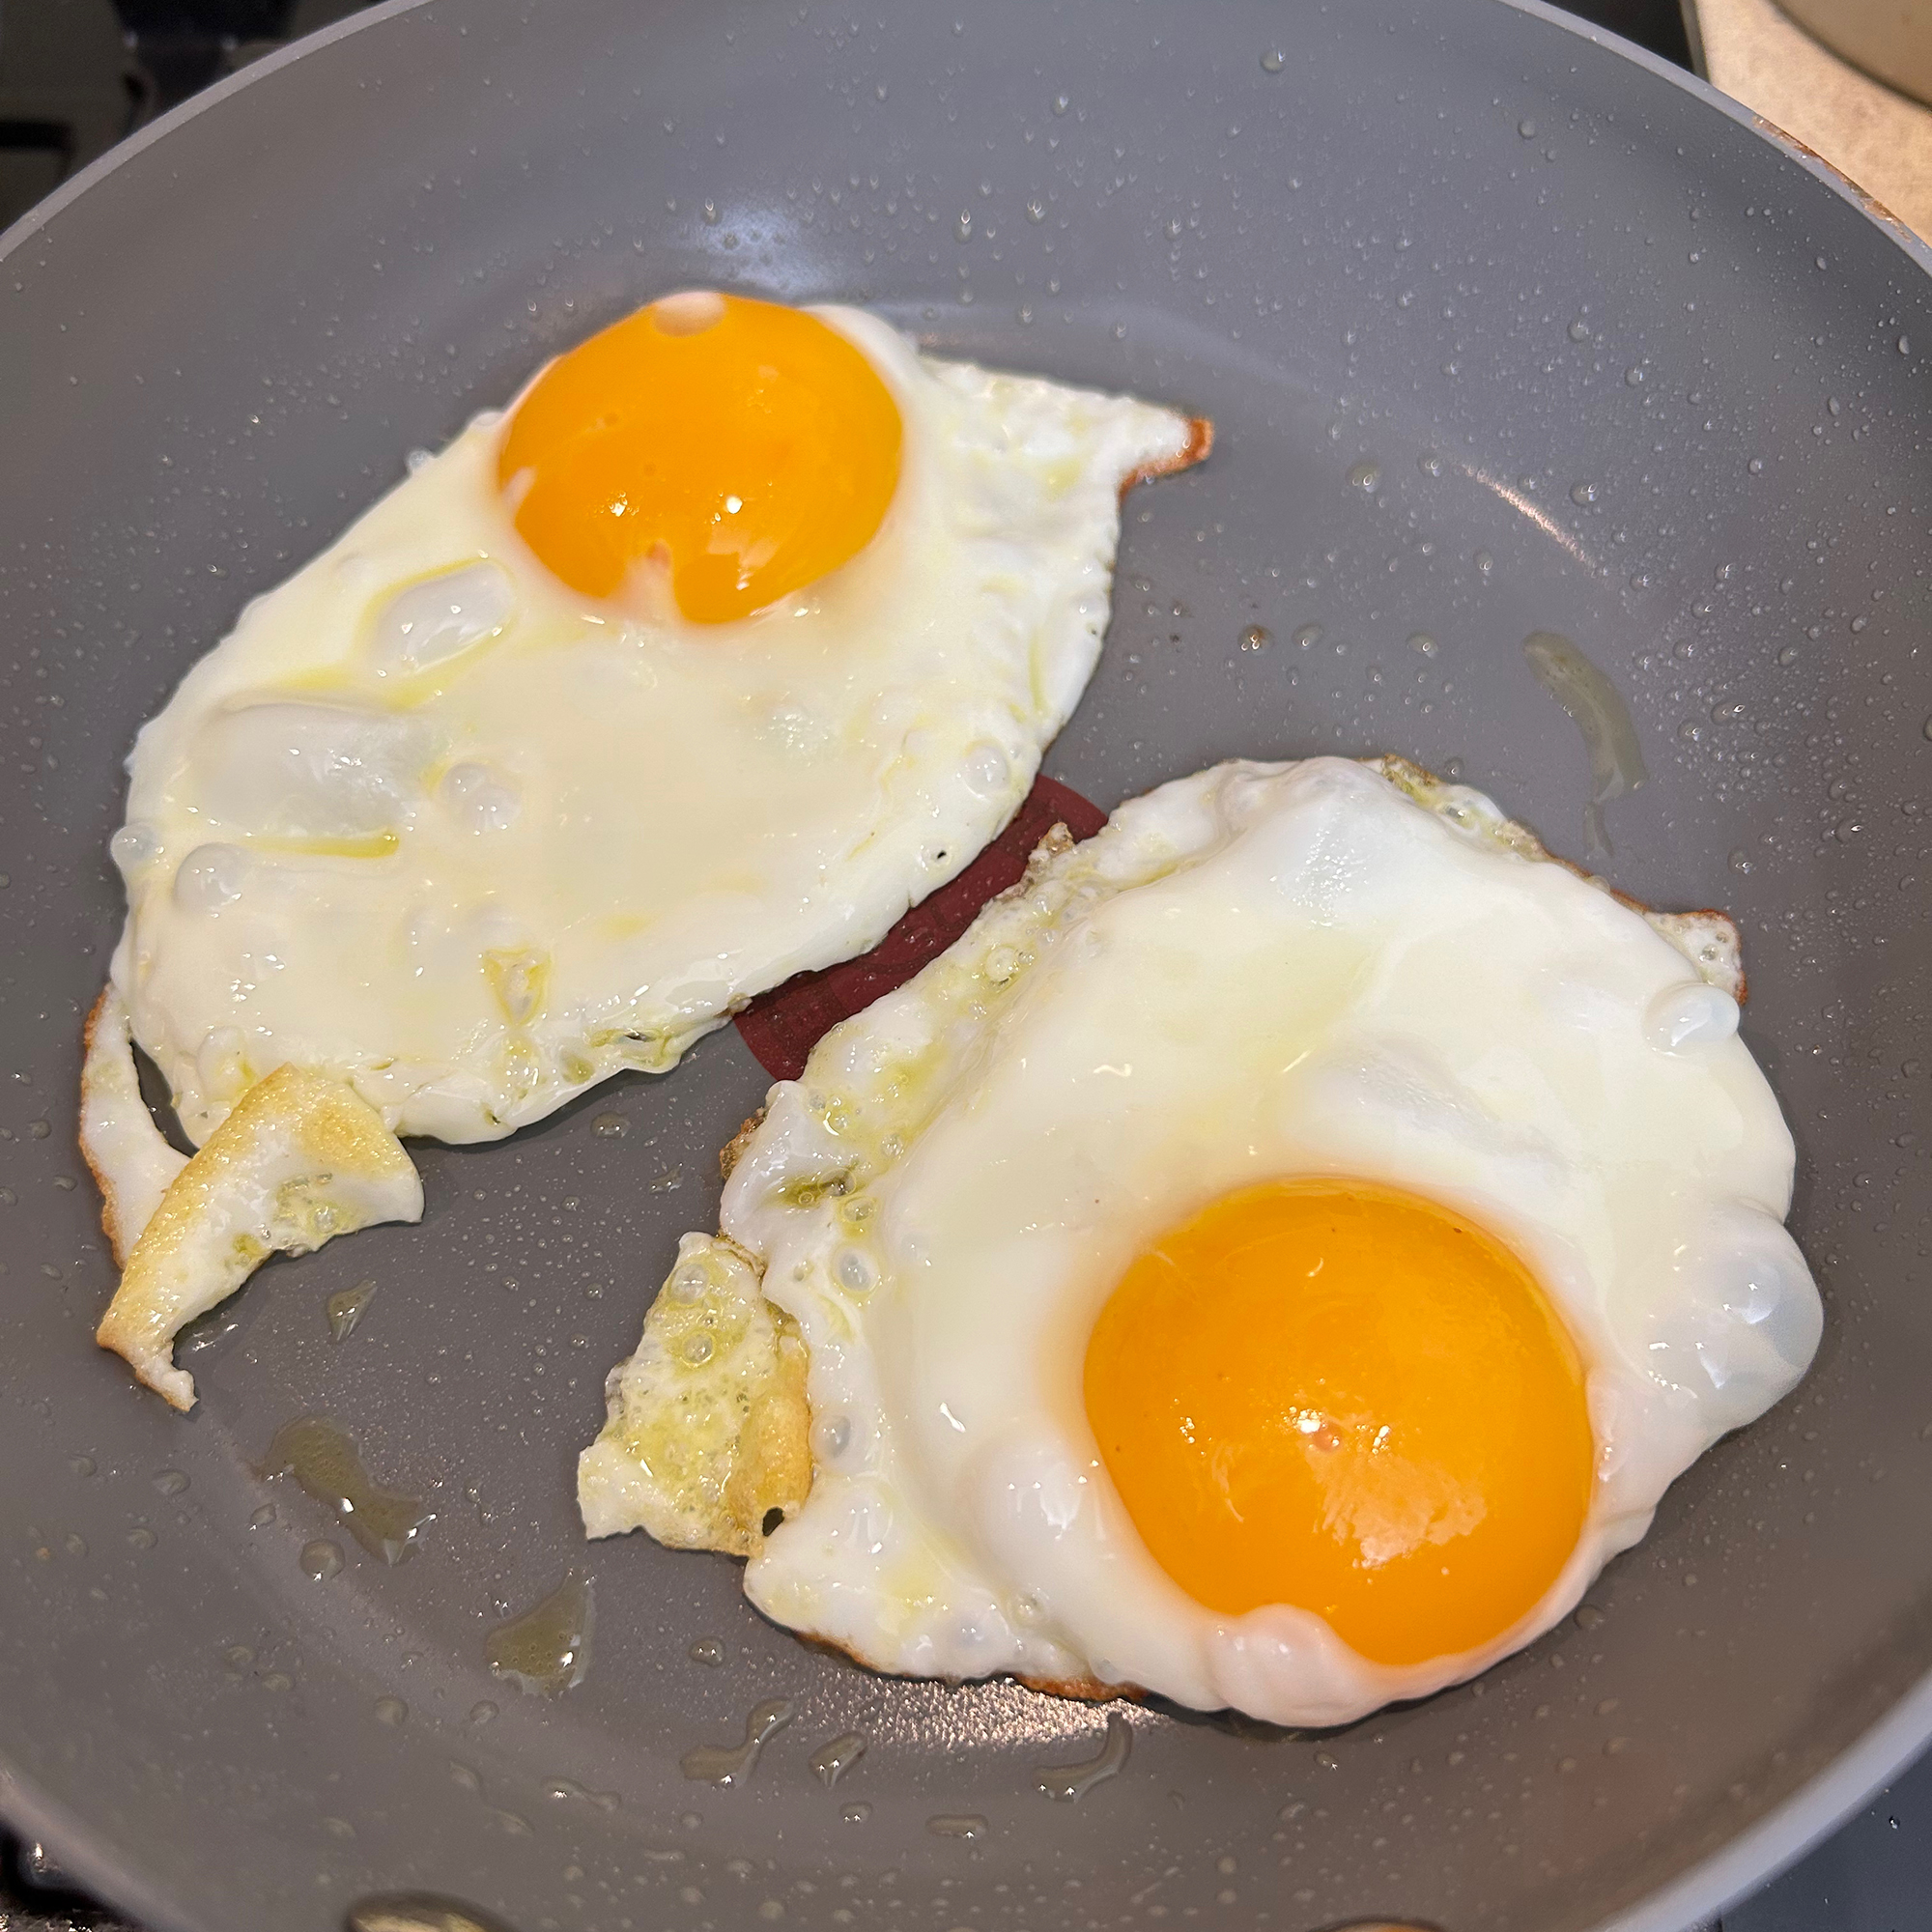
That night, my husband was eating later than me, so when I made his fried eggs, I poured a small amount of oil into the pan. This made all the difference and the eggs were sliding around freely.
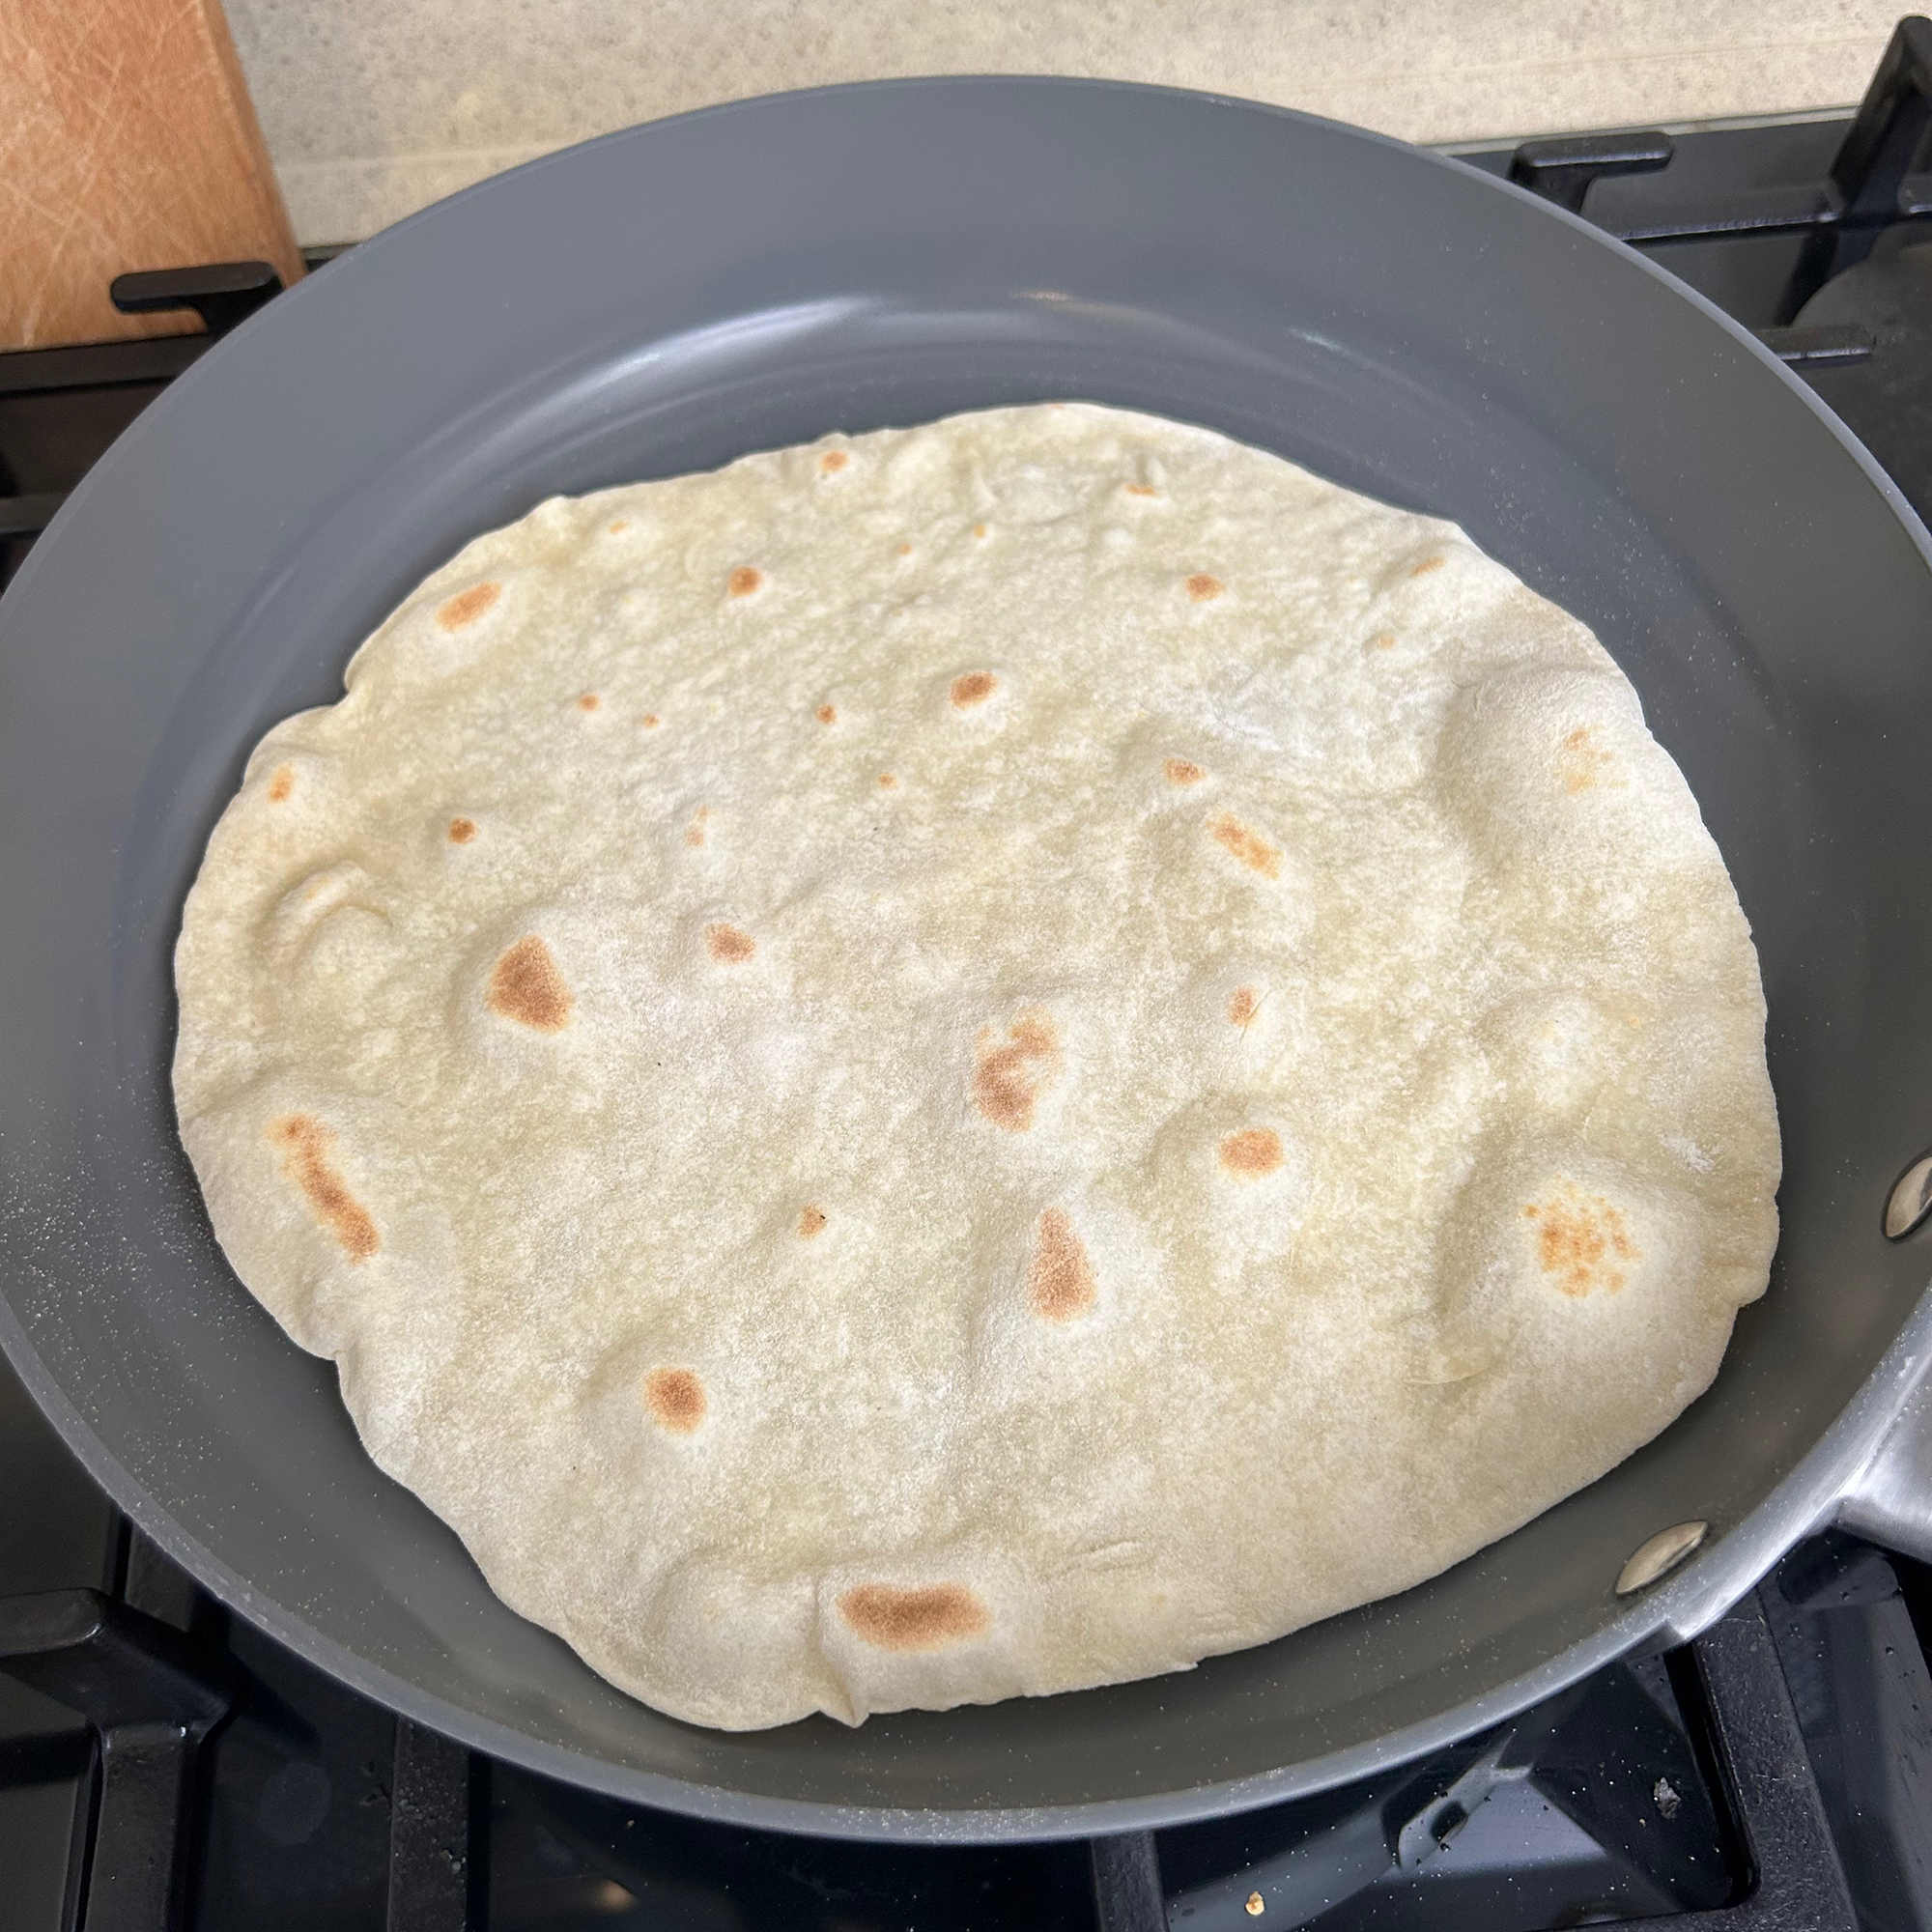
So while I wouldn’t suggest trying to cook something like eggs without oil, that doesn’t mean you need oil for everything. I made homemade tortilla wraps for a tasty falafel wrap lunch, and these kinds of flatbreads need to be dry-fried.
When I placed the soft dough into the hot, dry frying pan there was no sticking. I was immediately able to slide it around the pan. And the resulting tortilla style flatbreads were so much easier to cook in this frying pan than my usual one. They browned and cooked perfectly.
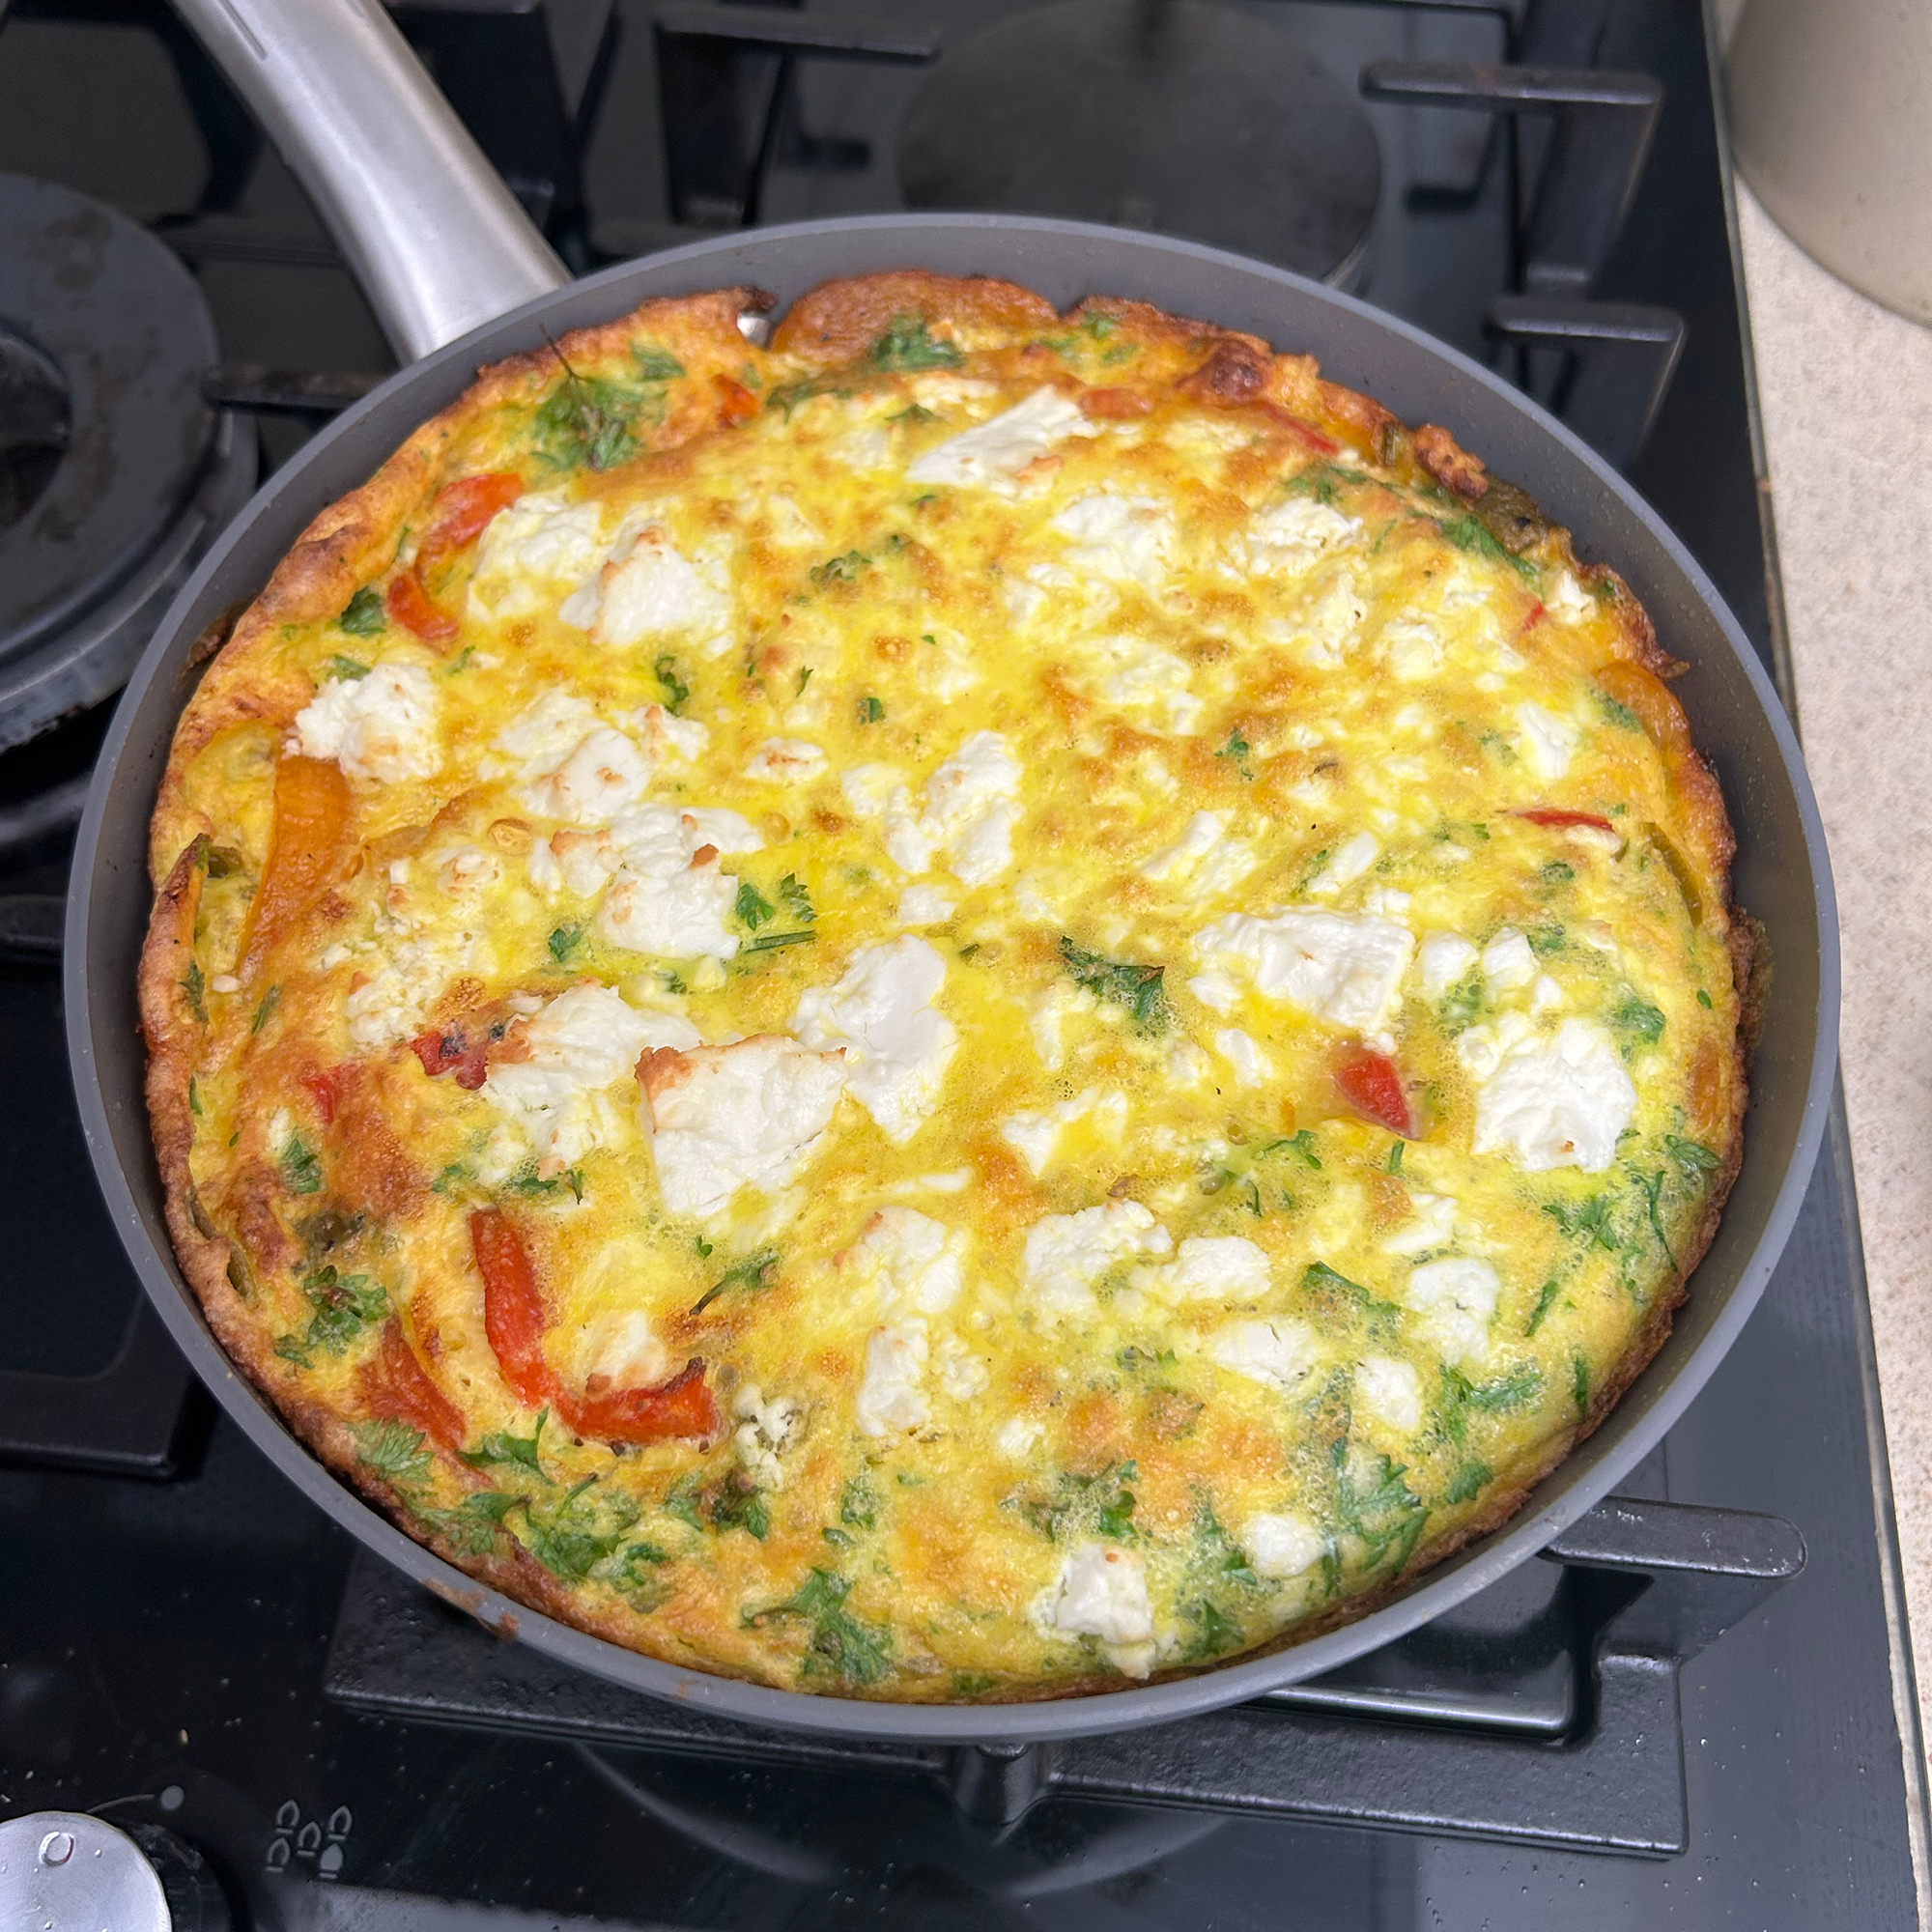
Since it has a metal handle I used the small 20cm frying pan to make a delicious frittata - based on this Jamie Oliver recipe. It’s a favourite recipe in our house, but I haven’t made it in well over 2 years because my current pans have plastic handles that can’t go in the oven.
I added all the ingredients to the pan, following the recipe. And after it had cooked for a while on the hob, I put it into my oven at 200C for around 10 minutes. The cooked frittata turned out onto a plate without any help from a spatula - there was absolutely no sticking.
The base of the frittata was the perfect golden brown and impressively even in colour. By the same token, the inside of the frittata was light and fluffy and evenly cooked- the perfect result.
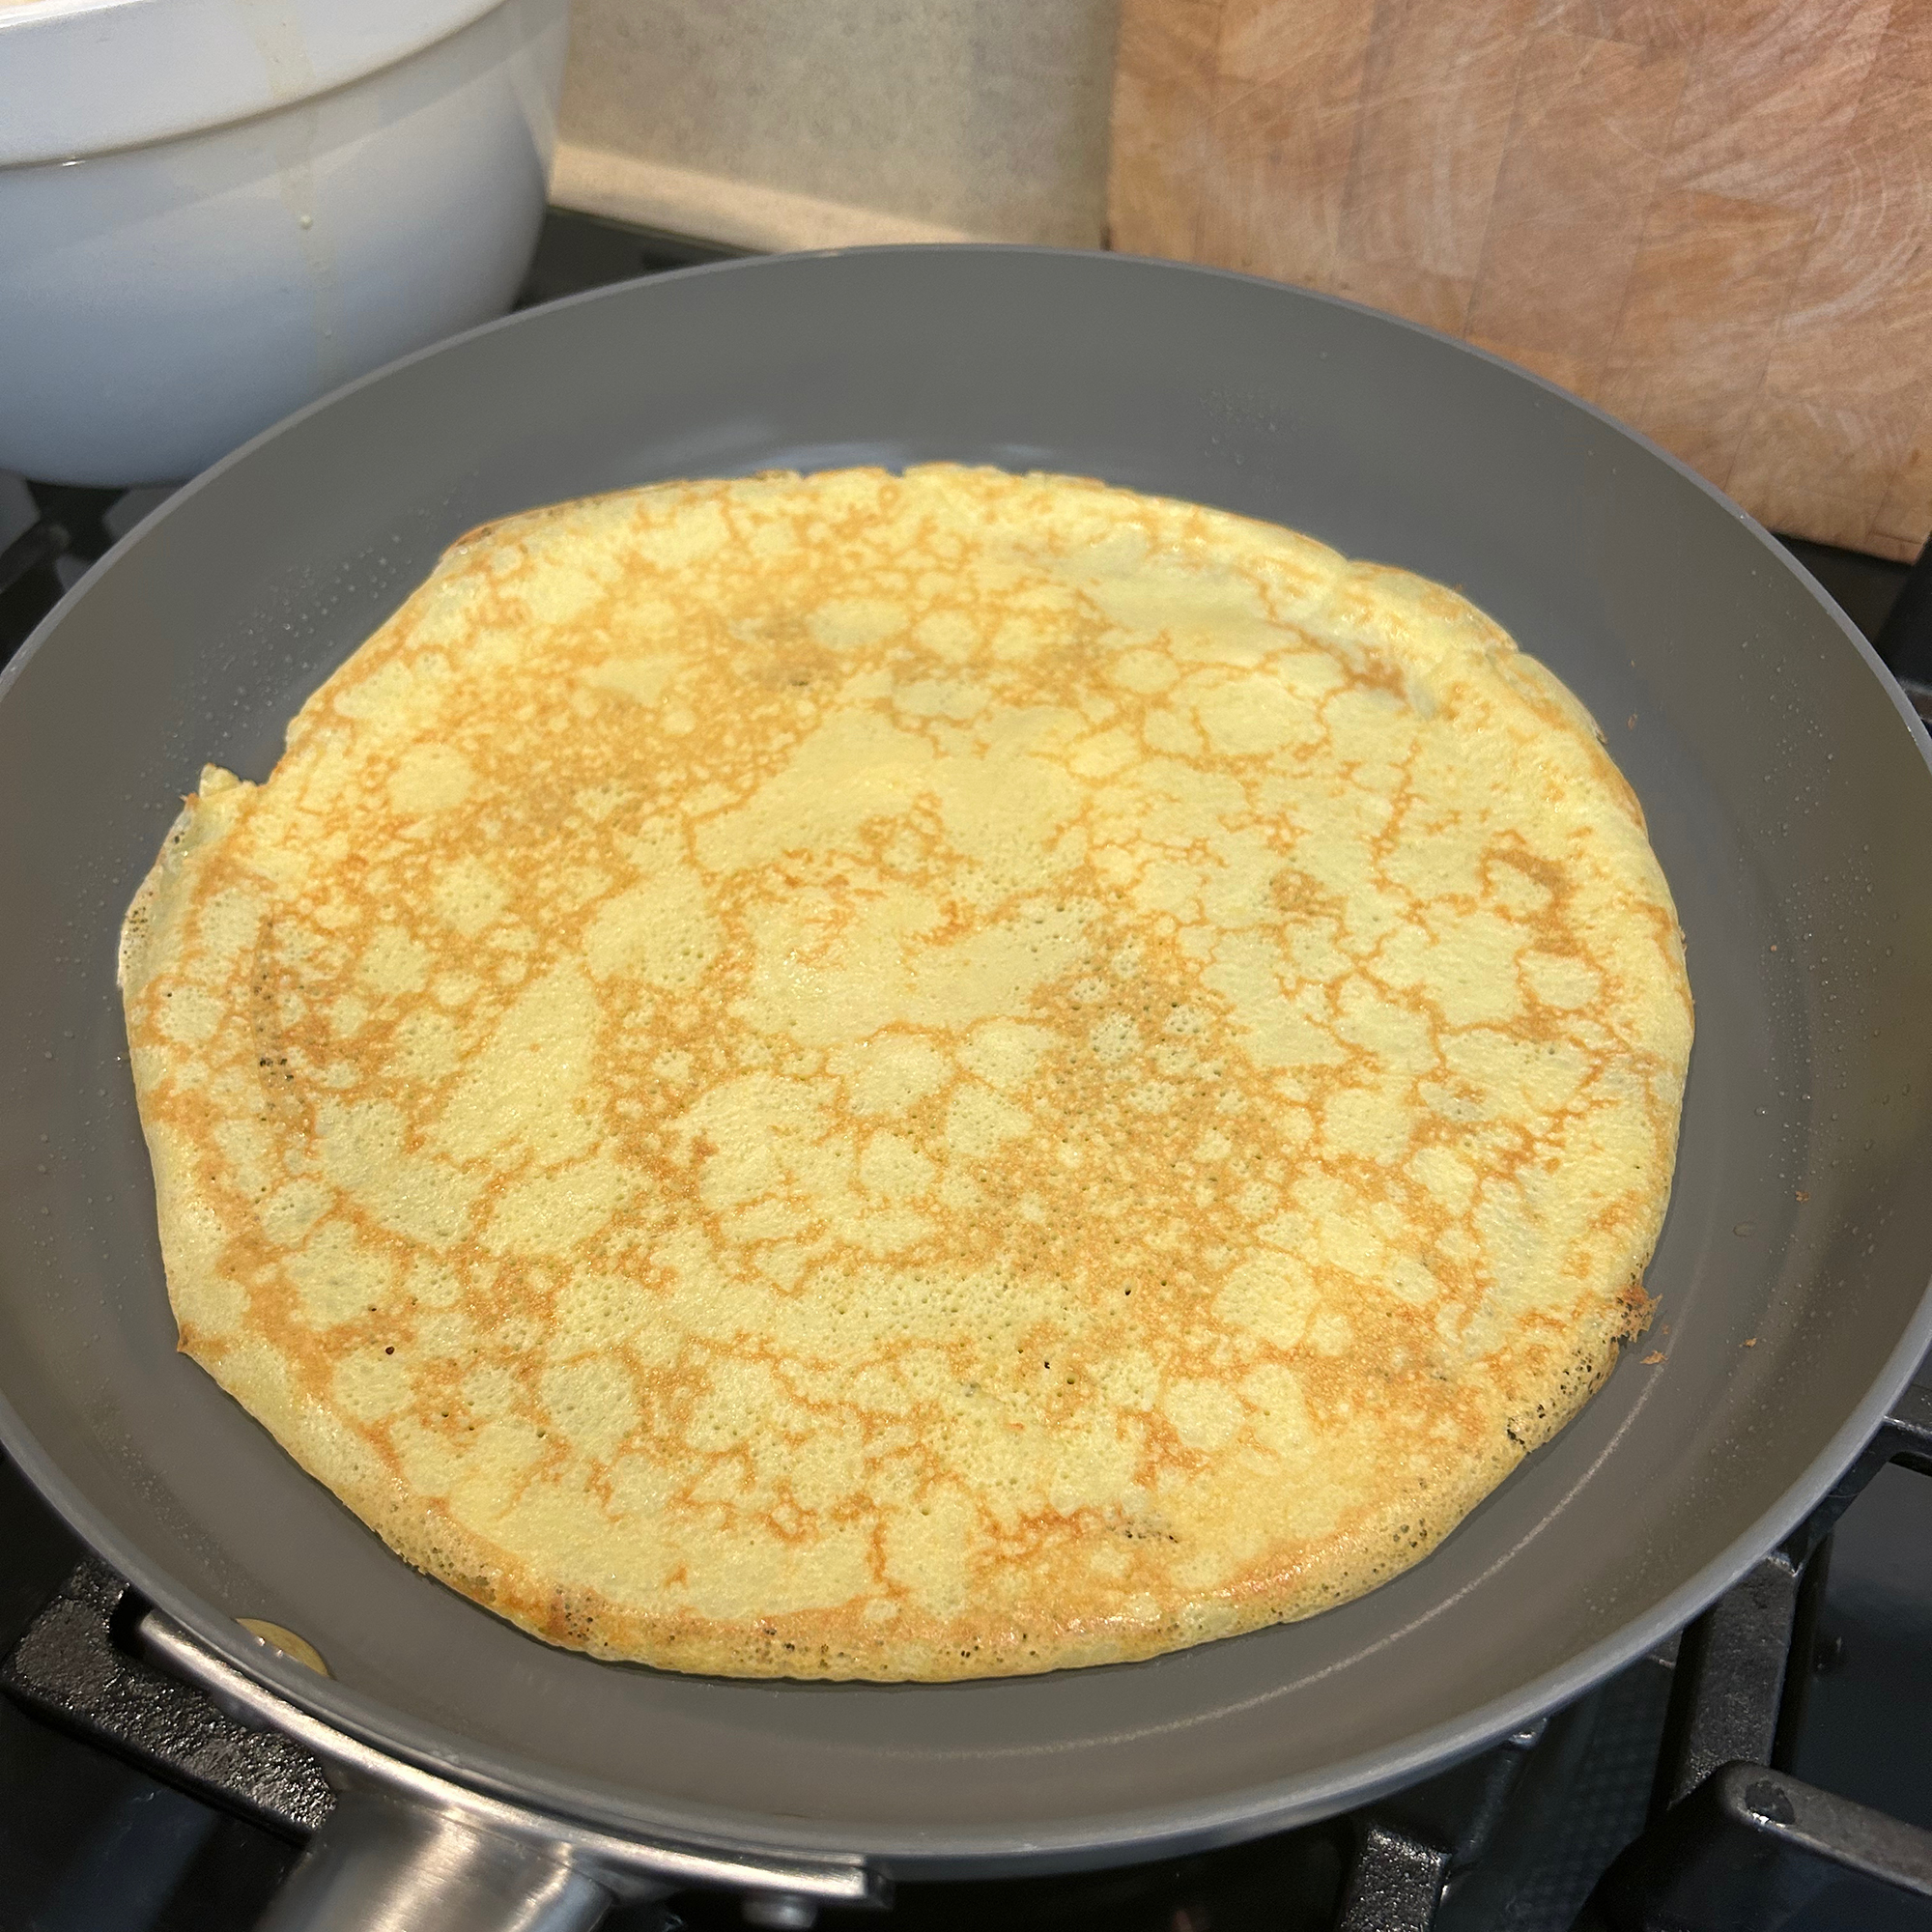
Pancakes are a great test of a frying pan, and I was super impressed with the pancakes I made in the larger of the two frying pans. Before cooking I wiped around the pan with the lightest touch of oil on some kitchen roll. And that was all it needed, the pancakes didn’t stick and the even colour demonstrated how even the heat is across the pan when cooking.
These frying pans have quite deep sides, so I was slightly concerned that it’d be tricky to flip the pancakes. And while my own pancake flip was semi-successful - mainly based on my poor skills - my husband managed a professional-level pancake flip. He did however moan about the handle being hot , which is becoming a bit of a theme with these pans. That aside, the pancakes slid around the non-stick pan really easily and they were the best pancakes we’ve made in some time.
My final and possibly most ambitious make was a tart tatin in the larger frying pan. To start I had to make caramel by melting sugar and butter in the pan, then I added apples and put the pan in the oven for 30 minutes. Lastly I popped some puff pastry on top and popped the pan back in the oven for another 40 minutes.
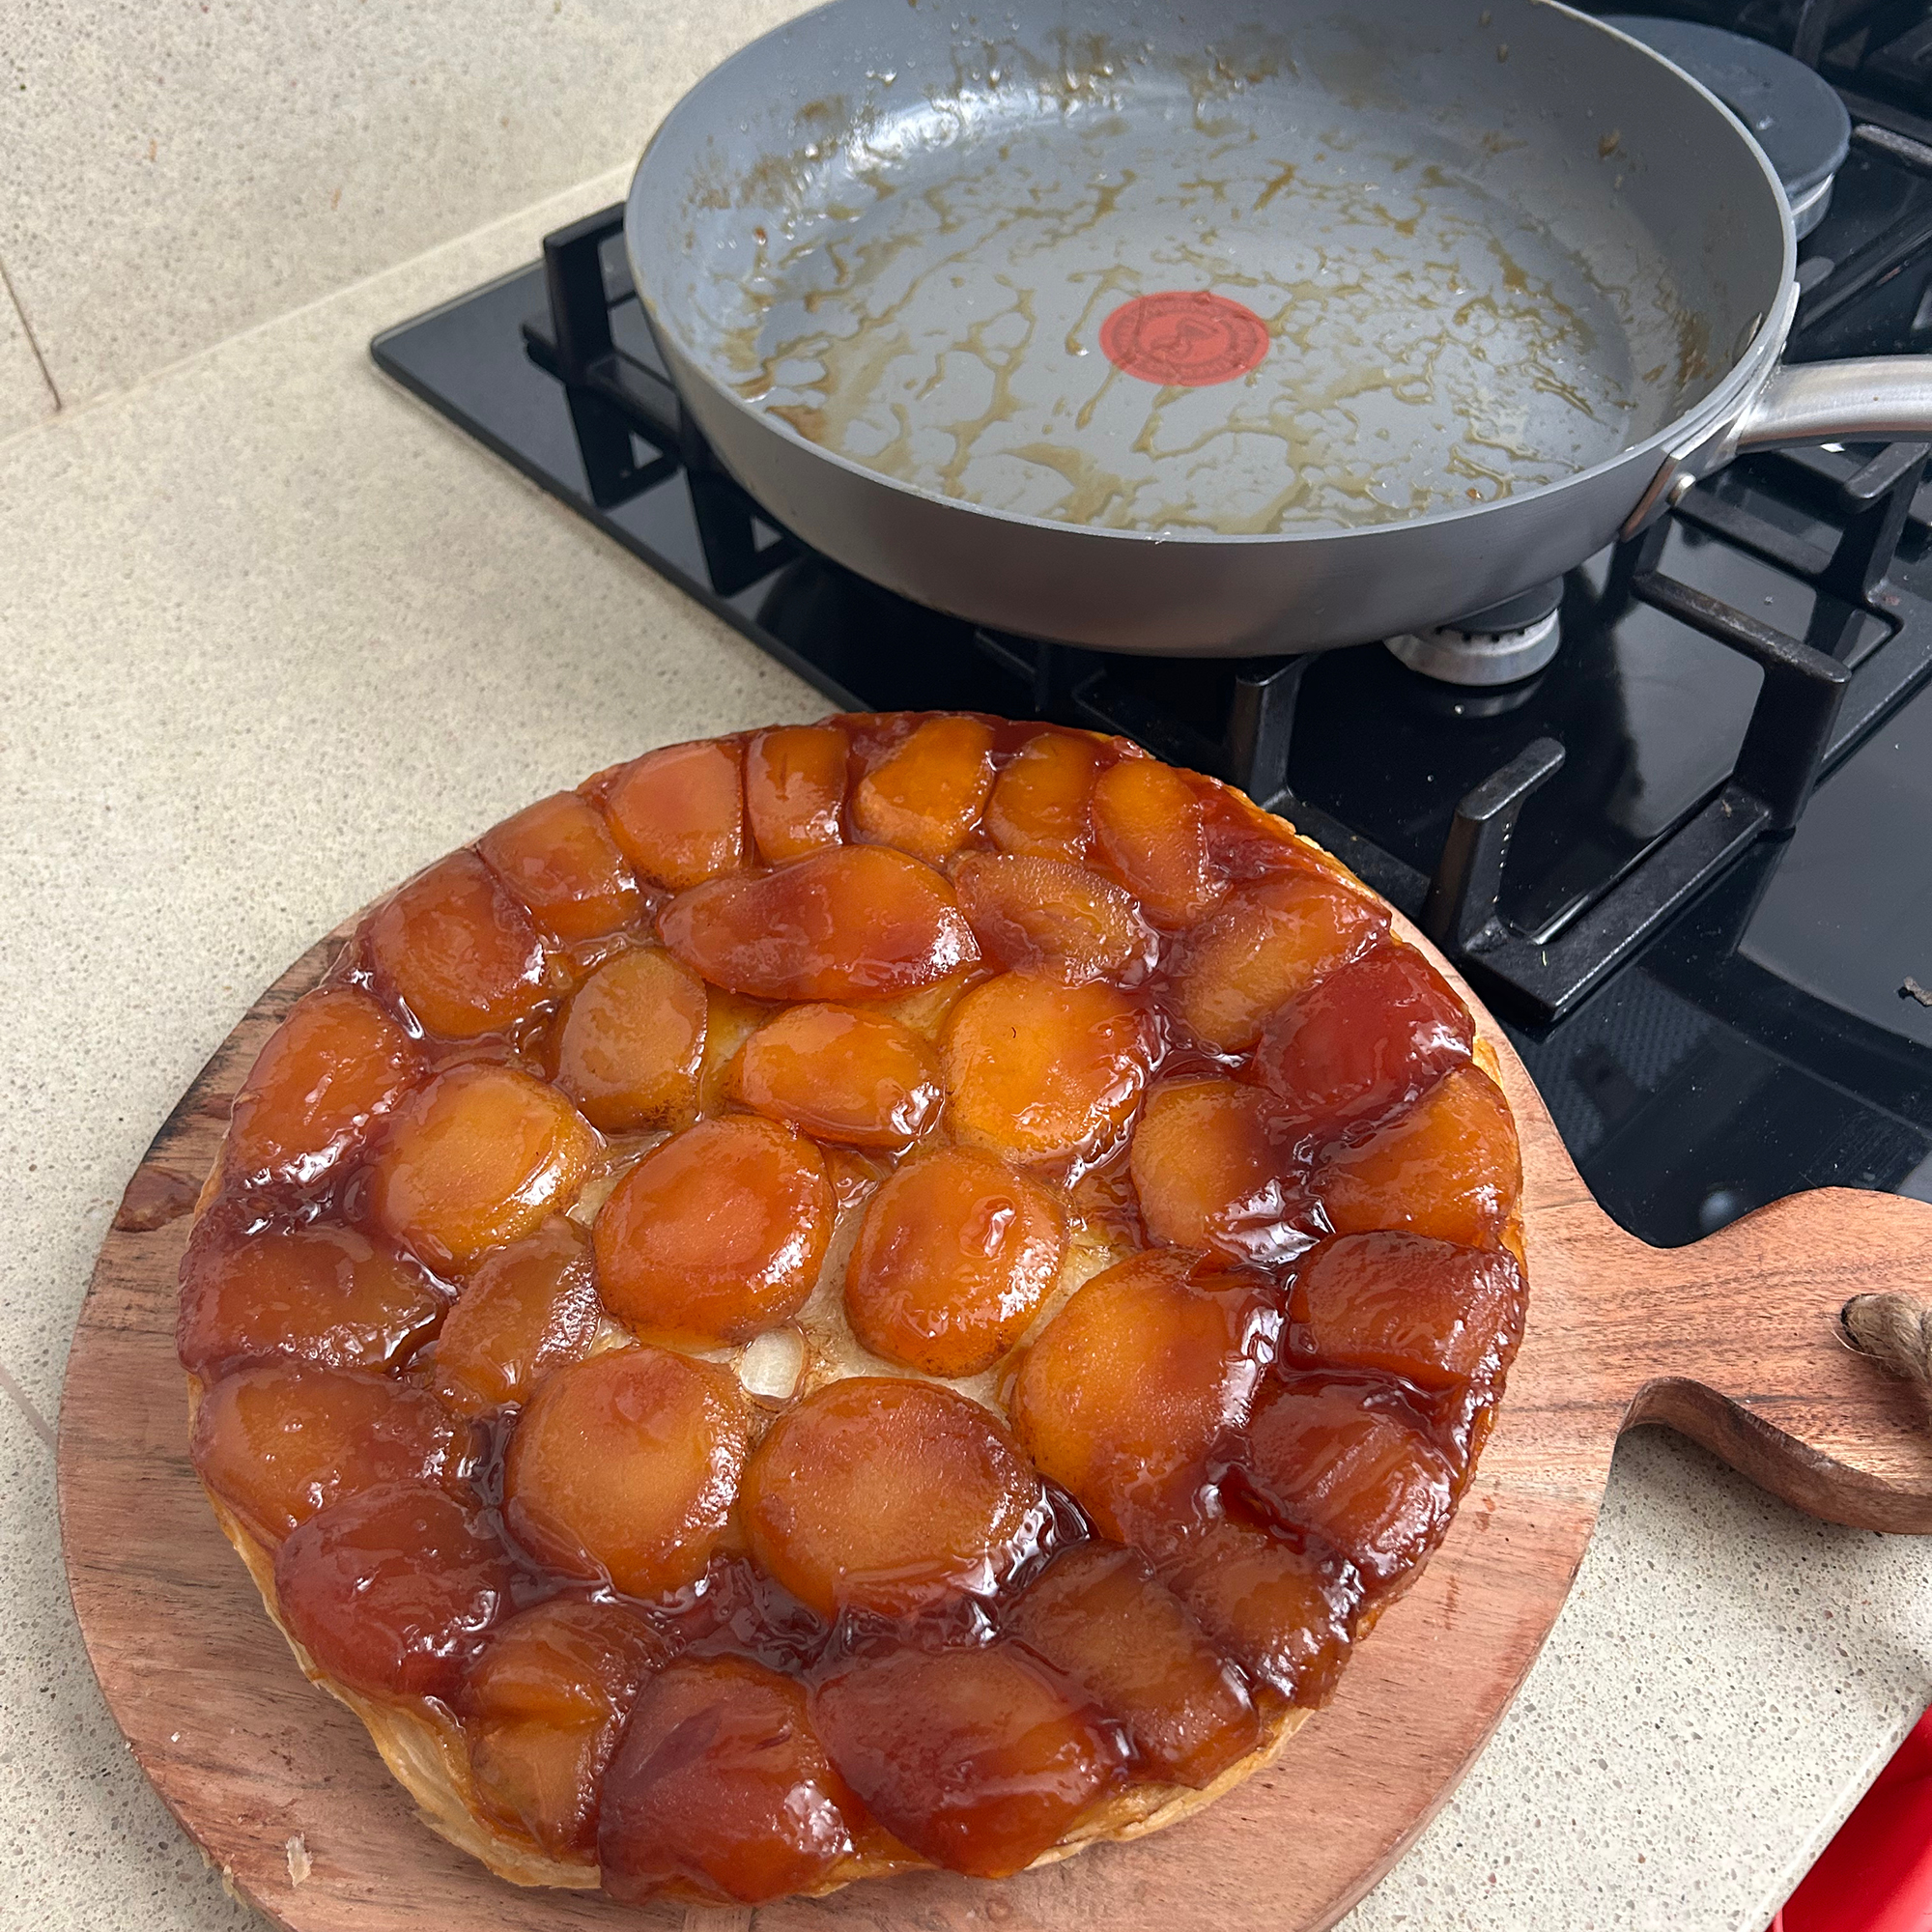
I thought if anything was going to stick to the pan, it’d be this. After I’d let it cool for an hour, I gently ran a plastic spatula around the edge, before turning it out onto a board. And it came out perfectly, nothing stuck or got left behind in the pan. What’s more, the pan itself hadn’t warped or discoloured from being in the oven. I couldn’t have asked for a better result.
Cooking in the wok
It would be remiss of me to try out the wok with anything other than a classic stir fry to see how it stacks up against the best woks. I opted for a tasty vegetable stir fry with smoked tofu and a homemade sauce of sesame oil, soy sauce, ginger, garlic, chilli and chinese five spice.
I let the wok get really hot then added some oil and stir fried my vegetables, adding the hardest first. The wok has quite a large flat base in comparison to some other, more rounded woks, but that’s what makes it work well on flat electric hobs.
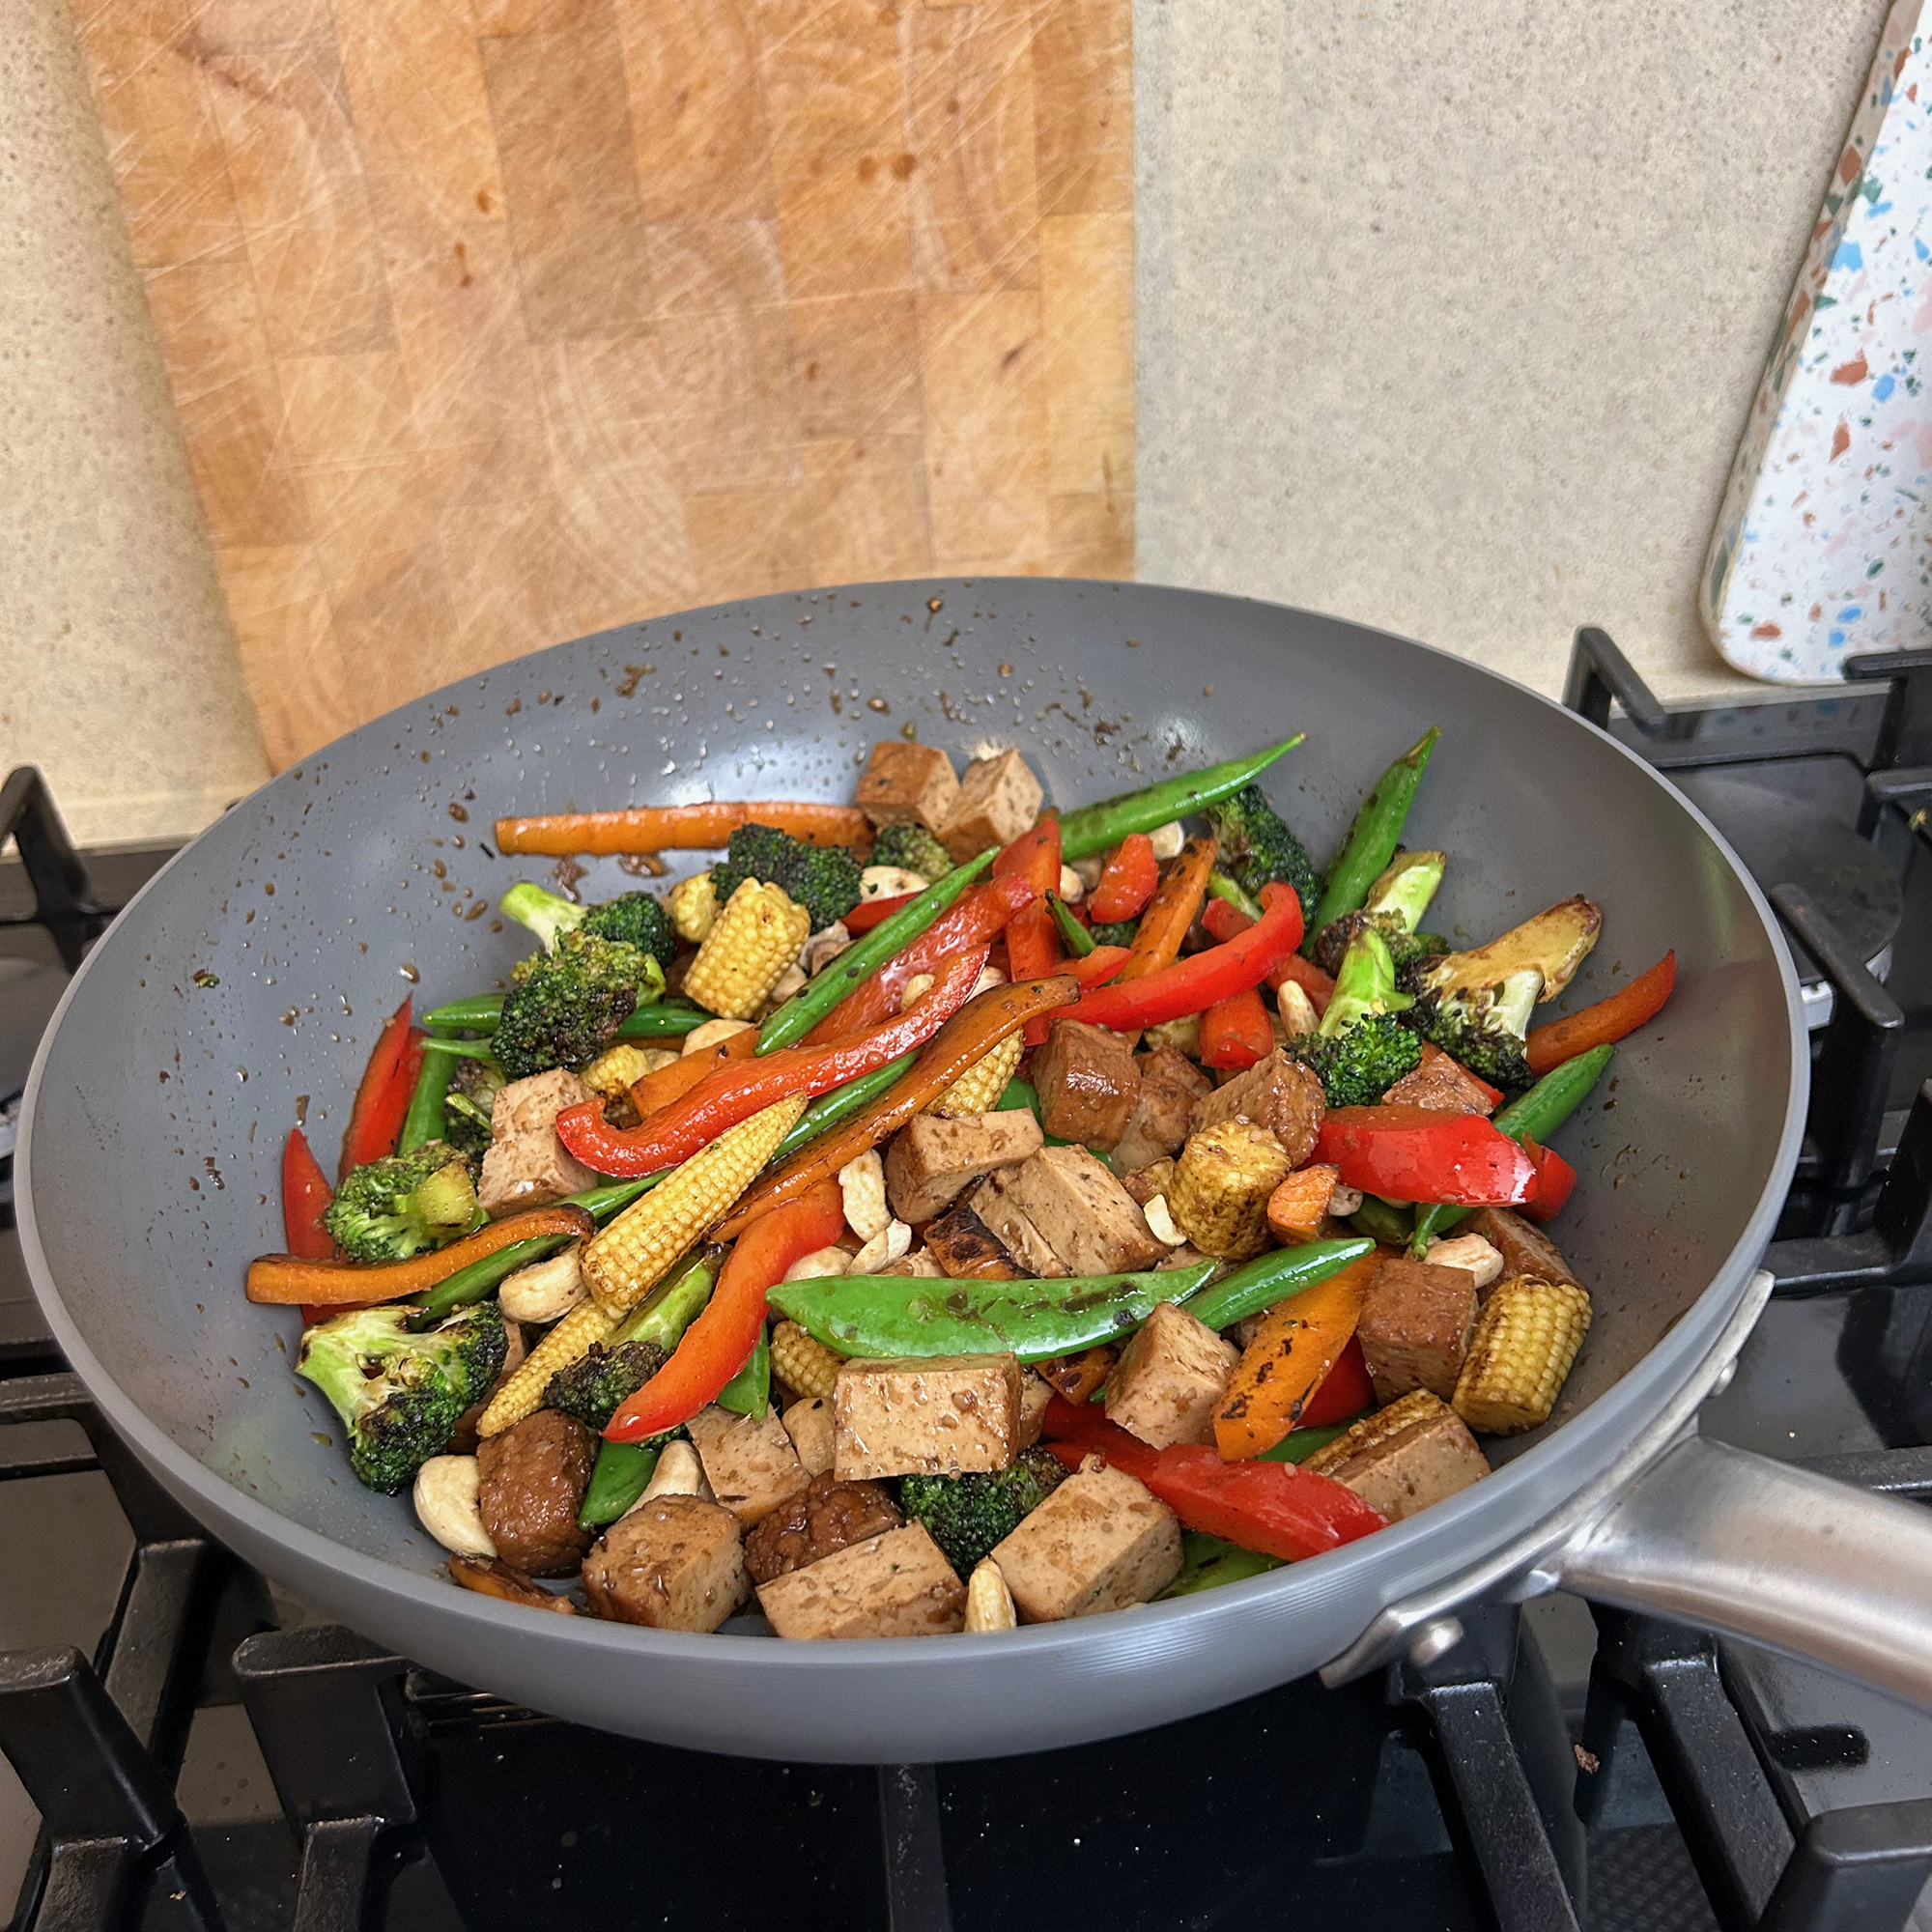
Nevertheless, I was able to toss the vegetables easily by lifting and flicking the wok. The thing that scuppered me was the handle getting hot. Towards the end of cooking the stir fry, I couldn’t lift the wok without wrapping a tea towel around the handle and in all honesty, I found this annoying. Be that as it may, the pan itself held the heat well and cooked everything evenly and it was a delicious stir fry.
Cleaning
It’s safe to say that I was a bit disappointed when I read on the packaging that these pans are recommended to be hand washed. But having reviewed plenty of pans in my time, I wasn’t all that surprised. Most non-stick pans should be hand washed if you want to prolong and preserve the non-stick coating.
As you’d expect for brand new non-stick pans, they were very easy to clean. Even my burnt on fried egg residue wiped straight off with a sponge. And when my chilli dribbled over the edge and dried on the outside of the saute pan overnight - it still only needed a quick wipe to be removed.
The best thing though was the tarte tatin. Having made caramel and baked the whole thing in the oven, I left the empty pan on the worktop overnight. And yet, it still cleaned instantly with warm soapy water, meaning there was no need to search for how to clean a burnt pan.
I will admit that I put one or two of them in the dishwasher when I was in a hurry and afterwards I noticed some tiny chips in the coating on the top edge, so it probably is worth sticking to hand washing if you want them to last.
Should you buy the Tefal Renew+ Aluminium Ceramic Non-Stick Pans?
Generally speaking Tefal pans are pretty reliable when it comes to non-stick coatings. And these pans do have great non-stick properties. But as you may have read above, I didn’t manage to successfully fry an egg without oil, so if that’s your goal, these might not be the pans for you. In all honesty though, you only need to use a tiny bit of oil and I’m not sure many people are trying to completely avoid oil in cooking anyway.
Personally, I don’t pay much attention to the thermo-spot heat indicator, but newer cooks might find it useful. It is worth considering though, that the handles can get hot, which will definitely be a deal breaker for some people.
That aside, I enjoyed using these pans, and cooked in them all very successfully. So if you’re looking for a new frying pan, saute pan or wok and you’d like something that ticks some eco boxes, then the Tefal Renew+ range is certainly worth considering.


.png?w=600)


