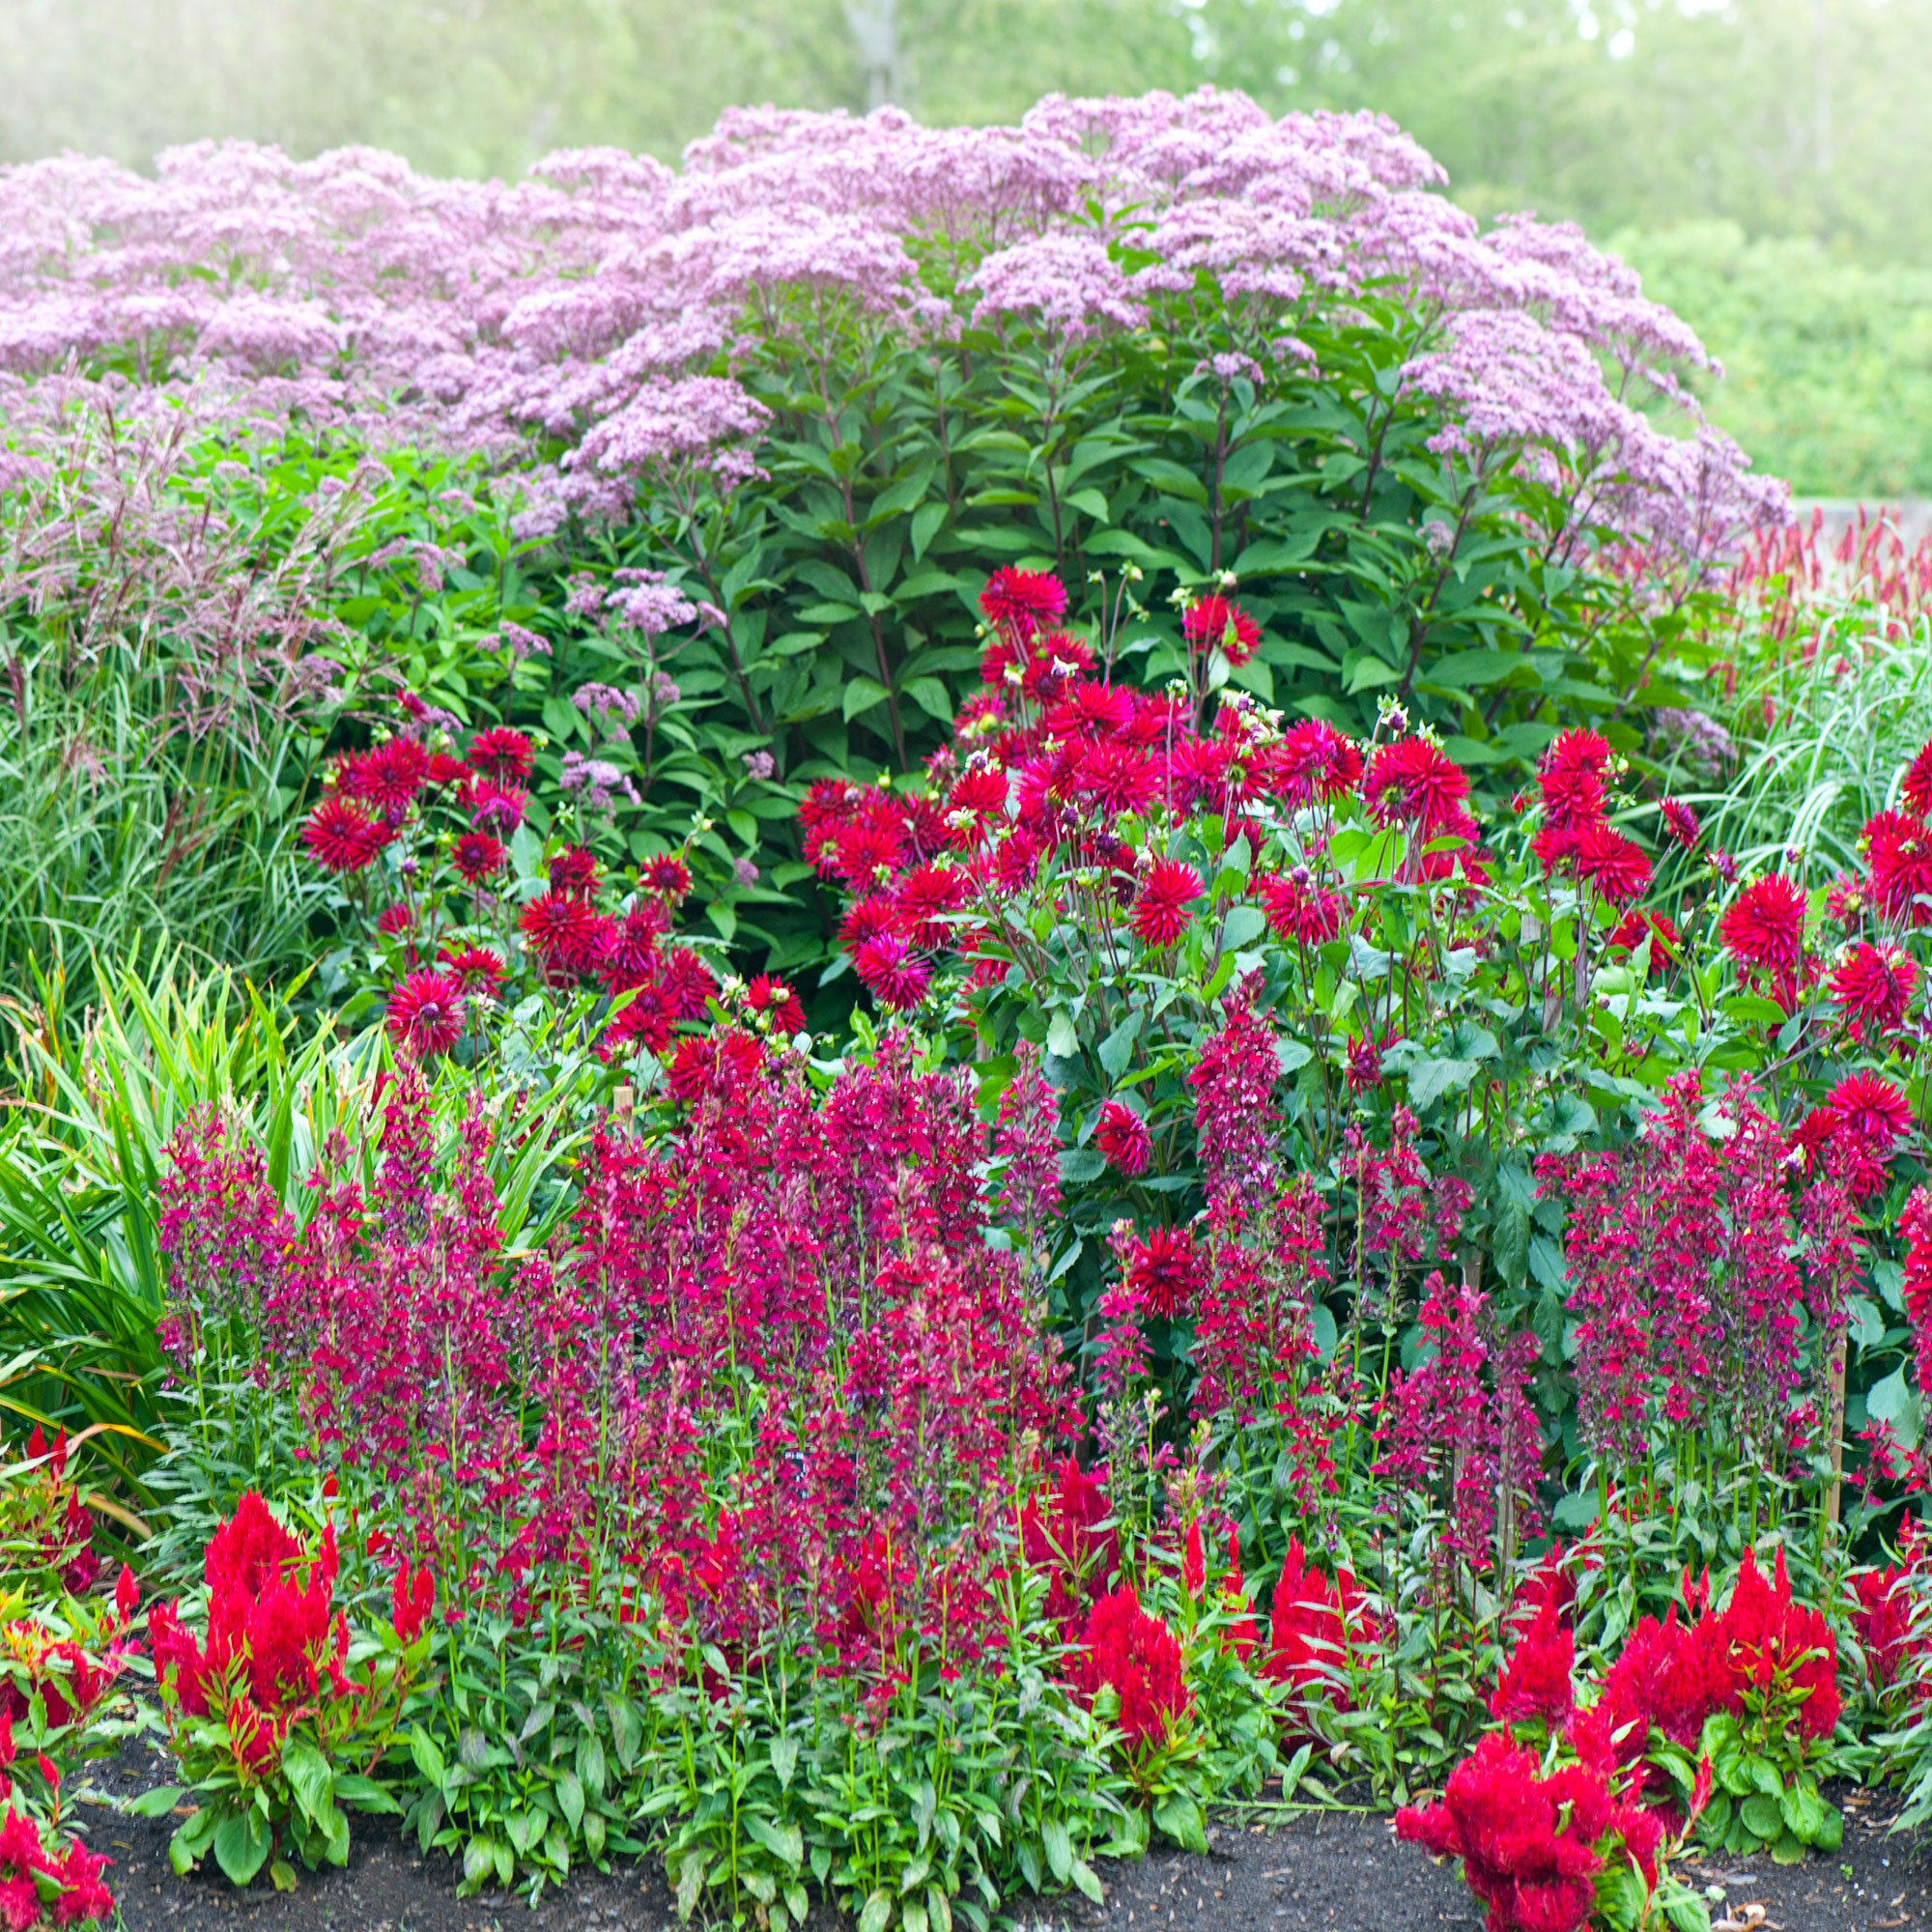
Salvias are one of our favourite perennials, available in a wonderful range of colours and bloom constantly, all the way through summer and into the autumn. If you play your cards right this summer you can take salvia cuttings to add even more of these stunning plants to your garden.
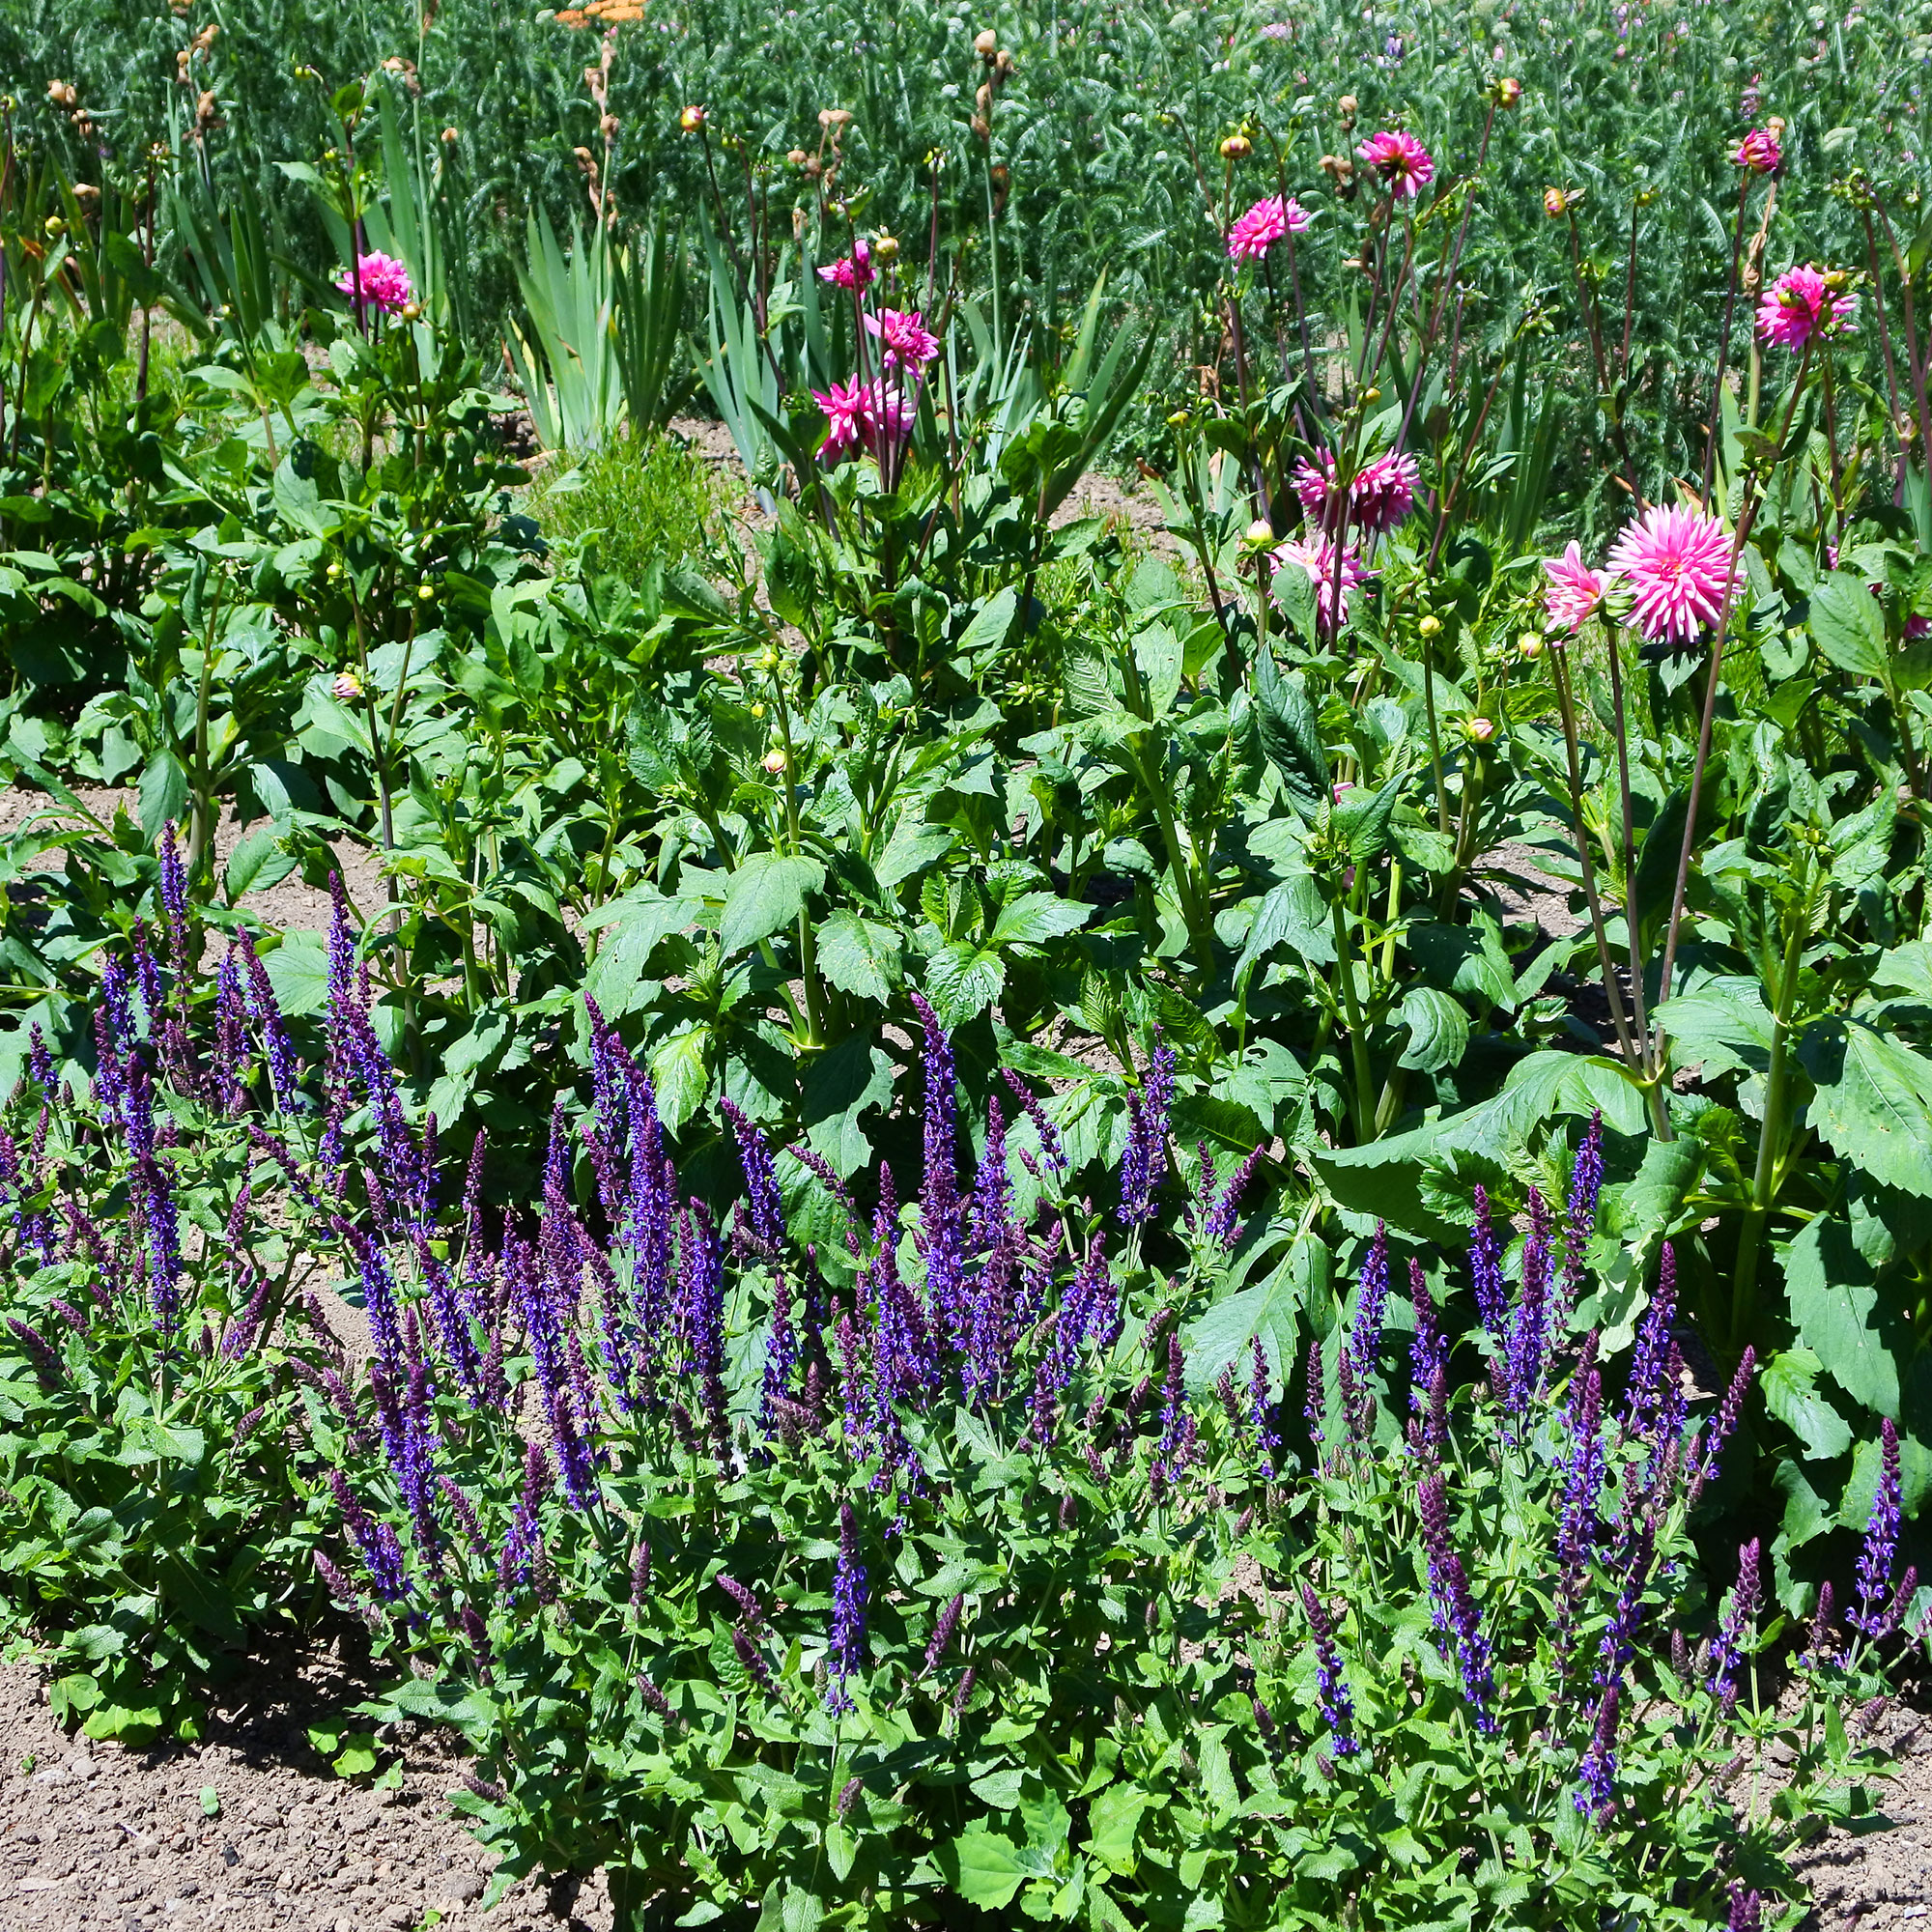
The time to cut back salvias is usually around now, and this is a good time to consider taking cuttings. 'These vibrant, long-blooming beauties are more than just a burst of colour in the garden; they’re resilient, attract pollinators, and add a certain grace to any landscape design,’ says Loren Taylor, Owner of Outdoor Fountain Pros.
Taking salvia cuttings will allow you to add double the amount of the best perennial plant in your garden for free. Here’s everything you need to know about taking salvia cuttings.
What you'll need
When taking any plant cuttings, you'll need a good pair of sharp scissors or secateurs. And this pair are an absolute bargain at under £10.
Even though it's not completely necessary to use a rooting powder or hormone, the experts all agree that it can give your cuttings an extra boost to start growing.
Take all the guesswork out of which compost to use for your salvia cuttings by buying a dedicated cutting compost. This one has plenty of five-star reviews.
At just £2 for 10 small plant pots, this set from B&Q is a great deal to take advantage of and will give you enough mini containers to start propagating a number of different plants.
If you don't already have some spare plastic bags in your home, this set will not only come in handy for propagation but can also be used to keep any leftovers or snacks as fresh as possible.
If it's time to upgrade or invest in a slightly sturdier watering can, this Spear & Jackson option from John Lewis & Partners is one of our favourites.
1. Choose and cut your stems
If you haven’t propagated or taken cuttings from an existing plant before, one of the first things you’ll want to do is check the plant for any signs of disease or damage before picking up your secateurs. Essentially, you’re looking to ‘choose and cut a non-flowering stem that is at least 8cm long,’ suggests Graham Smith MCIHort, Gardening Expert at LBS Horticulture.
Using a sharp pair of scissors, pruning shears or secateurs will enable you to make a clean, decisive cut that won’t damage the existing salvia plant.
2. Prepare the stem
Once you have your stem or stems, it’s time to get them ready to be planted. ‘Strip off the leaves from the lower half of the cutting, leaving only the top set of leaves,’ says Samantha Richards, Garden Gazebo Expert at Gazeboshop. And while it is optional, it is recommended that you dip the cut end of the stem into rooting hormone powder to encourage faster rooting.
3. Plant the cutting into a small pot or container
Next, ‘place the cutting into an already watered pot of cutting compost. And the compost should have perlite added to assist with drainage,’ Graham encourages.
You can make a small hole in the soil with your finger or a pencil, before inserting the cutting into it, ‘ensuring that at least one leaf node is below the soil surface,’ Samantha recommends.

4. Cover the cuttings
‘To maintain humidity, cover the pot with a plastic bag or place it in a propagator. This step is vital because it prevents the cuttings from drying out before they can develop roots,’ Loren affirms. Just ensure that the leaves don’t touch the plastic.
And ‘position the cutting in a warm spot with indirect sunlight,’ Samantha adds, avoiding direct sunlight, which can scorch the cutting.
5. Transfer the cuttings once developed
Once they’ve started to root, you can move them to a bigger pot or into the ground. And there you have it, your very own salvias grown from a simple cutting.
FAQs
What time of year do you take salvia cuttings?
‘Timing is everything when it comes to taking salvia cuttings,’ Loren admits. ‘I’ve found that late summer, particularly August and September, is the perfect time for this task. This is because the stems are still soft enough to root but have started to harden just enough to support new growth.’
While Morris Hankinson, Director of Hopes Grove Nurseries, concurs. ‘If you want semi-ripe cuttings, take them in September as this gives growth time to begin to harden. If you want softwood cuttings, take them in August (or slightly earlier) as the growth will not have started to harden yet,’ he proposes. So, there’s still time to take salvia cuttings this year to set you up for an abundance of blooms next spring.
Will salvia cuttings root in water?
While it is possible to propagate salvias in water, the experts suggest being cautious in this approach. ‘In my experience, rooting in soil often yields better results,’ admits Victoria Cummins, Senior Editor and Gardening Expert at PlantWhisperer. ‘The soil provides a more stable environment for root development and makes the transition to a permanent planter smoother. However, if you do choose to root in water, make sure to change it regularly to prevent stagnation and potential rot.’
If rooting in water is a preferable method for you, you’ll want to ‘place the cut end of the stem in a container of water, ensuring the leaves are above the waterline. Then change the water every few days to keep it fresh, and roots should begin to develop in a few weeks. And once roots are established, you can transfer the cutting to soil,’ Samantha explains.
How long do salvias take to root?
The experts all agree that you should expect to see roots forming from salvia cuttings within two to three weeks. ‘However, it's important to note that this timeline can vary depending on environmental factors such as temperature and humidity,’according to Victoria.
‘I always recommend being patient during this process,’ she continues. ‘You can gently tug on the cutting after a few weeks - if you feel resistance, it's a good sign that roots have developed.’ And once they have rooted, you can then carefully transplant the new salvias into larger pots and containers or flower beds for them to continue their growth.