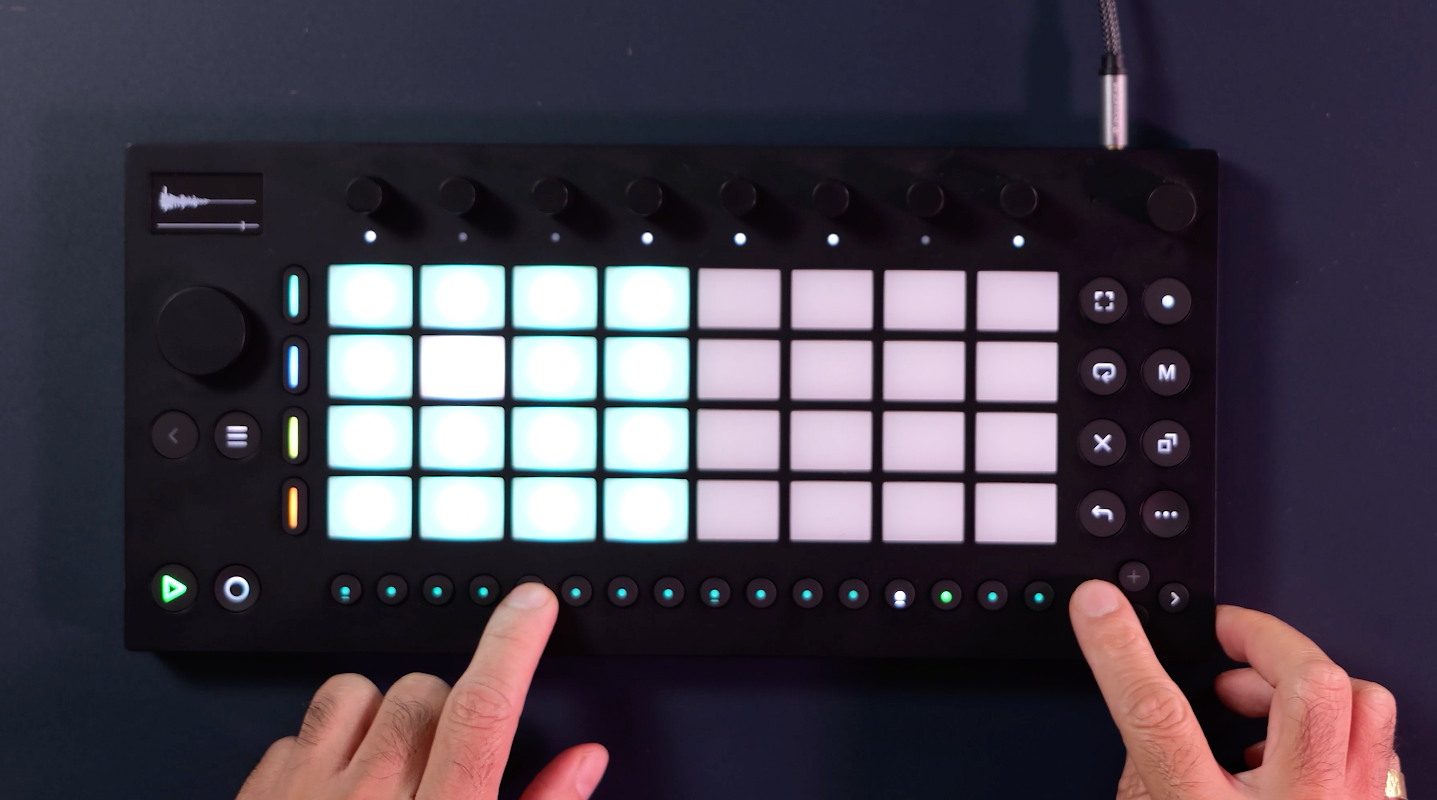
This week saw Ableton launch its newest hardware device, Move. Somewhere between a mini version of Push and a hardware version of the Note app, Move is designed to be the perfect sketchpad for Ableton Live, letting users rough out ideas for beats and melodies, as well as capture samples, apply basic effects and record automation.
Move is designed to be easy and intuitive, which it achieves. But there are still a few less-obvious or secondary functions that are easy to miss but can be key to bringing your ideas to life.
To get up to speed with Move’s workflow, we sat down with Ableton’s product specialist Brian to watch him quickly put a groove together. You can watch his tips in the video above or read about them below. We’ve also added in a few tips of our own based on our time with Move.
READ MORE: Ableton Move review
Nudge hits off the grid to add groove
In his first workflow tip, Ableton’s product specialist Brian demonstrates how nudging a few hits off of the quantise grid can help to add a humanised feel to a drum groove. To demonstrate this he layers up three snare sounds. To create a little space between them, he holds down the relevant step on the sequencer and uses the left and right arrow keys to nudge two of the hits so they sit just before or after the beat.
“I'm nudging the notes to move them over to just give it some space” he explains. Finally, he applies some extra groove by holding down the Shift key and accessing the Groove menu. “It’s just to give it a bit more swing, so now we have a looser beat.”

Save your custom kits
Move’s stock presets are well organised by sound type and relatively easy to navigate, but loading user-uploaded samples can be a little more time consuming. Loading a one-shot sample to a Drum Sampler pad involves navigating out of Move’s list of sound types into the User Samples folder, and then finding your sound among your own sub-folders. Hardly a hardship on its own, but annoying to do 16 times in a row.
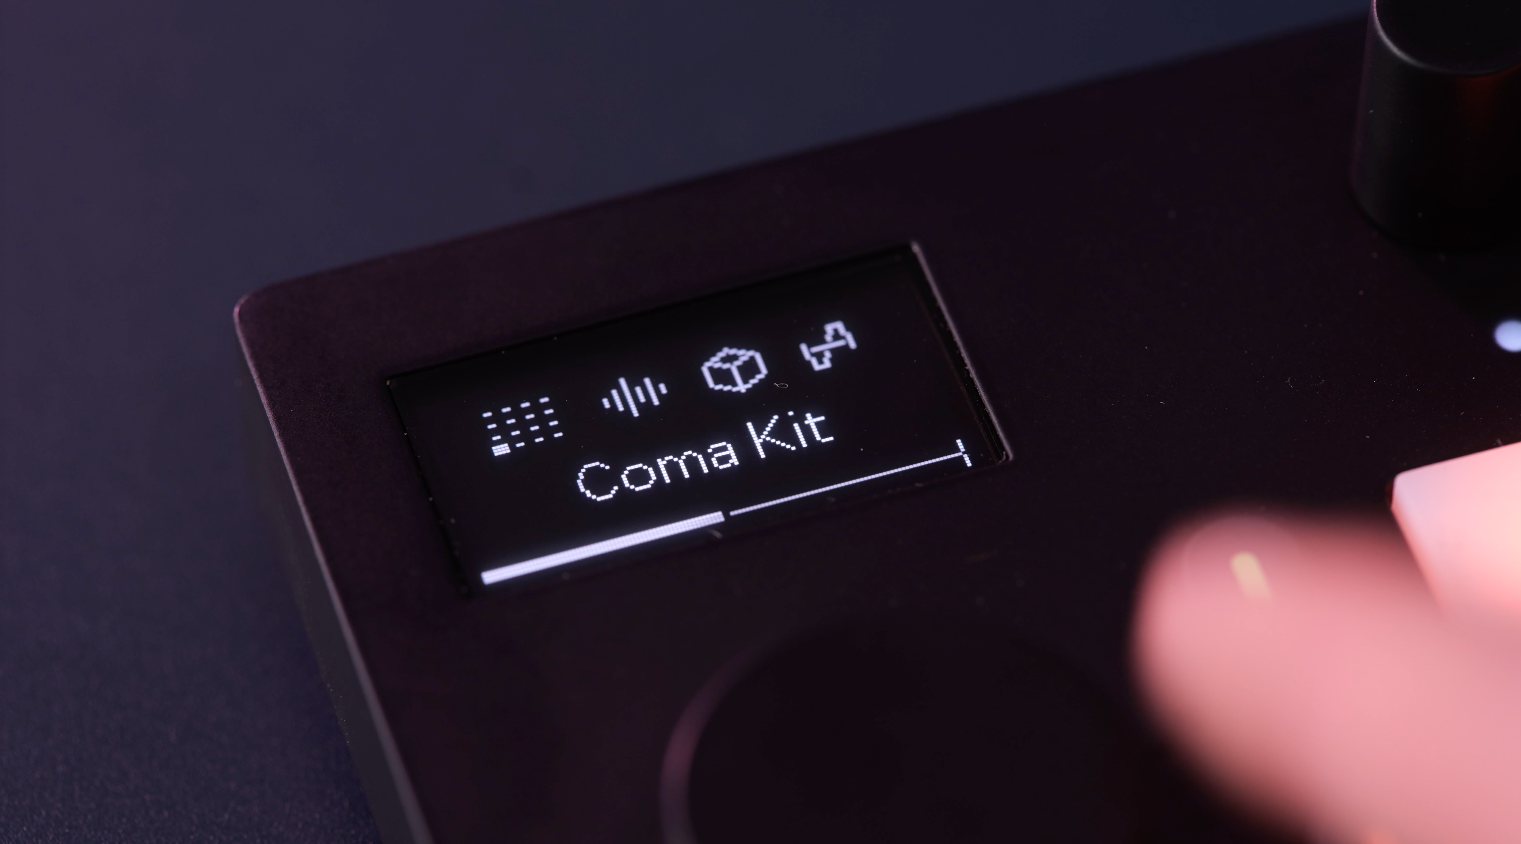
If you’re likely to use your own samples regularly, we’d recommend taking some time to create and save custom drum kits in advance. Having ready-to-go kits built around a useful combination of sounds will speed up your creative workflow. Saving these to a kit also allows you to configure things like envelope and filter settings, and appropriate send and insert effects too.
Quick switch presets from the browser
As Brian demonstrates in the video, Move offers an easy way to try out new sounds using existing patterns. To see how a drum groove sounds using different kits, simply use the browser wheel to scroll through Move’s various kit options, previewing them as you go. If you want to return to the original, simply hit the Undo button.

Detune vs transpose
When using sampled instruments in move, the first of the touch rotaries is used to transpose the source sample up and down. As standard, this is done by semitones. If you want to make adjustments by an amount other than a whole semitone, however, hold down Shift and the transpose mode will instead detune the sound by cents.
Spice up beats with Playback Effects
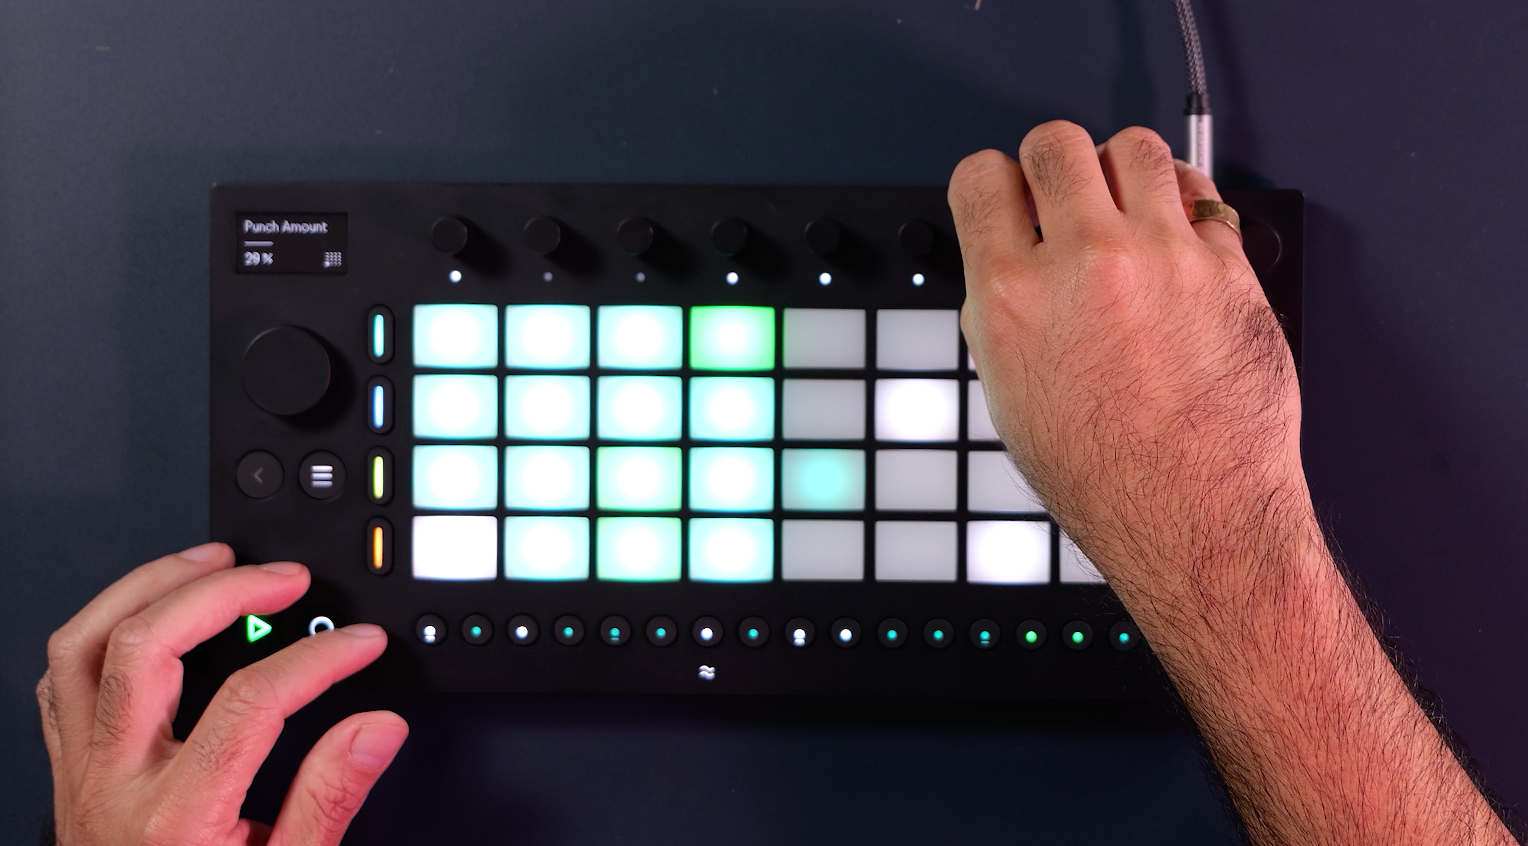
The Drum Sampler Playback Effects are one of Move’s strongest features. In our video Brian demonstrates how the pitch envelope mode can be used to add a characteristic bend to a sound.
Other favourite modes of ours include the Stretch function, which can apply granular warp-like effects, reminiscent of old school sampling. The Loop function is great for stuttering repeats too.

Use Capture for quick automation
Move’s Capture function – based on the same tool in Live – is an easy way to recall your playing and turn jammed-out ideas into clips. As Brian demonstrates for us, it works for parameter automation too. Experiment with tweaking settings using Move’s eight encoders, if you hit upon something you like, hit Capture to record the movement as part of your clip.
Automation can be deleted easily, by holding the Delete button and touching the associated encoder.
Turn drum pads into melodies with 16 Pitches
Although Move might initially look like it puts a hard limit on having no more than four melodic parts in any one project, there are actually several ways to work around this. As Brian demonstrates in his third tip, one of the easiest ways to do this is by creating melodic patterns from one-shot samples loaded into one of the 16 Drum Sampler slots of a drum kit.
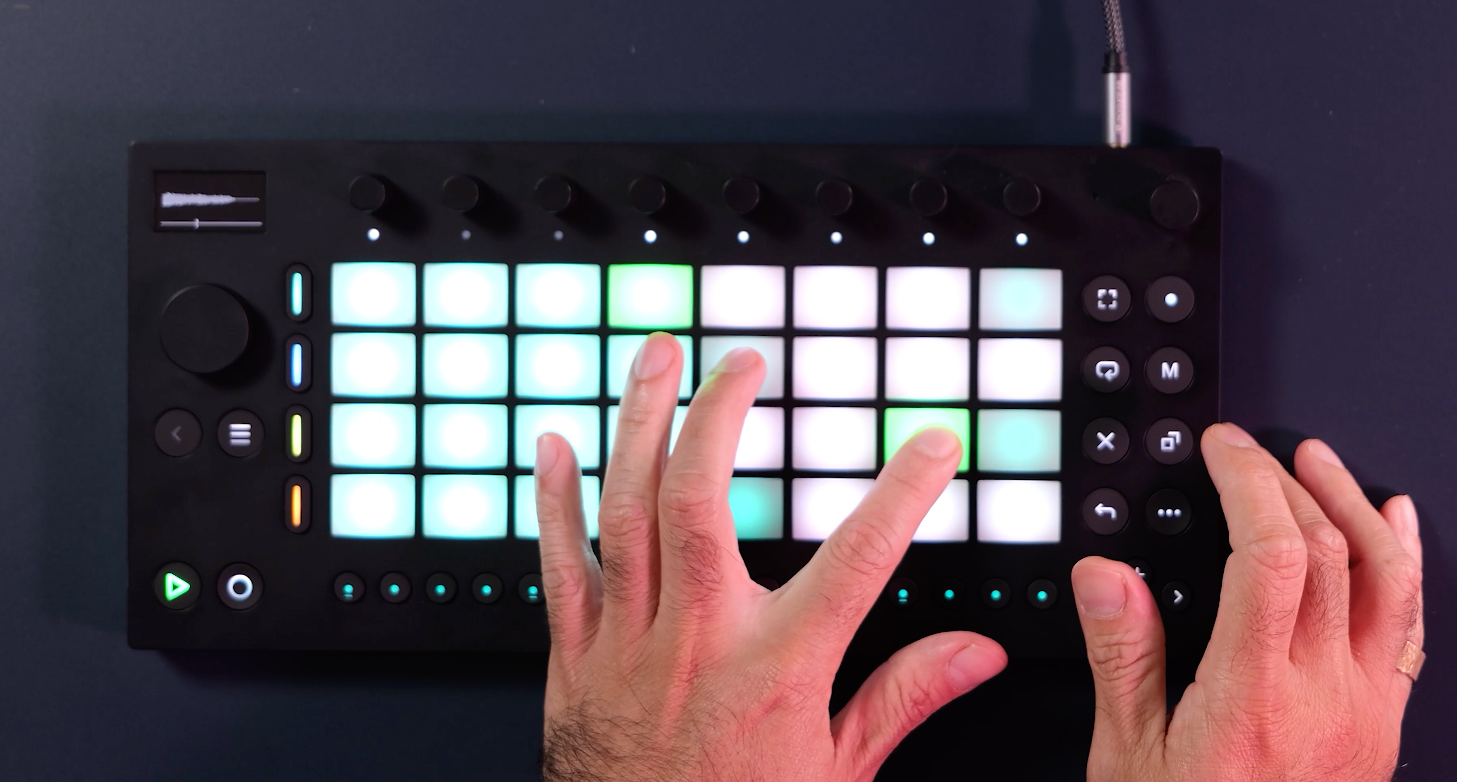
To do this, simply hold Shift and press the layout button on Move’s sequencer. Now the 16 pads to the right of the kit will light up and can be used to play the selected sample at different pitches fixed to the project scale. This means that any one kit can house up-to 16 melodic patterns each making use of different one-shot samples.

Resample everything!
Move’s ability to resample its main output can be used to significantly expand its capabilities. If you regularly find yourself butting up against the four-instrument limit, try bouncing down riffs, basslines or drum grooves that would otherwise be taking up a full instrument slot to a single pad in a kit. To access this, press the sampling button and use the browser wheel to change the input mode to Resample, then press a free pad to start recording.
It’s worth noting the Move records the full main output, so you’ll need to mute any elements you don’t want to capture. Move doesn’t, however, record the metronome when resampling, so leave this on if it helps with the timing of the recording. If you engage resampling while the transport isn't running, playback will start as soon as you press the pad to start resampling – which can also be useful for timing.
While this is useful as a workaround on its own, doing so can also be an inspiring creative tool. Try resampling sounds with automation and/or effects baked in, then try triggering the recordings at different pitches to hear how it affects the audio. Make use of the Drum Sampler's fantastic Playback Effects too, to loop, stretch or ring modulate your resampled audio.
Slice up samples with multi-pad recording
Move doesn’t feature sample slicing like you would find on higher-end samplers or within Live itself (ie the ‘slice sample to new MIDI track’ feature). There’s a way to work around this, however, using the multi-pad recording function. This allows the user to manually record incoming audio across multiple pads of a Drum Rack.
To do this, enter Sampling mode and press an available pad to start recording. As soon as you want to create a new ‘slice’, press a different pad, and so on. Each time you press a new pad, you will be creating a sample ‘slice’ into a new Drum Sampler slot.
If you’re finding this hard to time correctly, for example, while trying to slice the transients of a fast drum break, try slowing the incoming audio down and then pitching it back up using Transpose once it’s recorded.


