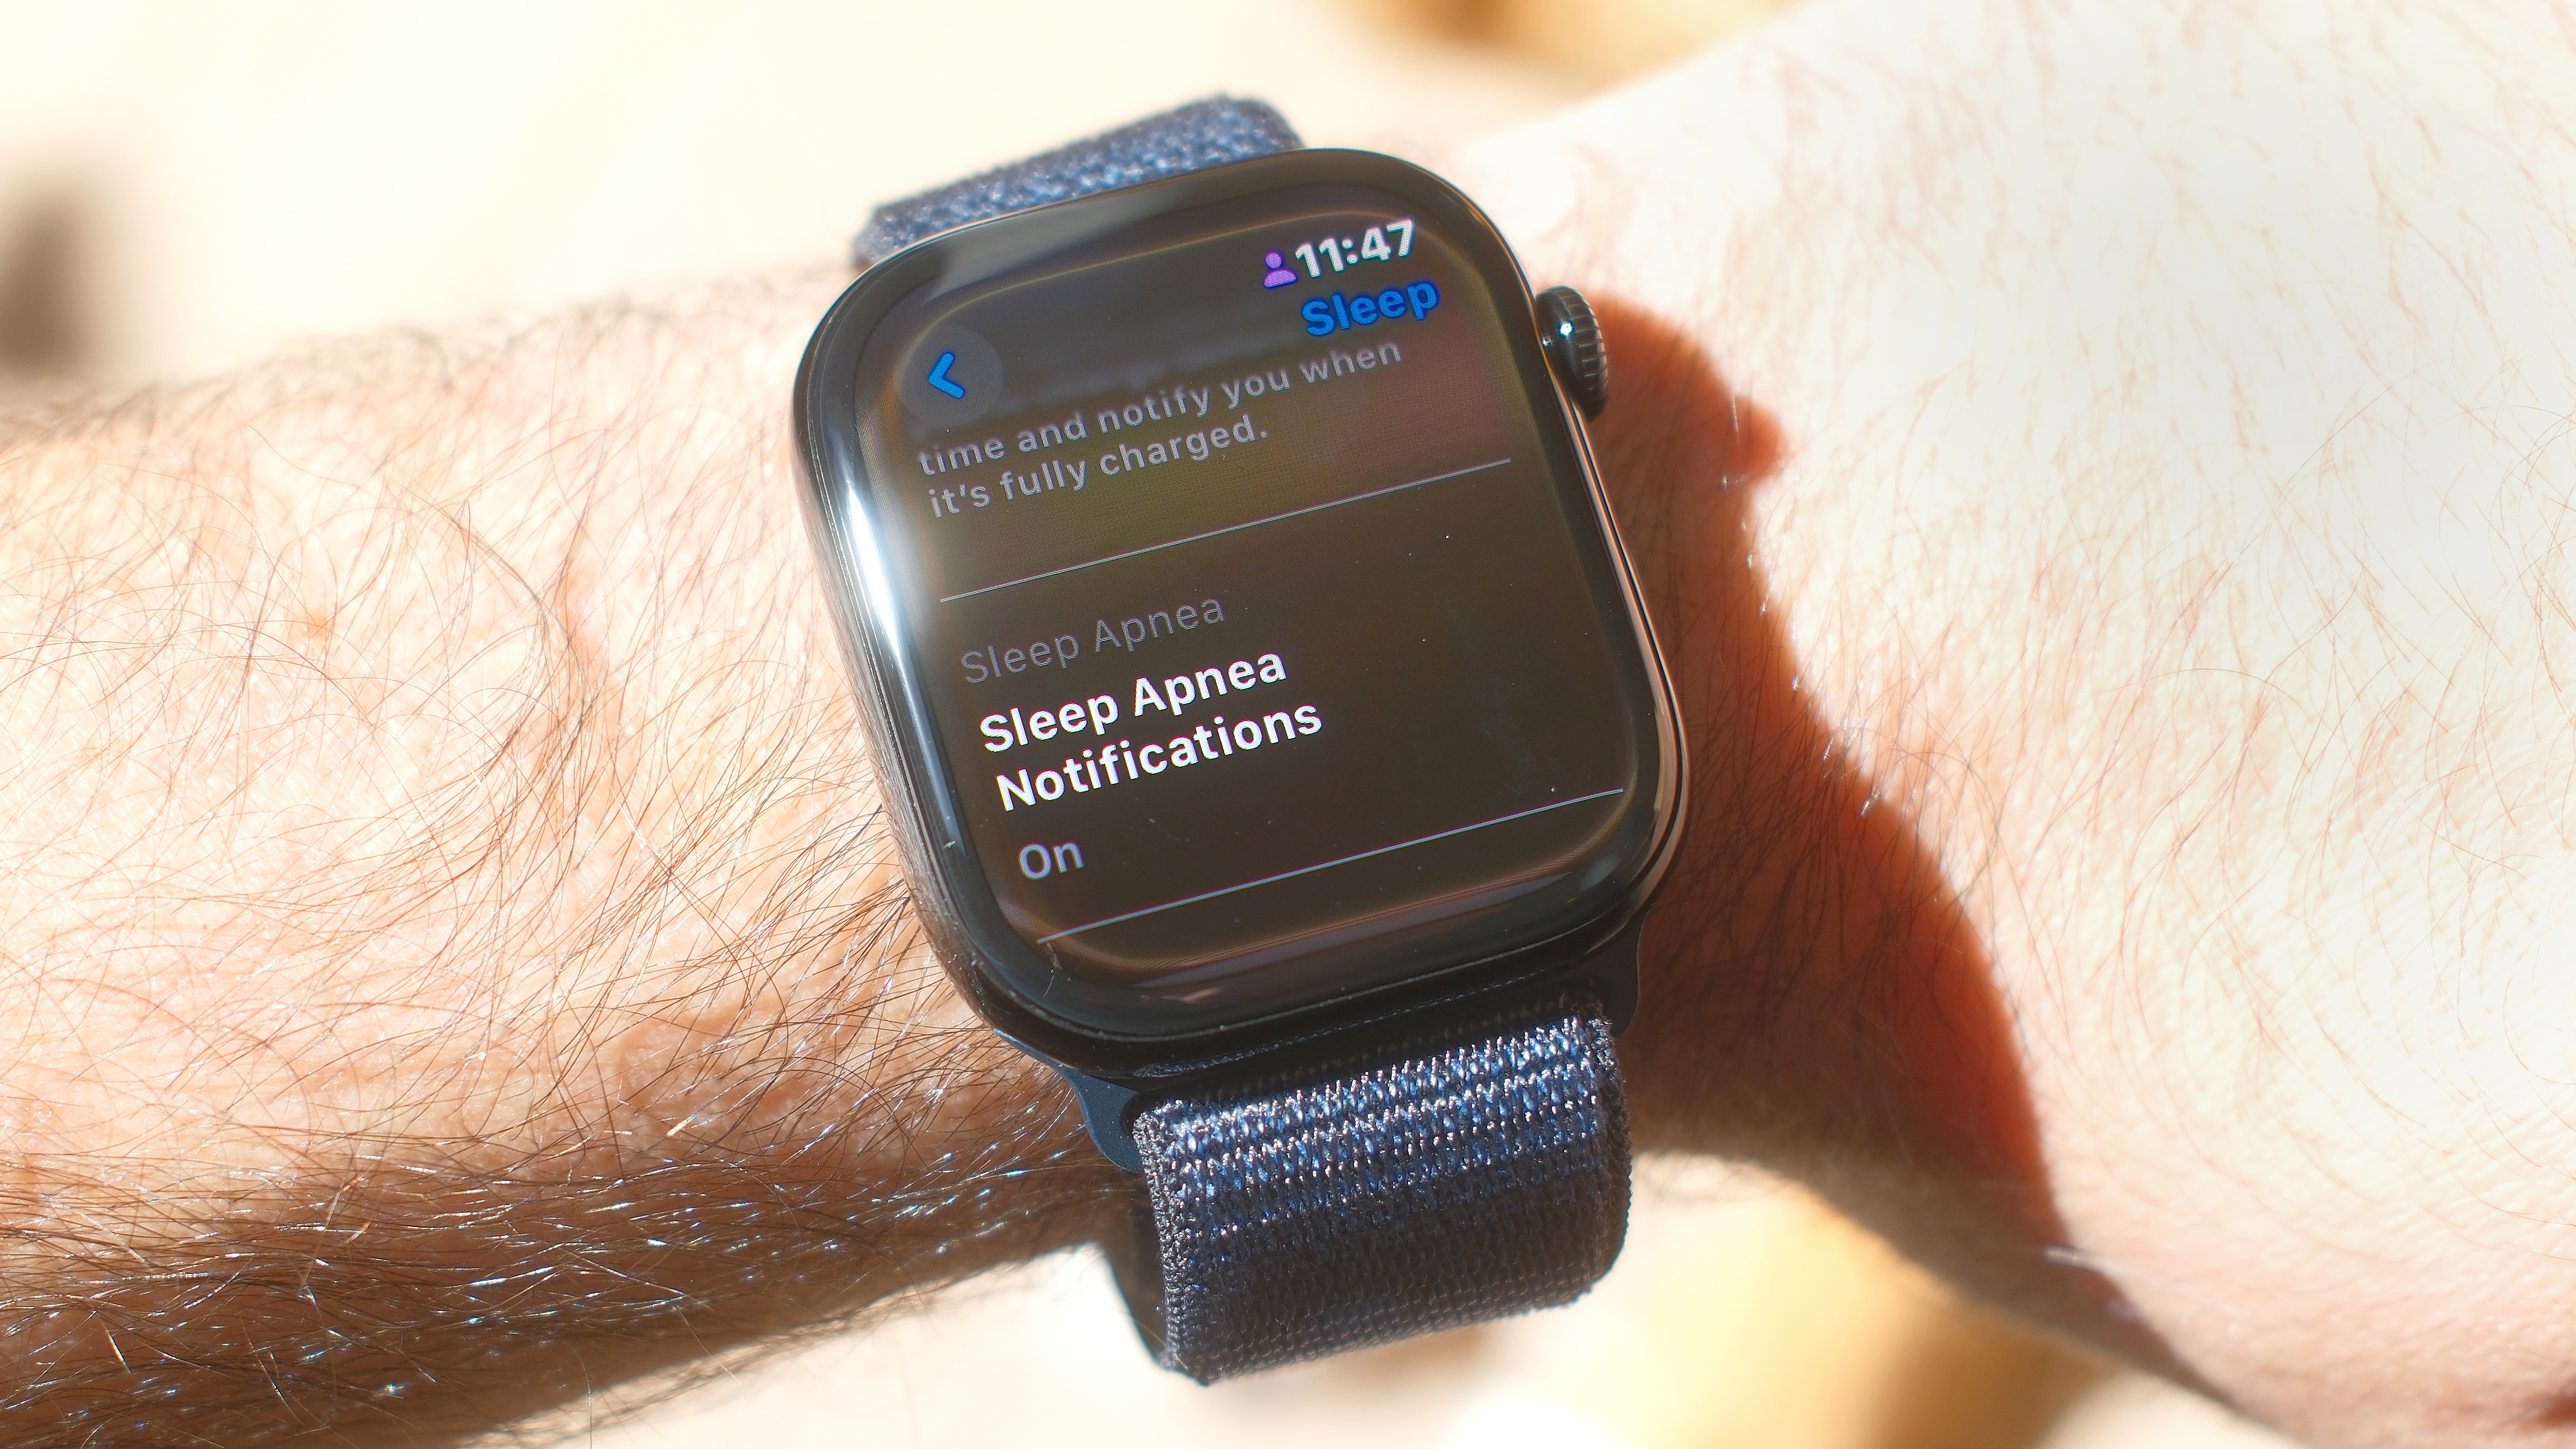
Move over Samsung Galaxy Watch 7 and Galaxy Watch Ultra — the best Apple Watch models, including the freshly-debuted Apple Watch Series 10, now monitor for sleep apnea, too.
This surprisingly common condition, where users experience unusual breathing patterns while they snooze, can be difficult to diagnose, and worse, can lead to serious health conditions down the road.
When first announced during Apple's annual fall product reveal, the monitoring tool was still awaiting clearance from the U.S. FDA (Food and Drug Administration). Call it kismet or perhaps more accurately, a very convenient coincidence, but fortunately, for Tim Cook and Co., that status changed just over a week later.
Now Apple Watch owners with compatible models running watchOS 11 can switch on Apple's latest health tool. Here's how to set up sleep apnea detection on your Apple Watch in six steps.
Which Apple Watch models have sleep apnea detection?
But first, which Apple Watch models have sleep apnea detection? The answer is the Apple Watch Series 9, Series 10 and Apple Watch Ultra 2. Of course, you'll need to be running the latest watchOS 11 software to unlock the feature.
While the Series 10 ships with watchOS 11, Series 9 and Ultra 2 owners will need to upgrade their software. More on that below.
How to set up sleep apnea detection on the Apple Watch
- First, install watchOS 11 / set up your new Apple Watch
- Open the Health app on your iPhone, tap Browse and select Respiratory
- Scroll down to Sleep Apnea Notifications and tap Set Up
- Click Next, answer the health questions, and tap Continue
- Read through Apple's explainer and tap Next, then click Done
- Select Respiratory health from Browse to learn even more
Read on to see full illustrated instructions for each step.
1. Install watchOS 11 / set up your new Apple Watch Series 10
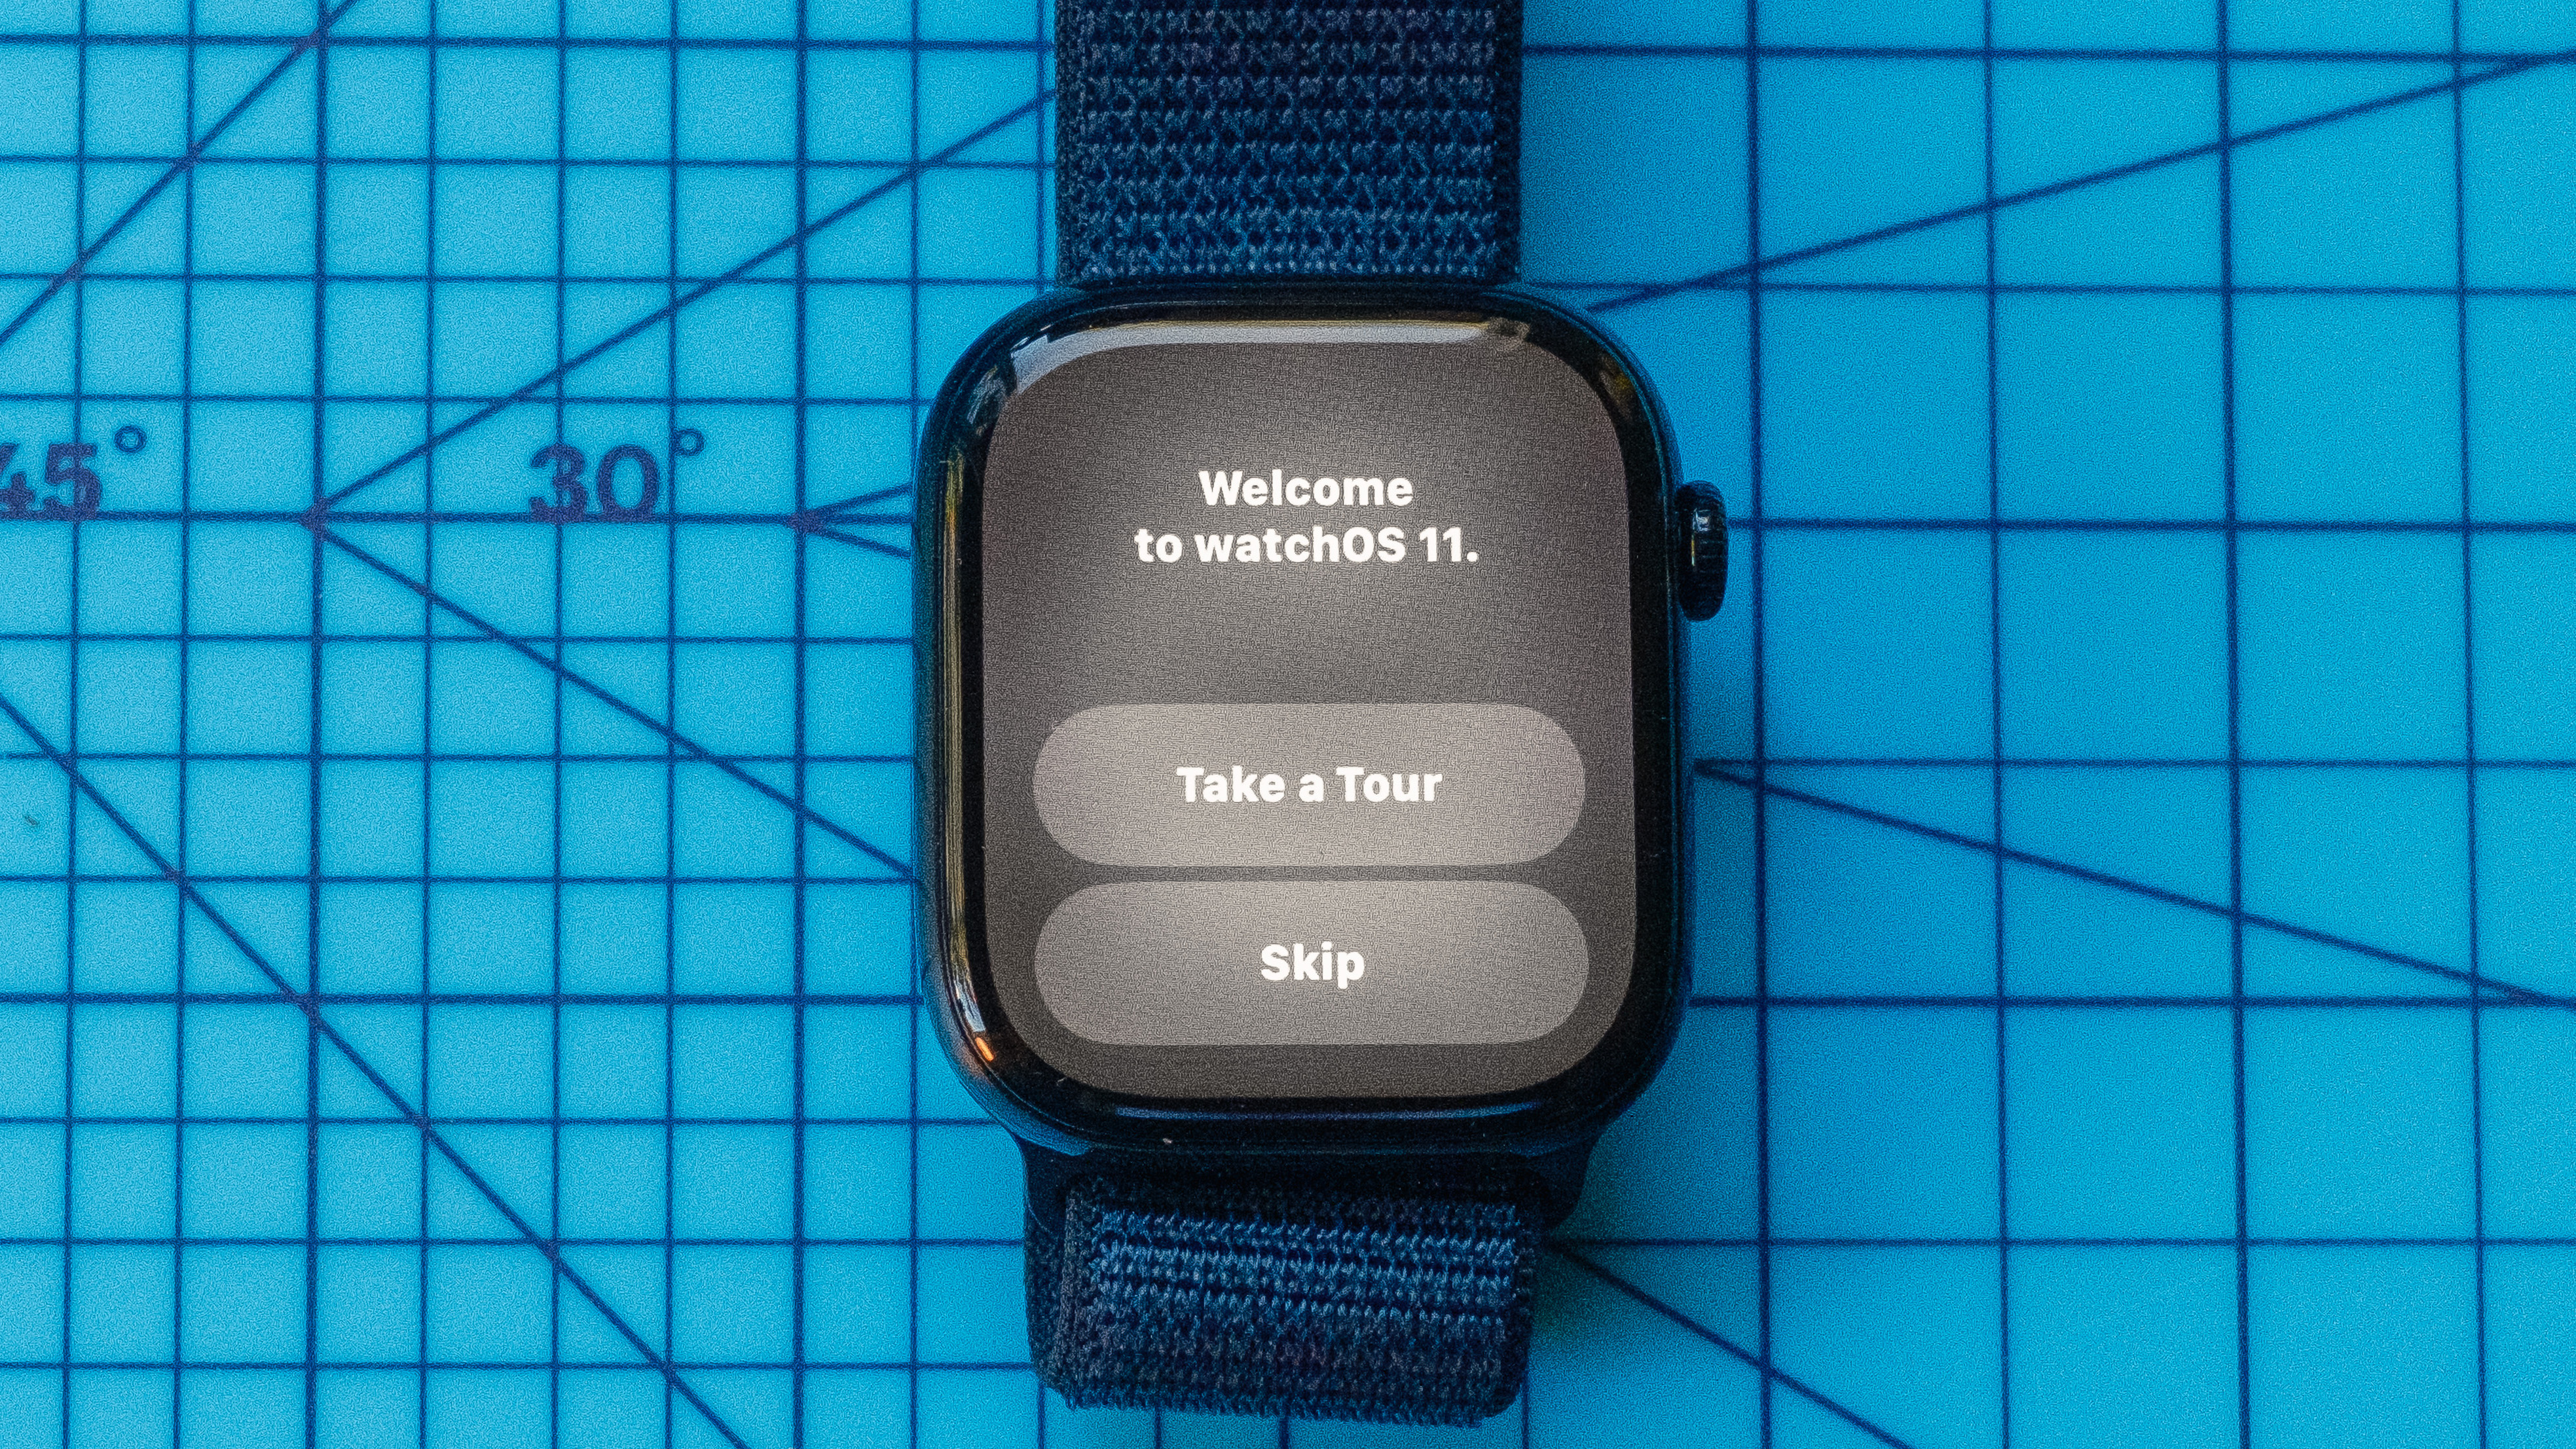
Before you can use sleep apnea detection on your Apple Watch, Series 9 and Ultra 2 users need to download and install watchOS 11. If you bought the new Series 10 watch, the latest software should already be installed.
You'll also need a compatible iPhone running iOS 18.
Here's a refresher on how to download the watchOS 11 and how to set up your new Apple Watch, if you need some help. The former should take about an hour to install, the latter can completed in less than 30 minutes.
2. Open the Health app on your iPhone, tap Browse and select Respiratory
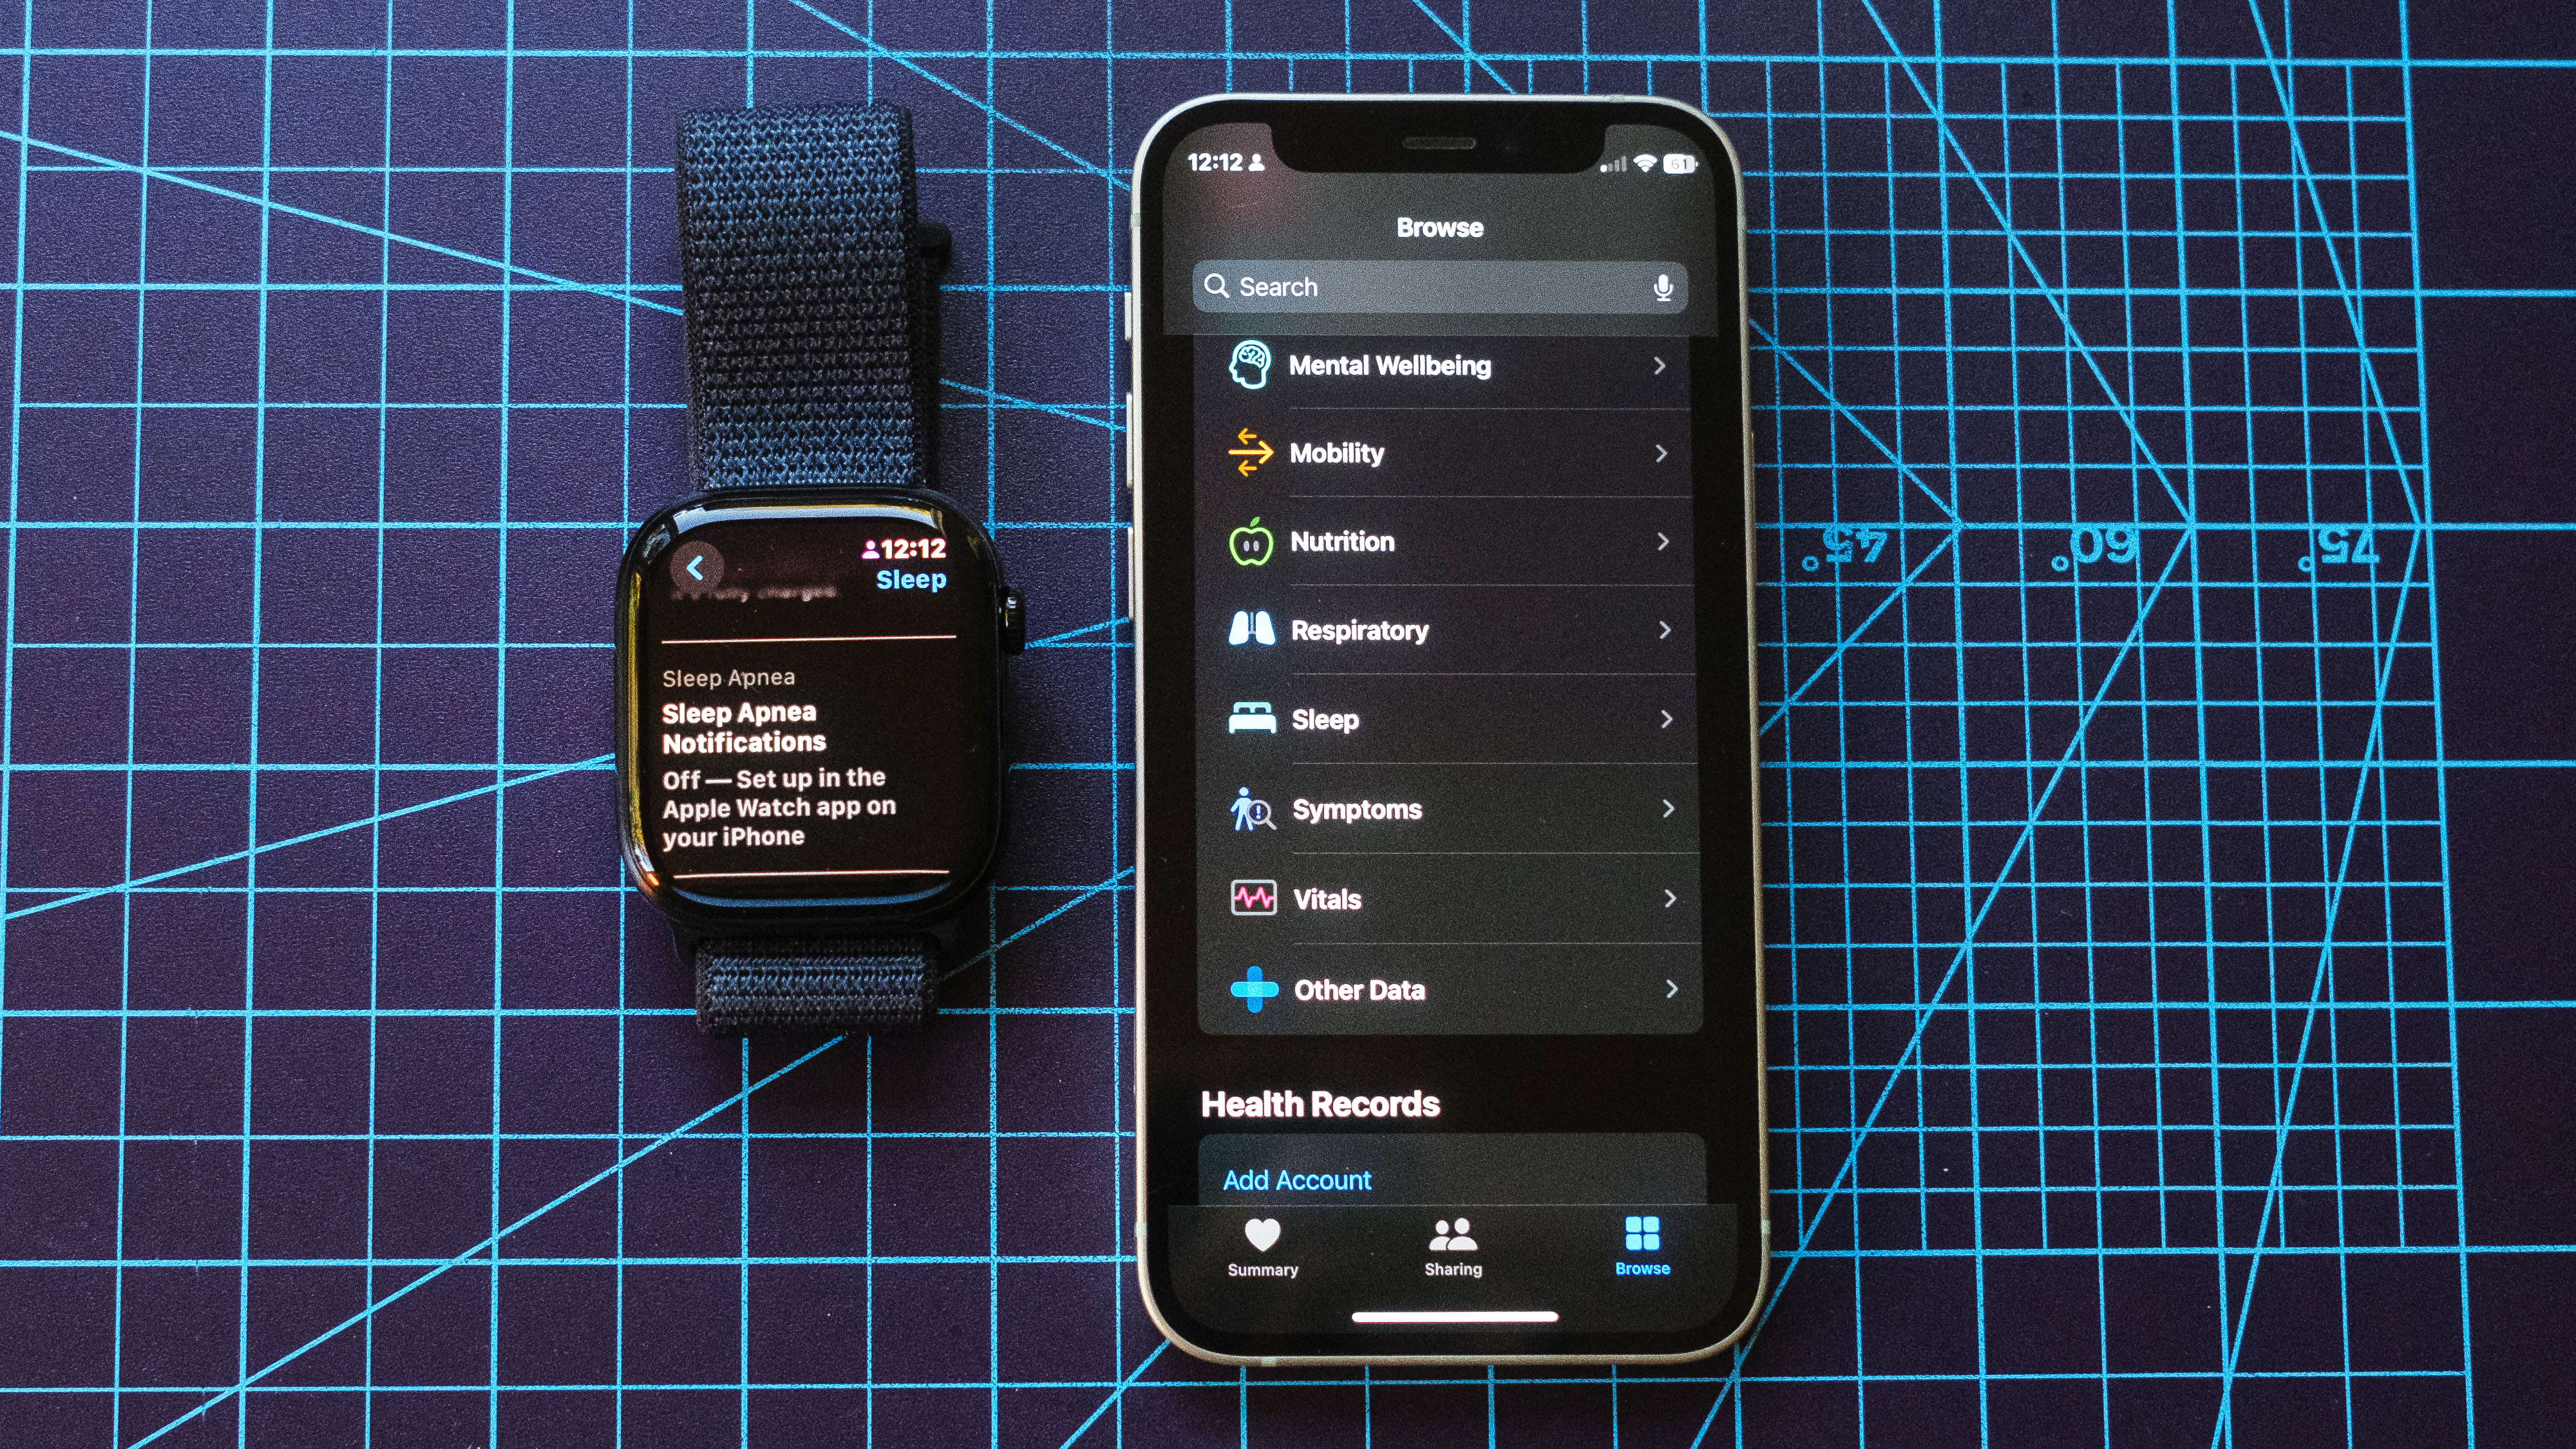
Once you're squared away with the latest firmware, open the Health app on your iPhone (the icon with a pink heart). In the lower-right corner tap on 'Browse,' scroll down the list of Health Categories, and select 'Respiratory.'
3. Scroll down to Sleep Apnea Notifications and tap Set Up
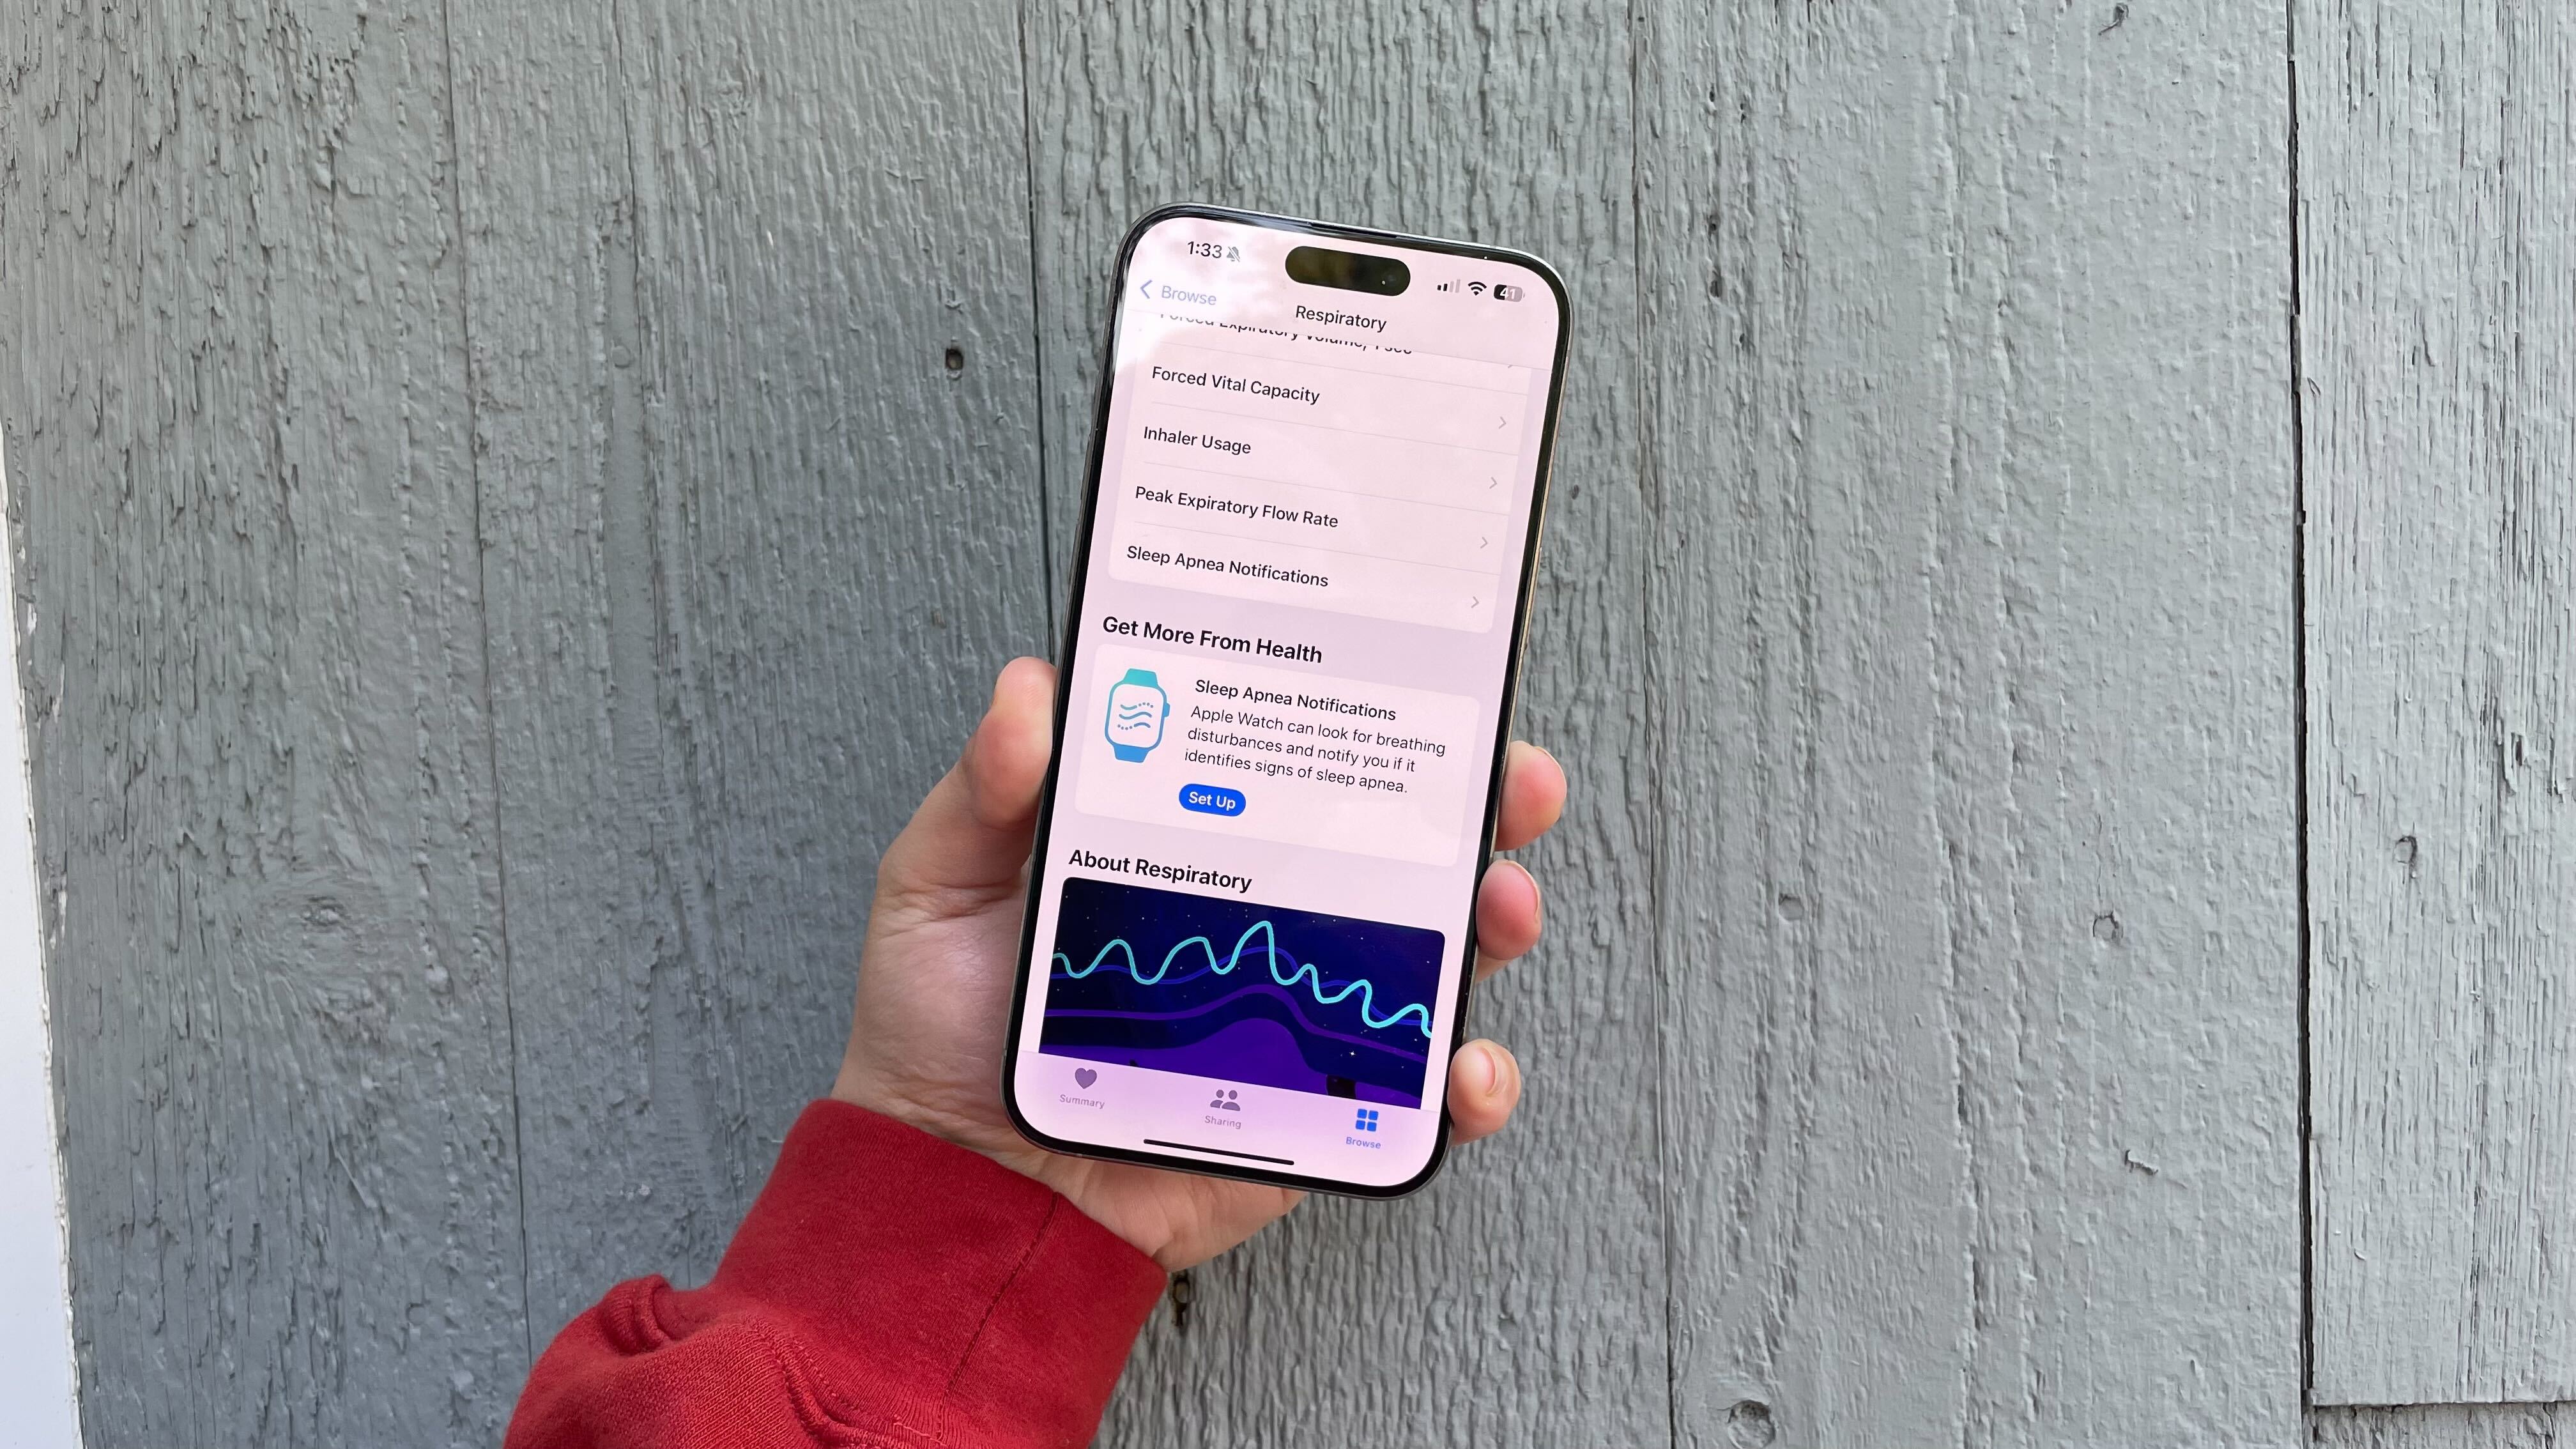
Once in the Respiratory tab, you may need to scroll down to find the Sleep Apnea Notification options. Go ahead and tap Set Up, to begin switching the feature on.
4. Click Next, answer the health questions and tap Continue
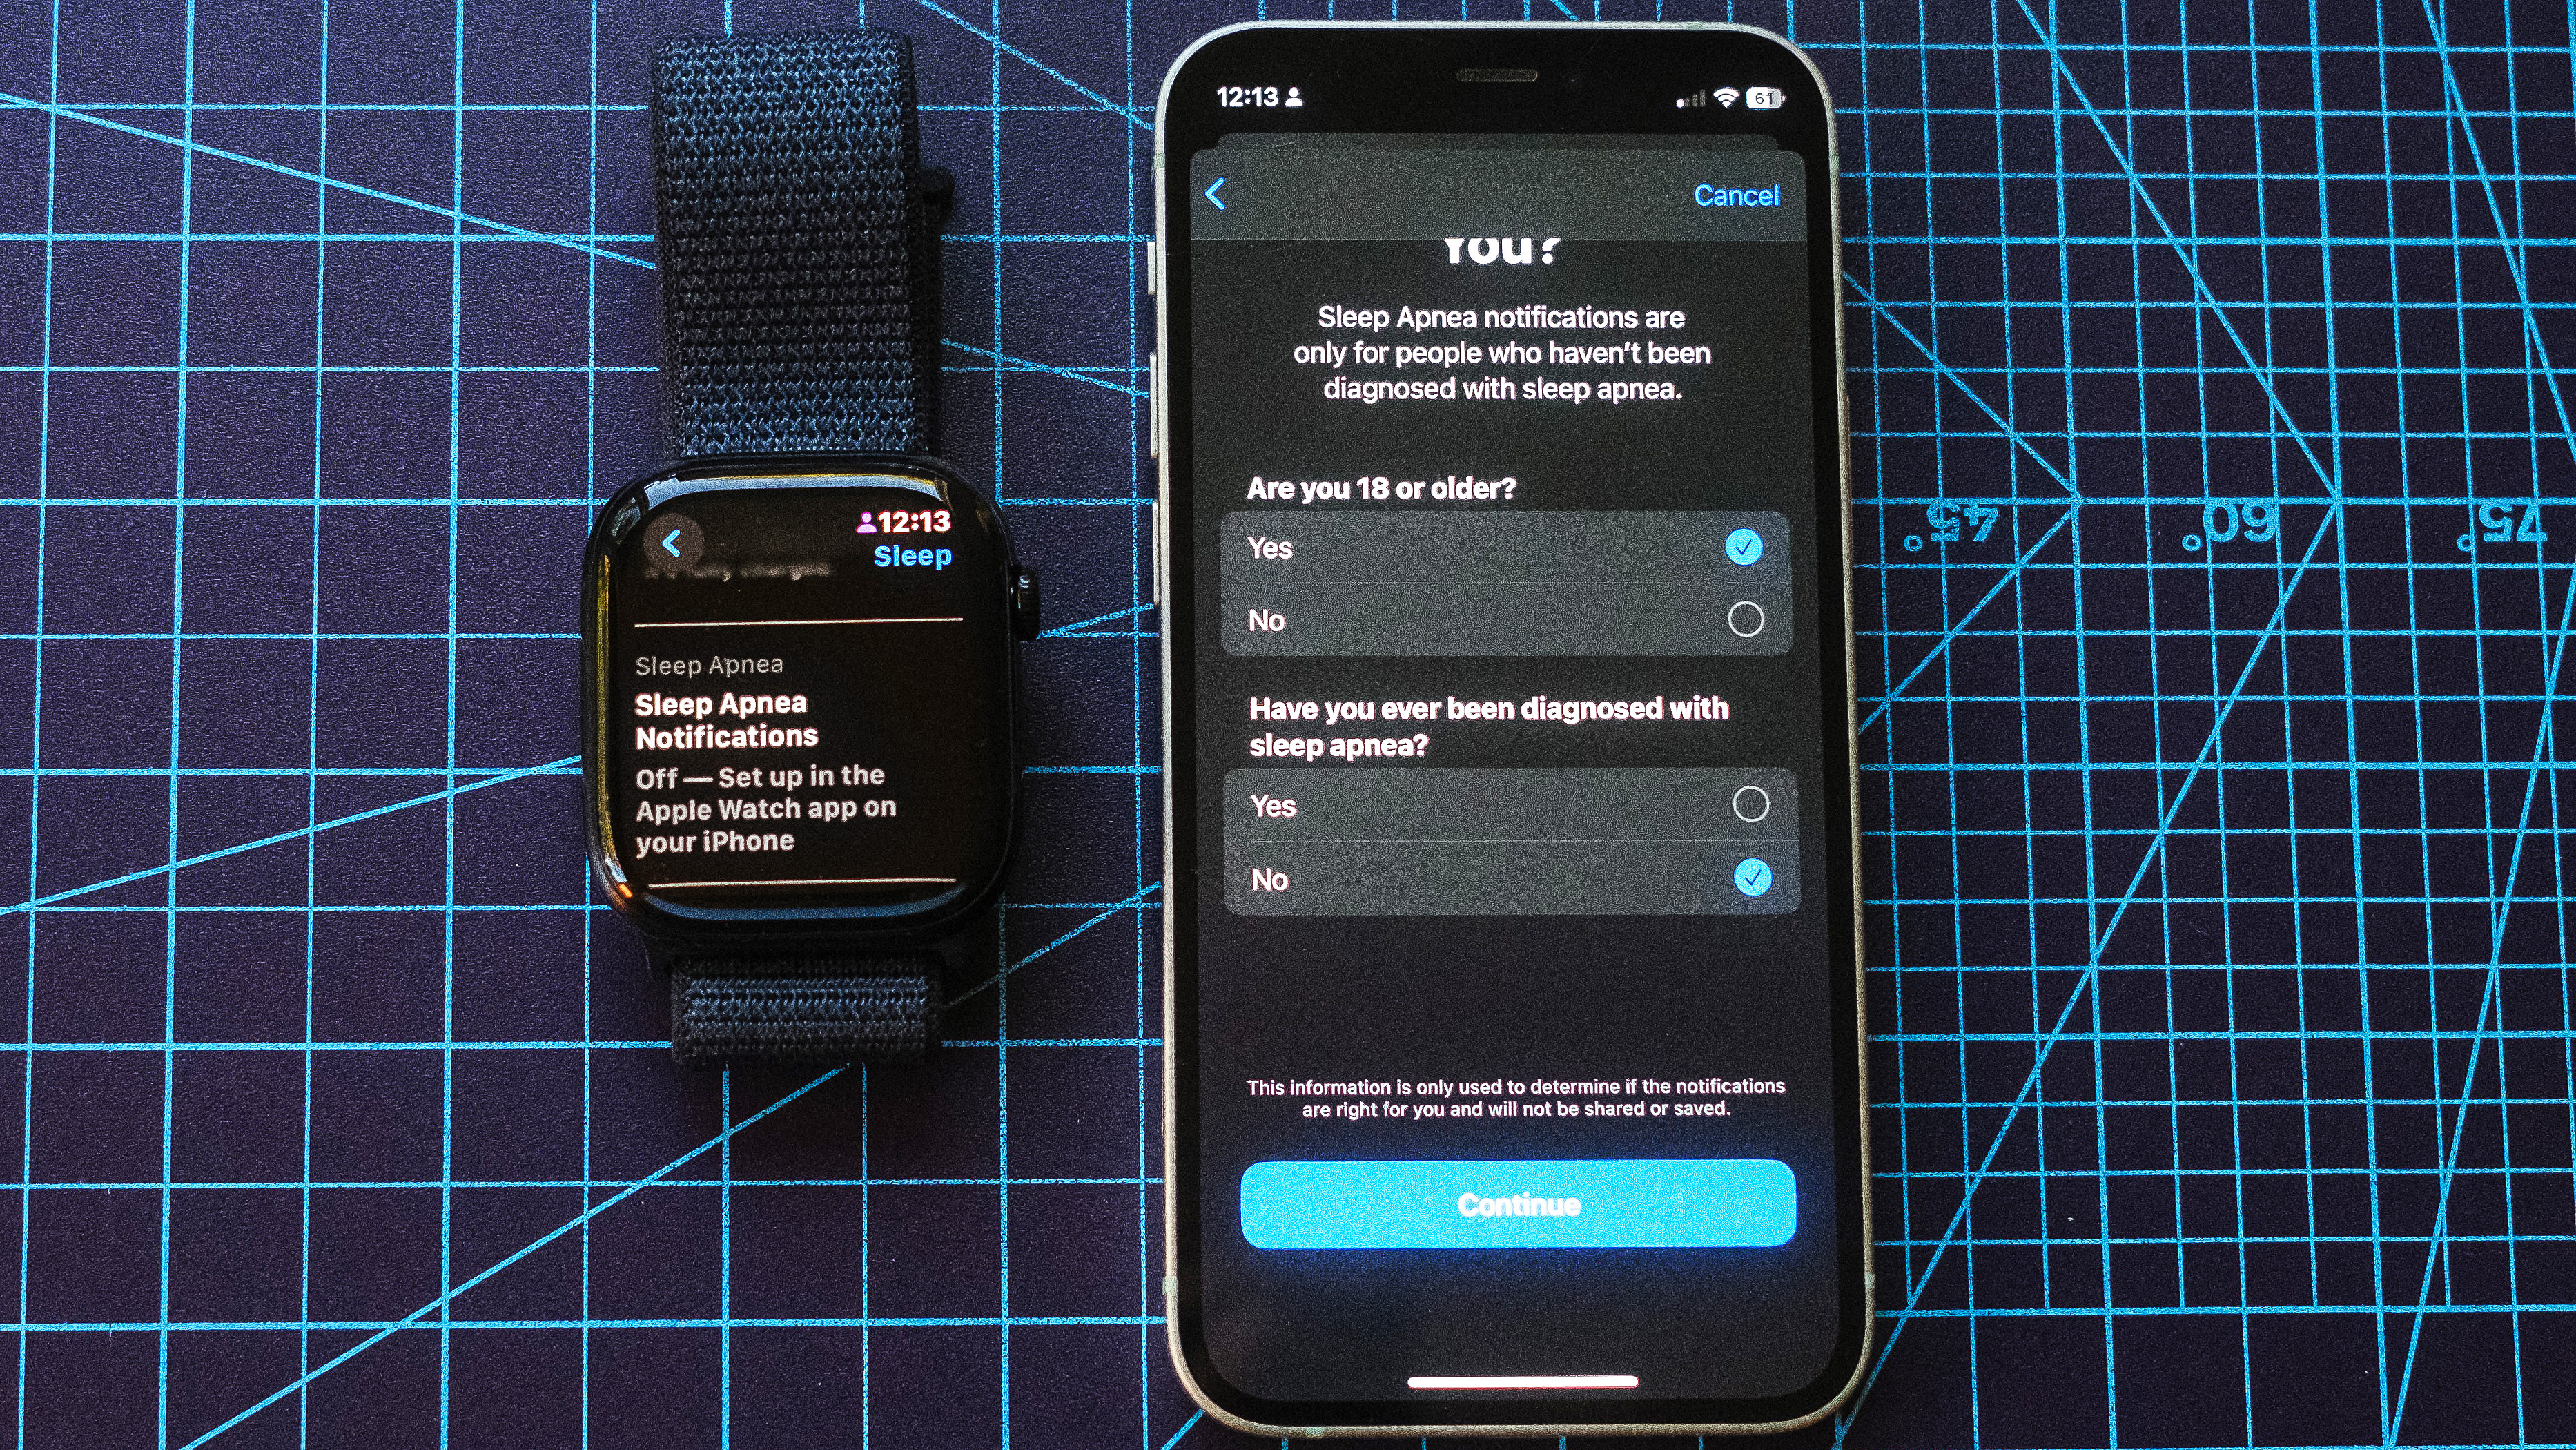
Tap Next on the following screen and you'll be presented with two health questions to verify if you're eligible for the sleep health-monitoring tool. Answer the two yes/no questions honestly and tap Continue.
Note: Apple doesn't recommend the feature for folks who have already been diagnosed with sleep apnea as well as those under the age of 18.
5. Read through Apple's explainer and tap Next, then click Done
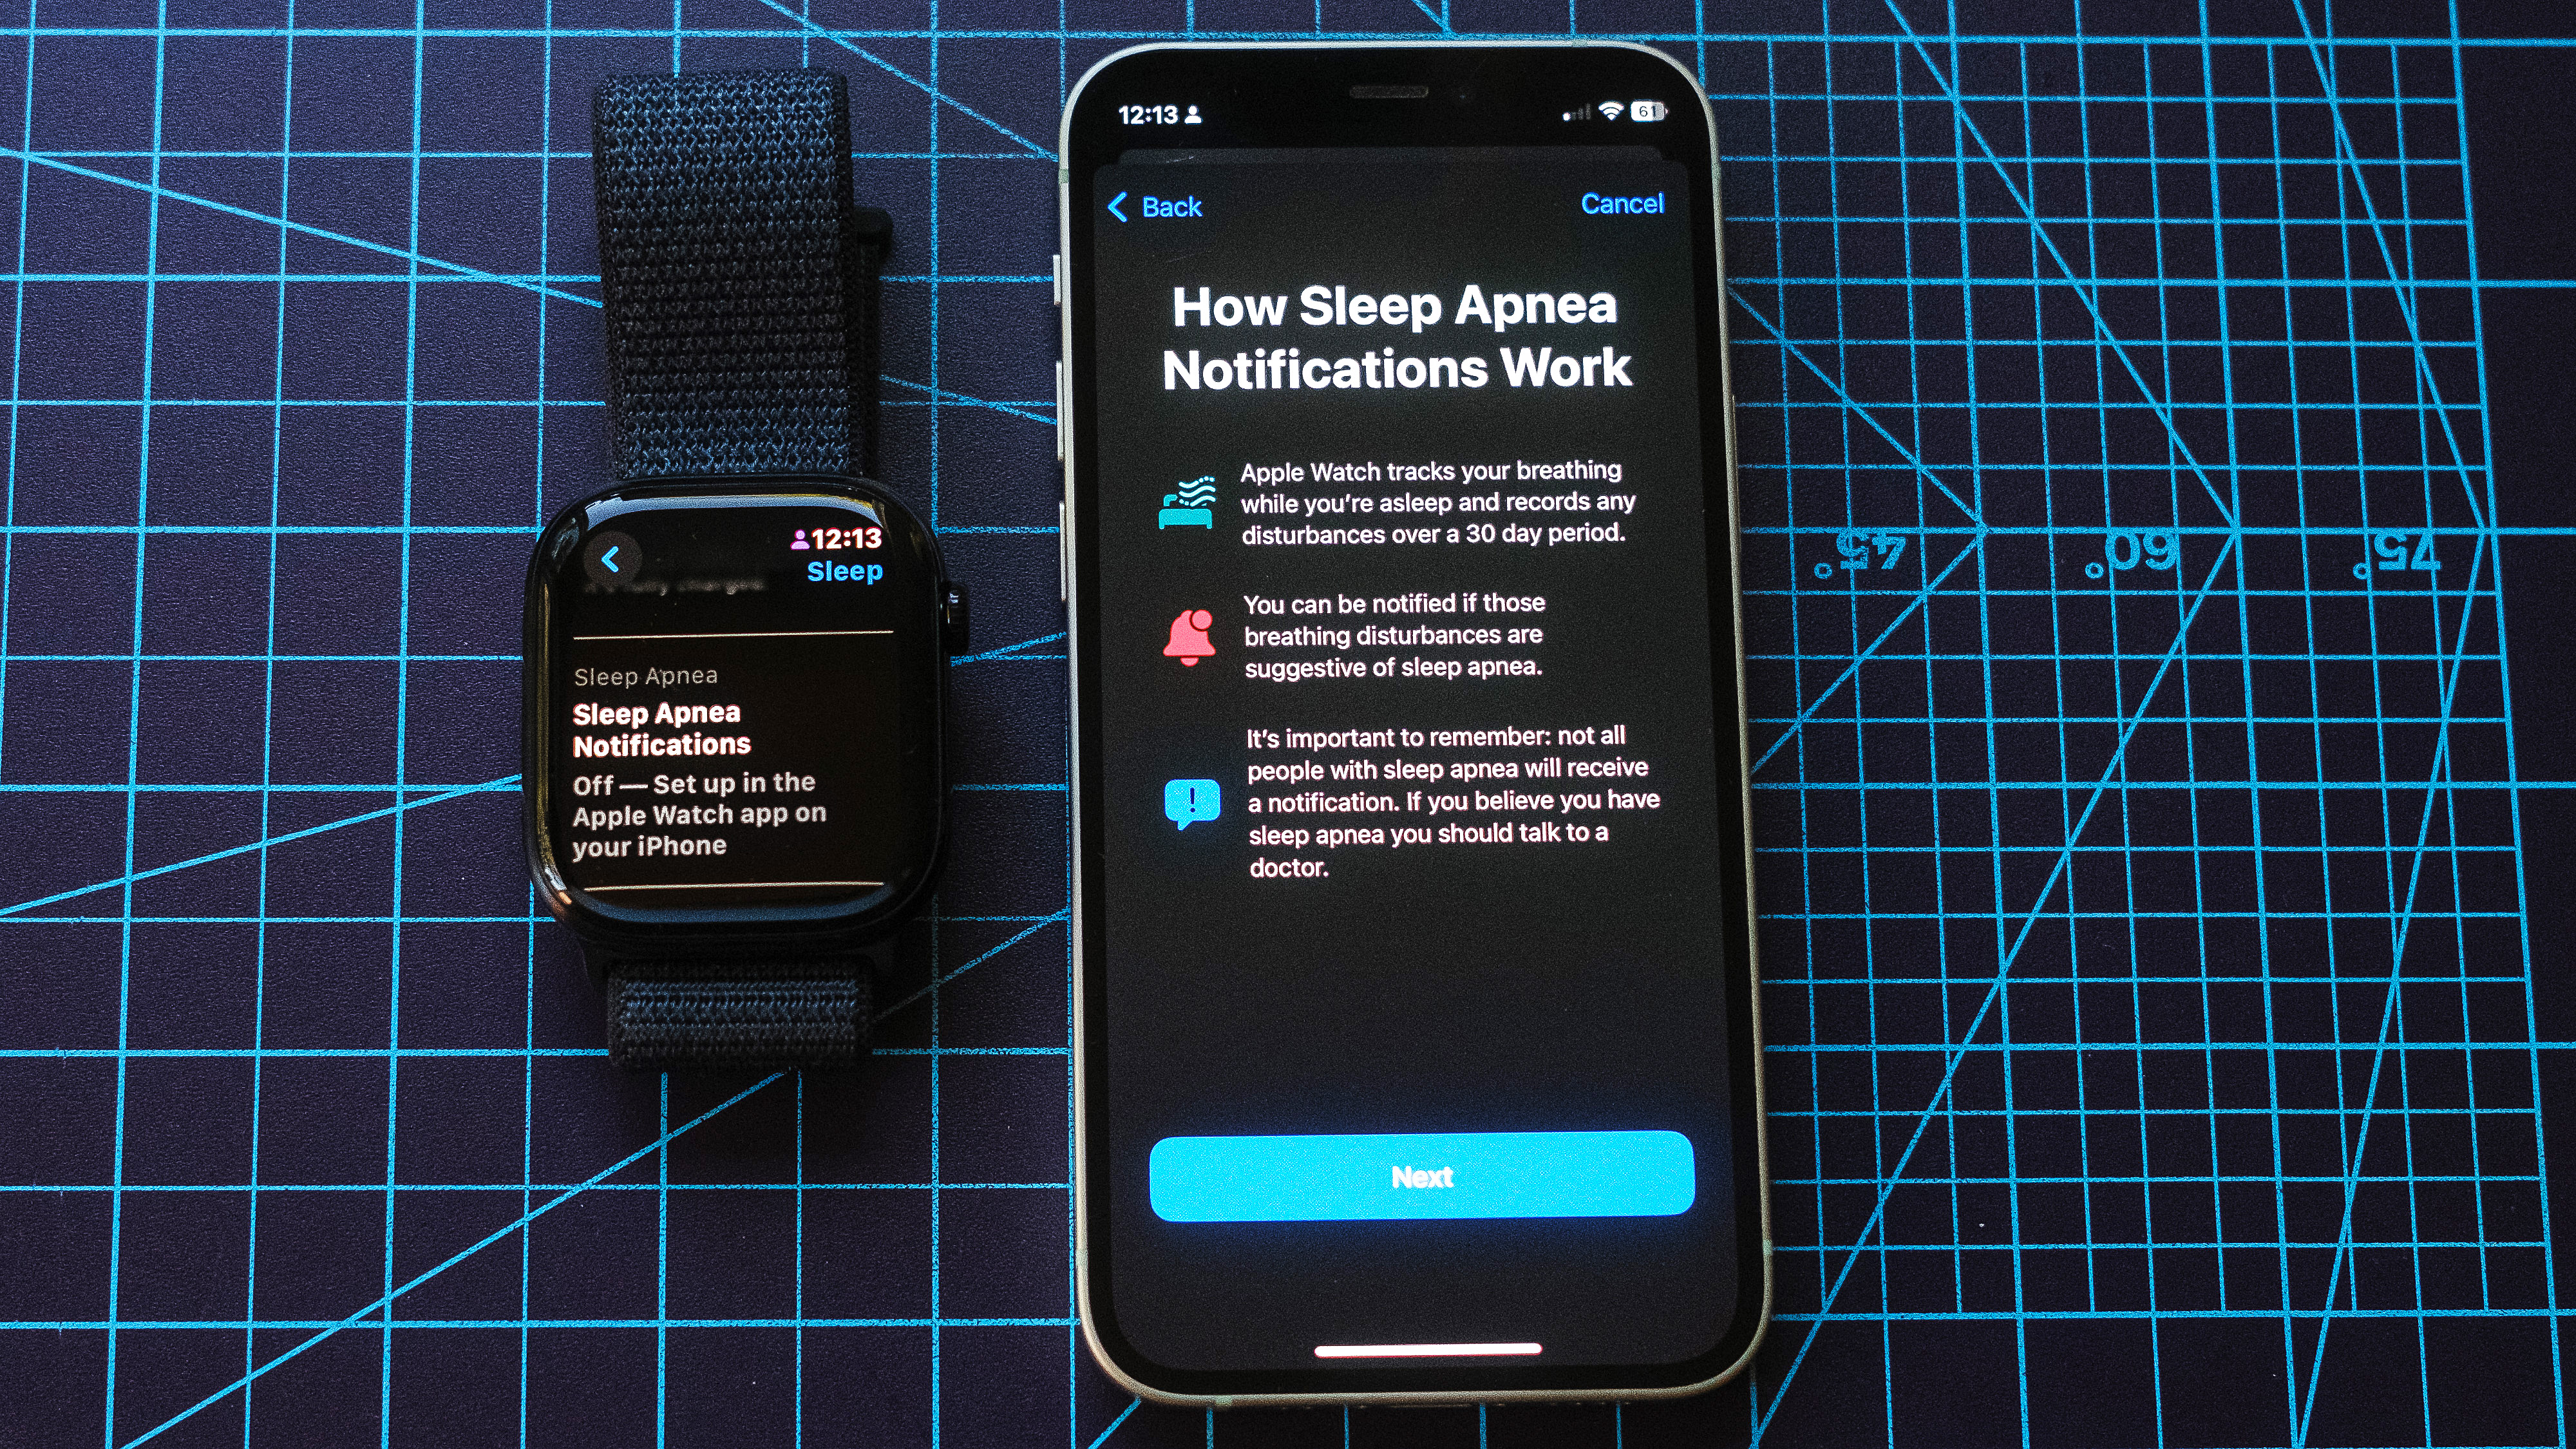
You'll then be presented with a screen that briefly explains how sleep apnea notifications work on the Apple Watch. It's a good idea to give this info a quick read before moving on. When ready, tap Next. On the next screen, tap Done.
6. Select 'Respiratory' health from 'Browse' to learn even more
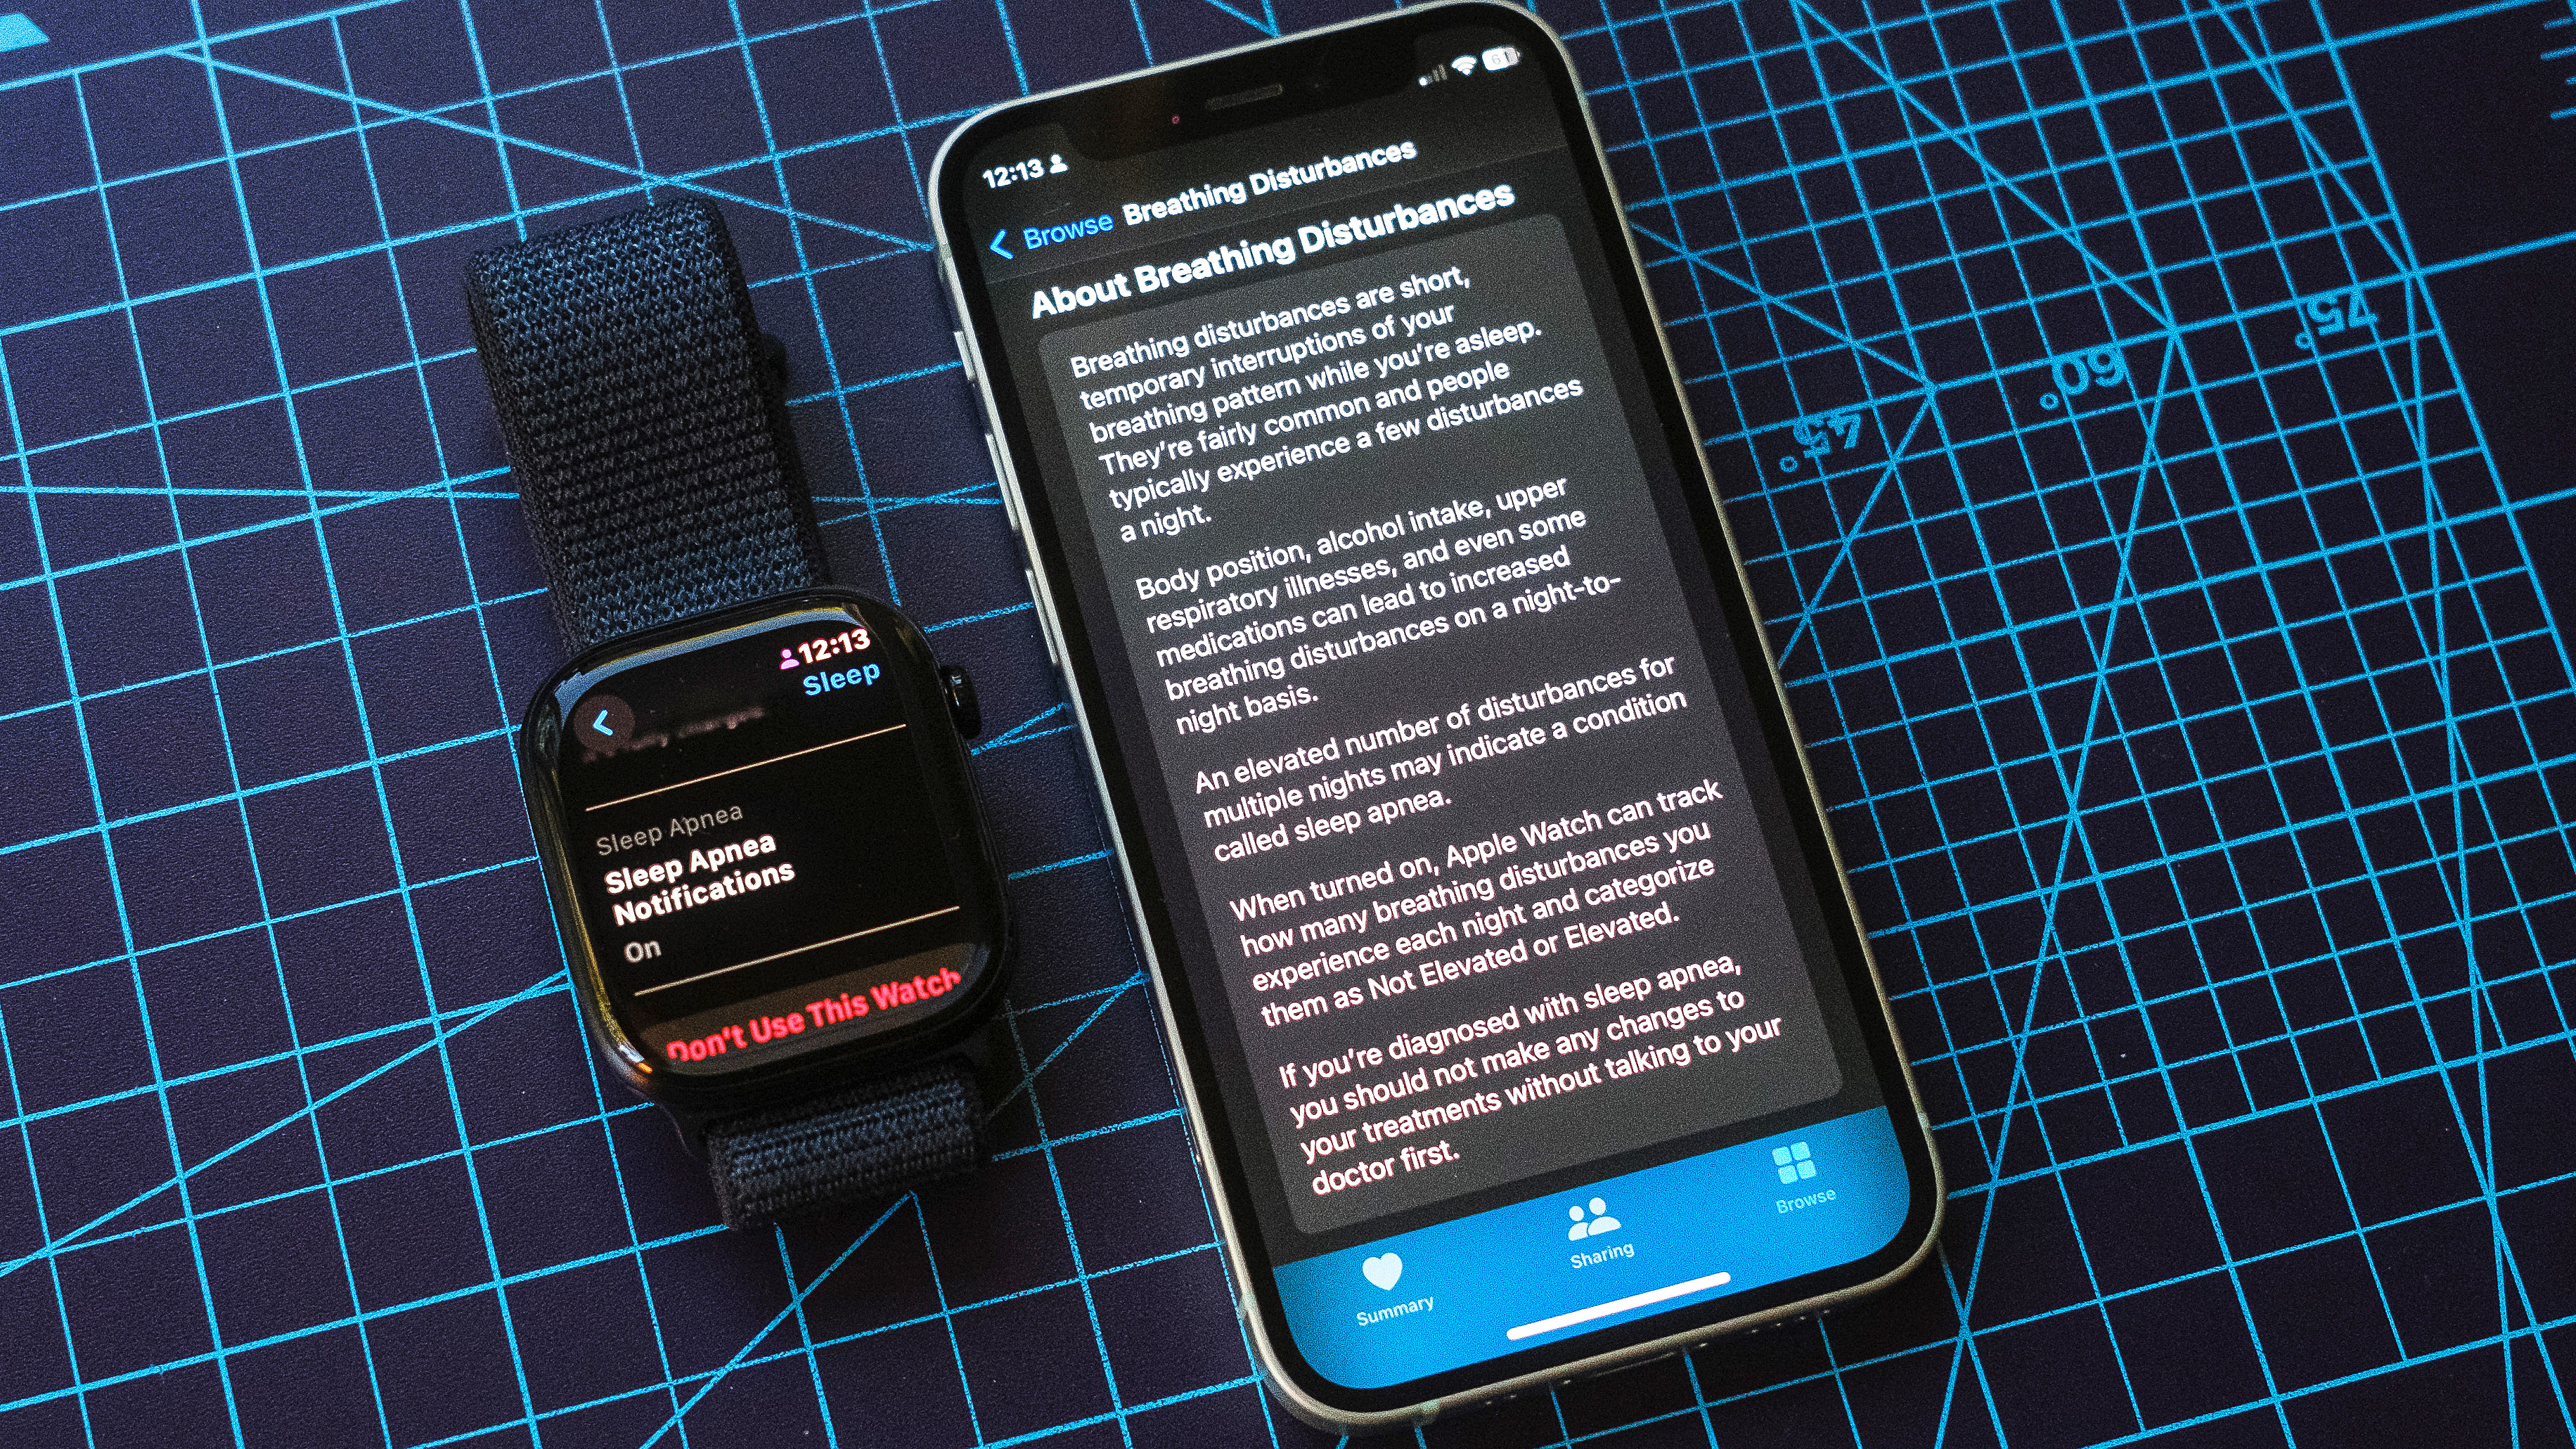
And, voilà — sleep apnea detection is now set up on your Apple Watch. To learn even more about the condition, head back to the Browse tab in your iPhone's Health app and select Respiratory health. Then, scroll down and select either Breathing Disturbances or Sleep Apnea Notifications for additional details on both.
One more thing, Apple notes that you'll need to wear your Apple Watch for at least 10 nights in a 30 days period to detect sleep apnea.
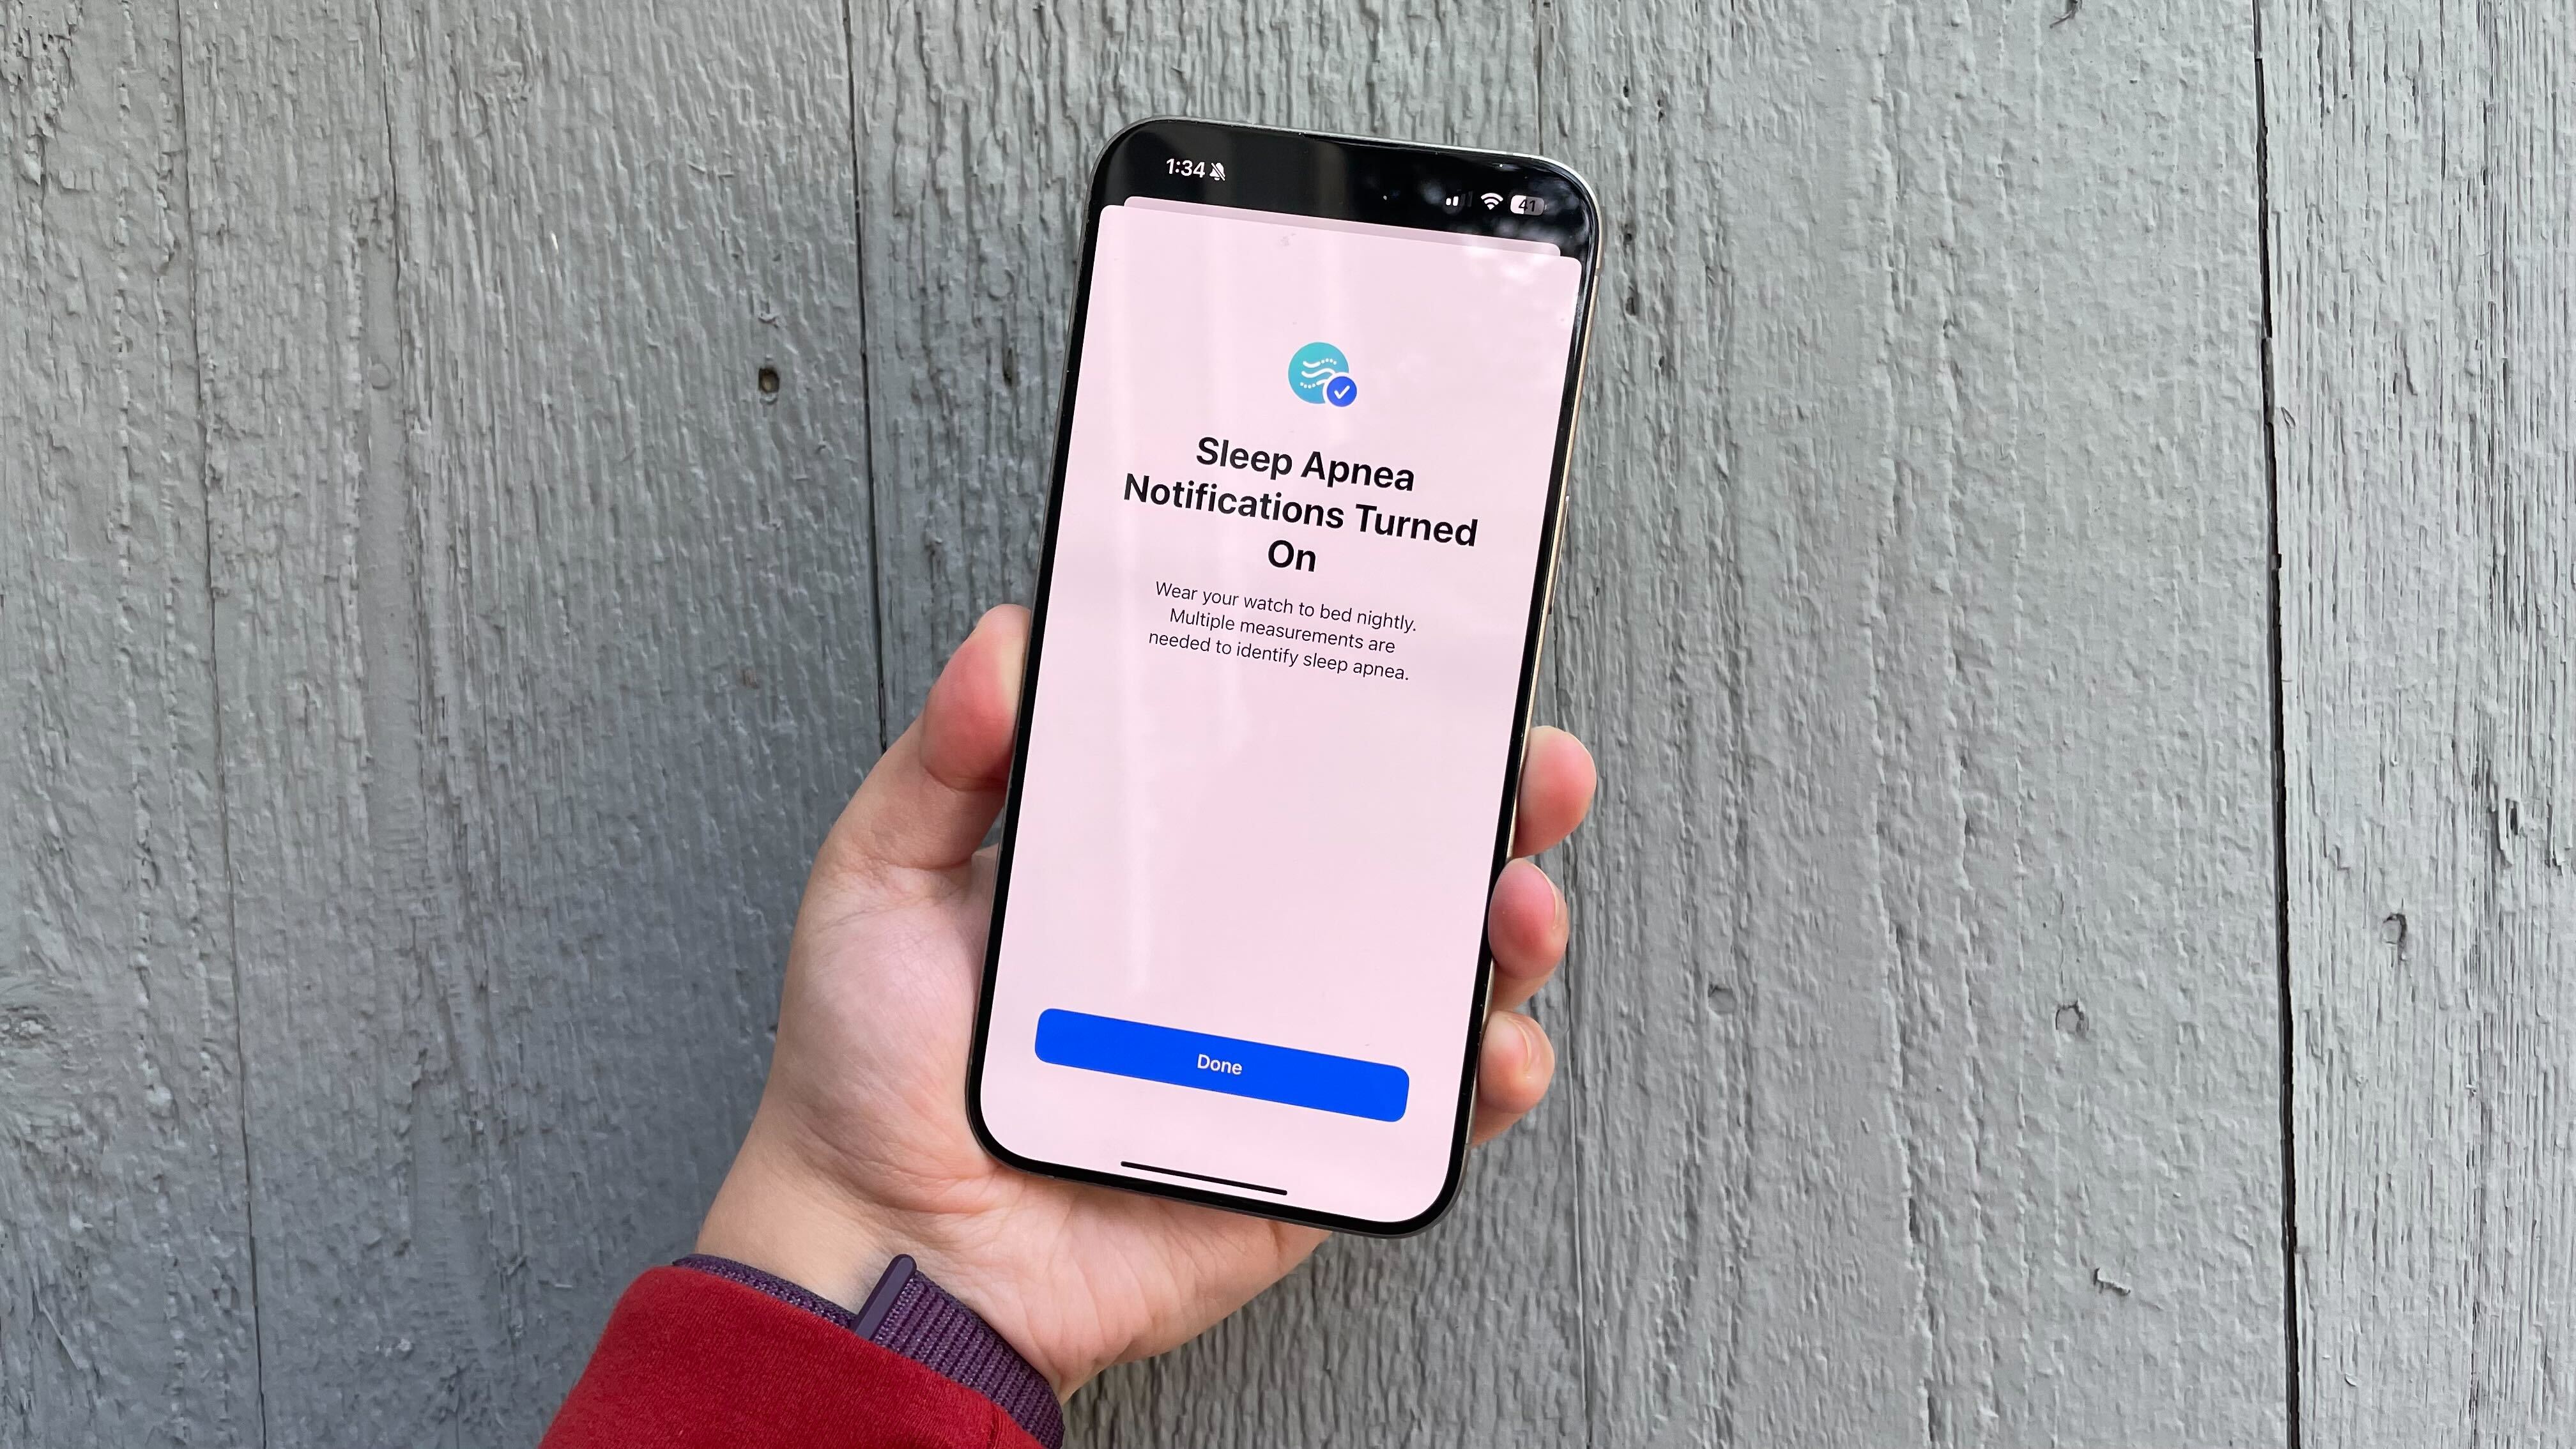
One word of caution: This is not a diagnosis tool. Just because your Apple Watch doesn't detect sleep apnea from your data doesn't mean you don't have it. On the flip side, a positive notification doesn't necessarily mean you suffer from the condition — only a medical professional can make that call.
So, if you do end up with a positive notification for sleep apnea, don't panic. Just be sure to set up an appointment with your doctor for a proper diagnosis. On the subject, Apple makes it easy to generate and export a PDF sleep report that you can share with your wellness team.
Want to learn how to do other cool things with your Apple Watch? If you've already made the jump to watchOS 11, you can now (finally) pause your Apple Watch Activity Rings, translate languages from your wrist and even check the tides and surf conditions.
Additionally, here’s how to use Apple’s handy double-tap gesture, how to track sleep on the Apple Watch, how to use Apple's Check In safety feature, and how to retrace steps and stay safe while hiking with the Apple Watch Backtrack feature.


