Since I started reviewing some of the best microphones for vlogging and filmmaking for Digital Camera World in 2022, Saramonic has been churning out wireless microphone kits like there’s no tomorrow!
Indeed I’ve reviewed a wide range of Saramonic wireless mic kits, from the budget Blink500 B2 to the innovatively designed Saramonic BlinkMe with its unusual disc-shaped transmitters. Back in 2022 I tested the Blink500 Pro B2 and gave it 5 stars, so I was keen to get my hands on the new version of that kit - the Blink500 ProX B2R.

Blink500 ProX B2R: Specifications
Blink500 ProX B2R: Design & Handling
The Blink500 ProX B2R is an updated version of the Blink500 Pro B2 that I reviewed back in 2022. At first glance, the newer Blink500 ProX B2R looks identical to the older kit, with a black plastic carry case that doubles up as a charging station. When you attach a USB-C cable to the case it charges the two transmitters and the single receiver inside the case simultaneously, so there’s no danger of an interviewer’s transmitter running out of power during an interview before the interviewee’s mic does.
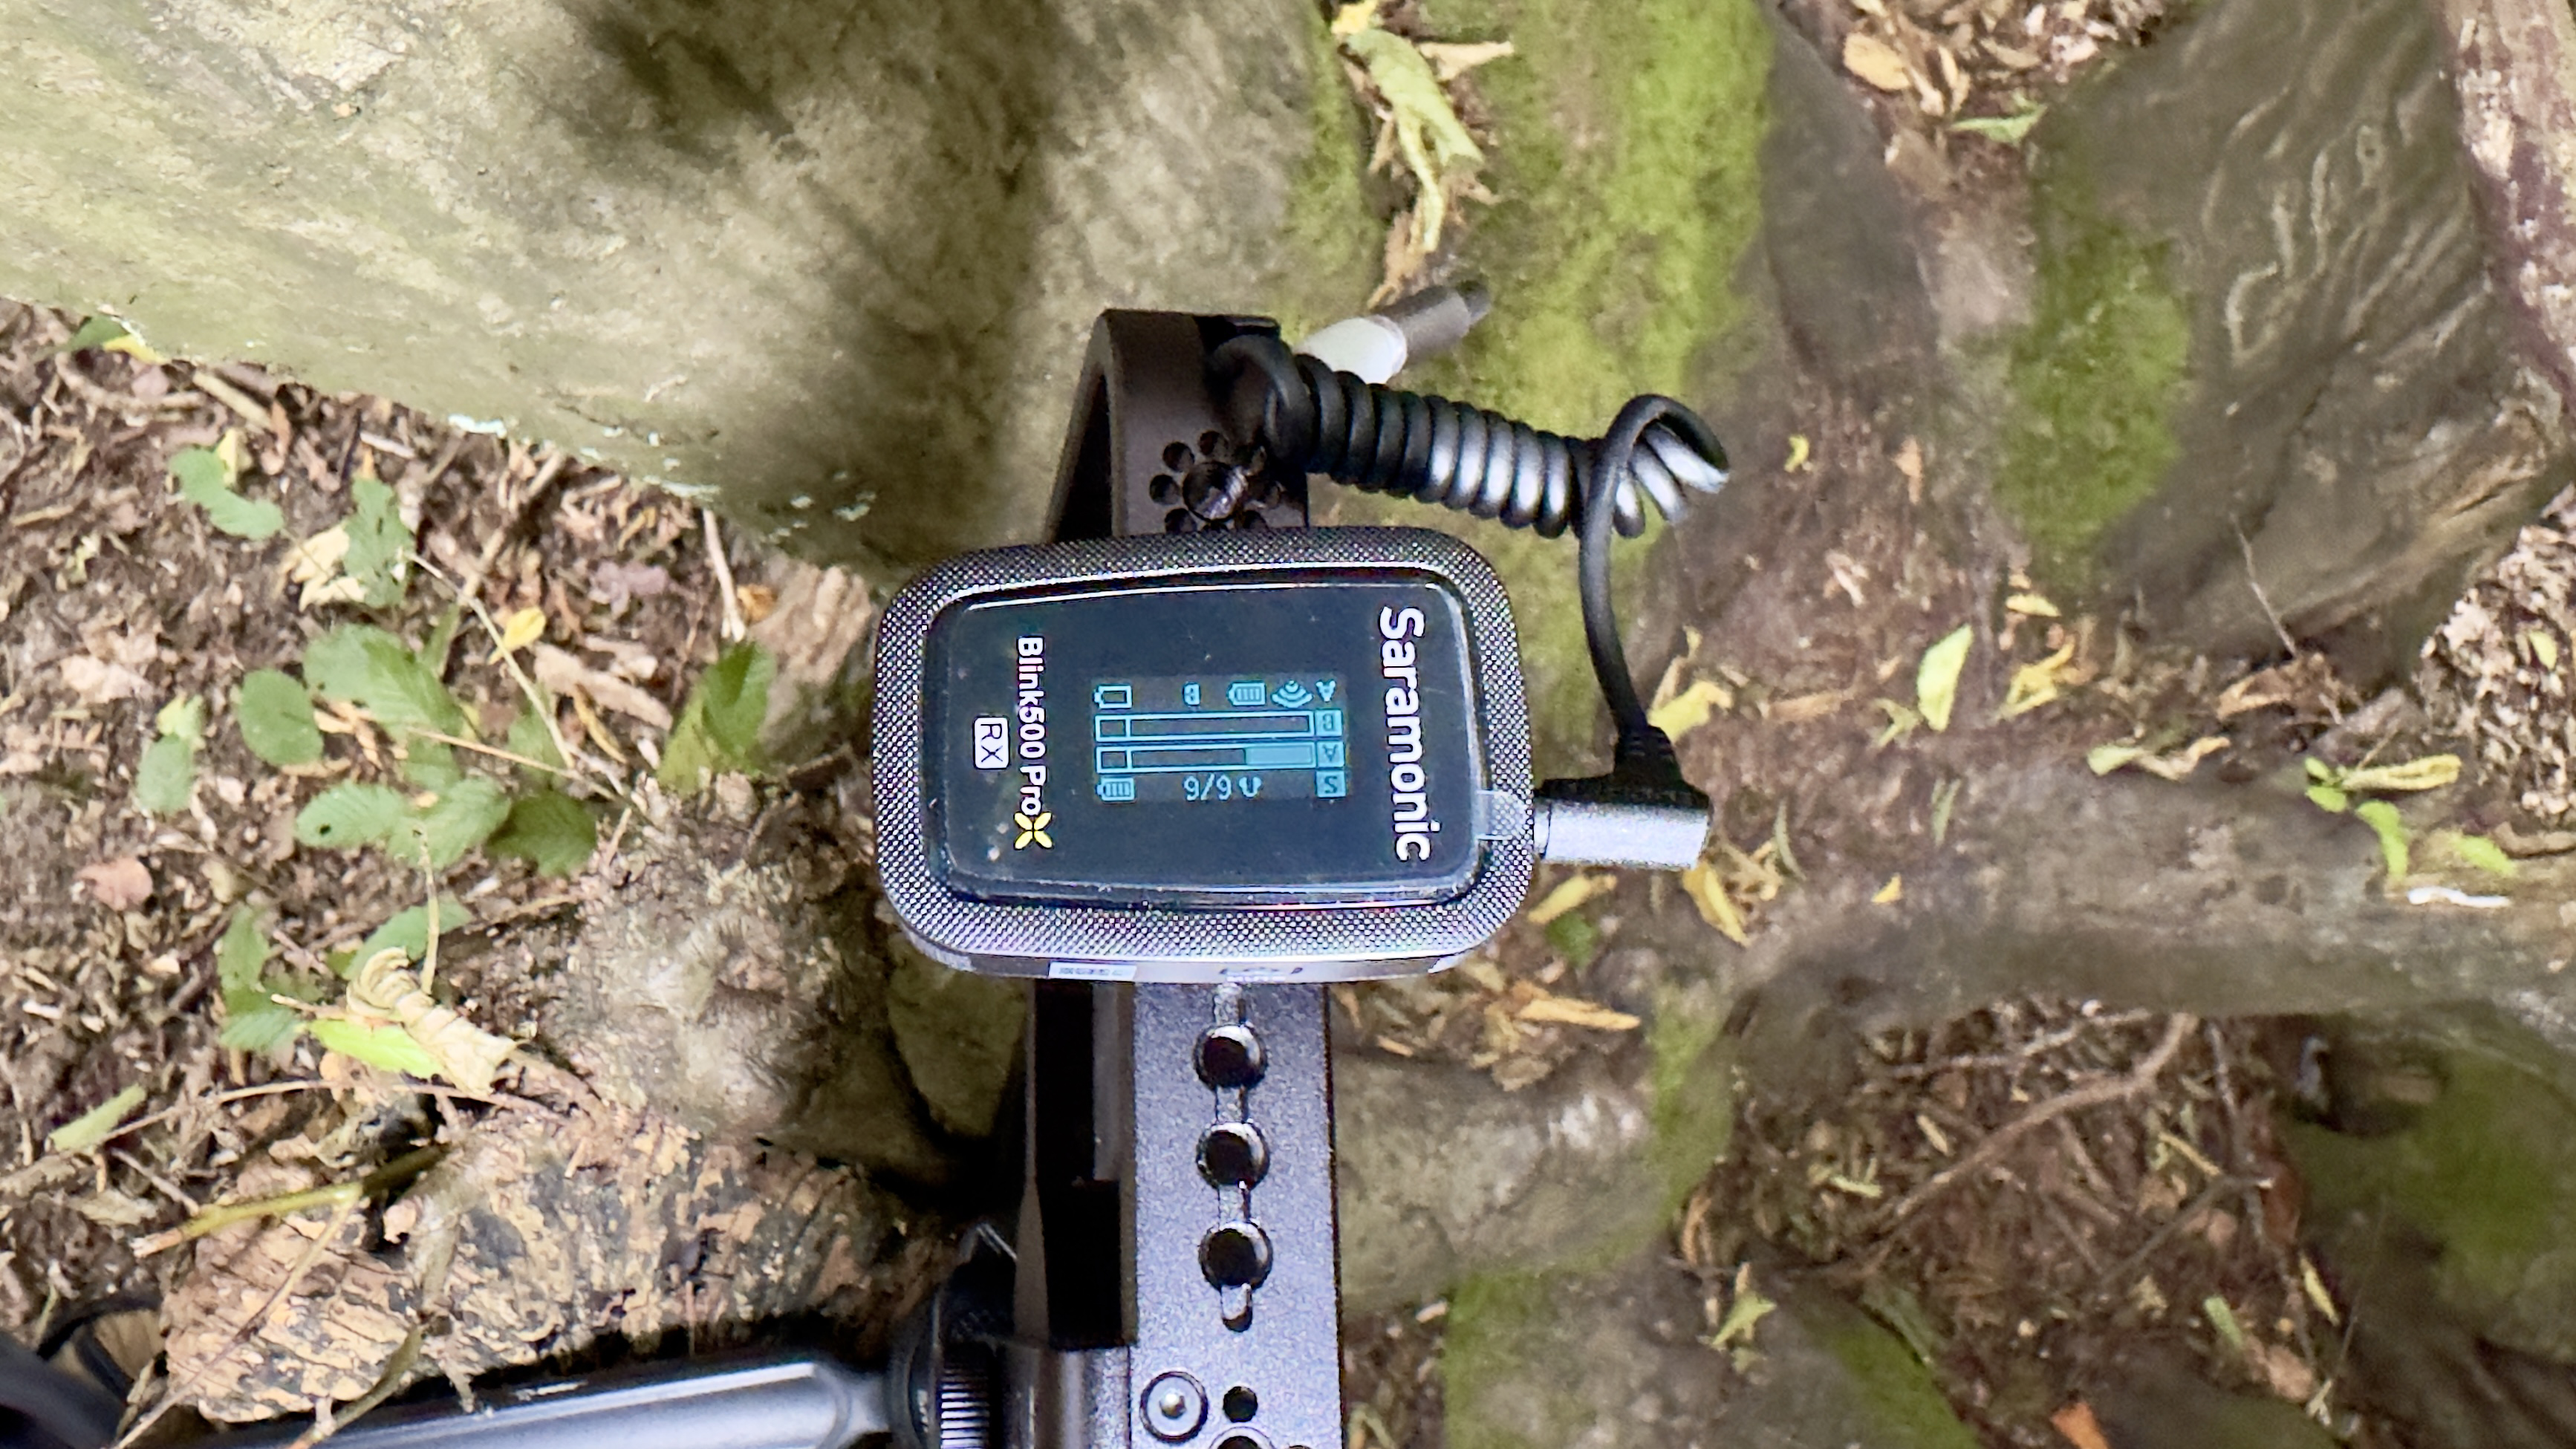
Inside the case the Blink500 ProX B2R’s two transmitters and the receiver have the same basic shape and build, so the transmitters are labeled TX and the receiver RX to help you identify which is which. If you look closer the new Blink500 ProX B2R’s receiver has a larger OLED screen than its predecessor. On this screen, you can see the battery status of the two transmitters as well as properties such as the volume settings of headphones plugged into the receiver’s 3.5mm jack socket. The ability to check the quality of sound input from the transmitters is an essential requirement for a pro video maker as it will enable you to spot signal drops or hear distracting background noises (or notice if you’ve accidentally muted the transmitter mic)

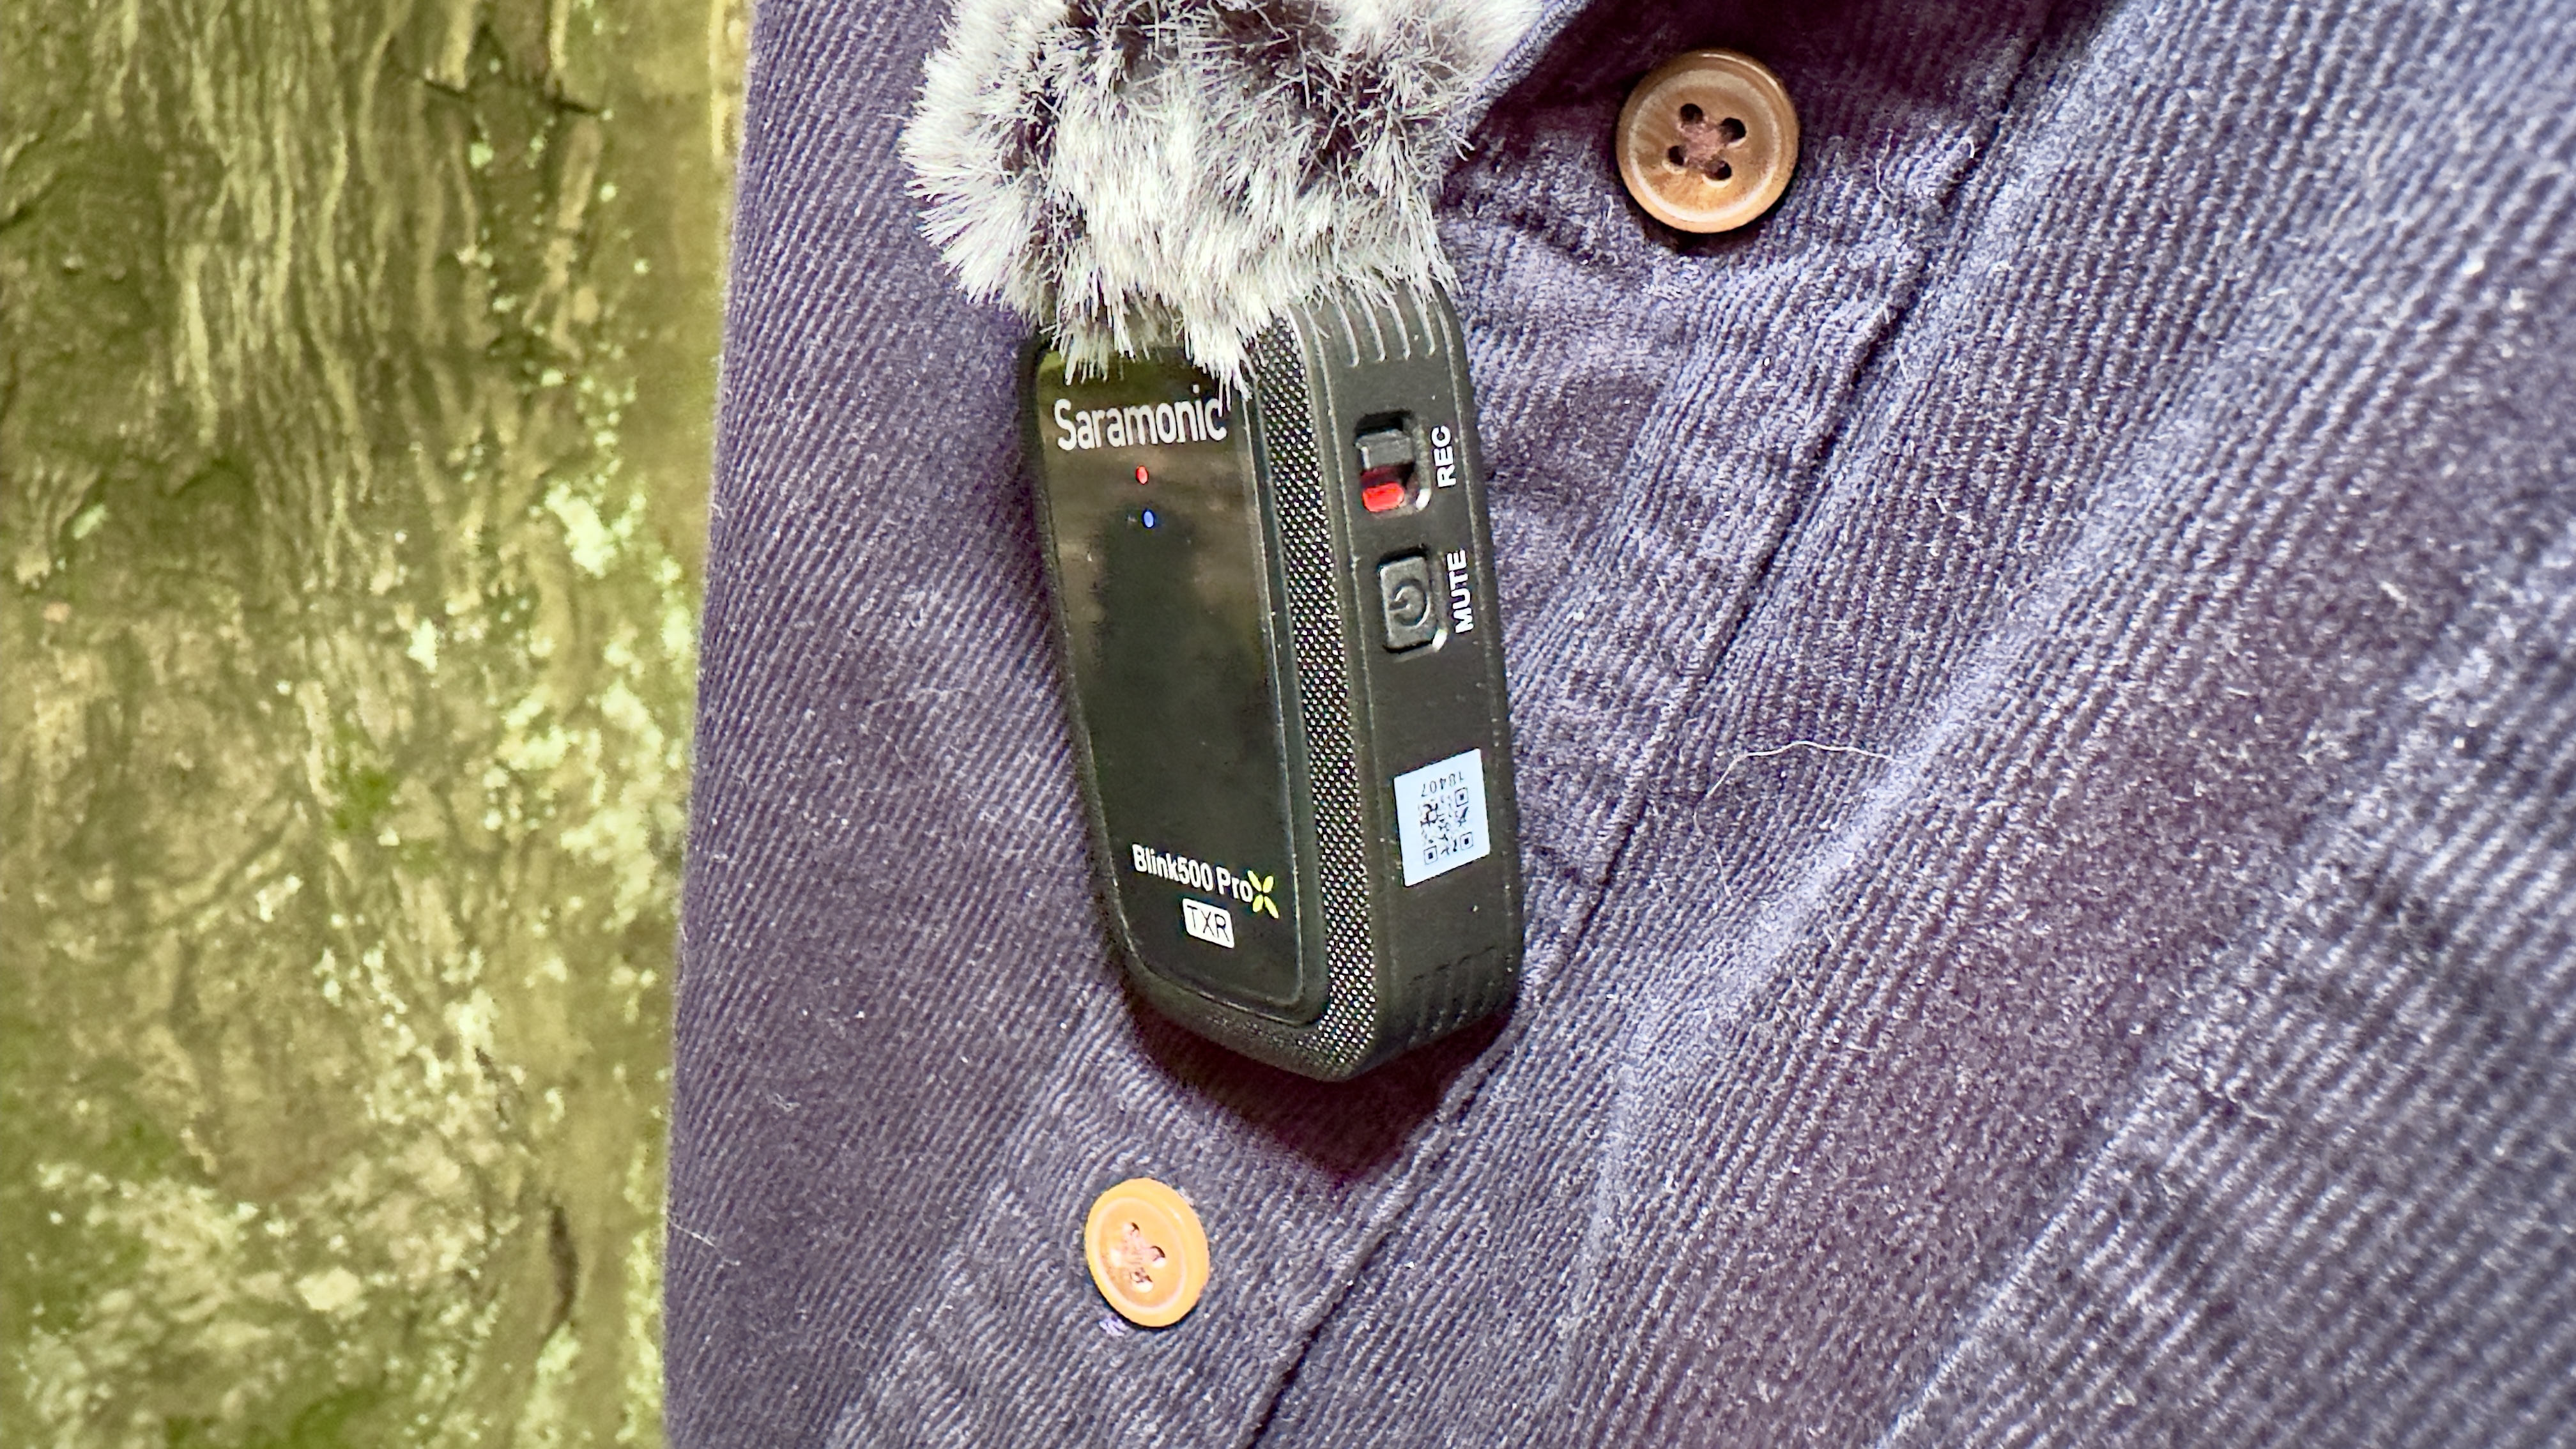
Another welcome design improvement can be found in the transmitters. Here you’ll see a record switch that causes the transmitter to capture audio straight to its storage drive. This onboard recording feature is very welcome. If the signal drops out between the transmitter and the receiver during a shoot the audio will break up on your camera’s recording. You can plug the transmitter via USB-C into your PC and use the transmitter’s complete .WAV recording to plug any gaps caused by signal dropout. You could also use a transmitter as an interview mic (remember the dictaphone?) by popping it on a table between you and an interviewee without using a camera or smartphone. The transmitter’s mic has an omnidirectional polar pattern so it will record your voice loud and clear (as long as you’re relatively close to it). This is great for capturing quick ‘off-the-cuff’ audio interviews.

The two transmitters have a clip that enables you to attach them to a subject’s shirt or jacket. The transmitters are a little ‘boxy’ so you’ll notice them in a recording, especially if the supplied ‘dead cat’ windshield is attached. For a more discrete look the Blink500 ProX B2R ships with two lavalier cable mics that plug straight into the transmitter’s 3.5mm socket. You can clip the boxy transmitter to the subject’s belt, plug in the cavalier’s cable into the transmitter, and then attach the smaller - and less noticeable - lavalier mic to their lapel. The lavalier mic has a much smaller foam windshield which helps it look more discrete.

Blink500 ProX B2R: Performance
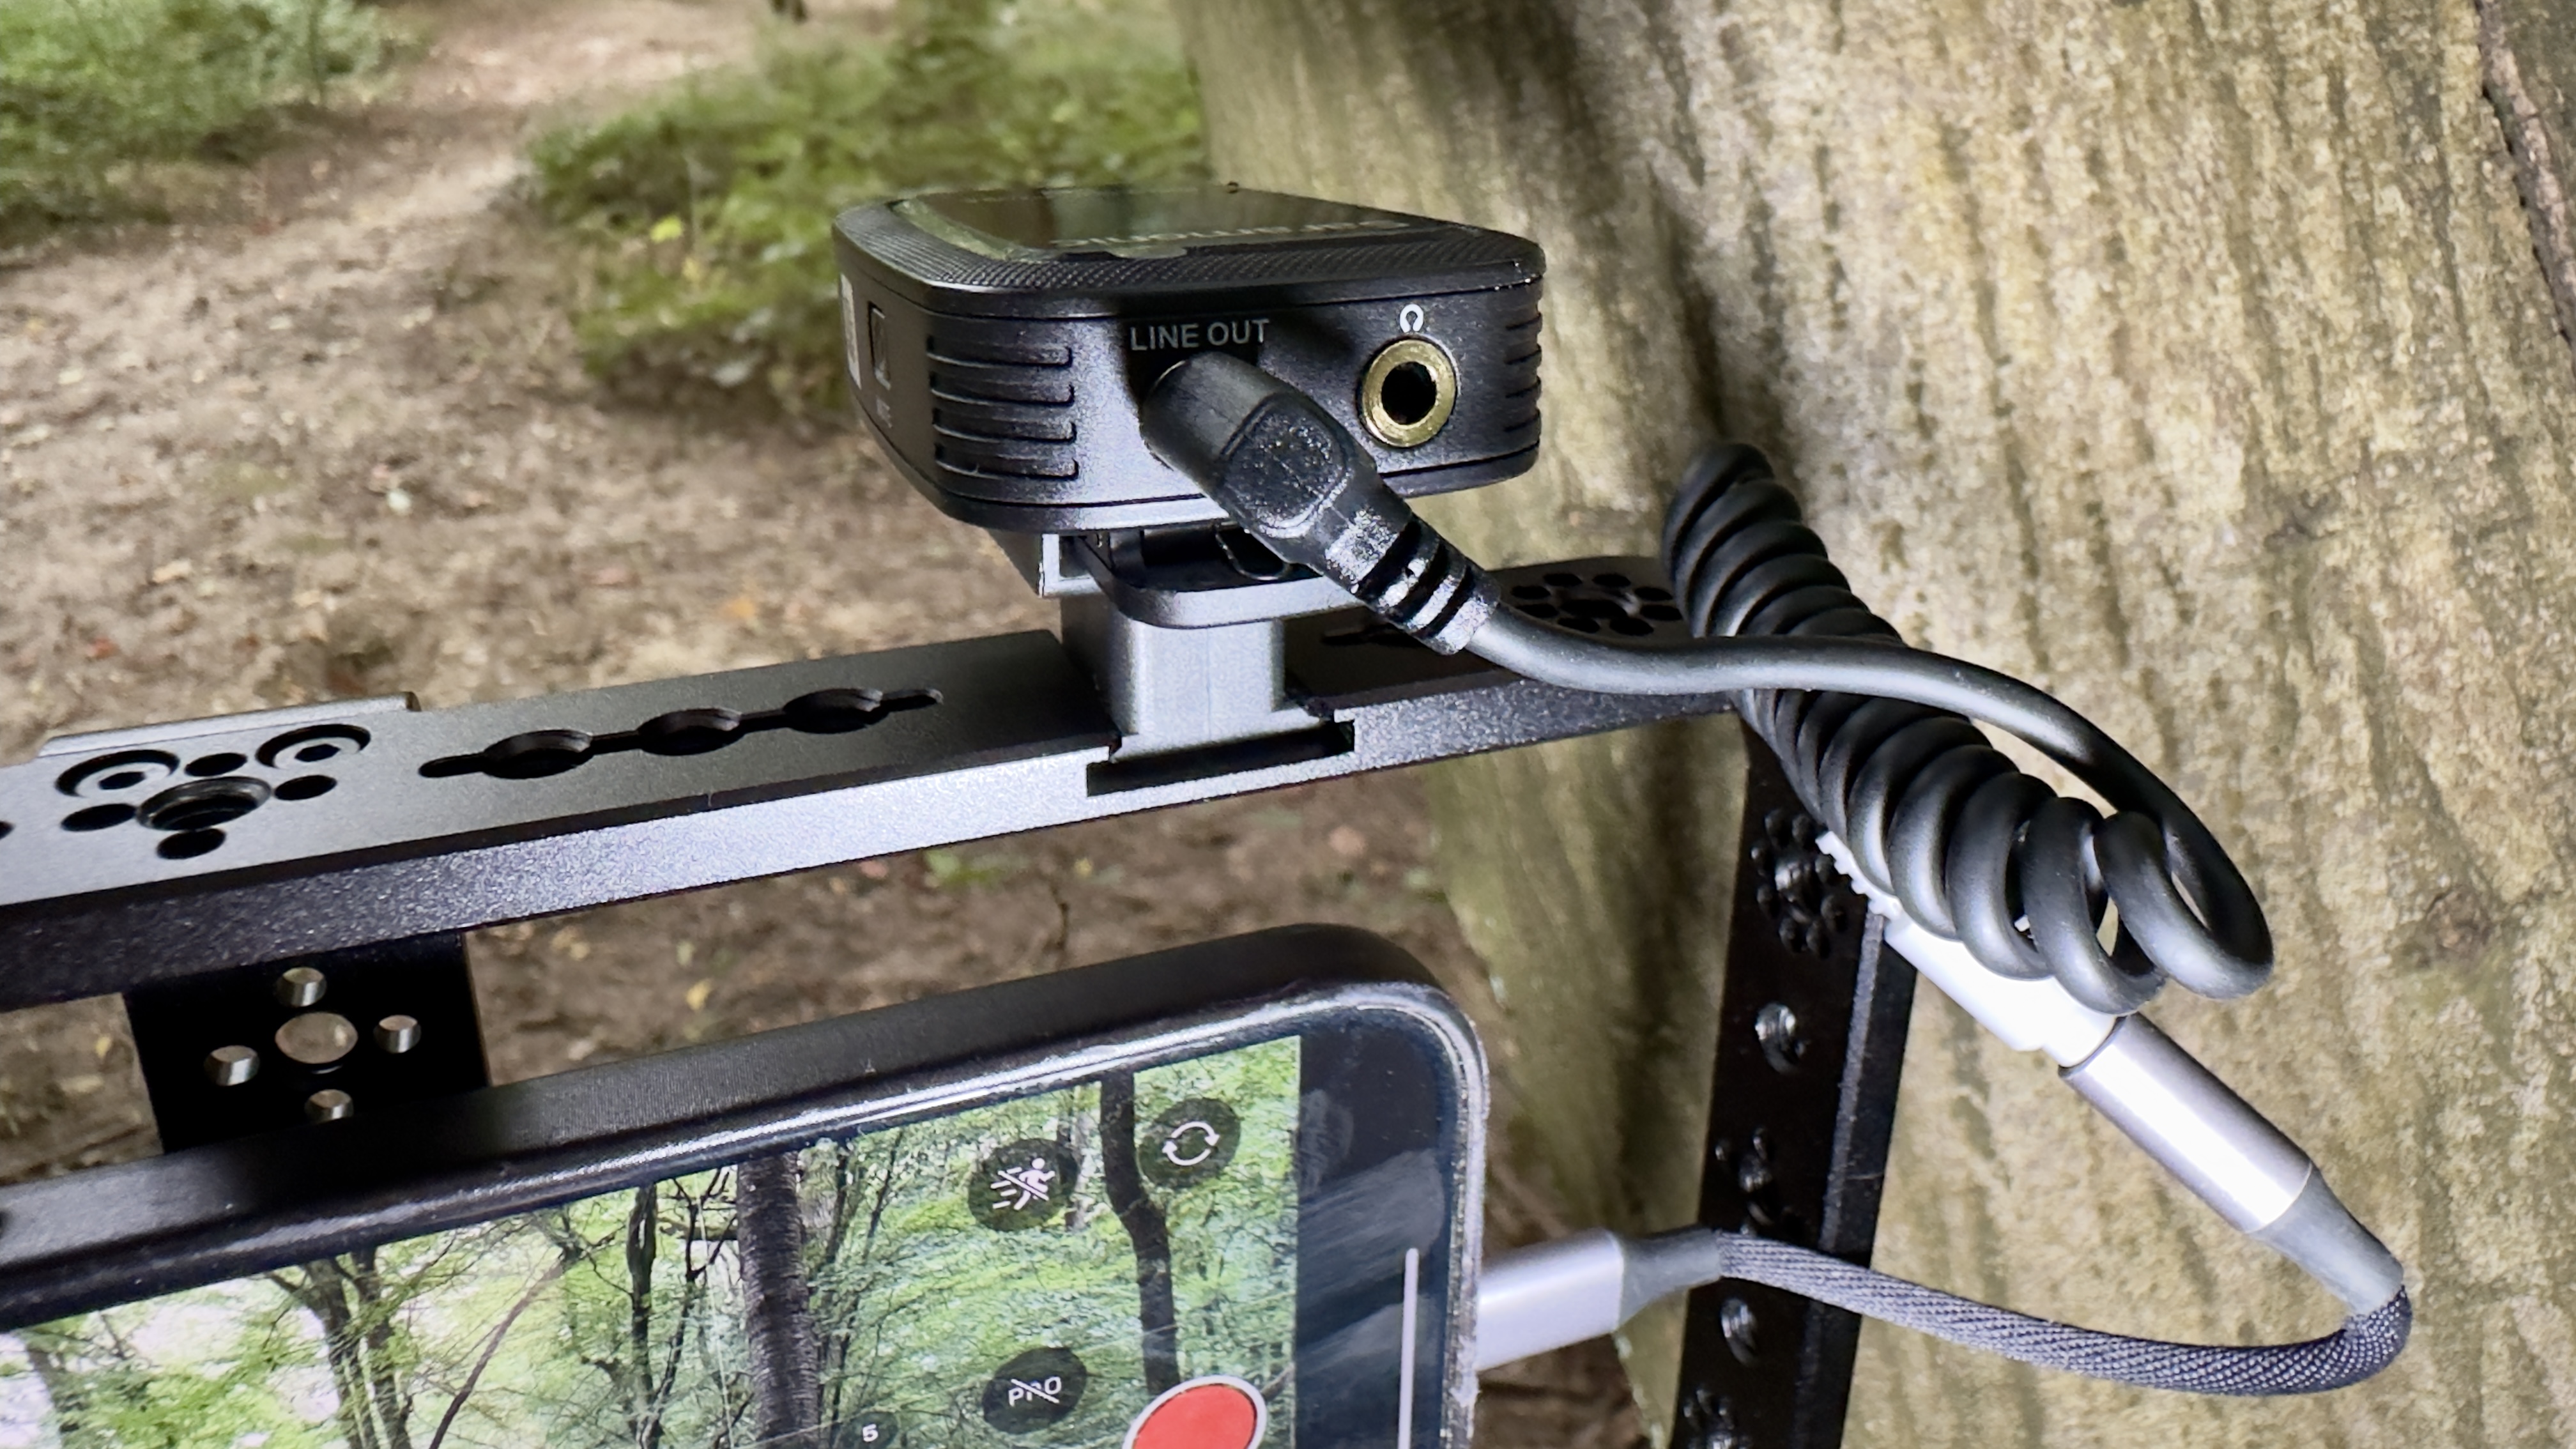
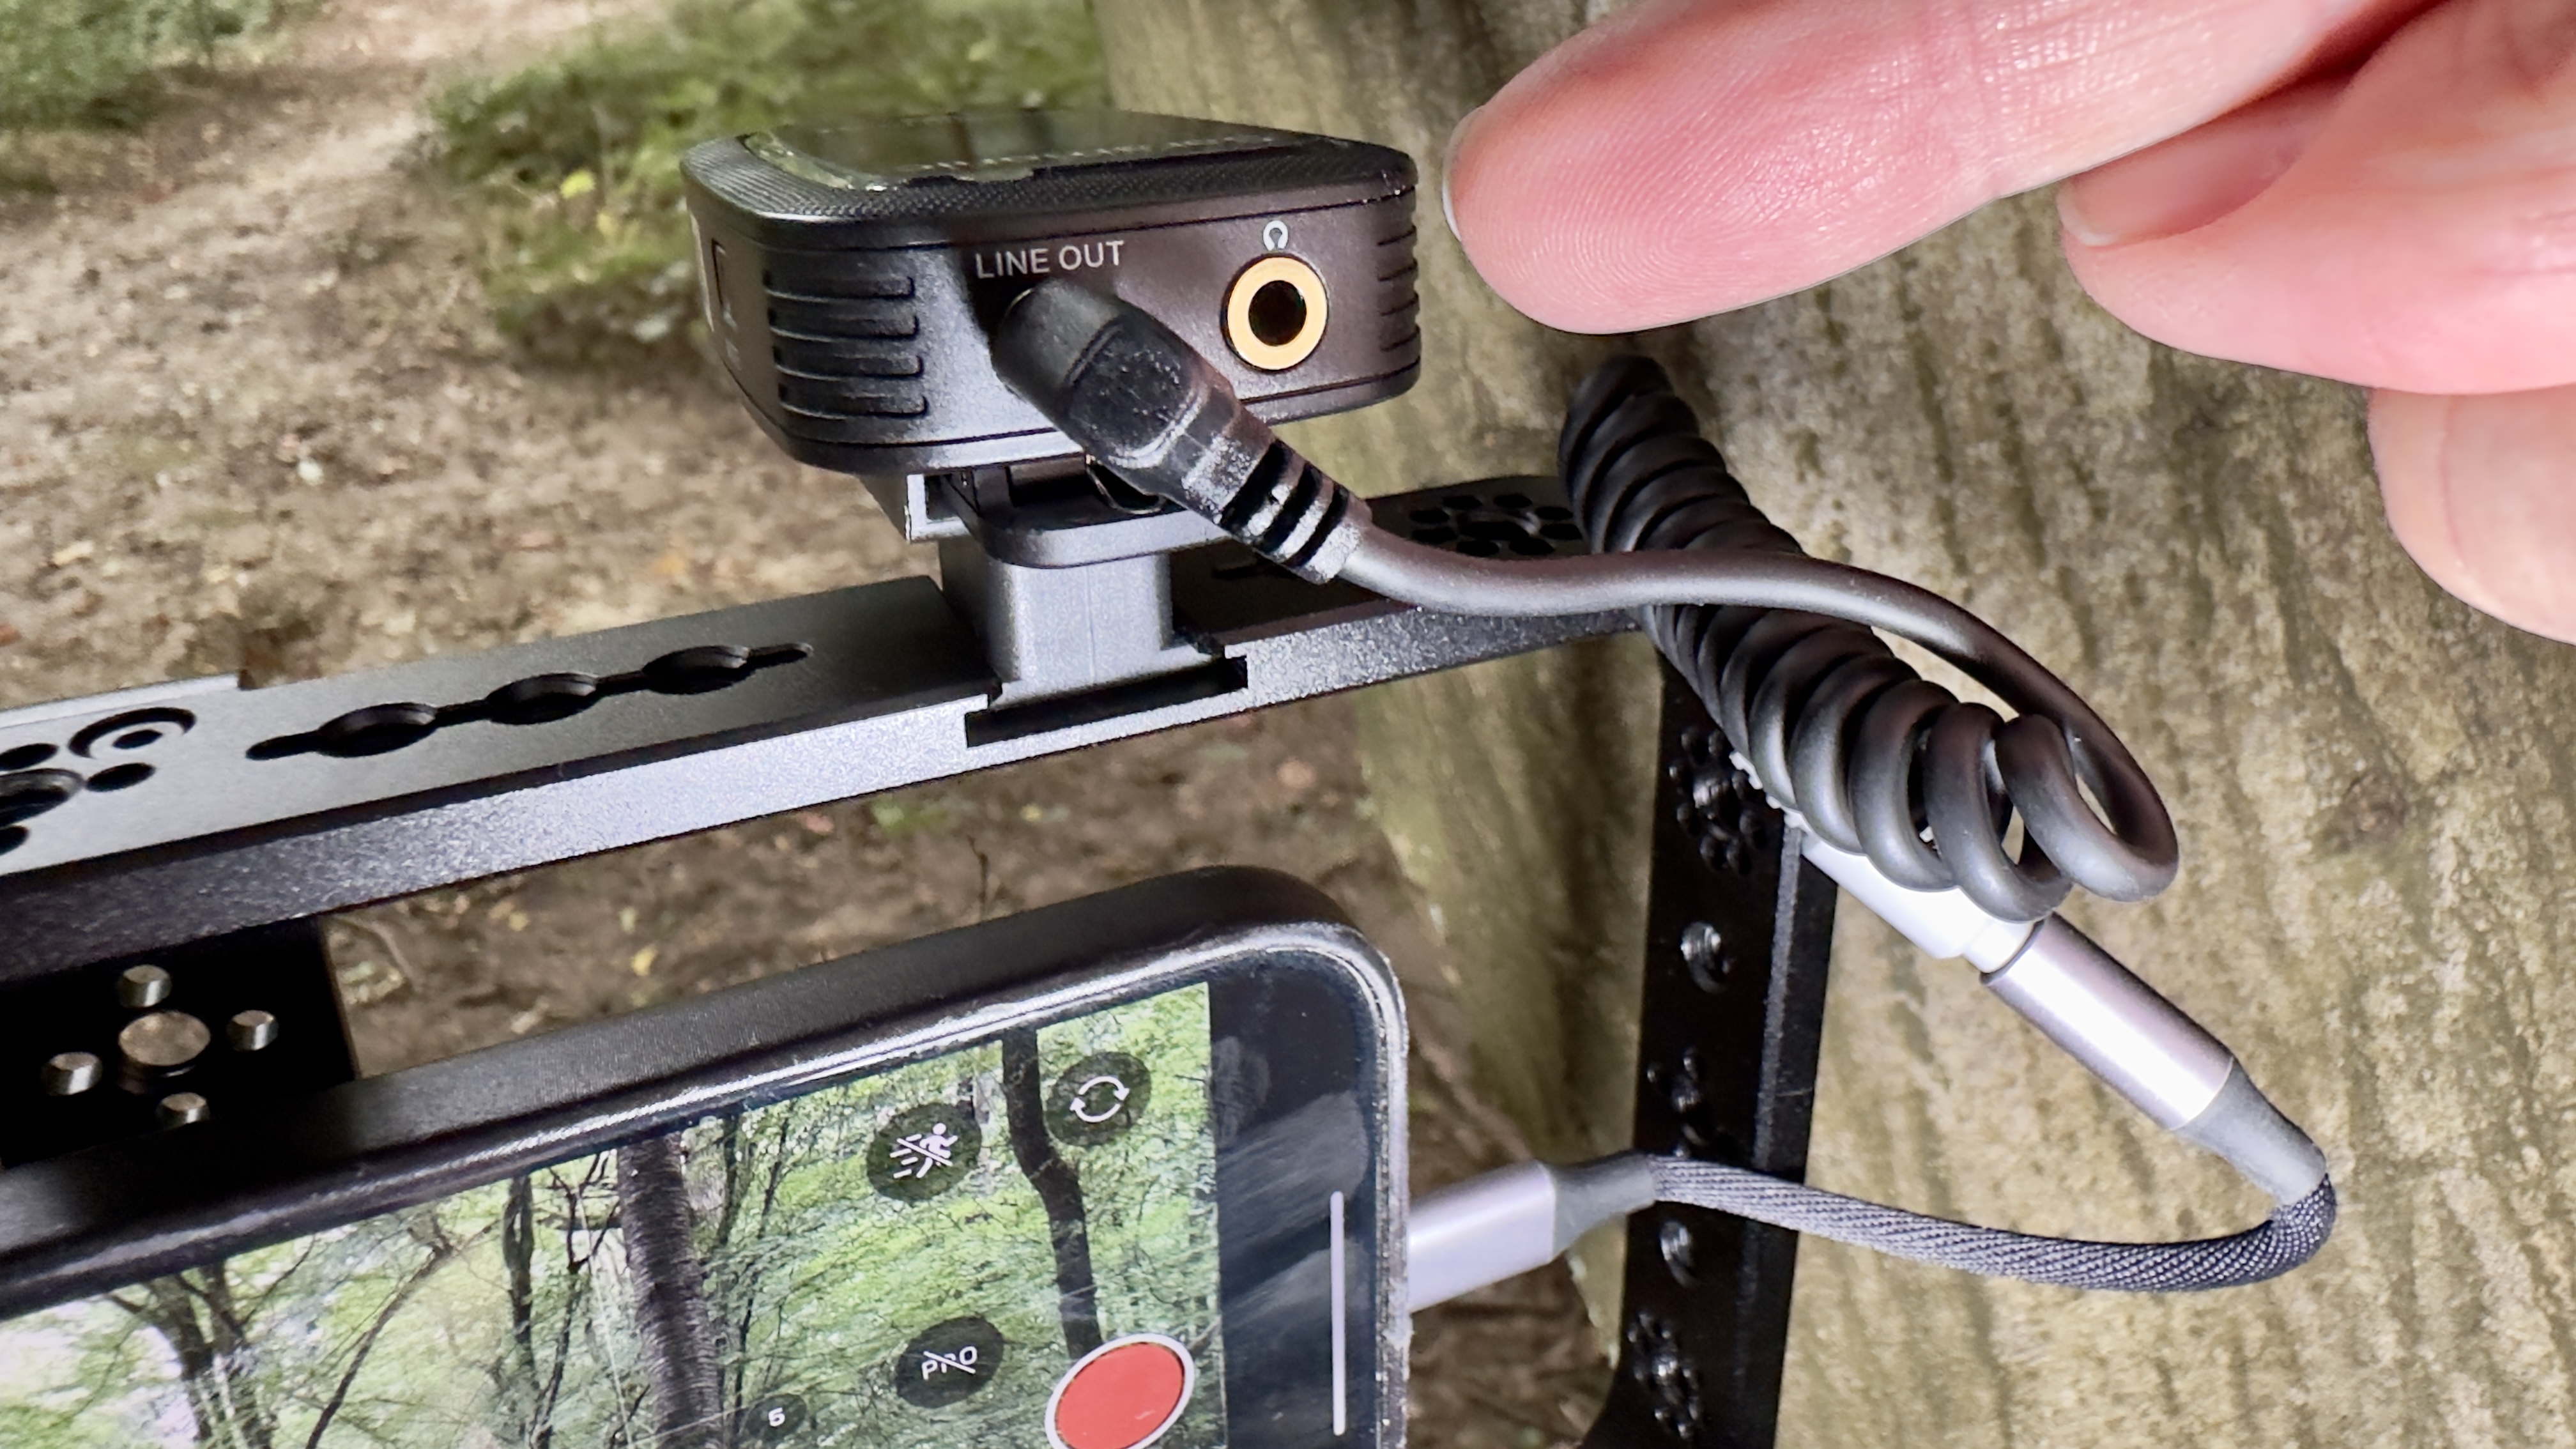
To test the Blink500 ProX B2R I popped my iPhone 15 Pro Max into the RODE Magnetic Cage. This clever cage has multiple cold shoe mounts and the Blink500 ProX B2R ships with a shoe mount adaptor that you can slot onto the receiver’s clip. I was therefore able to securely attach the receiver to the cage and then plug its TRS to TRRS cable into my iPhone. I must point out that if you’re using a smartphone you’ll need a 3.5mm jack to USB-C (or lightning on pre-15 iPhone) adaptor to connect the TRRS end of the cable to your device. If you’re using a mirrorless or DSLR camera then you can simply use the supplied TRS to TRS cable to connect the receiver to the camera’s 3.5mm input socket. If you are a smartphone user then as you’ll see (and hear) from our supporting video the Blink500 ProX B2R captures great quality audio, but for a more streamlined smartphone solution check out the new smartphone-specific Saramonic Blink500 ProX B5 mic in our alternatives section below.
I took my iPhone rig into the woods and set it up on a mini tripod to record me talking to the camera via the Blink500 ProX B2R’s transmitter. I attached the transmitter to my shirt and clipped it on the supplied windshield. The windshield is attached by clipping its two prongs into holes above the transmitter’s built-in omnidirectional mic. This operation was a bit fiddly, especially when compared to other mic kits where the ‘dead cat’ slides on and off more easily - such as the Godox Magic XT1. I then did a level test. The transmitter has + and - buttons that enable you to adjust the mic’s level in increments. When saying ‘testing, testing’ I could see a sound level indicator on the receiver bouncing up and down. However, I needed to set the transmitter’s level to maximum and even then the receiver’s sound level indicator barely reached halfway to the top. When monitoring the sound via headphones plugged into the receiver’s 3.5mm socket I could barely hear my voice, even with the receiver’s volume set to max. As this was my first test I was concerned that the recording’s levels might be too low and therefore hiss when I boosted the loudness in the edit. Fortunately, this wasn’t the case as you’ll hear from my supporting video.
I then recorded a chat to the camera and did a distance test to see if the signal would drop out when the transmitter lost line of sight with the receiver. I also decided to test the transmitter’s onboard recording feature, so I flicked its Rec switch to on. After walking and talking 50 meters away from the iPhone I returned to play back my recording but there was no audio in the movie file, just video. I think I must have accidentally tapped the Mute button (which is adjacent to the Rec button) on the receiver. The good news is that even if you mute the transmitter it will still capture sound if you turn on the onboard recording feature.

On ‘take two’ the sound was there - and it was loud and clear even when I turned my back to the camera at 50 meters. Despite the low-looking sound level indicator on the receiver, the sound was crystal clear even when I boosted its levels in Final Cut Pro. I also had the reassurance that if there was any signal drop out (or if I muted the mic by accident again) the transmitter would have a clean and clear onboard recording of my audio track. And at 8GB of storage that’s a lot of audio that you can record.
The process of accessing the transmitter’s onboard recording is easy. I plugged a USB-C data cable into the transmitter’s USB-C slot and attached the other end to my MacBook’s USB-C slot. I was then able to view the transmitter on my desktop and preview the .WAV files which sounded clean and full-bodied with a wide range of tones. I dragged the relevant .WAV file onto my desktop and although it took a while to transfer I was able to import it into Final Cut Pro. I compared the onboard recording with the recording that I’d captured on the iPhone and I couldn’t hear any difference in audio quality which was impressive.
The sound you hear in the test video is the audio captured on my iPhone via the attached receiver. Strangely the audio seemed to be running slightly ahead of the video footage, so I detached the audio track and slid it four frames to the right. Sound and vision were then in perfect sync. This slight offset between sound and vision is called latency and normally the sound would lag slightly behind the vision, not in front of it. Whatever the reason for the offset it was easy to fix in post.
I only had one real niggle when testing the Blink500 ProX B2R. Normally when you take a receiver and a transmitter out of their charging case they both turn on and start functioning immediately. I believe the Blink500 ProX B2R is supposed to do this too, but I had to long press the Mute button on both the transmitter and receiver to power them up before I could use them.

Blink500 ProX B2R: Verdict
I was impressed with the audio quality captured by the Blink500 ProX B2R, both in the recordings transmitted to my iPhone and the .WAV files captured on the transmitter’s drive. The sound was rich, full-bodied, and free from artifacts such as drop out, even at 50 meters away with my back to the camera. The onboard recording is an essential feature as you can relax knowing you have a safety net if there’s any signal drop out. This should make the kit appeal to professionals who can’t afford a re-take (such as during a live event or a wedding).
✅ Buy it...
- You need the security of onboard recording.
- You need to record on a mirrorless or DSLR.
- You need a reliable signal with no drop out.
🚫 Don't buy it...
- You don’t want to have to fine-tune latent audio in the edit.
- You need a transmitter with optional built-in noise reduction.


