I've been working on a deep dive into power meters for months as I research options for the best power meters. Quite simply, it's a rabbit hole of confusing options. If you'd asked me about it before I started, I would have told you it was simple and mostly a matter of where you wanted to measure power. I had no idea how wrong I was.
Price: $1249 / €1149
Accuracy: ±1.5%
Axle Diameter: 30mm
Battery: 250 hour rechargeable
Weight: 537g for crank arms in 172.5mm plus axle and 179g for the chainrings (716g total)
Warranty: 3-years
Where things start to get complicated is when you look at crank based systems. If you want to up the ante, start trying to decipher what is the best. When Rotor announced the brand had a new power meter coming and it was the lightest dual sided power meter on the market, I thought that would be pretty straight forward. Then I started weighing things. The Rotor claim is very specific and it's not entirely clear cut that it matters. It's still worth a look though.
There's a lot to unpack about the details of one crank vs another when it comes to power options but either way, Rotor offers something that's unique. Now that I've managed to understand a bit, I'm ready to talk about the details. If you are looking for a new power meter, keep reading to see if the Rotor 2INpower SL makes sense for you.
Design and aesthetics
Crank based power meters are not all the same. What seems like small design decisions have big effects on what you get. There's also increasing overlap between what software can handle vs what hardware you need. Rotor is a tiny company but even Rotor has three distinct types of power meters and it's not immediately obvious what the difference is.
In this case, I spent time with the 2INpower SL which is a true dual sided power meter. Although it's integrated into a crank, there are a total of eight strain gauges. Four of the gauges measure power from the spindle. The other four strain gauges measure power in the drive side crank arm.
Having those four distinct gauges in two locations matters. Only when there are strain gauges in two locations do you get actual left and right measurement. While Rotor also offers both the INpower and INspider, neither of those options actually measure the output of each leg alone. This is the same as anything else on the market that puts strain gauges either in the spindle or the spider.
You'll want to remember that when comparison shopping. You'll also want to understand that Rotor claim the 2INpower SL is the lightest dual sided power meter on the market.
With a combined weight of 716 grams for a 172.5mm crank with a 30mm spindle (537 grams) and a set of 50/34 direct mount chainrings (179 grams), this crankset is not the lightest power meter crank. SRAM, FSA, and SRM all have lighter crank based power meters but only Rotor has the separate strain gauges that make it dual-sided. However, there are also dual sided pedal systems and those are also lighter.
Lightness isn’t the only bit of magic that Rotor works into the crank though. Every brand I've talked to loves to claim accuracy and Rotor is no different. What Rotor does differently is take more measurements per second. ANT+ can only handle two data points per second but the actual crank takes 50 data points per second then bundles them. The reason for this is partly because of the oval chainrings many people might associate with Rotor.
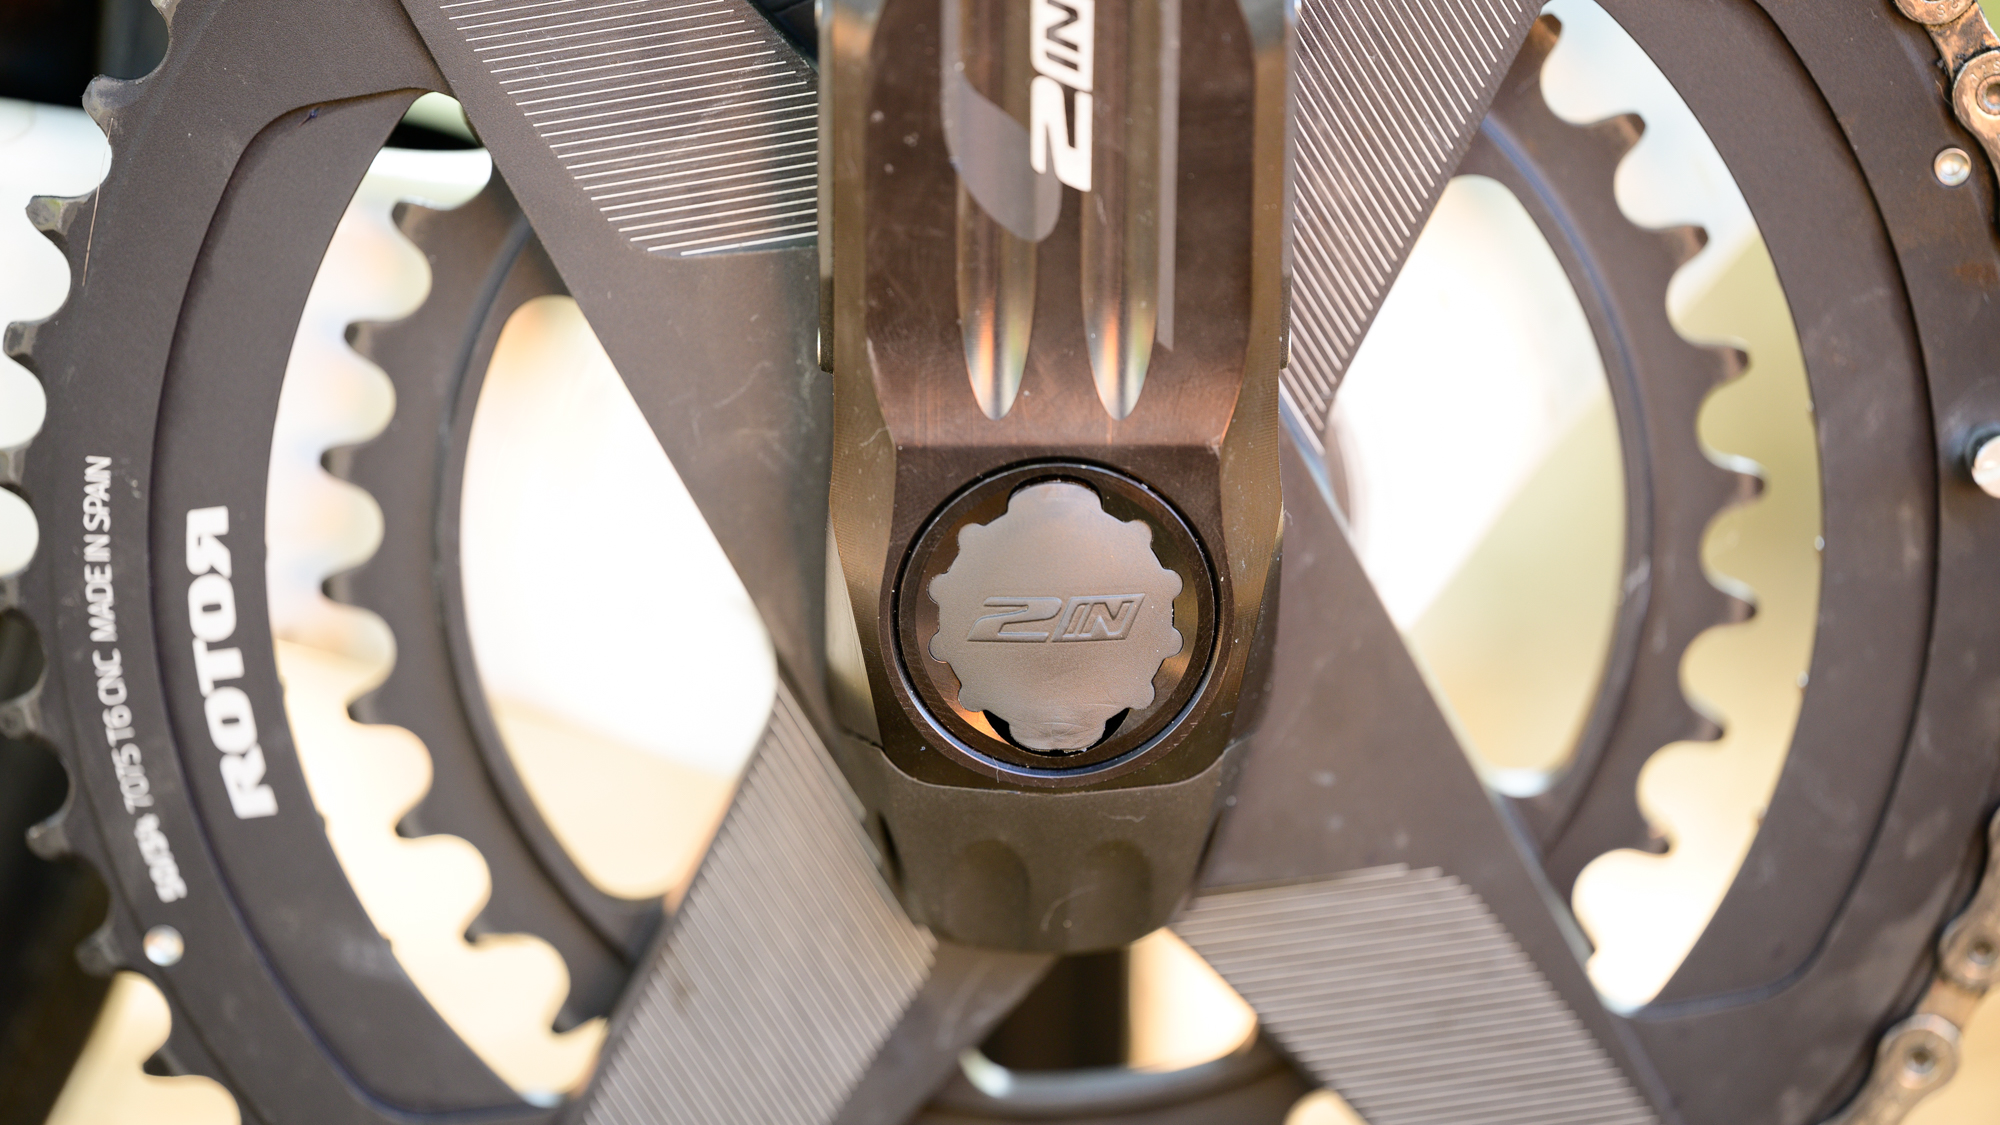
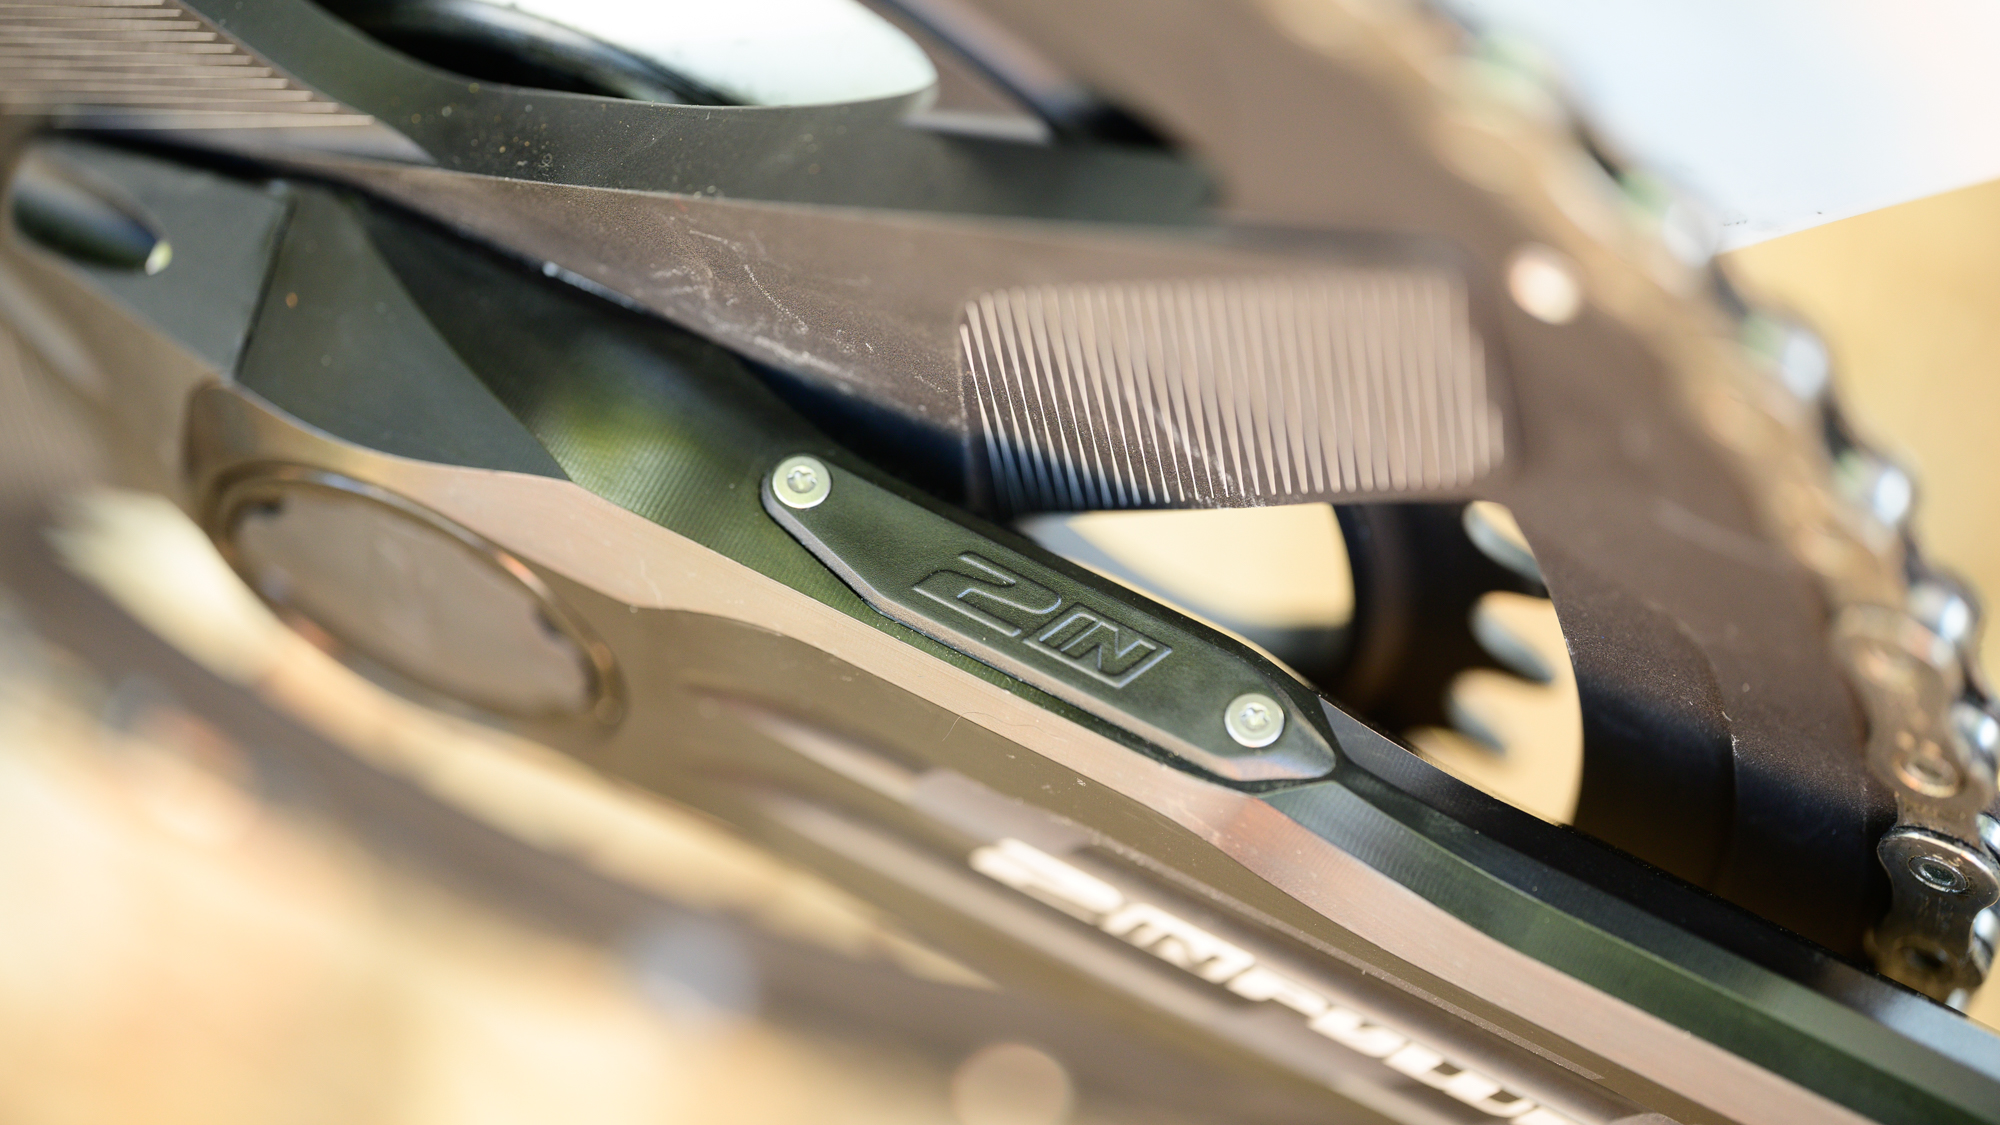
You don't have to use oval chainrings, I opted to stick with round, but Rotor still needs them to work with the brands premier power meter. Since it's important for a crank to understand how fast it's moving to give an accurate power measurement, Rotor takes more measurements to compensate for the uneven speeds of an oval chainring. That should lead to a more accurate power measurement for everyone although you might notice that Rotor claims 1.5% accuracy instead of the 1% you can find in some products.
I spent a long time with Rotor, including some time with engineering, trying to pin down what seems like a mismatch. SRM, Rotor, and Power2Max all said the same thing, which is, that the number is somewhat arbitrary. It's easy to perfectly measure power when you've got a weight pushing in one direction. That's not how cycling works though.
Instead, the power you put through your bike is messy and there is no consensus in the industry about how to understand it. There are losses in the system as well as lateral forces and power that doesn't contribute to forward movement. While the maths side is very clear cut, that doesn't give a real picture of what's happening. Rotor as a brand believes that one way to get a clearer picture is with increased sample rates but in the end, the brand seems cautious about labelling the results. You'll have to decide how to interpret that since there are some companies that claim higher accuracy. Again keep in mind though that brands claiming higher accuracy, at least in cranks, aren't truly measuring left and right power.
The other side of the Rotor 2INspider SL is the actual crank design. That part is a lot less complicated but no less impressive. Getting from the previous generation 2INpower to this latest 2INpower SL, and the 15% weight reduction it brings, is thanks to 7075-T6 aluminium and precision machining. 7075 is a harder aluminium which allows Rotor to use less material for the same end result.
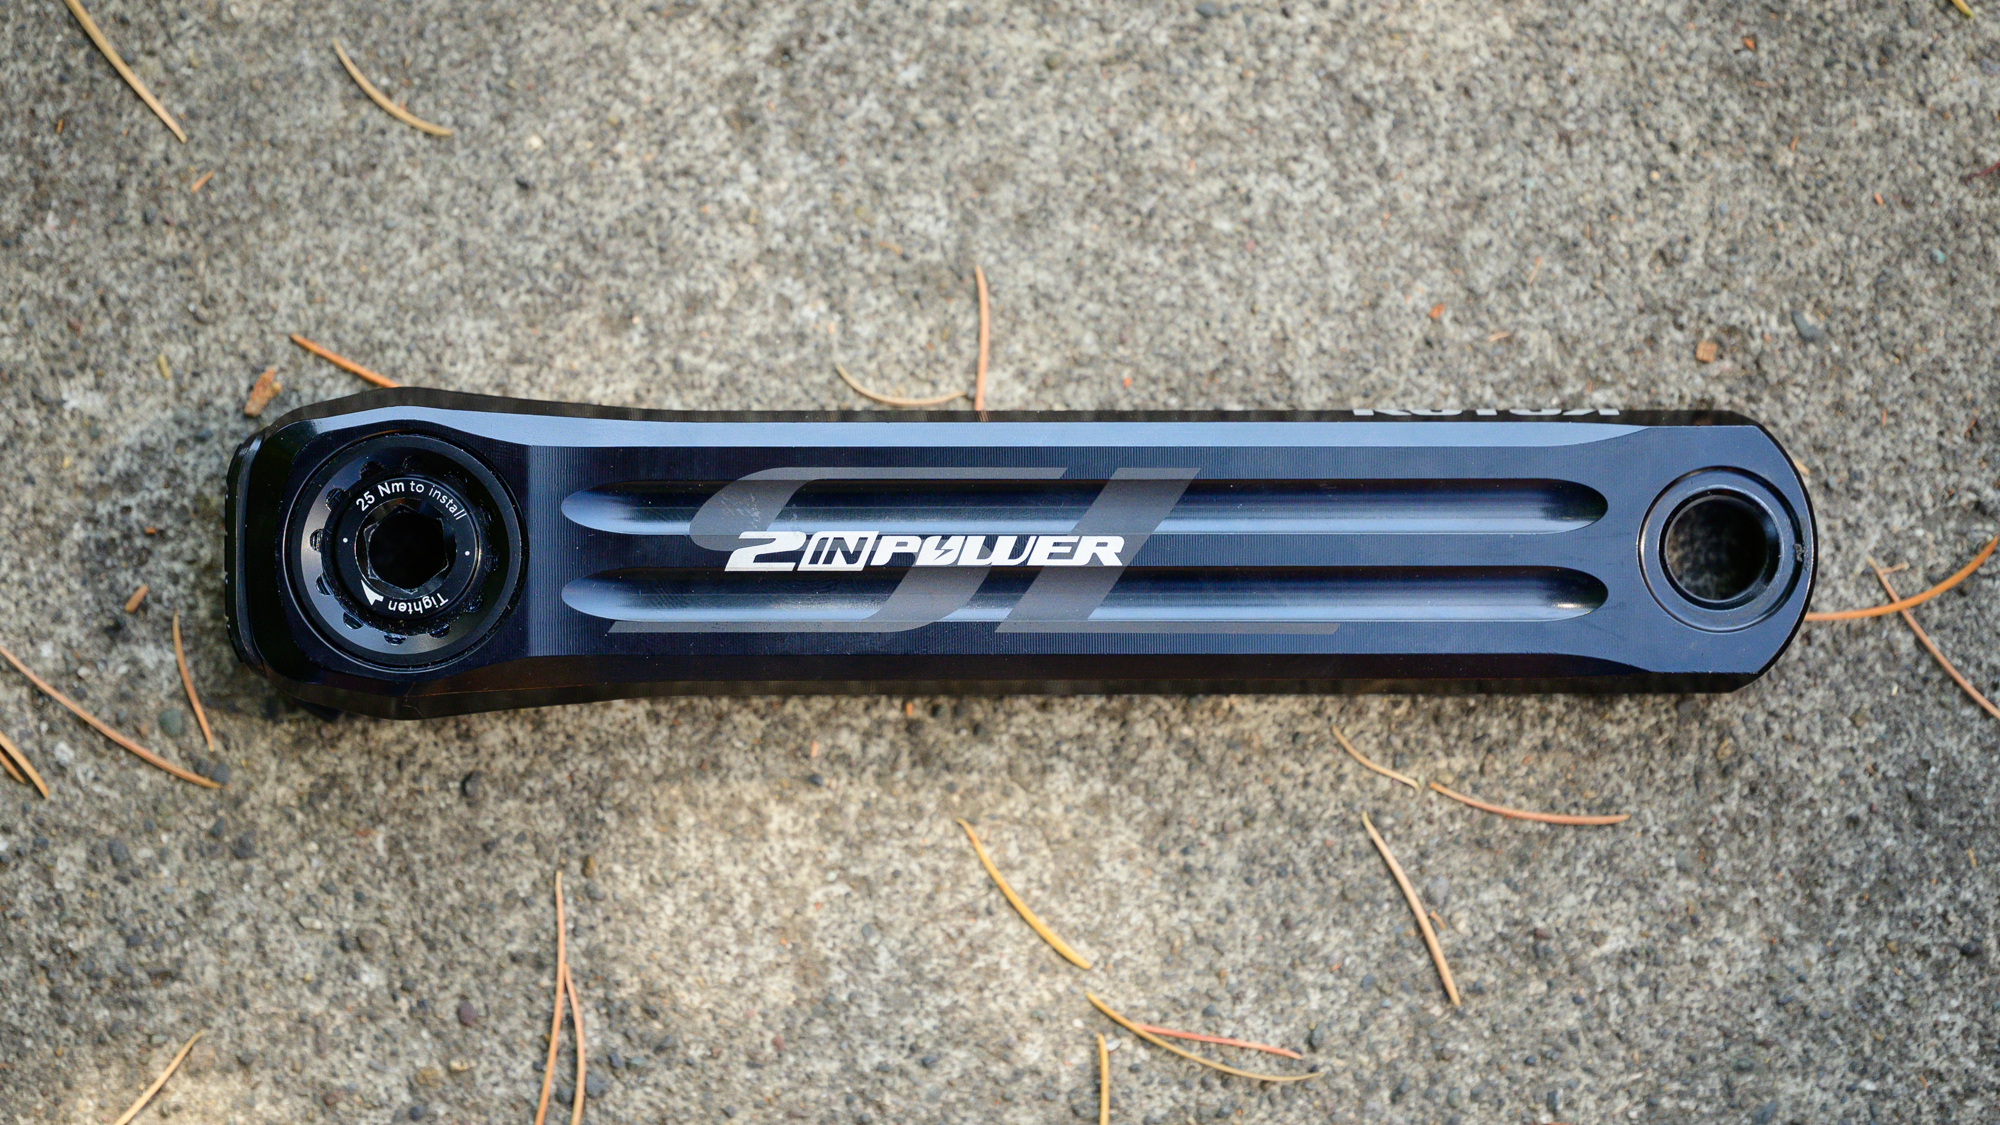
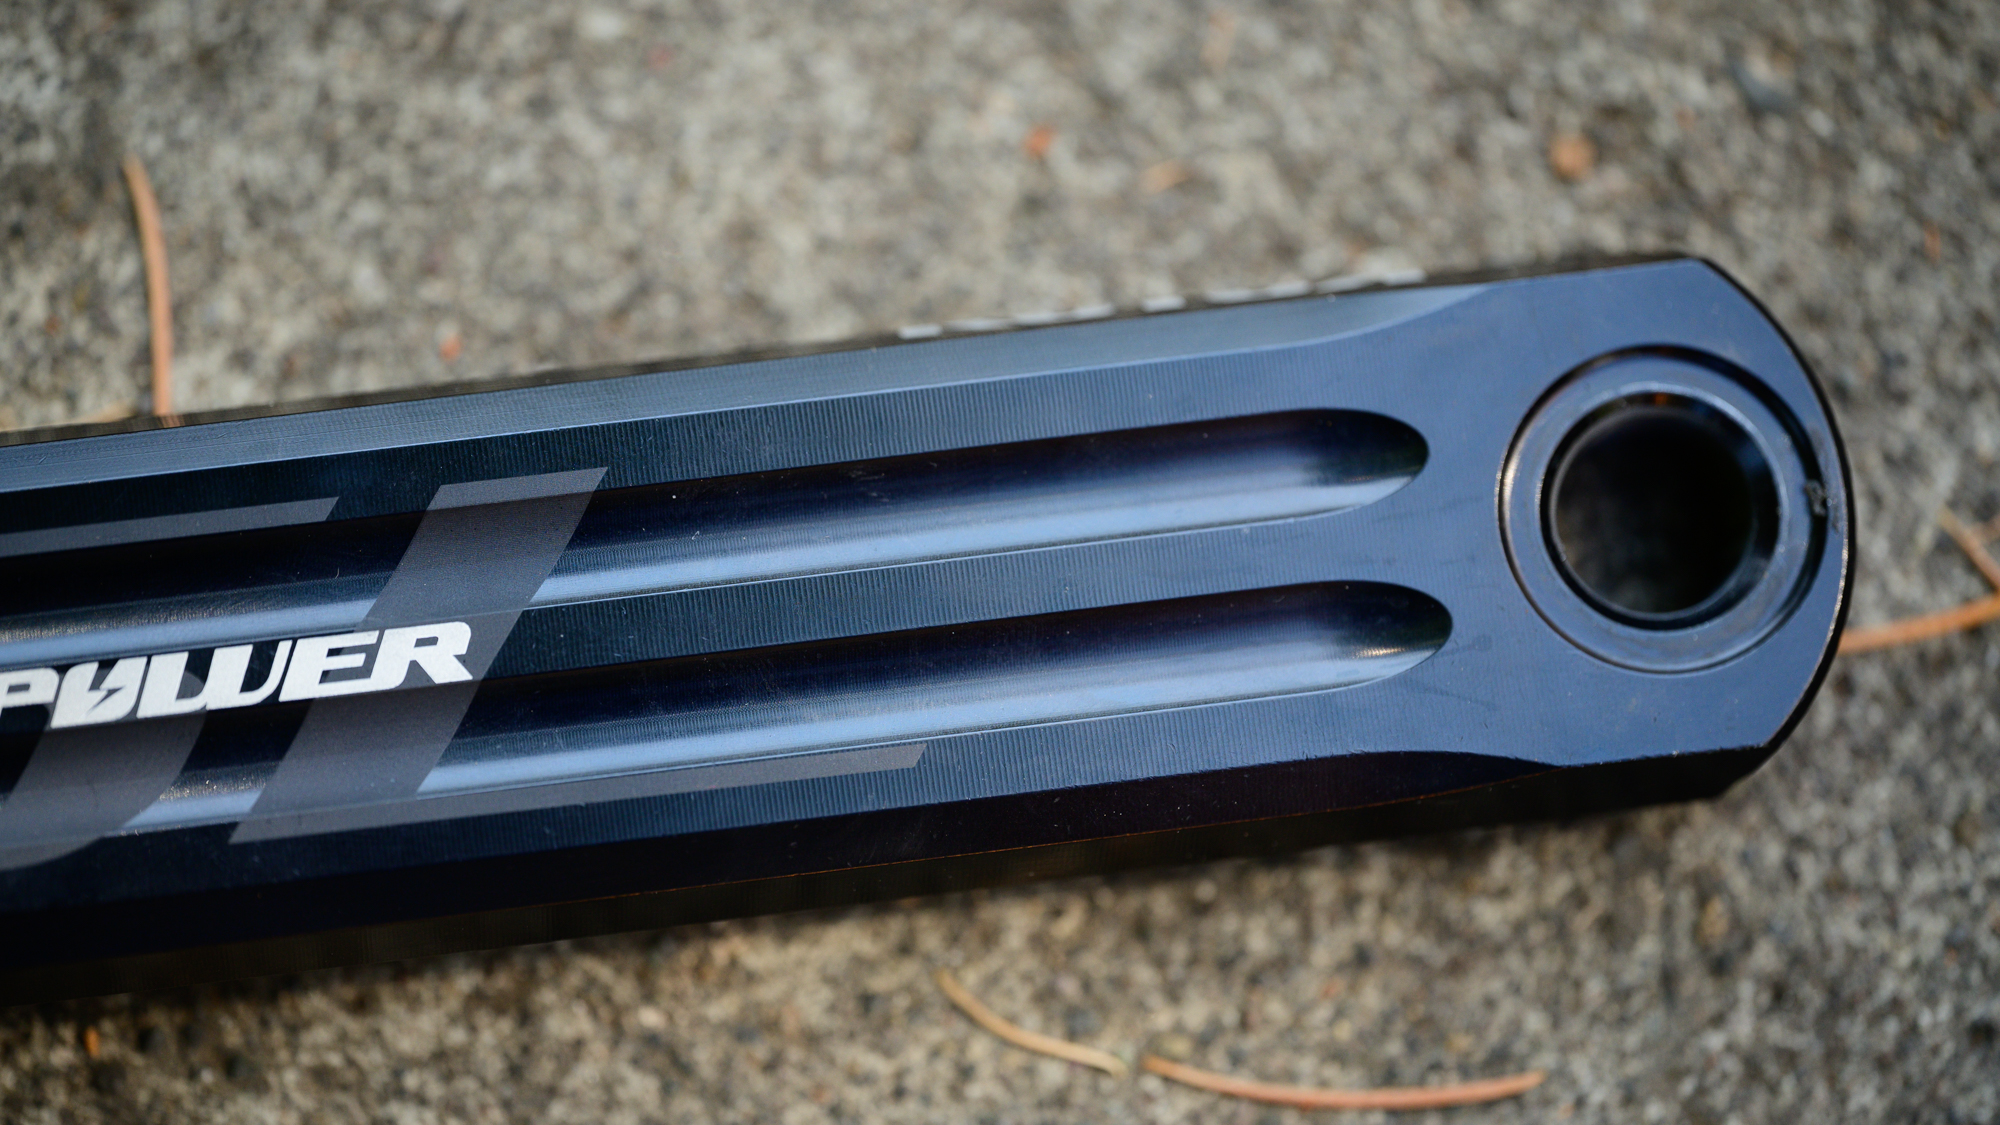
Visually the arms are big solid pieces of aluminium. Despite how light they actually are, there's a real heft and presence to the design. The sharp edges and pair of machined valleys that run lengthwise only add to this.
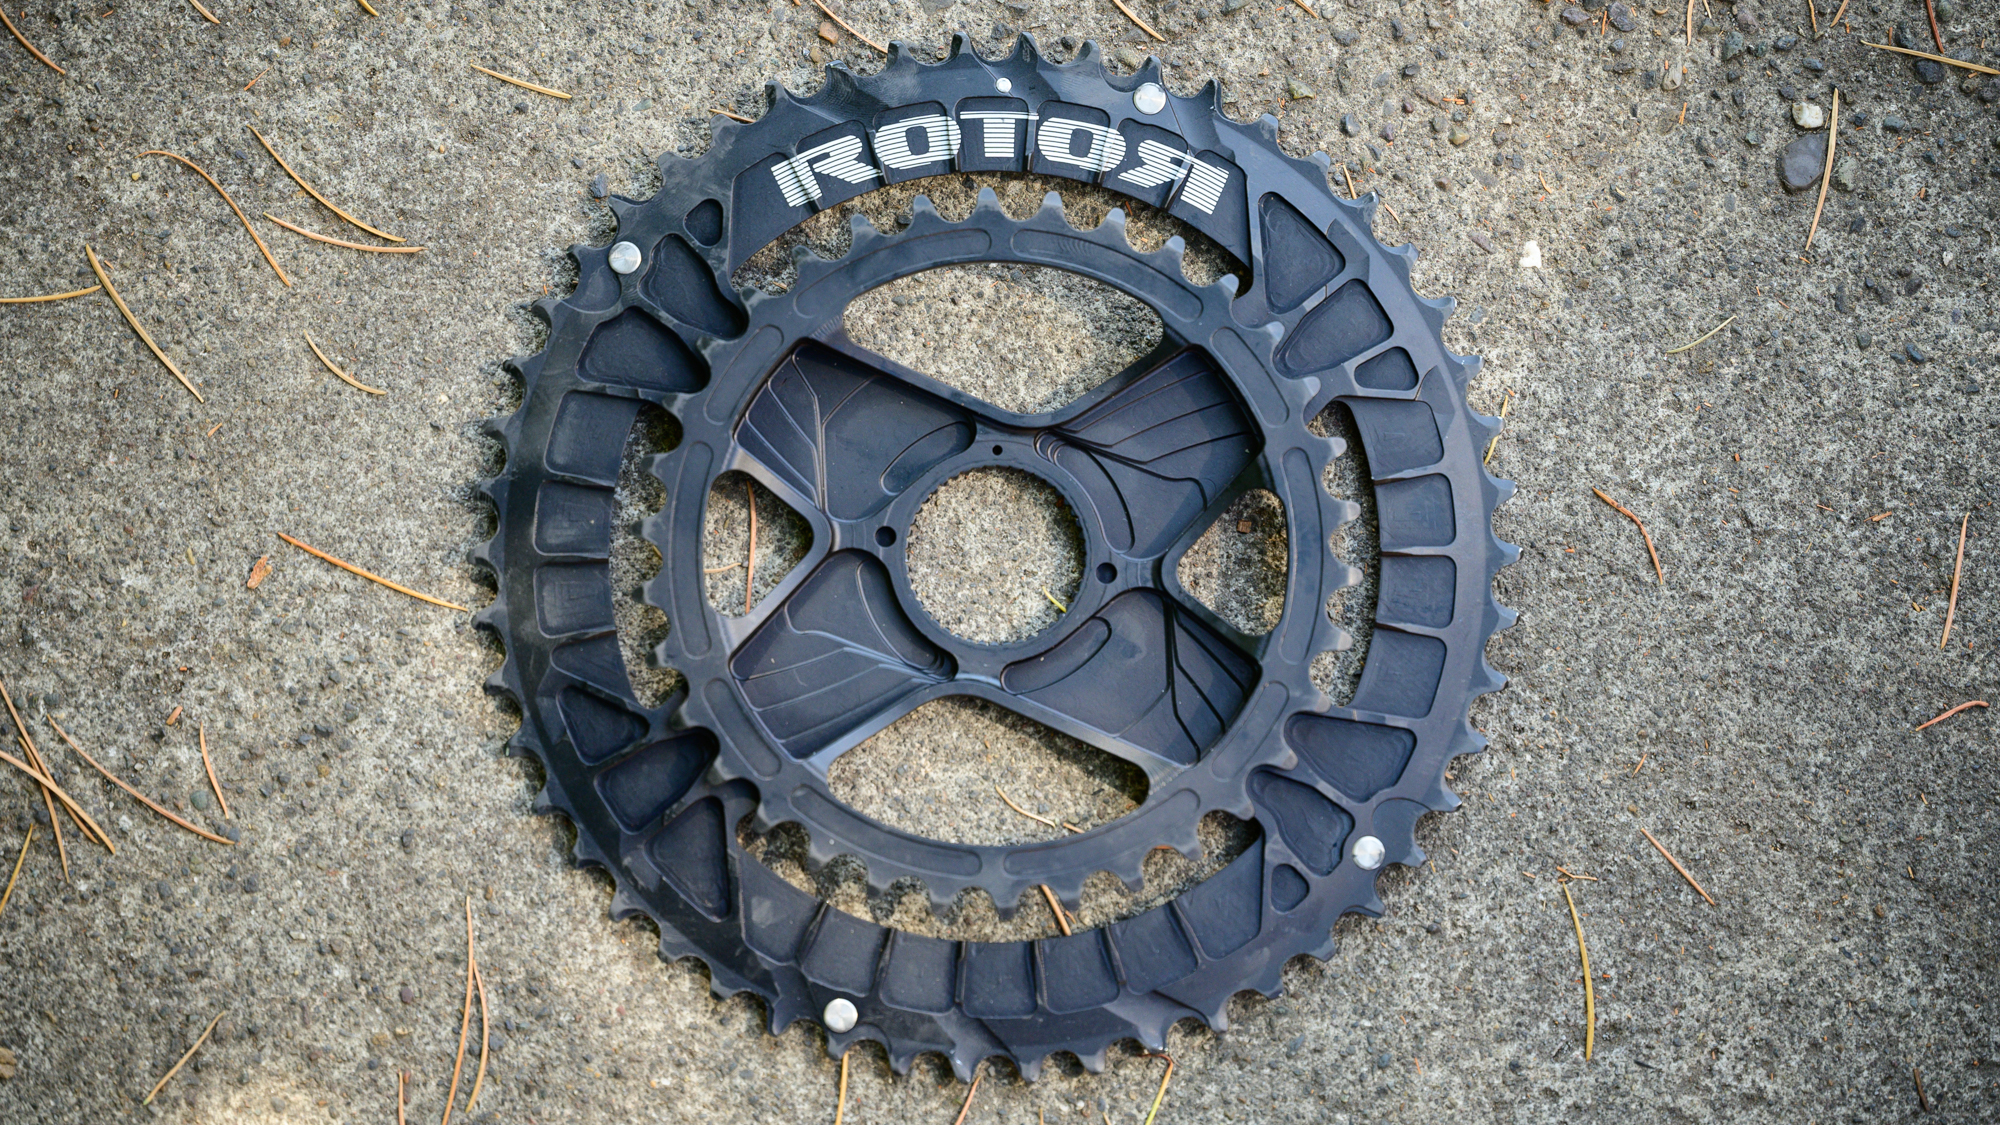
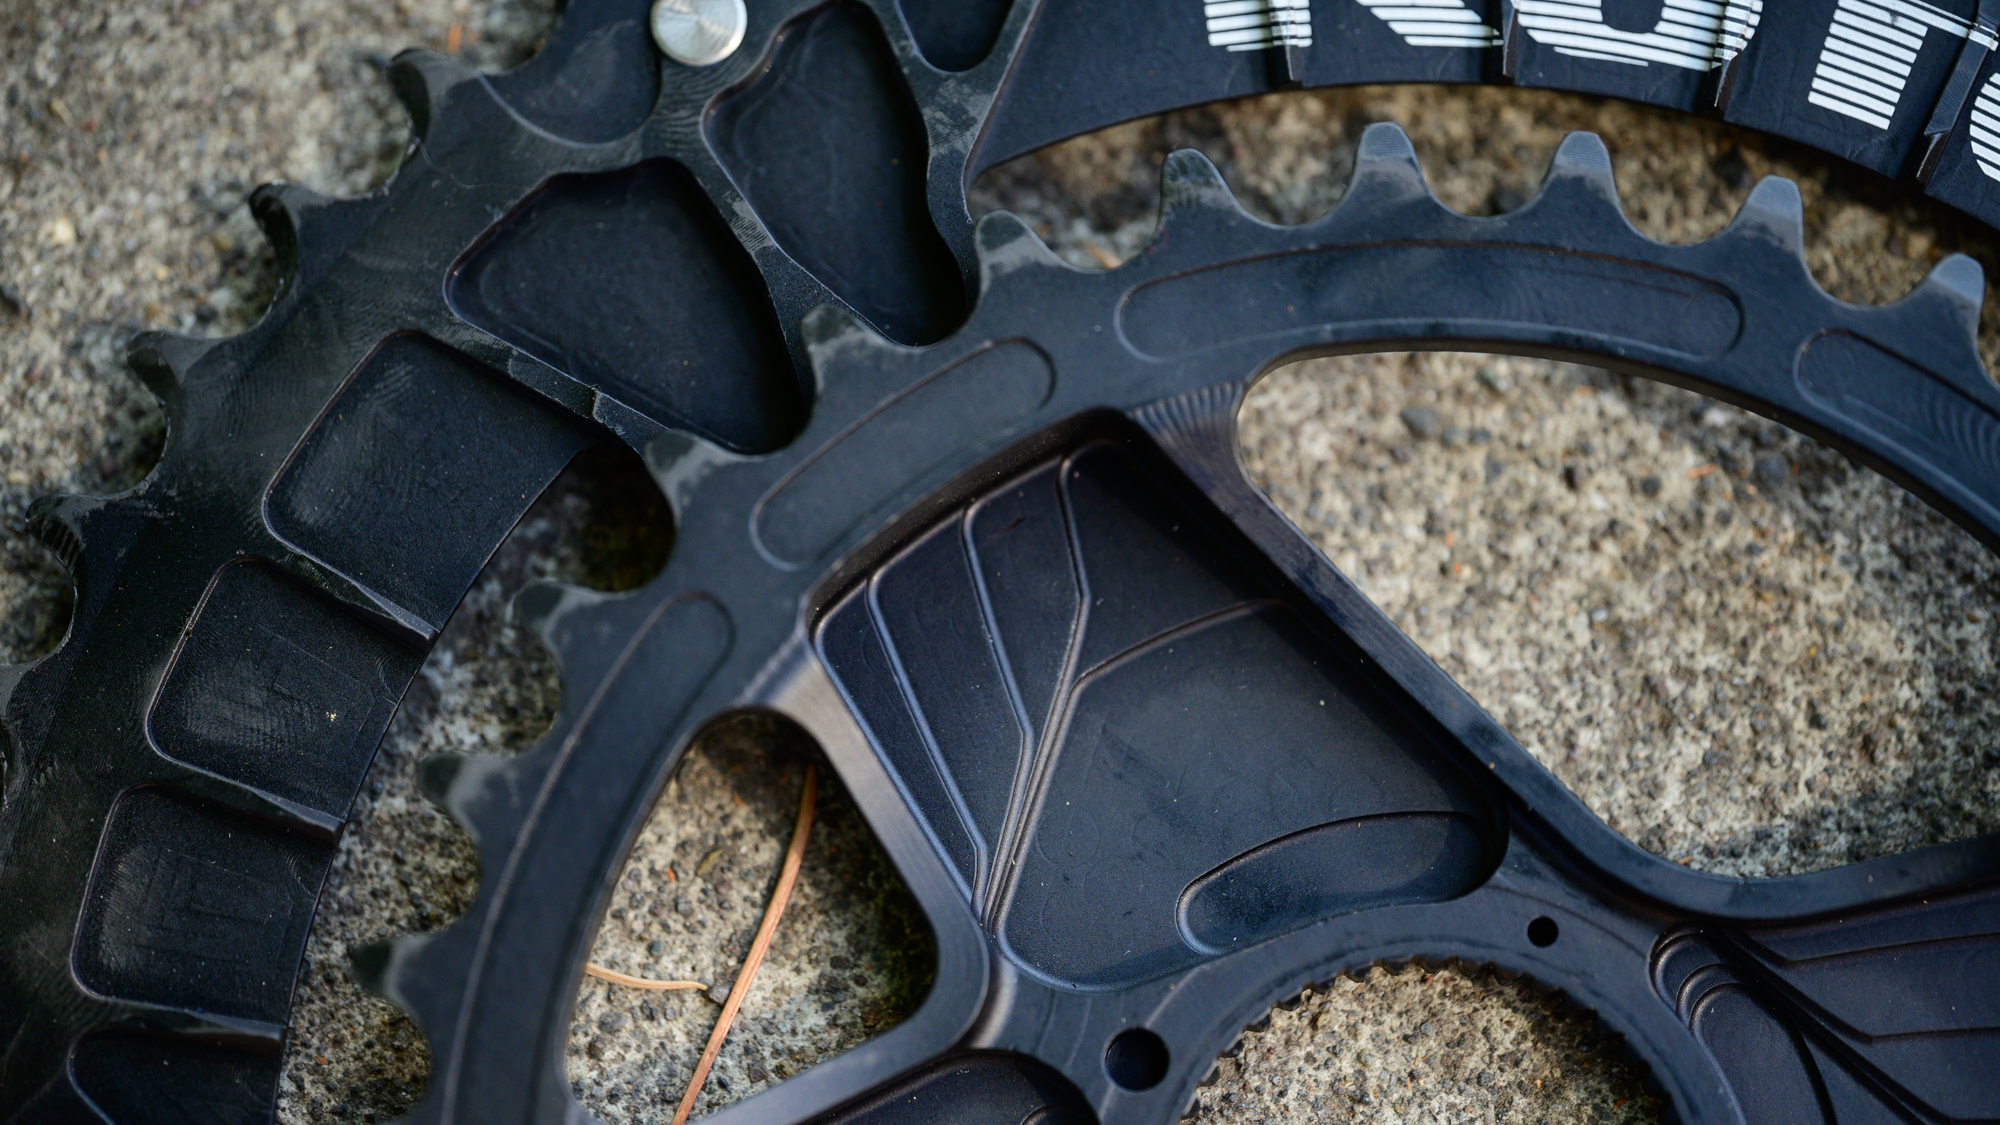
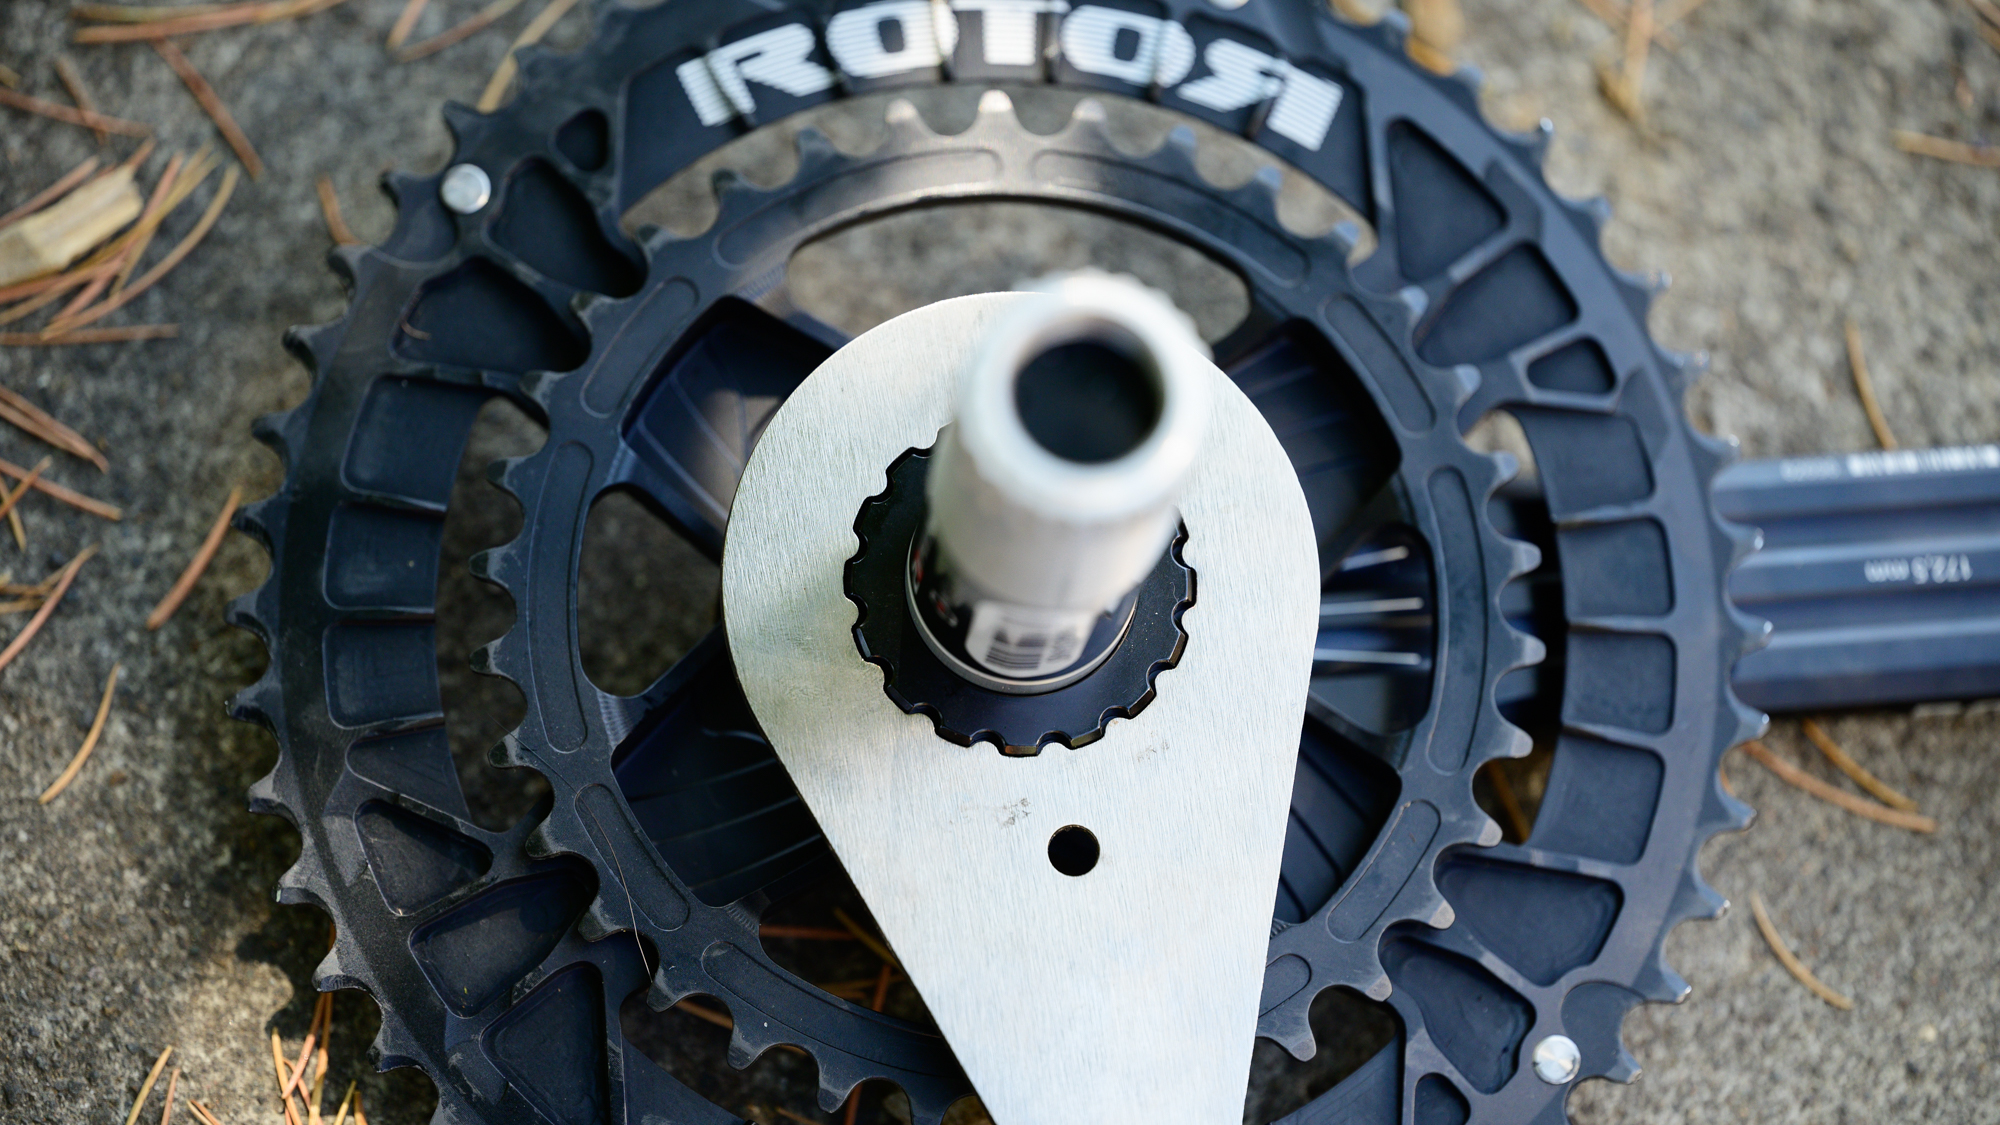
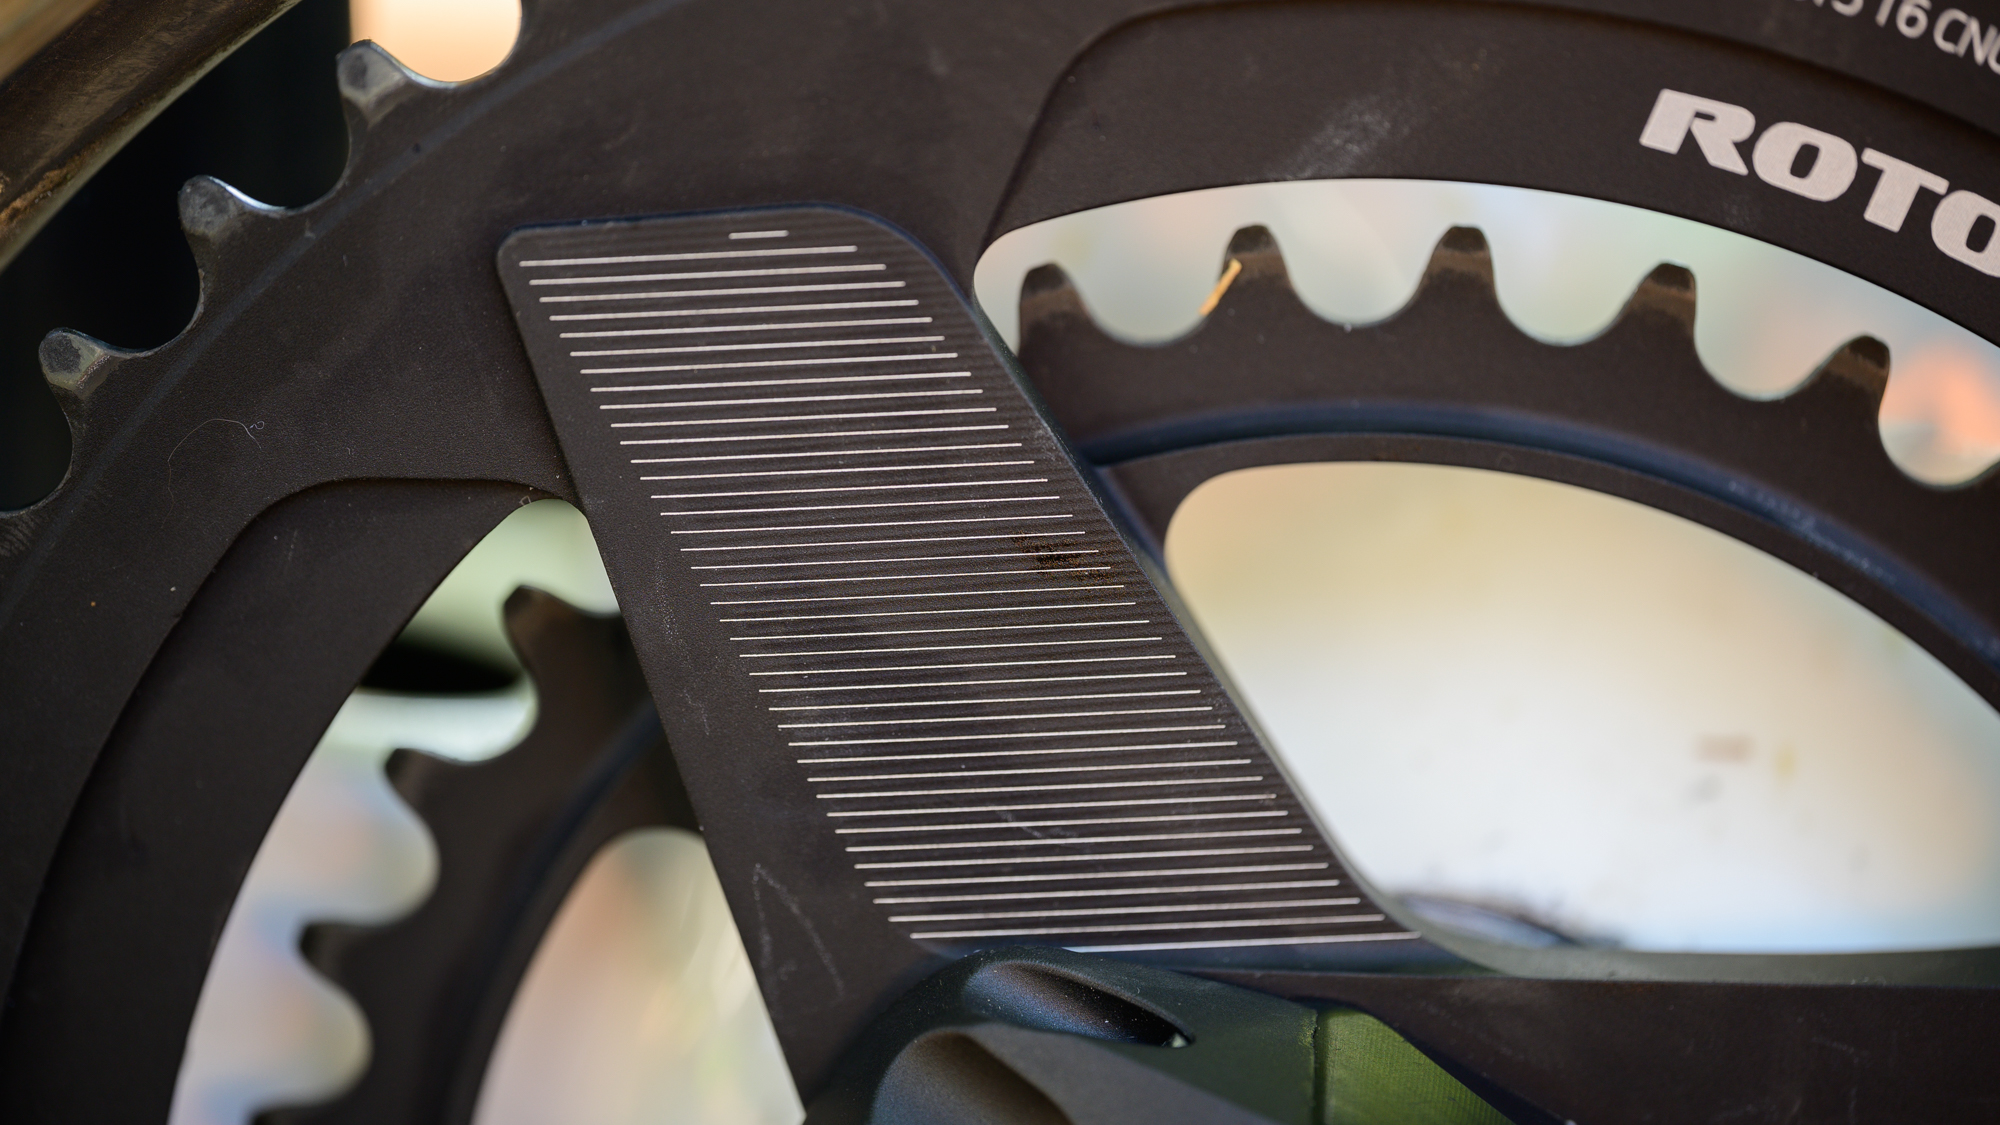
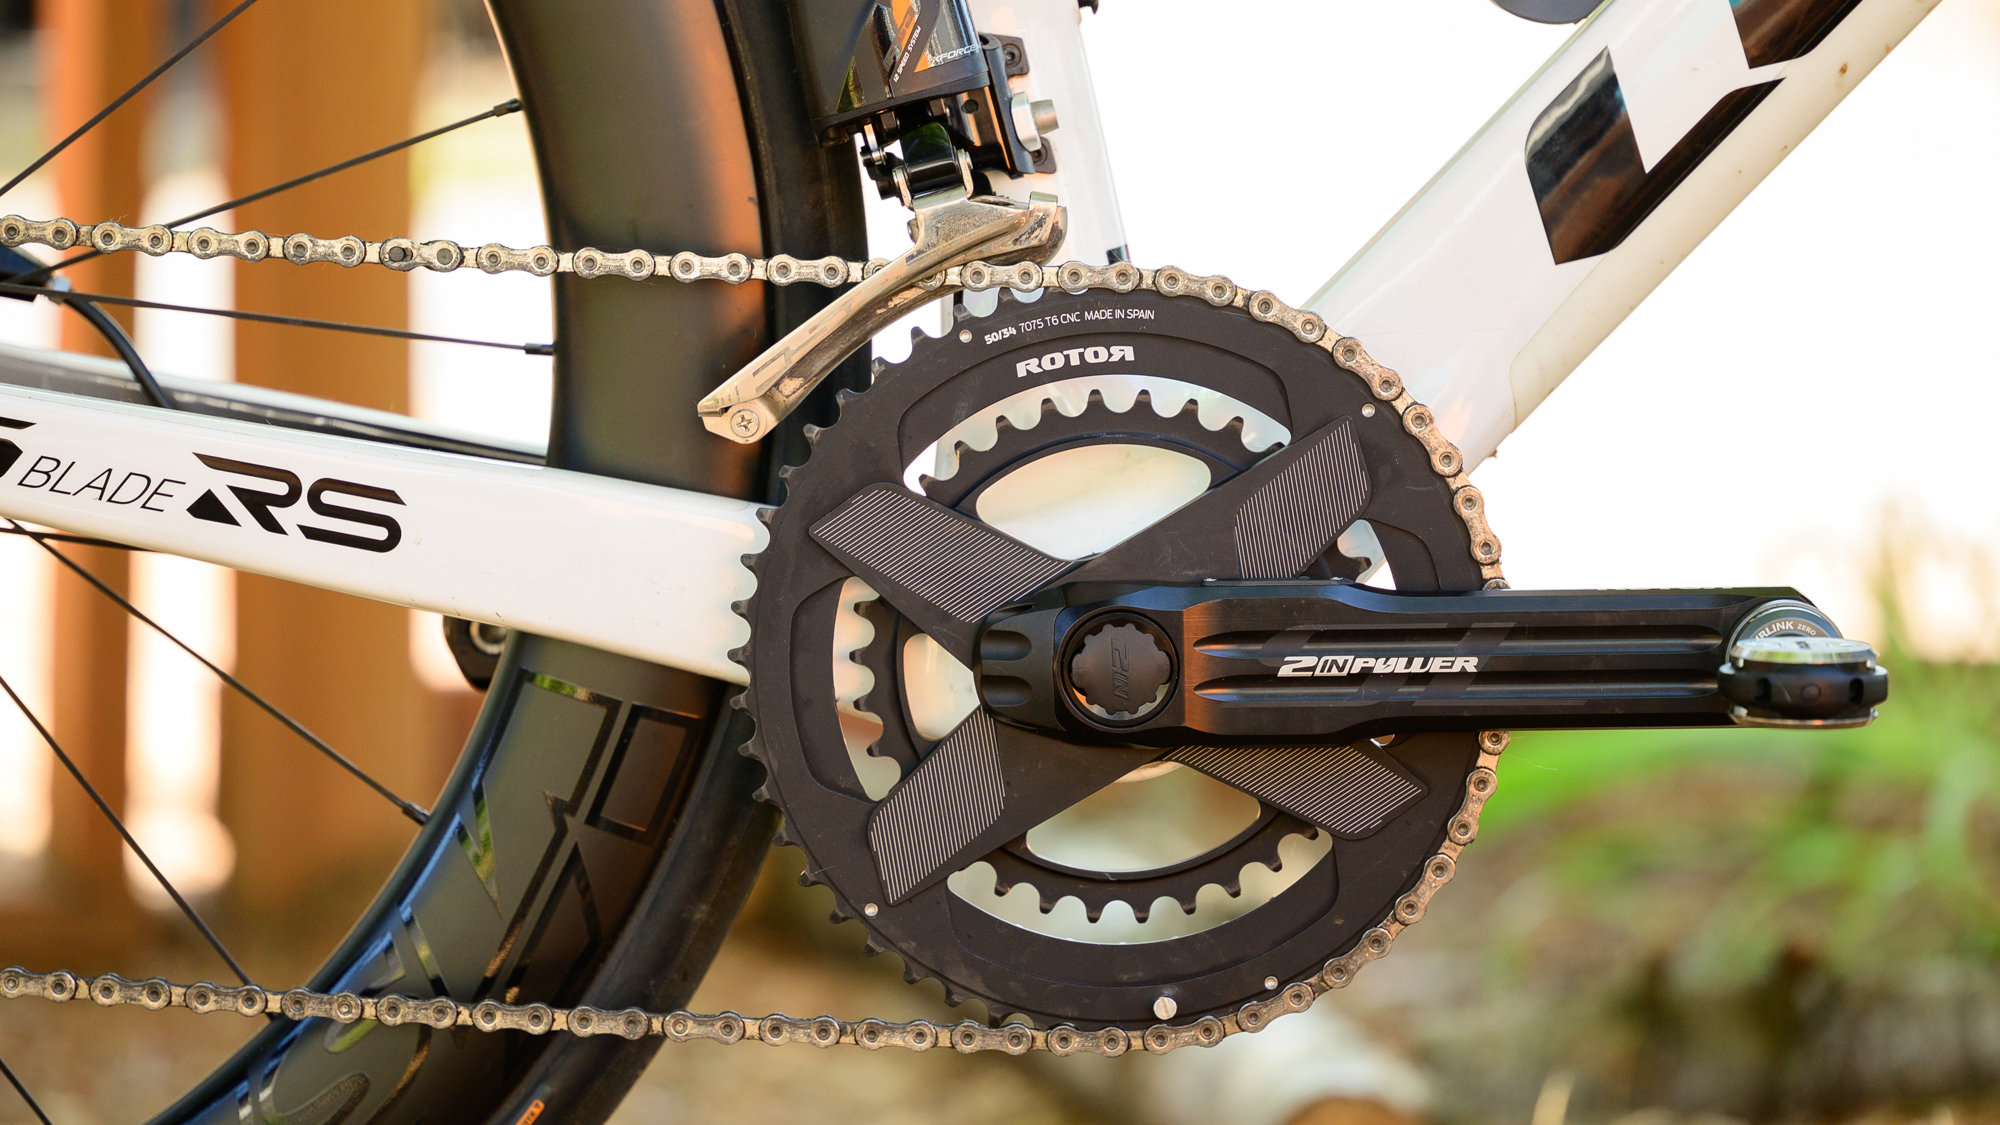
The chainrings I got in this package might be even prettier. Had I tried to put this crank on a SRAM AXS bike, I would have had a more conventional spider and crank design. Given that I was matching up with the Shimano compatible FSA WE 12-speed, I was able to use direct mount chainrings. There are no individual arms and bolts and instead the 50/34 chainrings are both machined out of a single piece of 7075 aluminium. Although the arms aren't separate, the spider uses a four arm design with each arm sporting a ridged and aero-esque (no aero claims for these chainrings) angled style. The chainrings have a matte finish that contrasts with the gloss of the crank arms.
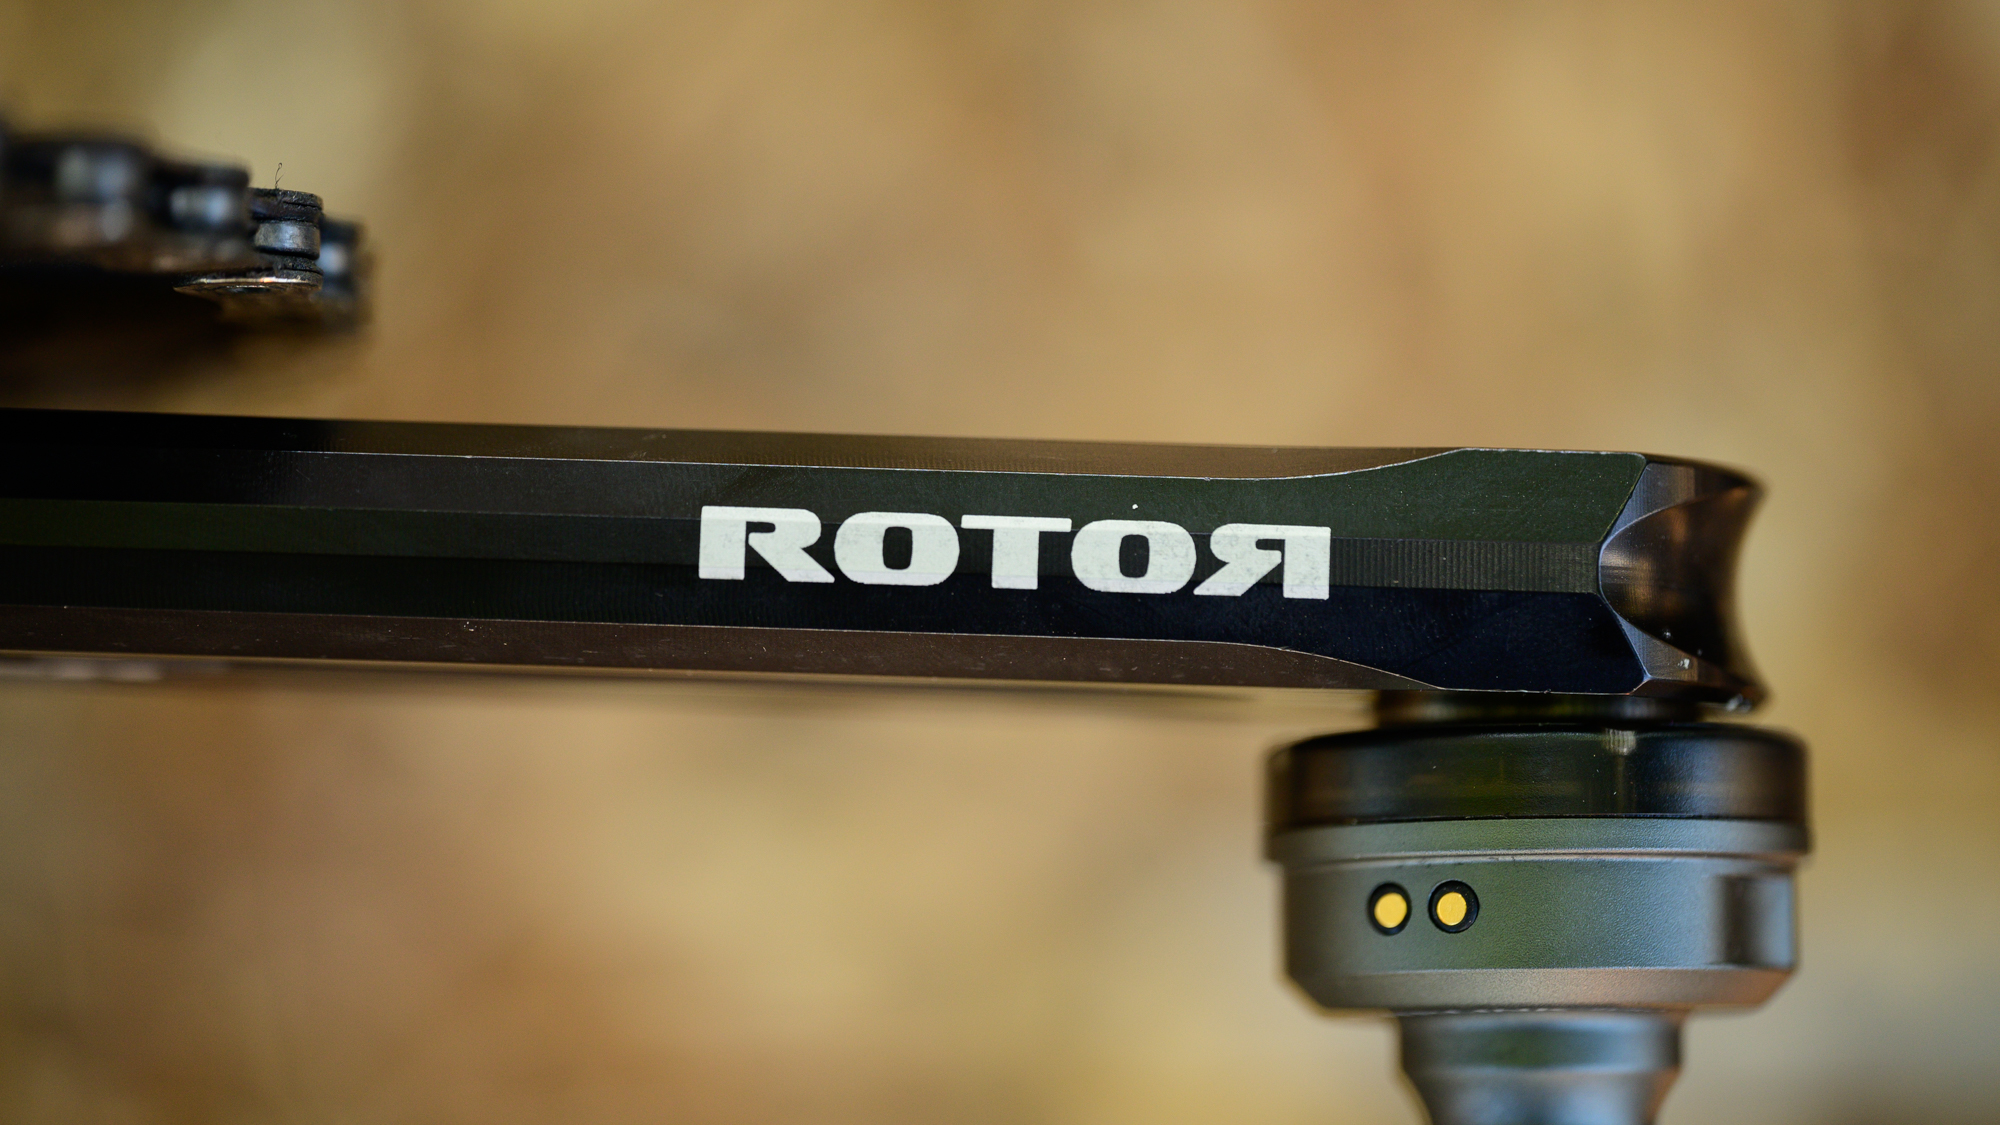
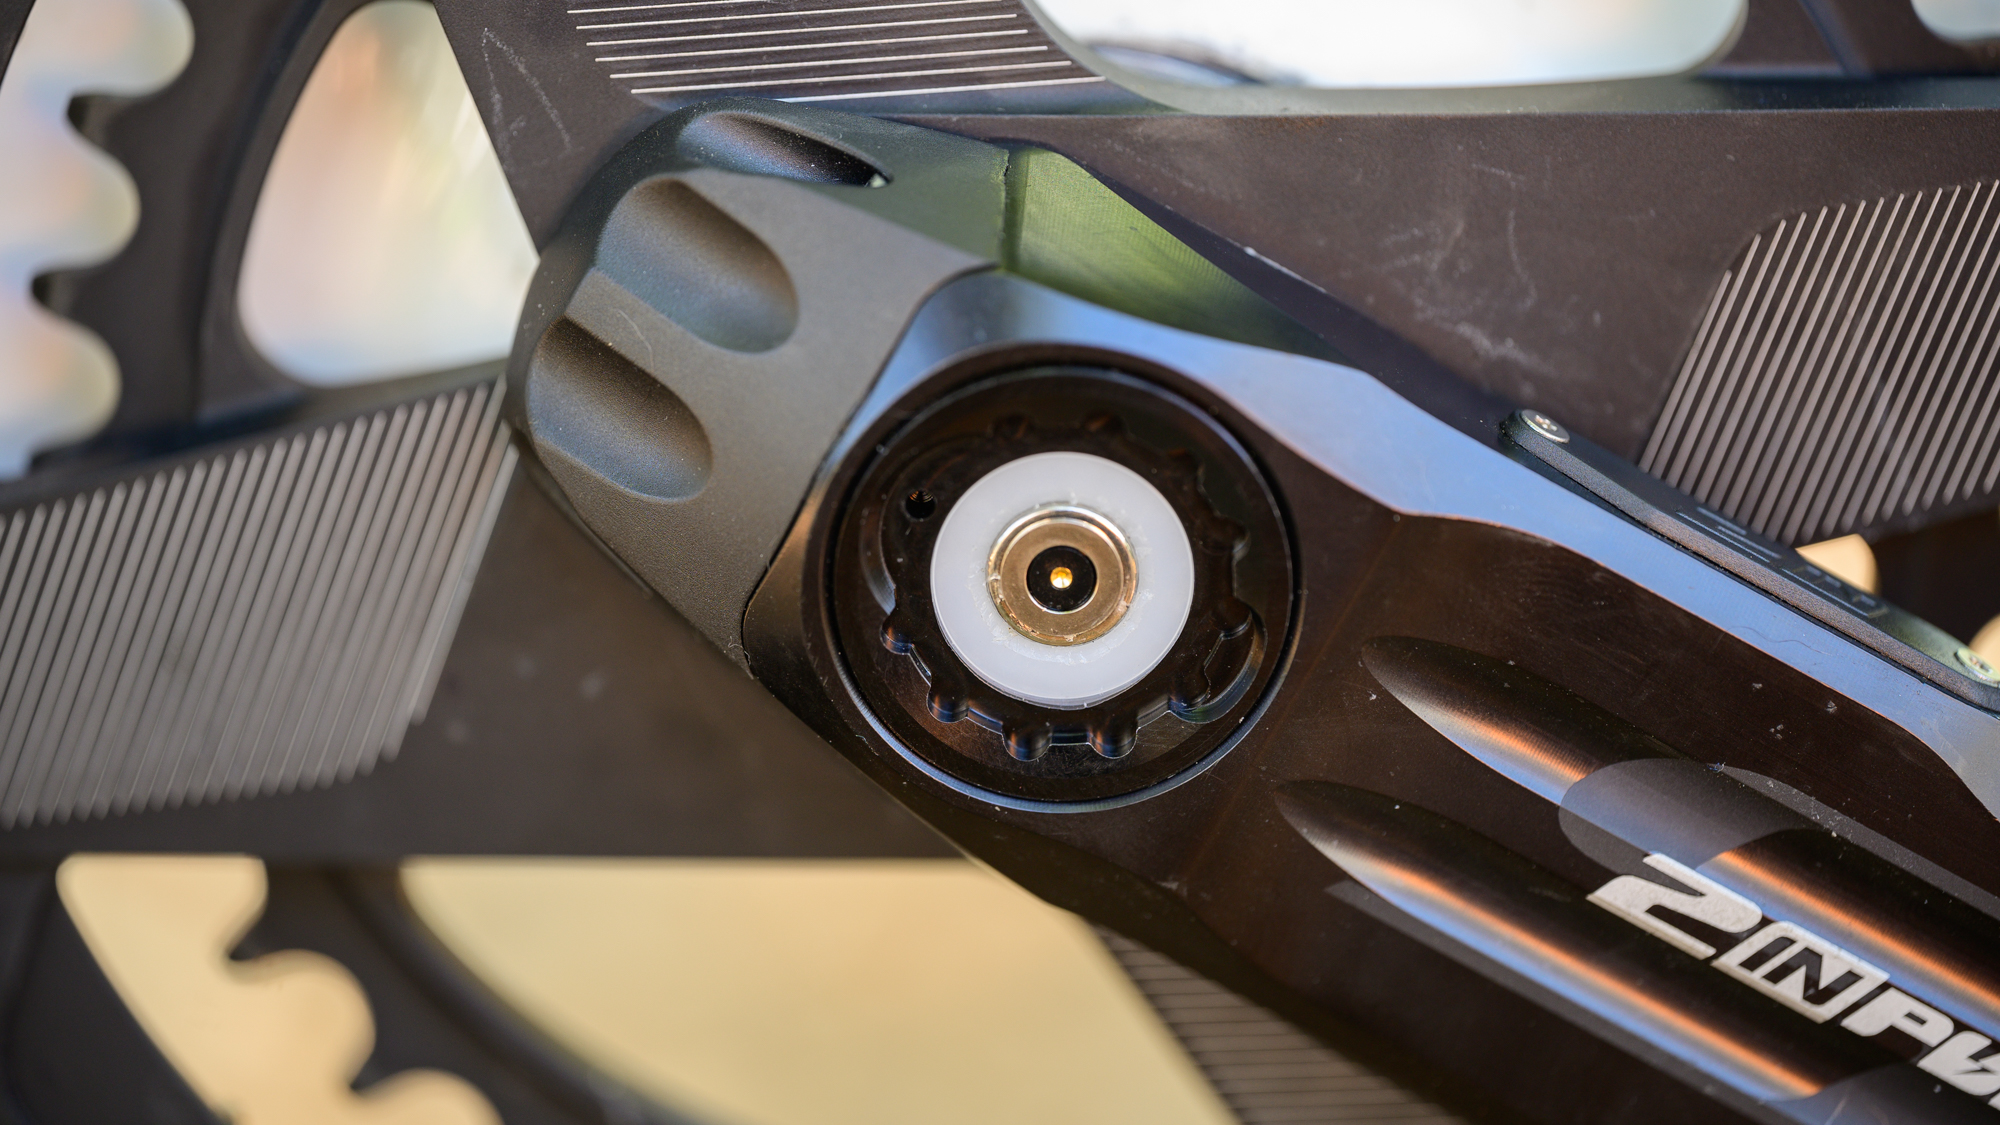
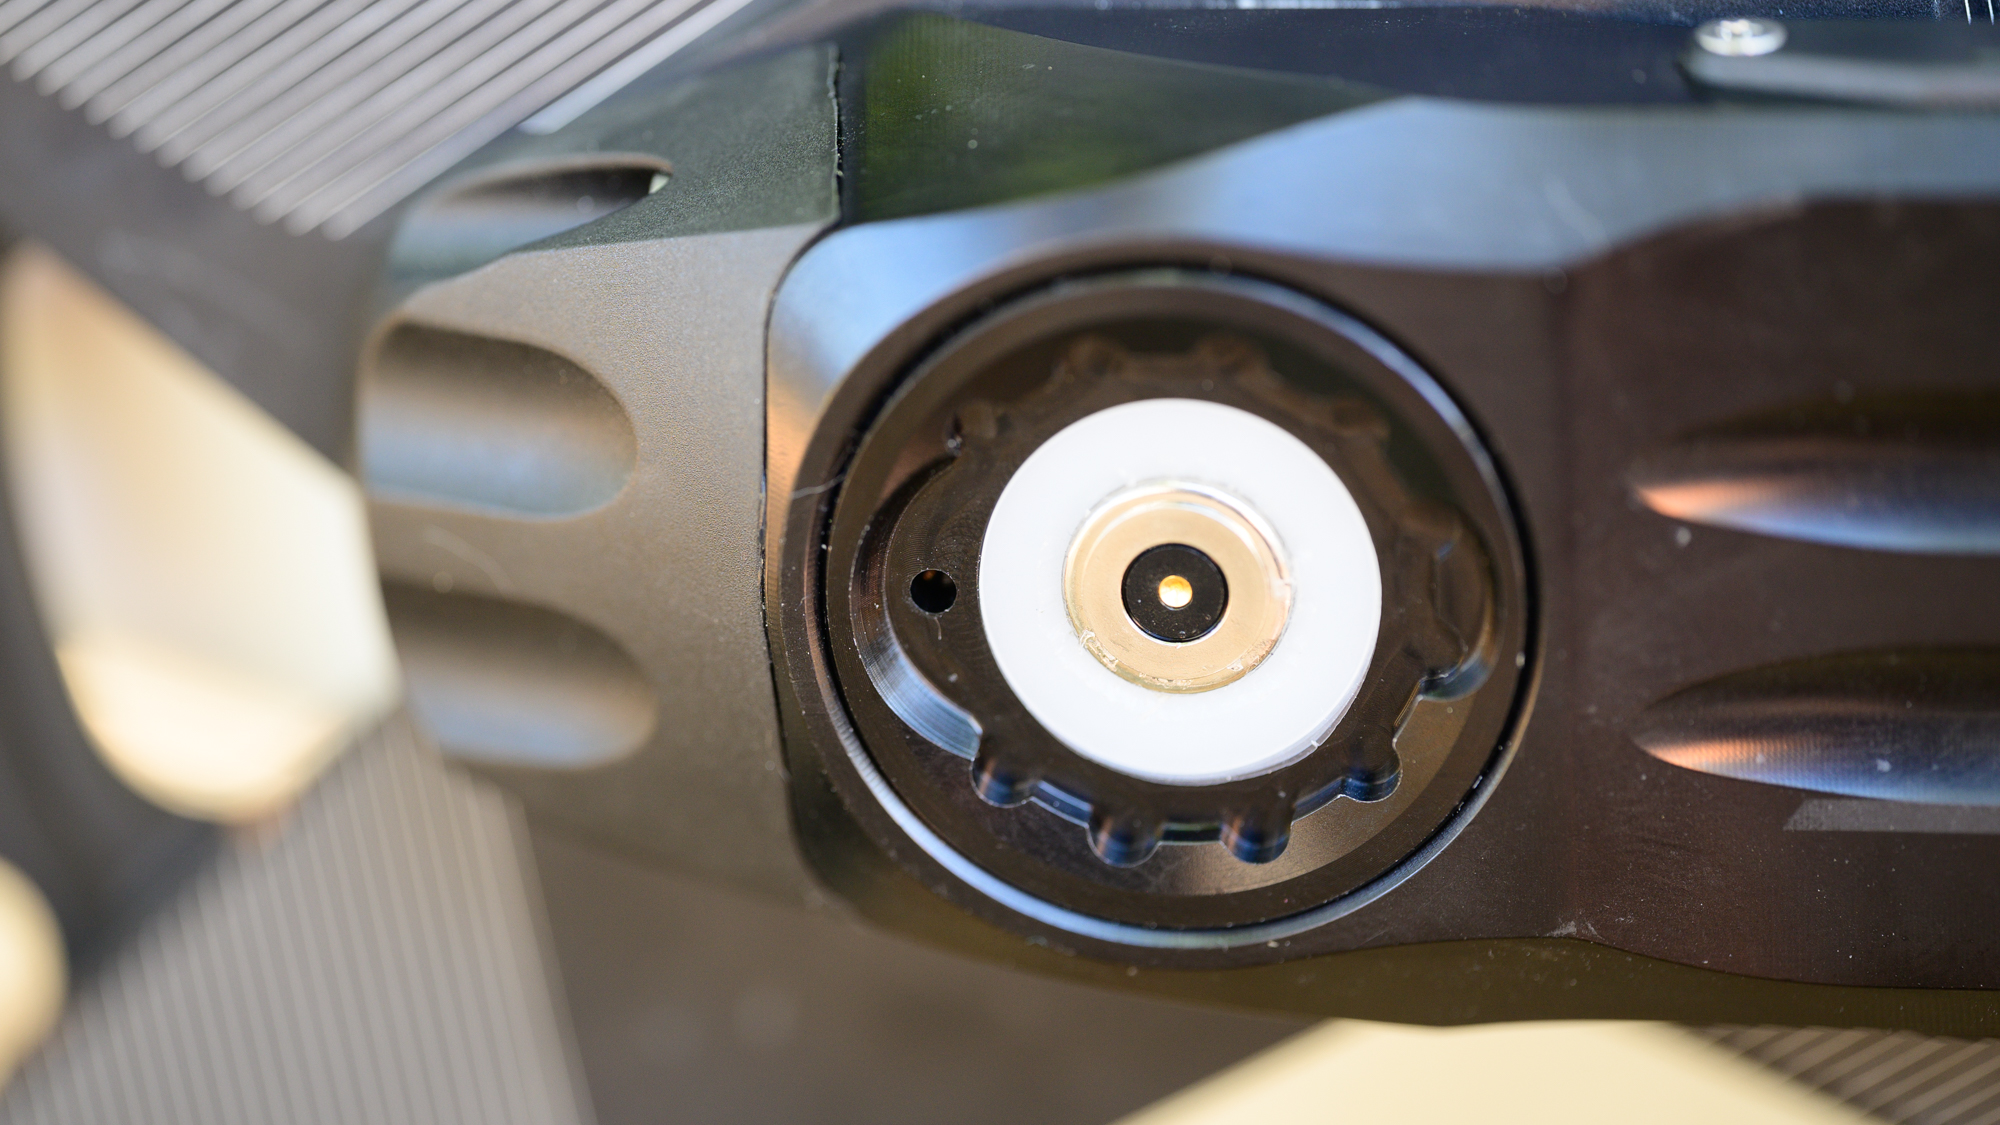
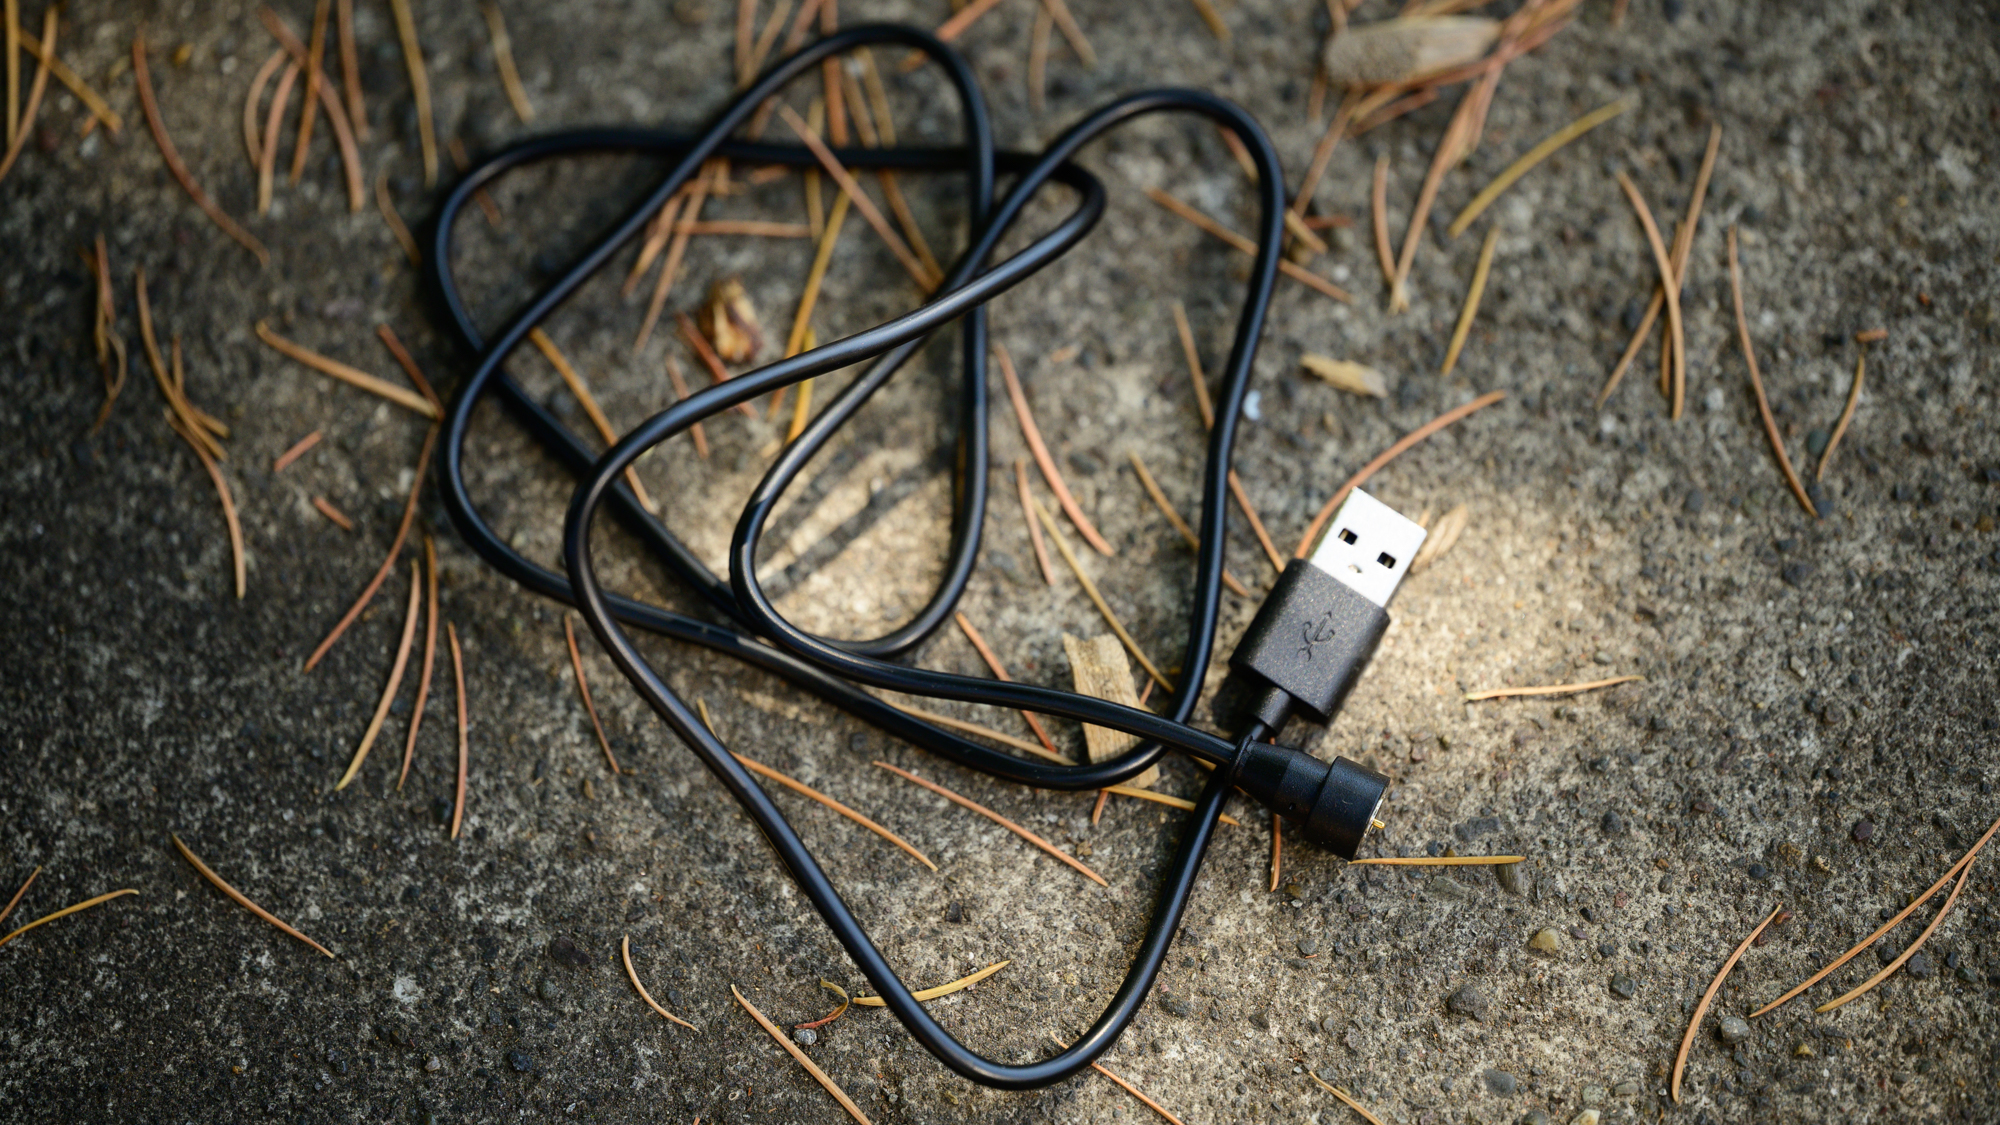
In the centre of the axle you'll find the electronics. From the outside what you see is a cover but the IP67 rating isn't dependent on that cover as it doesn't actually seal. The cover is only there to give a little protection to the magnetic charging port that sits in the centre. Three hours of charging gives 250 hours of riding so you won't be messing with that cover very often.
Performance
The very first thing I had to tackle was installing the crank. I'm not much of a bike mechanic but this is not a complicated system. I was able to use the same bottom bracket as the FSA crank I was replacing and there are some spacers to figure out but otherwise there's nothing complicated.
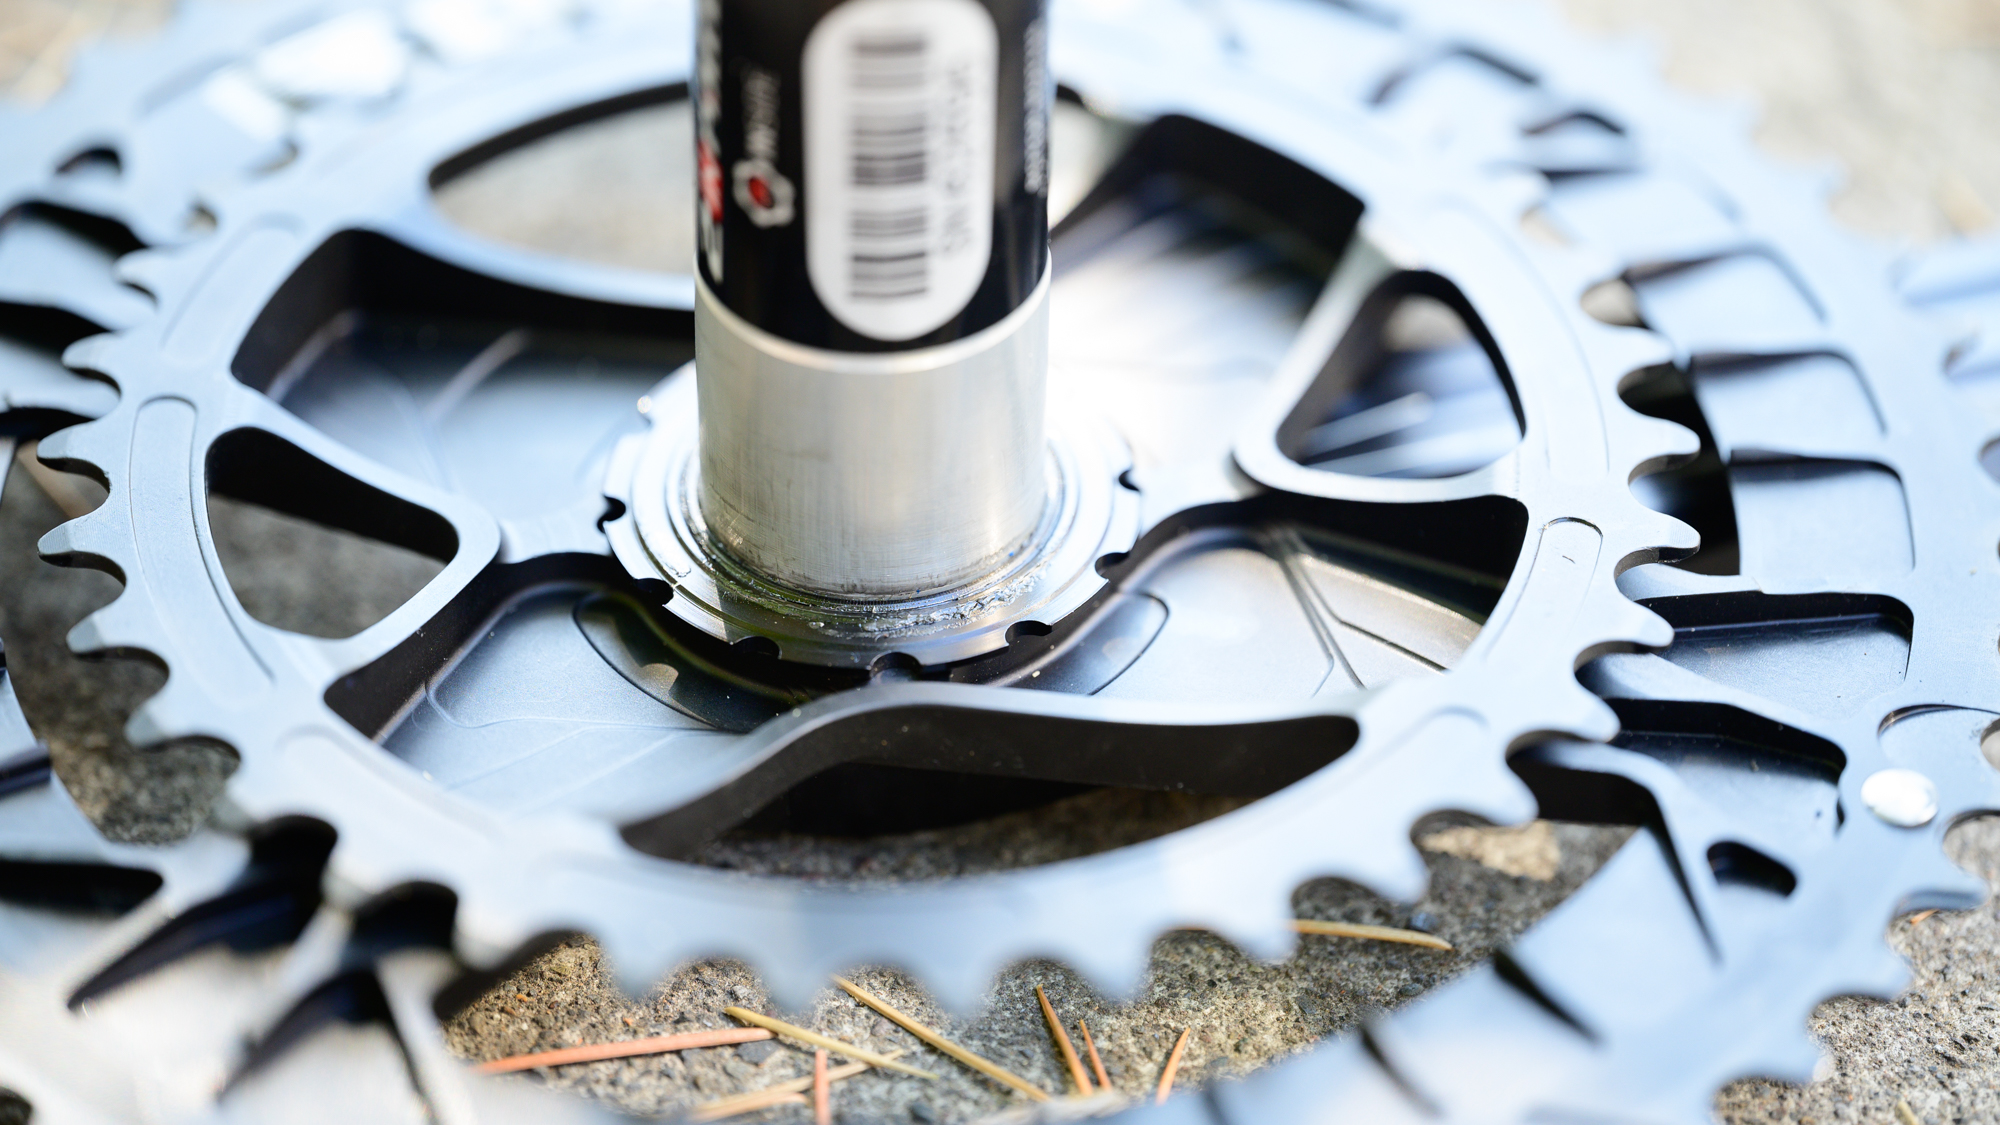
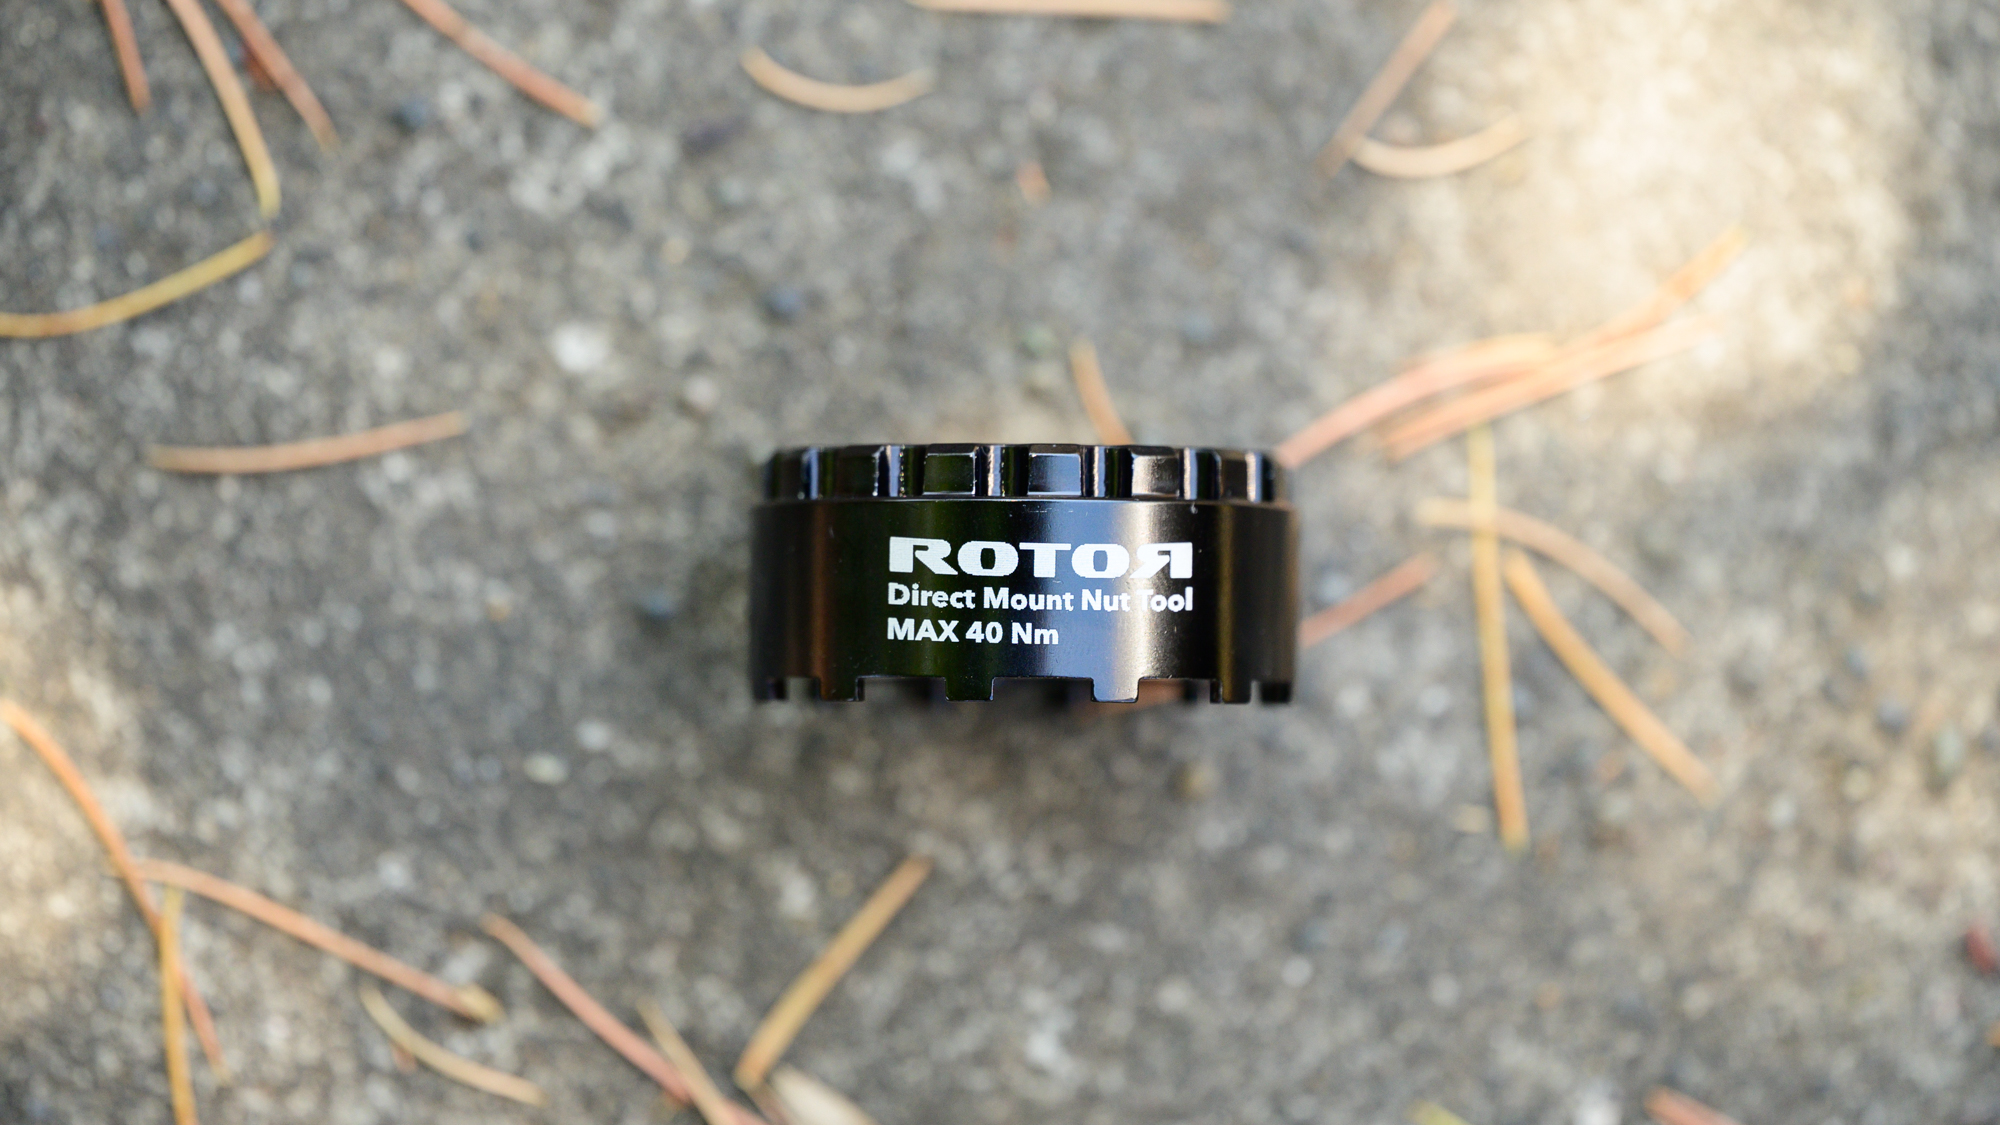
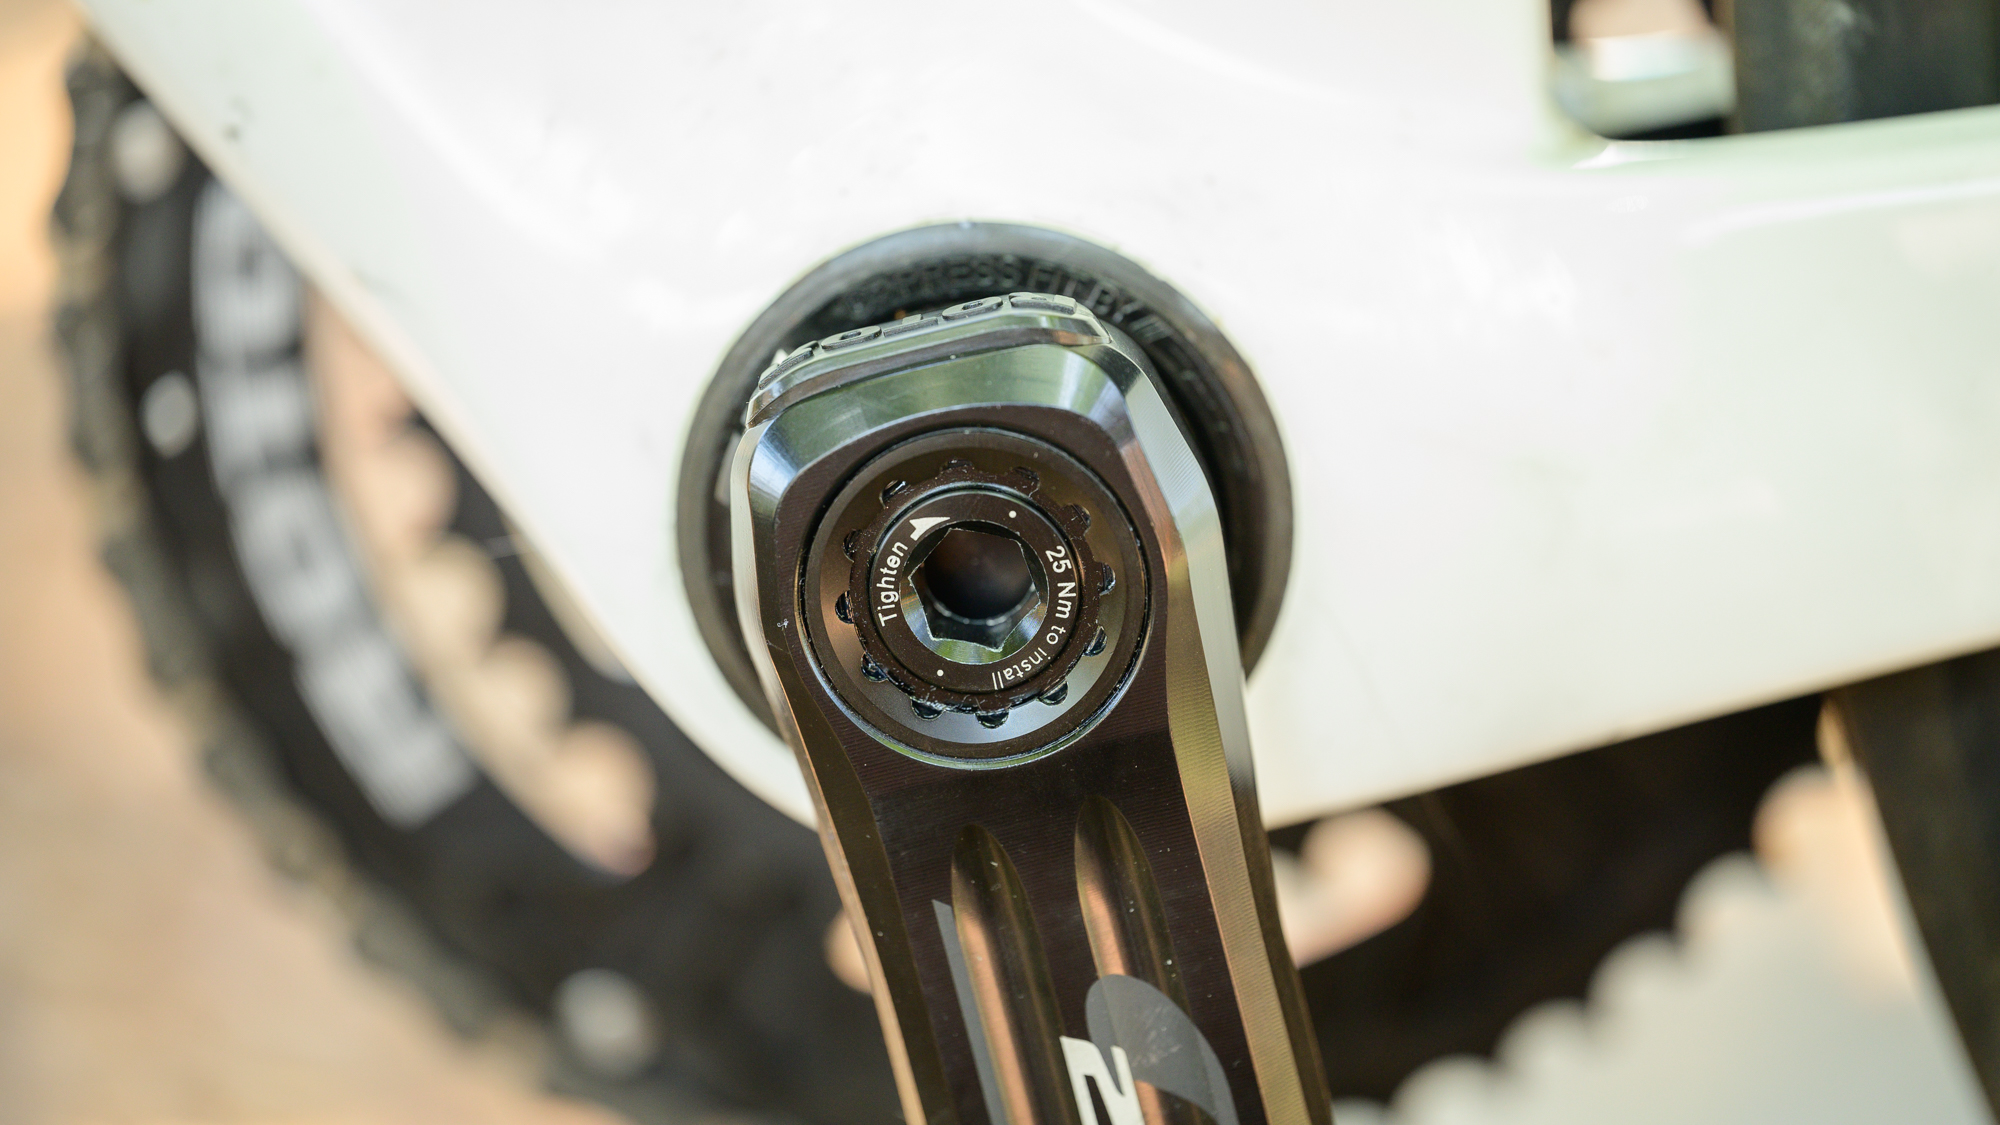
Rotor includes the tool you need for the direct mount chainrings. Slide the chainrings on the spindle and use the tool along with a bottom bracket/centre mount brake rotor lock ring tool to snug them up. There's a bolt on the non-drive side that you'll need to torque up and a pinch bolt and spacers to help take up side to side movement. When you've installed it, you'll need to pay attention to the zeroing procedure.
A couple of times recently I've had funky first ride results because I didn't exactly follow the initial zeroing procedure. In this case everything will happen through your head unit as Rotor doesn't have an app available right now. I'd argue that's a negative, but the zeroing process is very simple.
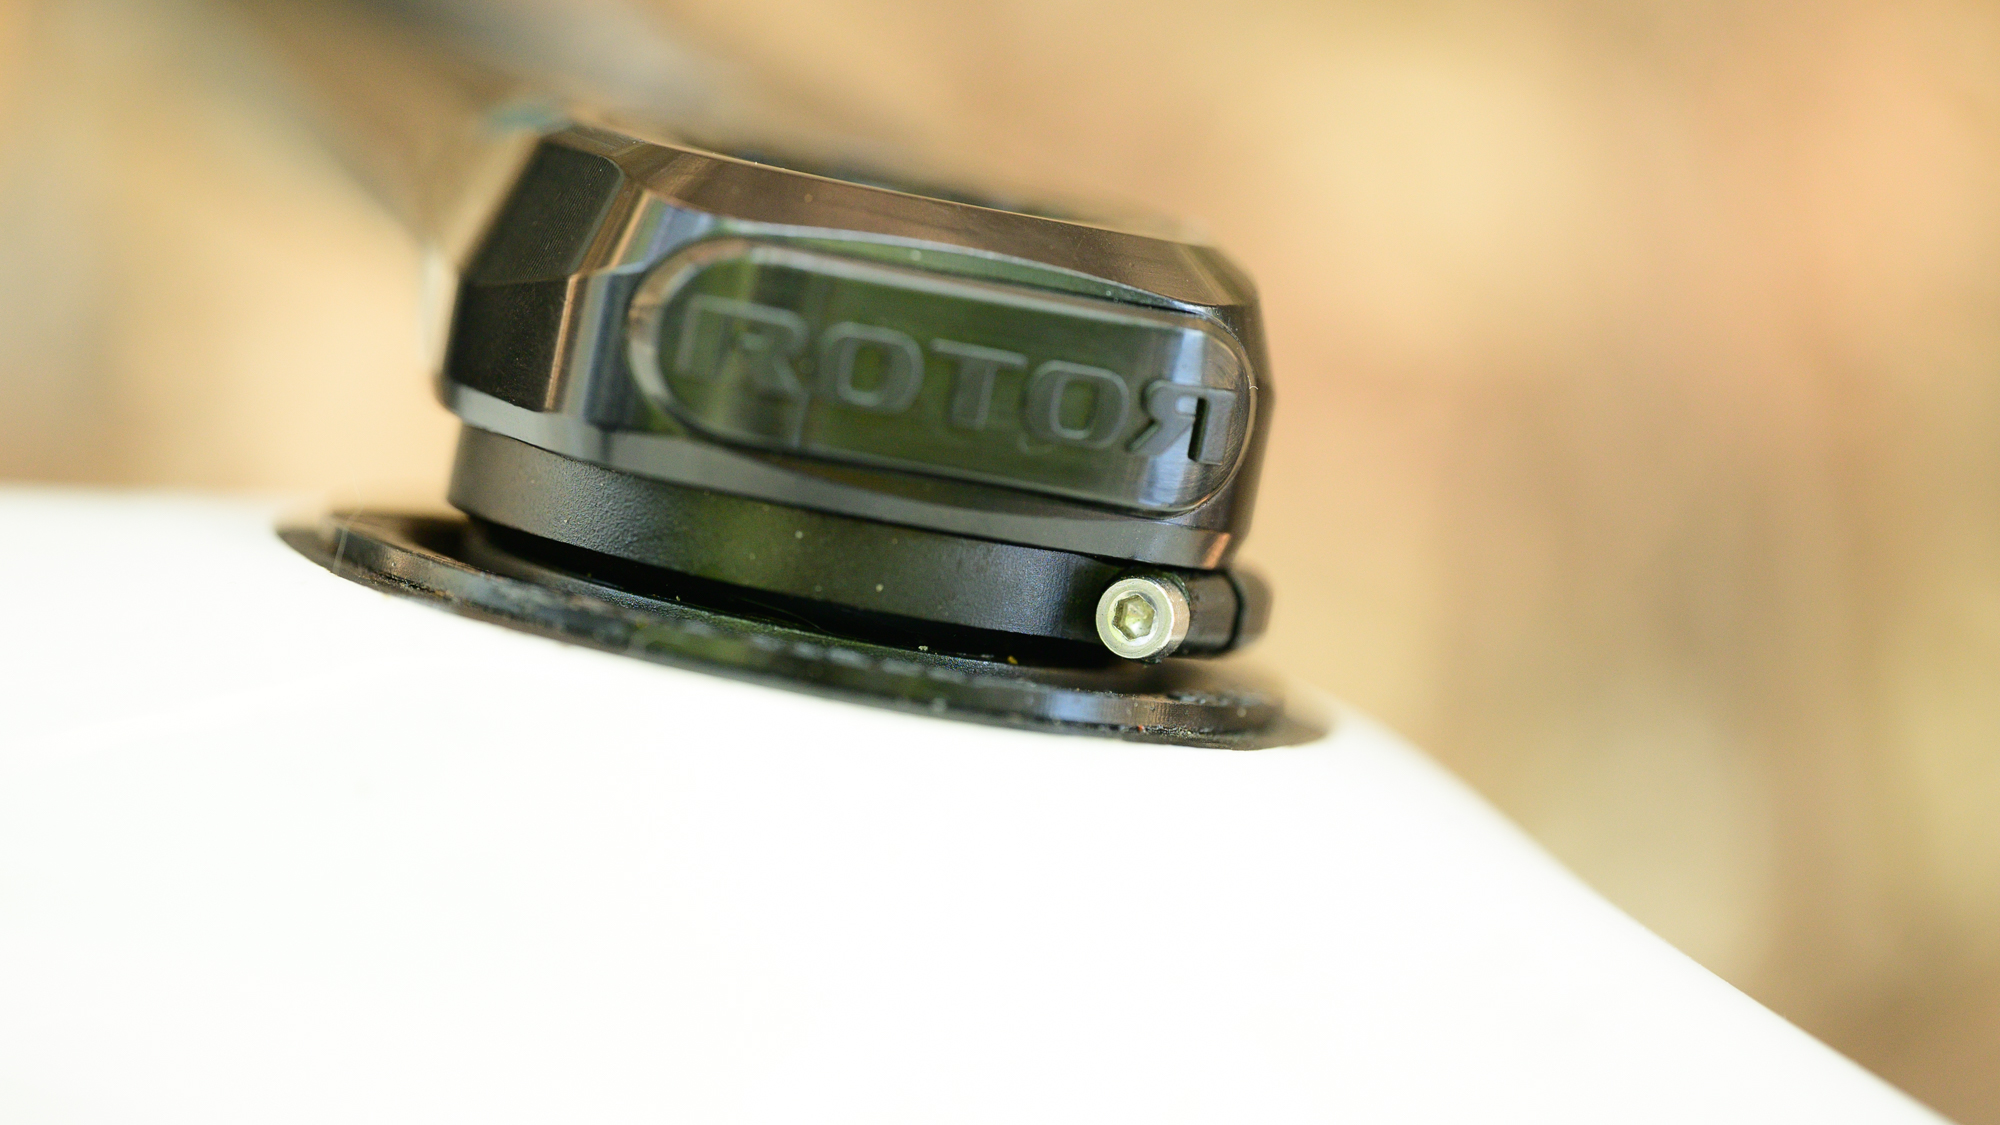
After you've paired the power meter, just pedal a bit and once the crank connects to your computer jump off your bike. First set the crank with the drive side vertical and do a zero procedure through your computer. Next rotate the cranks backwards twice and do it again. That's it, you should be good for around 20 hours then it's recommended you do another zero procedure.
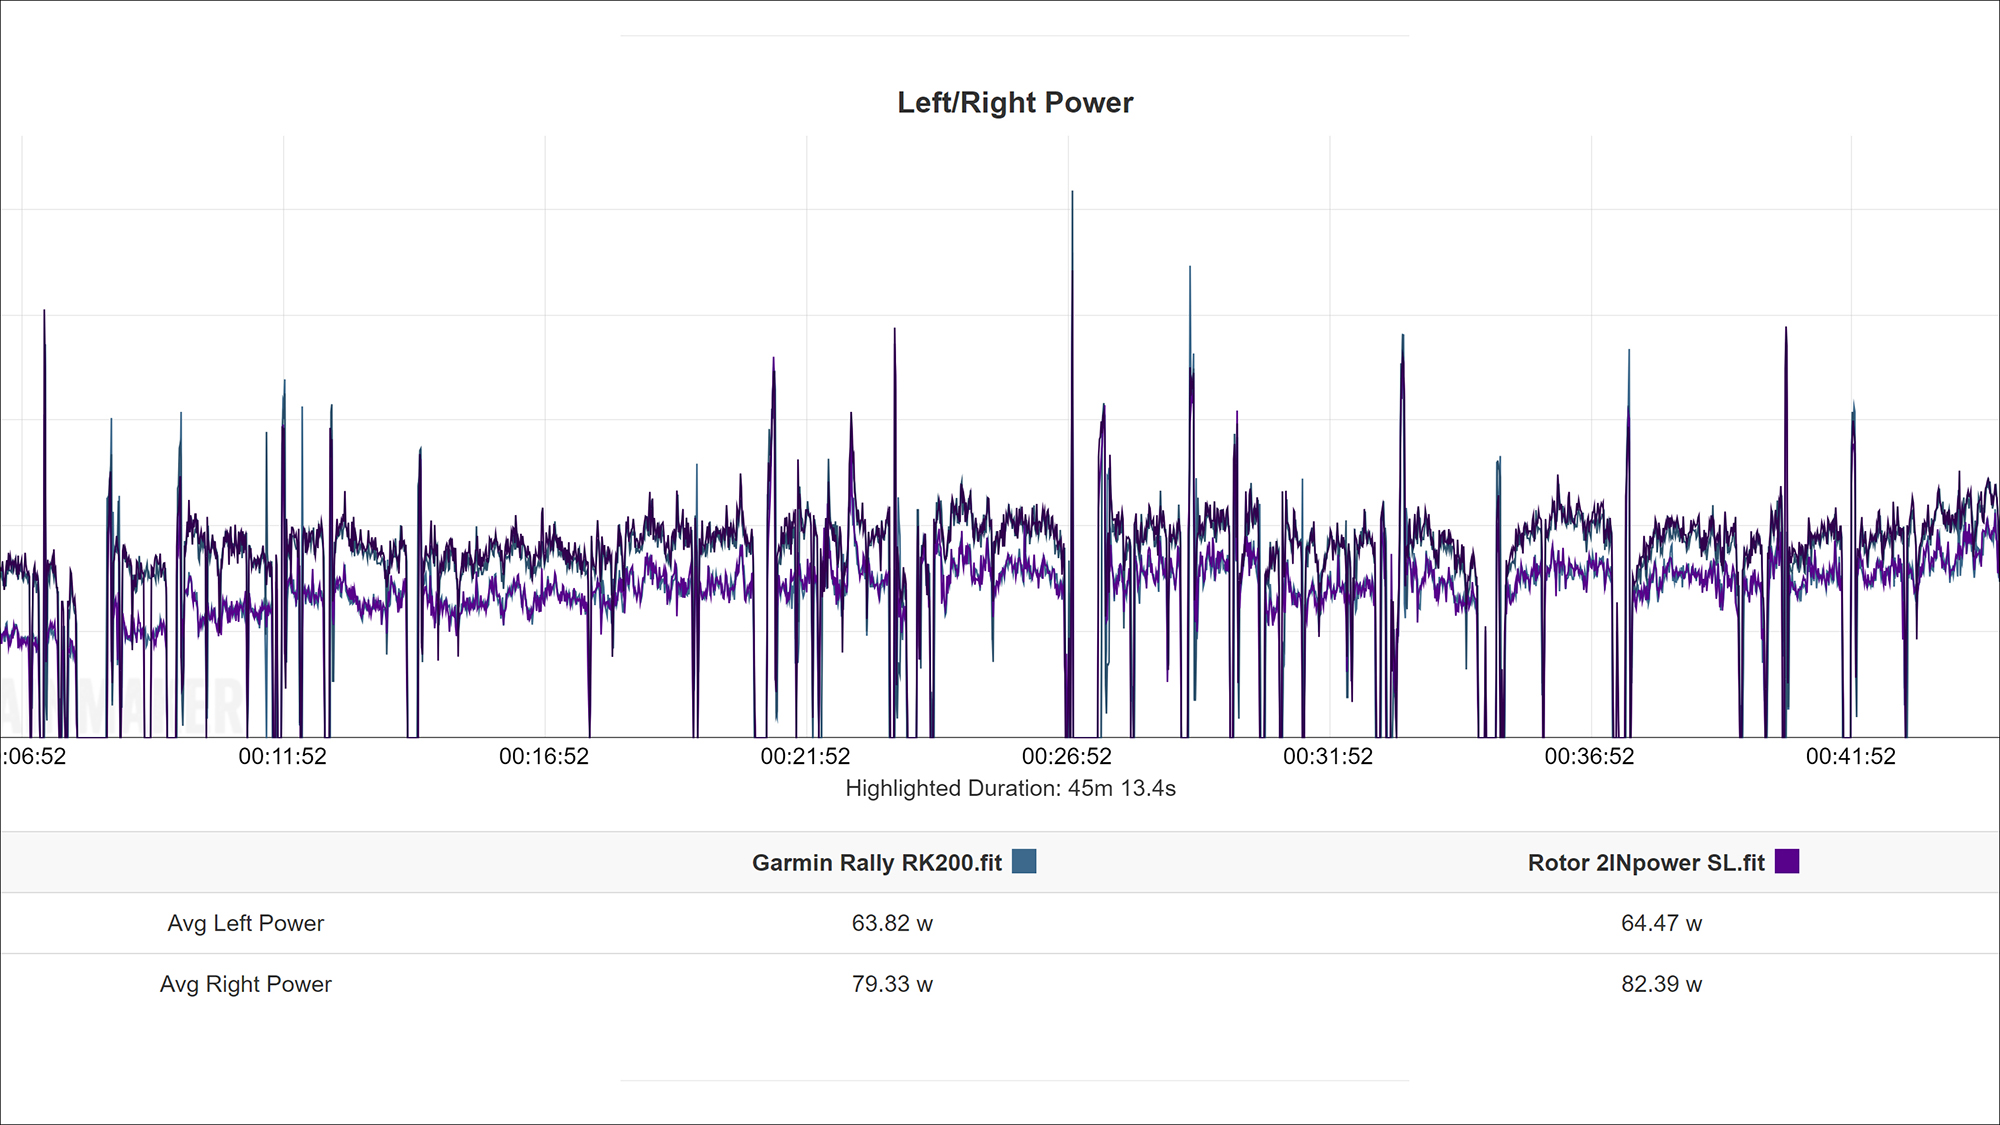
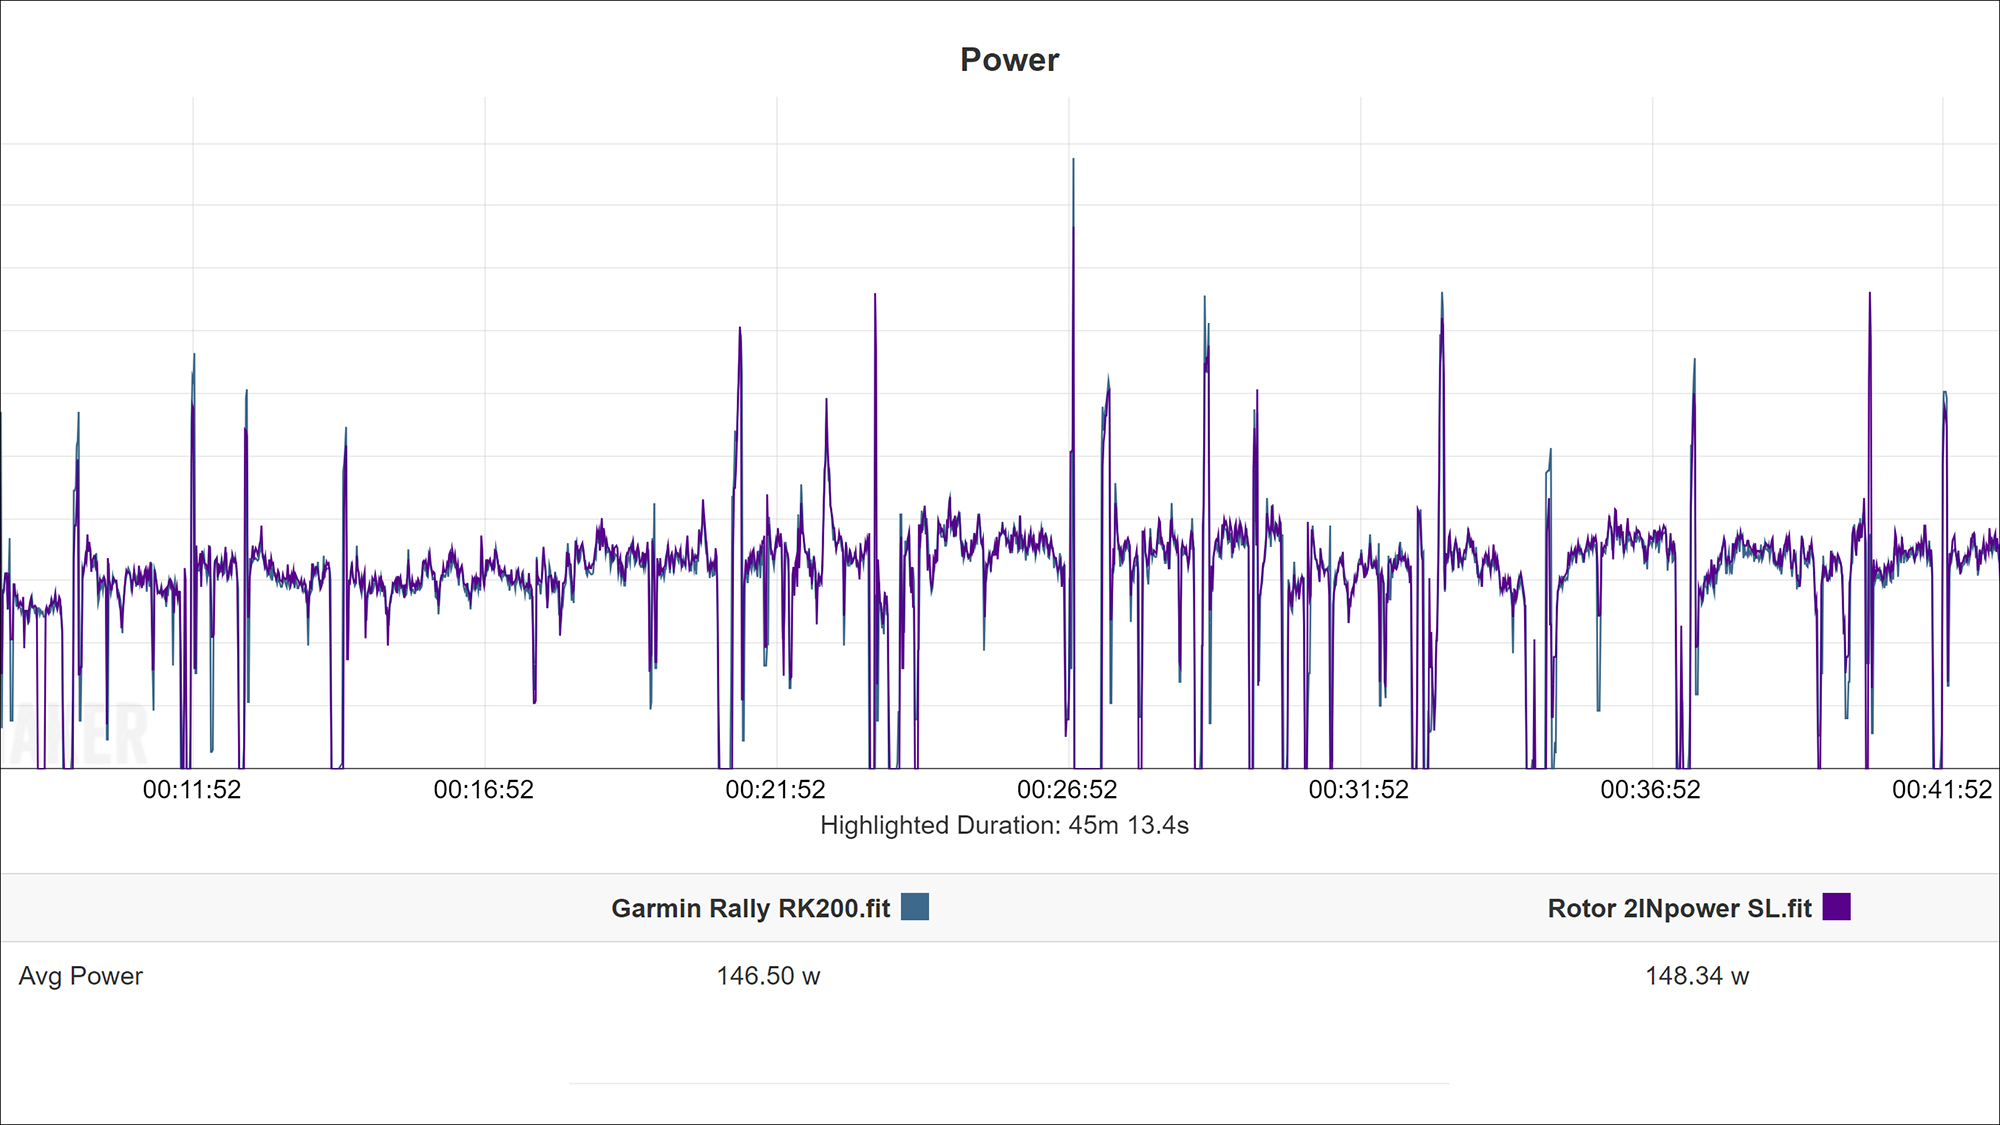
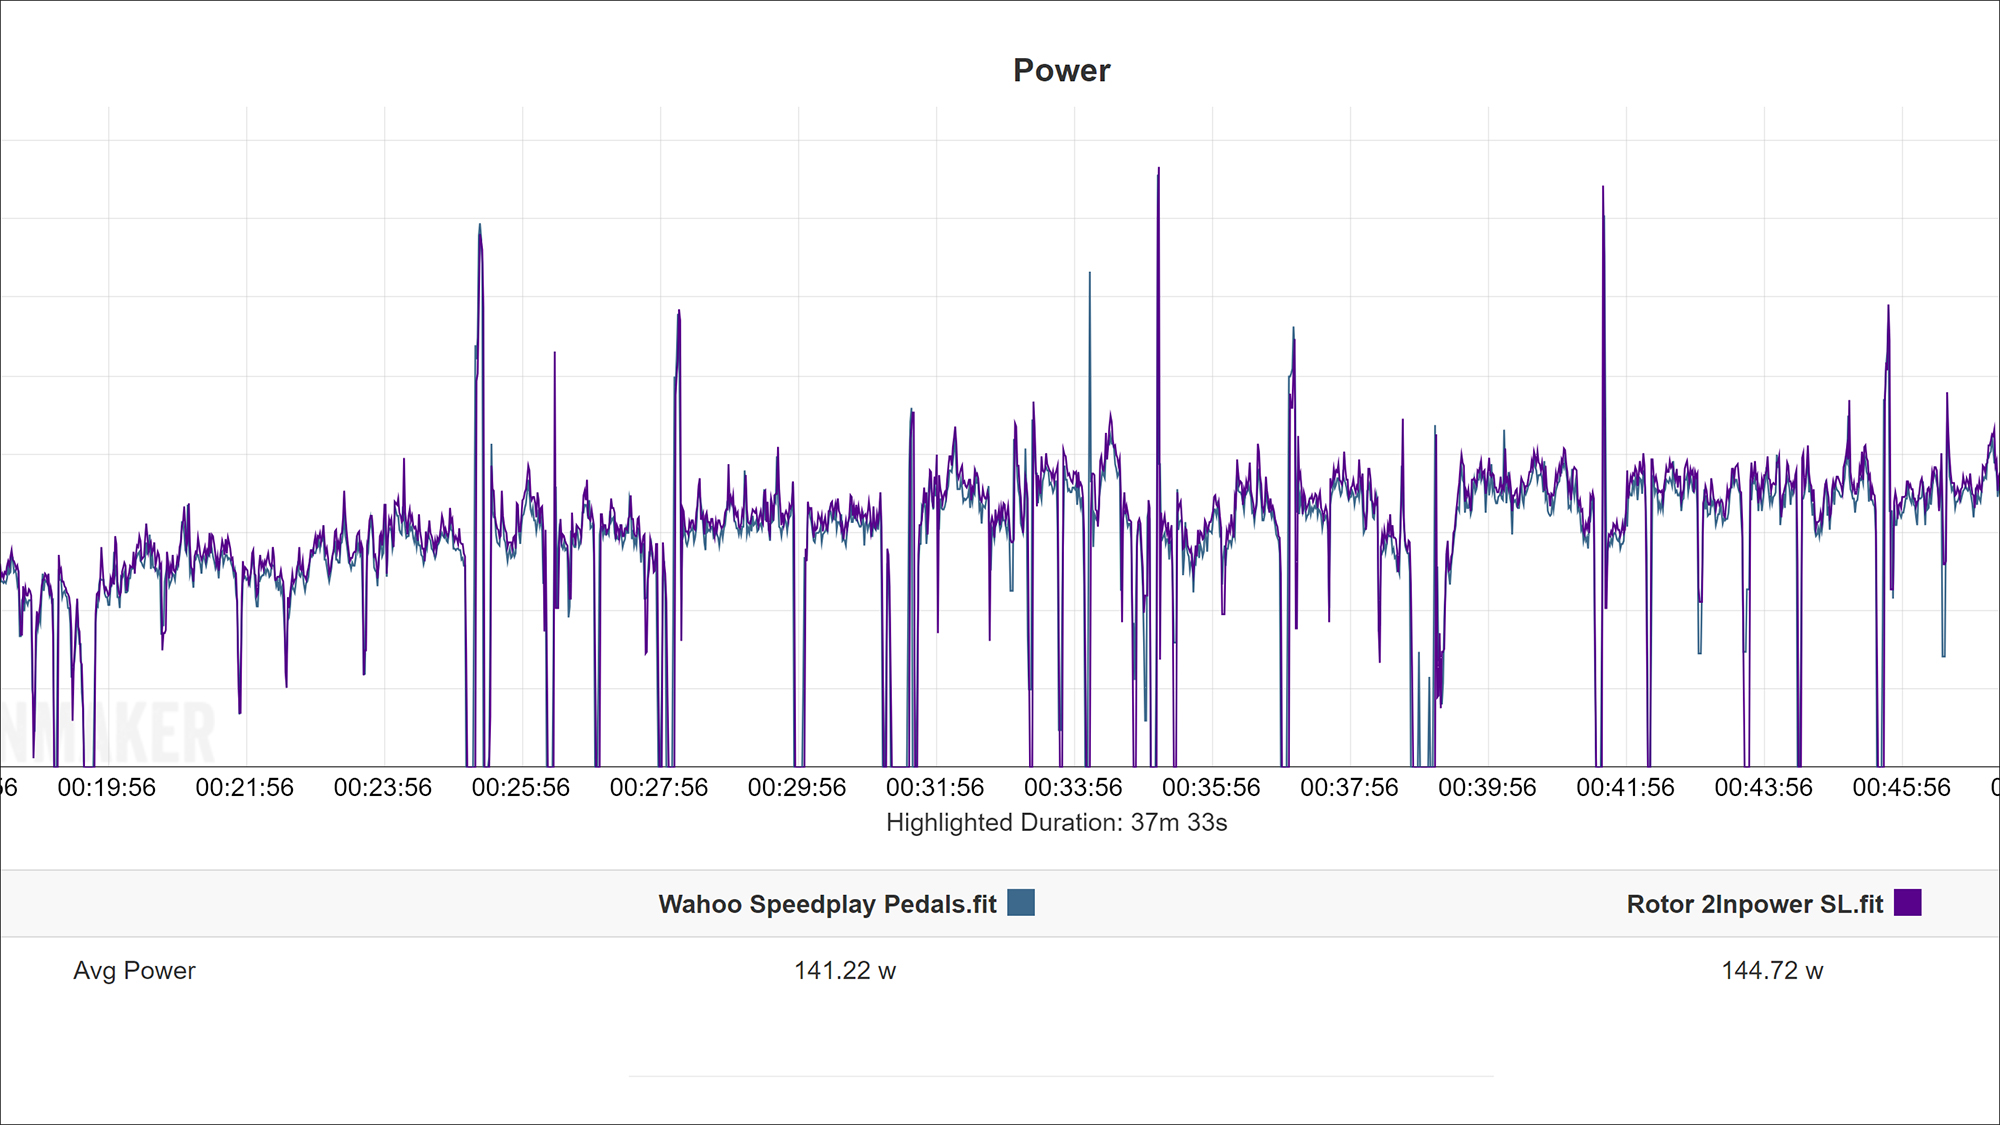
With that all out of the way, there's not much to report on. I tested the Rotor cranks against Wahoo Power Link Dual and Garmin RK200 pedals and when I analysed the data I got averages about 2-watts higher on the Rotor cranks. That's not enough difference to actually count as a difference but I would expect the Rotor crank to be a little lower given that it's farther from the source of the power. Still, even when zooming in, the difference is so close that there's nothing I can point to as being off. Both power meters track each other and both power meters have small spikes here and there that are slightly different.
The one thing I did notice is that the Rotor cranks are stiff. I don't put out a lot of power, and would never have expected I would notice, but Rotor confirmed its testing showed it to be rather stiff. You can only tell with a back to back comparison, but you can tell.
Verdict
The more I've learned about power meters, the less I'm convinced it matters if you have left and right vs whole power measurement. There is a difference between a power meter that only captures a single side, such as a Stages or a single sided pedal system, but spindle or spider based systems seem quite accurate. Which is to say, how important is it to have the lightest true dual sided power meter on the market? If you really want to go lightweight, there are lighter options out there.
That's not me trying to say the Rotor 2INpower SL isn't worth a purchase. I just want to make sure we focus on what's important. My testing shows this is an accurate power meter and, need it or not, it's dual sided. For some people that's going to be a big draw. It's also close to the lightest crank based power meter out there, it's very stiff, has one of the best battery life specs on the market, and generally looks great.
The bigger issue you might run into is that you can't run smaller than a 35 inner chainring. If you like the 46/33 SRAM gearing you can't get that with Rotor and even 48/35 will mean switching away from the direct mount chainring. You'll also run into issues with GRX gearing for gravel bikes unless you want to run 1x and even then you can't go less than 40t. Although there are what seems to be a lot of chainring options, the reality is a bit more limited.
There's also the style aspect to consider. It might seem silly but is a machined aluminium crank the visual you want for your bike? You'll have to decide what works for you but it's a valid consideration.
