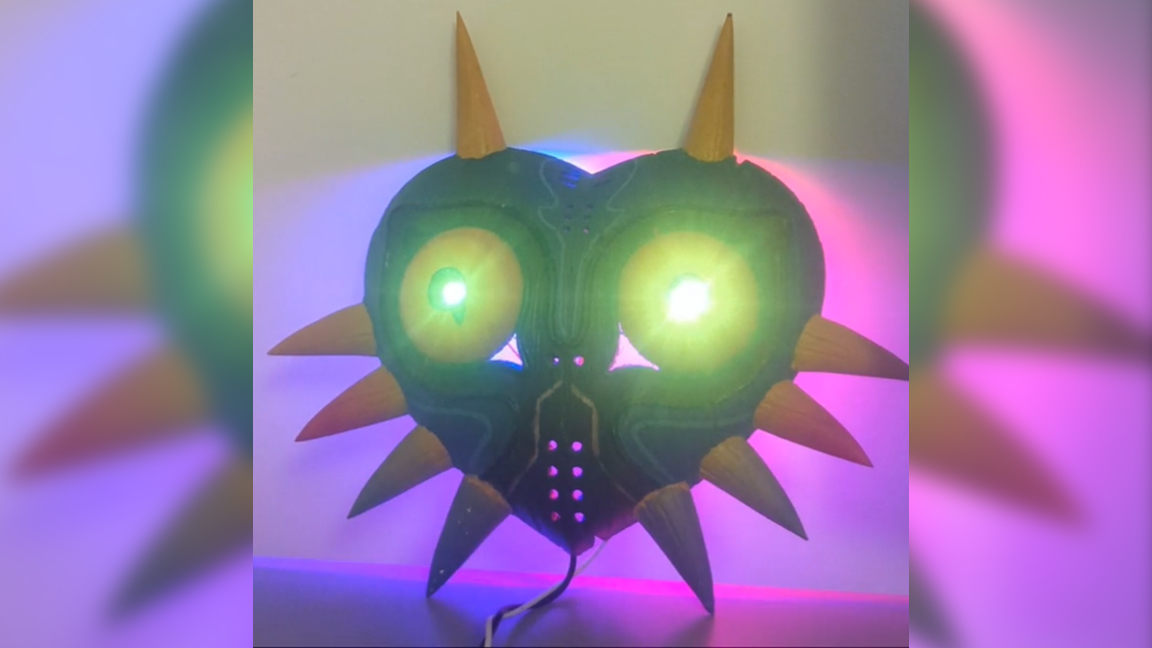
If there’s one thing the Raspberry Pi can do, it’s help bring fantasy worlds to life. From realistic props to interactive decor, makers have been known to create some seriously fantastic Pi-powered creations from imaginative works like movies and video games. Today, we have another such creation to share with you from a maker known as Aesz14 over at Reddit, who created a copy of Majora’s Mask, from video game The Legend of Zelda: Majora’s Mask, and programmed it to respond to sound by flashing LEDs.
The entire project is driven by our favorite SBC, the Raspberry Pi. According to Aesz14, it uses 100 individual LEDs including 2 that are reserved just for the eyes. A microphone listens for audio which triggers the color and brightness of the LEDs to change. The pitch of the audio as well as its intensity will determine the effect in real time.
The mask is 3D printed and took over 80 hours to print. The entire project took roughly 200 hours altogether to finish. We dug a little deeper and confirmed that yes, Aesz14 did have to use the ocarina to build the project, having played the Inverted Song of Time many times to slow down time long enough to complete the work.
Hardware-wise, it uses a Raspberry Pi 3 B but there’s no reason you couldn’t use a Pi Zero or a Pi 4 in its place. The mask was printed using a Prusa MKS3 and consists of 8 separate parts. Aesz14 opted to use wood-based PLA and glued the components together using wood glue. For the final touch, the mask was painted with acrylic paint three times to give it the right look and feel.
Aesz14 was kind enough to share all of the code used in the project. Everything is Python based using a couple of familiar libraries like Pyaudio and Numpy to pull off. You can find the full source code over at Pastebin to see how everything operates.
If you want to recreate this Raspberry Pi project or just get a closer look at how this one goes together, check out the original project thread shared to Reddit. There, you’ll also find an awesome video of the final build in action. Be sure to follow Aesz14 for future projects as well as any updates on this one.


