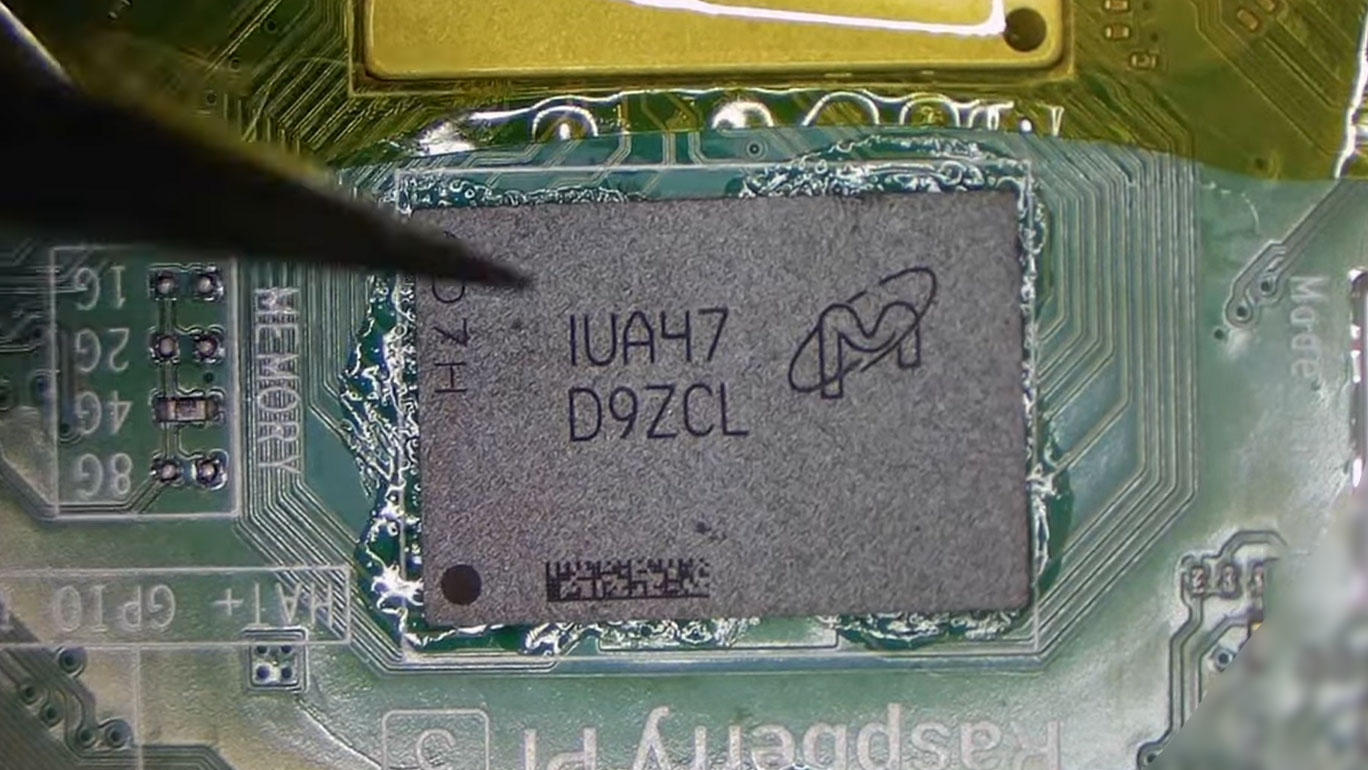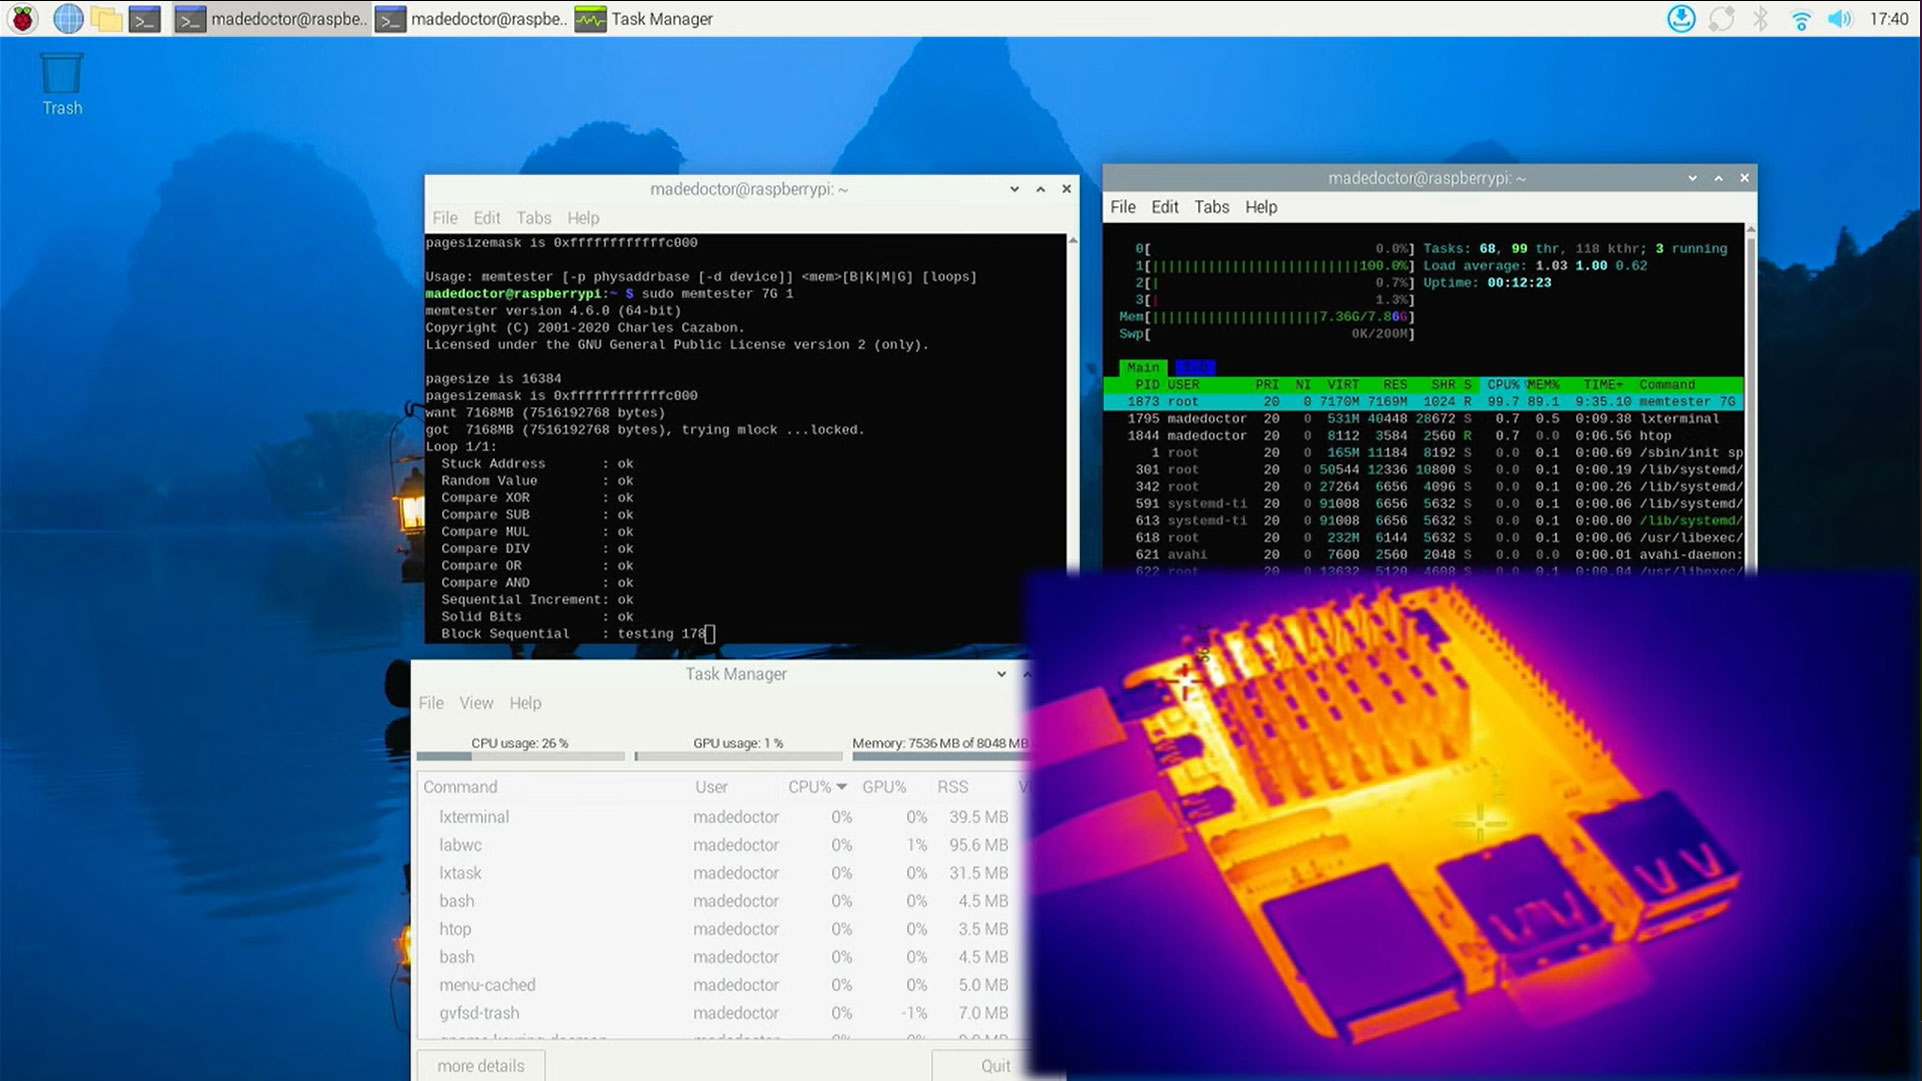
An electronics upgrade and repair wizard has demonstrated how to boost the Raspberry Pi 5’s RAM quota. MadEDoctor shared a brief video on YouTube where they removed the 4GB RAM chip from a Raspberry Pi 5 and soldered on an 8GB alternative, commonly used on the older Raspberry Pi 4. No esoteric tools were used during the process, just a good quality soldering iron and hot air rework station, as you can find among our Best Soldering Irons and Stations 2024 page.
The Raspberry Pi 5 and the 4 before it, both had multiple RAM options. Ranging from 1GB to 8GB (although we are yet to see a Pi 5 1GB, but there is a 2GB model), both boards just need a RAM chip to be swapped out in order to get the extra memory. The amount of RAM installed on a Raspberry Pi 5 is identified thanks to a 0 Ohm resistor soldered to the board. For the Raspberry Pi 4, we have to do a little detective work.
The Pi 5’s LPDDR4X memory “is just a little bit faster than LPDDR4 memory” used on the Pi 4, according to the good ‘doctor.’ With no other material difference, it can be used for upgrades instead of the currently hard-to-source LPDDR4X ICs the Pi 5 uses. However, official specs suggest there is quite a notable difference in RAM speeds, upgrading from 3,200 to 4,267 MT/s using the newer LPDDR4X.
MadEDoctor kicked off his RAM upgrade demo by hooking up a new Raspberry Pi 5 4GB to confirm it was operating flawlessly, fresh from the retail box. the 4GB model is the sweet spot for price versus performance. Although, the 2GB model does use the latest revision of the BCM2712, the D0. This cost-optimized version removes all of the non-Raspberry Pi specific logic and still provides a great overall experience.
Interestingly, during the initial survey of the Pi 5 PCB, MadEDoctor informs viewers that the resistor showing the memory quota is there for visual effect only – moving it has no effect on the RAM recognized. This would be proved to be the case at the end of the video. So no free RAM upgrades by desoldering the 0 Ohm resistor!
Getting on with the physical RAM chip removal task, the doctor’s advice seems to be that 410 degrees Celsius with 90% airflow is the sweet spot for a hot air workstation. Nearby heat-sensitive components were shielded by Kapton tape, by placing other inert hot air-blocking objects on or over them, or by temporary removal. We loved the use of a large washer to act as a weight and makeshift heatsink.
Once the old BGA (Ball Grid Array) memory chip was removed, MadEDoctor got to work cleaning off the exposed pads using a soldering iron, flux, and solder braid. The goal was to leave the pads on the PCB as flat and clean as possible.
Now, the PCB was ready for a fresh squirt of flux and installation of the replacement RAM chip. MadEDoctor set the hot air station to 370 degrees Celsius and 70% airflow to solder the new IC in place – frequently push-testing the IC to see when its solder balls had joined up with the corresponding pads thanks to cohesive surface tension.

With the job hardware mod done, any heat-sensitive parts of the PCB that had been removed out of caution were put back, and the new RAM quota and its functionality were confirmed by booting the Pi 5 and using software tools.
If the above process sounds a little familiar, then you may remember the good doctor’s previous work in upgrading the Pi4 from 4 to 8GB of RAM. MadEDoctor also tried to fit 16GB memory on the Pi4, but with less success, as some apps/OSes didn’t recognize the expanded memory correctly.


