Ableton Live 12’s new Generative and Transformation MIDI Tools (available in Standard and Suite editions) are a great way to add musical parts that we might not come up with on our own.
They apply to MIDI notes only, and are divided into two distinct categories – generative (where entirely new notes are created) and transformative (where existing MIDI notes inside a clip are rearranged in various ways).
These aren’t fully ‘generative’ in the sense of creating continuously evolving patterns, but they are very good for creating musical parts to use in compositions, and, if you really want something non-repeating for a song, you could try applying them to very long MIDI clips. As we see the growing use of AI, we have to ask ‘is this cheating?’, and the answer is ‘no more than using any other feature of a DAW is cheating’.
They’re tools that we manipulate to get what we want; they’re not in control of us, and we really enjoy using them. Follow our walkthrough as we create a beat and a bass part using these tools. We recommend working at slower BPMs while you get familiar with the process, things can sound chaotic quite quickly.
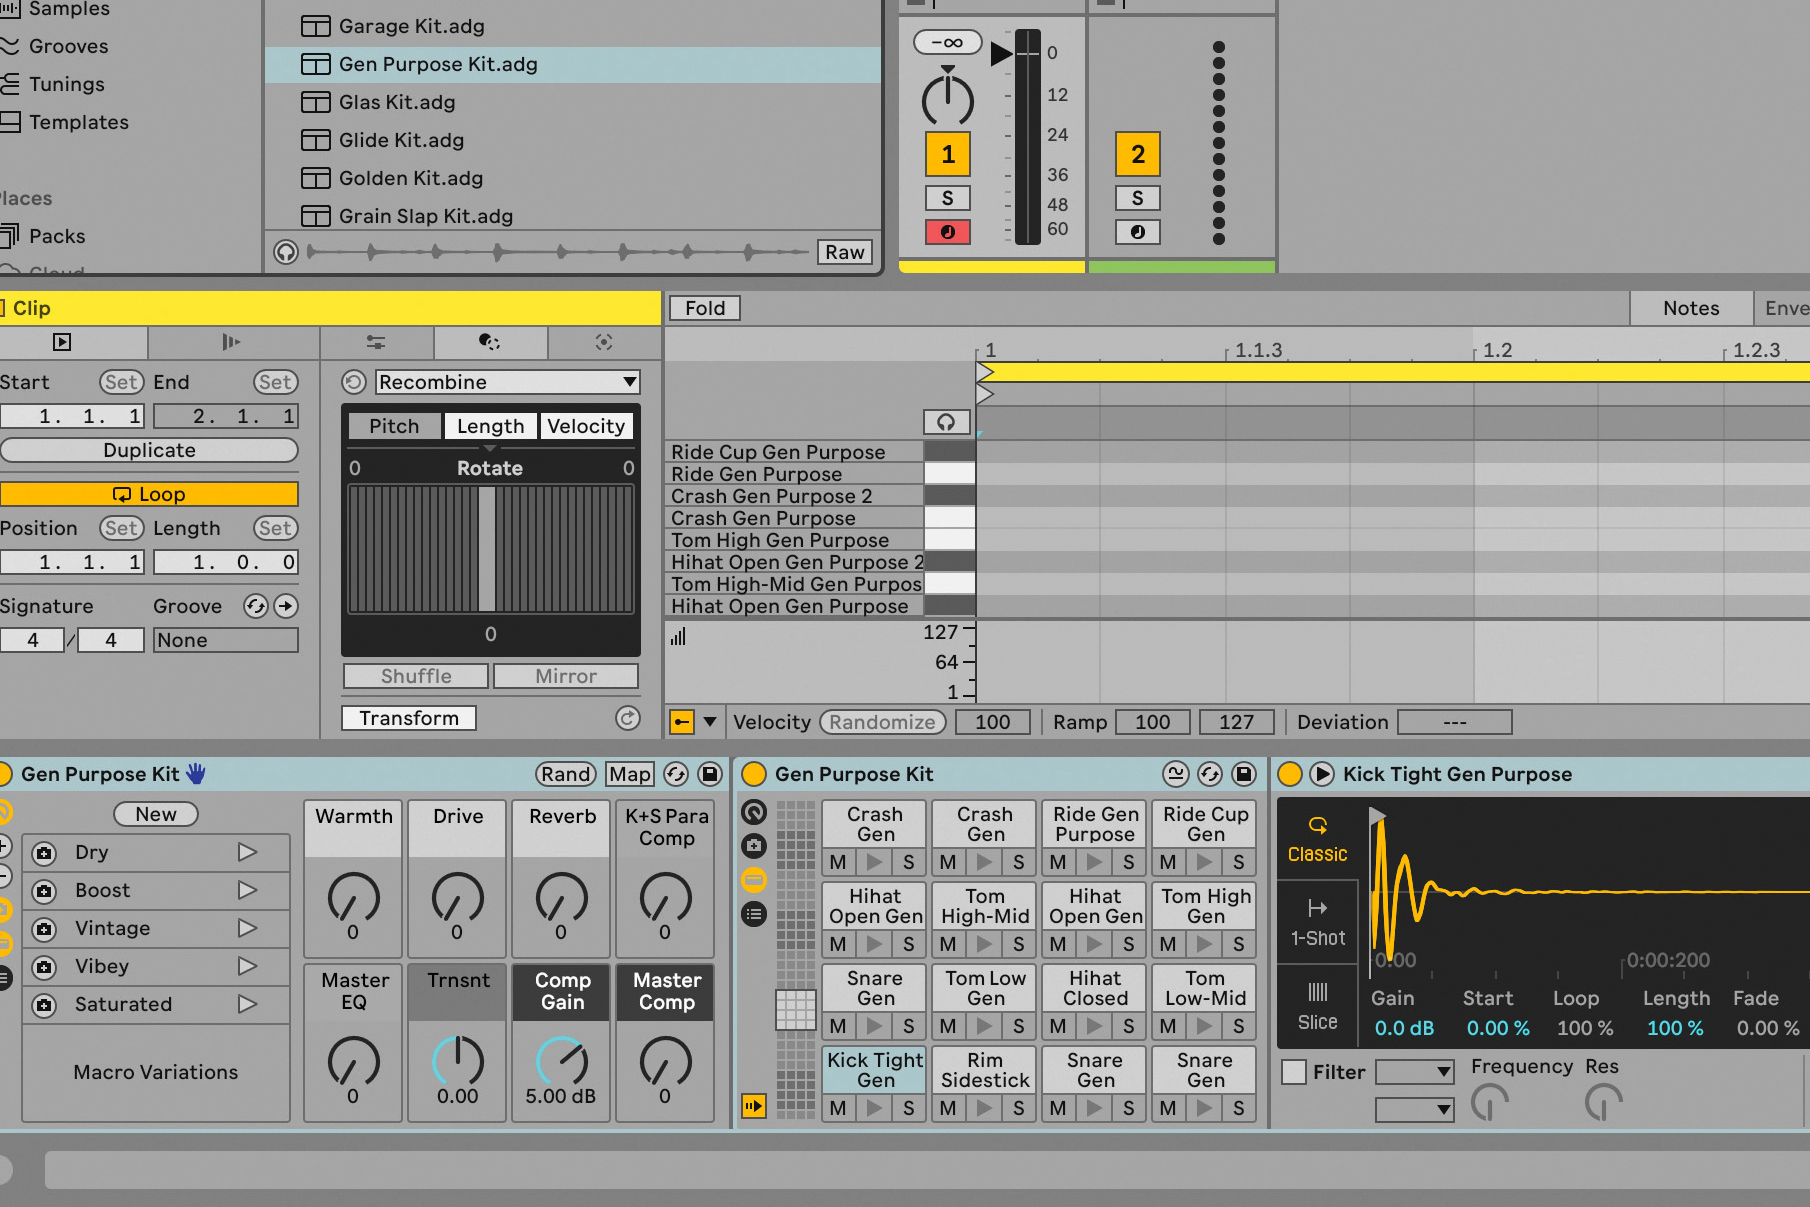
Of course in reality you can combine programmed and generated parts, but let’s commit fully. Open Live 12, and load a drum kit, we’re using the Gen Purpose Kit. Double-click in the top empty clip slot in the same track, making a one-bar MIDI clip.
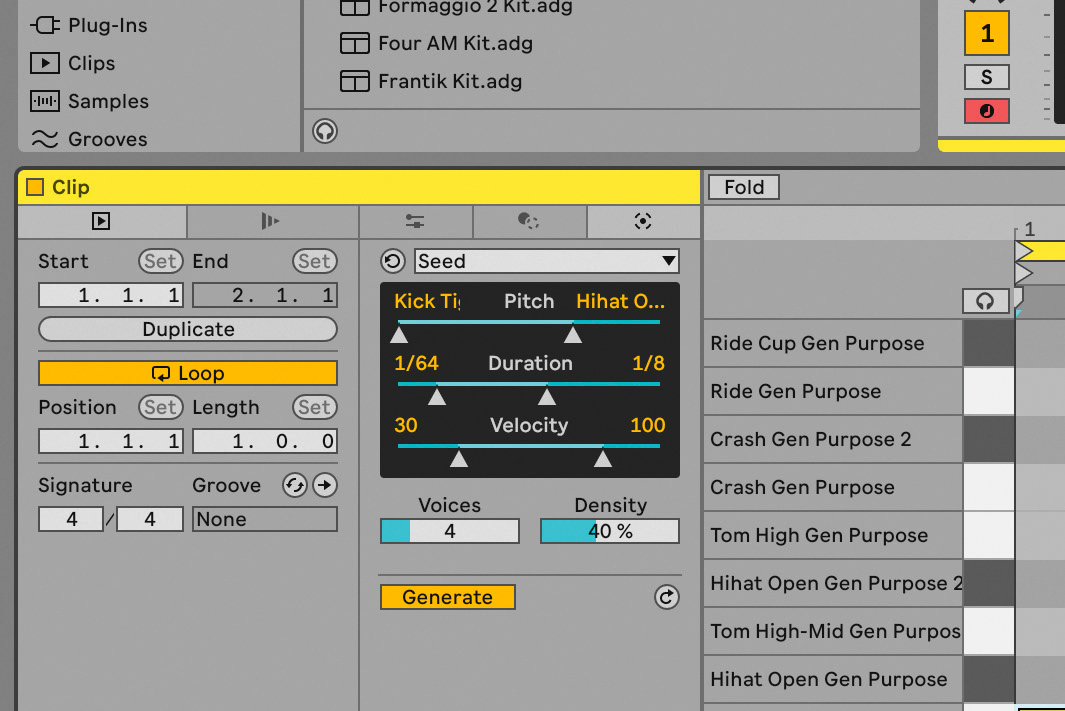
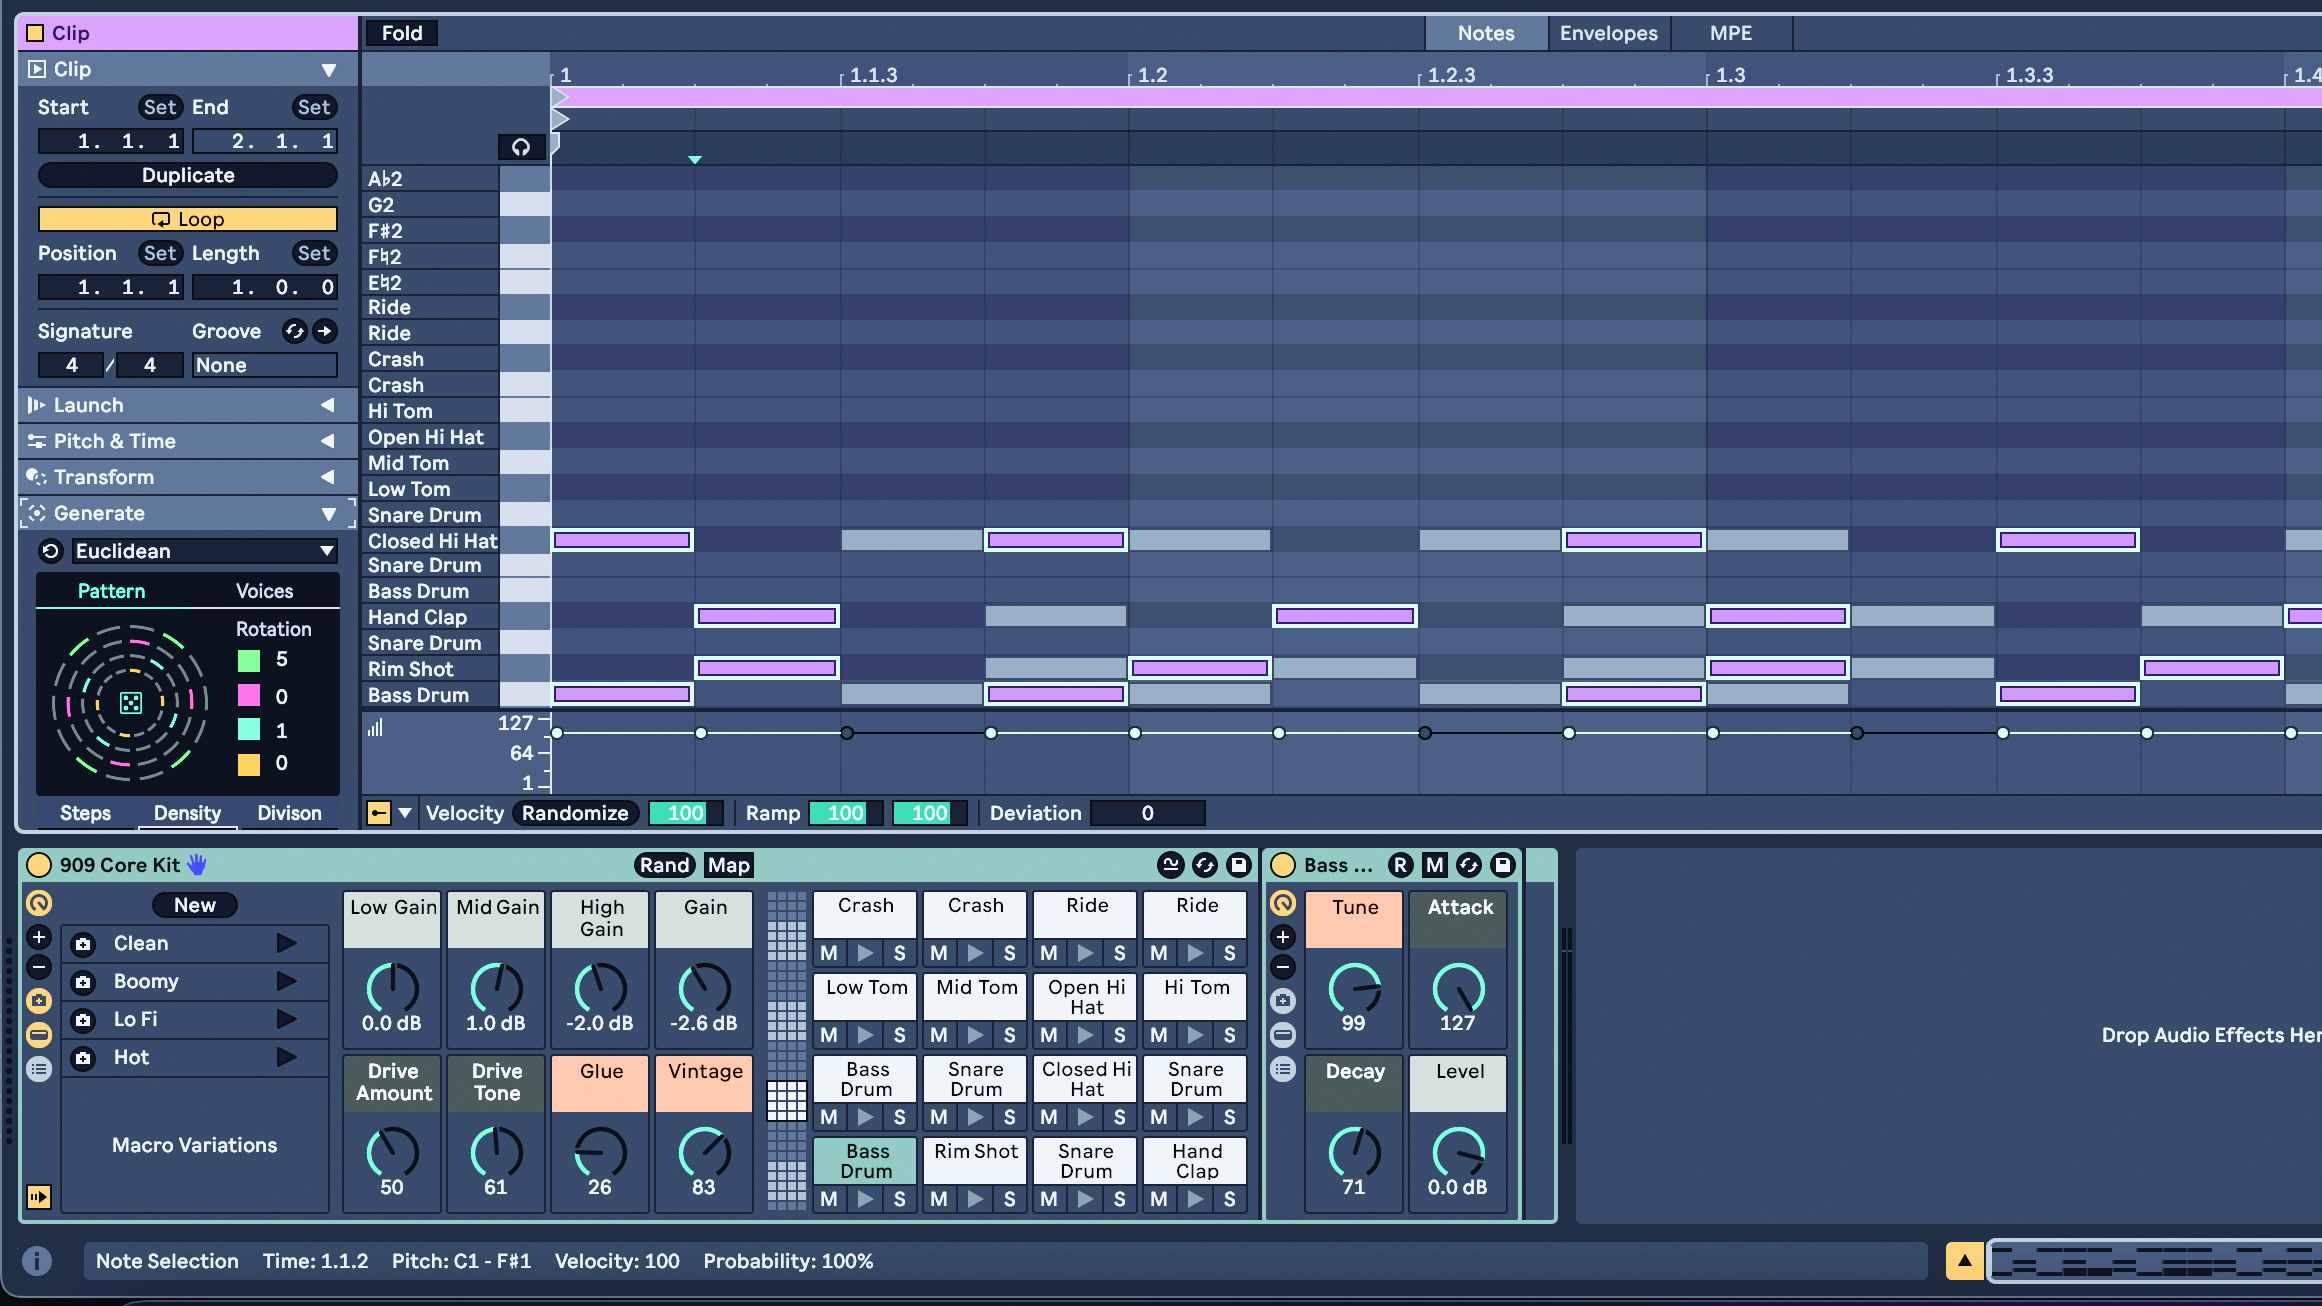
Below that you can specify note range, note lengths, and velocities, number of voices, and density (amount of notes). If the Generate button is yellow, your changes happen instantly. If not, they’ll change once clicked.
If you don’t like the result, re-apply Generate, in order to spawn new notes, or move the controls and watch the notes update. Tip for generated beats: move the clip start marker around to make the beat start where it sounds good to you.
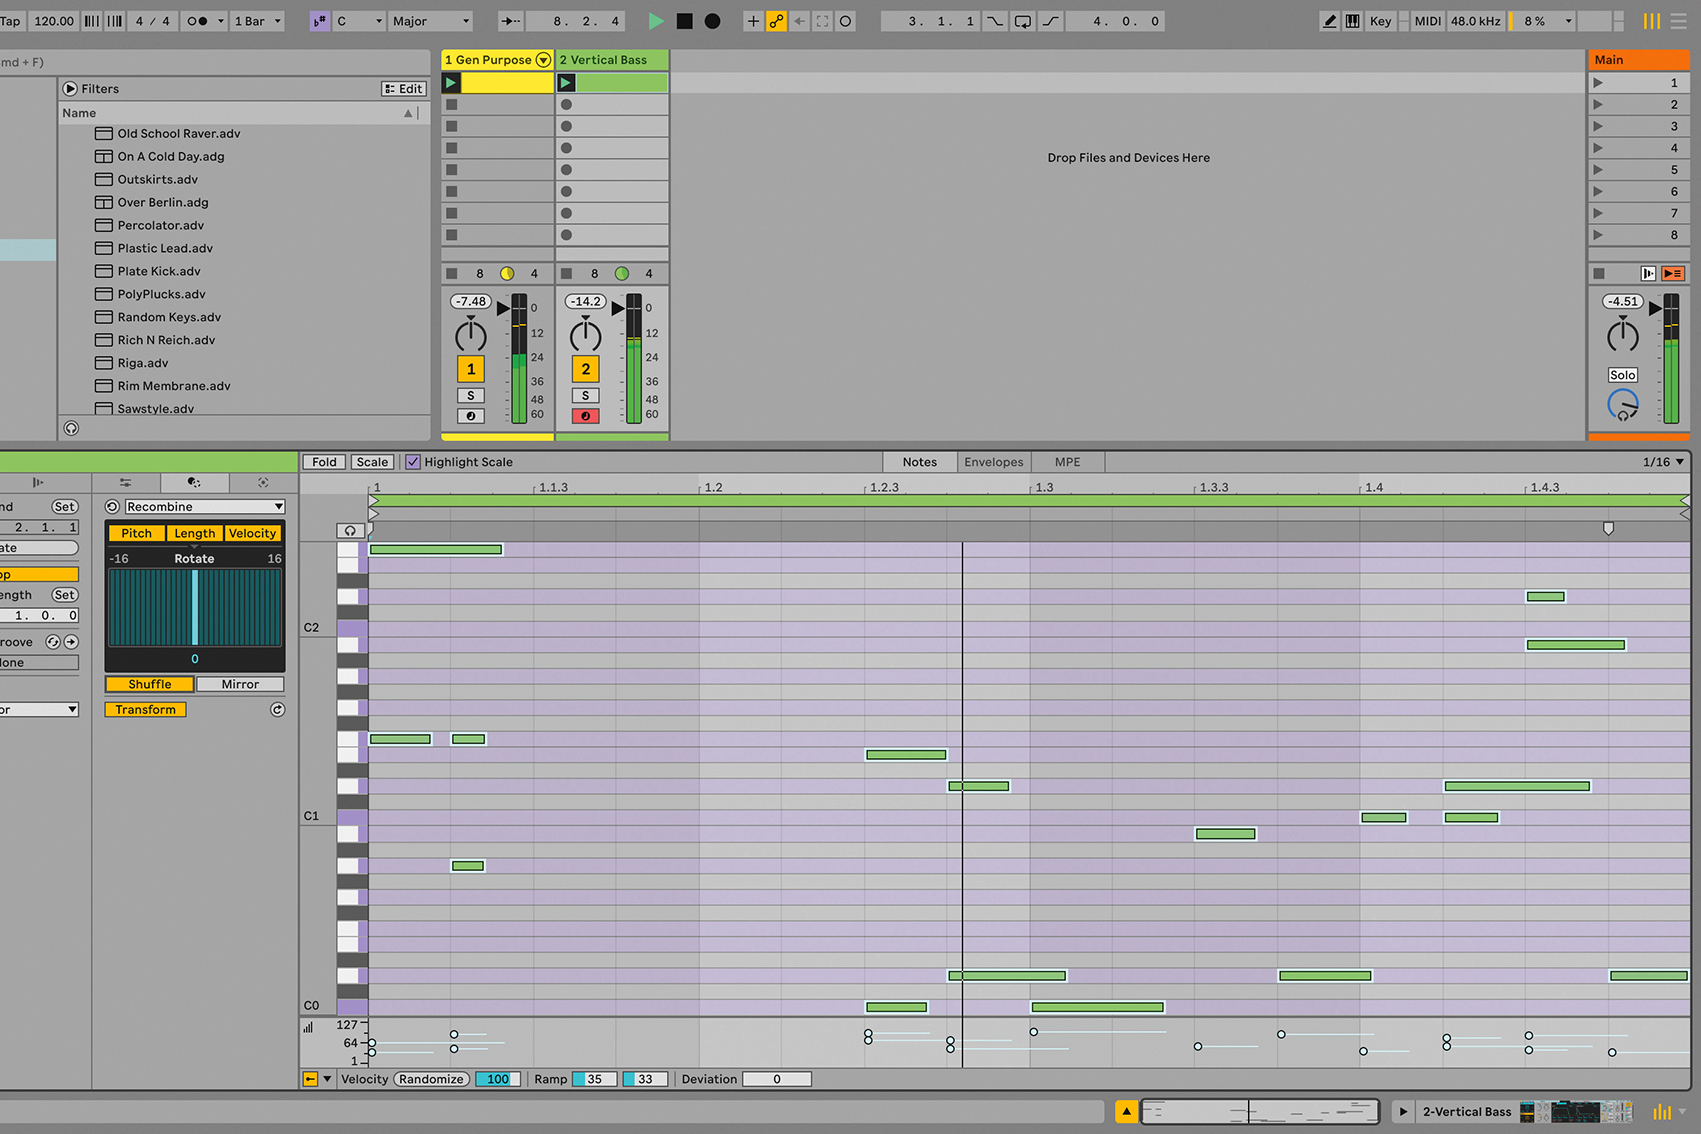
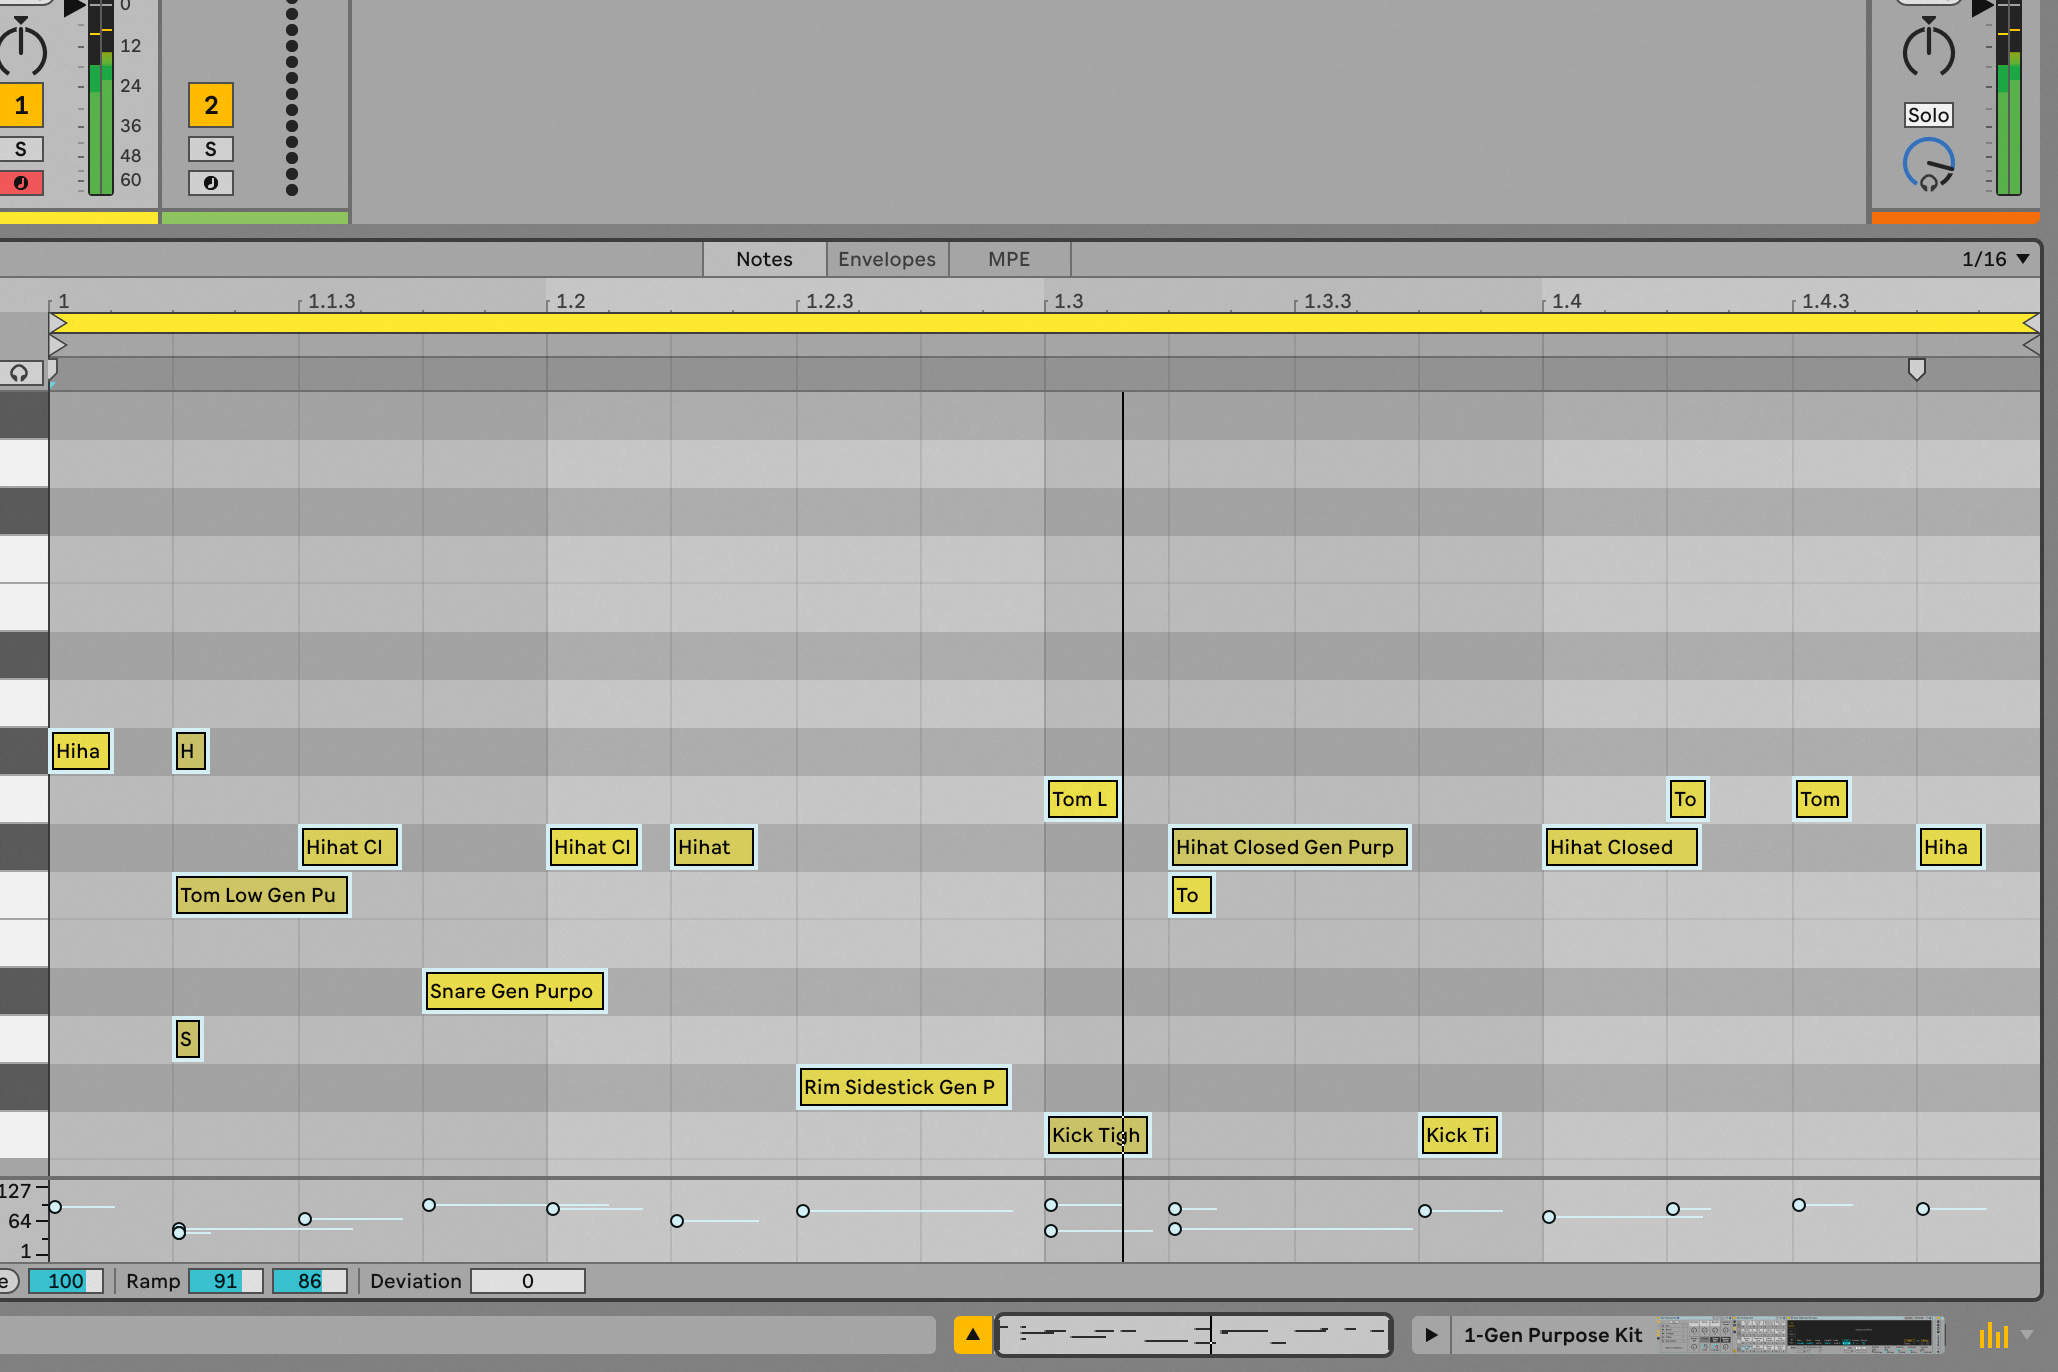
Try the Meld Vertical Bass preset. We’ll generate again. This time when you select Seed, adjust the Pitch, Duration, and Velocity controls as well. From the Transformation Tools tab at the left of Generative Tools, select Recombine, and click the Shuffle button.