Ever finished a shoot and noticed flyaways and gaps within the hair of your subject spoiling the shot? Then learn how to edit hair like a pro in Photoshop or similar software. This tutorial covers everything from simple touch-ups to advanced techniques, so you can enhance your editing skills with ease.
Editing hair in Photoshop is like giving your subject a makeover after the shoot – it’s about making portraits look amazing without looking fake. One challenge is keeping edits natural – you want to impress, not make it obvious. Use tools gently, like brushing a unicorn’s mane, and avoid overdoing smoothing or introducing unnatural colour.
A common mistake, just as with skin retouching (see part one of this series), is turning hair into plastic. Too much smoothing or cloning can ruin it. My top tip is to practice. Experiment with different photos, get feedback and watch or read tutorials. Editing is like a fun puzzle – once you crack it, you’ll be a hair-editing pro.
Editing steps
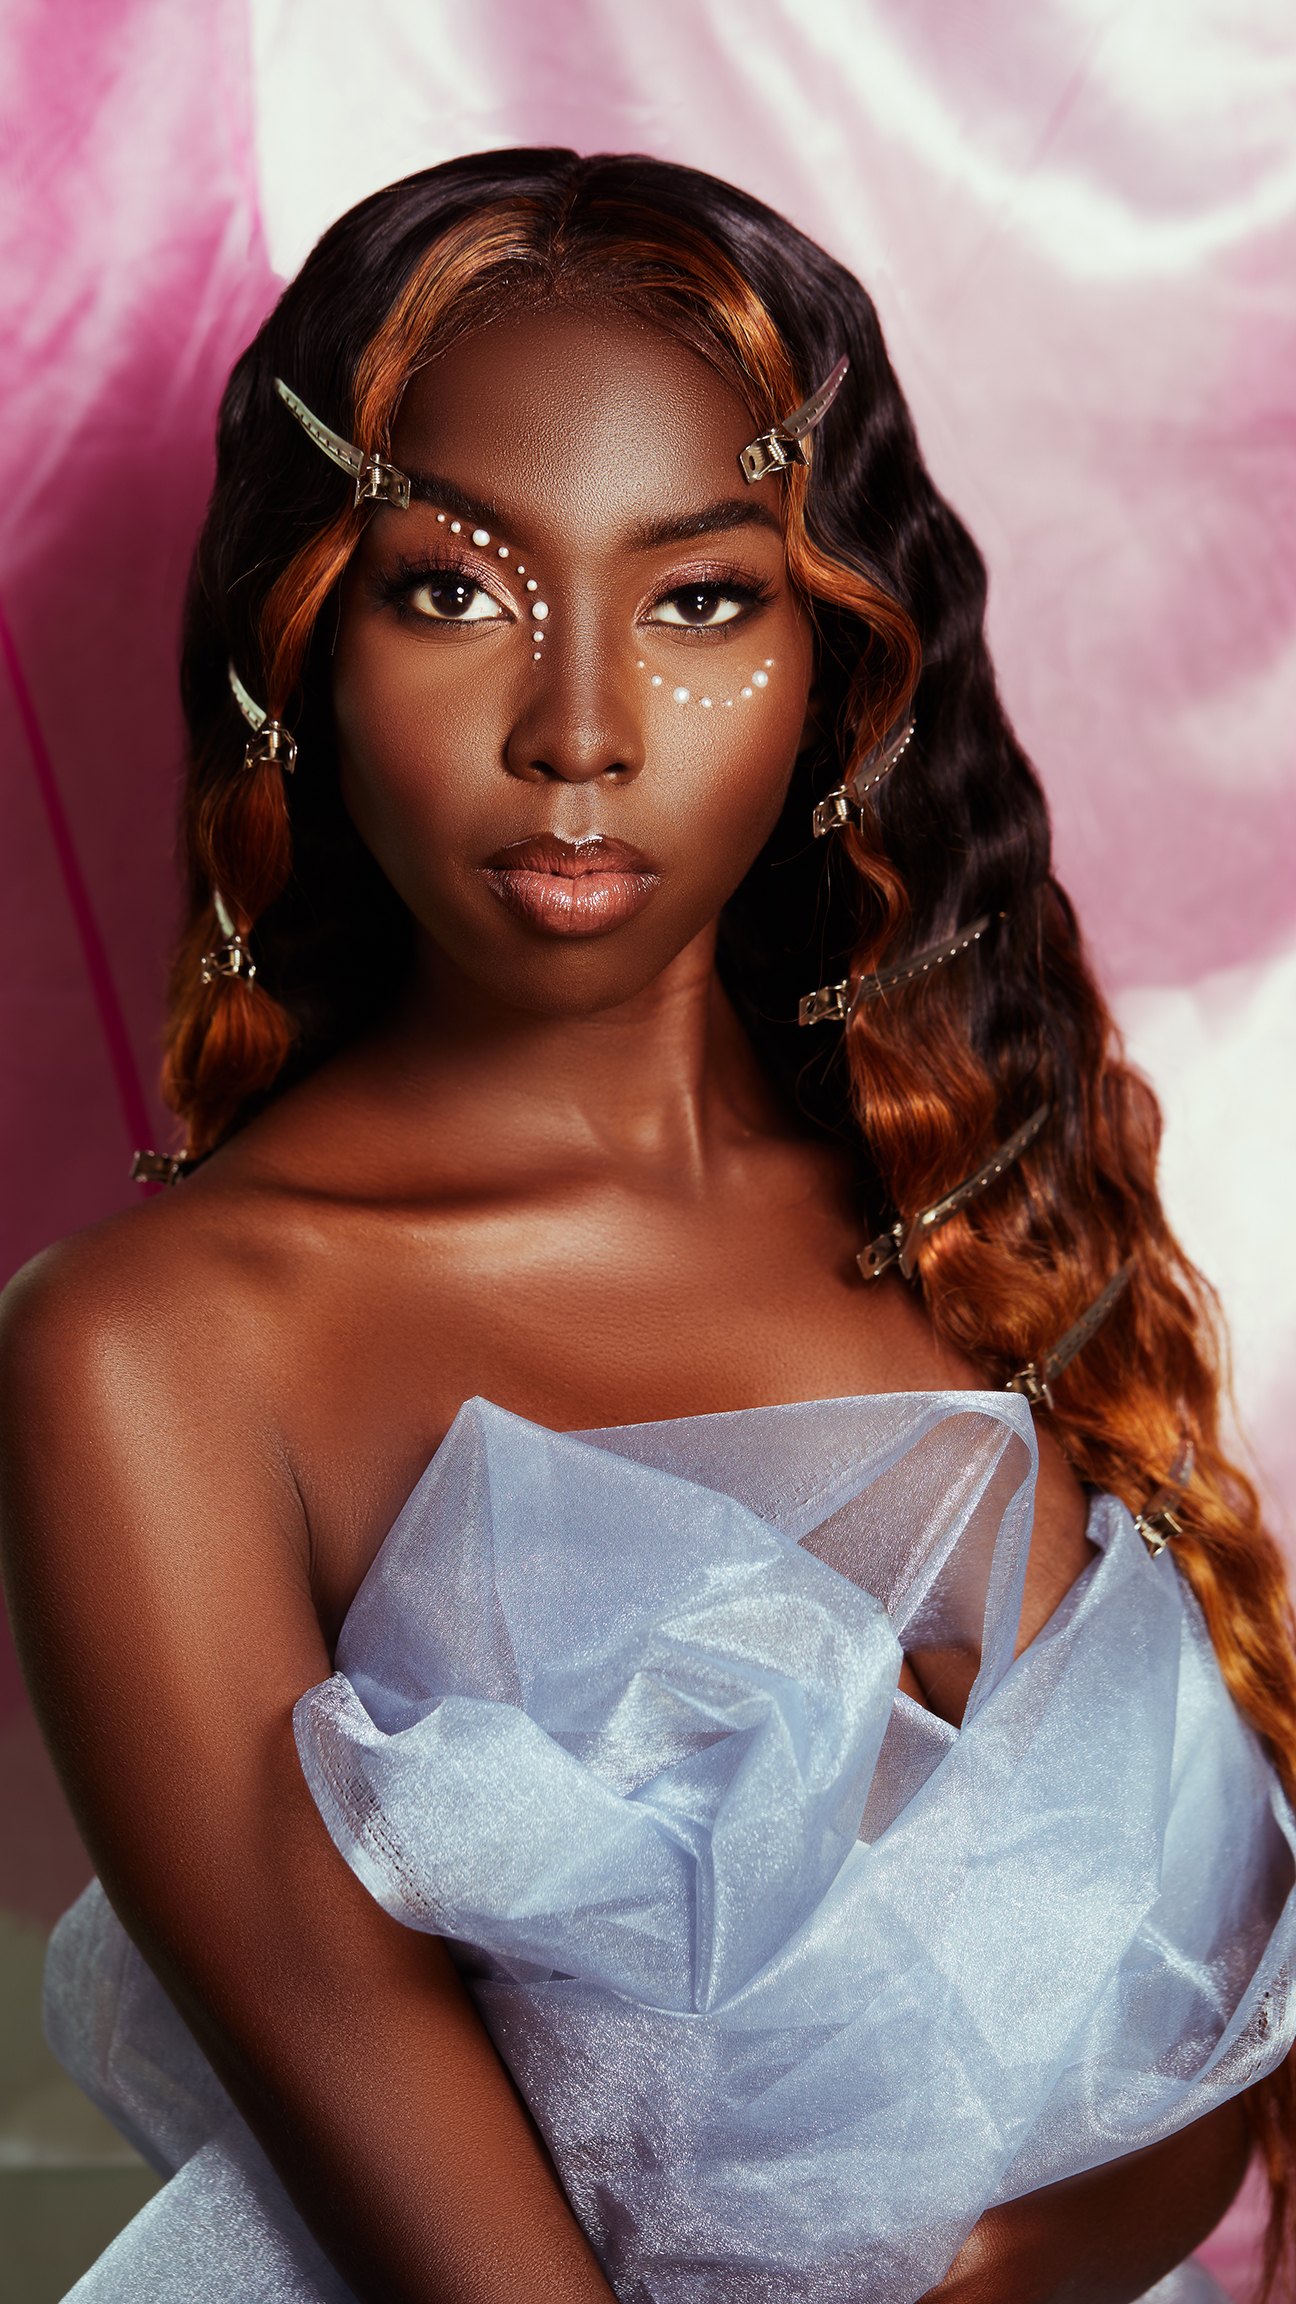
Aim to produce realistic tones and even texture
1. Assess your shots
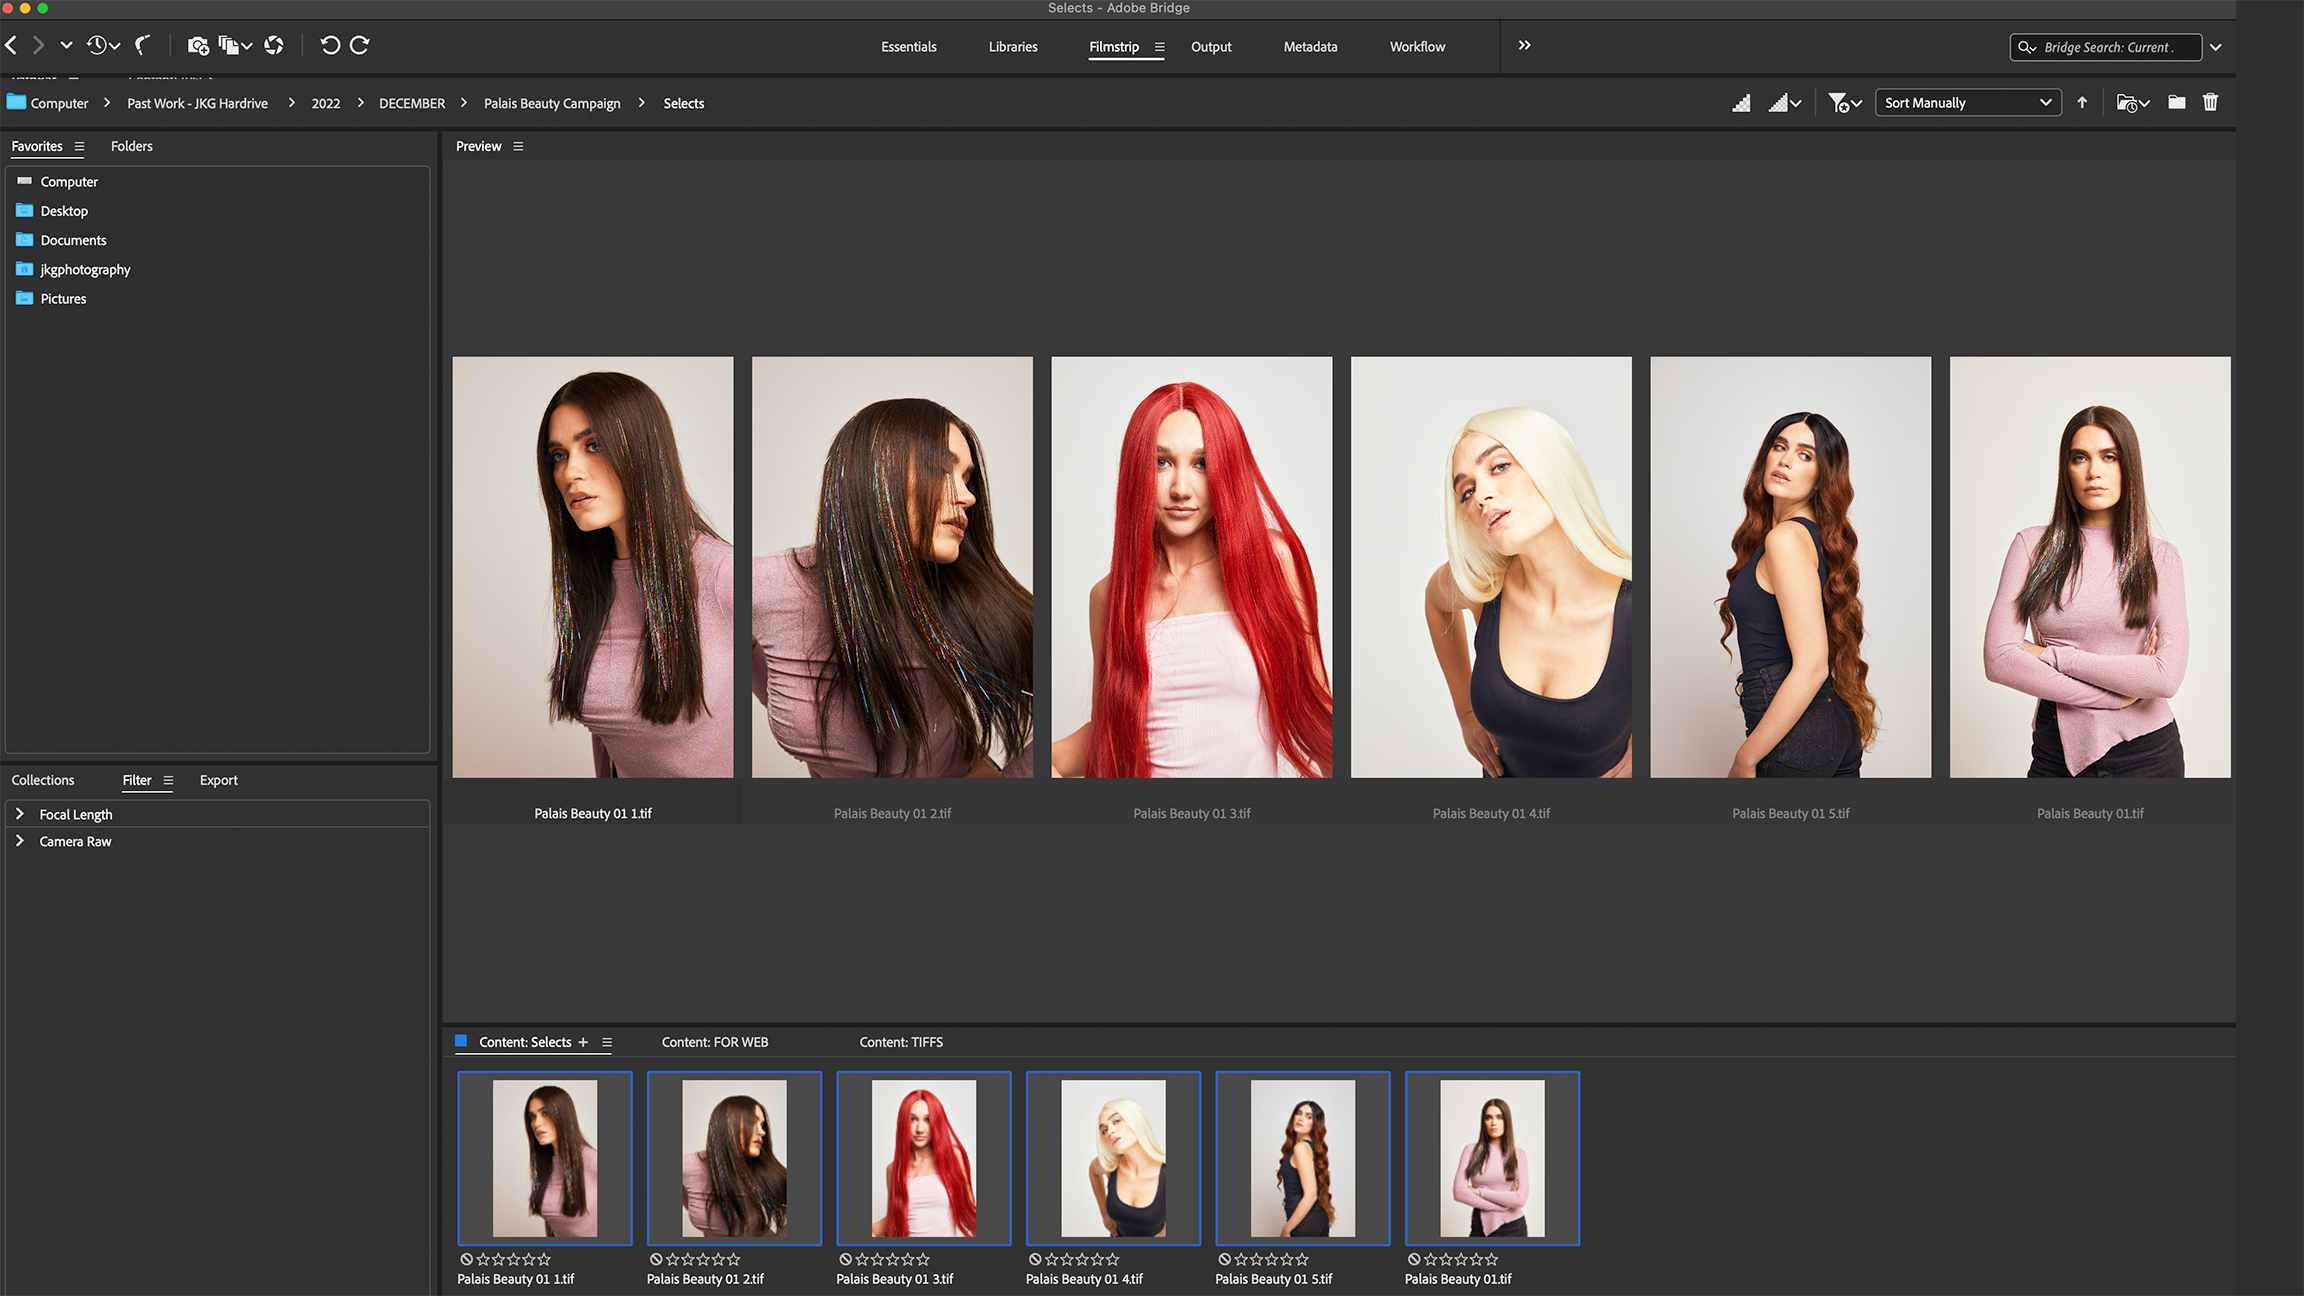
I select shots that require minimal editing, checking for sharp focus and strong composition. If these are acceptable and the hair needs adjustments, I can fix it later. This leaves me free to capture the essence of the moment during the shoot.
2. Identify challenges
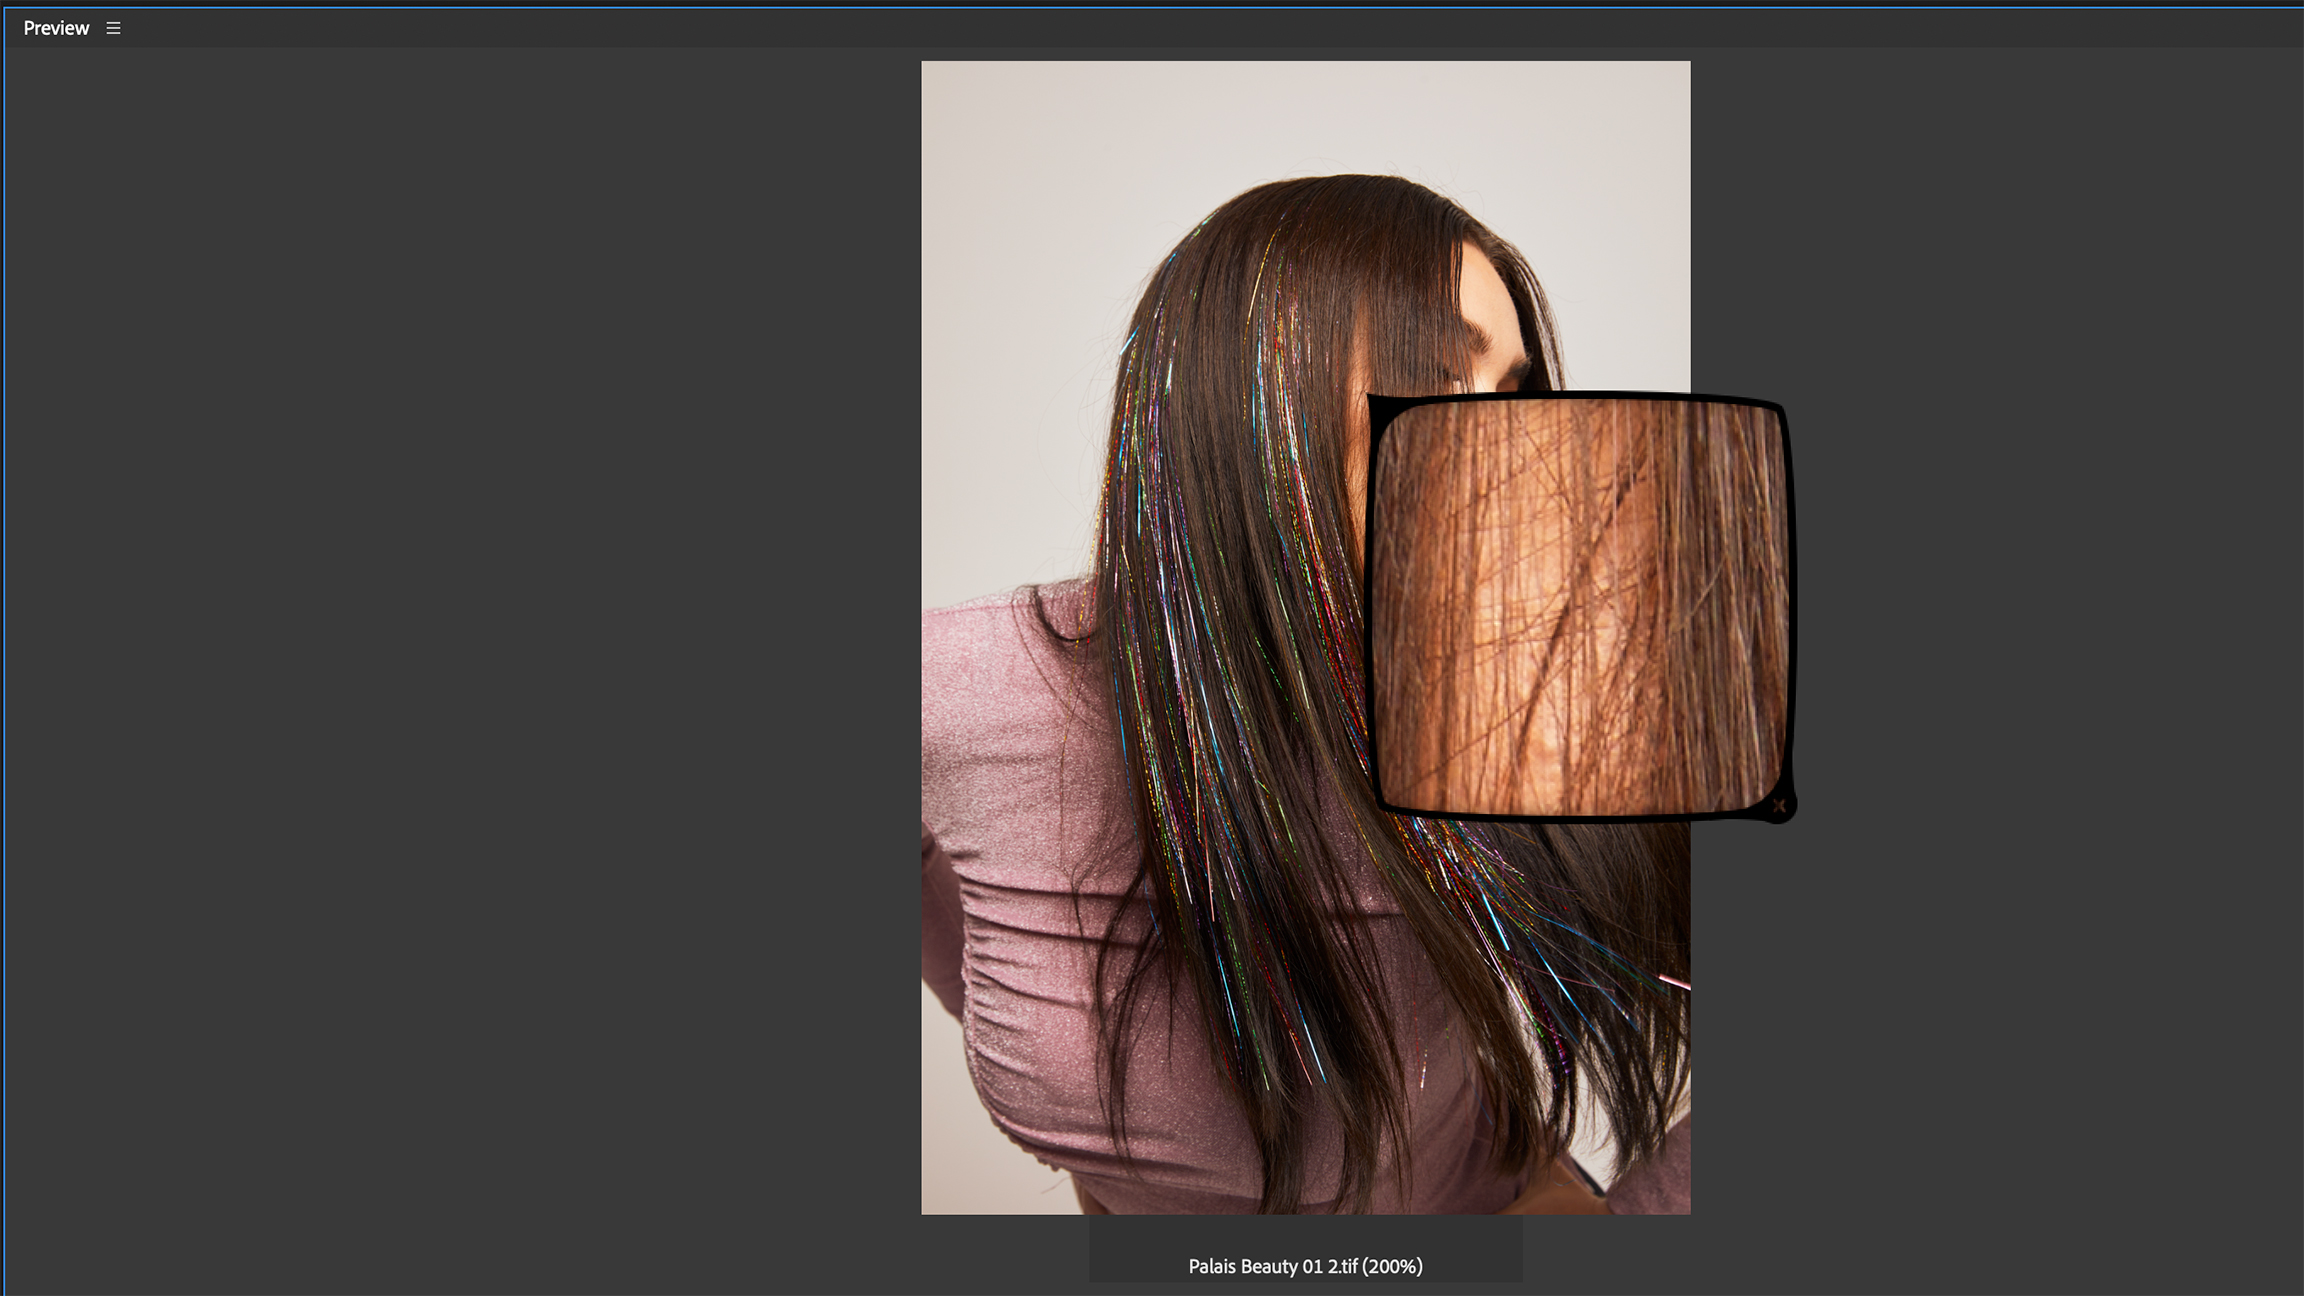
Using Capture One during the session allows me to keep track of images and review them as I shoot. Once I’ve decided what images I want to edit, I start noting down things that need editing as this will help me in my next steps.
3. Arrange layers
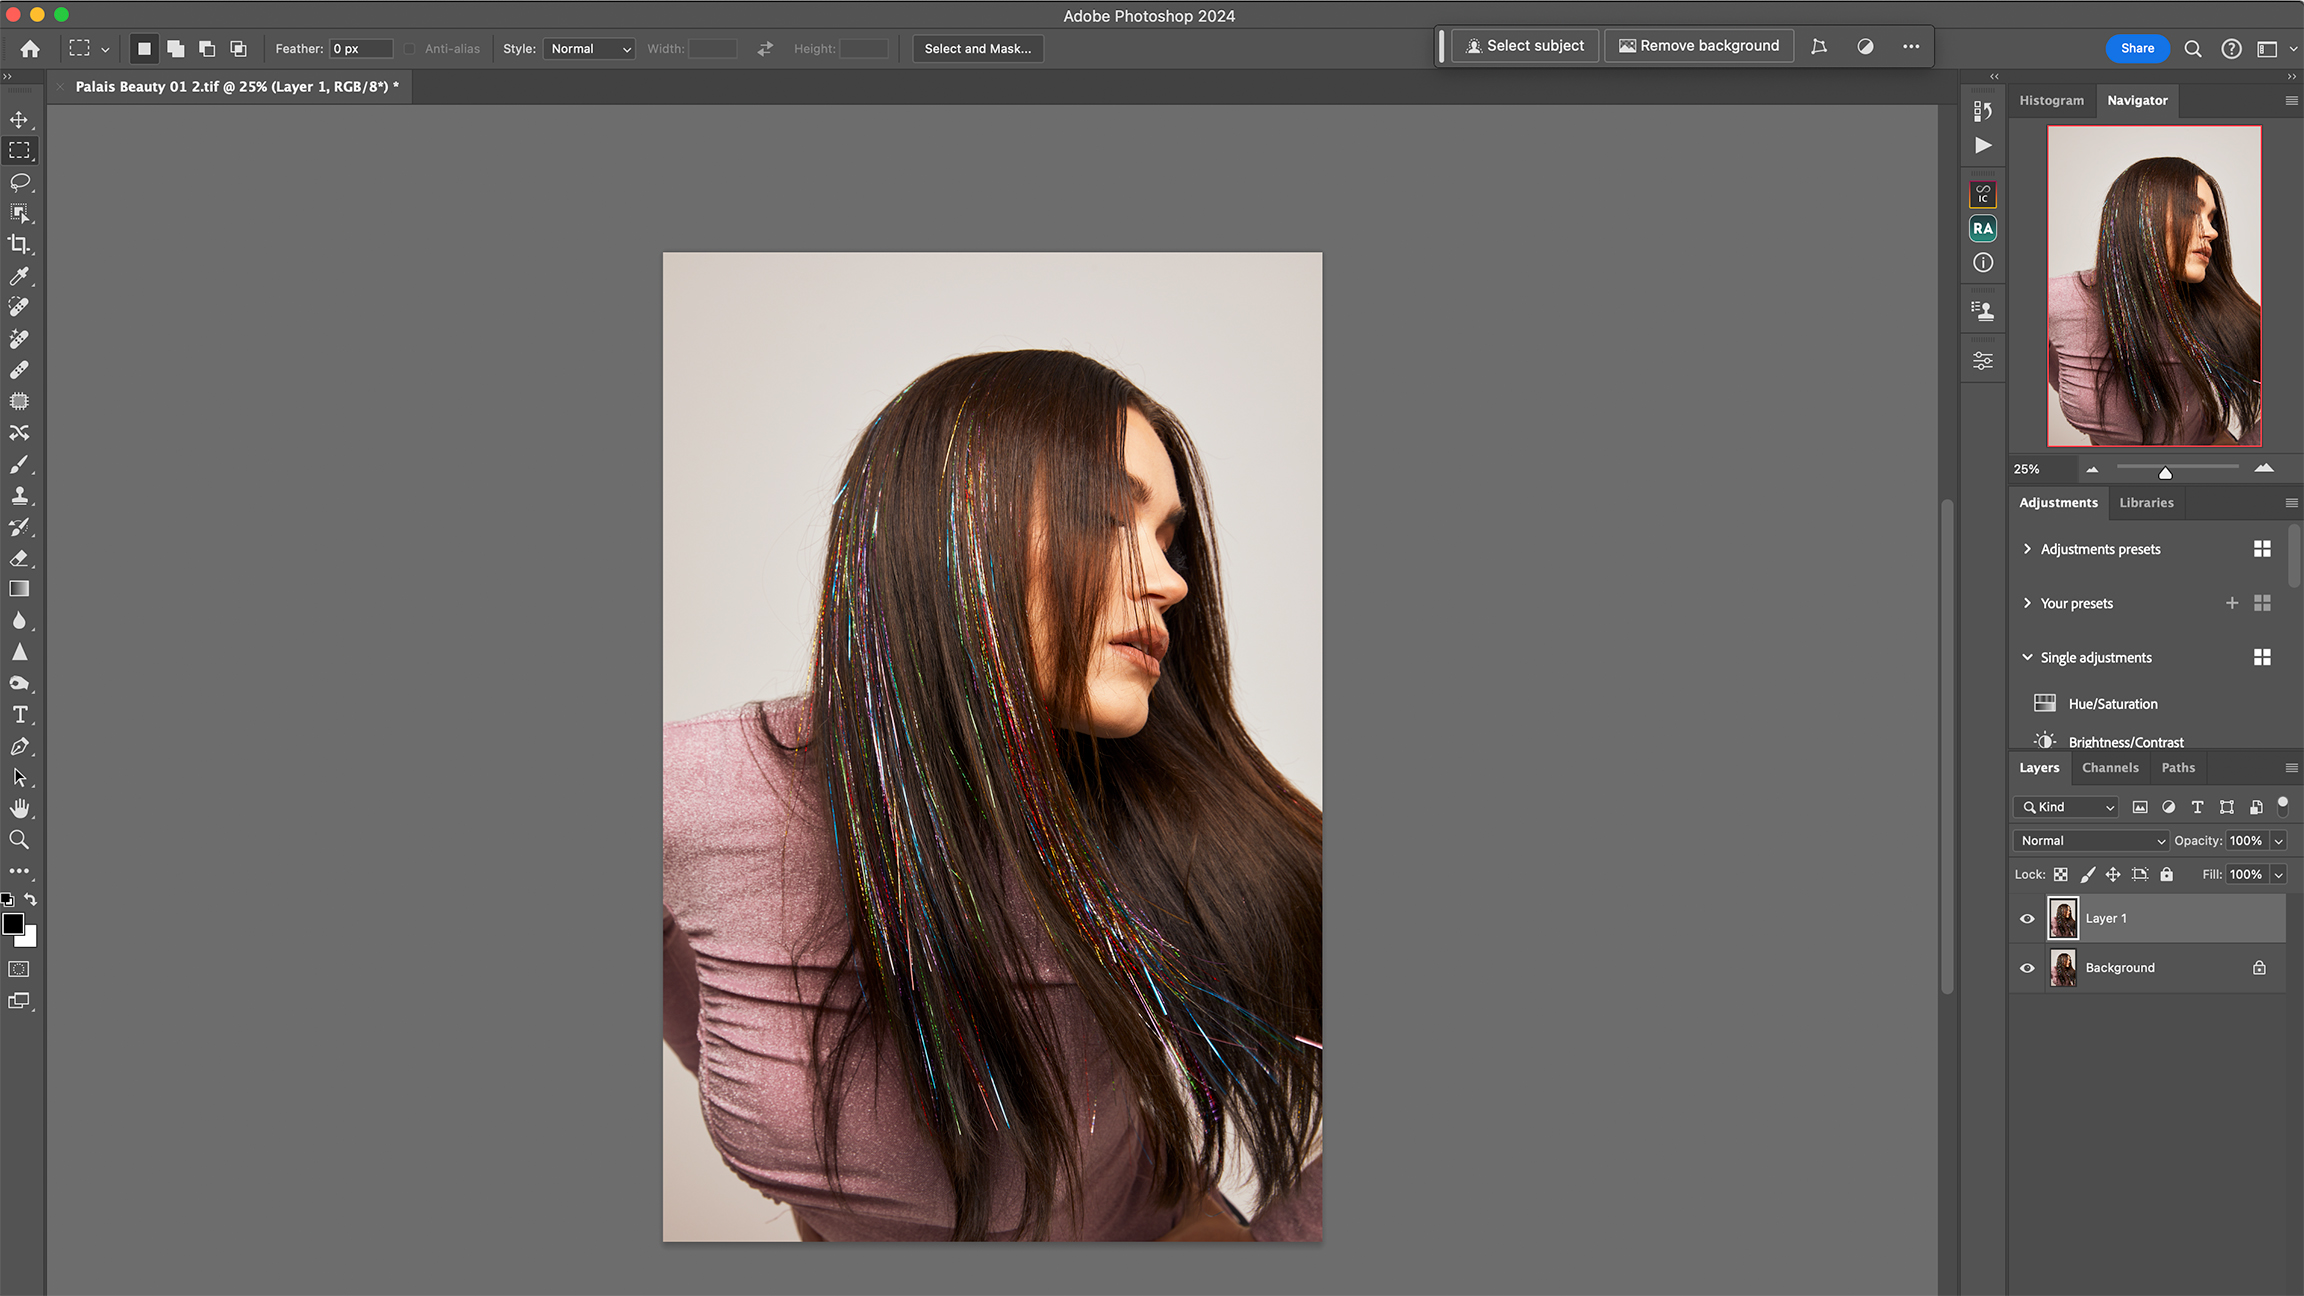
Start importing images from Adobe Bridge, then create new layers. Pinning layers allows me to go back at any point without having to delete everything and start again. As you get more in-depth with your editing, start grouping and naming them.
4. Remove flyaways
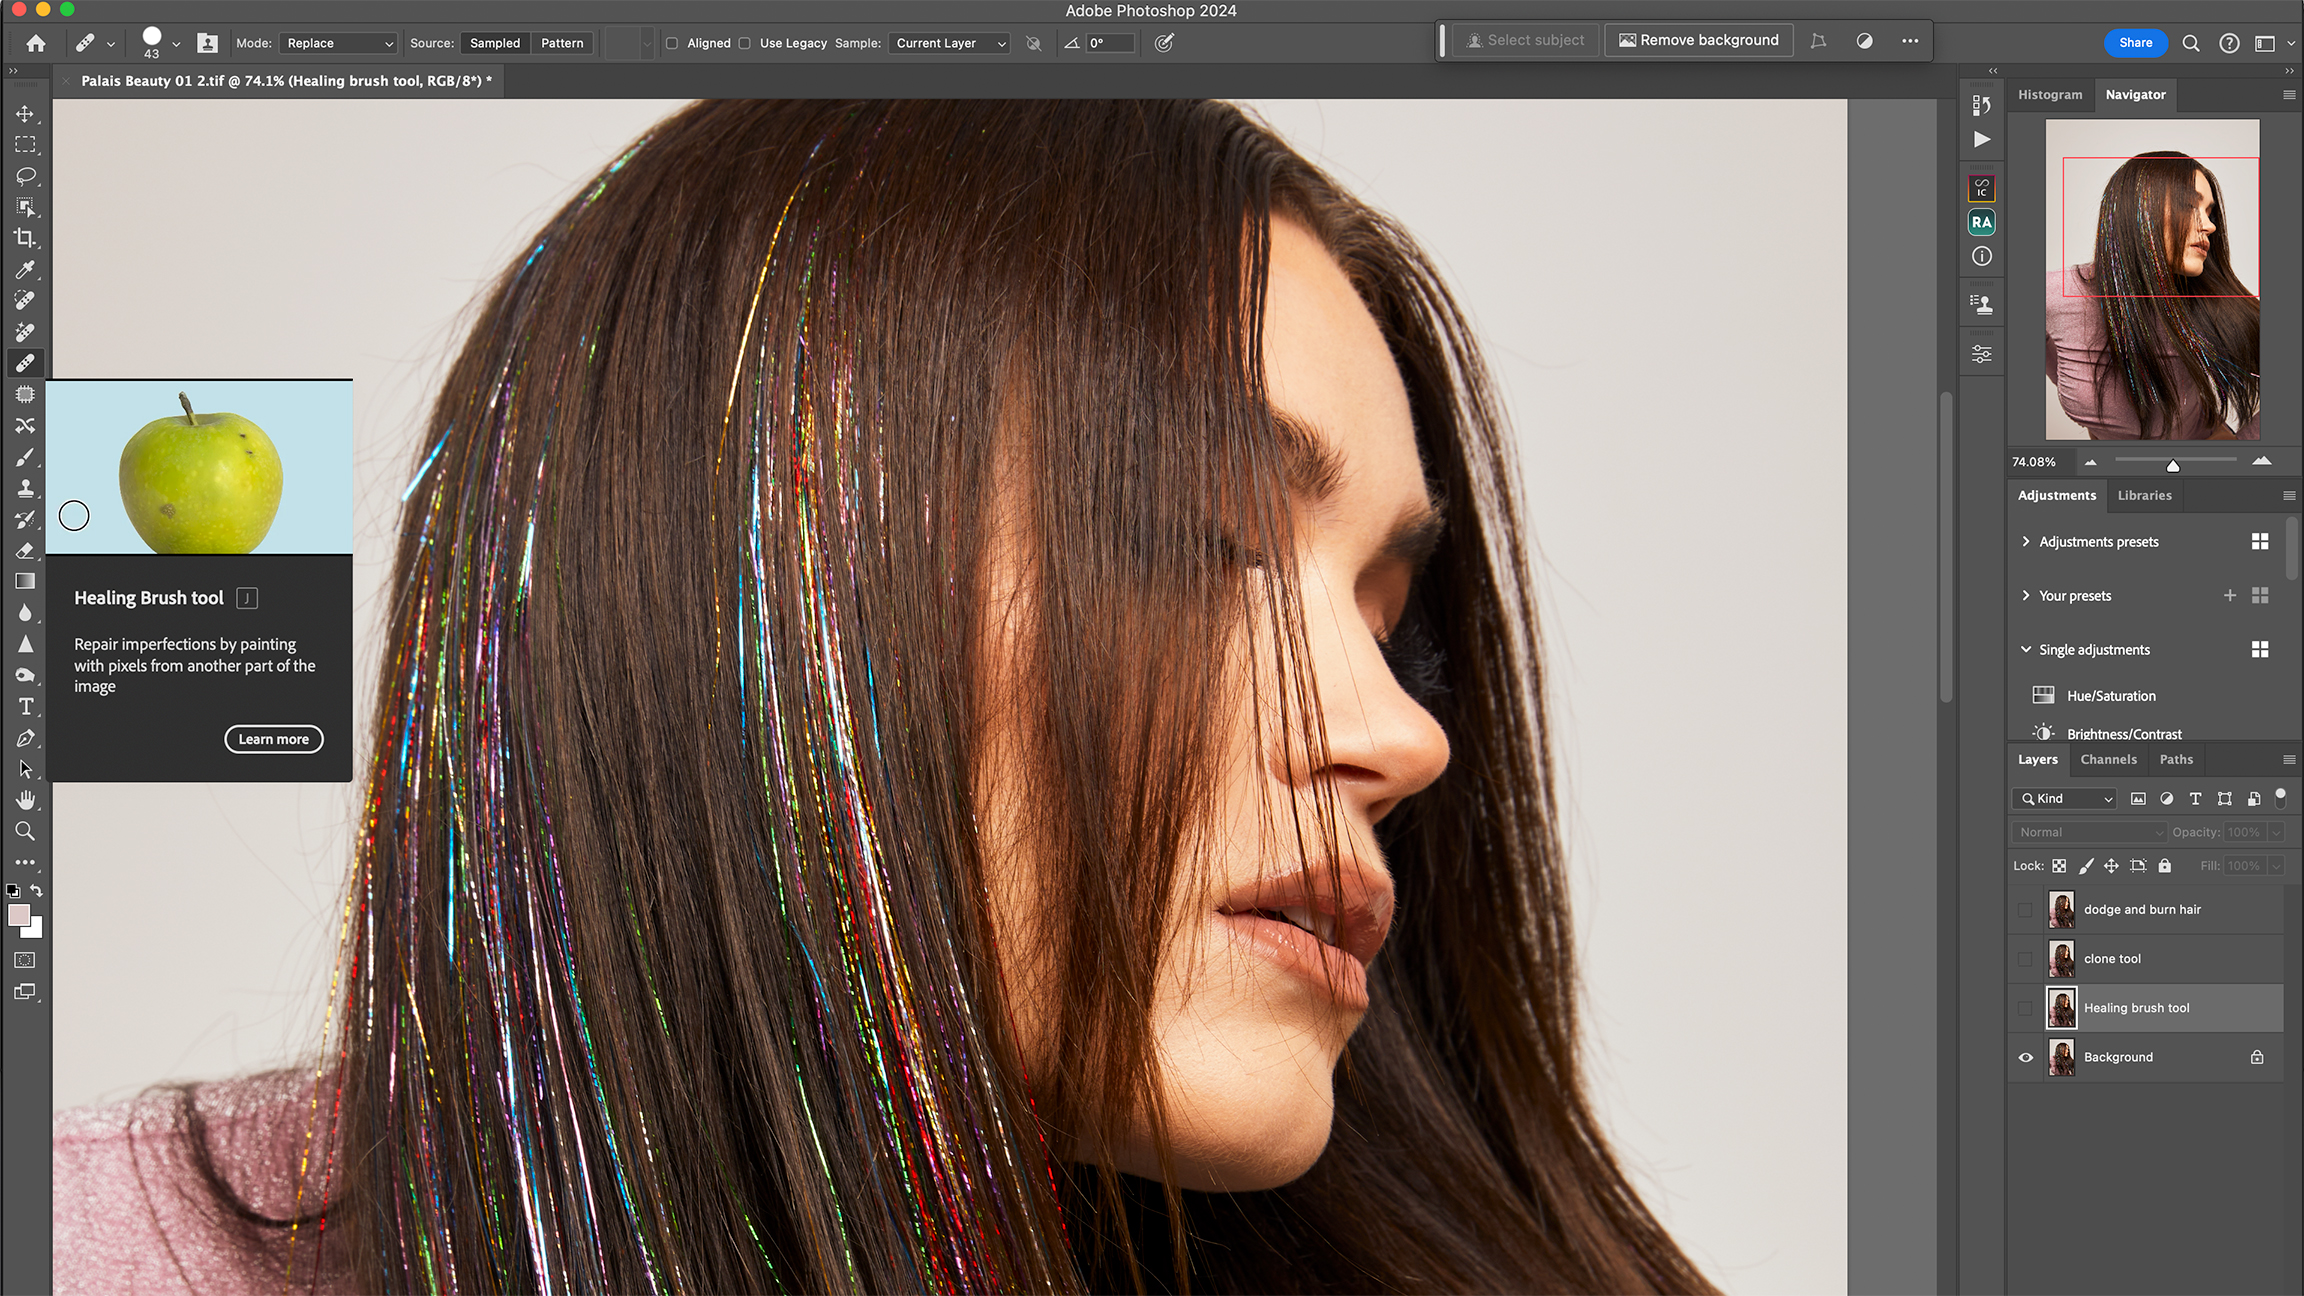
I start with the flyaways and baby hairs around the circumference of the head. I pick my Spot Healing Brush (J) toggling between Normal and Replace modes and experimenting with the Type options. Once I’m happy, I’ll use the patch tool to clean up any areas I’ve missed.
5. Fill in gaps
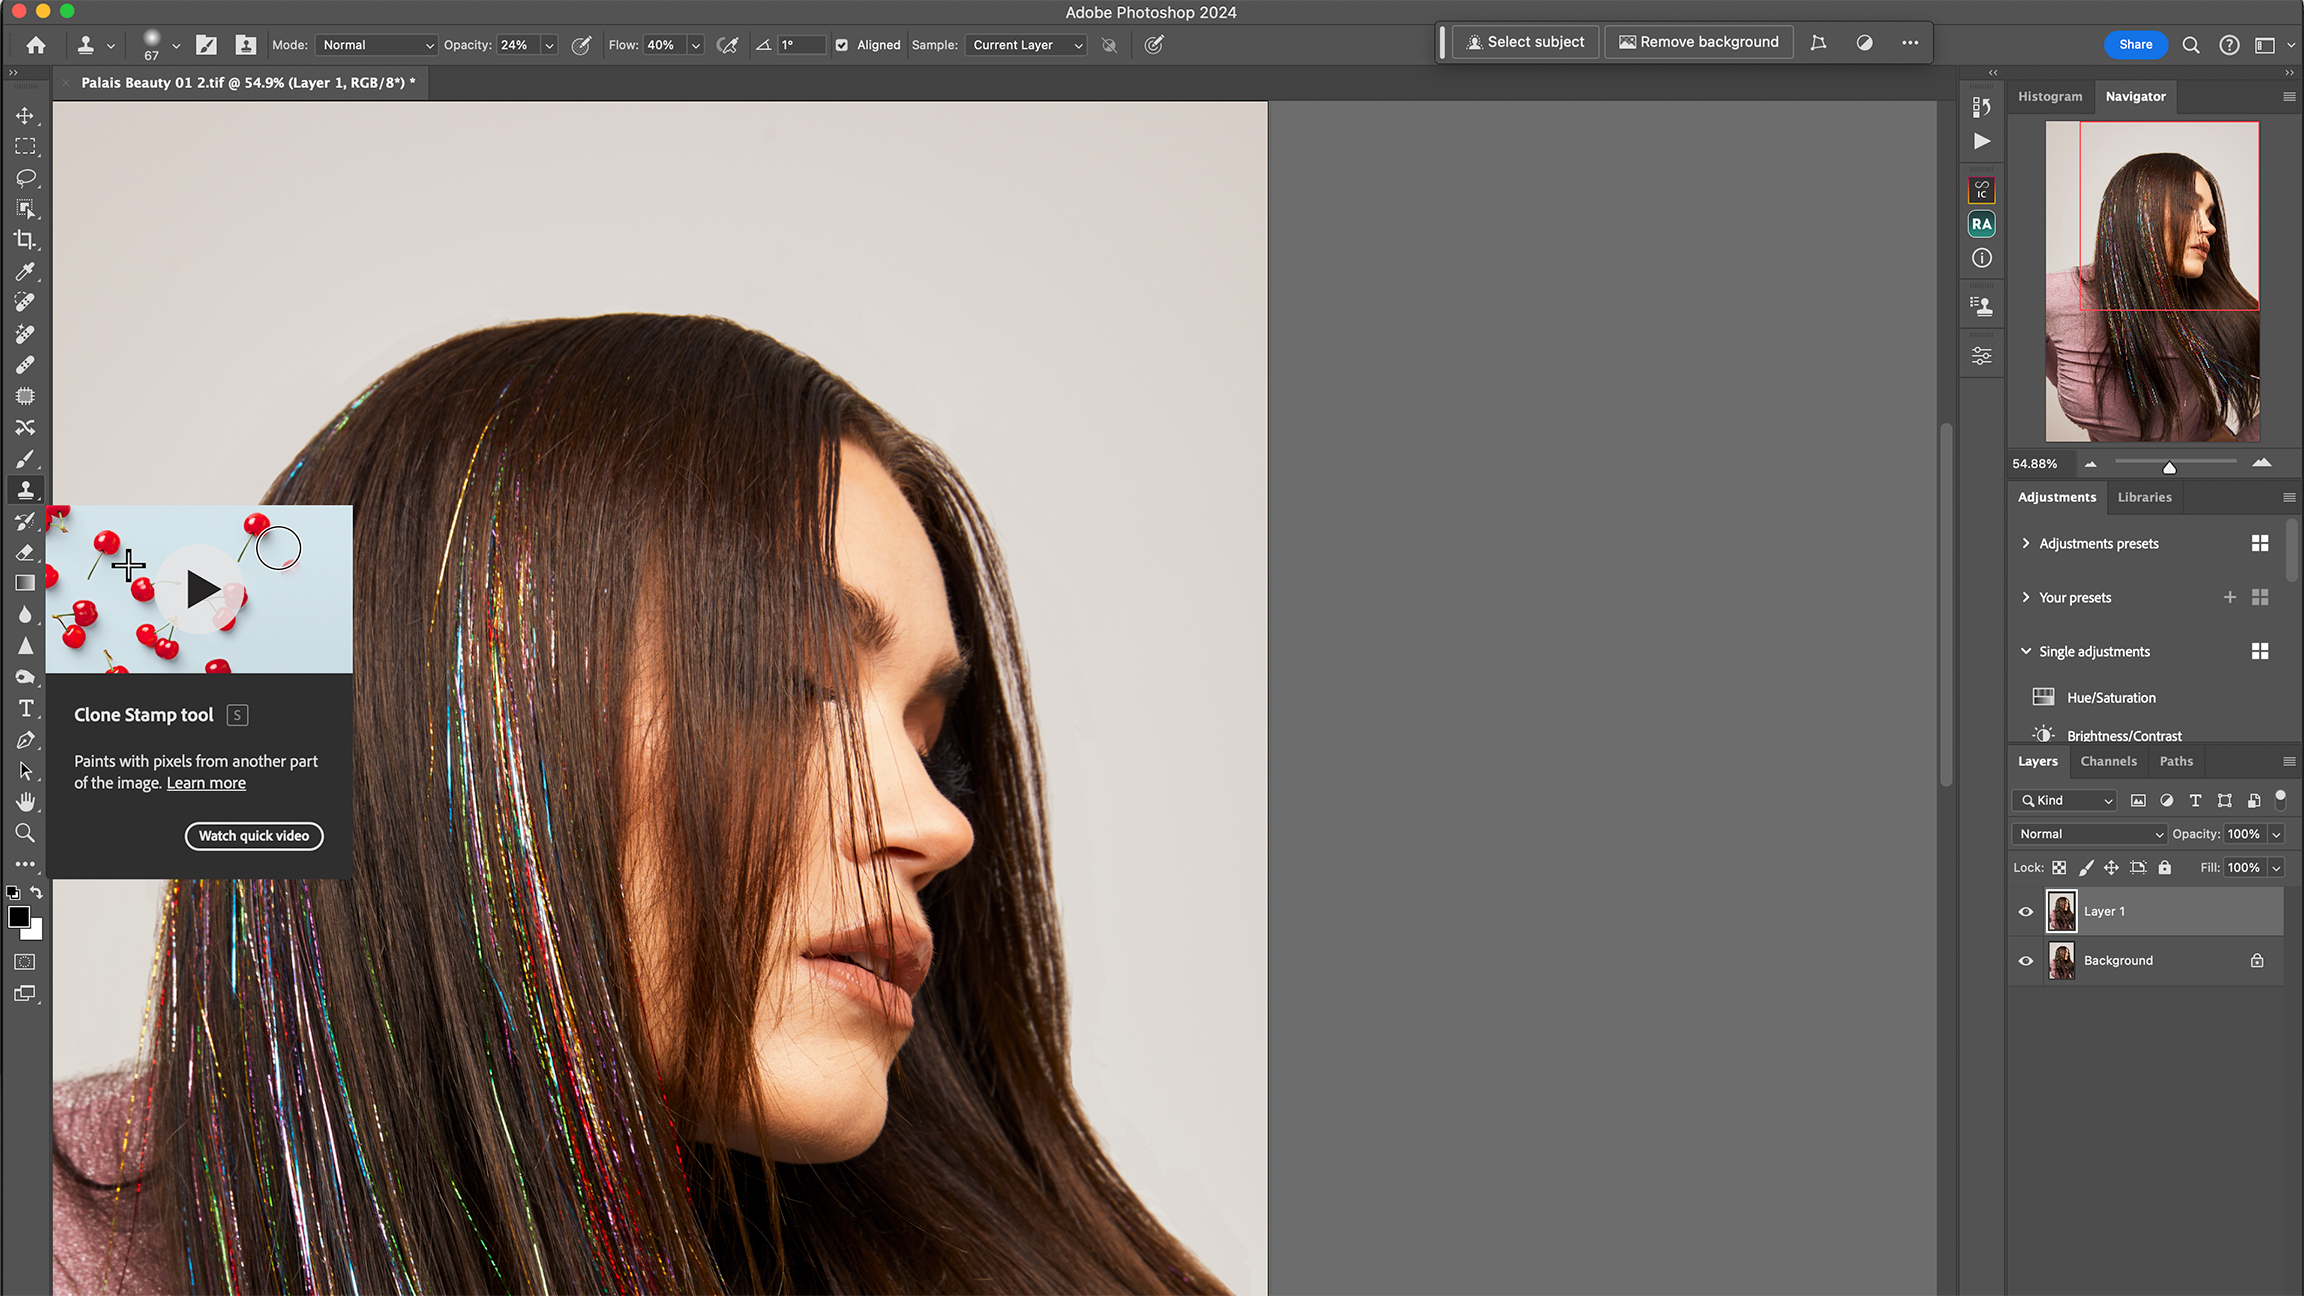
Gaps in the hair occur naturally but they can be distracting. I fill these in using the Clone Tool (S), with Opacity at 100 per cent and Flow at 40 per cent. Using this tool allows me to control how much extra hair I’m adding. I also apply a circular motion to help the added hair to look more natural.
6. Dodge and burn
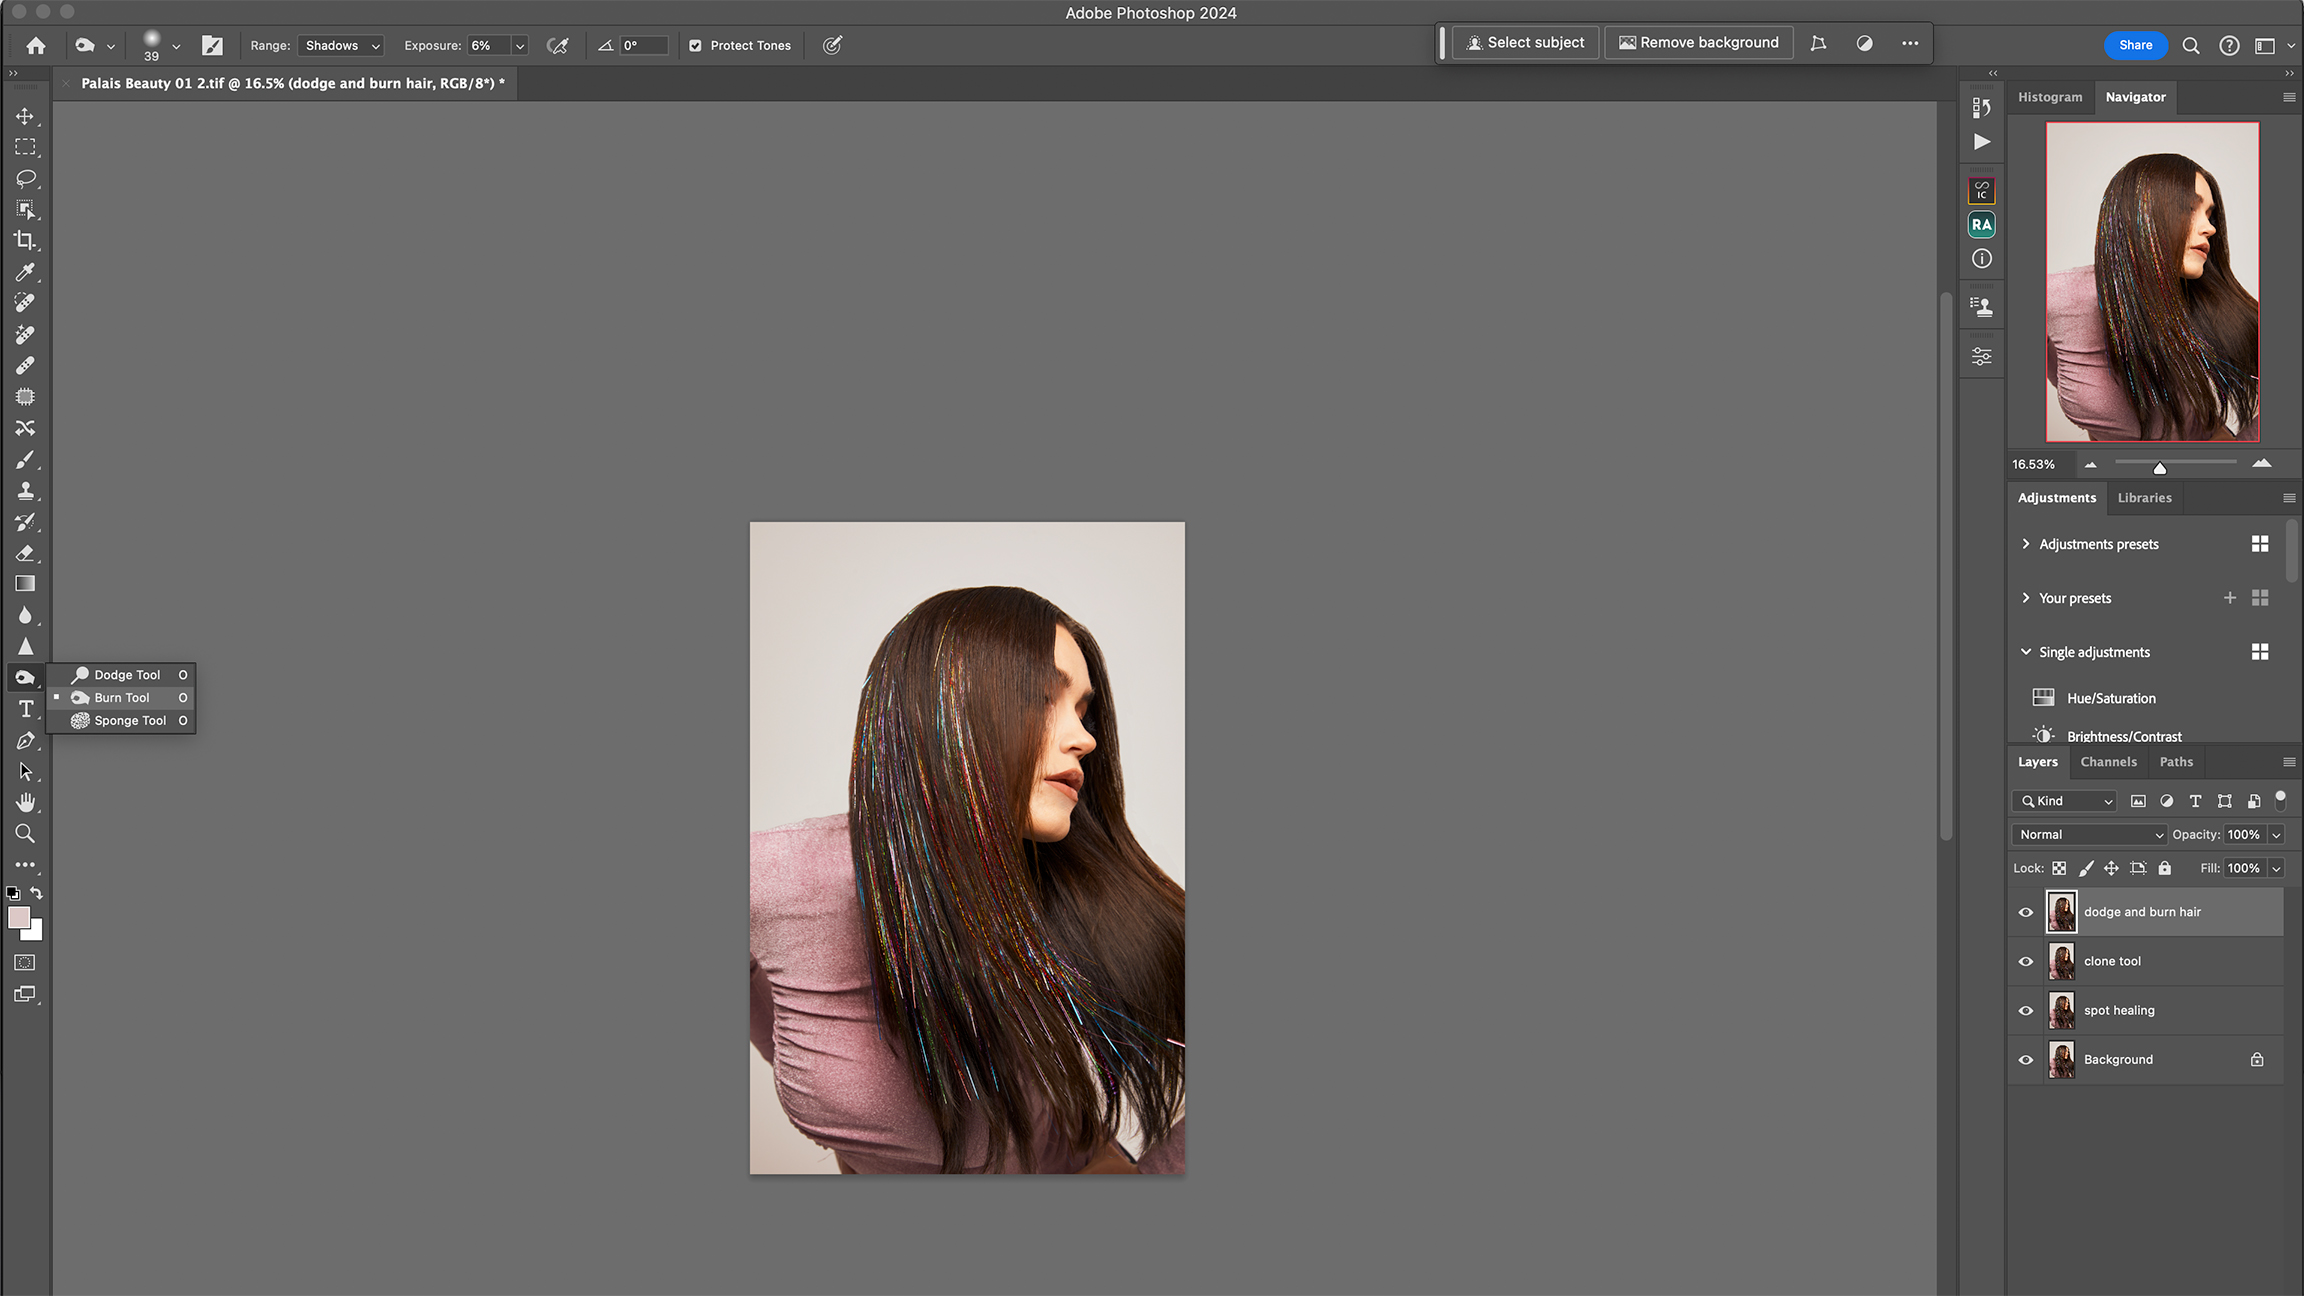
I use the Dodge and Burn technique to manipulate the exposure of local areas of the images. I zoom into individual strands of the hair, applying the Dodge and Burn with a controlled approach, to add dimension to the highlights and shadows.
The secret step

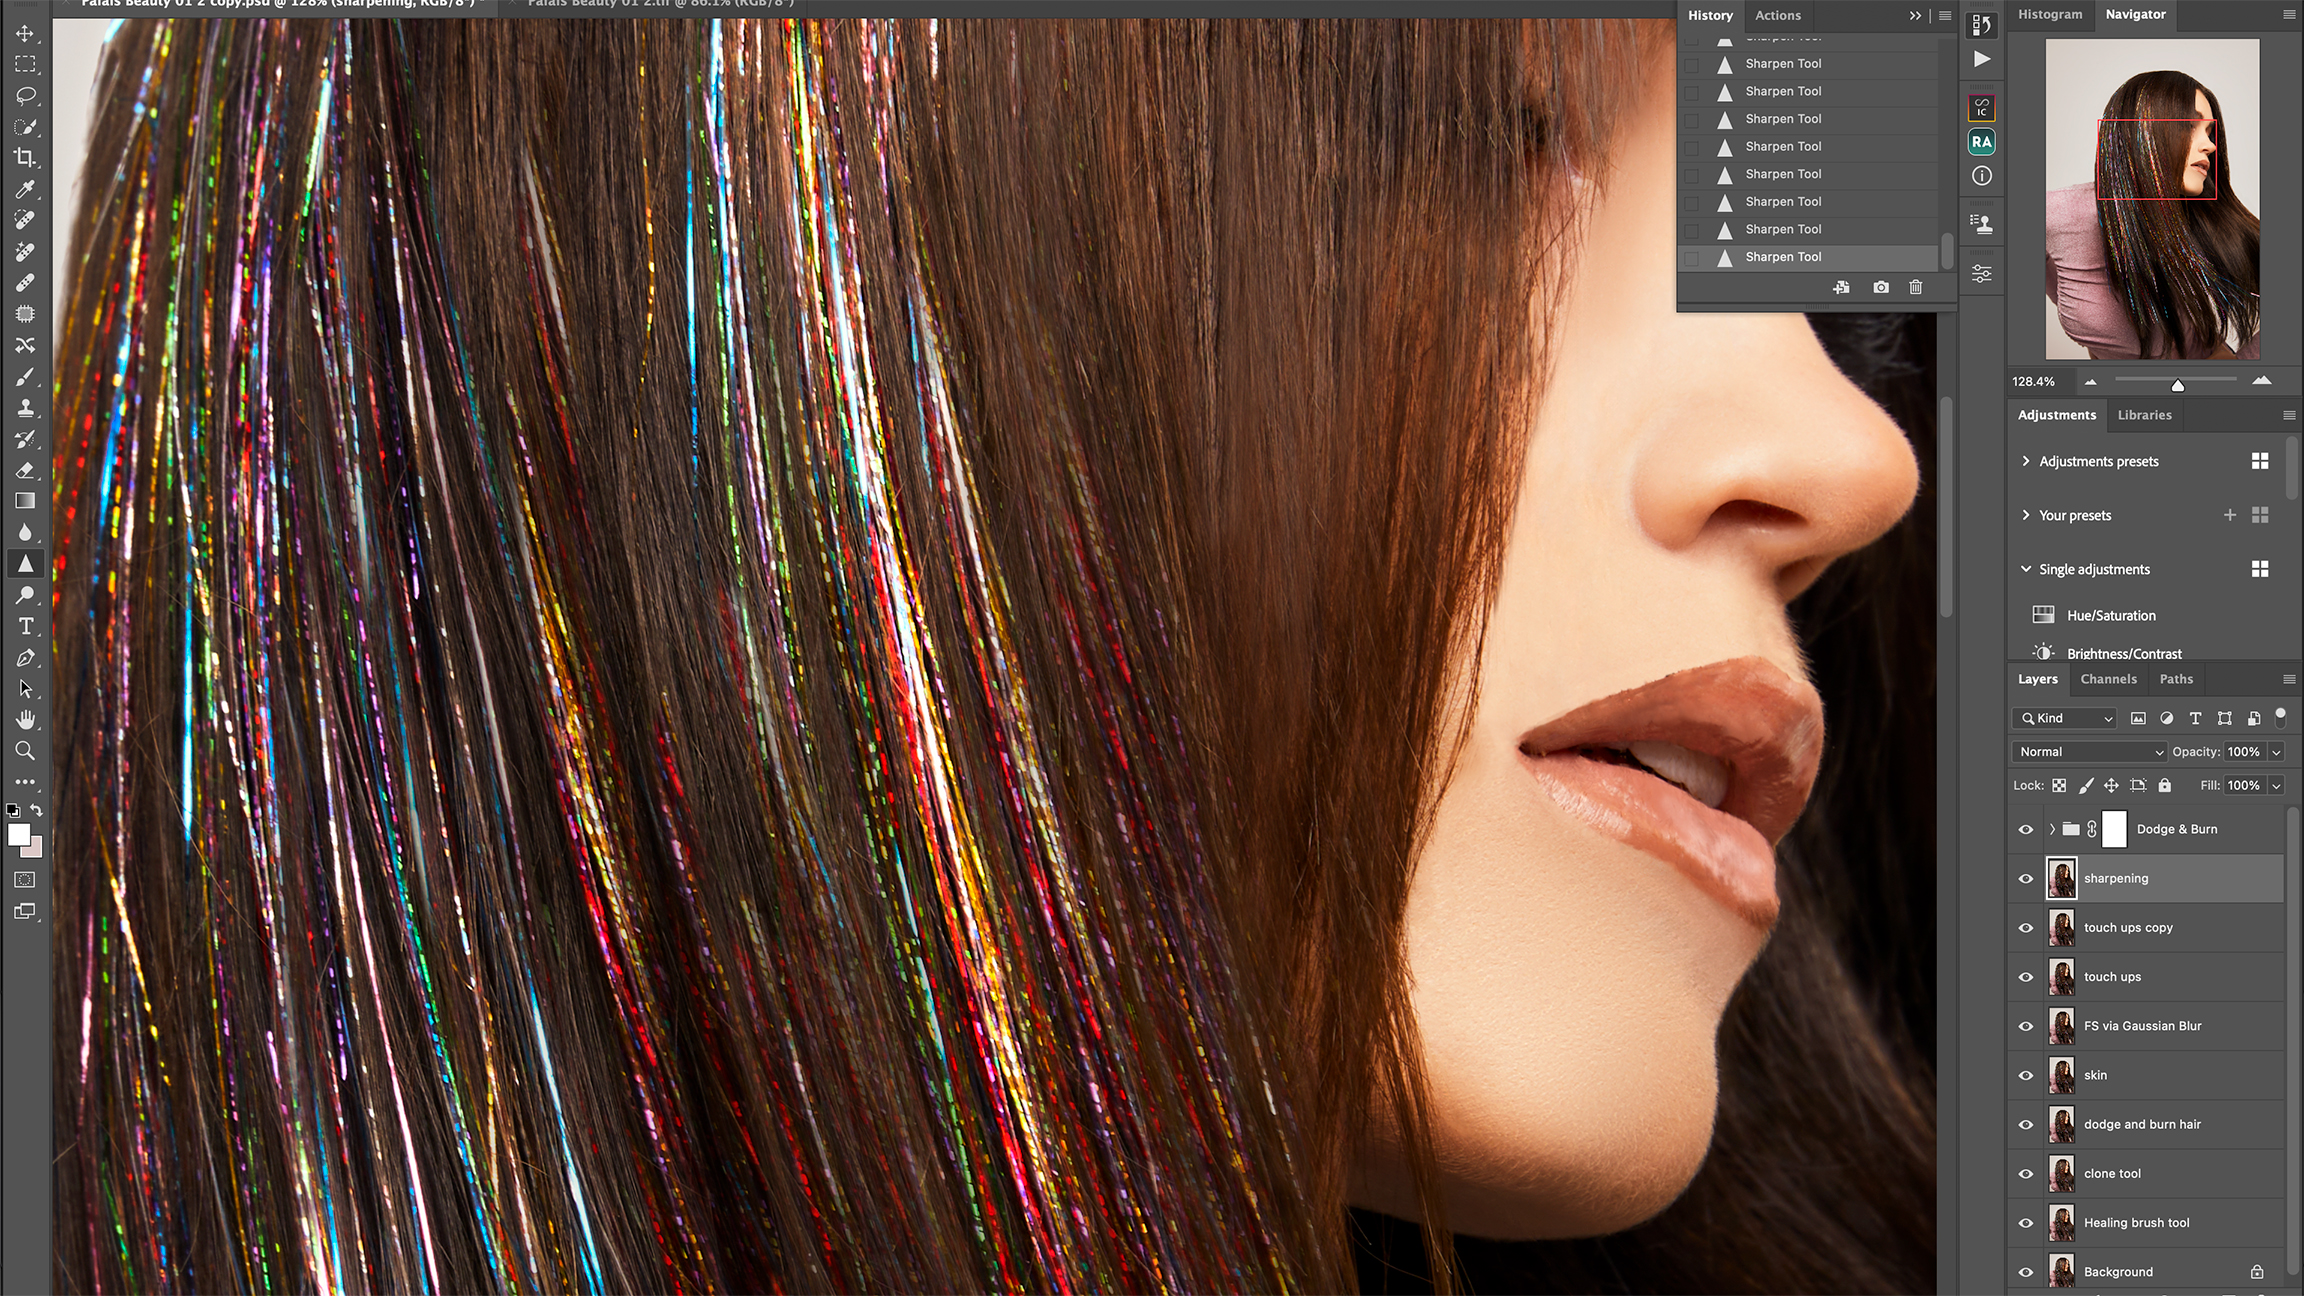
Sharpening is my secret step – I believe this really brings everything together. No matter how careful you are with retouching, you may realise that a few of the hairs are slightly softer than their neighbours. Start with the Sharpen Tool to go over those areas to add texture (with Mode set to Normal and Strength at 30 per cent). Then, I would usually apply an overall sharpen by going to Filter > Other > High Pass. From there, you can tweak the Radius and preview how much sharpening will be applied before clicking OK. Change the Blend Mode to Soft Light.
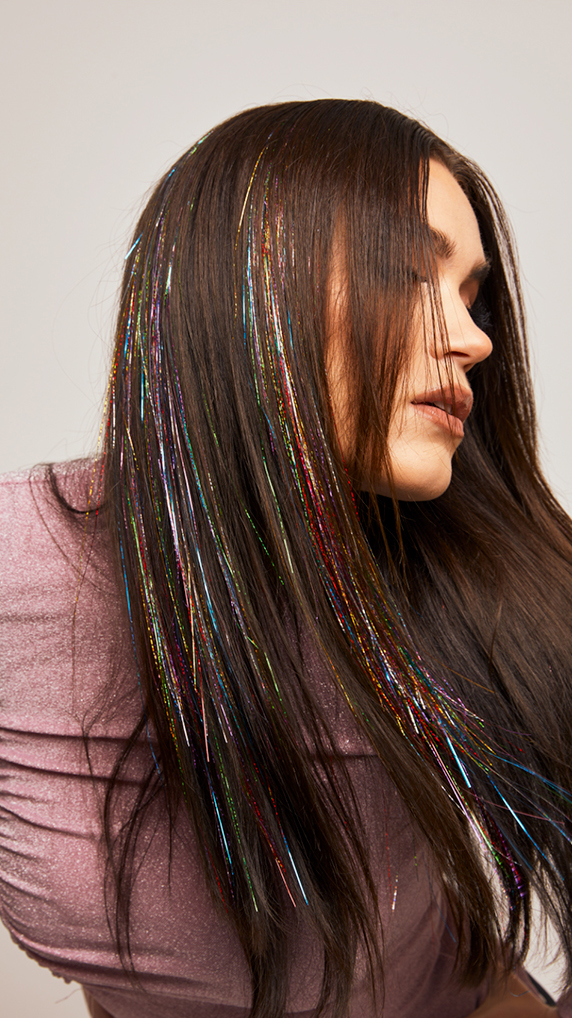
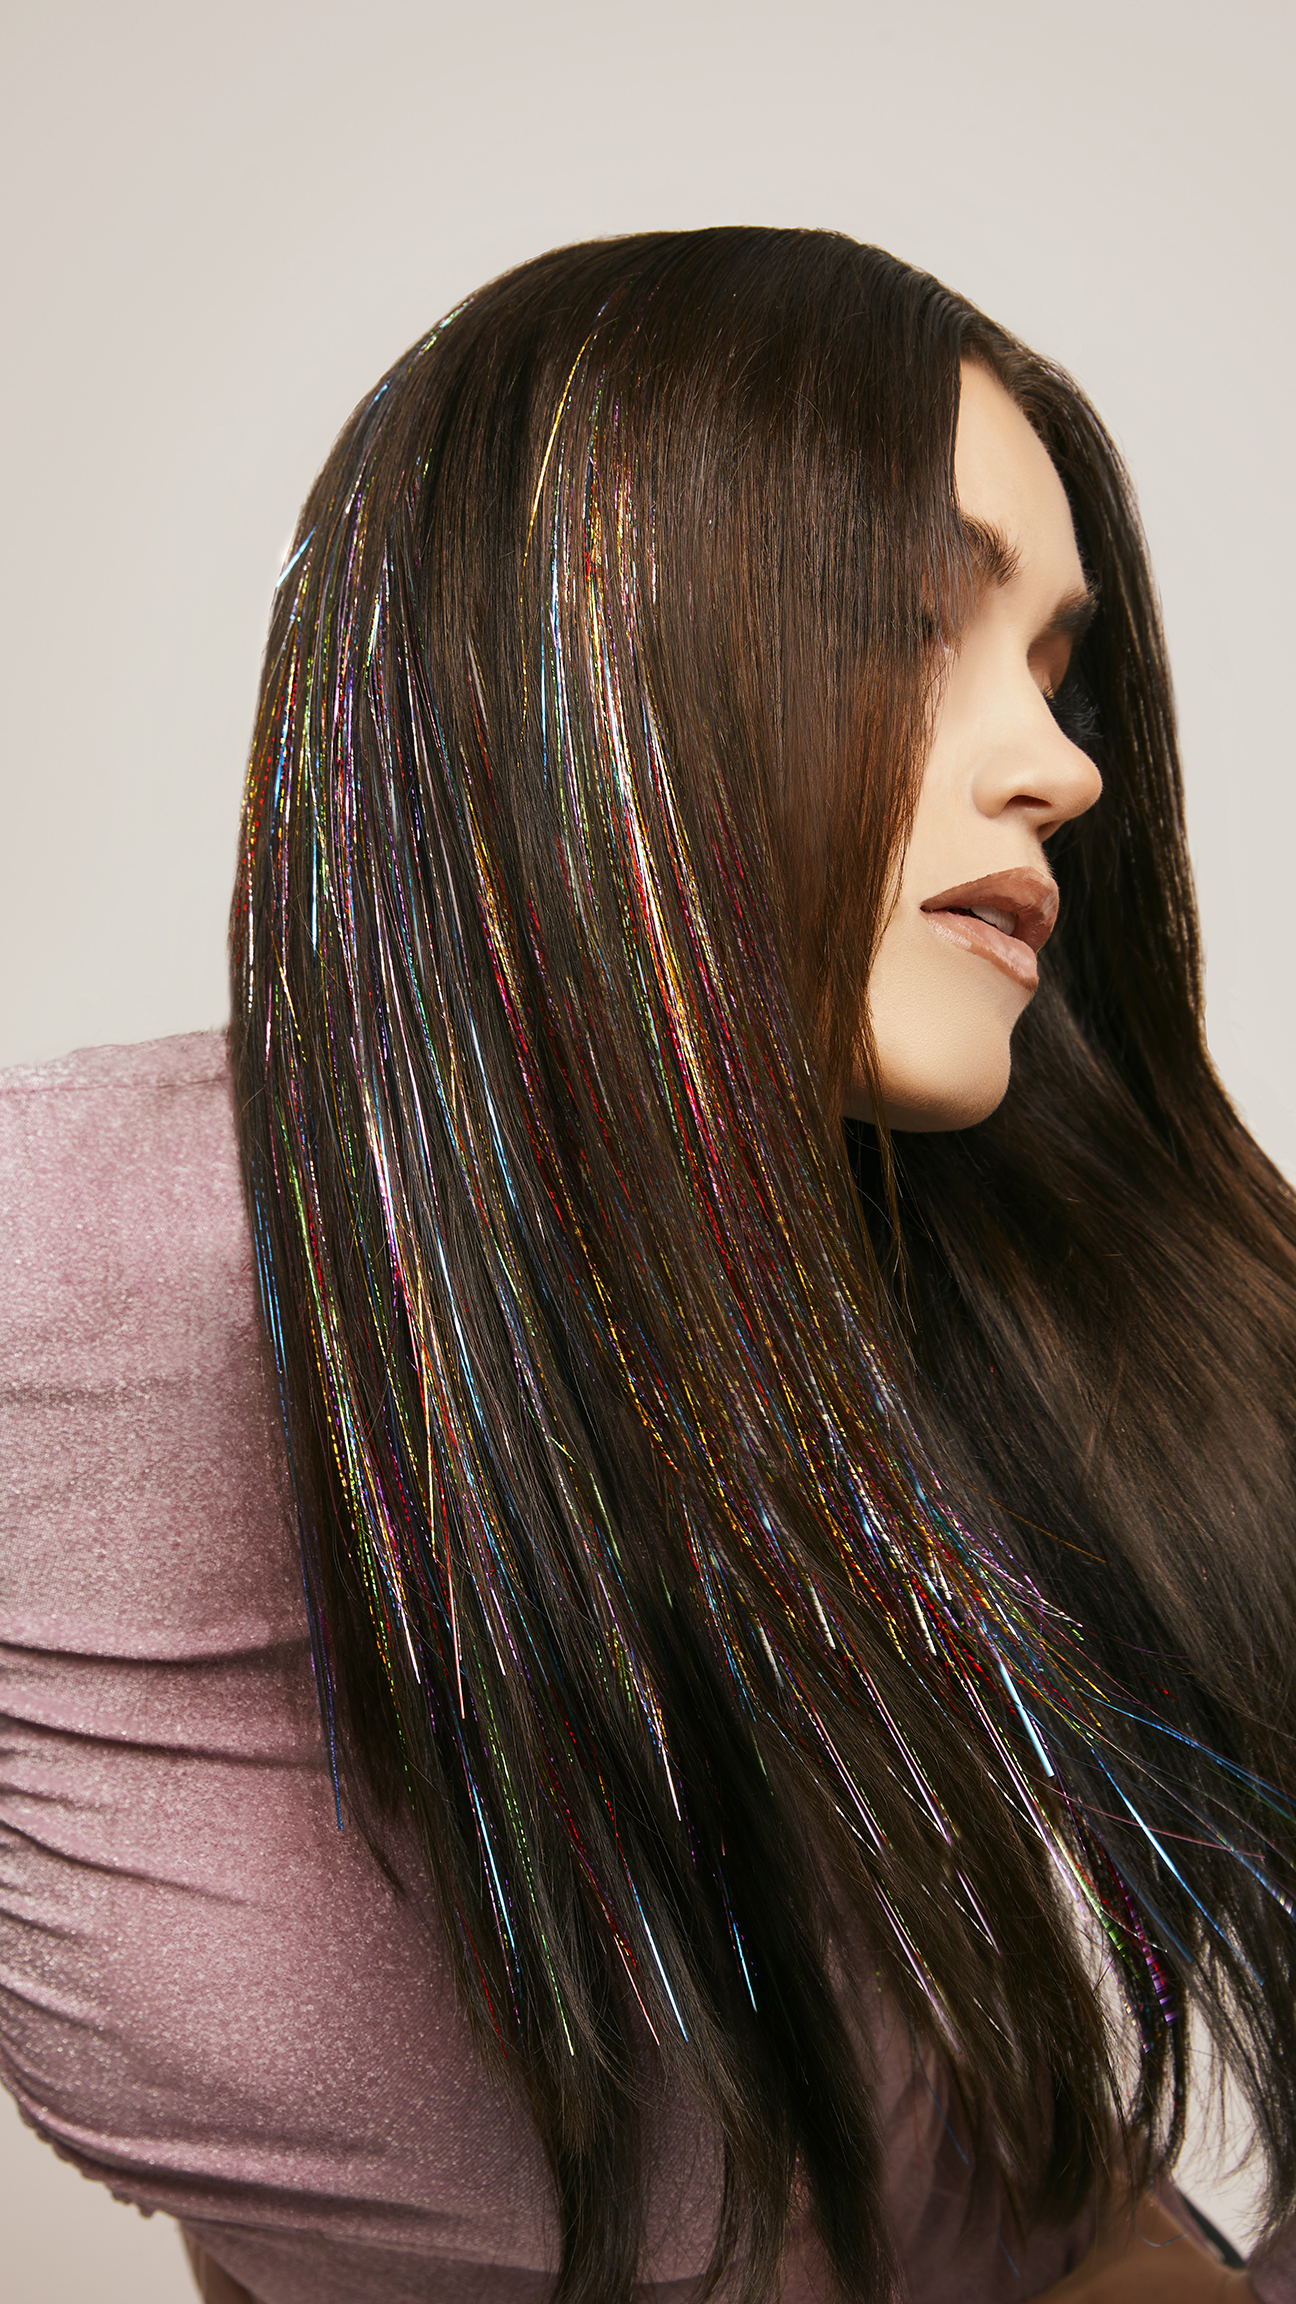
Before and After
Jade's bonus tip
Use Liquify
When retouching hair in Photoshop with Liquify, start by adjusting the brush size to match the hair strands. Gently push or pull individual hairs to refine the shape and direction. Use a low brush pressure for subtle changes and maintain realism. Avoid overstretching or distorting hair, focusing on enhancing natural flow. Keep the overall balance and texture intact for a lifelike result.
More tutorials
