Drawing tablets like the One by Wacom are a refreshing and surprisingly intuitive alternative to hunching over a trackpad for hours on end. And while they’re traditionally considered a mainstay of digital illustrators, they can enhance the workflow of photographers who regularly work with brushes for tasks such as frequency separation, and dodging and burning.
The best Wacom tablets boast thousands of pressure levels, shortcut buttons and super-slick pens. But the One by Wacom trims the fat in favor of a no-frills approach that’s ideal for drawing tablet newbies or anyone who values robustness and portability in favor of the latest bells and whistles.
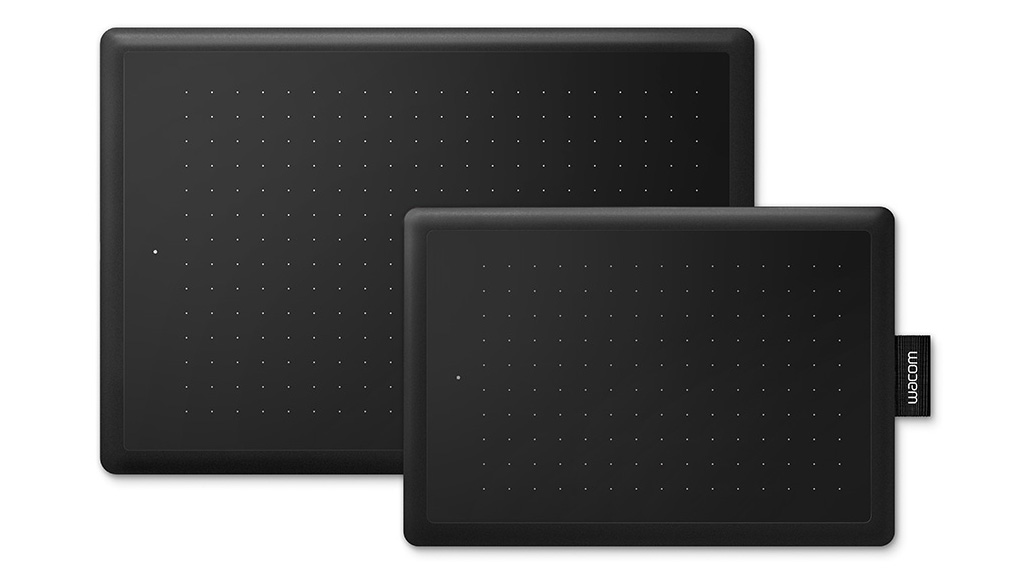
I reviewed the One by Wacom's small variant, but if the compact 8.3 x 5.7in dimensions are simply too small, you can also pick up the exact same model in a larger 10.9 x 7.4in medium variant. If you’re looking for a desktop digital illustration workhorse, this might not be the drawing tablet for you. But if you're a photographer or simply not willing to shell out big bucks on the best drawing tablets on the market, then here’s the lowdown on this nifty little slate…
One by Wacom: Specifications
Size: (Small) W 210 x L 146 x D 8.7 mm / W 8.3 x L 5.7 x D 0.3 in
(Medium) W 277 x L 189 x D 8.7 mm / W 10.9 x L 7.4 x D 0.3 in
Active drawing area: (Small) W 152 x L 95 mm / W 6 x L 3.7 in
(Medium) W 216 x L 135 mm / W 8.5 x L 5.3 in
Resolution: 2540 LPI
Connections: microUSB to USB-A
Pen pressure levels: 2,048
System requirements: Windows 7 or later, macOS 10.10 or later, Chrome OS 87 or later (Kernel 4.4 + required)

One by Wacom: Key features
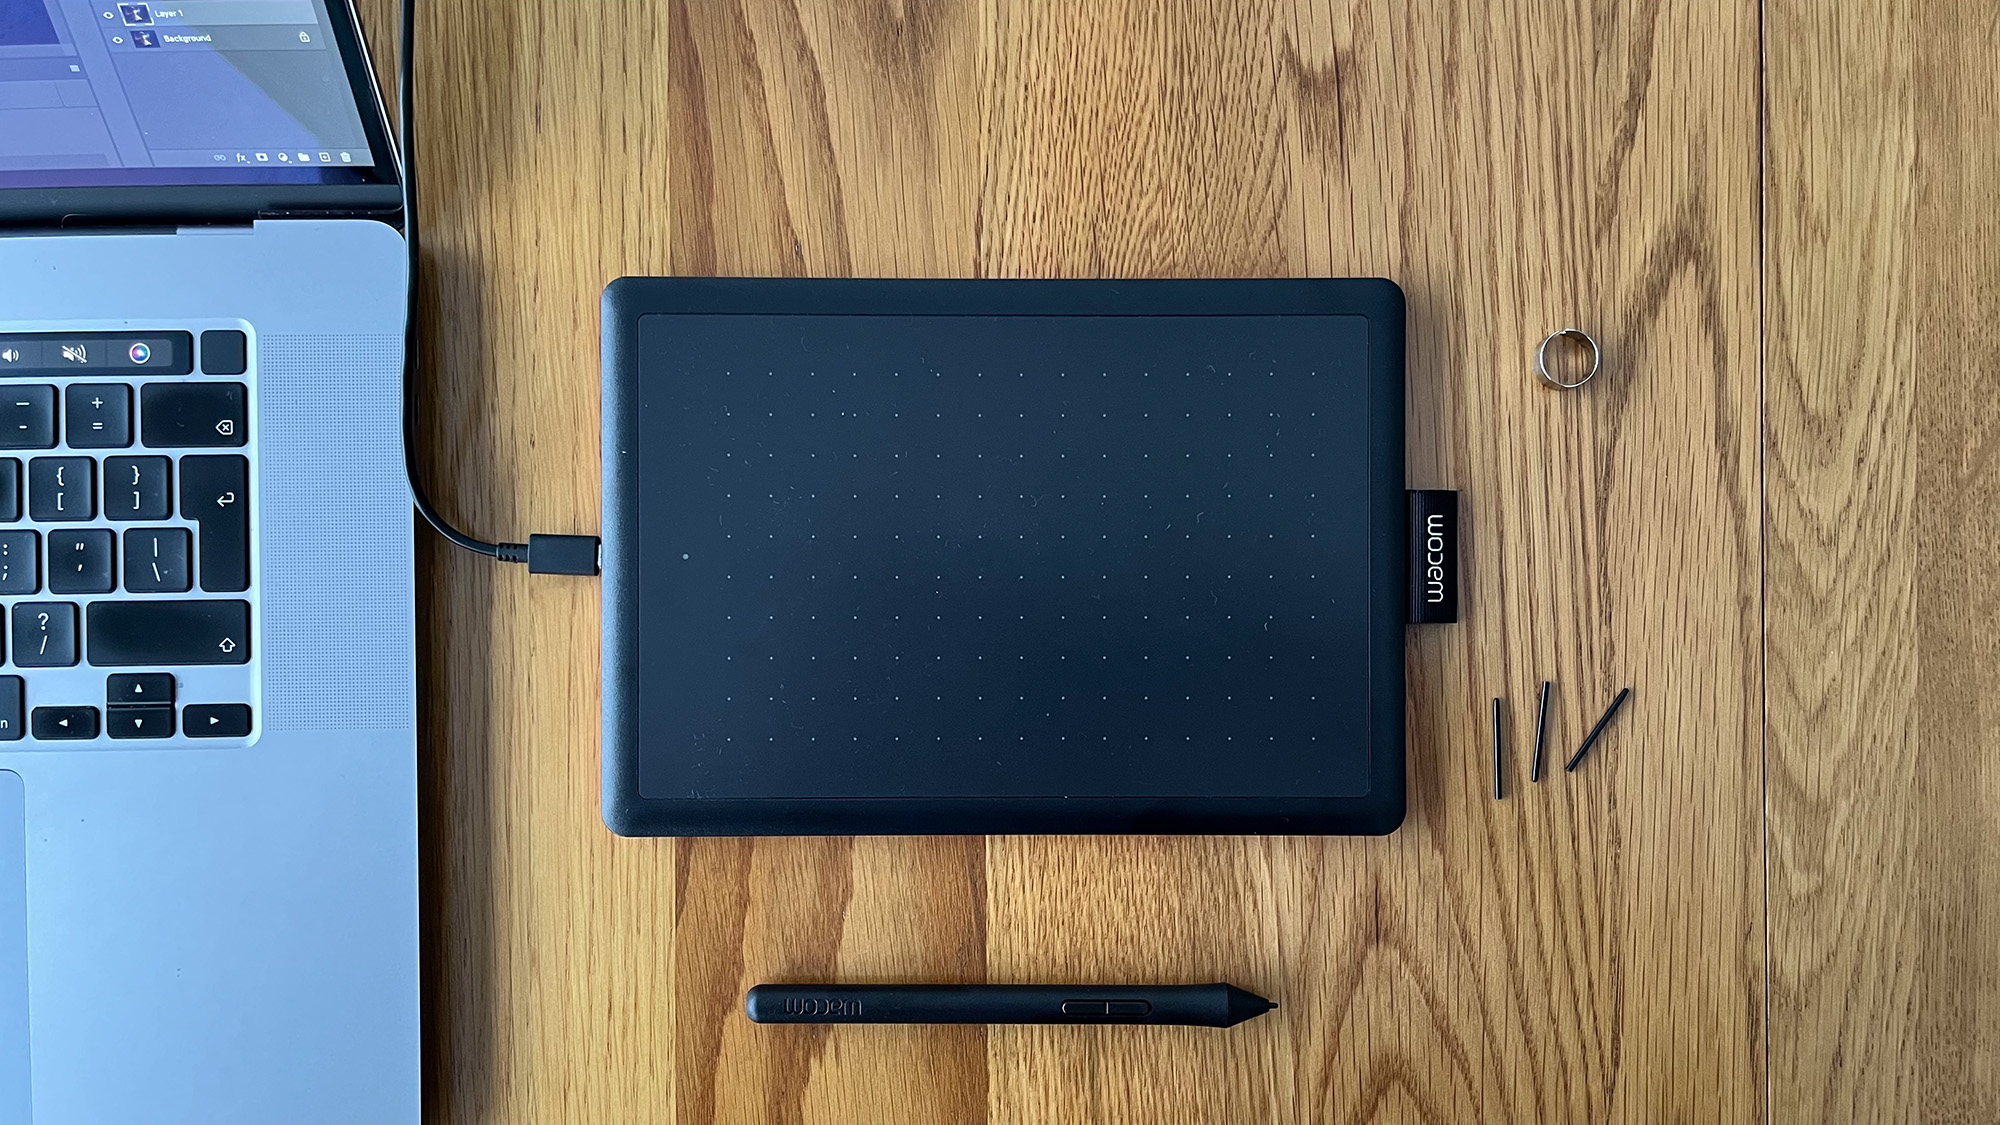
There’s a reconstituted chic to the One by Wacom’s simple, cardboard packaging. The width and length aren’t far off the tablet’s own dimensions and the minimalist aesthetic is appealing enough, yet provides reassurance that the bulk of this incredibly affordable tablet’s budget has been spent where it matters most. Inside you’ll find the tablet and pen, a Wacom-branded microUSB-to-USB-A cable, a trio of replacement nibs and a nib-removal tool.
The quick-start guide is a sparse leaflet with largely pictorial instructions and a link to a page on the official Wacom website, with easy-to-follow setup instructions and links to Windows and macOS drivers. Handy tutorial videos are also available, should you have trouble setting up or installing the device. Once installed, you can use the intuitive Wacom Center to set up the tablet and pen to your personal preferences.
No drivers or installation wizards are required for compatible Chromebooks, making this tablet an excellent workaround for those using company or school computers that block software downloads.
The tablet itself couldn’t be simpler. There are no shortcut buttons – like the four ExpressKeys you’ll find on the standard Wacom Intuos series tablets – but there is a cloth tab to hold the pen when not in use. You’ll find two buttons on the pen itself, which are mapped to right-click and scroll by default, but can be changed to perform a number of functions including erase and undo.
One by Wacom: Design
Latest Cintiq Pros aside, drawing tablets rarely look as sleek as, say, the best camera phones on the market… But whereas the XP-Pen Deco Pro and Huion Inspiroy Dial 2 look aesthetically dated, the One by Wacom won’t detract from that shiny new Macbook Pro. That’s not to say it’s particularly handsome looking, but in a world where minimalist tech is king, the clutter-free design looks suitably 2023. The only element that goes against the grain is the bright red base, which is neither attractive nor intrusive.
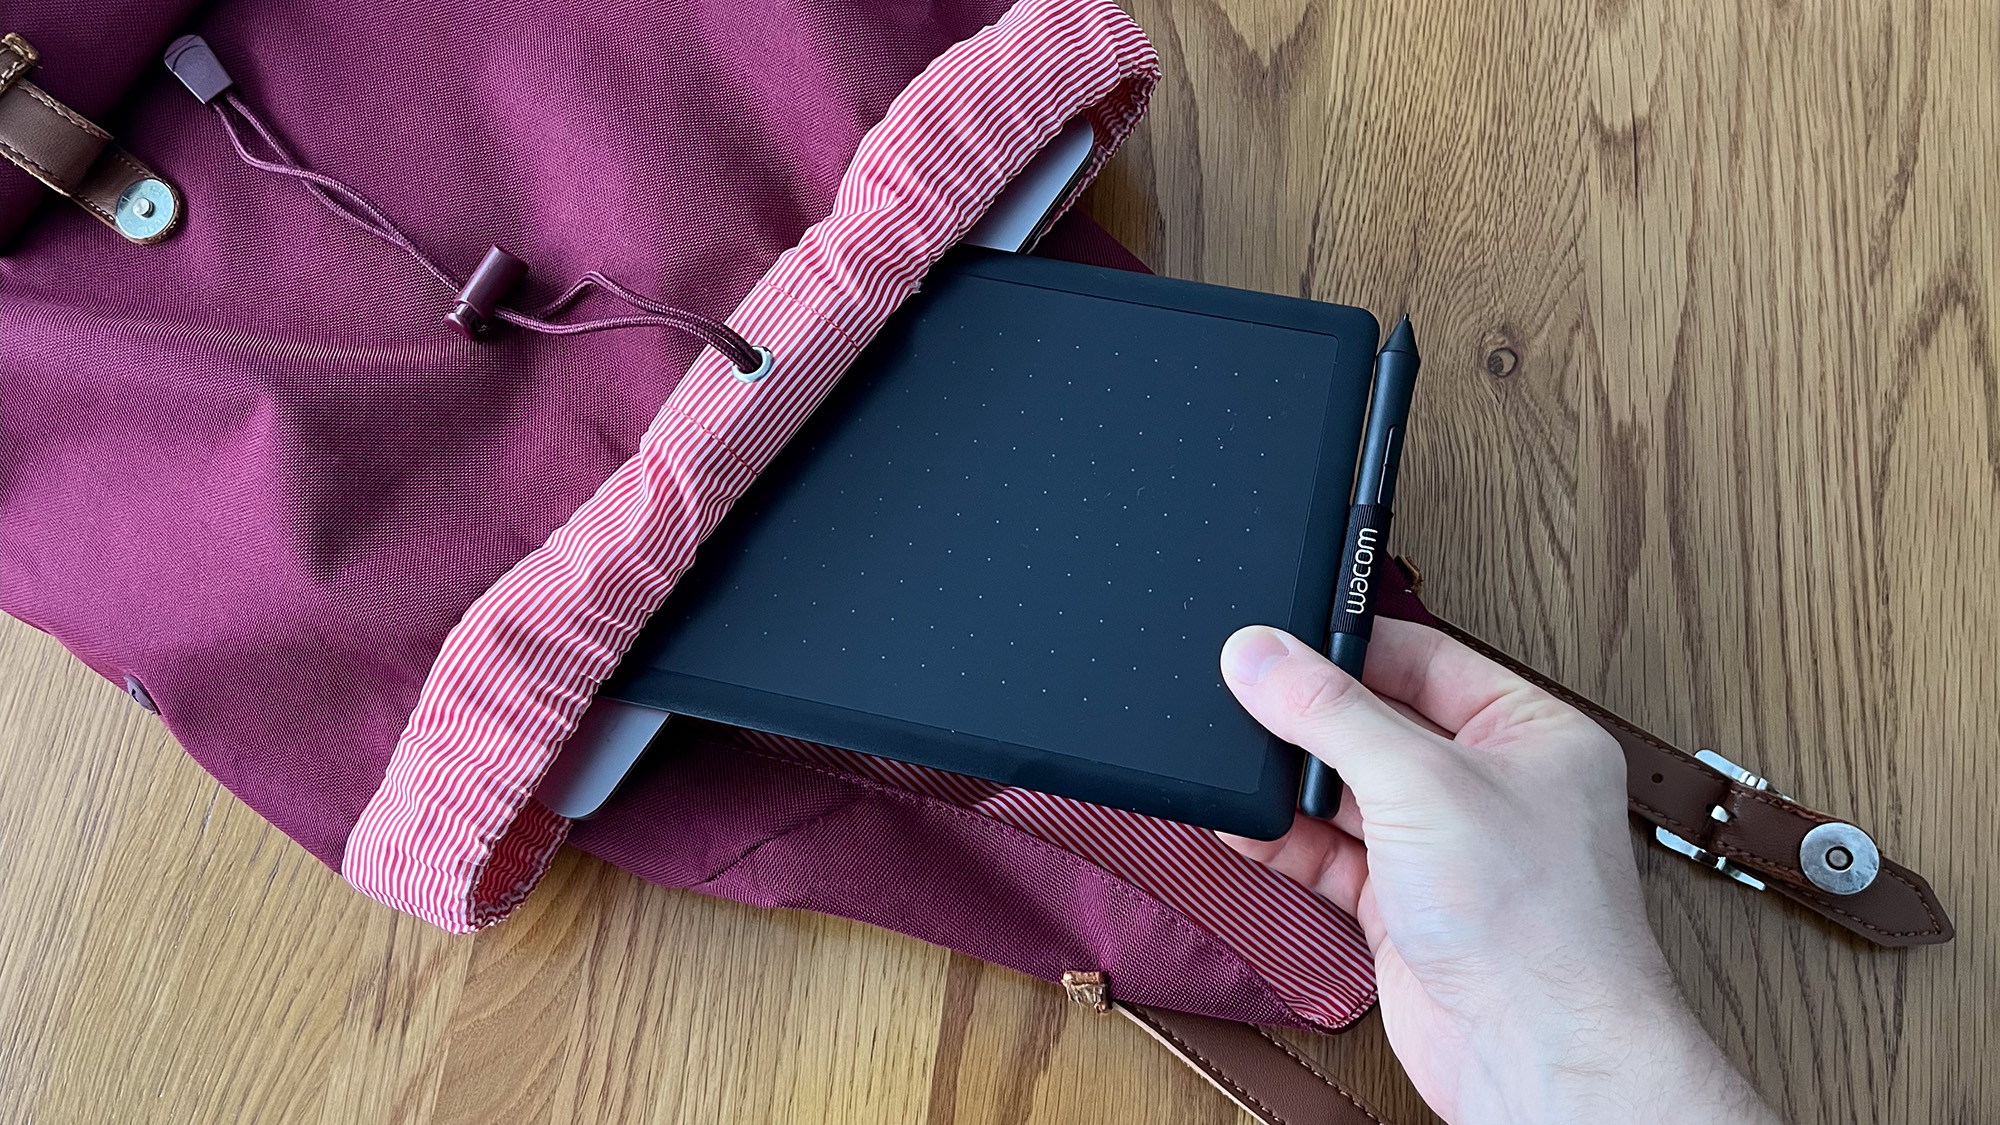
The simplicity of this little slate does make its already solid build feel notably sturdy. There’s no display to crack or buttons to break. It reminds me a lot of the Amazon Kindle. Just like a well-worn notepad or sketchbook, it’s meant to be shoved into a rucksack or kit bag and used. It's this utilitarian design that makes the One by Wacom so attractive from a content creation standpoint. If you’re an illustrator or professional retoucher, looking for a serious drawing tablet that will never leave your carefully curated desktop setup, you’d be much better off looking at a pen display or a premium tablet like the Wacom Intuos Pro.
But if you’re a photographer who’s keen on introducing a drawing tablet into your workflow for the first time or the type of content creator who travels light and values portability above all, then the One by Wacom’s small and sturdy design is a tantalizing prospect.
The microUSB-to-USB-A cable does hamper the tablet’s portability slightly if you require a USB-C adapter to connect it to your computer. And the lack of Bluetooth connectivity will make it slightly less enjoyable to use on the go, in airports and coffee houses, but its absence is understandable given the pricing.
Picking up the pen for the first time was surprising due to its extremely lightweight. The plastic also feels cheap, and the two buttons aren’t particularly reassuring. This is clearly where Wacom has decided to cut corners and given the sturdy nature of the tablet itself, it seems a sensible sacrifice.
One by Wacom: Performance
If you’re new to the world of drawing tablets, expect a learning curve. Traditional drawing tablets aren’t as intuitive as pen displays. Putting pen to screen is always going to better replicate putting pen to paper than drawing on a blank tablet, while you view your progress on an upright screen. That said, with practice, anyone can become proficient with a standard tablet. After all, some truly incredible digital artists have been using them for years.
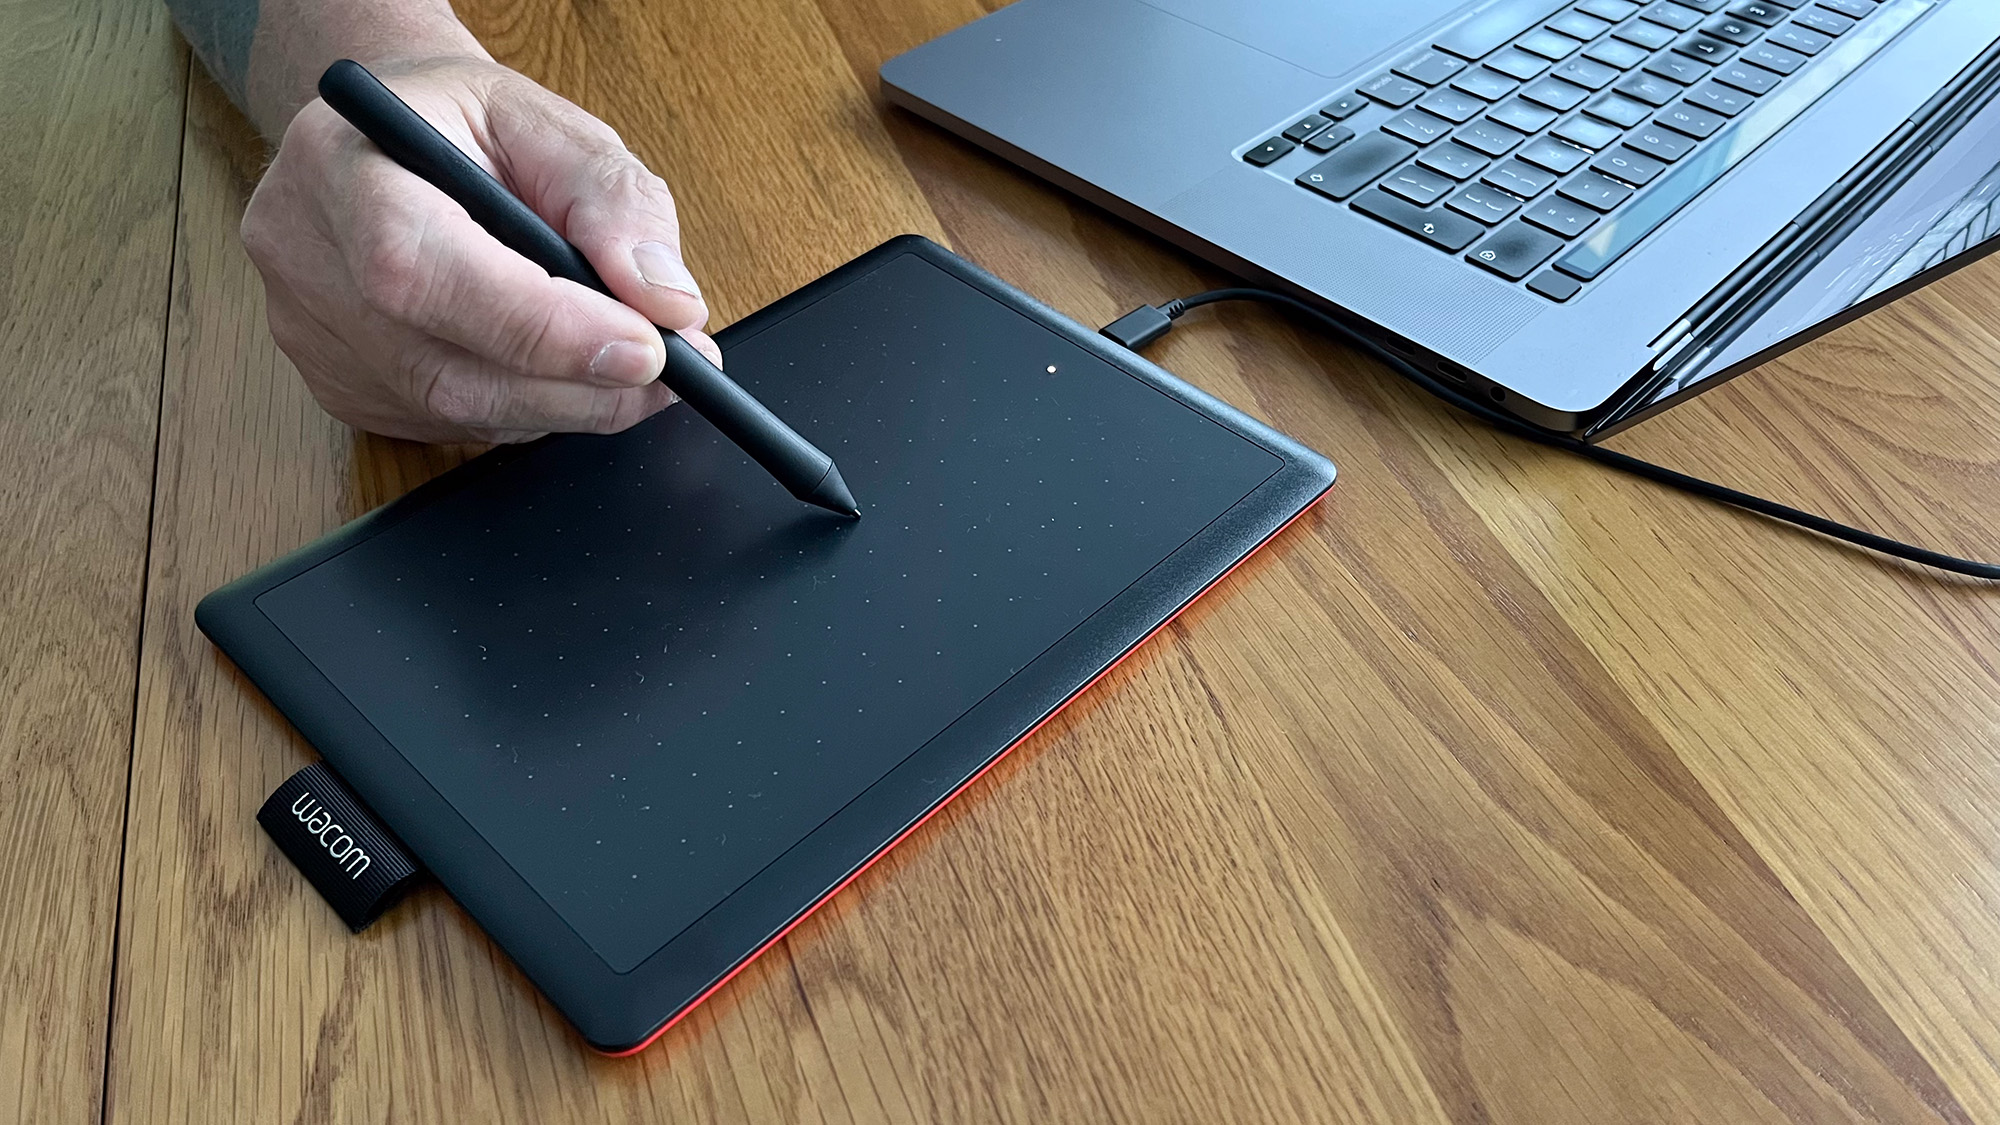
Once you’ve installed the One by Wacom’s necessary driver – or simply plugged in the tablet if you’re working on a Chromebook – you can begin using the device. While a drawing tablet really comes into its own when you’re using brushes in photo editing or digital illustration software, they can be used to navigate your computer just like a trackpad or mouse. You tap the surface of the tablet to ‘click’ and by hovering the pen up to roughly 2cm above the tablet’s surface, the cursor will track your movements. In Mouse mode, lift the pen any higher and it will cease to move. You can then move the pen anywhere on the active area of the tablet and set it down to continue where you left off (I'll get to Pen mode later).
the Wacom Center’s Pen and Mapping settings allow you to customize the pen and tablet's operation. Here, you can change the height at which the pen will still move the cursor. By default, the slider is set in the middle position. Set it to the lowest end and the pen needs to be almost touching the tablet’s surface to register with the cursor, but at the highest end, it really doesn’t seem much different to the default setting.
You can also adjust the acceleration and speed of the cursor. The higher the acceleration, the more responsive the pen feels, so I set it to its highest setting. The speed of the cursor relates to how far it will move in relation to your gestures. At its highest setting, the cursor will shoot from corner to corner – having only moved the pen a couple of inches – while at the lowest setting, you’ll run out of tablet long before you reach the opposite corner of the screen.
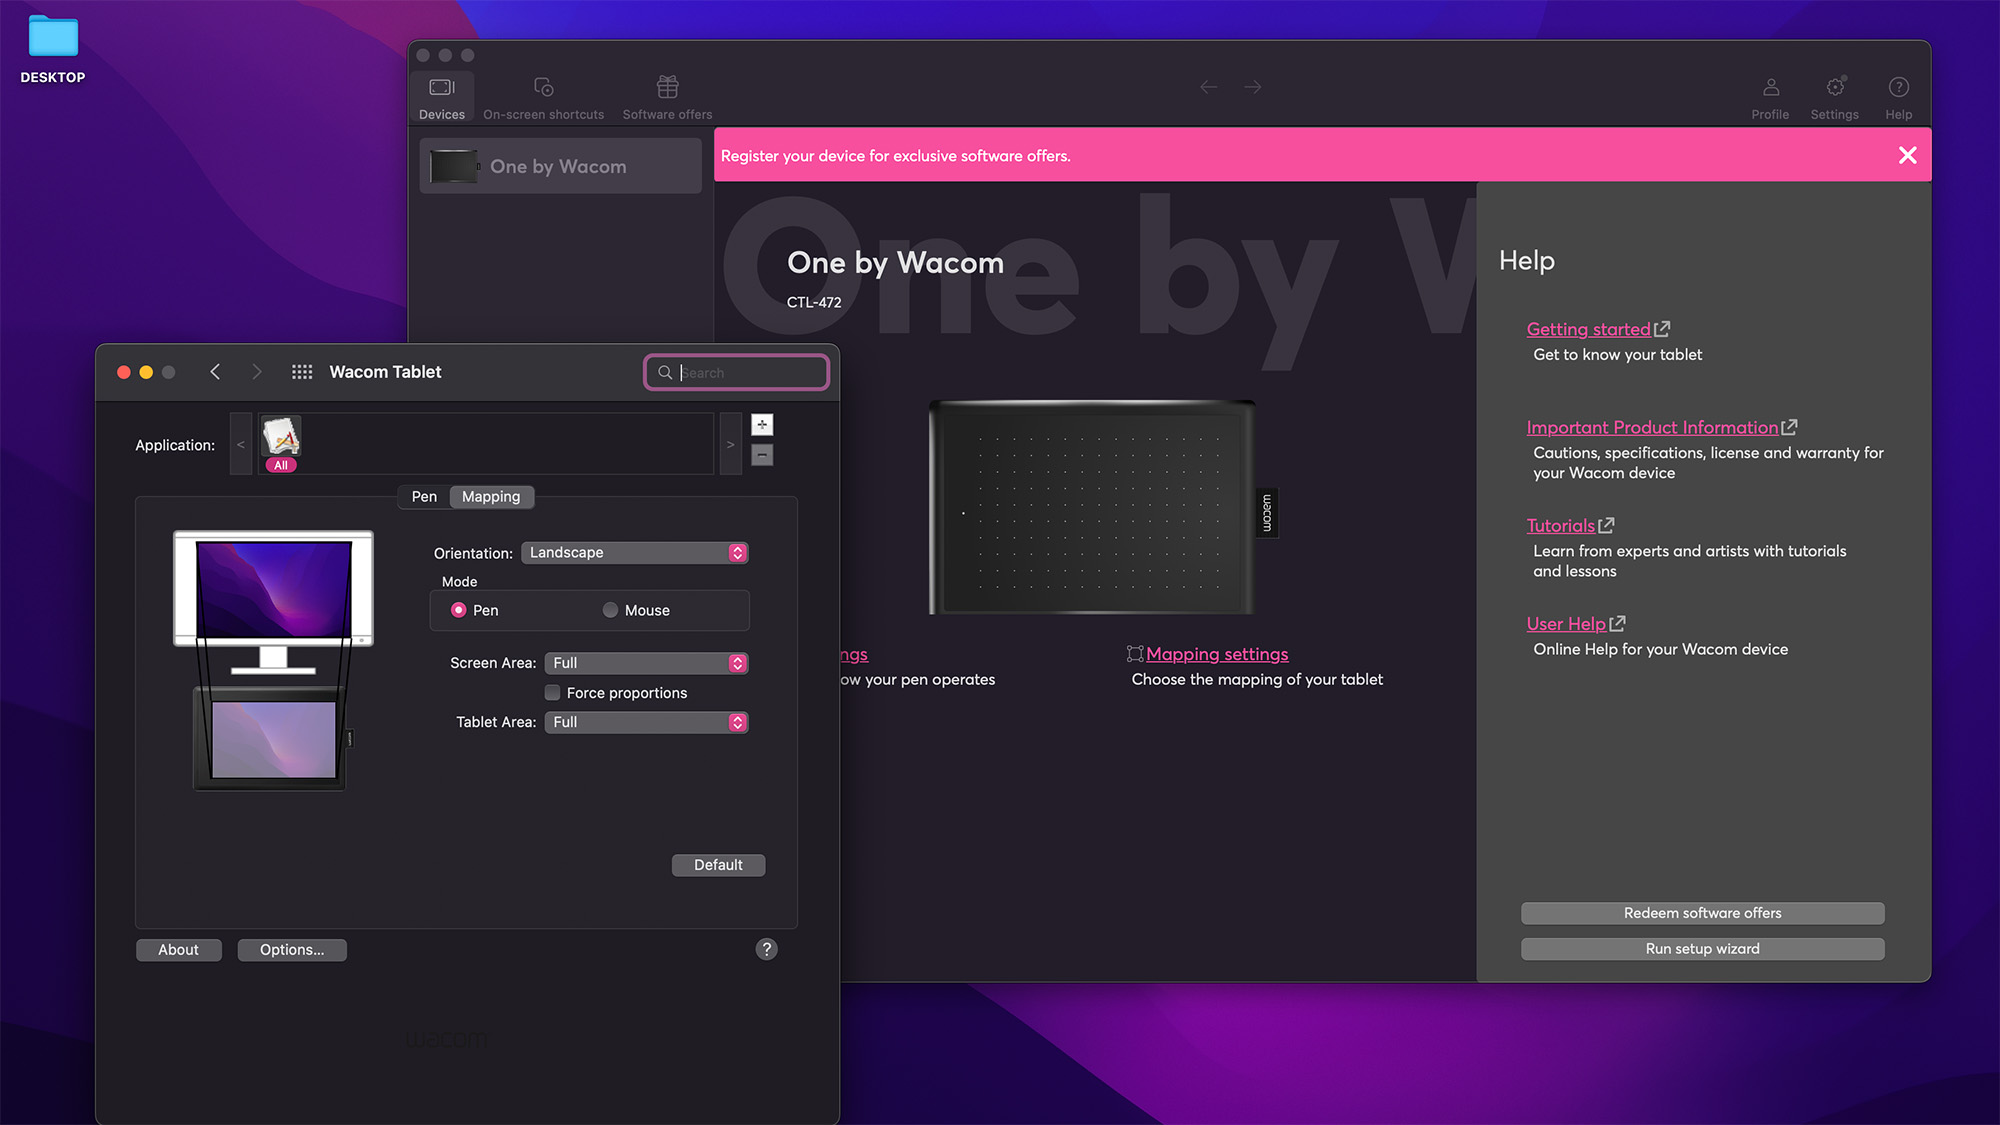
If you’re working on a portrait-orientation document, would like to digitally flip the display to suit your dominant hand, or need to position the USB port on the opposite side of the tablet, you can alter the orientation or flip the device in the Mapping settings. It really is worth taking the time to experiment with all of the pen and mapping settings to find the right setup for you. This will soften the learning curve and make the entire process much more comfortable and enjoyable in the long run.
Perhaps the One by Wacom’s most obvious spec shortcoming is that it only offers 2,048 pen pressure levels. That’s nearly half the levels of the Wacom Intuos Small and Medium tablets, while being well beneath the pressure sensitivity of other tablets, such as the Xencelabs Pen Tablet Medium’s 8,192.
If you’re picking up a drawing tablet predominantly for illustration then the step up to an Intuos tablet might be worthwhile. However, if you simply want to try out a drawing tablet for the first time or are a photographer whose usage won’t go beyond edits such as retouching and dodging and burning, I don’t think this is a dealbreaker.
You can also get more out of those pressure levels by customizing the sensitivity of the pen through the Wacom Center’s Interactive Pressure Profile curve. This allows you to alter how hard of soft you have to press to register the varying levels of sensitivity. While this is a more advanced customization option that most users of this entry-level tablet will likely avoid, the ability to alter the curve and immediately preview the changes by drawing lines in an adjacent box, does make it less complicated than it sounds.
When it comes to the One by Wacom’s pen itself, too often I found myself activating the easy-to-depress buttons by mistake. This is compounded by the lack of any kind of grip; the plastic makes it too easy for the pen to spin between your fingers and make contact with the buttons. You can at least disable the buttons in the Wacom Center, but it is a shame to lose this functionality.
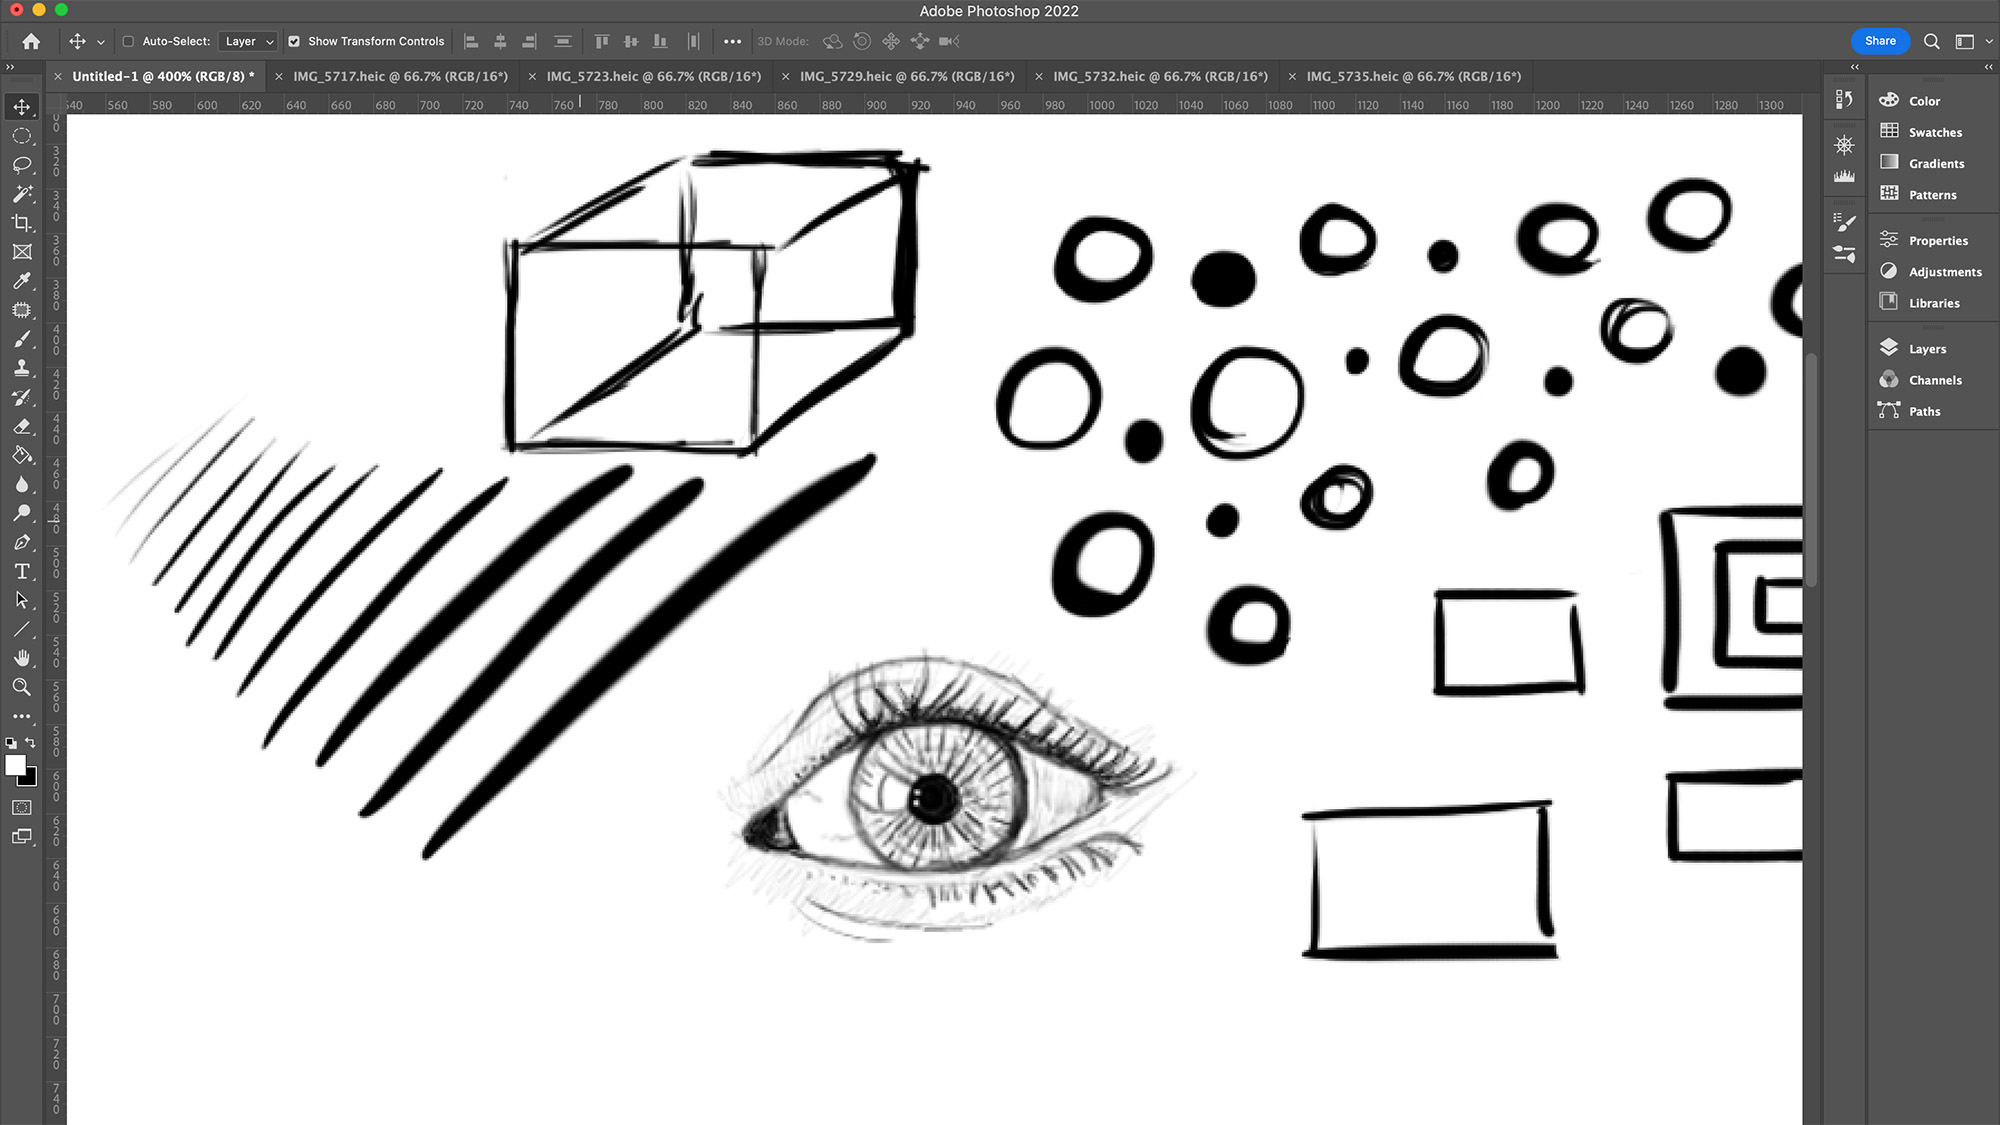
When drawing, it’s important to set the Mapping settings Mode to Pen. This means the active area represents your computer screen. If you lift the pen off of the tablet completely and set it down elsewhere in the active area the cursor will jump to that point on the screen. This makes for a much more free-flowing drawing experience. When actually sketching out lines the tablet performs well. Lines drawn at a decent pace sweep nicely across the screen with any kind of jitter only appearing at very slow speeds. The tablet keeps up with even the fastest physical strokes too. Sure, some input lag is to be expected, but it’s barely noticeable and doesn’t impact the drawing experience.
I use an iPad Pro and Apple Pencil 2 to produce digital drawings and although it’s a fantastic setup, the most noticeable drawback is the lack of that classic pen-and-paper feel. The One by Wacom feels really nice in that regard. The tablet’s surface is suitably papery and when paired with the pen’s nibs, the drawing experience is really enjoyable. Marks will appear on the tablet’s surface extremely quickly, but this is to be expected and they shouldn’t impact performance.
The One by Wacom’s small and medium variants match the active area present on the Wacom Intuos small and medium tablets. The general consensus when purchasing a drawing tablet is that bigger is better and I couldn’t agree more; if this is your only tablet and you’re a digital illustrator. If you’re purchasing a second tablet or are a photographer looking to shake up your editing workflow, then I think the smaller One by Wacom is at least worth considering. Sure, you’ll run out of room and have to reset your hand position frequently. But the diddy size and affordable outlay make this the perfect tablet to stuff into your kit bag and work with on the go.
One by Wacom: Verdict
The One by Wacom doesn’t boast the best spec list in and around its price range, but it stands out for its pen-and-paper-like quality, raft of customization options, and the main tablet’s robust build. While similarly priced drawing tablets feature more pressure levels, the overall drawing experience is very good. The featherweight plastic pen really is the only notable shortcoming, but something had to give at this price point. The small size won't be for everyone, but you can always pick up the larger ‘medium’ variant. If you’re a photographer or digital artist looking for a portable drawing tablet to throw into a bag and take anywhere, or somebody who’s picking up a drawing tablet for the very first time, the One by Wacom is a great choice.
Read more: Find out about other graphic tablets and pen display options in our guide for the best drawing tablet, or check out the best Wacom tablets


