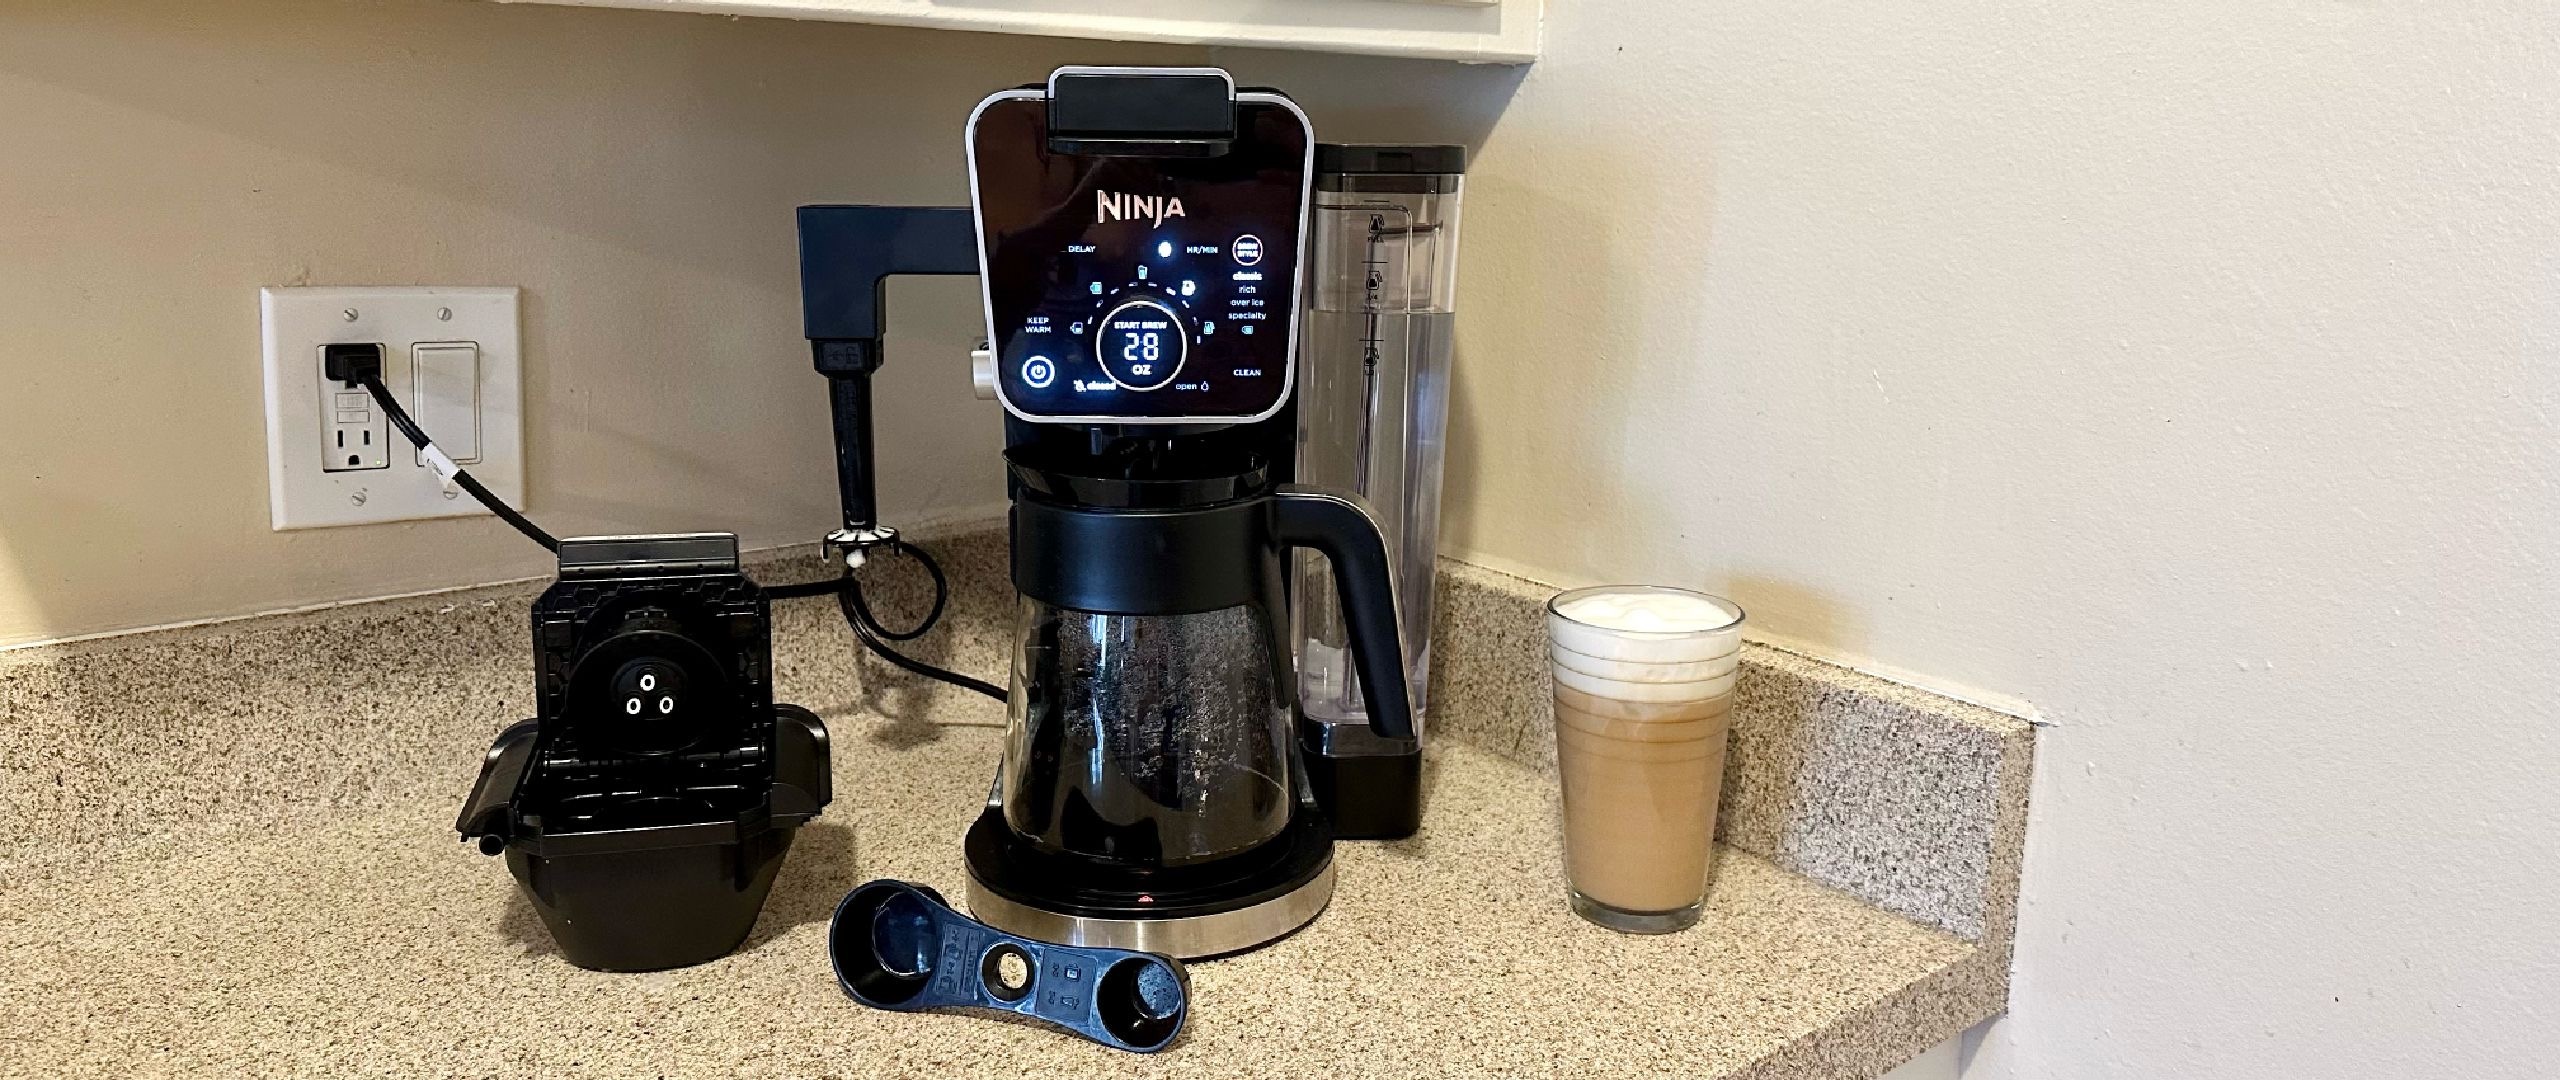
The Dual Brew Pro comes from the popular small appliance brand Ninja. The company has stepped into the coffee machine world before, but this one takes the cake when it comes to features with a pod adapter for K-cups, different brew styles, a milk frother, and a host of other extras. Of course, the Dual Brew still makes a great cup of coffee using the traditional grounds and filter method. However, with all these features comes a high price tag, at $229.99, and is only available in the US.
Now, the Ninja Dual Brew may offer all these features, but the question is, do they actually work well? After using the coffee maker for a month, testing out every part of the machine, and seeing how it held up to coffee makers I’ve used in the past in performance and taste, I’d have to say Ninja Dual Brew and its features work great, for the most part, making it one of the best coffee makers.
To start, the machine is super simple to use, whether you’re brewing single-serve pods by slotting the adapter into it or using grounds and a filter. The removable and moveable water tank lets you change the footprint of the machine, while the milk frother makes creamy foam fast. A separate water system gets the water super hot without the worry of any coffee taste, and a warming plate keeps coffee hot for several hours.
There’s tons of variety in terms of size and brew styles, too. And the LCD panel to make these selections, though more complicated than some, is easy to get the hang of. Brew style options like classic and over-ice tasted great. But the rich and specialty brews didn’t hold up as well. Even with some minor flaws, if you’re someone that loves options when it comes to brewing your coffee and just a good cup of joe, the Ninja Dual Brew is for you.
Ninja Dual Brew Pro: Product specifications
- Type of coffee: Grounds, K-cup pods
- Brew time: 8oz~3 minutes, 55oz~8 minutes
- Milk frother: Yes (no heating)
- Programmable: Yes
- Brew size options: 4oz-55oz
- Water tank capacity: 60oz
- Carafe size: 55oz
- Power cord length: 2.5ft
- Warming plate: Yes
- Coffee grinder: No
- Average Noise level: 55dB
- Color: Black, stainless steel
- Material: Plastic, stainless steel
- Dimensions: 11.18" x 9.08" x 15.5" (water tank on side), 7.08" x 14.26" x 15.5” (water tank in back)
- Weight: 9.69 pounds
Ninja Dual Brew Pro: price and availability
The Ninja Dual Brew Pro has a list price of $229.99 and is available from Ninja Kitchen direct, or via resellers such as Amazon and Kohl's.
It often gets discounted during retailer events such as Prime Day and Black Friday where you can make a nominal saving, although I wouldn't expect to see it drop too much below $200.
Ninja Dual Brew Pro: first impressions
The Ninja Dual Brew Pro arrived in a large but manageable box that displayed all the capabilities and components of the machine on the outside. Upon opening, the coffee maker was fully assembled with a K-cup pod adapter installed. The only parts not attached were the milk frother tip that easily twisted into place and the carafe. Resting on top was a “Quick Start Guide” and full-length instruction manual.
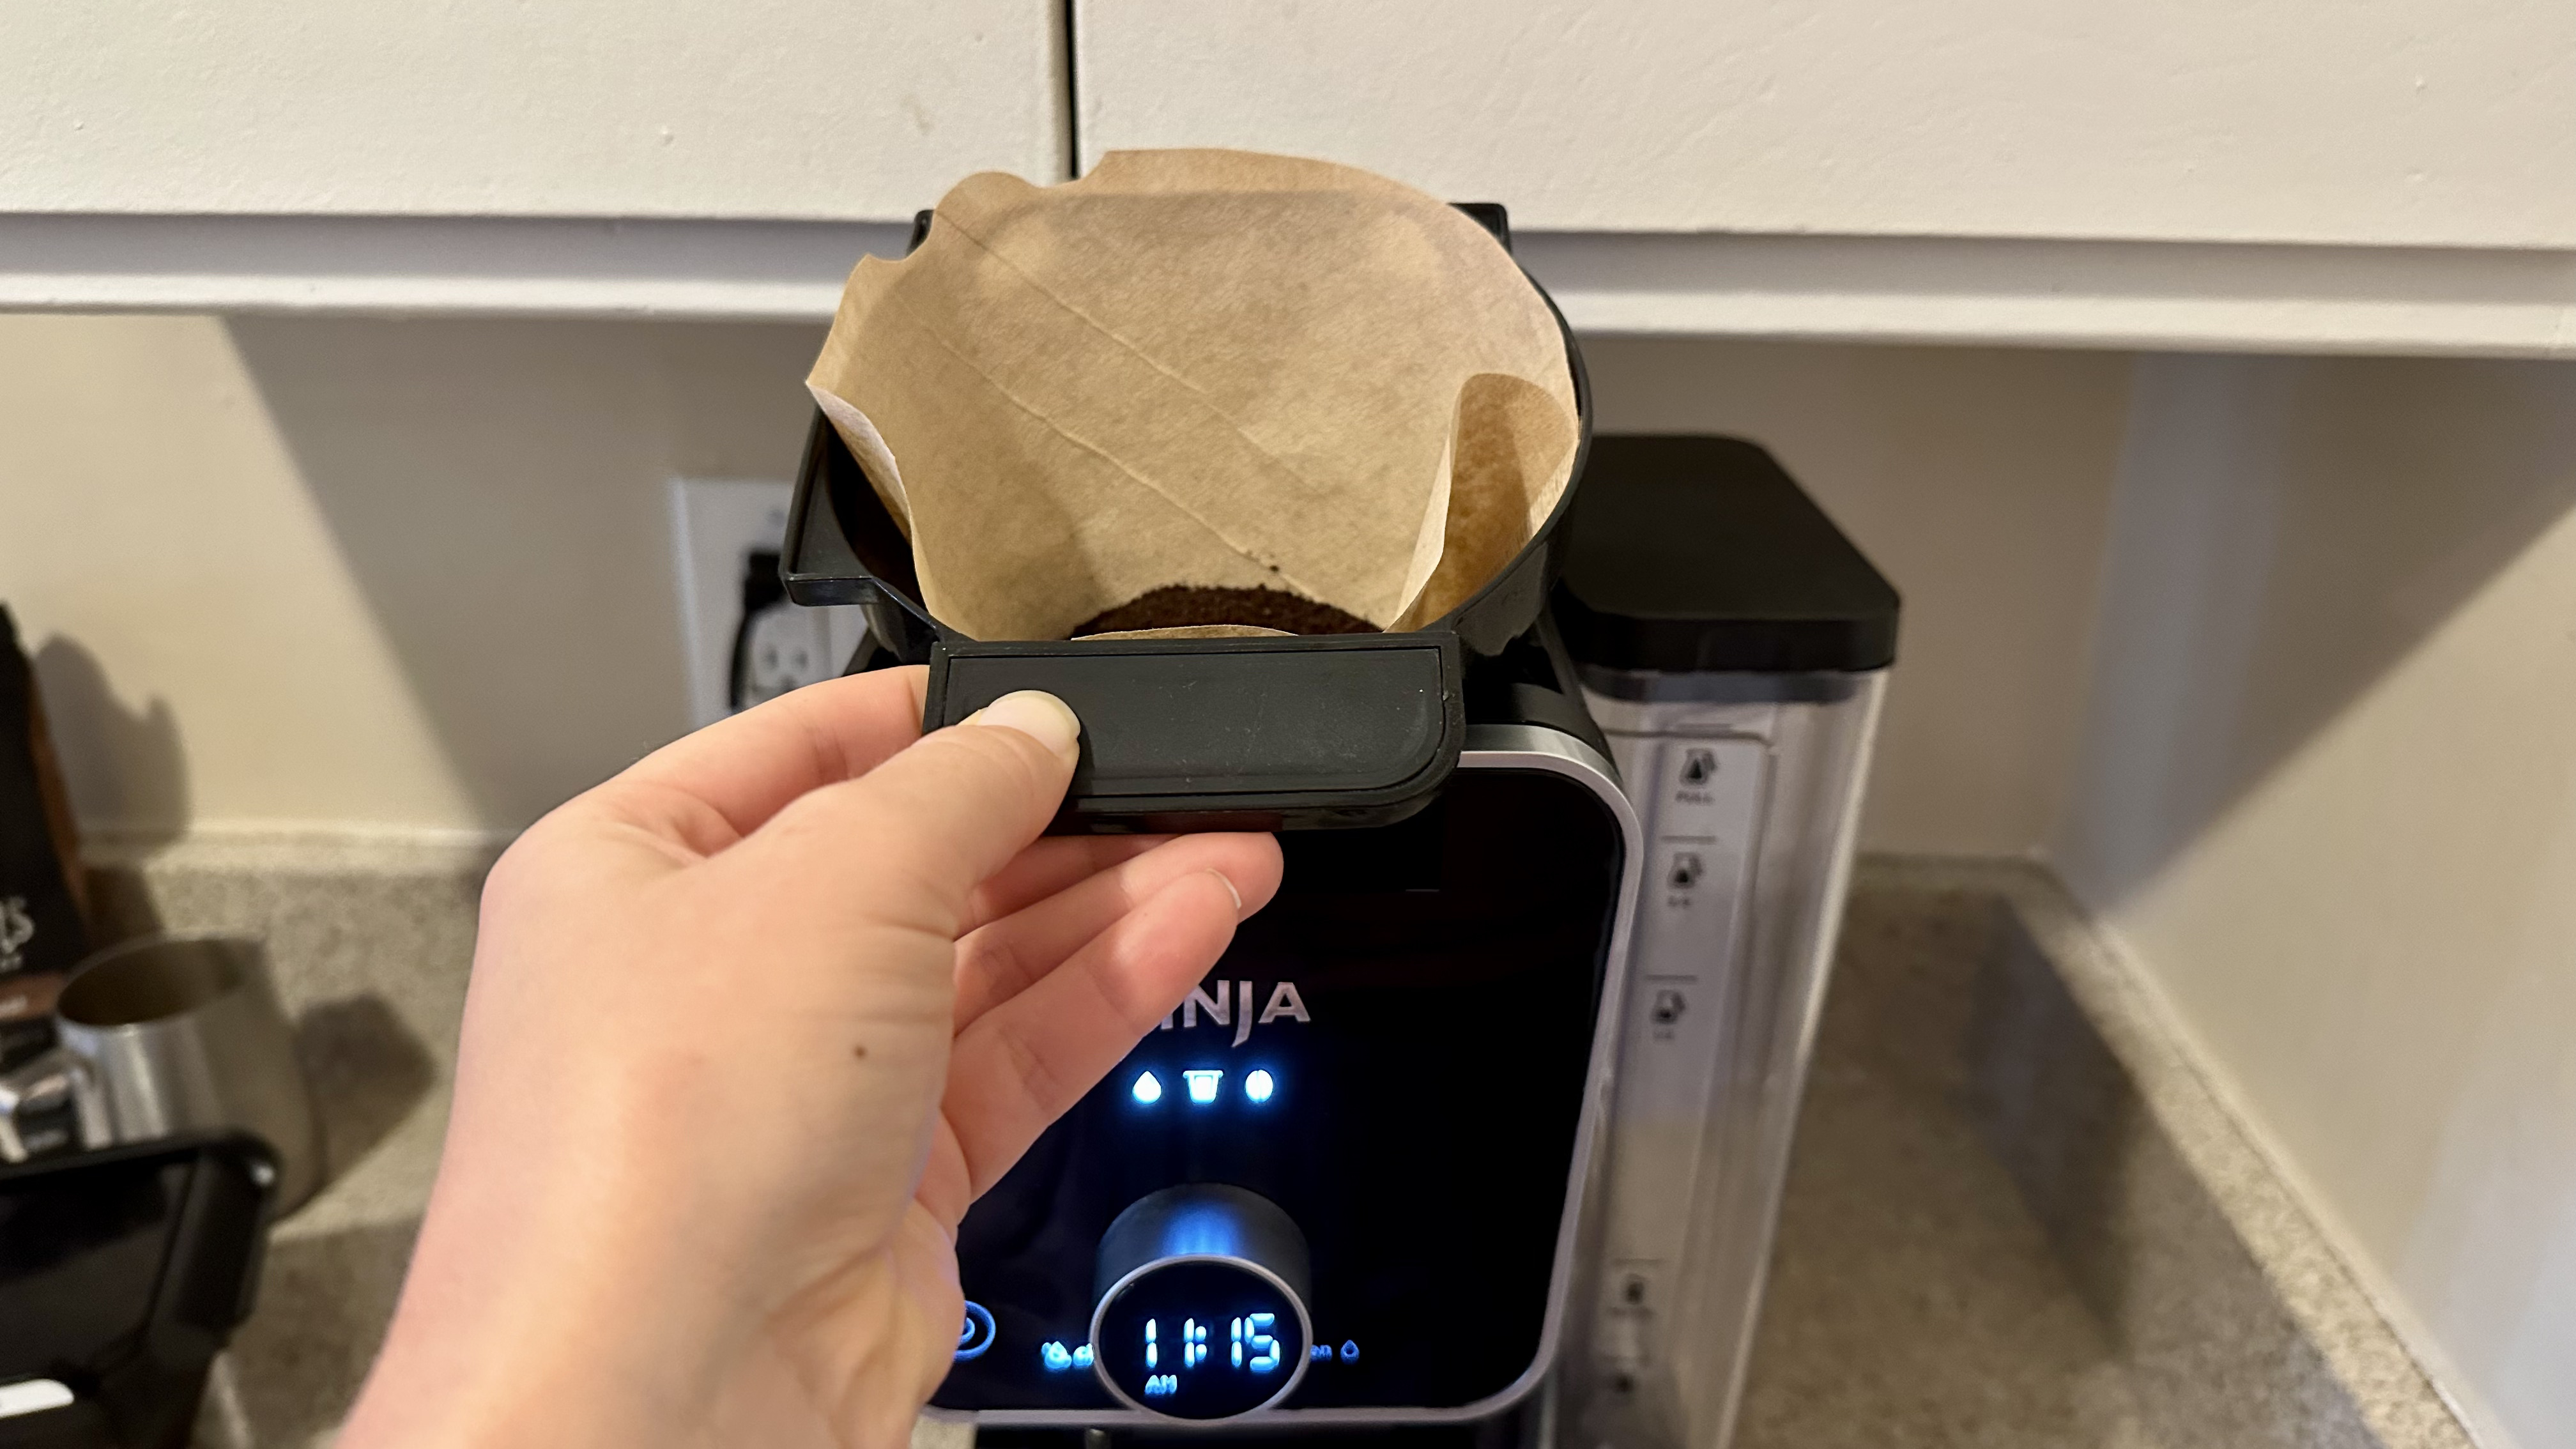
In less than 5 minutes, I had the machine out of the box and assembled. The hardest part was removing all the instructions and warning stickers. Before the first brew, it does recommend priming your brewer, which is simple. You just need to fill up the removable 60 oz. water reservoir to the full line, remove the pod adapter, slide the lid closed, place the carafe under the brew basket, and brew a full carafe of coffee. Then you’re ready to start brewing.
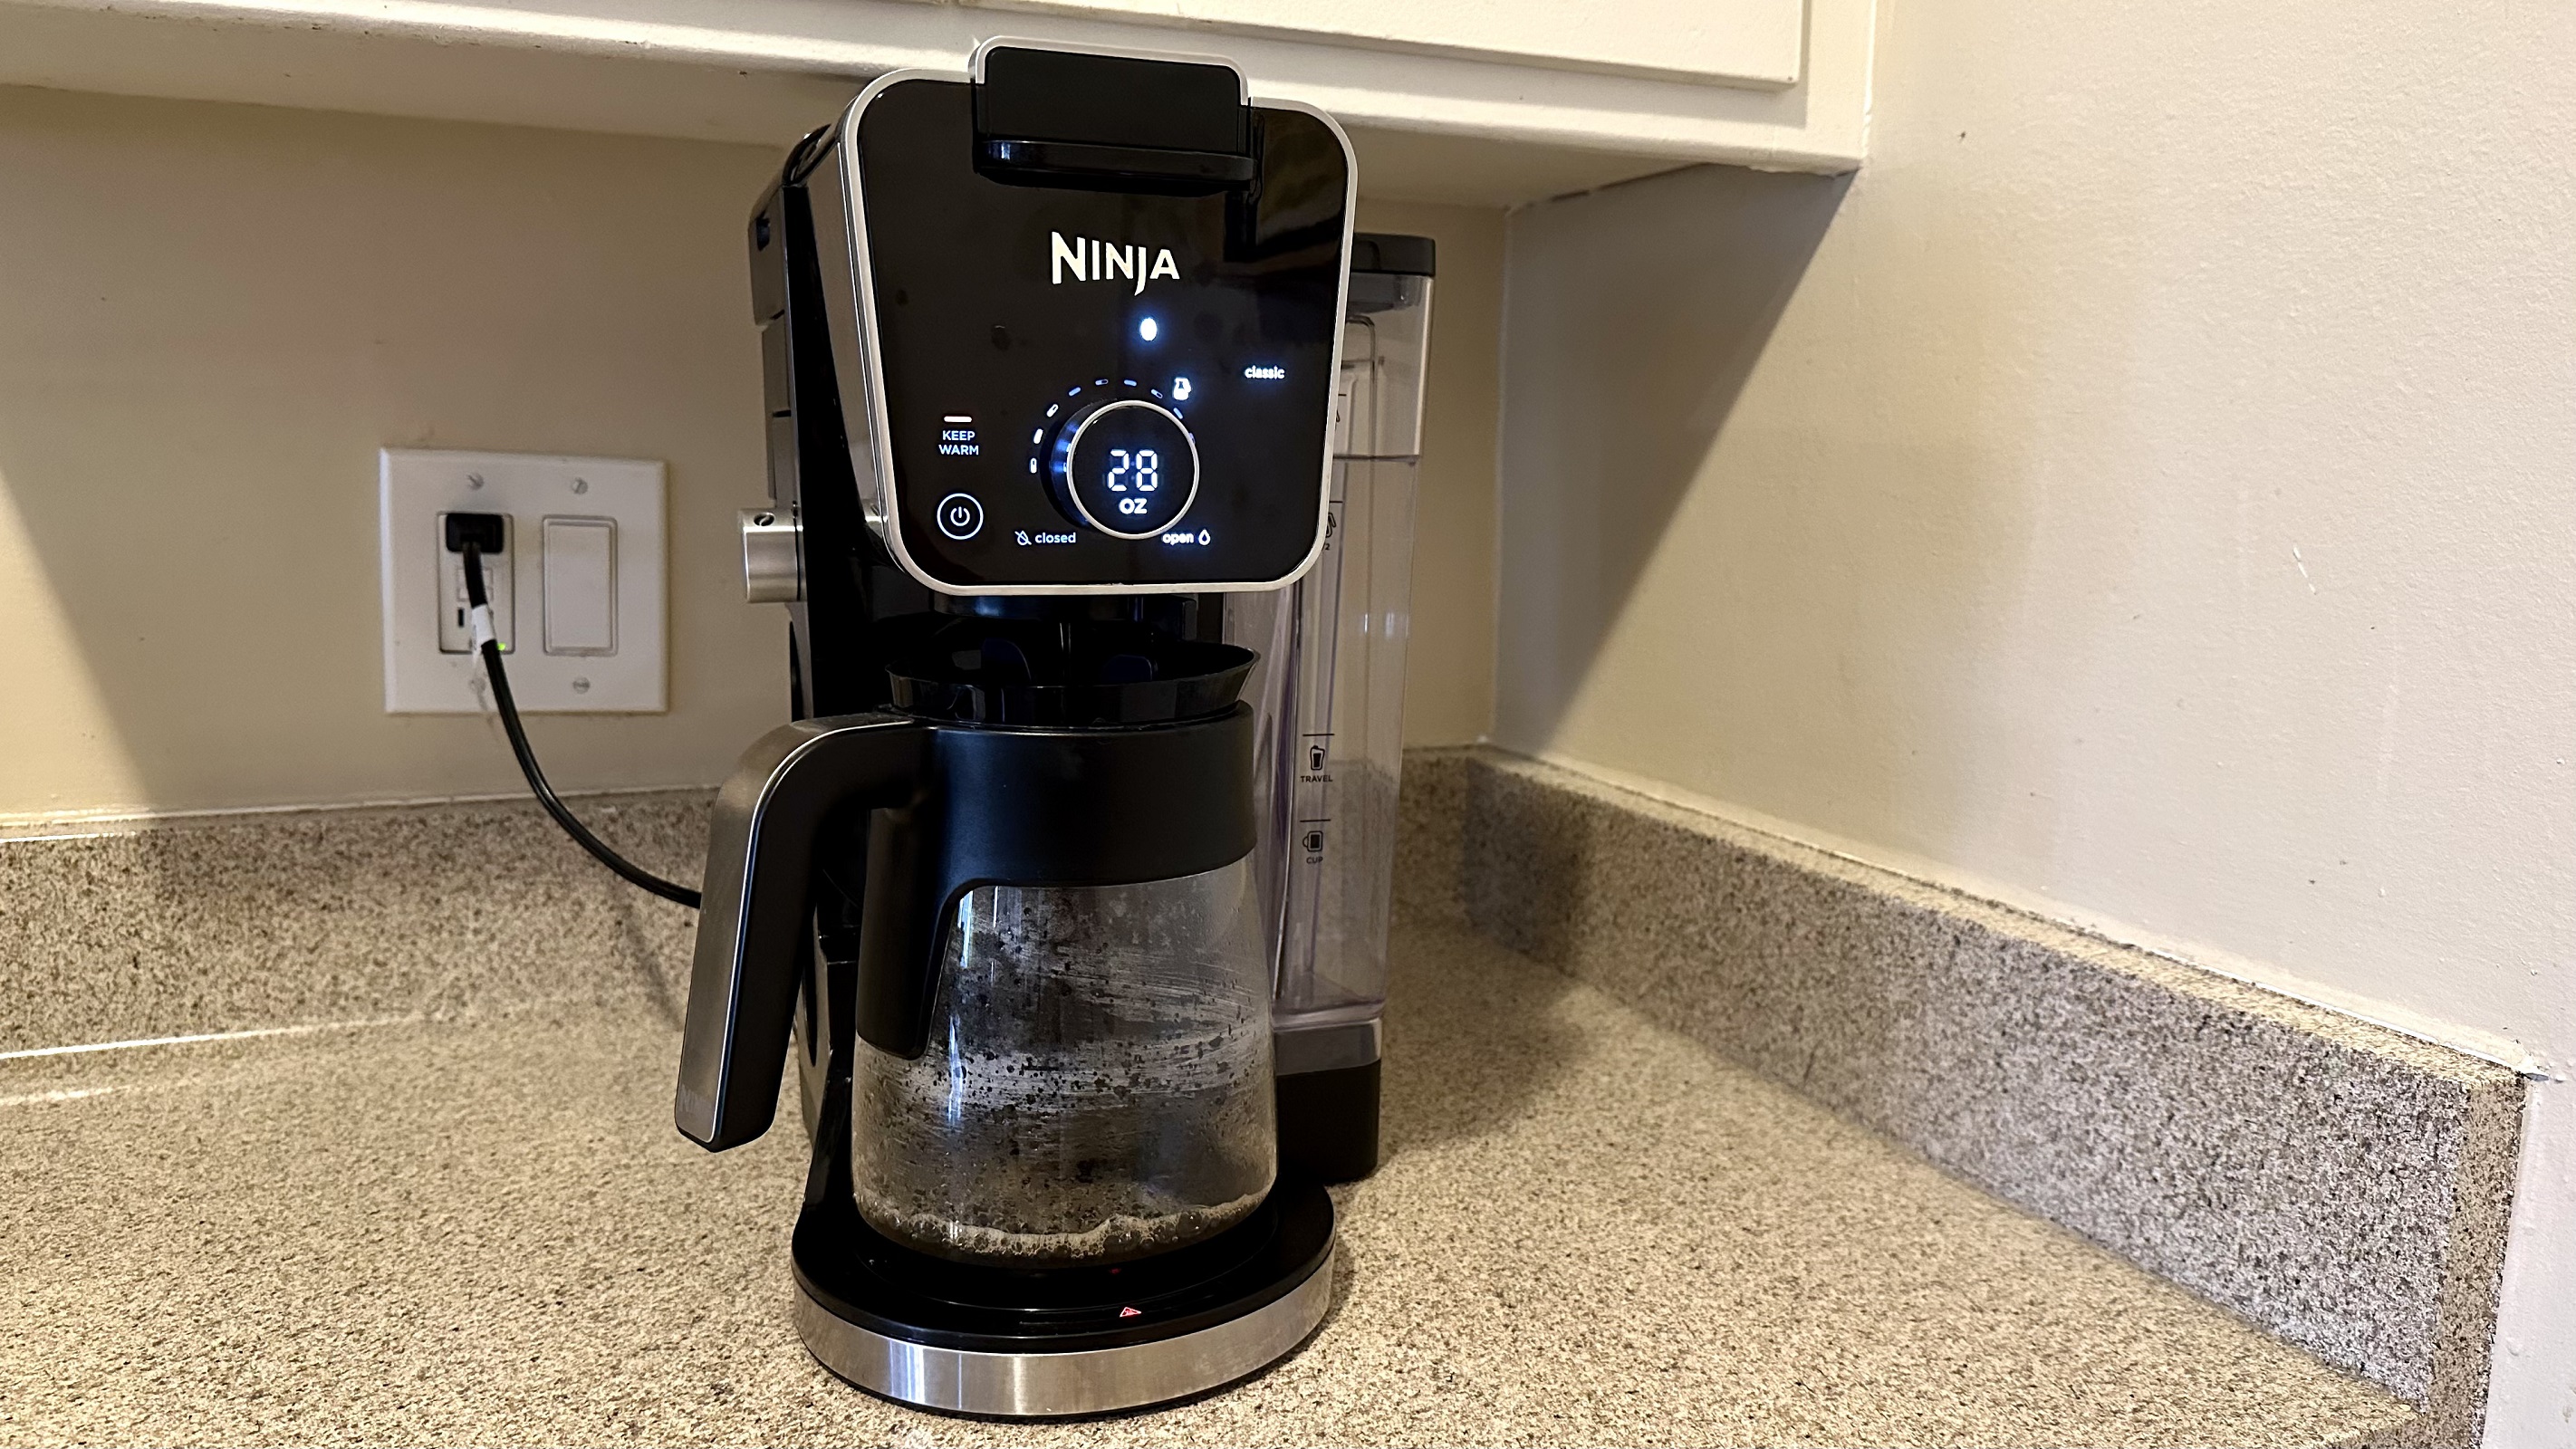
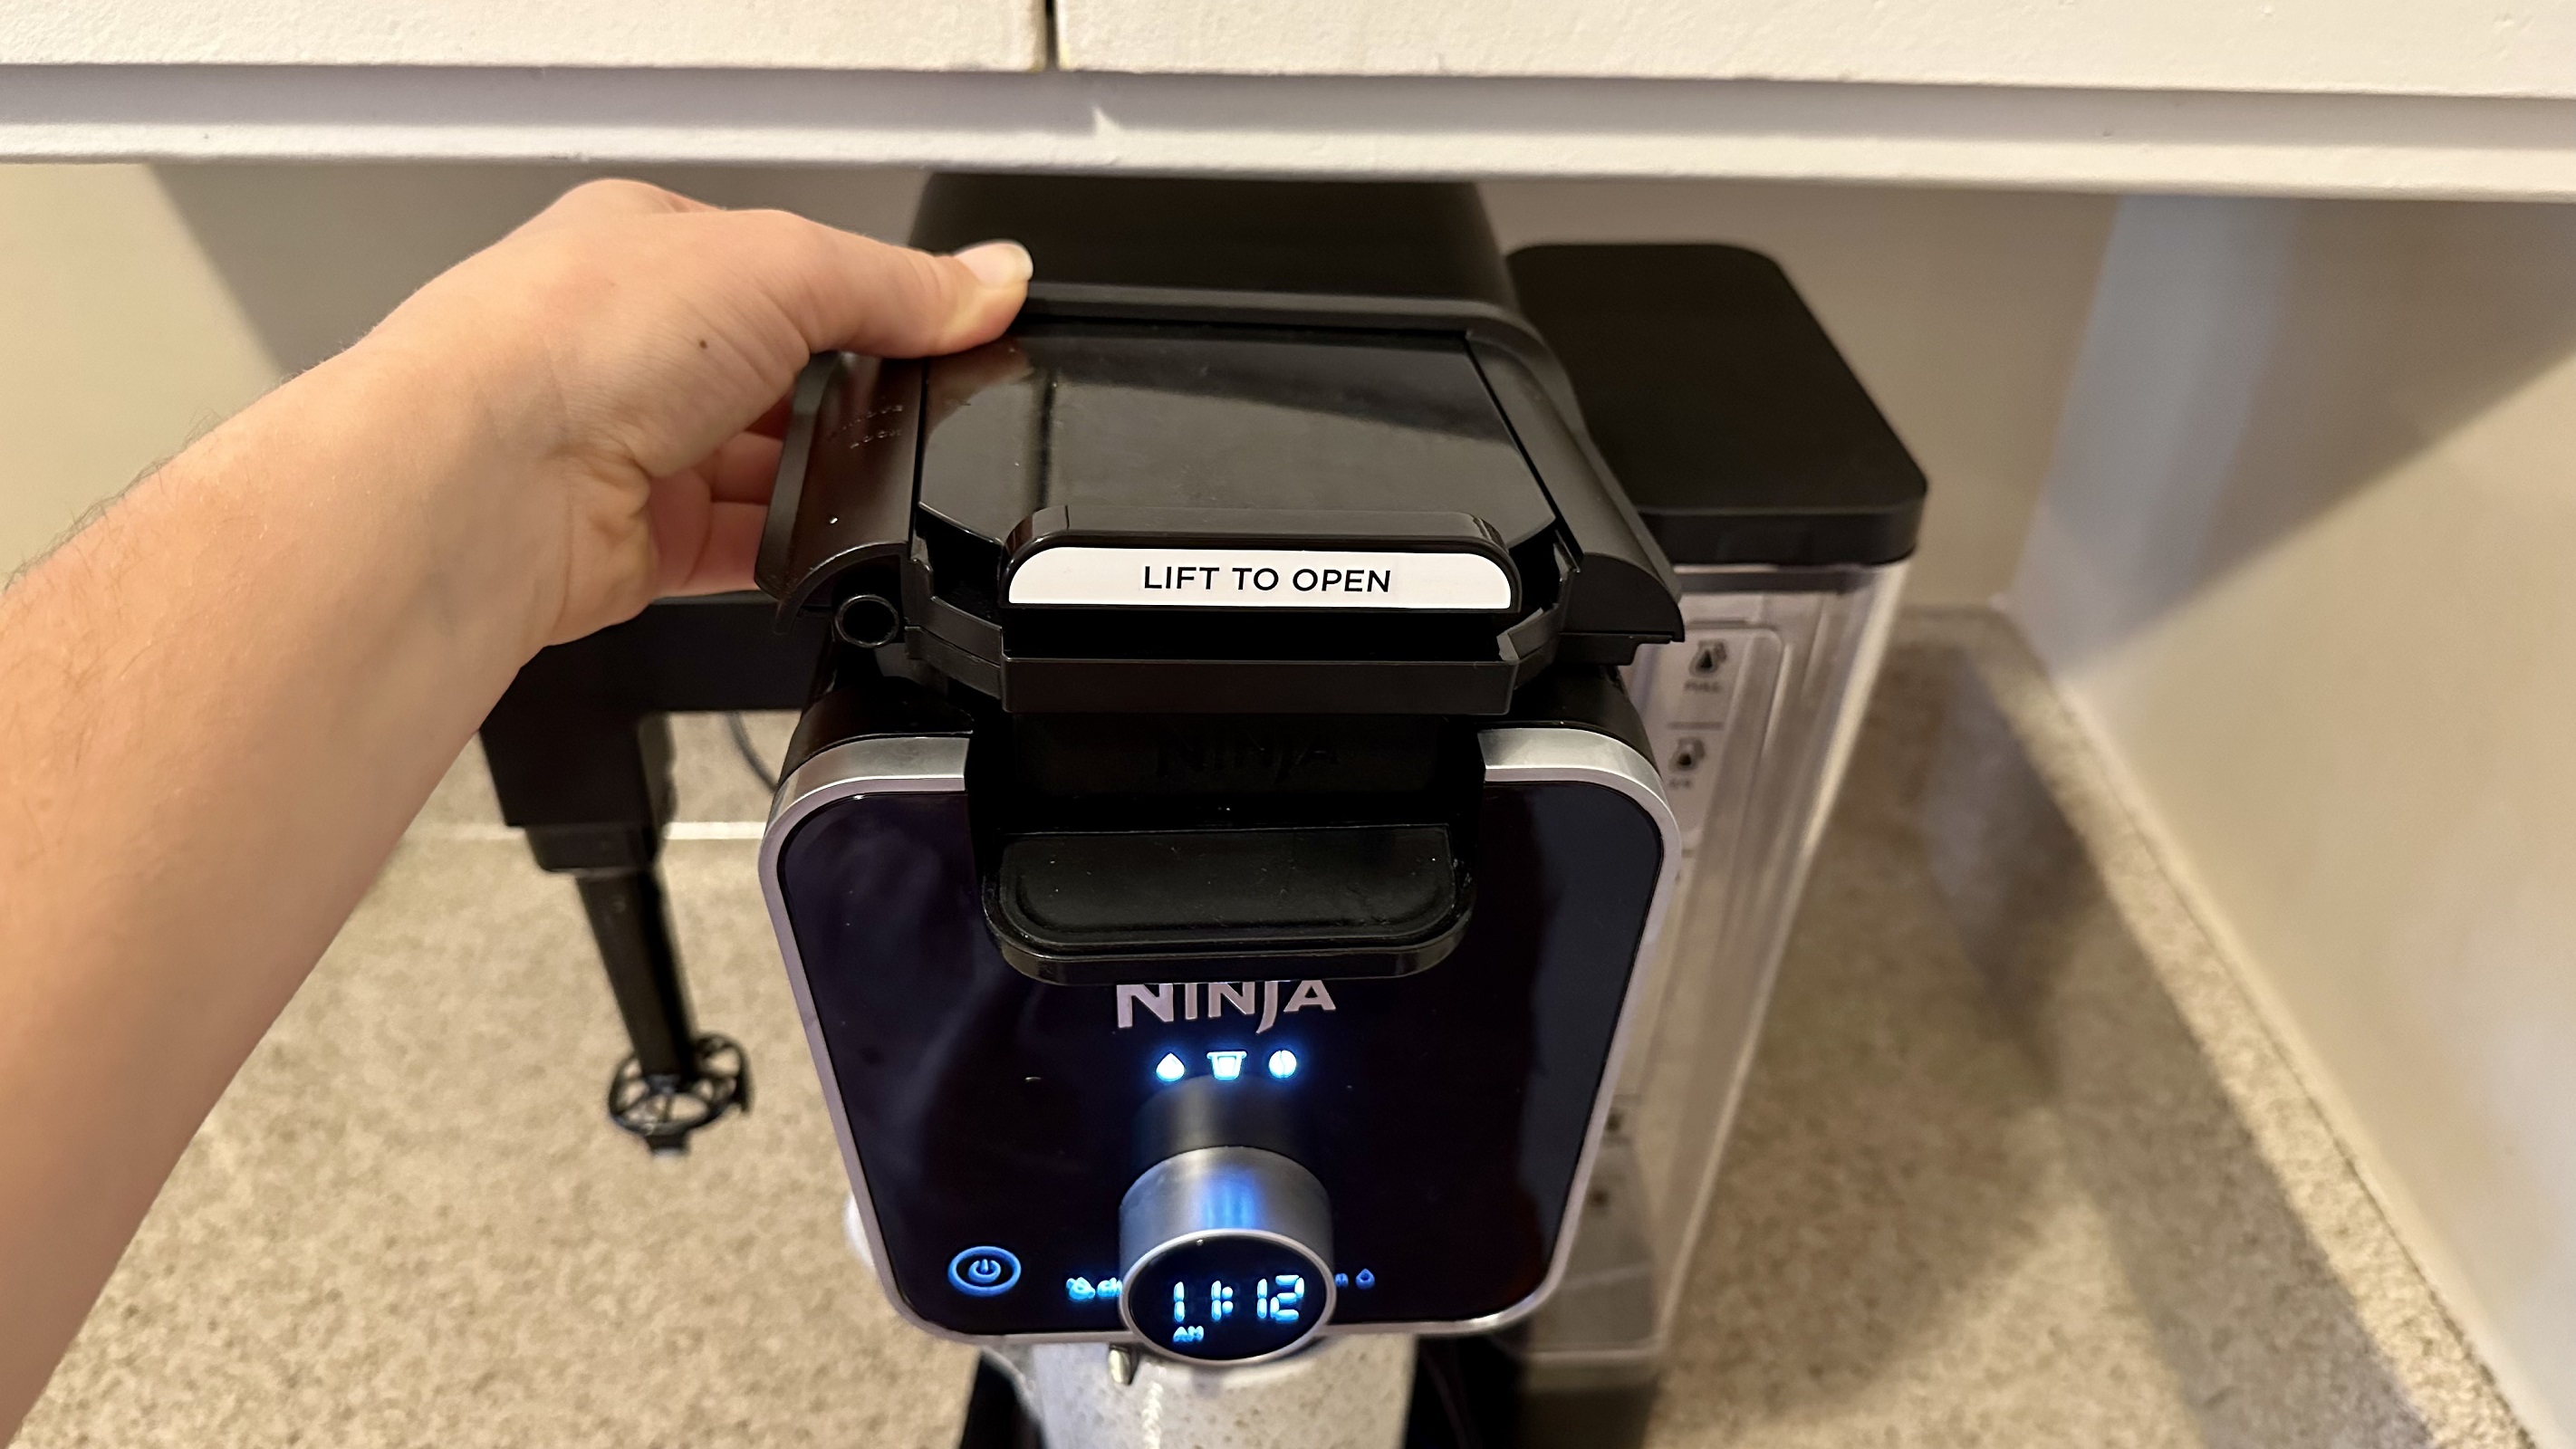
The Ninja Dual Brew uses a mix of stainless steel and durable black plastic in the build. It looks sleek and blends well with the other appliances in my kitchen. However, the stainless steel portion does attract fingerprints. It’s also bulkier than some more basic coffee machines but still fits well and has a similar footprint than the Breville espresso machine I usually use. When using the pod adapter, the lid lifts up and does hit my cabinet above, so if you have lower cabinets, you may need to move the machine out of the way. Luckily, it’s fairly lightweight, so that’s easy to do.
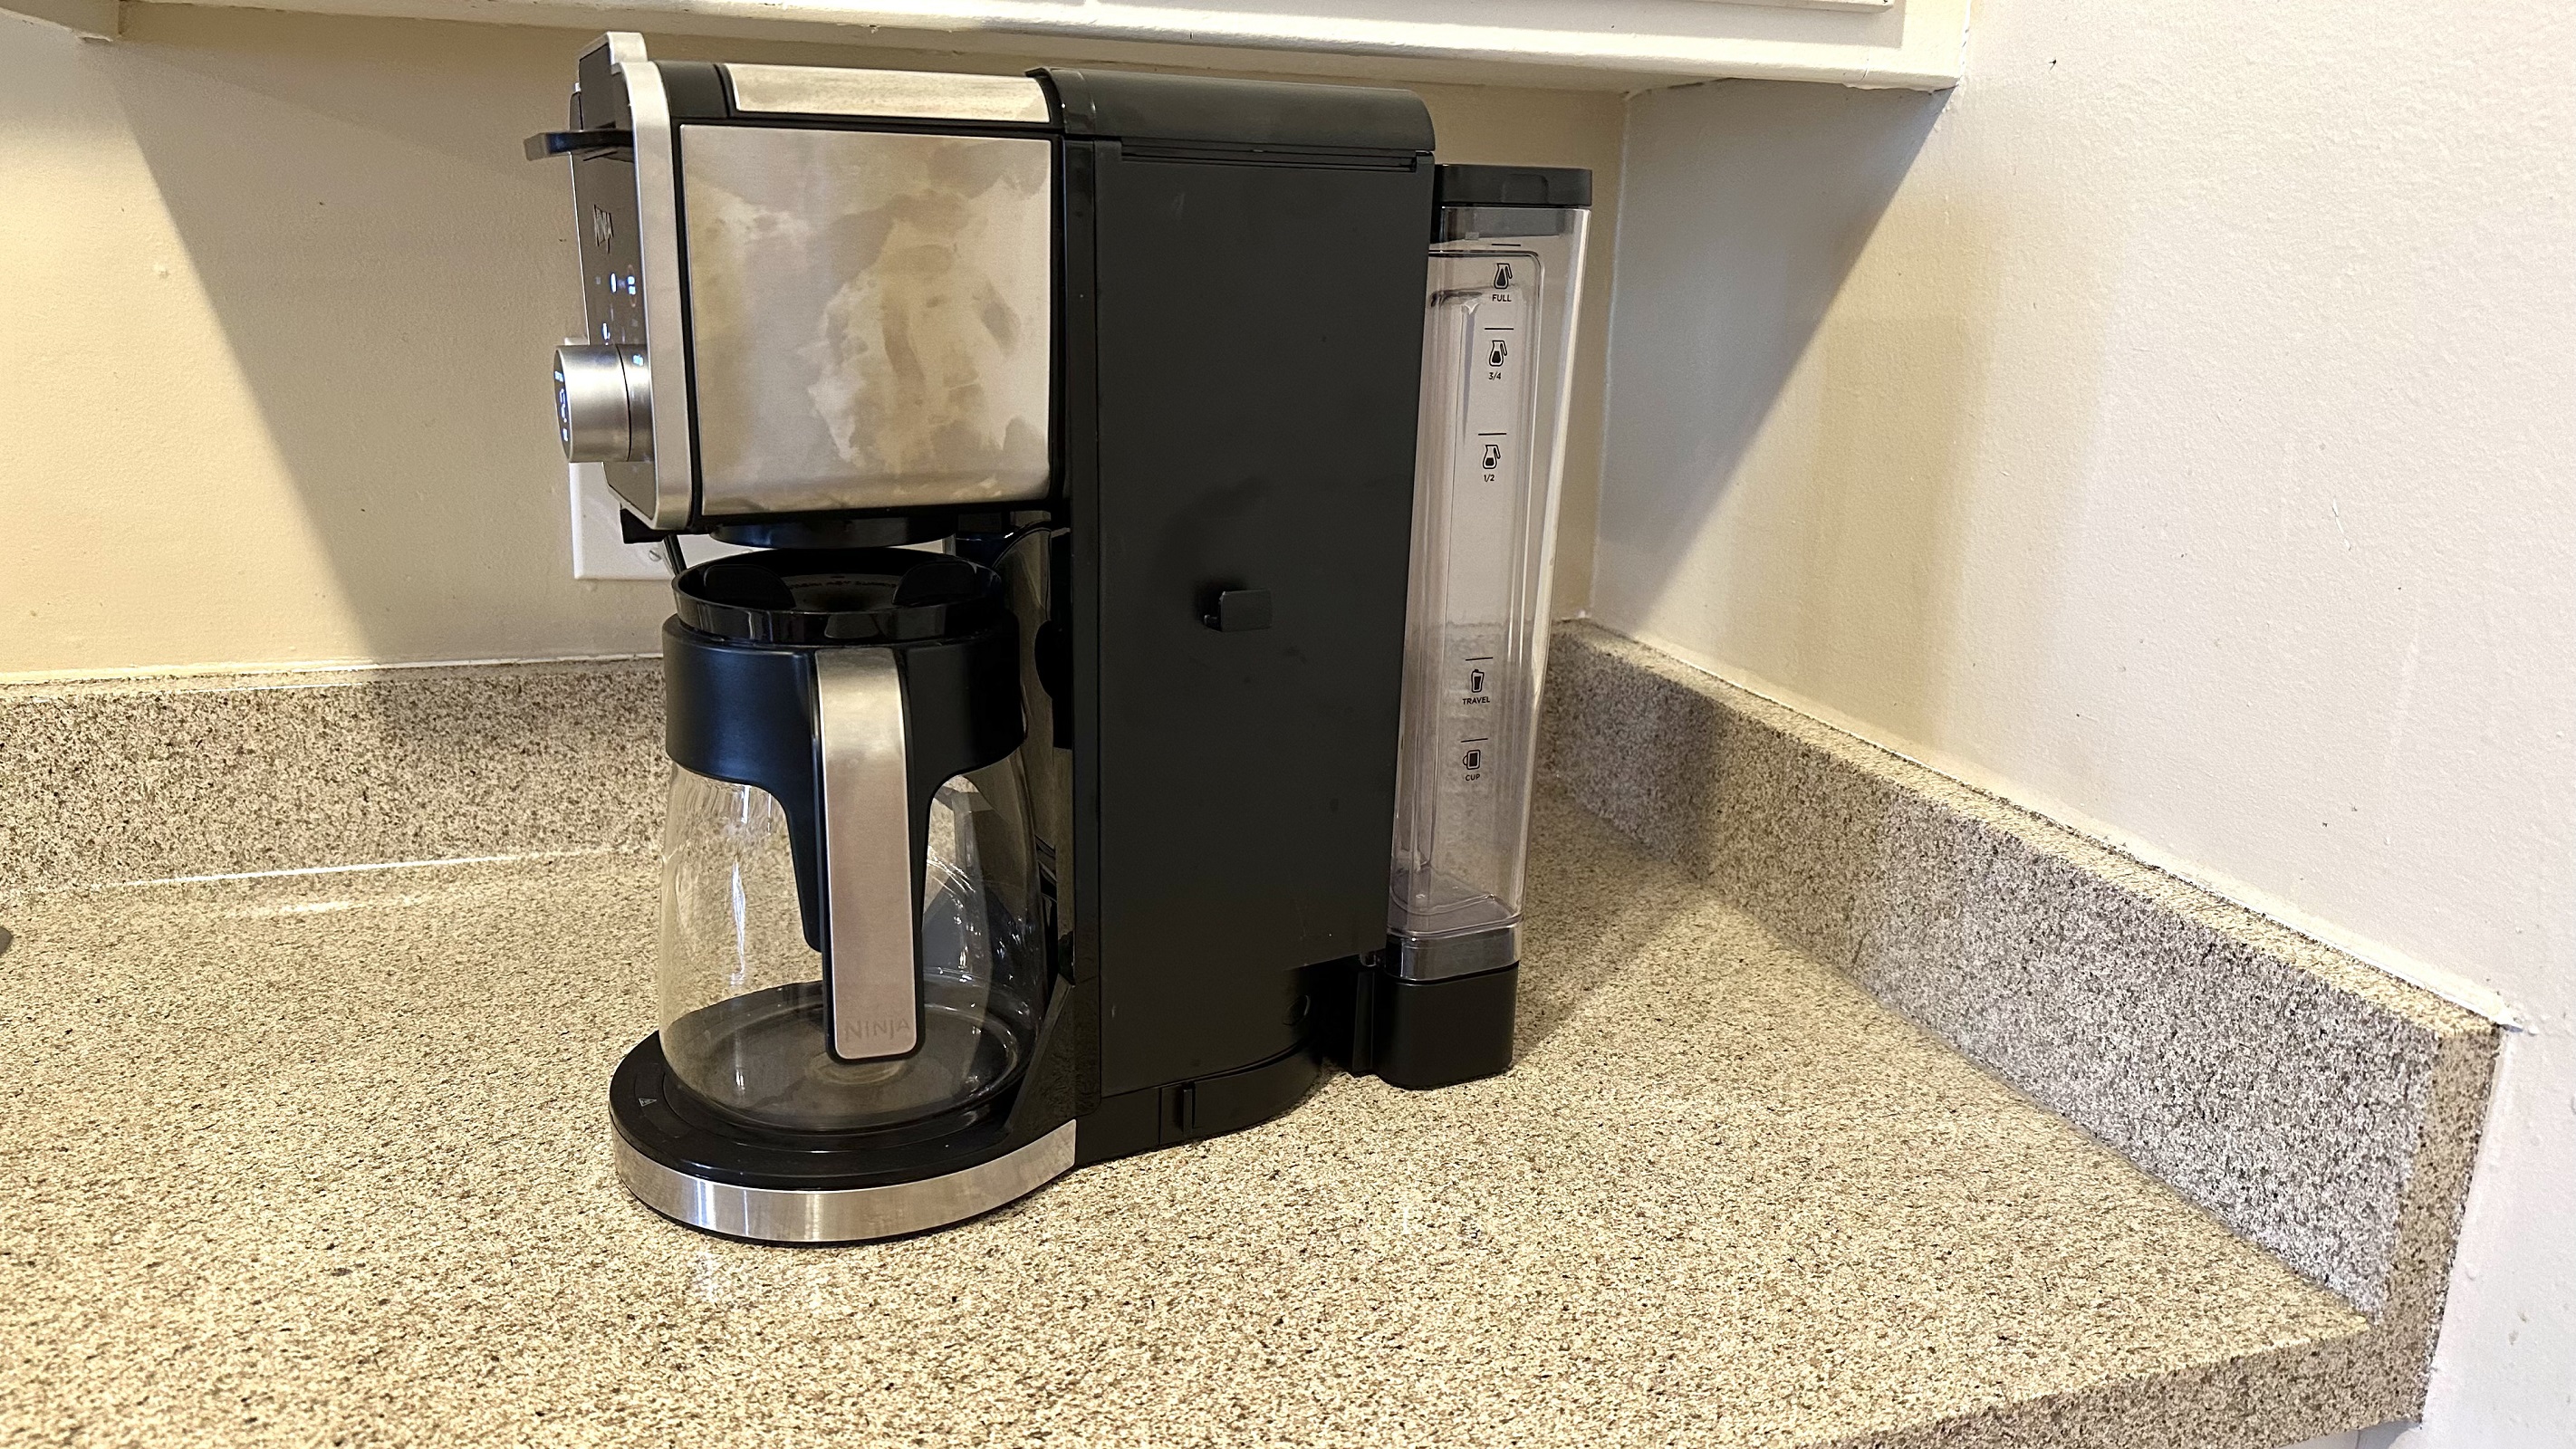
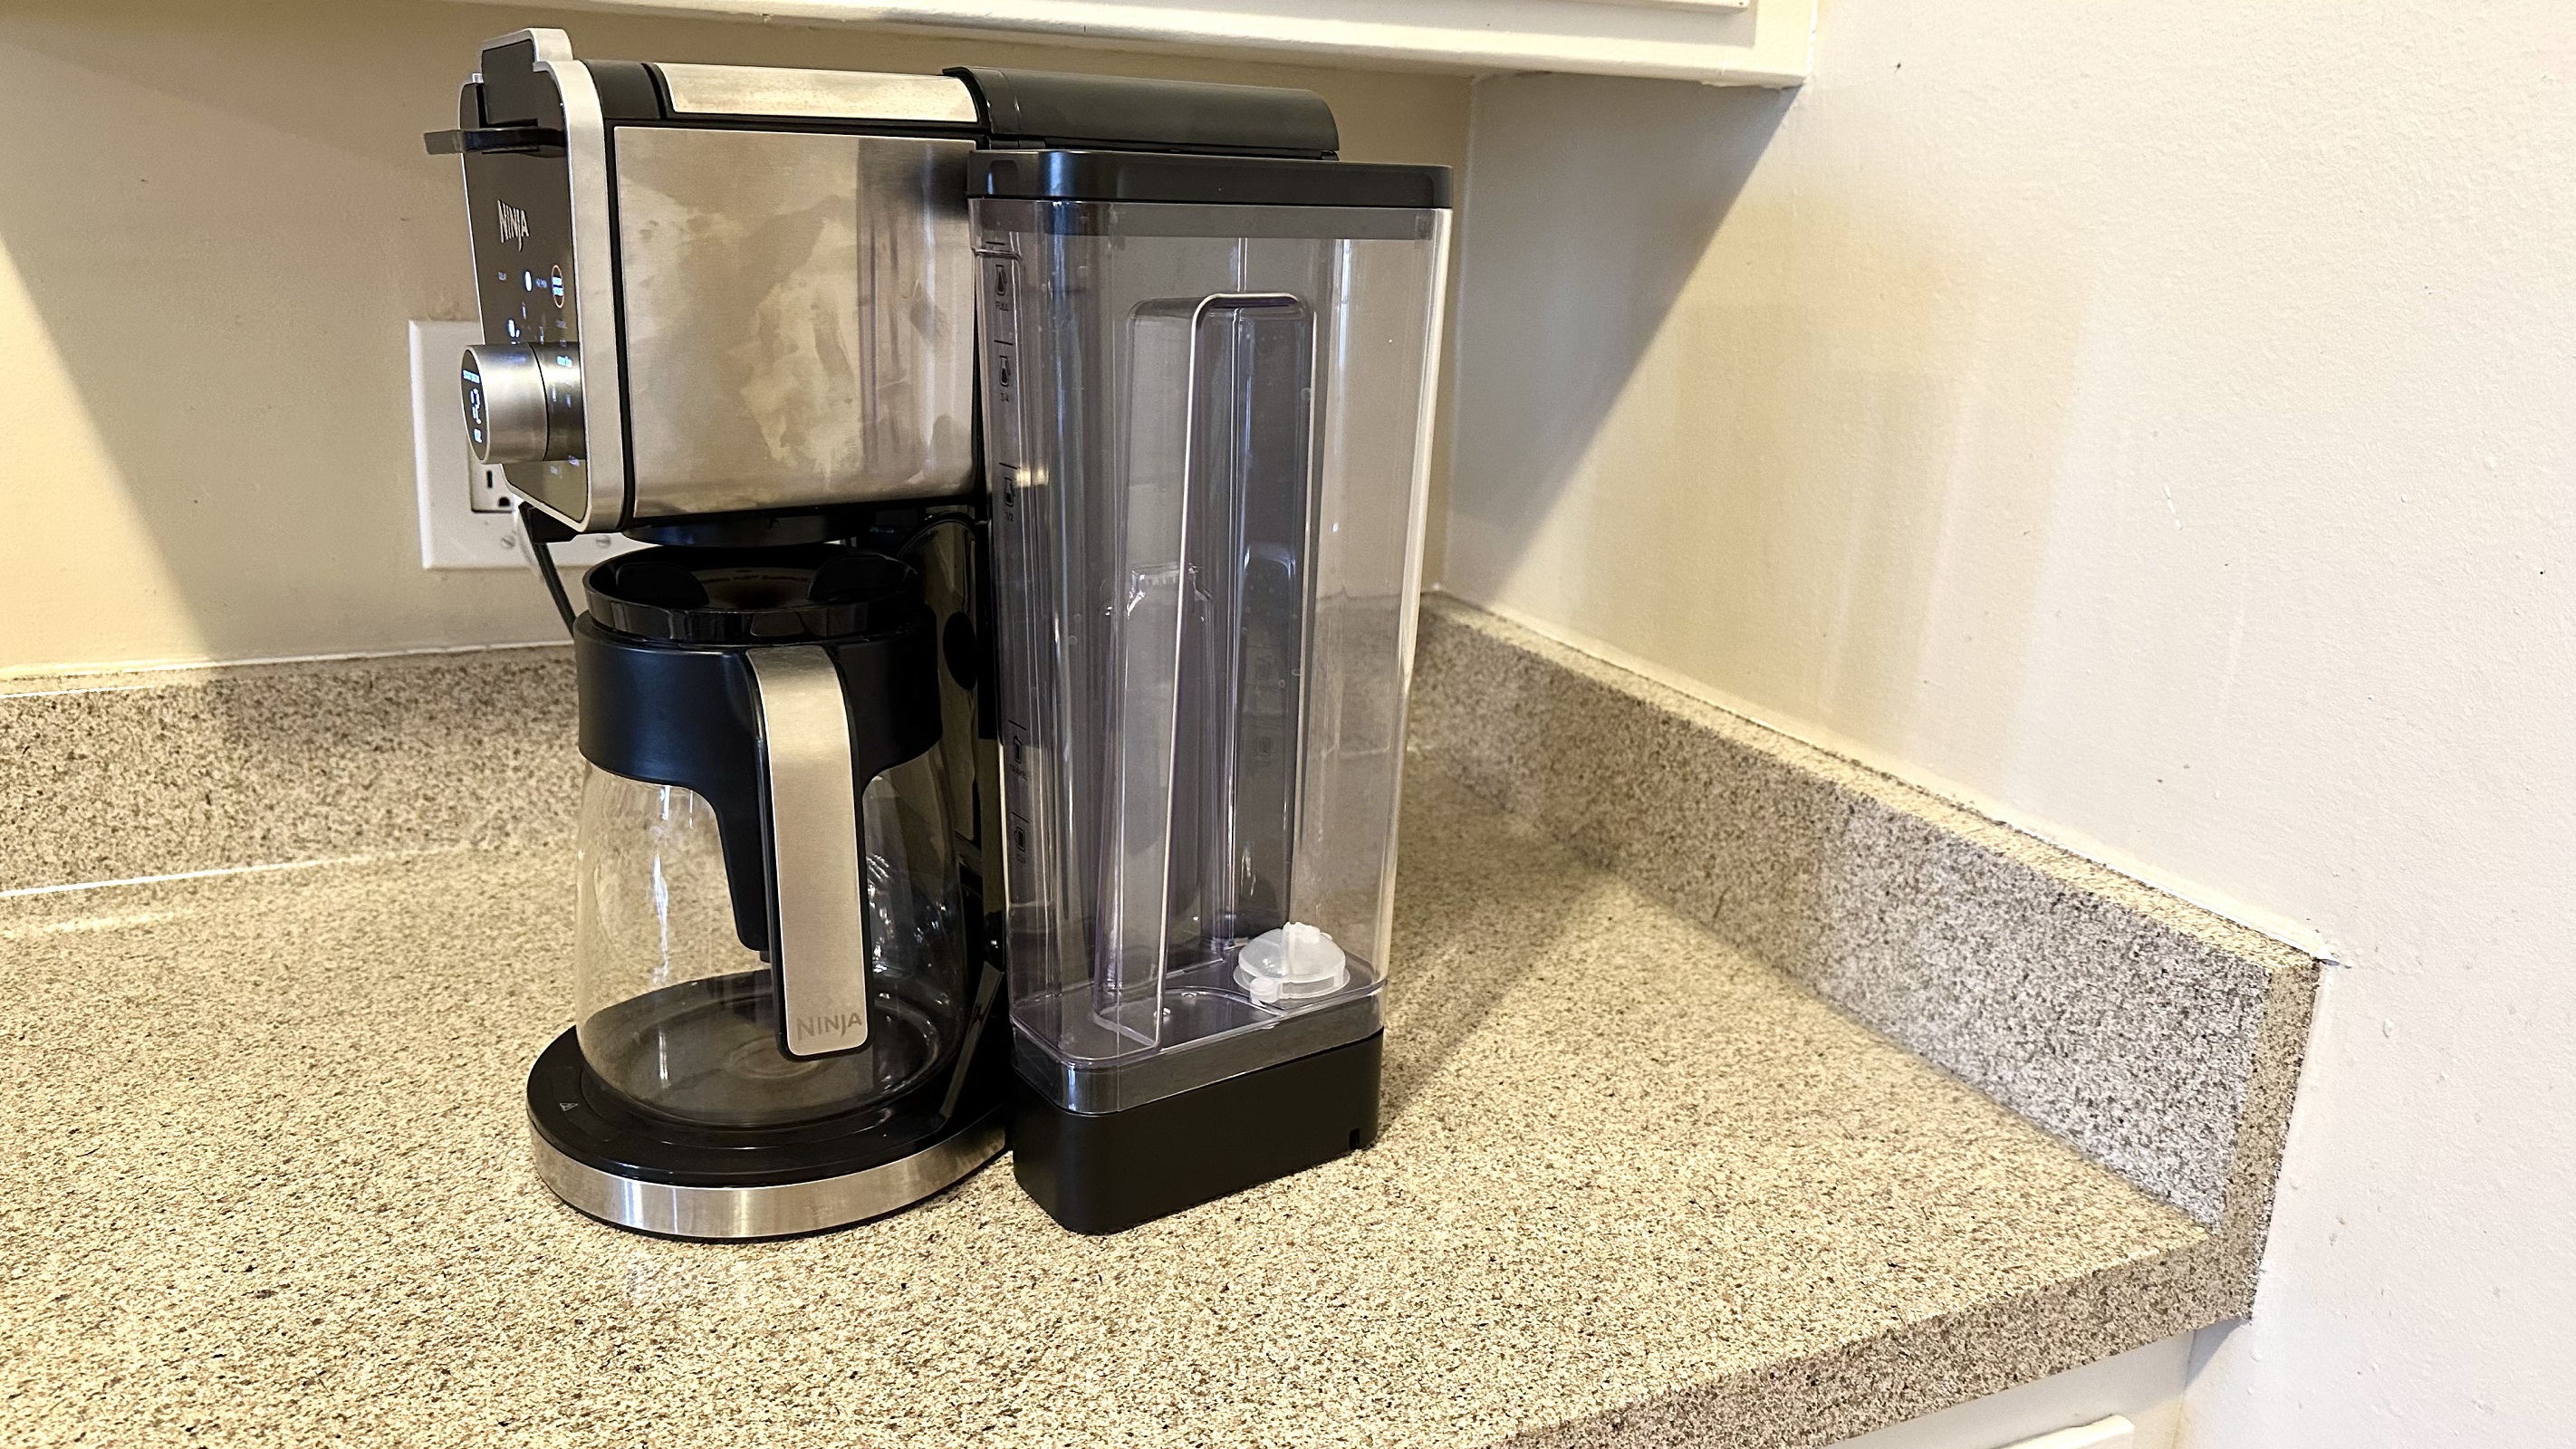
One unique feature of the Ninja Dual Brew is the water reservoir. As I mentioned, it’s removable to make filling up at the sink much more convenient, but the base is also movable. After taking out a small plastic tab, you can slide the water reservoir base to the back of the coffee maker, making the machine slightly longer rather than wider, giving you your choice of placement depending on the space on your countertop. However, the reservoir doesn’t have a filter, so hard water could pose to be a problem down the road. There is a cleaning cycle on the coffee maker to help combat this issue.
If you want to use a K-cup pod, the adapter is easy enough to install and requires no tools. It just slots in right over the brew basket, and you’re good to go. It’s slightly different than a traditional Keurig machine, as rather than having one hole puncture on the pod, this has three to distribute water more evenly. When not using a pod, you remove the adapter and use the traditional brew basket with a #4 cone paper filter. The brew basket is also removable to make clean-up after use easier. I just wish there was somewhere on the machine to store the slightly bulky adapter when it’s not in use.
Other handy features on this coffee maker include a milk frother—it only foams the milk, no heat—and a Ninja Smart Scoop for measuring coffee grounds. They are both located on the side of the machine, with the scoop being easy to remove and pop back into place. The scoop even lists the number of scoops you’ll need, depending on the coffee brew size, making it extra convenient. Also on that side is a dial to swap from brewing coffee to hot water, and there’s a separate water line for the water. There’s a coffee bean symbol and a water droplet to indicate the mode you’re in.
The machine even includes a platform that drops down and is sturdy enough to hold your mug when brewing single-serve coffee, while one of my favorite features, a drip stop, prevents drippage after you’ve finished a brew, so you don’t get spills on the warming plate.
The 55 oz carafe the Dual Brew comes with matches the aesthetics of the machine, with a stainless steel and plastic handle are attached to a sturdy glass container. A top twists onto the container and has a long straw to distribute the brewed coffee to the base of the carafe while also helping to keep the coffee warmer longer. I’ve found the top to be a bit tricky to put on at times, so be sure you’ve got it properly in place before you begin a brew.
Finally, it’s hard not to fall in love with the large and bright LCD on the easy-to-use dial for brewing coffee—and heating water. It will tell you the size of your brew in ounces, while lights and small symbols on the panel, like a mug and carafe, also show you how big your brew will be.
Ninja Dual Brew Pro: user experience
The Ninja Dual Brew is a joy to use thanks to the variety of sizes and brew types that are easy to make using the LCD dial and control panel. Though the control panel is a bit more involved than some, anyone that’s used a coffee maker before should get the hang of it in a couple of minutes.
Rather than having to measure out your water amount ahead like a more basic coffee maker, this machine measures the water for you. That means you can fill the 60oz water reservoir to the top, even if you’re looking to make just a single 8oz cup of coffee, so you don’t need to necessarily fill up the tank after every brew, which I found super convenient.
When brewing a regular carafe or mug of coffee, you can choose between 4oz and 55oz, depending on the brew type chosen. As the coffee brews, lights around the dial will indicate how far along in the brewing process you are, while a beep at the end tells you when it’s done.
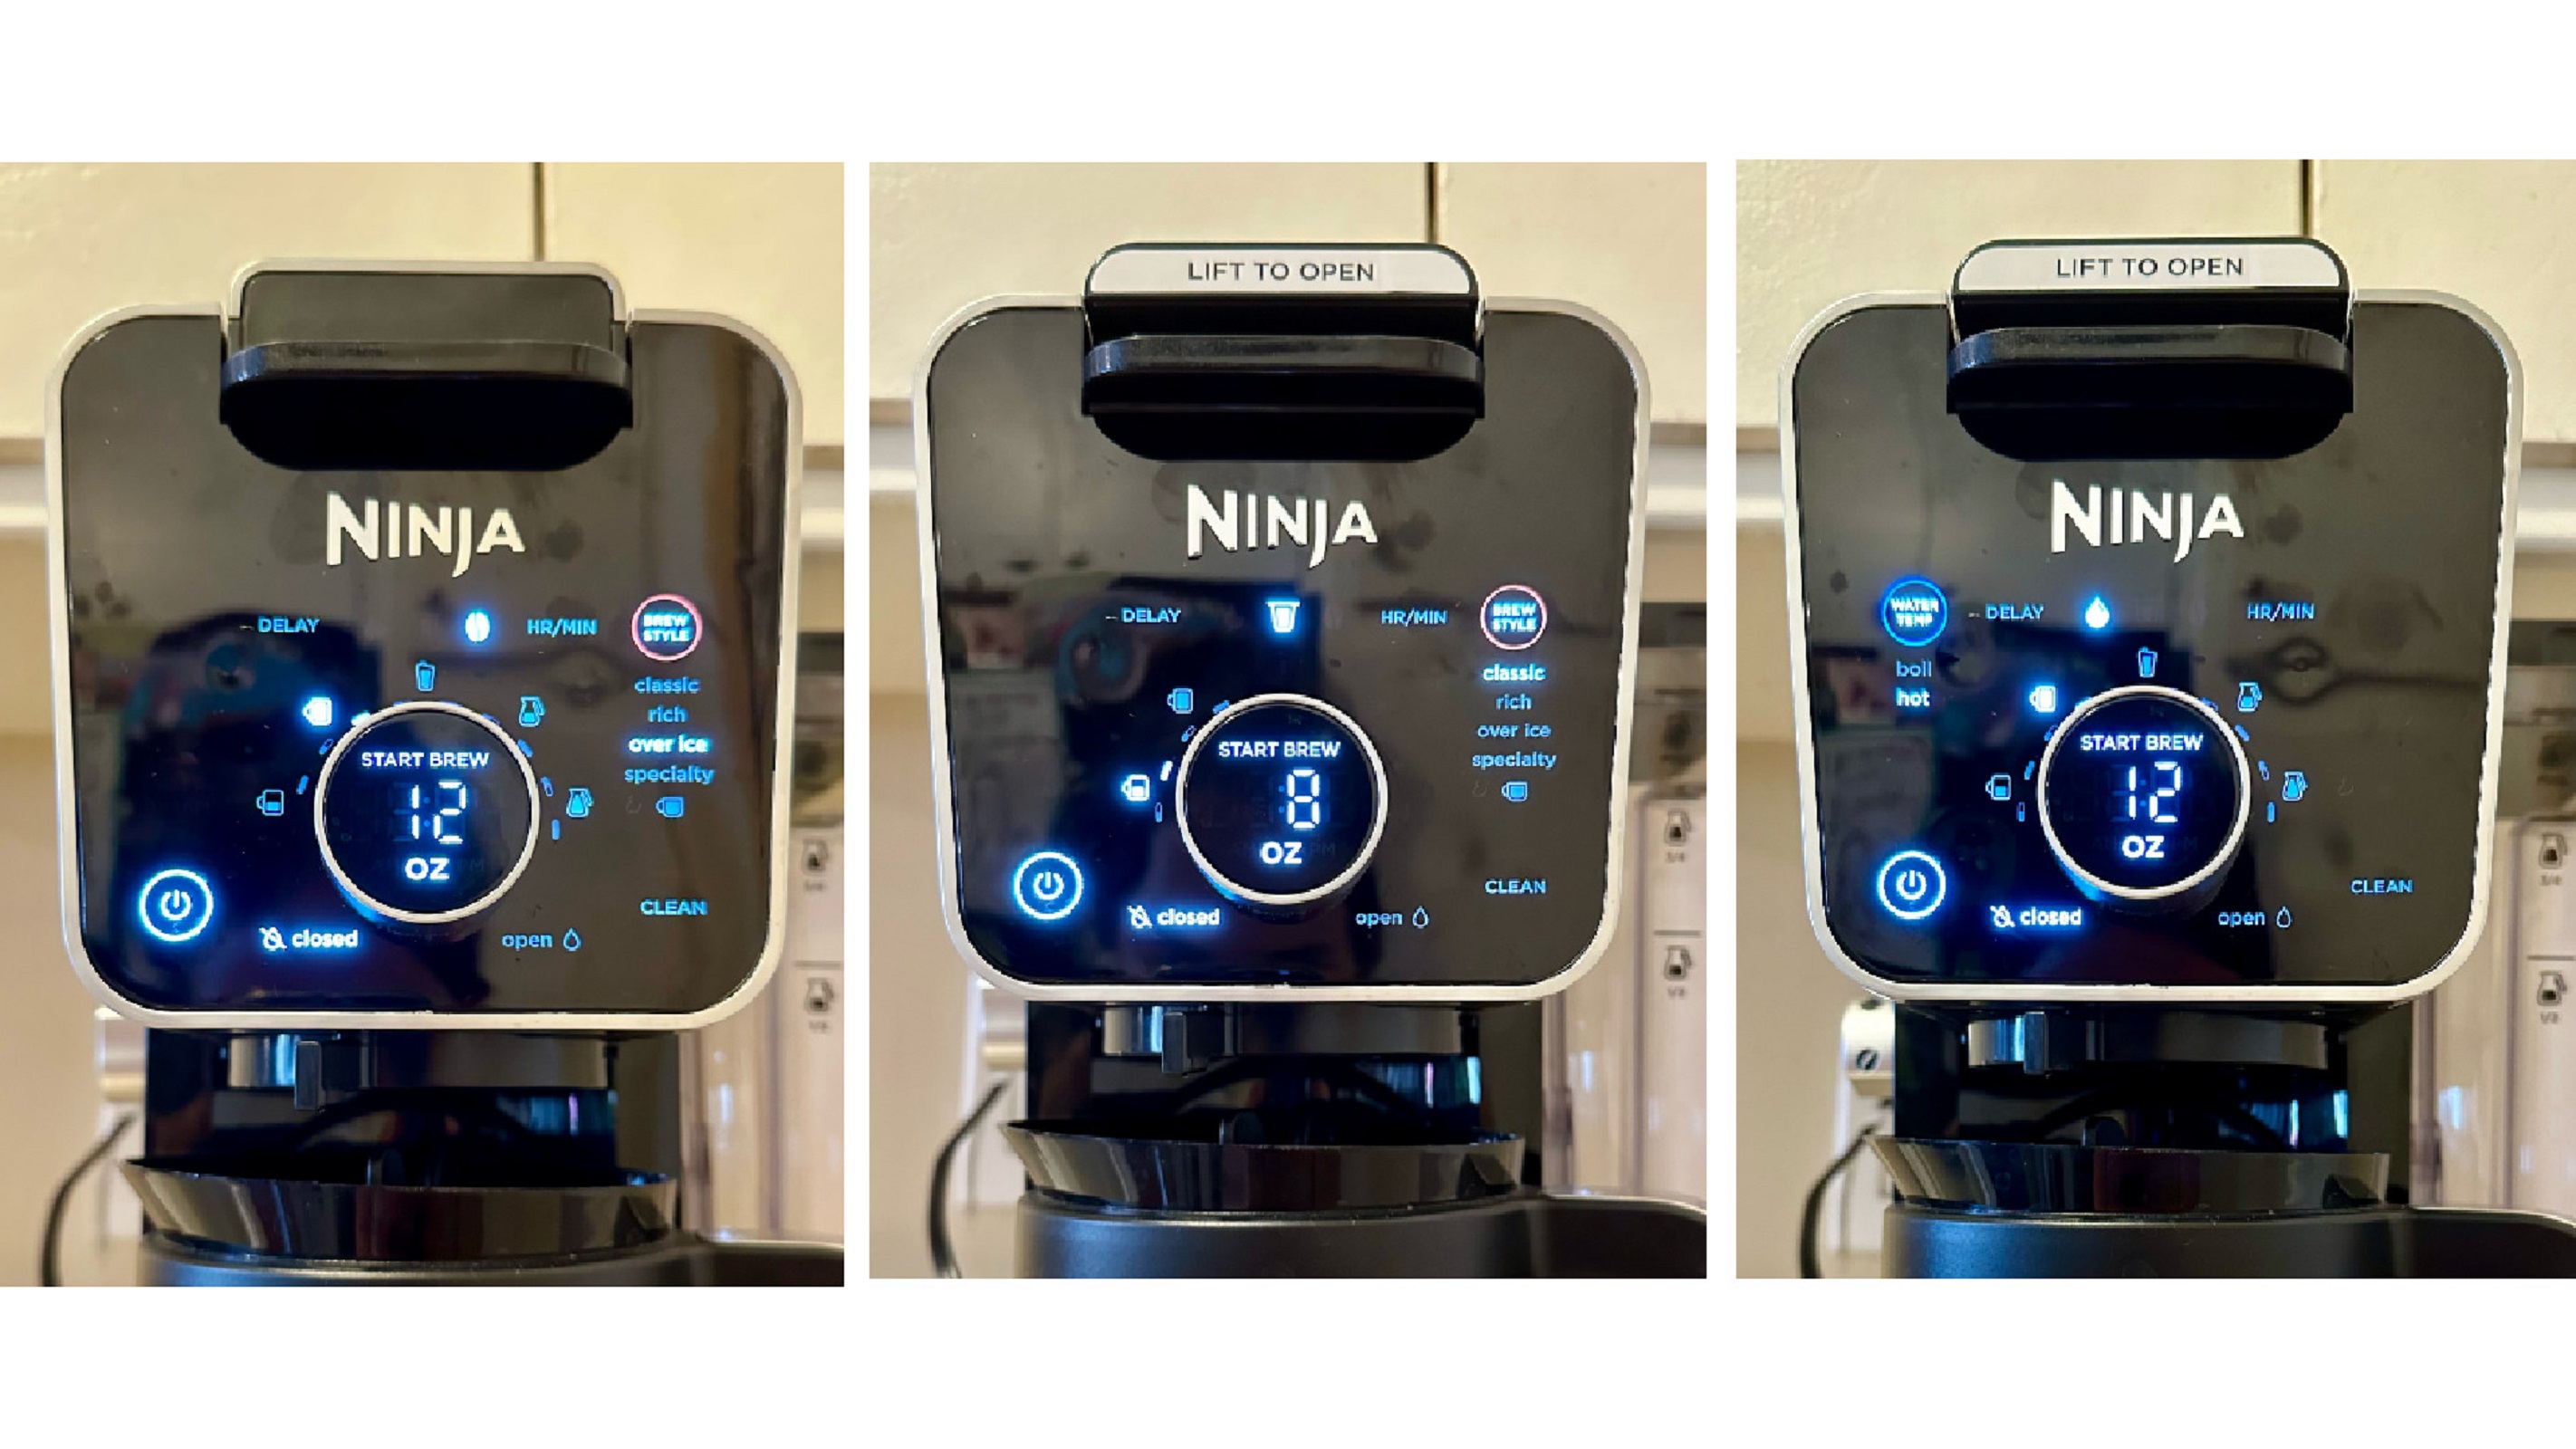
This machine is more unique than others in that you are not limited to one type of brew. In fact, there are four different brew styles—classic, rich, over-ice, and specialty. Starting with the classic, this is your traditional brew. The rich setting brews a slightly smaller amount of coffee and promises a stronger flavor, so for example, rather than an 8oz size, it’ll only make 7oz. An over-ice setting is for iced coffee, while the specialty setting mimics an espresso-type brew, making just a 4oz highly concentrated brew for lattes, cappuccinos, etc.
In testing these different brew styles, I tried them each at the traditional 8oz cup size (7oz for the rich setting) using the brew basket with the filter and coffee grounds, brewing into a coffee mug. The classic brew took just over 3 minutes and had a temperature of 140°F. When making the rich brew, it took just under 3 minutes and was 150°F. The over-ice brew recommends you fill your vessel full of ice before starting, and it took slightly longer than the classic brew at just under 3.5 minutes. I was also surprised that it was only 42°F when finished, a refreshing iced coffee temperature. There was even a good amount of ice still left in the glass.
I made an iced coffee on the classic setting, seeing if it had similar results to the over-ice brew style. More of the ice melted, leaving the coffee warmer and more watered down. The way the machine distributes the brew must play a role in making the ice last longer.
The specialty setting brews a 4oz coffee and took just under 3 minutes with a temperature of 110°F—a lot cooler than the other brews. That’s most likely due to the size and time it took to brew. When mixing into warm milk or an iced latte, the temperature was not an issue.
Of course, you can use K cup pods with this machine, and it even automatically recognizes when the adapter is installed, limiting the size of your brews. As I mentioned, it’s super easy to put in place, and clean-up is easier than the brew basket method, as the grounds are contained in the pod. It’s as simple as opening the adapter and popping the pod in the trash.
With the adapter, you’re limited to brews between 8oz and 12 oz, along with the 4oz specialty brew. When testing all the different brew styles—classic, rich, over-ice, and specialty— the pod adapter offered very similar results to the traditional coffee ground and filter brew— all taking around 3 minutes to brew with temperatures hovering around the same level.
Beyond the various brew styles, I also tested the temperature of a brew across several hours in classic mode using the carafe. Any time you brew ¼ carafe or larger, the machine will automatically turn on the warming plate. You can set the time it stays on in 15-minute increments up to four hours. It’s supposed to already be set to stay on for two hours out of the box.
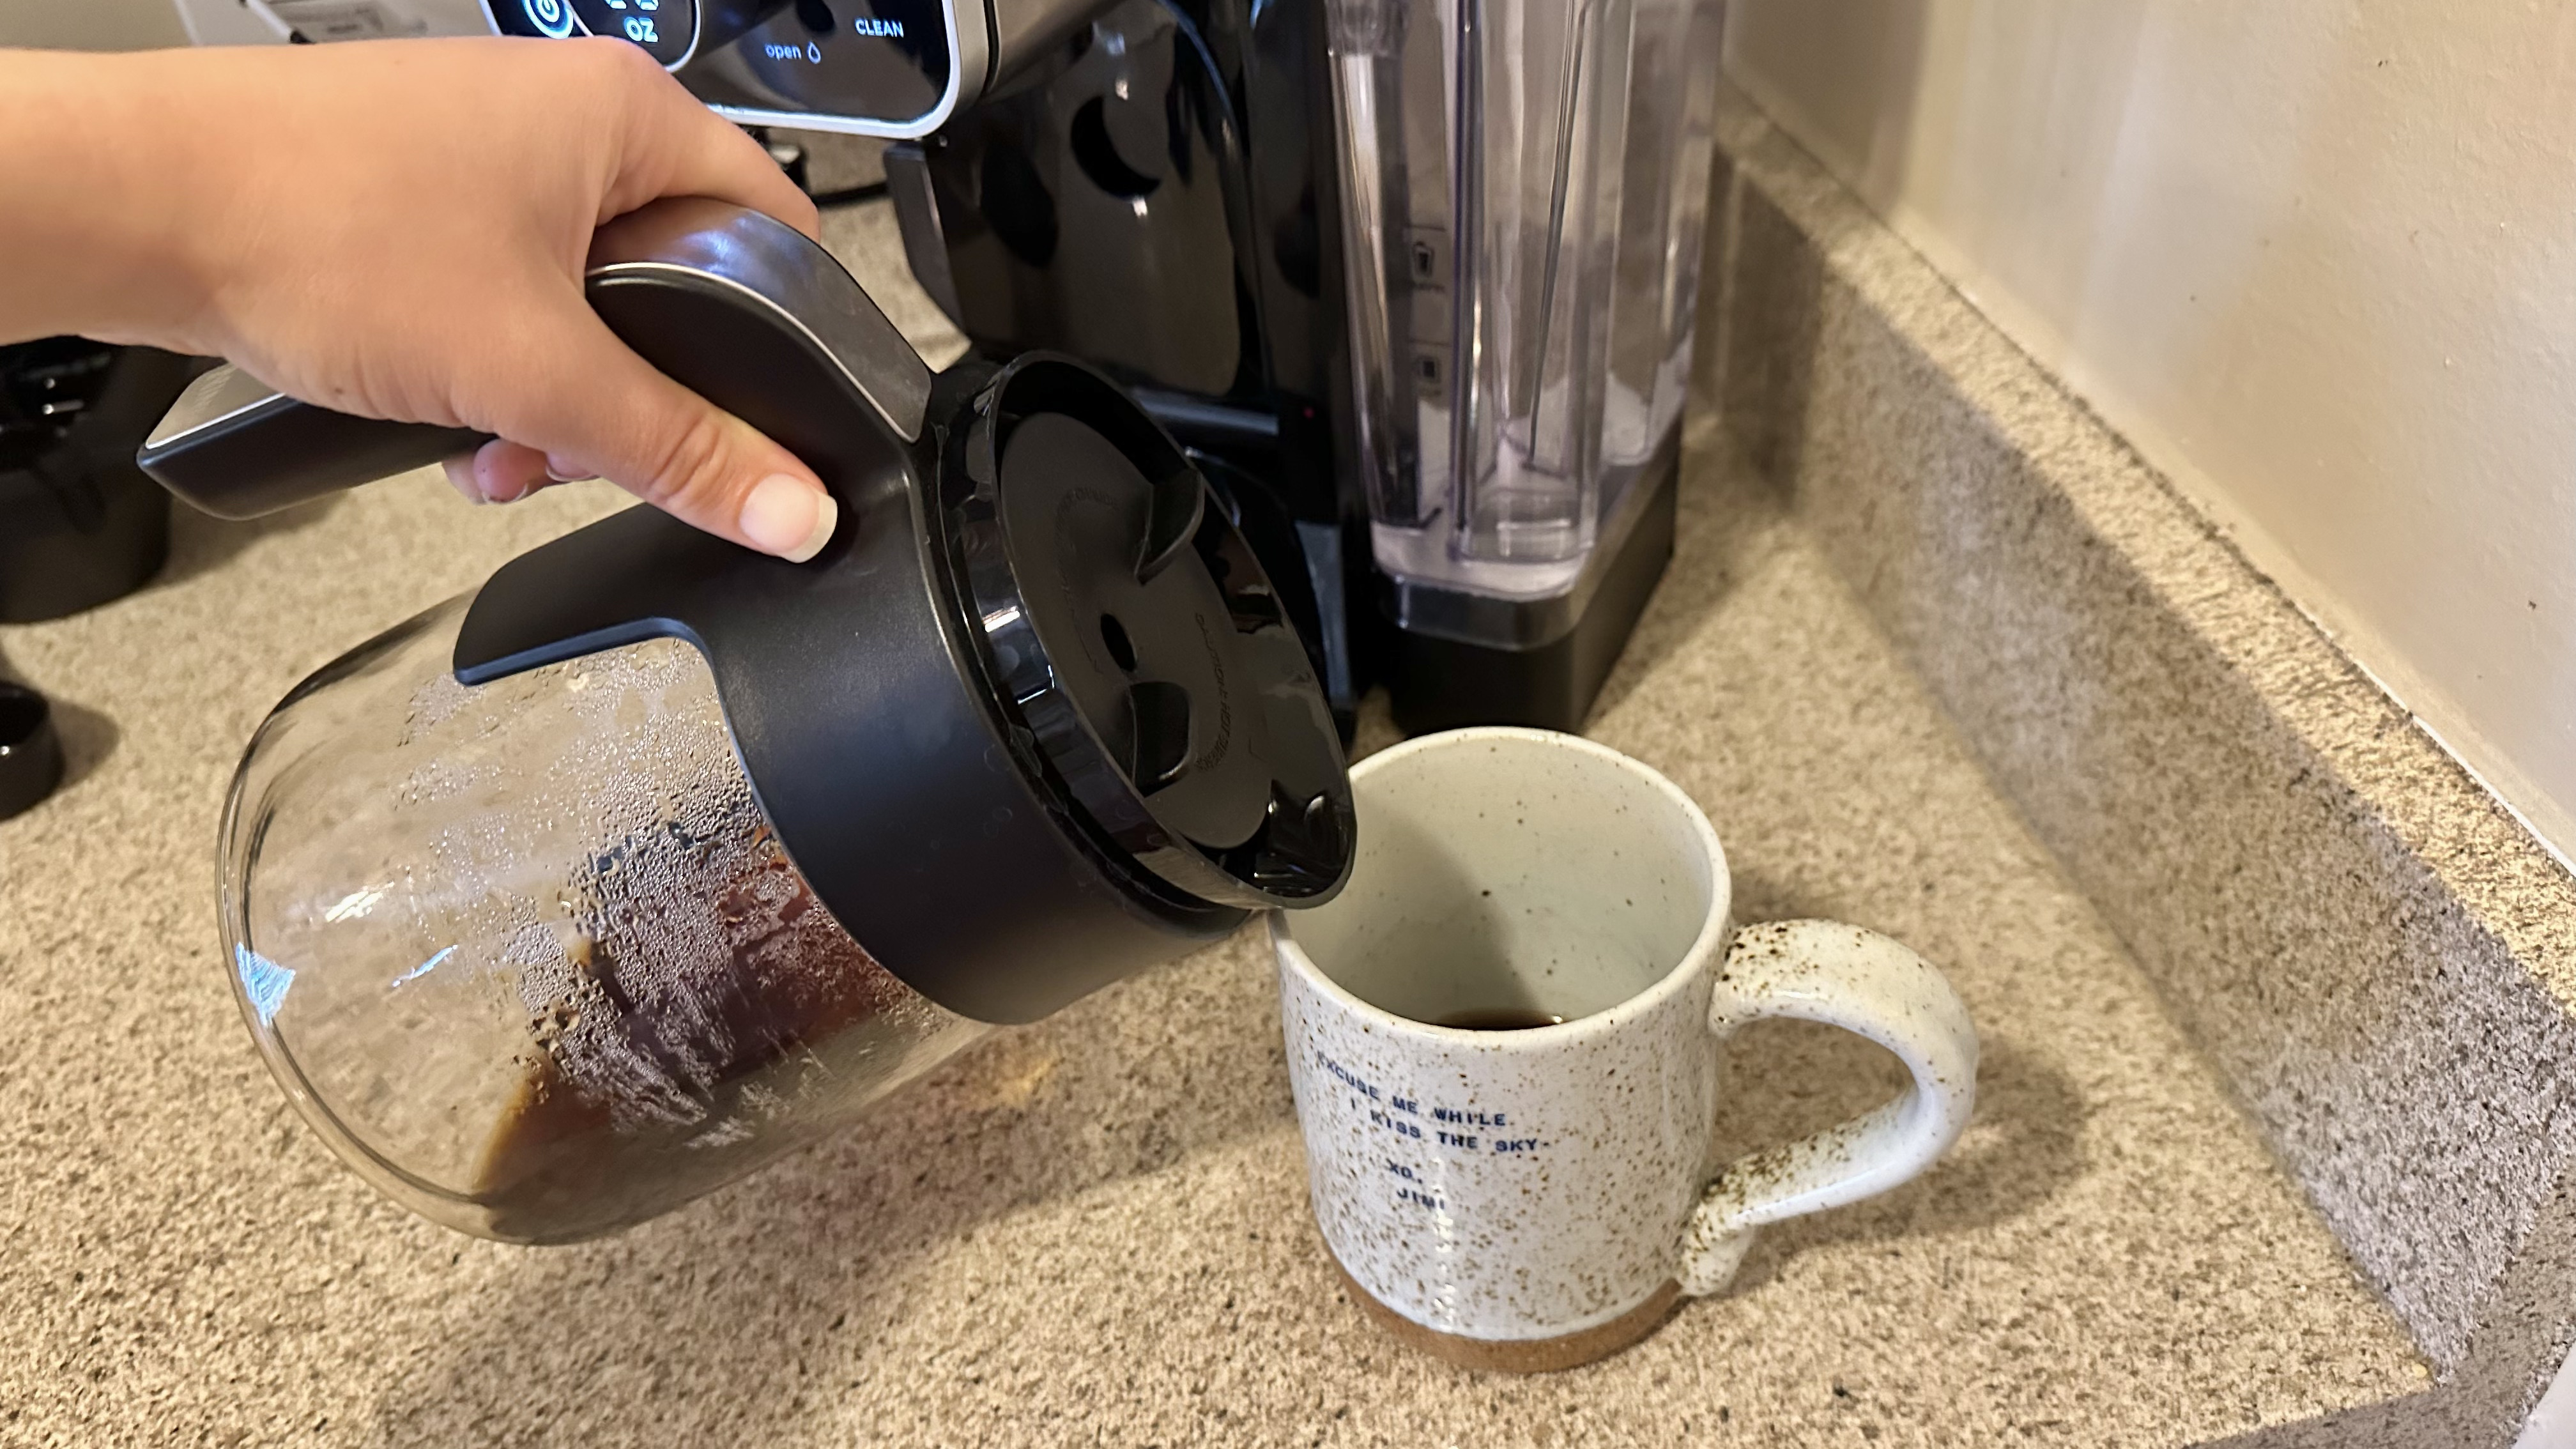
Brewing a full 55oz carafe of coffee takes about eight minutes, with the coffee at 170°F, slightly warmer than the smaller brews I did, most likely due to the more enclosed nature of the carafe. The machine runs quietly, averaging 55 dB. There was a good deal of dripping after the brew, but thanks to the handy drip stopper, you could stop the dripping immediately and pour yourself a cup of coffee without any falling on the warming plate and burning.
I left the carafe on the warm plate, and after two hours, it was still an impressive 160°F. It didn’t automatically turn off as I had expected it to, given the settings. So, after three hours, it was around 140°F, still warm enough to drink. Hour four left the pot of coffee at 135°F, still very warm given how long it had been since I began the brew. When I turned off the warming plate, the light to indicate the plate was hot stayed on for over half an hour, so don’t get too concerned if it’s still on after you turn off the warming plate.
Now, this coffee maker doesn’t exclusively brew coffee. It also dispenses hot water. There’s a separate water line, so you don’t get any cross-contamination messing with the flavor of the water. There are fewer settings with the water. You can choose between hot or boil.
To my surprise, the boiling water came out in just a couple of seconds at a temperature of 180°F, slightly under the 212°F boiling point, which worked well for steeping tea and eliminating the need for an electric kettle. The hot setting dispensed water at 160°F, an ideal temperature for making instant oatmeal or a hot water bottle.
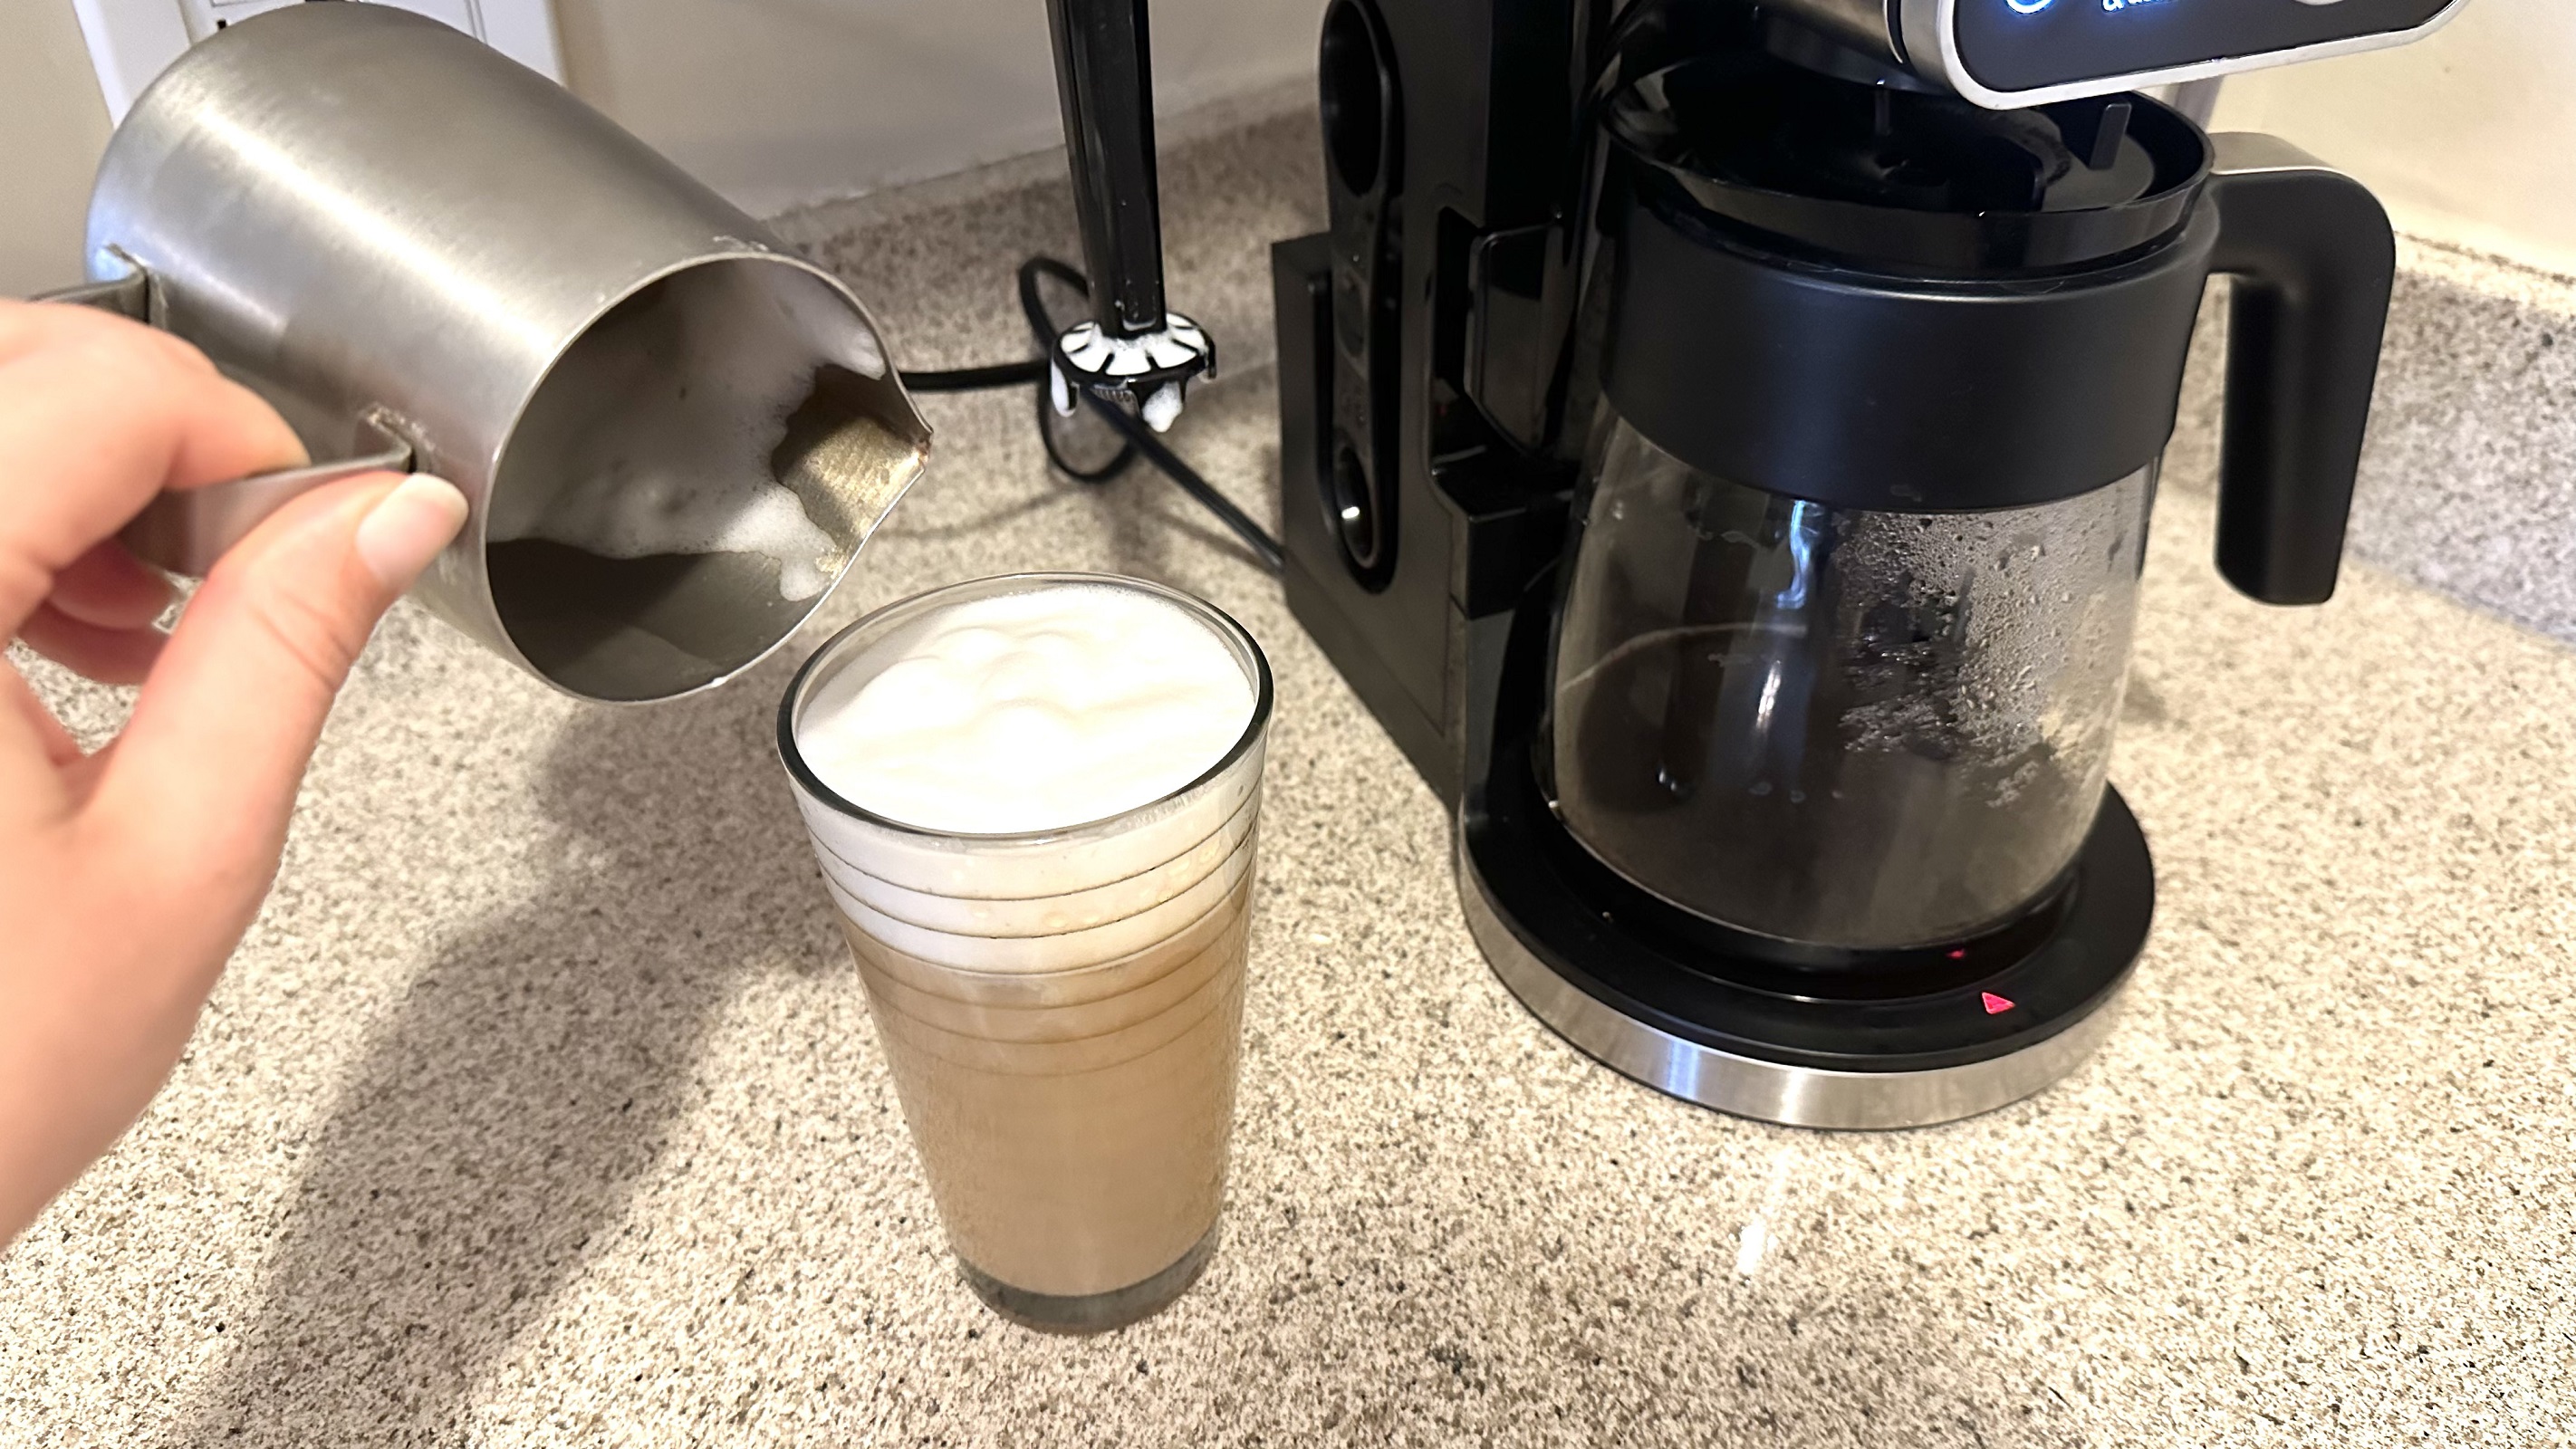
Finally, tucked away on the side of the Ninja Dual Brew is a milk frother that flips out for use with a large power button on top. Unfortunately, it doesn’t heat the milk, so you’ll have to throw it in the microwave beforehand for warm milk. But when it comes to making frothy, foamy milk, it succeeds—both 2% milk and Oatly milk delivered thick, velvety foam after just 30 seconds under the frother. That foam lasted for a good 10 minutes afterward as well. Plus, the tip twists off for easy cleanup after you're done.
Speaking of cleaning, many parts like the brew basket, water reservoir, and pod adapter are removable for easy clean up, but you will occasionally need a deeper cleaning to descale the machine. Each mode–grounds, pods, and hot water— has its own cleaning cycle, and an orange light will indicate when that needs to occur.
After a month of regular use, my light has not gone on. If it does, you’ll either use a descaling solution or white vinegar, placing it in the water reservoir and leaving the carafe below to collect the grime. The entire process takes about 75 minutes and is very manageable given the rarity of the need to complete the full cleaning process.
Ninja Dual Brew Pro review: taste test
As mentioned, the Ninja Dual Brew makes a variety of different types of brews, and the real question is, do they actually taste good? And for the most part, I’d say they do. With all the different brew settings and sizes, using both the pods and coffee ground/filter method, I never had a burned or acidic-tasting cup. Some brews were better than others, but that could be due to user error.
Admittedly, when making the classic versus the rich brew styles. I could not taste the difference. I was sure to use the exact same ground measurements for the different brew styles, but each yielded the same tasting results. Both had strong, bold flavors. However, during a blind taste test, I couldn’t tell the difference. When using K-cups in the pod adapter, I had the same findings, though the coffee as a whole tasted a bit weaker. That’s most likely due to the quality of the pod I used.
As an iced coffee lover, over-ice was the most impressive brew style, in my opinion. Unlike when you just pour hot coffee over ice, this brew managed to keep from being watered down, delivering a rich, refreshing cup of iced coffee every time.
My least favorite of the brew styles was the specialty brew. It’s supposed to be an espresso-like option, creating a 4oz more concentrated brew for coffee drinks like lattes and cappuccinos. However, the flavor was not nearly as robust as espresso. It just tasted like a slightly stronger coffee. Of course, there’s no golden crema on the top of the brew either, so it’s really lacking almost everything you expect from an espresso.
The specialty brew didn’t stand out in those milky specialty drinks. I love an iced latte, but it tasted more watery than normal. However, the cold foam from the milk frother was a nice, tasty addition to the top of the latte. I had the same experience with a warm cappuccino, so I would not buy this machine if you think you’ll be getting some great espresso-based drinks from it.
I made several carafes of coffee to see how larger brews held up while resting on the warming plate for several hours. The initial taste just after the brew finished was flavorful and bold. Everything you expect from a traditional cup of coffee. After the first and second hours on the warming plate, the coffee still held onto that same flavor profile, but it was slightly less aromatic. At hour three, I noticed a slight shift in flavor, with the coffee becoming a bit bitter. After four hours, the coffee was even more bitter and lacked the original flavors. It was still drinkable but didn’t taste nearly as good.
Should I buy the Ninja Dual Brew Pro?
Buy it if...
Don't buy it if...
How does the Ninja Dual Brew Pro compare?
The Ninja Dual Brew is one of the more unique machines I’ve used, given that you can brew coffee the traditional way or use pods. However, for years I used a Keurig coffee maker similar to the Keurig K55, which retails for $149.99. Both the Ninja and Keurig were extremely easy to use, and clean-up was a breeze. I didn’t notice any difference between the machines' taste-wise. Both always made a decent cup of coffee in just a couple of minutes, but I still prefer using grounds and filters.
When it comes to the more traditional method, I’ve used plenty of basic coffee makers, similar to this Mr. Coffee machine, but none of them have come close to the Ninja Dual Brew. The fact that you can select the size and type of your brew, never needing to worry about measuring the water out yourself is super convenient. More basic machines just brew whatever water is in the reservoir, and you don’t get to choose the style of your brew. But when it comes to taste, many of those affordable machines can still keep up with the Dual Brew. Some bottom-of-the-barrel options make a slightly weaker brew, but the difference is minuscule.
The specialty brew style on the Dual Brew is meant to mimic an espresso for specialty drinks however doesn’t compare to the real thing. My go-to machine for the past five years has been the Breville Barista Express, and this espresso machine brews a bold, rich espresso with lovely crema on top. As I mentioned above, the specialty brew does not. It also comes with a milk steamer, therefore warming the milk as it’s frothing, something the Ninja Dual Brew’s milk frother can’t do. But given its retail price hovers around $700, the Dual Brew is significantly more affordable.
As for a coffee maker most similar to the Ninja Dual Brew, there’s the Cuisinart 2-in-1 Coffee Maker, which offers the ability to use pods or brew grounds in different sizes. The machine retails for slightly cheaper, costing $199.95, but you do lose some functionality, as there’s no milk frother, separate hot water line, and the front panel is much more basic.
How I tested the Ninja Dual Brew Pro
- Tested over a month, using the machine every day
- Replaced Breville Barista Express
- Used every setting available
I tested this coffee maker over a month, trying out every setting available on the machine, including all the brew sizes and styles when using pods and grounds. I would have at least one cup of coffee per day, ensuring the machine was able to maintain peak performance after moderate use.
Luckily I didn’t need to make any changes to my home or routine when using the Ninja Dual Brew. And during testing, I used a food thermometer and sound meter on my phone to take certain measurements.
Read more about how we test
First reviewed: July 2023


