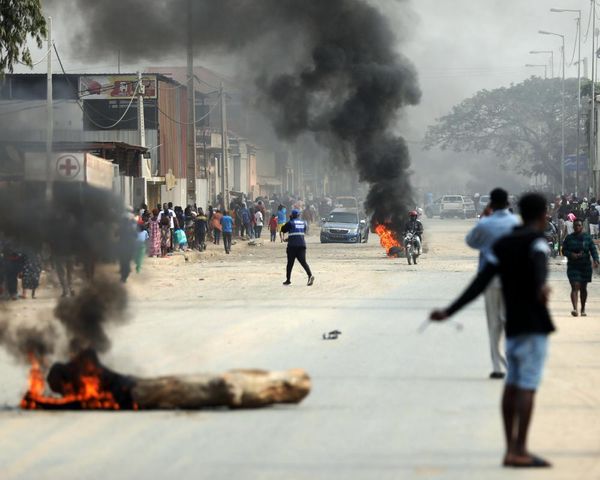
Look Up Tables (LUTs) are traditionally used to give a consistent look and feel to film projects or commercial photos but there’s no reason why you can’t use them to give your images a different look. They work by creating a table consisting of the original color values in an image and transposing them into different shades. Not only can you use the ones supplied with Photoshop, you can create your own to be used on new images. That’s what this tutorial is about. It’s also important to realise that if the image you apply the new LUT to doesn’t contain any of the shades that are in the table, then nothing will change! For that reason, it’s best to create the LUT from an image that either has a good range of colors, or a specific set and you name the LUT accordingly.
1 Find a suitable image
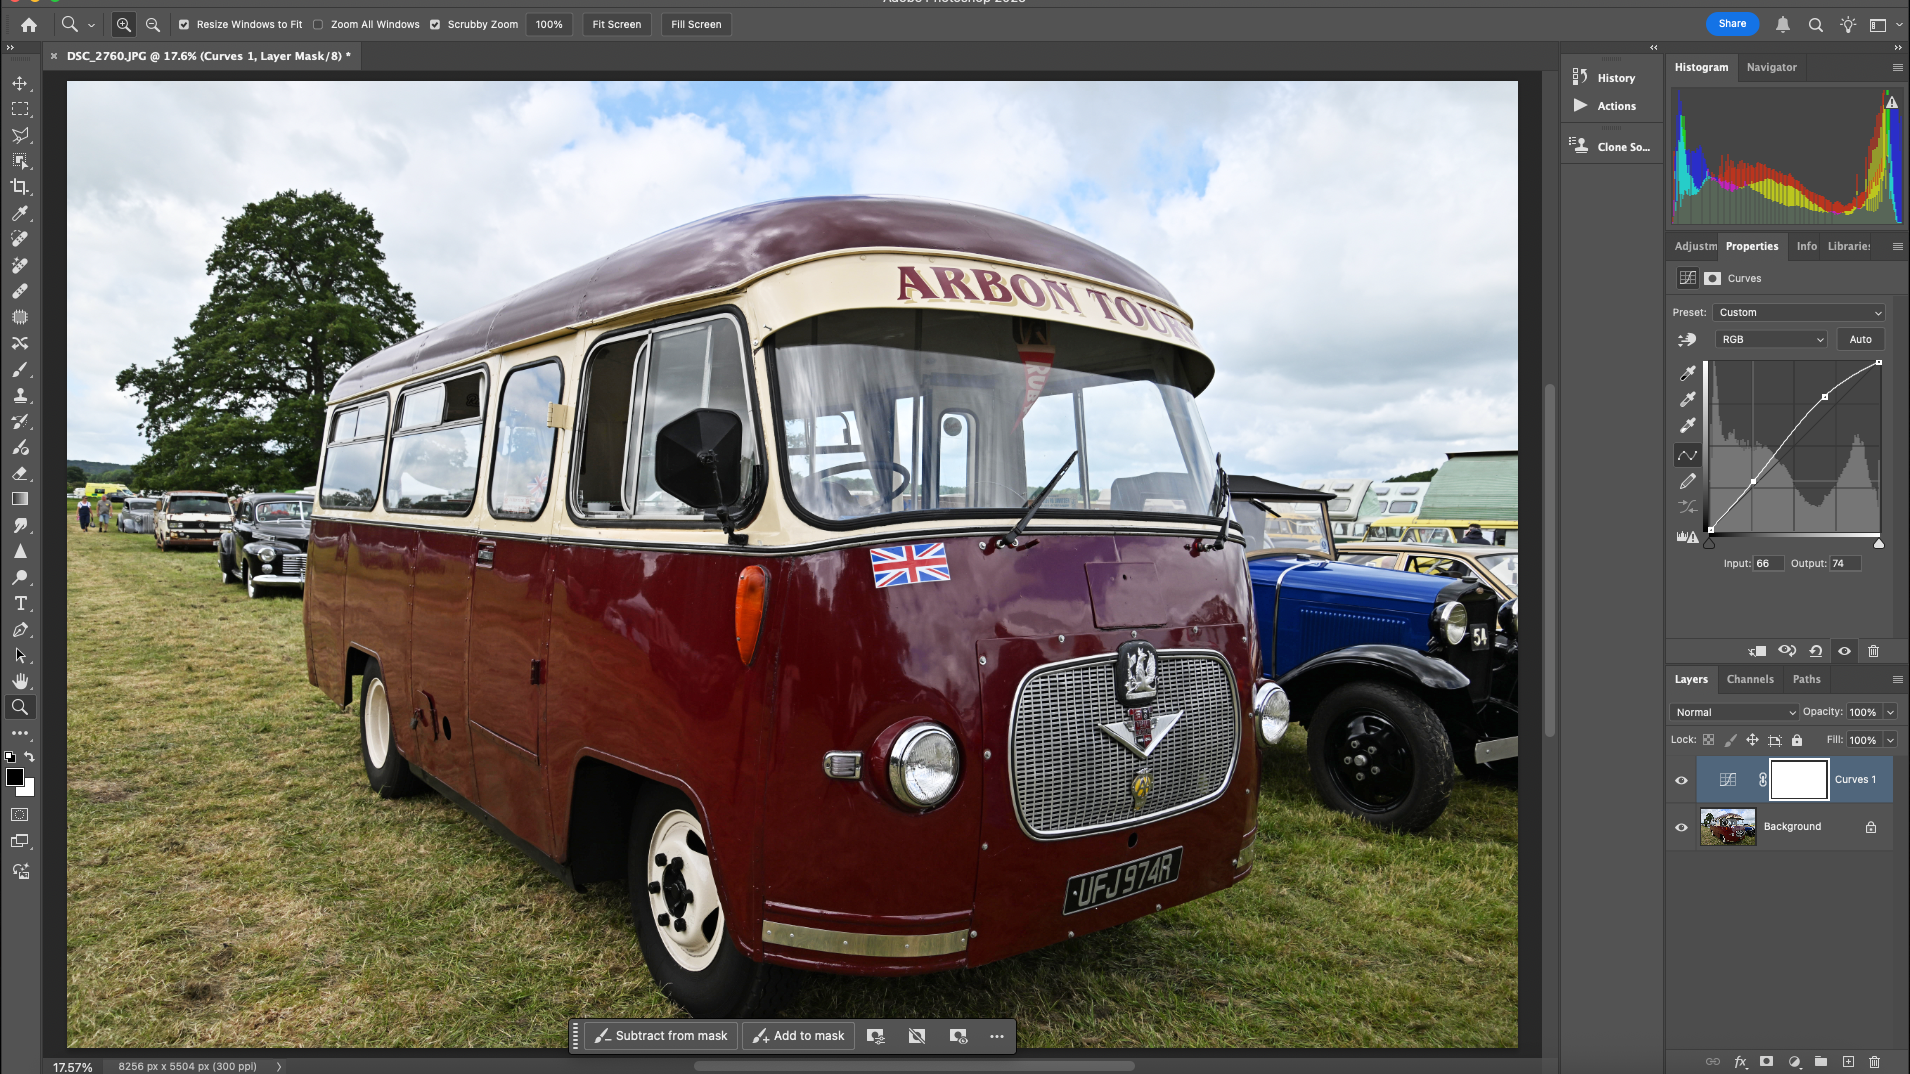
You can create LUTs for specific styles and types of starting image, but this one is for general purpose use as it has reds, greens and blues in it. The light is fairly flat as well, which makes it a good starting point. So, go to the Layers palette and click on the New fill or adjustment layer icon, then select Curves. It’s not quite an S-shape as the shadows are deep enough, but it brightens the highlights.
2 Color changes
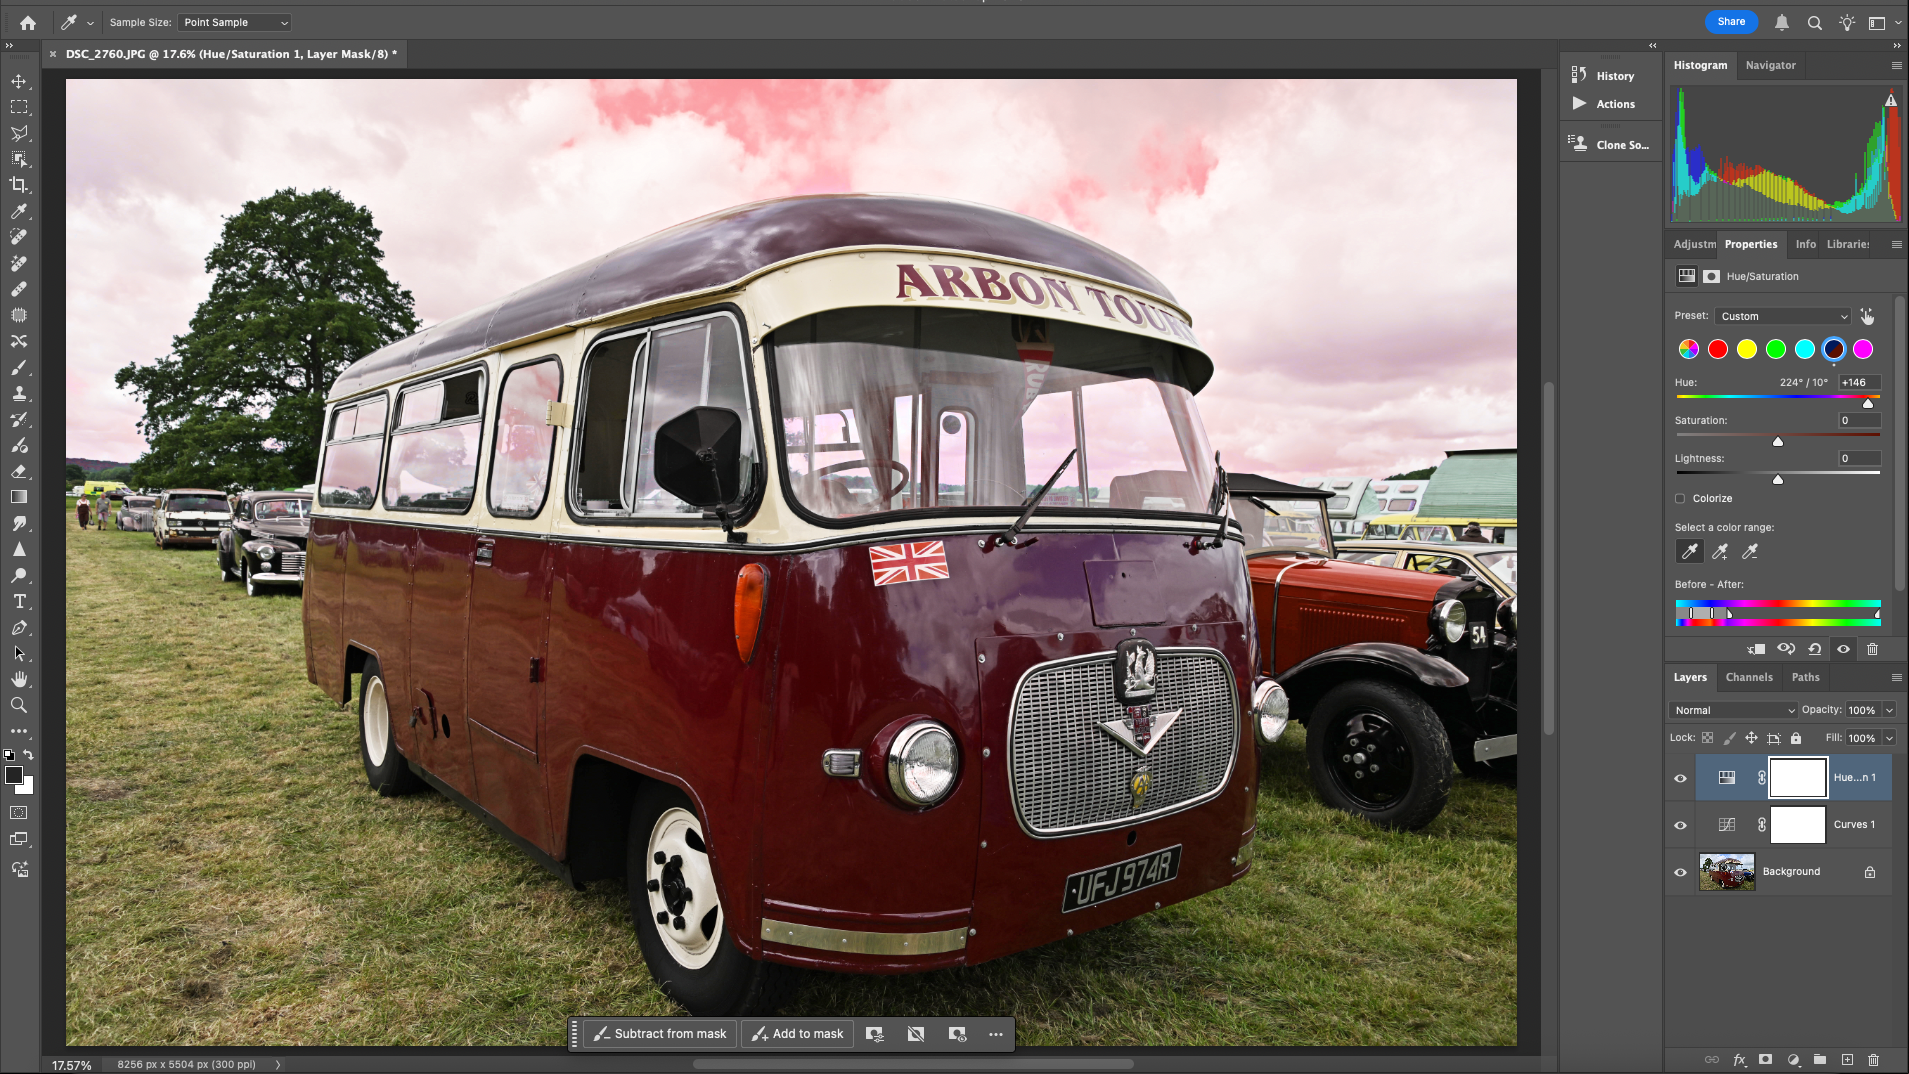
Now add a Hue/Saturation adjustment layer and select the blue channel at the top. Use the dropper tool from this palette and click on the blue car to make it more accurate. Now change the Hue slider until it’s a red colour. It will also affect the sky. You can select other colors in this palette but you get more control if you create new adjustments for each color as you can adjust the opacity.
3 Change the grass
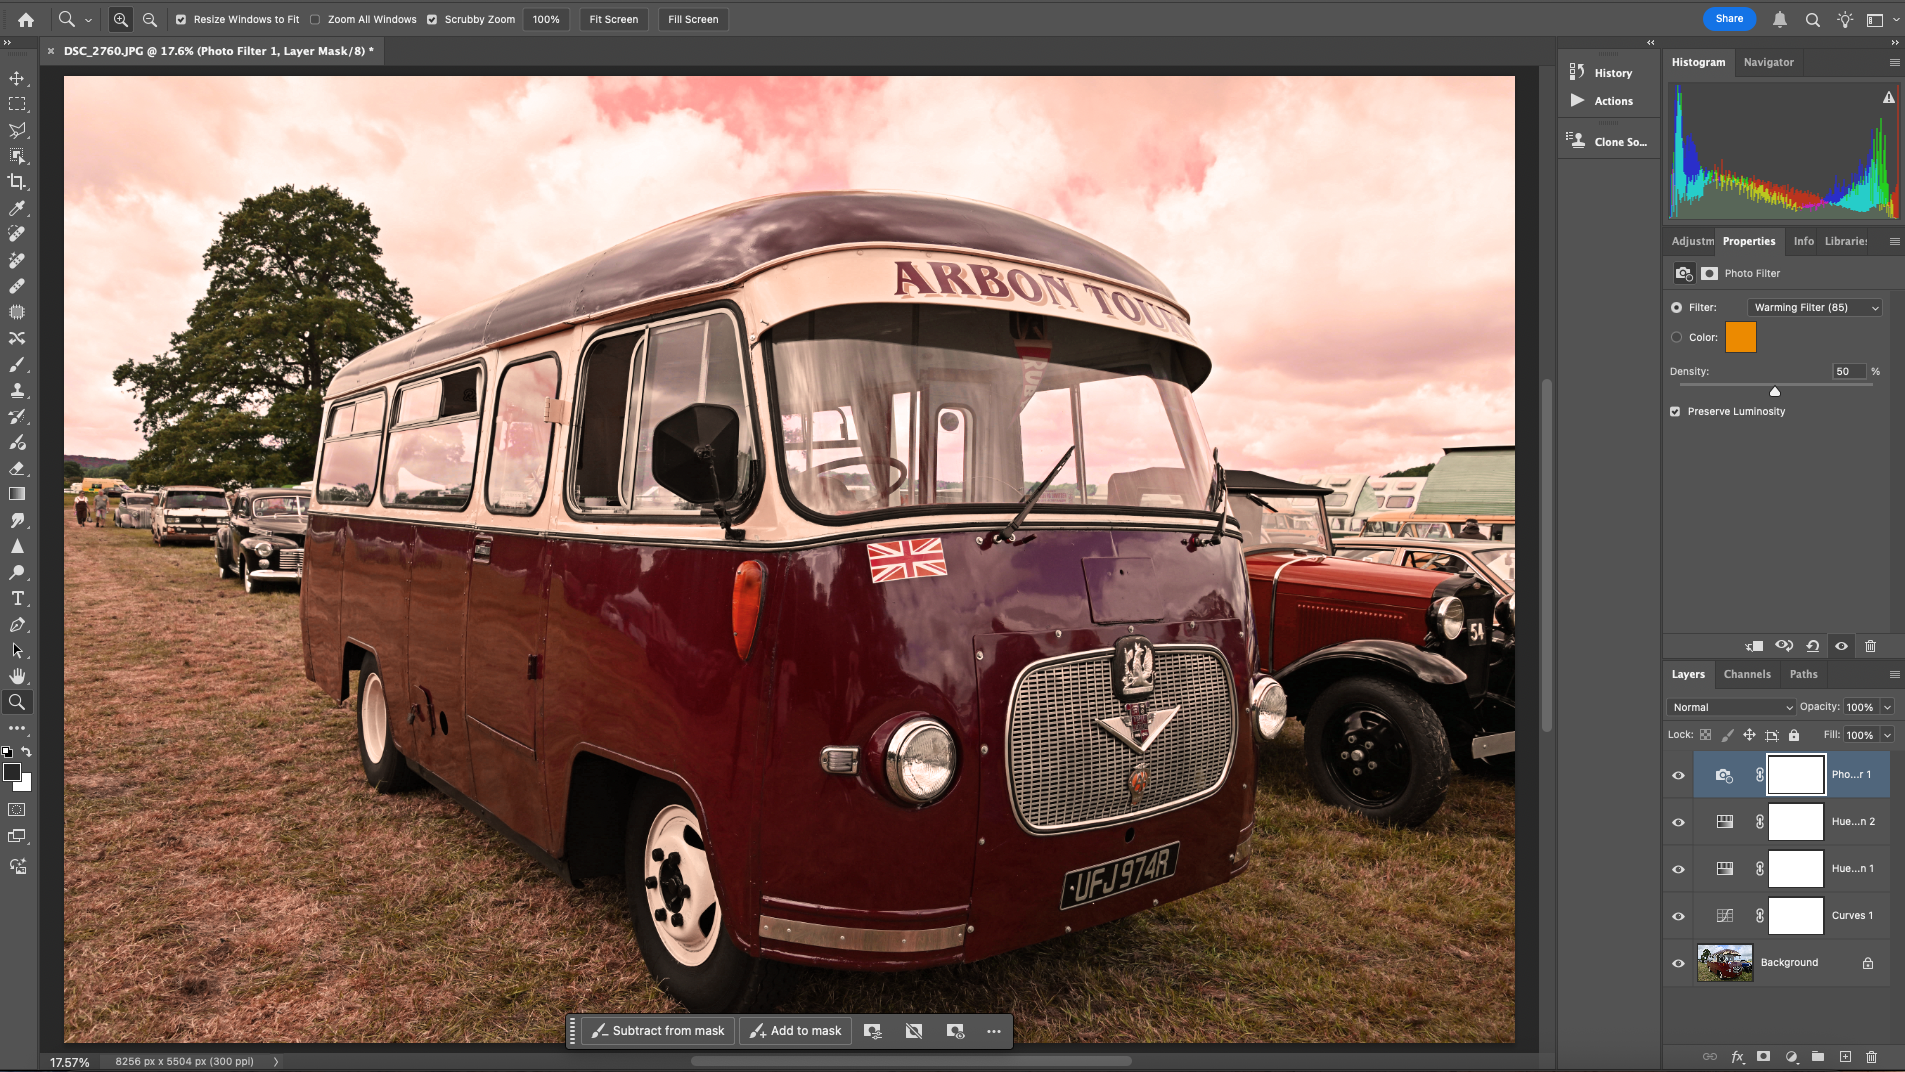
The big change for any landscape is the green/yellow component. Create another Hue/Saturation adjustment layer, select the green channel at the top and use the color dropper to click on the grass itself. Use the Hue slider to change this to a red color as well. A final adjustment comes by adding a Photo filter adjustment layer and selecting Warming Filter (85). Increase the Density to 50.
4 Save the LUT
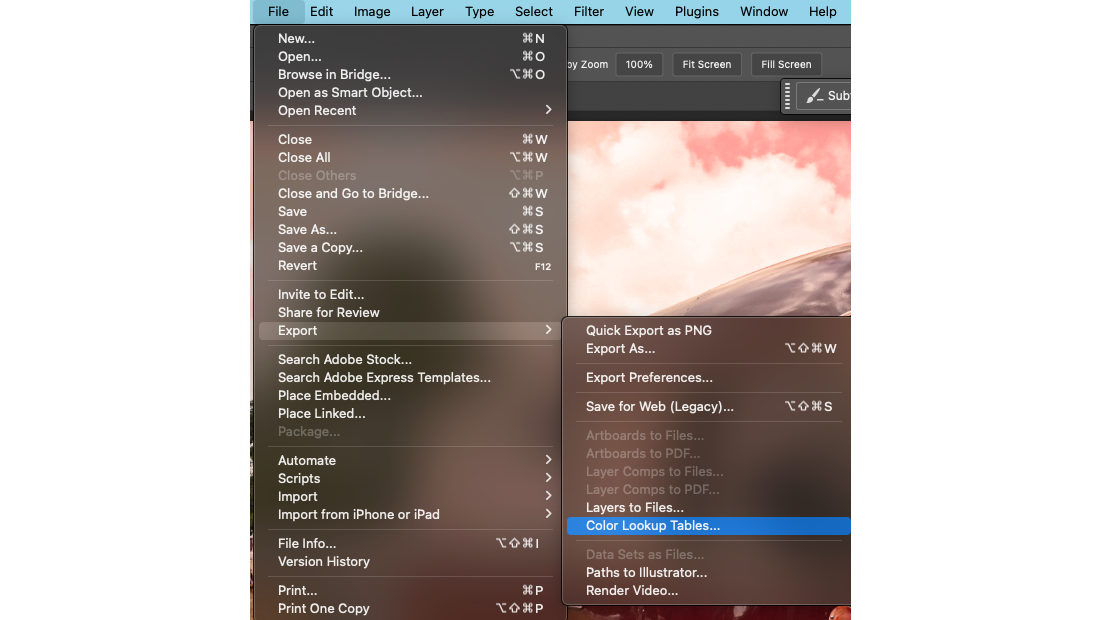
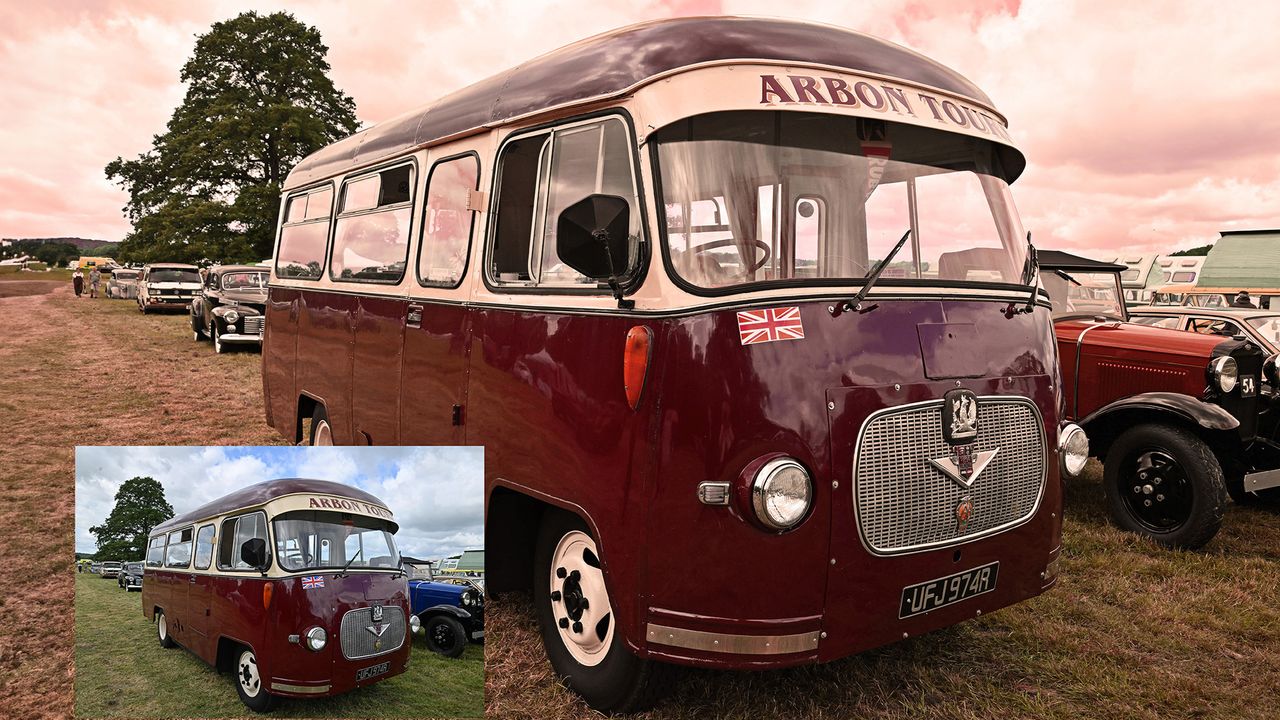
Now, this is quite a radical color shift, to demonstrate how it works. In practice, you can create more subtle ones as well those that are themed to particular color shifts. Go to File> Export> Color Lookup Tables. In the dialog box give your LUT a meaningful description and select .Cube as the most commonly LUT type. Then click OK. Navigate to where you want to save it and name the file accordingly.
5 How to use your LUTs
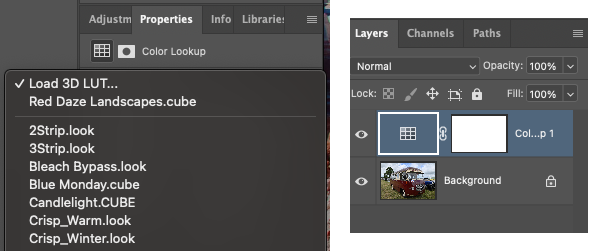
To use this LUT and any others you create, load an image and go to the Layers palette. Select New adjustment layer again and select Color Lookup. In the Properties panel, click on Load 3D LUT and then Load 3D LUT again for the file browser. Find the one you created earlier, select it, and it will now be loaded as an adjustment layer that you can control.